Home> Kitchenaid Mixer Repair
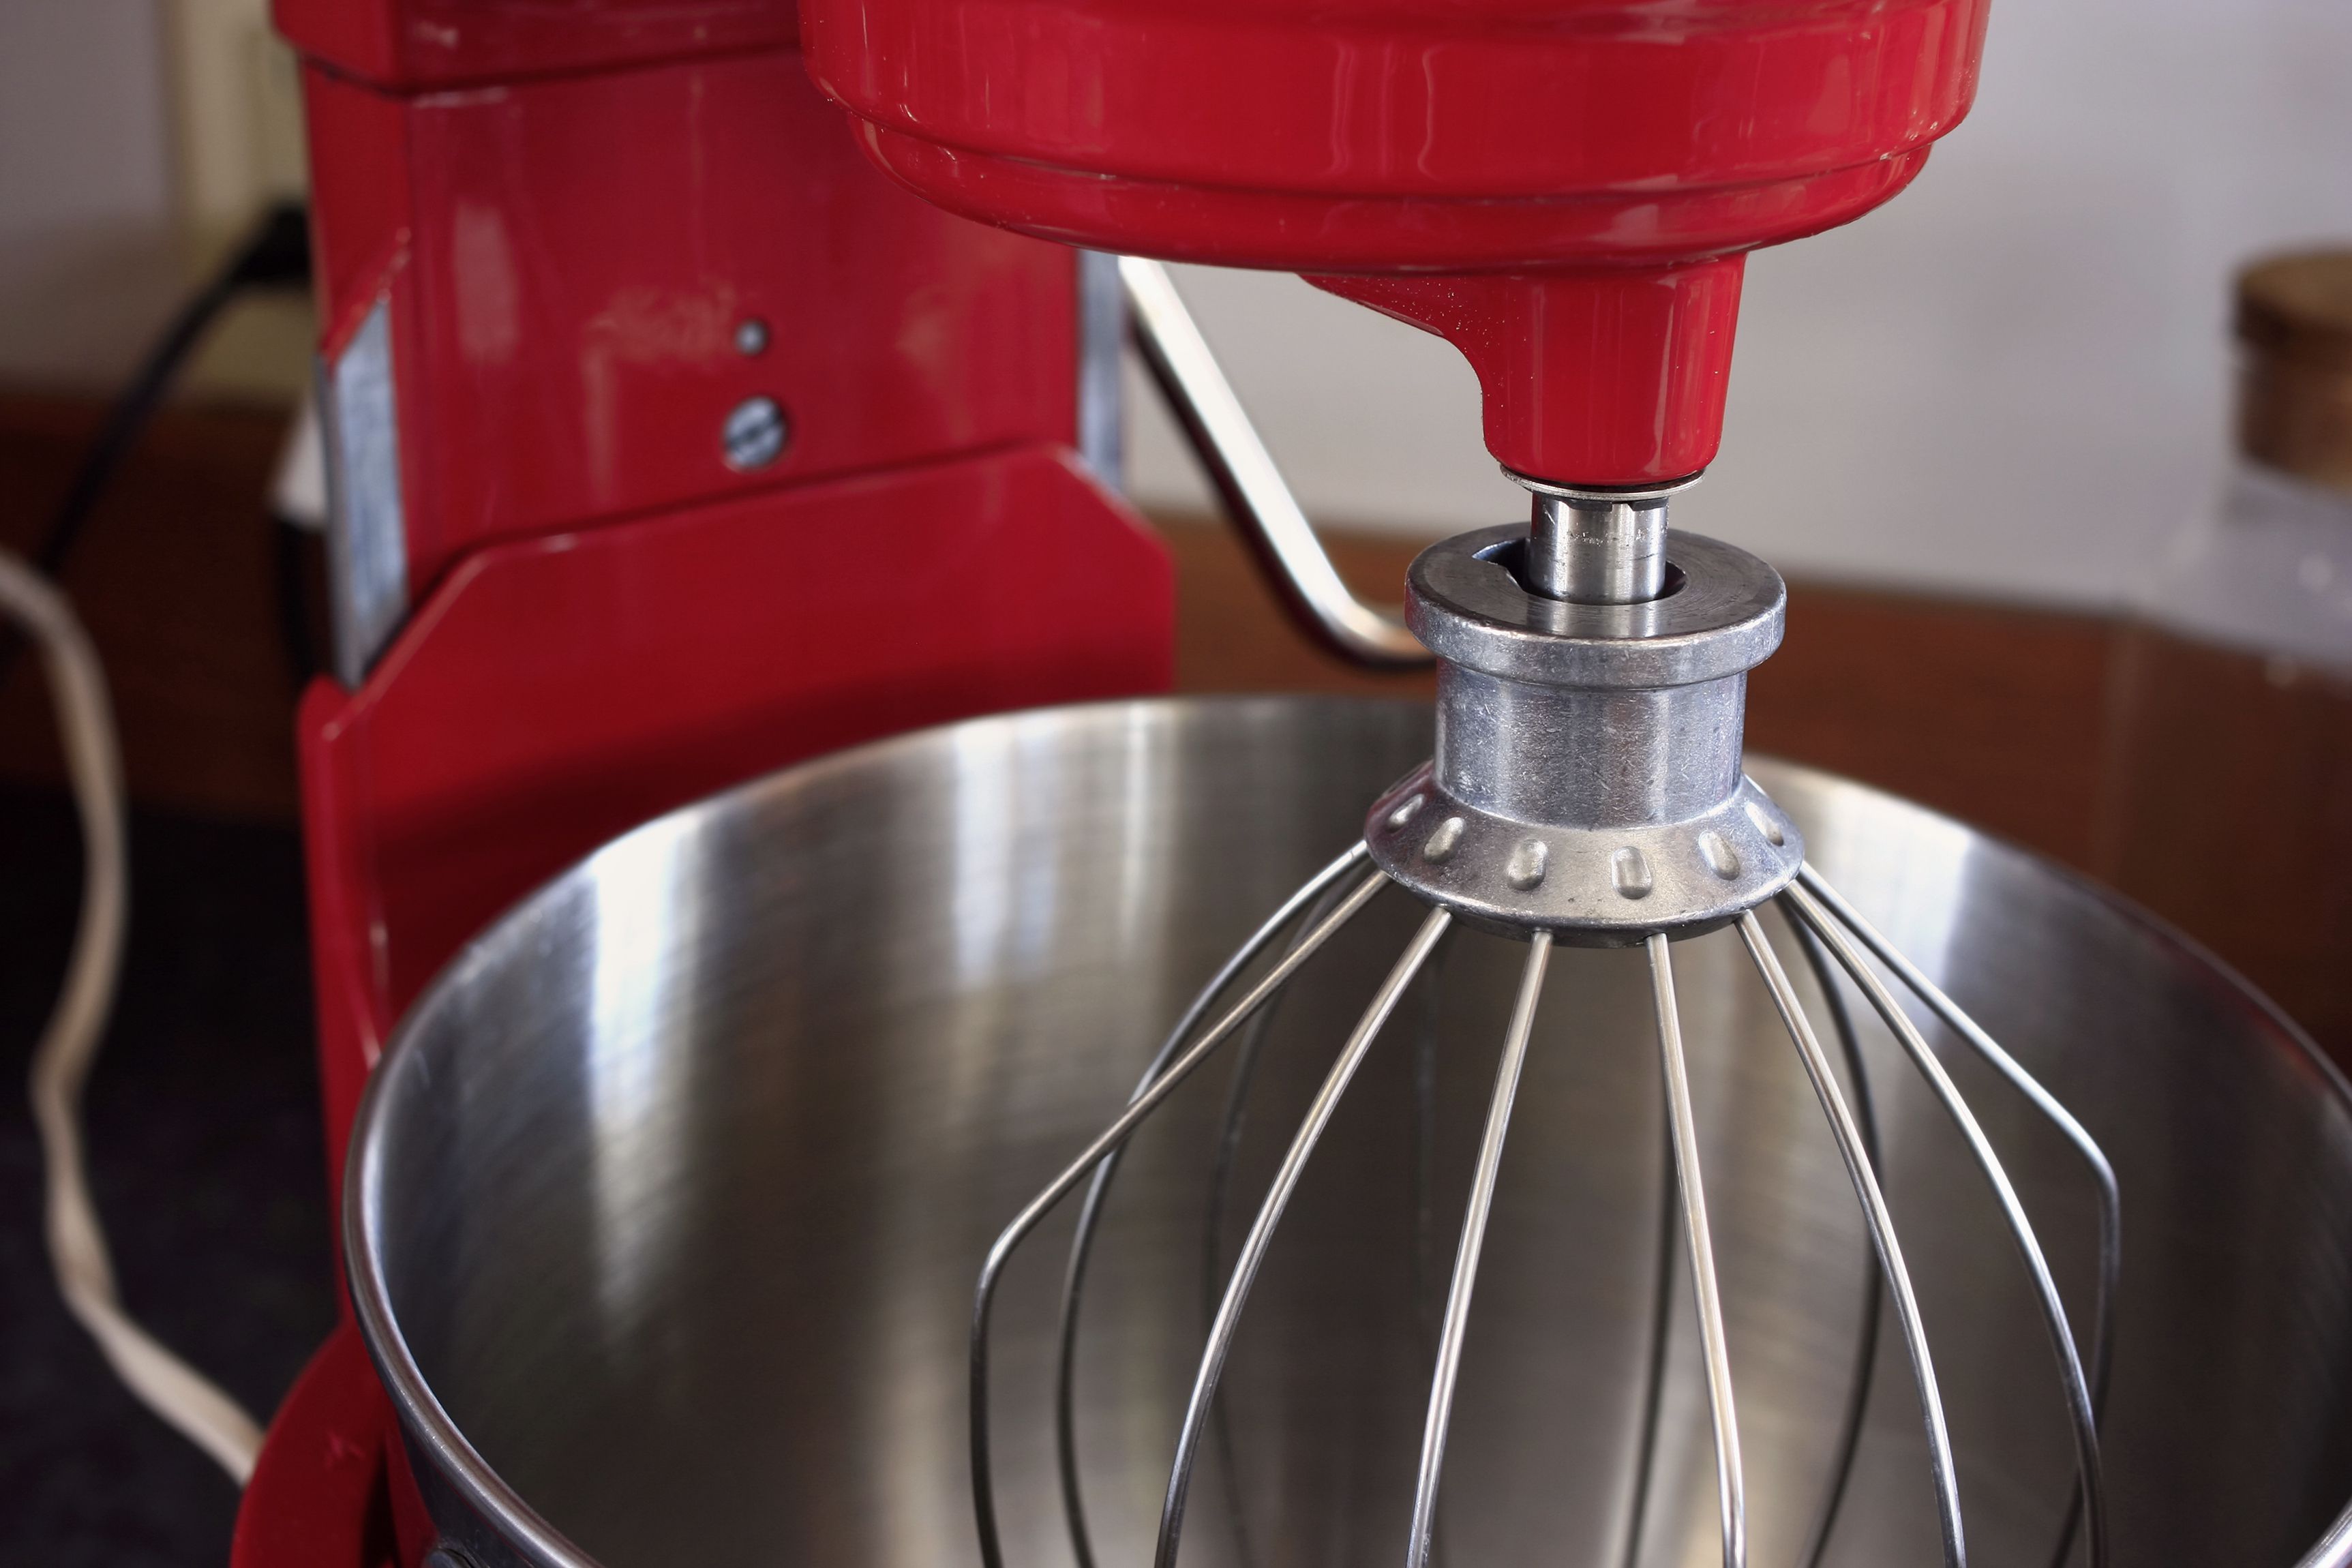
Kitchenaid Mixer Repair: Ultimate DIY Guide to Fix Your Appliance
Discover the top solutions for Kitchenaid Mixer Repair. Step-by-step DIY guides and expert tips. Make your mixer as good as new in no time!
Introduction
KitchenAid mixers have earned a reputation as dependable kitchen appliances among professional chefs and avid home bakers. These mixer models are notably sturdy, versitile and efficient. However, like all mechanical devices, they may occasionally encounter troubles. The most common KitchenAid mixer problems can often be fixed at home—doing so not only saves money on professional repairs, but also extends the life of your appliance.
By understanding the basics of DIY solutions, you can easily tackle common issues and keep your appliance in top working order. Not only does this bring a sense of personal fulfillment, it also saves you potentially hundreds of dollars in professional repair and replacement costs. So, why not get your hands dirty and learn the art of DIY KitchenAid mixer repair?
Understanding your Kitchenaid Mixer
The history of KitchenAid mixers dates back to the early 1900s when the first electric mixers were introduced to the world. Known for their durability and long lifespan, KitchenAid mixers are a testament to quality engineering and design. Before you get started on any DIY repairs, it’s crucial to understand your device in-depth, from its functions to its various attachments.
All KitchenAid mixers, regardless of their model or size, operate on the same basic mechanical principals. At the heart of the machine is a powerful motor which turns a crankshaft, attached to a gear system. This mechanical energy is then transferred to the beater, whisk, or dough hook to aid in various culinary tasks. To successfully troubleshoot and repair your mixer, you’ll need to get to grips with its inner workings.
Common Features of KitchenAid Mixers
KitchenAid mixers boast several standard features across all models. These include a heavy-duty motor, variable speed settings, planetary mixing action, tilt-head or bowl-lift design, and a power hub for attachments. Understanding these elements can help you better diagnose and fix potential problems.
Tools needed for Kitchenaid Mixer Repair
Before you begin repairing your KitchenAid mixer, it’s important to gather a basic set of tools. The exact tools required will vary depending on the issue you are tackling, but a flat head screwdriver, Phillips head screwdriver, needle nose pliers, and a small hammer are generally useful for most repairs.
The right tools can make a world of difference when it comes to DIY repairs. They not only ensure that you can effectively access and fix the problematic components, but also reduce the risk of causing further damage to your mixer. For buying or renting these tools, you can visit your local hardware store, or check out several online retailers.
Finding KitchenAid Mixer Repair Tools
If you’re having trouble finding the right tools for your KitchenAid mixer repair, you can check out various online resources. A quick search can reveal a host of stores offering specialty tools at affordable prices. Plus, having these tools at hand can also be beneficial for future DIY repair projects.
Common issues with Kitchenaid Mixers
Despite their reputation for reliability, Kitchenaid Mixers are not exempt from occasional problems. One of the most common issues these mixers face include not turning on, which could be a result of a faulty power cord or an issue with the motor. Sometimes, the mixer might display a tendency to overheat, often caused by blocked ventilation or overuse.
Other common issues include the mixer making unusual noises or not mixing properly, both of which can be traced back to misalignment or wear and tear of internal parts. Familiarising yourself with common Kitchenaid Mixer problems can help you effectively troubleshoot and diagnose problems when they arise, and understanding the manufacturer’s guidelines and recalls can also aid this process.
Troubleshooting Kitchenaid Mixer problems
When your Kitchenaid Mixer develops an issue, the first step is to conduct a thorough diagnosis. Understanding the problem is key to determining the best solution. If your mixer won’t turn on, check for a blown fuse, power cord issues, or motor failures. For mixers that overheat, ensure you are not overloading it and that the ventilation is not blocked.
If your mixer is making unusual noises, it could suggest a problem with the gears or motor. Misalignment or worn out beater can lead to irregular mixing. Sometimes, the problem can be easily solved by adjusting the mixer’s height or tightening loose parts. However, if your troubleshooting attempts are not successful, it’s best to seek professional help.
Step-by-Step Repair: Kitchenaid Mixer won’t turn on
If your KitchenAid Mixer won’t turn on, it’s likely due to a problem with the power supply or motor. First, check if the power cord is connected properly and the outlet is functioning. If that’s not the issue, it could be a problem with the fuse or the motor. Here’s a step-by-step guide:
To replace a fuse, you’ll first need to remove the back cover of the mixer using a screwdriver. Once inside, you’ll see a fuse wrapped in black tape. Gently remove the fuse and replace it with a new one, then reassemble the mixer and check if it turns on.
For problems with the motor, it’s generally recommended to take help from a professional due to the complexity involved. However, if you’re technologically inclined and comfortable with slightly advanced DIY repairs, you could attempt to fix motor issues yourself using detailed online guides from reliable sources like Storables.
Remember, if you feel uncertain or uncomfortable at any point during the repair process, it’s best to consult with a professional to avoid causing further damage to your appliance.
Step-by-Step Repair: Kitchenaid Mixer making unusual noises
If you start hearing unfamiliar sounds coming from your Kitchenaid Mixer, it may be a sign of a potentially serious issue. Typically, unusual sounds can be traced back to problems with the gears or motor.
You may have to open up your mixer to inspect it further. Be sure to disconnect it from the power source beforehand. Remove the back cover and take a look at the gears. If some gears appear worn out, it may be time to replace them.
If you’re not comfortable doing this yourself, seek help from a professional. However, with careful steps and good guide from sources like Storables, you can perform this repair yourself.
Step-by-Step Repair: Kitchenaid Mixer overheating
Your Kitchenaid Mixer might overheat due to blocked ventilation or overuse. Try not to use your mixer for prolonged hours and always ensure clear ventilation. If you find the overheating problem persists, it could be due to a more serious issue, such as a motor defect.
To diagnose a potential motor issue, you’ll again need to disassemble your mixer. Look for signs of wear and tear, overheating, or any other visible signs of damage on the motor. If you notice any damage, you might need to replace the motor or get professional assistance.
Keep in mind that handling motors can be risky. Make sure to follow all safety guidelines and consult professionals if in doubt. More information on repairing aKitchenaid Mixer can be obtained on Storables.
Step-by-Step Repair: Kitchenaid Mixer isn’t mixing properly
There could be several reasons why your mixer isn’t mixing properly. It might be due to a misaligned beater, a worn out beater, or a beater that isn’t properly fitted.
First, try to adjust the mixer’s height. This can help if the beater’s not reaching all areas of the bowl. If that doesn’t help, check the beater. If it’s worn out, you’ll need to replace it. If it’s not properly fitted, fit it correctly and try again.
If none of these solutions work, it may be time to seek professional help or refer to online guides about Kitchenaid Mixer repairs, such as those available on Storables.
How to maintain your Kitchenaid Mixer
Maintenance is a key aspect to extending the life of your Kitchenaid Mixer. Regular cleaning is the first step. After each use, dismantle the removable parts and clean them with warm soapy water. Wipe the main body with a damp cloth and dry it thoroughly before storage.
Avoid overfilling the mixer’s bowl and exceeding the recommended speed settings. This can overwork the motor and damage the gears. Additionally, regular checks for wear and tear on the mixer’s parts are useful for early detection of potential problems.
Another tip is to regularly lubricate the mixer’s gears. Over time the mixer’s original grease can dry out, so replacing it can prolong the life of your mixer. It’s advised to refer to your mixer’s manual for more specific maintenance guidelines.
Understanding Kitchenaid Mixer warranties
Kitchenaid Mixer warranties generally cover any defects in materials or workmanship for a specified period, excluding normal wear and tear or damage caused by misuse or accidents. It’s important to check the specifics of your mixer’s warranty for its duration and what it covers.
If your mixer is still under warranty and you’re experiencing a problem, the best course of action is often to contact Kitchenaid’s customer service before attempting any DIY repairs. DIY repairs can sometimes inadvertently void warranties, so it’s important to ensure any work doesn’t compromise your coverage. Keep all receipts and proof of purchase in a safe place to aid in any warranty claims.
How to source Kitchenaid Mixer parts
Finding quality replacement parts for your Kitchenaid Mixer can at times be challenging. The main options include websites of authorized Kitchenaid parts distributors, online marketplaces like Amazon or eBay, or specialty kitchen appliance stores.
Before purchasing a part, verify that it’s compatible with your specific mixer model. It’s also wise to compare prices from different vendors to get the best deal. Always choose parts from reputable sources to ensure quality and avoid further problems with your mixer. Check the return policy of the vendor as well, in case the part doesn’t fit or is defective.
Professional Kitchenaid Mixers repair services
Sometimes DIY repair may not be enough for certain mixer issues. In these scenarios, you might need to enlist professional repair services. A professional repair service, which is likely to have certified and experienced technicians, can handle more complex mixer problems while ensuring your mixer gets the proper care and attention it needs.
You can find authentic professional repair services for Kitchenaid mixers through various outlets including the official Kitchenaid website which gives a list of authorized service centers, independent local repair shops, or online repair platforms. Remember to verify the credibility of the repair service, check customer reviews and inquire about the cost beforehand.
The repair process usually involves a diagnostic phase where the problem is identified, followed by the actual repair, and finally a testing phase to confirm that the mixer is functioning properly once again.
Case Study: DIY Kitchenaid Mixer Repair
A DIY Kitchenaid Mixer repair is often a more affordable and quick solution for minor mixer faults. For instance, fixing a mixer that won’t turn on oftentimes involves scrutinizing a few potential culprits such as the power cord, motor brushes, or the speed control plate.
In one real life DIY repair case, the repairer found that the mixer’s power cord was damaged. Upon acquiring the replacement part, the repairer opened up the housing of the Kitchenaid Mixer, removed the faulty power cord, and replaced it with the new one. The total time spent was approximately 2 hours, and the total cost (including the purchase of the replacement cord) was significantly lower than the estimate provided by a professional repair shop.
Not only did this DIY repair save some cash, it also gave the repairer a sense of accomplishment and a better understanding of the inner workings of their Kitchenaid mixer.
Case Study: Professional Kitchenaid Mixer Repair
There are times when a professional is required to fix more intricate issues. In one such case, a mixer began leaking oil, an issue that requires deeper knowledge of the appliance’s inner mechanisms and potentially specialized tools.
The owner brought the mixer to an authorized Kitchenaid service center, where it was diagnosed that the old grease inside the mixer had broken down and was seeping out. The technician then cleaned out the old grease, applied new food-grade grease, and reassembled the mixer. The total cost for the repair was reasonable, as it included the expert labor and high-quality replacement materials, allowing the mixer to operate like new.
This instance demonstrates the importance of professional servicing especially when dealing with more complex Kitchenaid Mixer issues. It also highlights the value of the peace of mind that comes with knowing the job was done properly by a knowledgeable and experienced technician.
Keeping Your Mixer at its Peak Performance
To ensure your Kitchenaid Mixer continues to operate at its best, it’s crucial to maintain it regularly. This involves simple tasks such as thorough cleaning after each use to prevent buildup that could interfere with the mixer’s operation. Every few months, check for loose screws and if you spot any, tighten them.
Using your mixer properly can also extend its lifespan significantly. This includes not overloading it beyond its capacity and not operating it continuously for overly long periods, which could overheat the motor. Also, using only recommended Kitchenaid Mixer attachments helps ensure optimized performance and prevents damage.
The expected lifespan of a well-maintained Kitchenaid Mixer can be many years. Various resources are available online and offline to provide guidance for ongoing care and preventive maintenance of your mixer.
Recap of the Kitchenaid Mixer DIY repair process
Successfully repairing your Kitchenaid Mixer begins with accurately diagnosing the problem. The common issues range from the mixer not turning on, making unusual noises, overheating, to not mixing properly. By identifying clear symptom(s), you can narrow down suggested solutions that you can perform yourself to solve the problem.
Once the probable cause of the mixer issue is determined, you can embark on the DIY repair process. This typically involves few simple steps, from purchasing and replacing the parts, to reinstalling and testing the mixer.
The DIY repair process not only saves you money, but also gives you hands-on experience and a sense of accomplishment. It is, however, crucial that you ensure your safety by unplugging the mixer before starting any repair work and by using the right tools.
Recap of the Kitchenaid Mixer professional repair process
While DIY repair may be possible for most common mixer issues, certain complex problems like a faulty motor, digital control malfunctions, or substantial oil leaks might necessitate professional repair. Getting professional repair services should ensure the reliability and lifespan of your mixer.
If your mixer has a serious issue, it’s advised to bring it to a certified Kitchenaid service center or a trusted repair shop. The professionals will provide a thorough diagnosis, complete the needed repair(s), and validate the repair by testing the mixer to make sure it’s back to its optimal working condition.
Professional repair may involve higher costs but the trade-off is the assurance that your Kitchenaid Mixer is fixed accurately, done with the right tools, and repaired using genuine replacement parts, helping to maintain its quality and performance.
What to Consider When Deciding Between DIY and Professional Repair
There are several factors to consider when deciding between DIY and professional repair for your Kitchenaid mixer. First, you need to have a good understanding of the problem at hand. Various mixer problems require different solutions, and the complexity of the issue could dictate whether it’s a task you can handle yourself or if it’s best left to a professional.
Your personal skill set and comfort level with repairing appliances are also critical considerations. While some issues require simple fixes, others might involve more intricate procedures such as disassembling the appliance or handling electrical components. Having the right toolset and understanding how to use these tools is vital. Lack of experience or unfamiliarity with the required tools can cause irreversible damage or pose safety hazards.
Considering the cost and time required for both DIY and professional repair routes is also crucial. DIY repair might be cheaper in terms of parts cost, but remember to consider the time required and potential frustration, especially if this is your first time attempting such a repair. On the other hand, professional services will likely be more expensive, but they take less of your time, and their experience reduces the risk of additional damage.
Conclusion
Understanding your Kitchenaid Mixer’s operation and common issues can empower you to maintain its optimal functioning and possibly perform DIY repairs, thus saving costs. However, not all repairs are DIY projects, and knowing when to engage professionals is crucial.
Performing DIY repairs can be rewarding and cost-effective, but it’s important to recognize when a problem is beyond your skill level or requires special tools. Professional repairs come with a cost but offer expertise, convenience, and potentially longer-lasting solutions.
The decision between personal and professional repairs is not a one-size-fits-all. It largely depends on the specific issue, your technical skills, the available tools, and your comfort level. No matter the route chosen, regular care and maintenance of your Kitchenaid Mixer can ensure its longevity and continued peak performance.