Articles
How Do You Adjust A Kitchenaid Mixer
Modified: February 28, 2024
Learn how to adjust a Kitchenaid mixer with these helpful articles. Get step-by-step instructions and expert tips to optimize your mixer settings.
(Many of the links in this article redirect to a specific reviewed product. Your purchase of these products through affiliate links helps to generate commission for Storables.com, at no extra cost. Learn more)
Introduction
Welcome to the world of Kitchenaid mixers, where culinary dreams come to life! Whether you’re a professional chef or a passionate home cook, a Kitchenaid mixer is an essential tool in the kitchen. With its exceptional performance and versatility, it can handle everything from whipping cream to kneading dough.
However, as with any mechanical device, over time, your Kitchenaid mixer may require some adjustments to ensure it continues to operate smoothly and efficiently. In this article, we will guide you through the process of adjusting your Kitchenaid mixer and troubleshoot common issues that may arise.
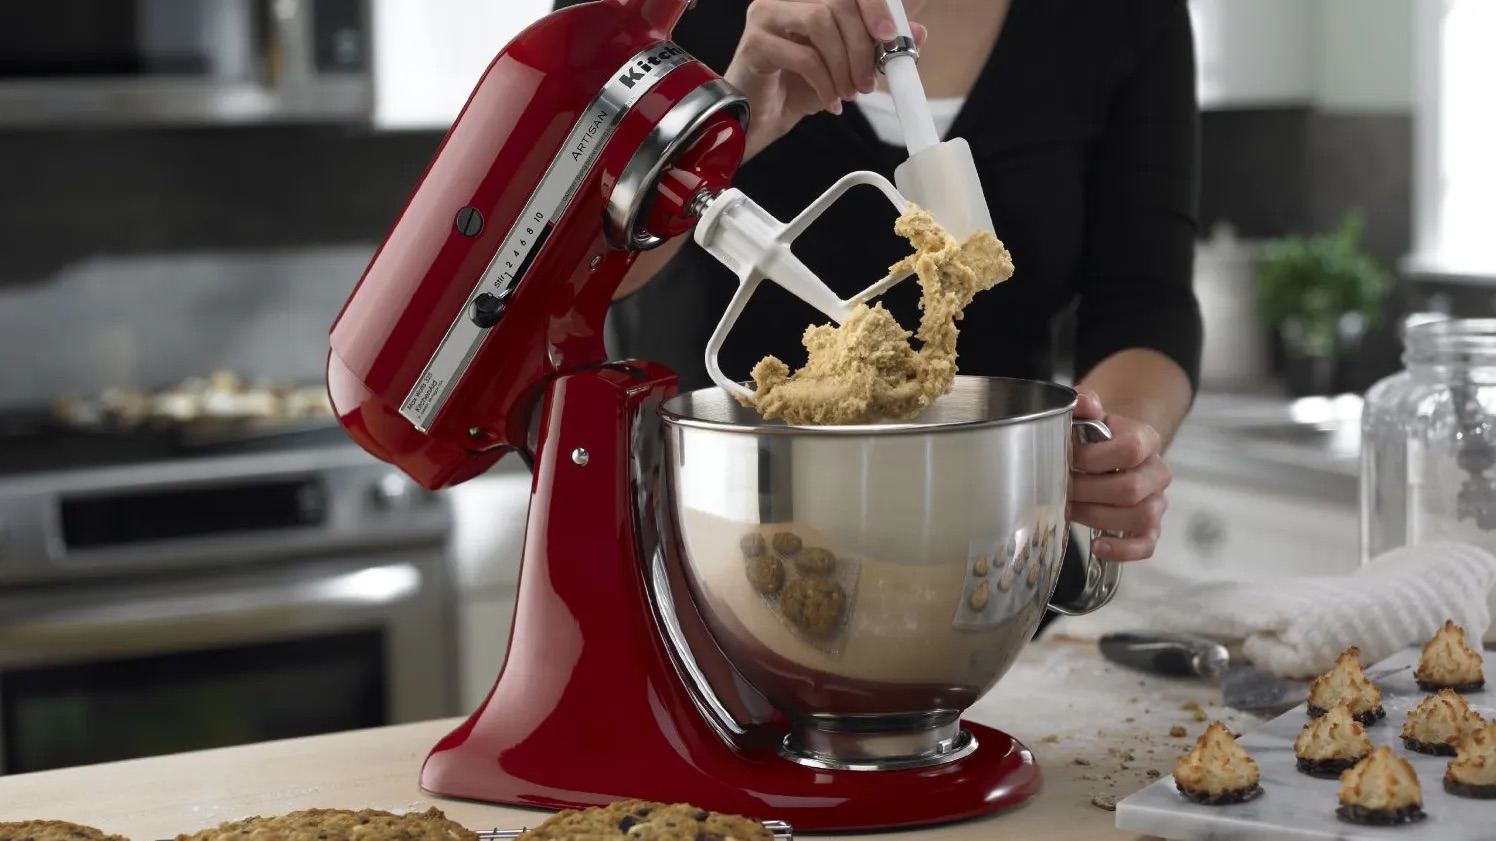
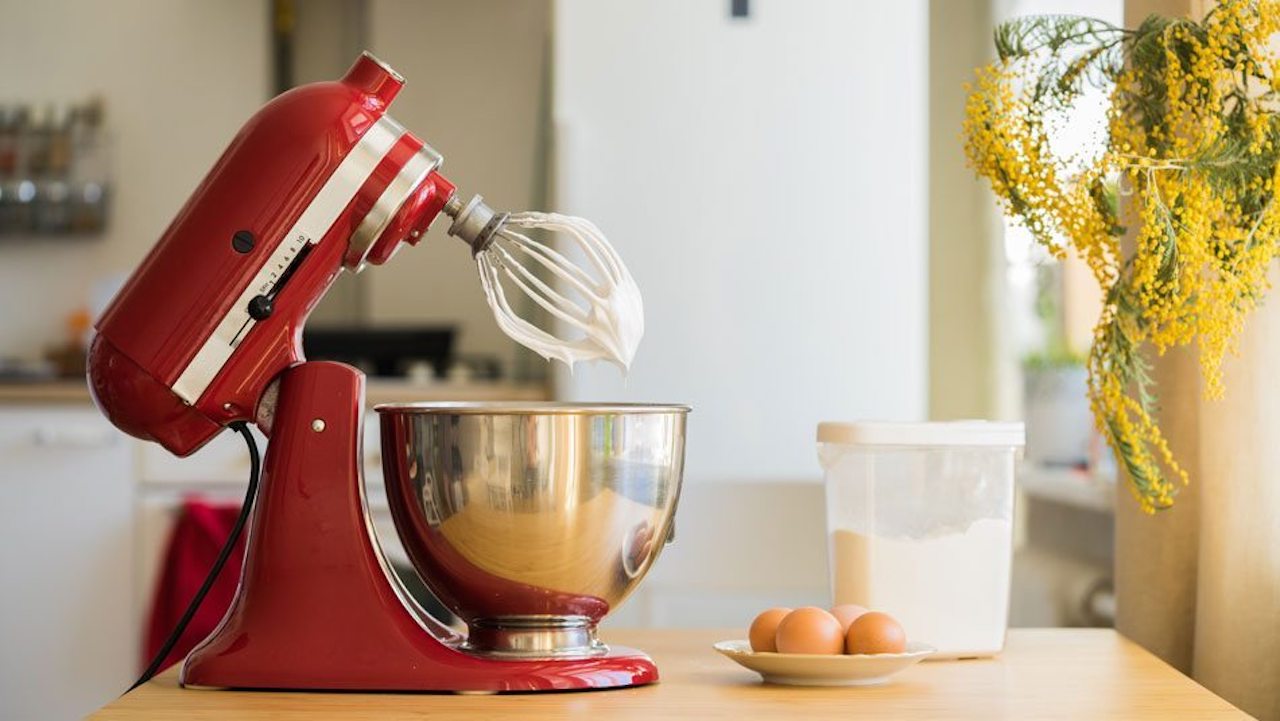
Understanding how your Kitchenaid mixer works is the first step to making the necessary adjustments. These mixers are known for their planetary mixing action, in which the beater rotates around the bowl while also spinning on its axis. This unique motion ensures thorough and consistent mixing, resulting in perfectly blended ingredients.
To adjust your Kitchenaid mixer, you need to identify the key components involved. The main components to focus on are the beater height, the speed control lever, and the bowl height. These adjustments will help optimize the performance of your mixer and ensure that it is meeting your specific mixing needs.
In the following sections, we will provide you with a step-by-step guide on how to adjust your Kitchenaid mixer. We will also address common issues that may arise during the adjustment process and provide troubleshooting tips to overcome them. Let’s dive in and learn how to fine-tune your Kitchenaid mixer to achieve culinary perfection!
Key Takeaways:
- Adjusting your Kitchenaid mixer involves fine-tuning the beater height, speed control lever, and bowl height to optimize its performance. Prioritize safety, make precise adjustments, and enjoy exceptional culinary results with confidence and efficiency.
- Troubleshoot common issues such as bowl movement, poor mixing results, and attachment issues during the adjustment process. Prioritize safety, seek assistance when needed, and continue creating culinary delights with your Kitchenaid mixer.
Read more: What Can Kitchenaid Mixer Do
Understanding the Kitchenaid Mixer
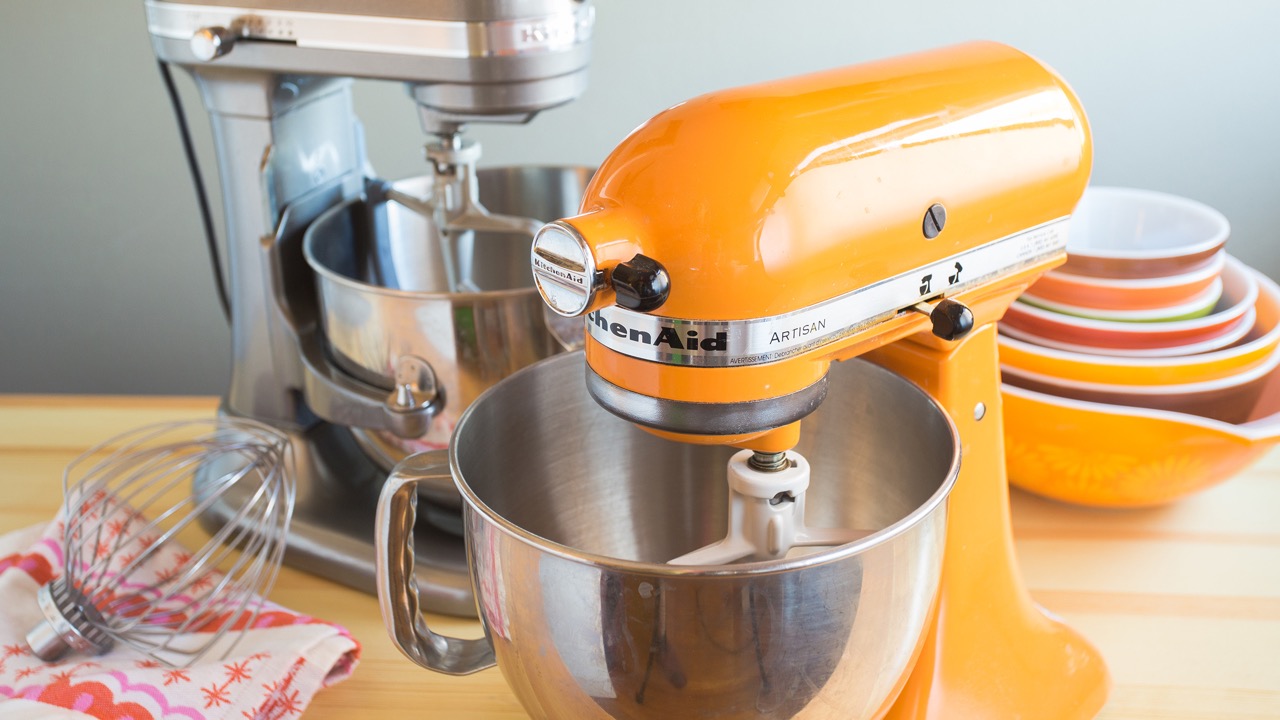
The Kitchenaid mixer is a beloved kitchen appliance that has stood the test of time. Known for its durability and reliability, it has become a staple in both professional and home kitchens around the world. Understanding the key features and functions of the Kitchenaid mixer will help you utilize its full potential.
One of the standout features of the Kitchenaid mixer is its powerful motor. With a robust motor, the mixer can handle heavy-duty tasks such as kneading dough or whipping thick batters. This motor ensures consistent and reliable performance, allowing you to tackle a wide range of recipes with ease.
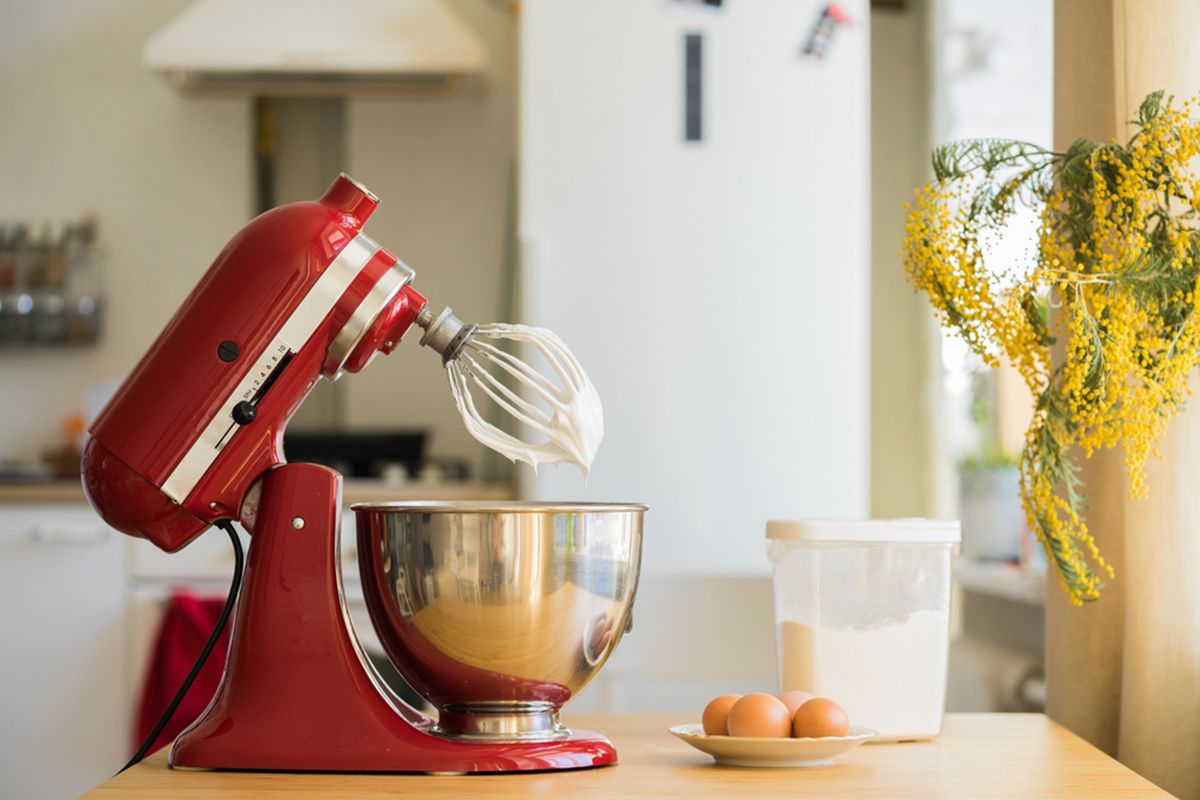
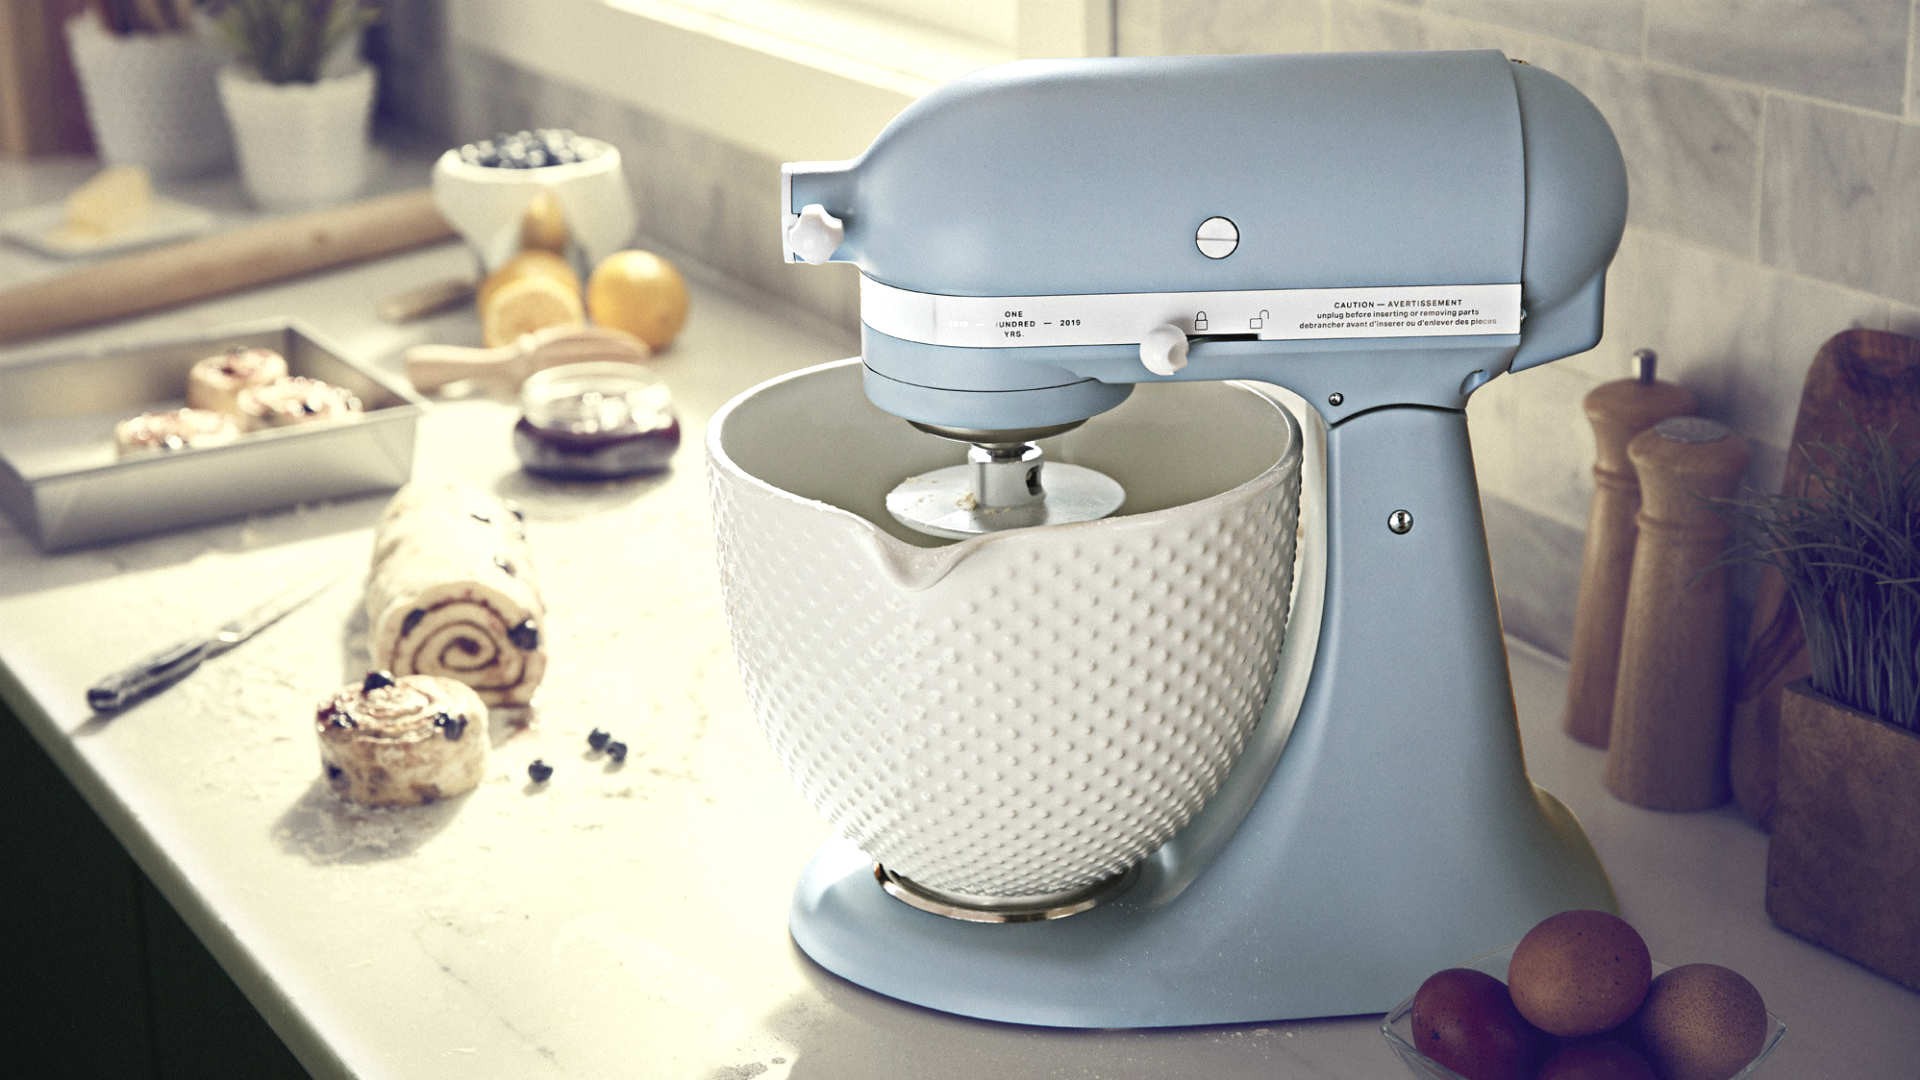
The mixing bowl is another integral part of the Kitchenaid mixer. Available in various sizes, it allows you to prepare large or small batches of ingredients. The bowl locks securely into place, preventing any unnecessary movement while the mixer is in operation.
One of the highlights of the Kitchenaid mixer is its unique planetary mixing action. This action refers to the movement of the beater as it rotates around the bowl while simultaneously spinning on its axis. This dual motion ensures that the ingredients are thoroughly mixed and evenly incorporated, resulting in consistent and well-blended mixtures.
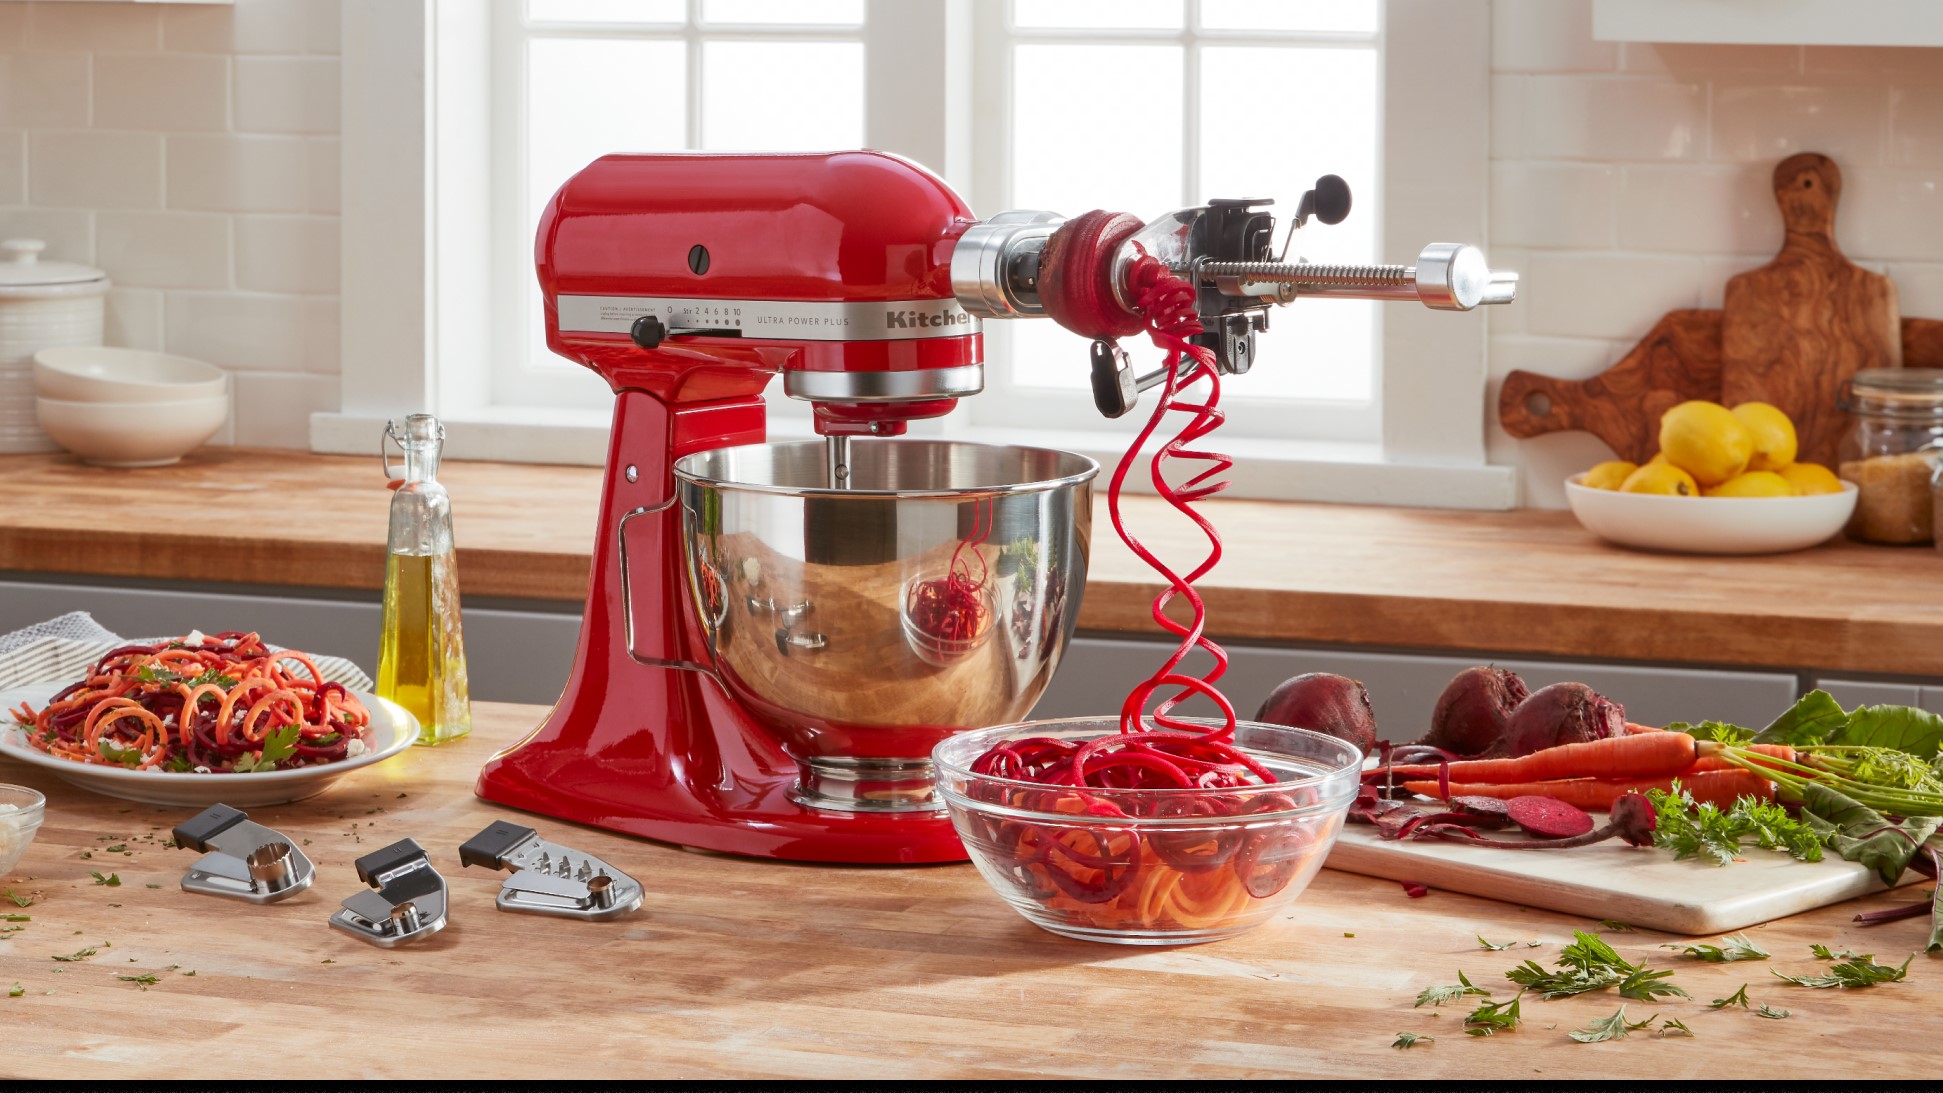
Another noteworthy feature of the Kitchenaid mixer is its versatility. With a wide range of attachments available, you can transform your mixer into a multi-functional culinary powerhouse. From pasta makers to meat grinders, the attachments allow you to expand the capabilities of your Kitchenaid mixer and explore new culinary horizons.
The Kitchenaid mixer also comes with variable speed settings, allowing you to adjust the mixing speed according to the recipe requirements. This level of control ensures precision and accuracy when preparing delicate batters or kneading dense doughs.
One of the key benefits of using a Kitchenaid mixer is the time and effort it saves. With its powerful motor and efficient mixing action, you can achieve professional-quality results in a fraction of the time it would take with manual mixing. This leaves you with more time to focus on other aspects of your recipe or to simply enjoy the process of cooking and baking.
Now that you have a better understanding of the Kitchenaid mixer and its features, let’s move on to the next step: identifying the components involved in adjusting the mixer.
Identifying the Adjustment Components
Before you can begin adjusting your Kitchenaid mixer, it is important to familiarize yourself with the key components involved in the adjustment process. By understanding these components, you can make precise adjustments to ensure optimal performance of your mixer. Let’s take a closer look at the adjustment components:
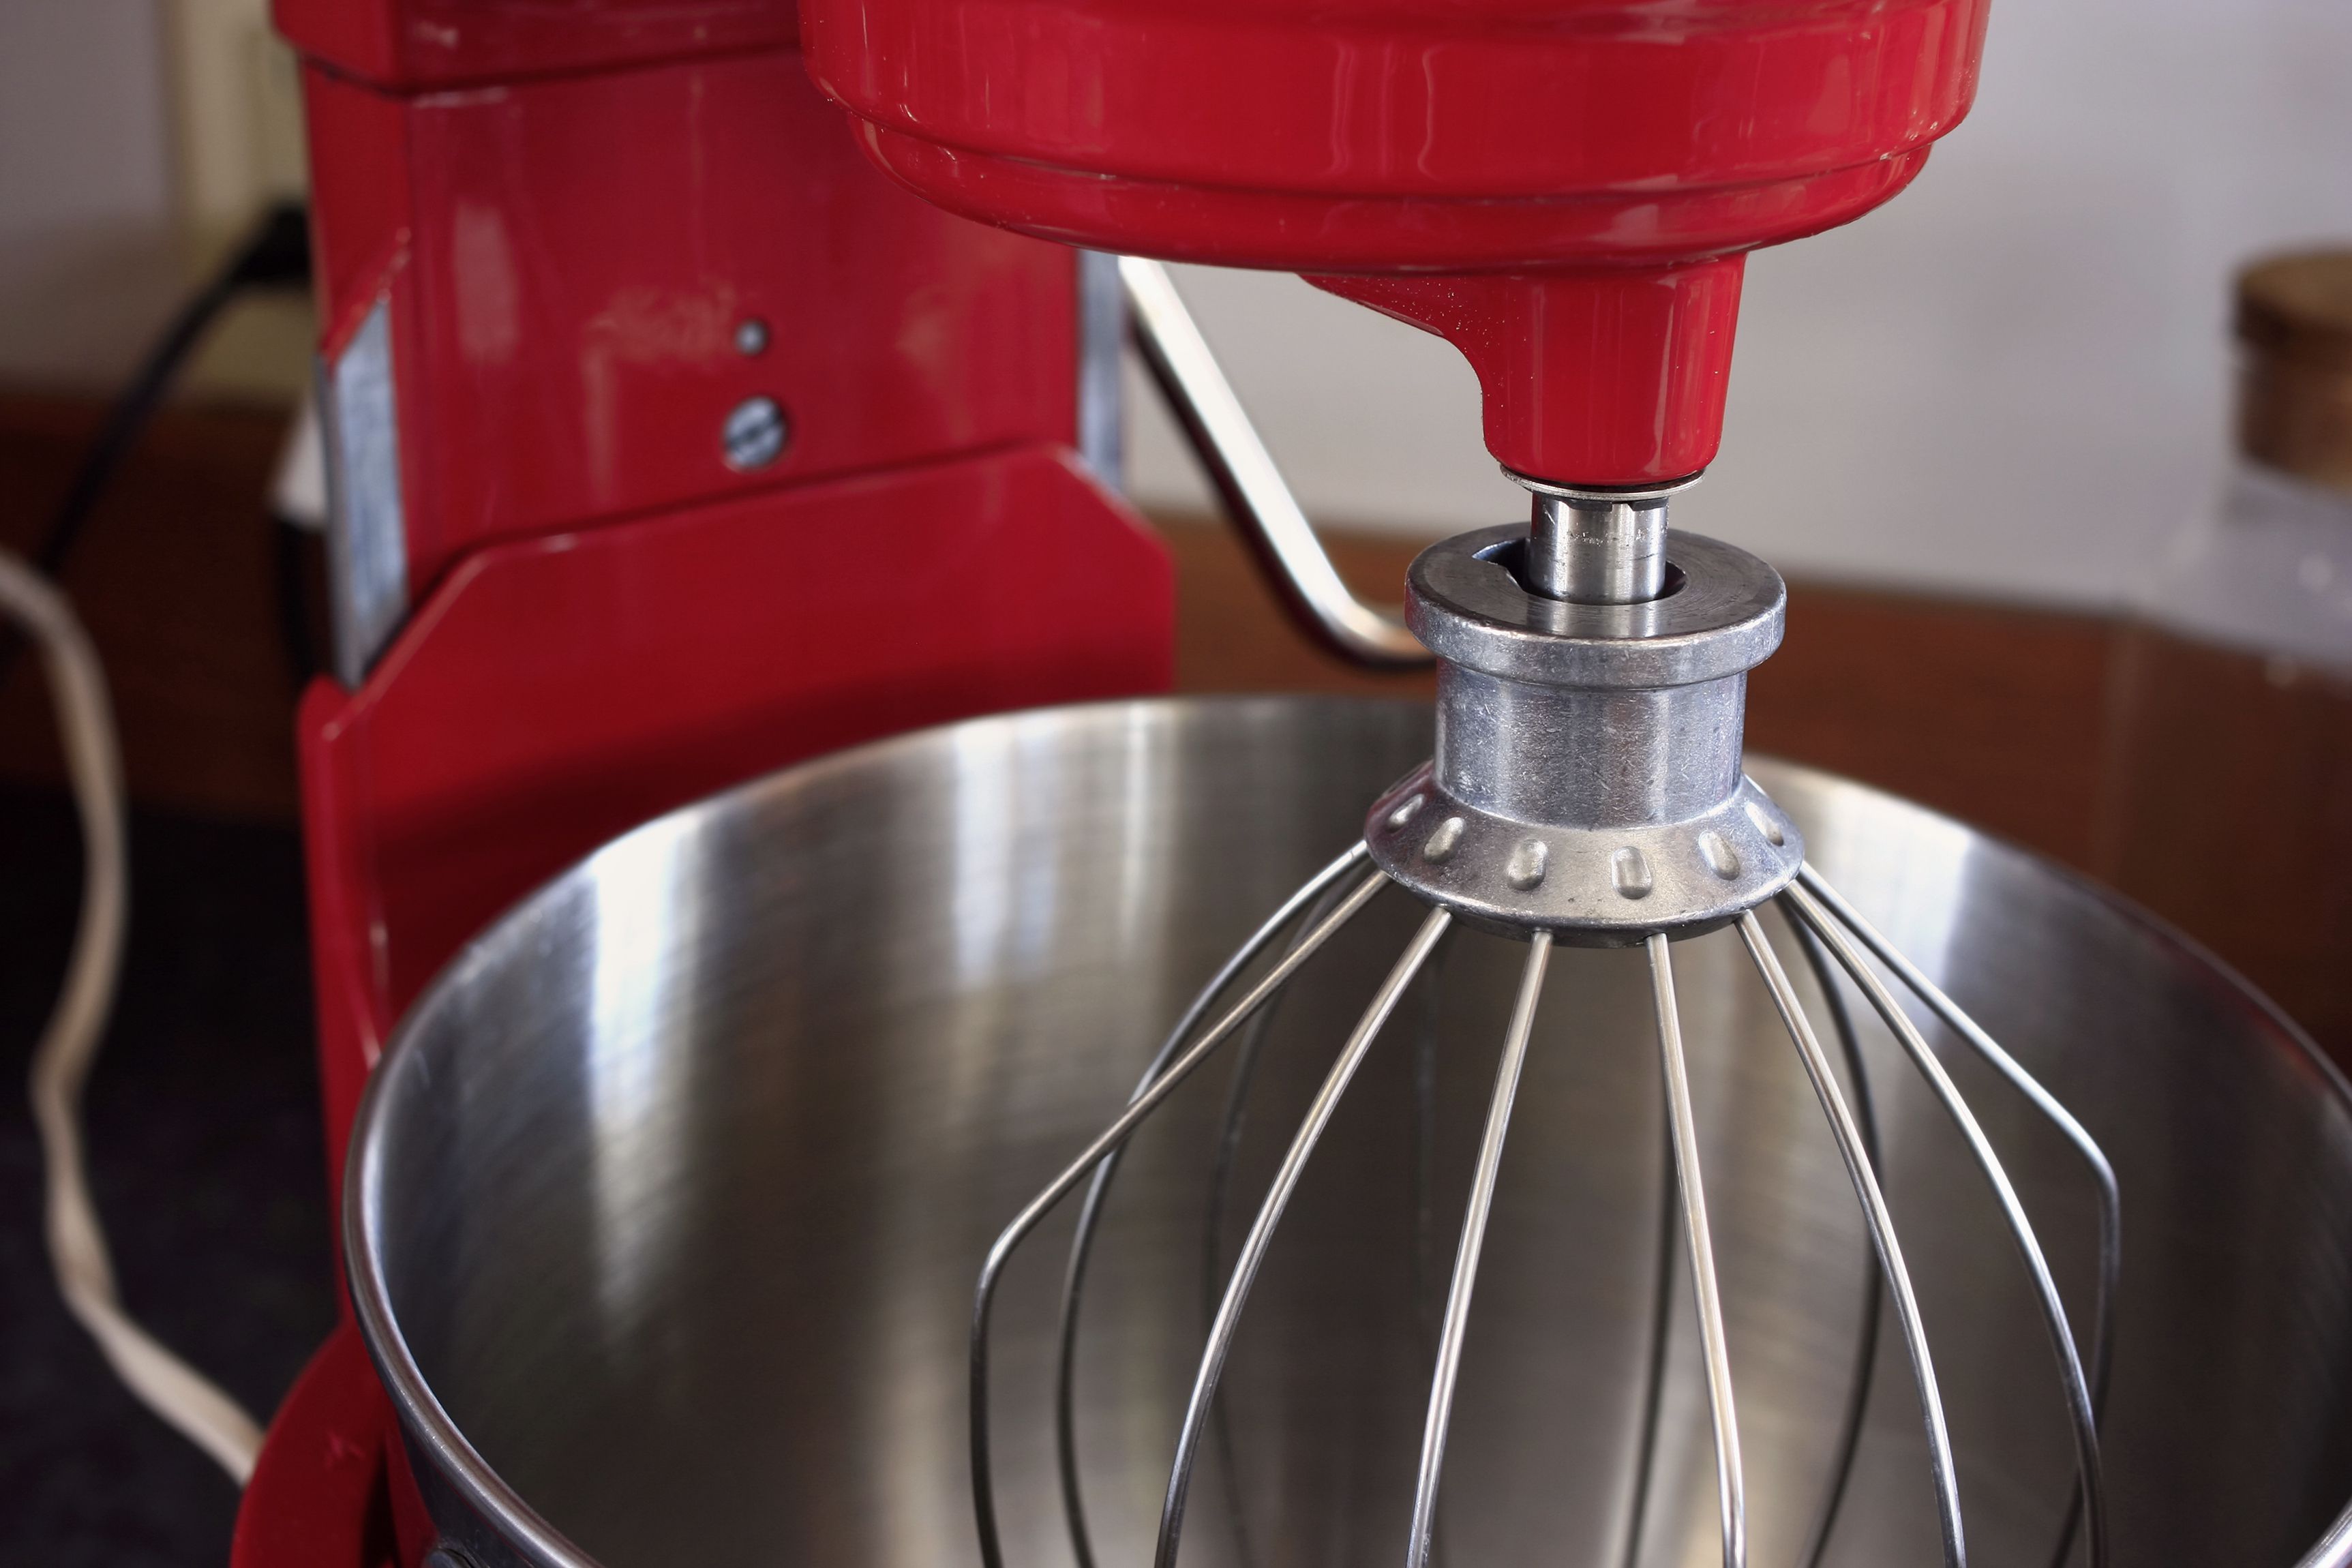
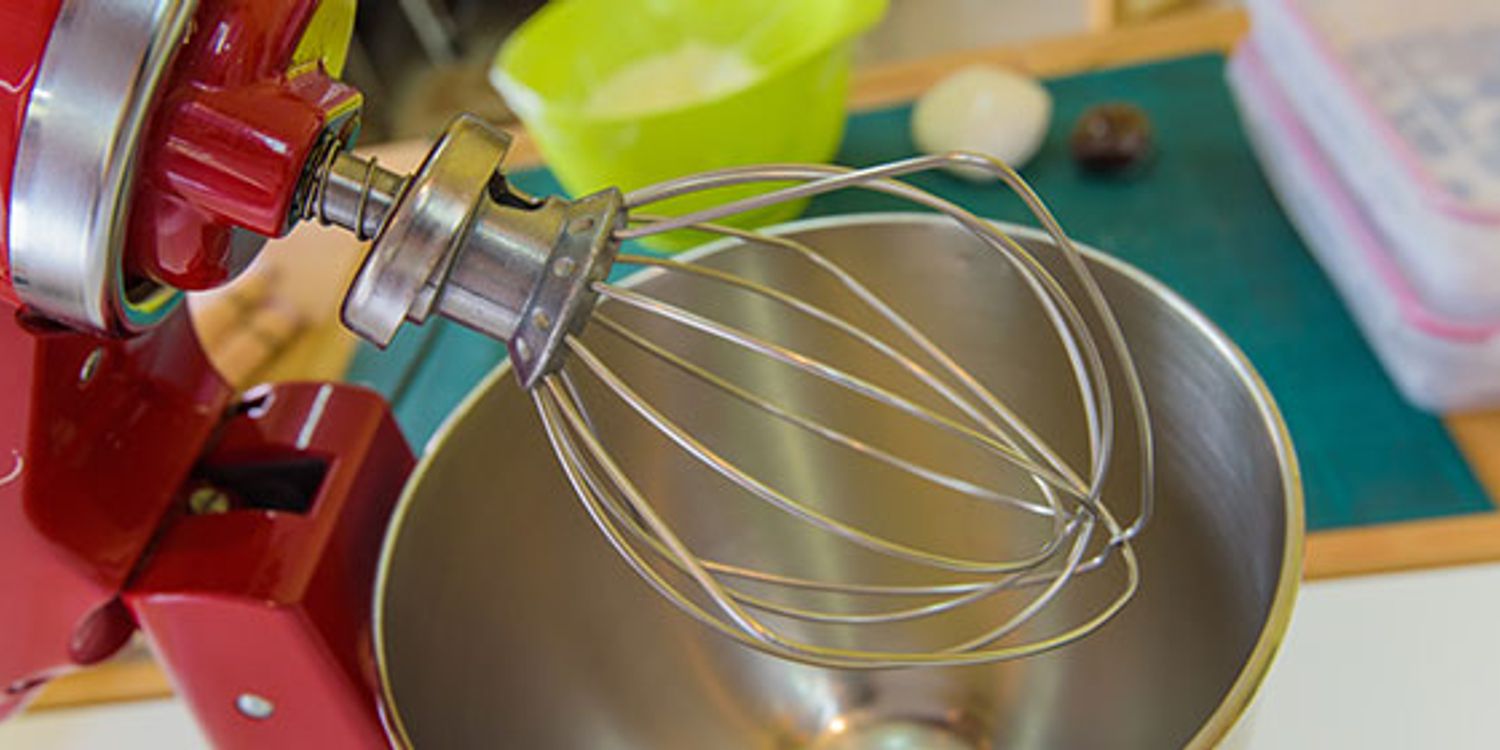
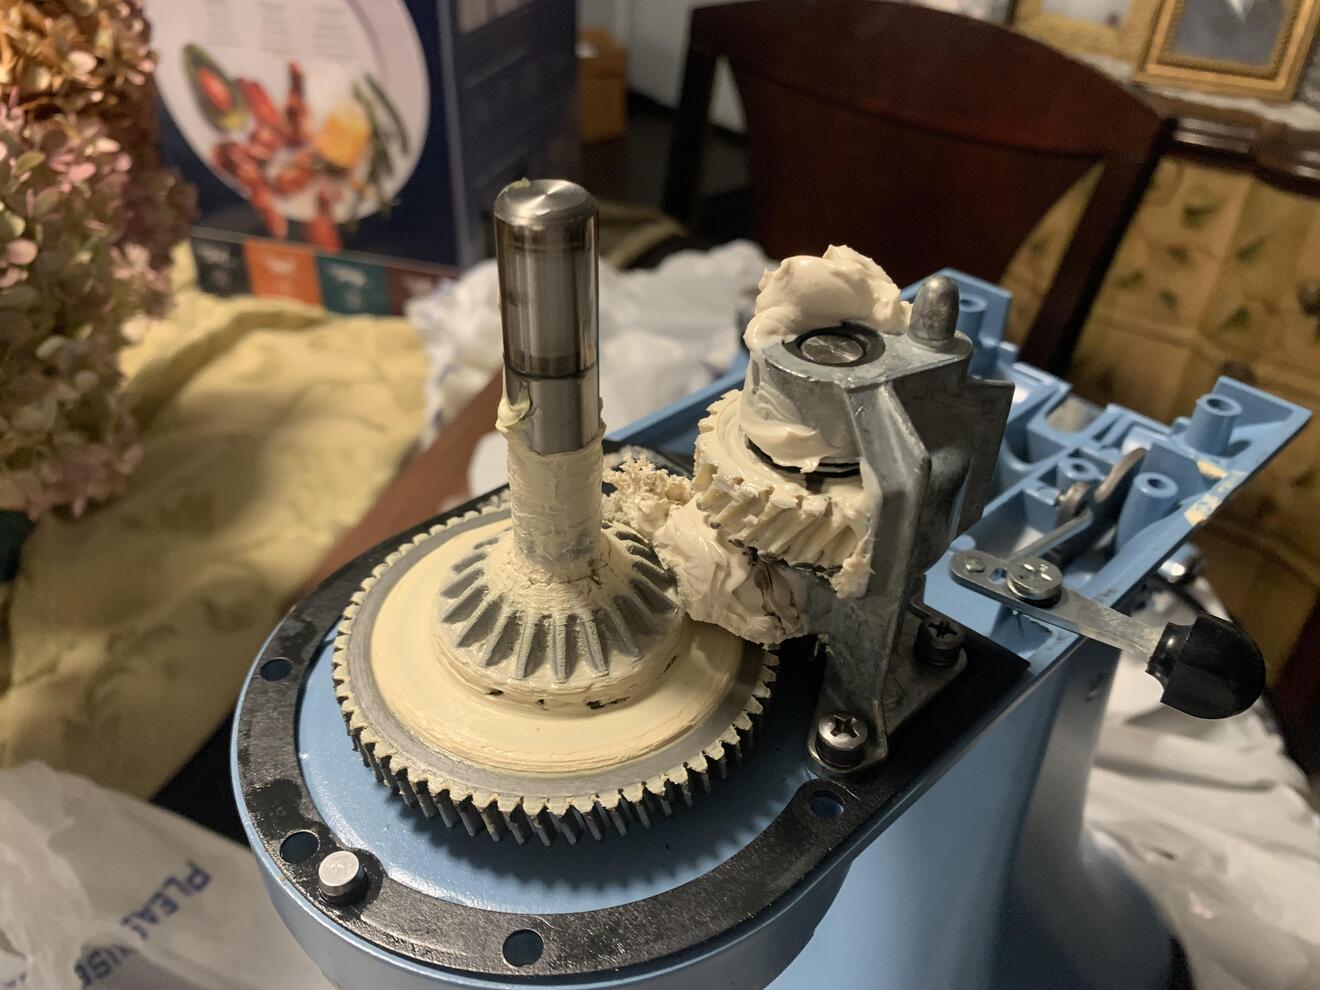
- Beater Height: The beater height refers to the distance between the bottom of the mixing bowl and the attachment. This adjustment ensures that the beater is properly positioned to reach and mix all the ingredients in the bowl. The beater height adjustment screw is located on the side of the mixer. By turning the screw clockwise, the beater height is increased, and by turning it counterclockwise, the beater height is decreased.
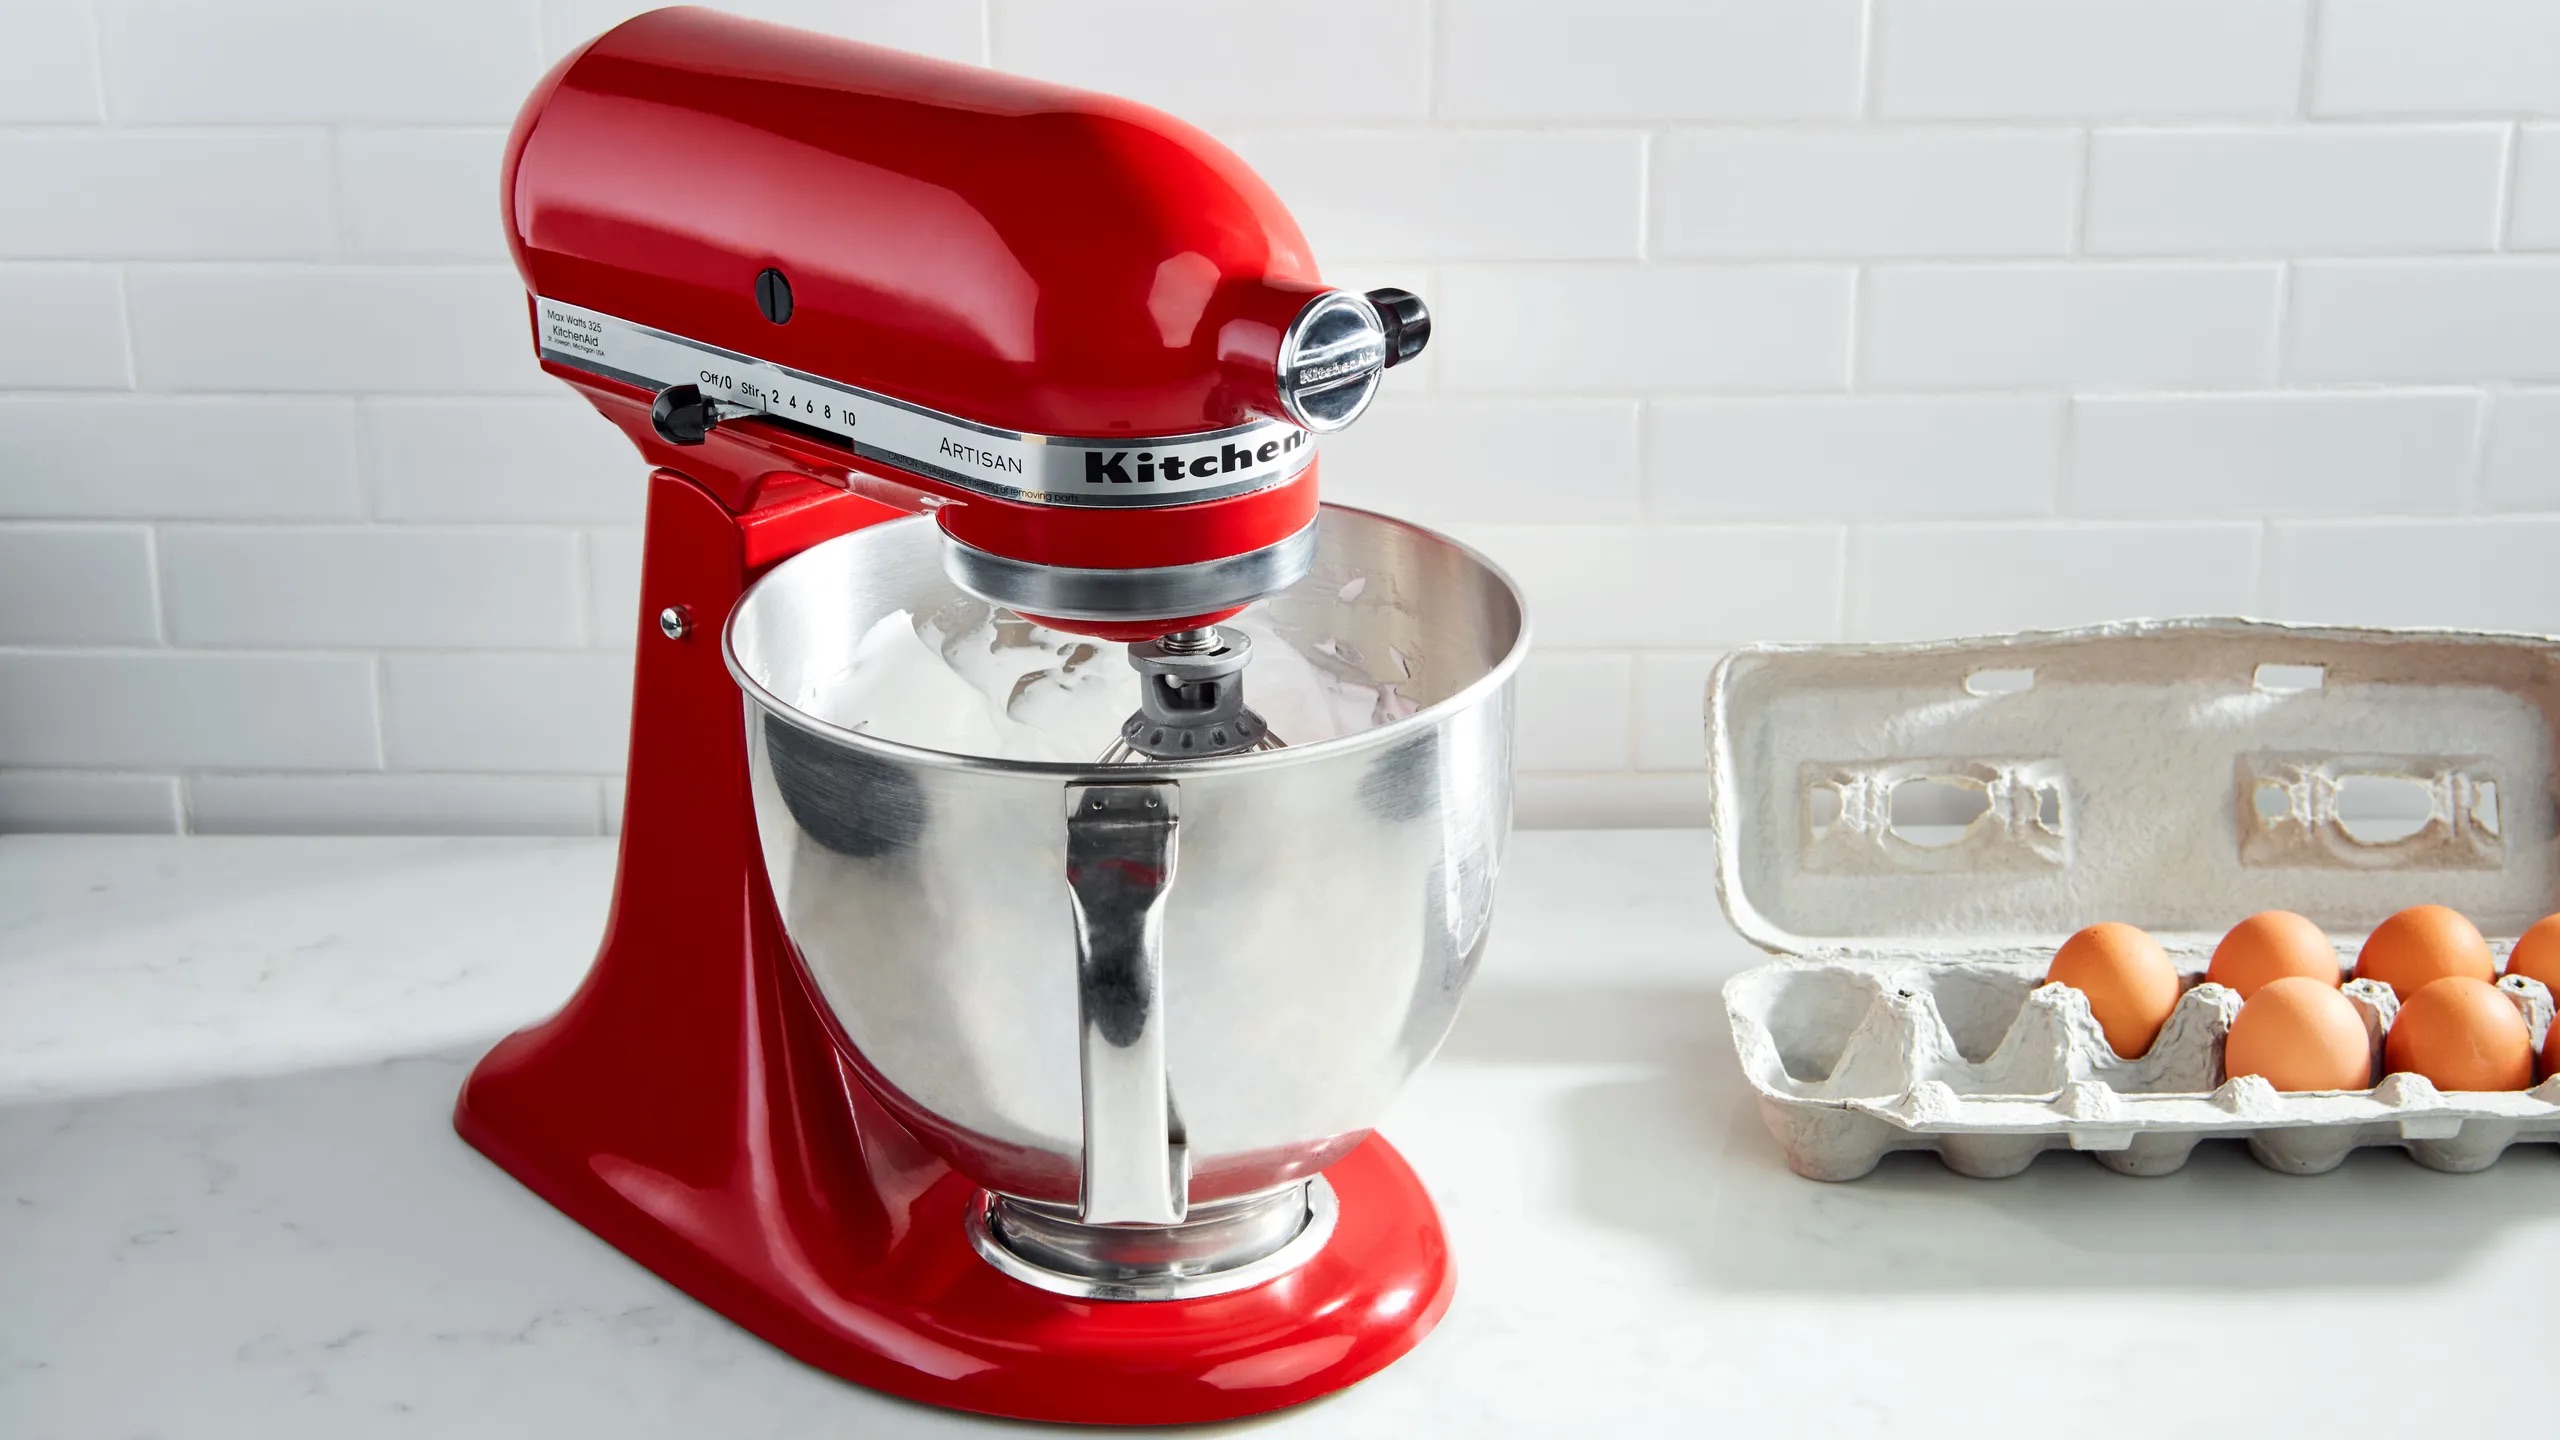
- Speed Control Lever: The speed control lever regulates the mixing speed of the Kitchenaid mixer. It allows you to adjust the speed from low to high, depending on the requirements of your recipe. The lever is usually located on the front of the mixer and can be easily moved up or down to adjust the speed.
- Bowl Height: The bowl height refers to the position of the mixing bowl in relation to the beater. It is important to ensure that the bowl is properly seated and securely aligned with the beater for effective mixing. The bowl height is adjusted using the bowl lift handle or the tilt-head mechanism, depending on the model of your Kitchenaid mixer.
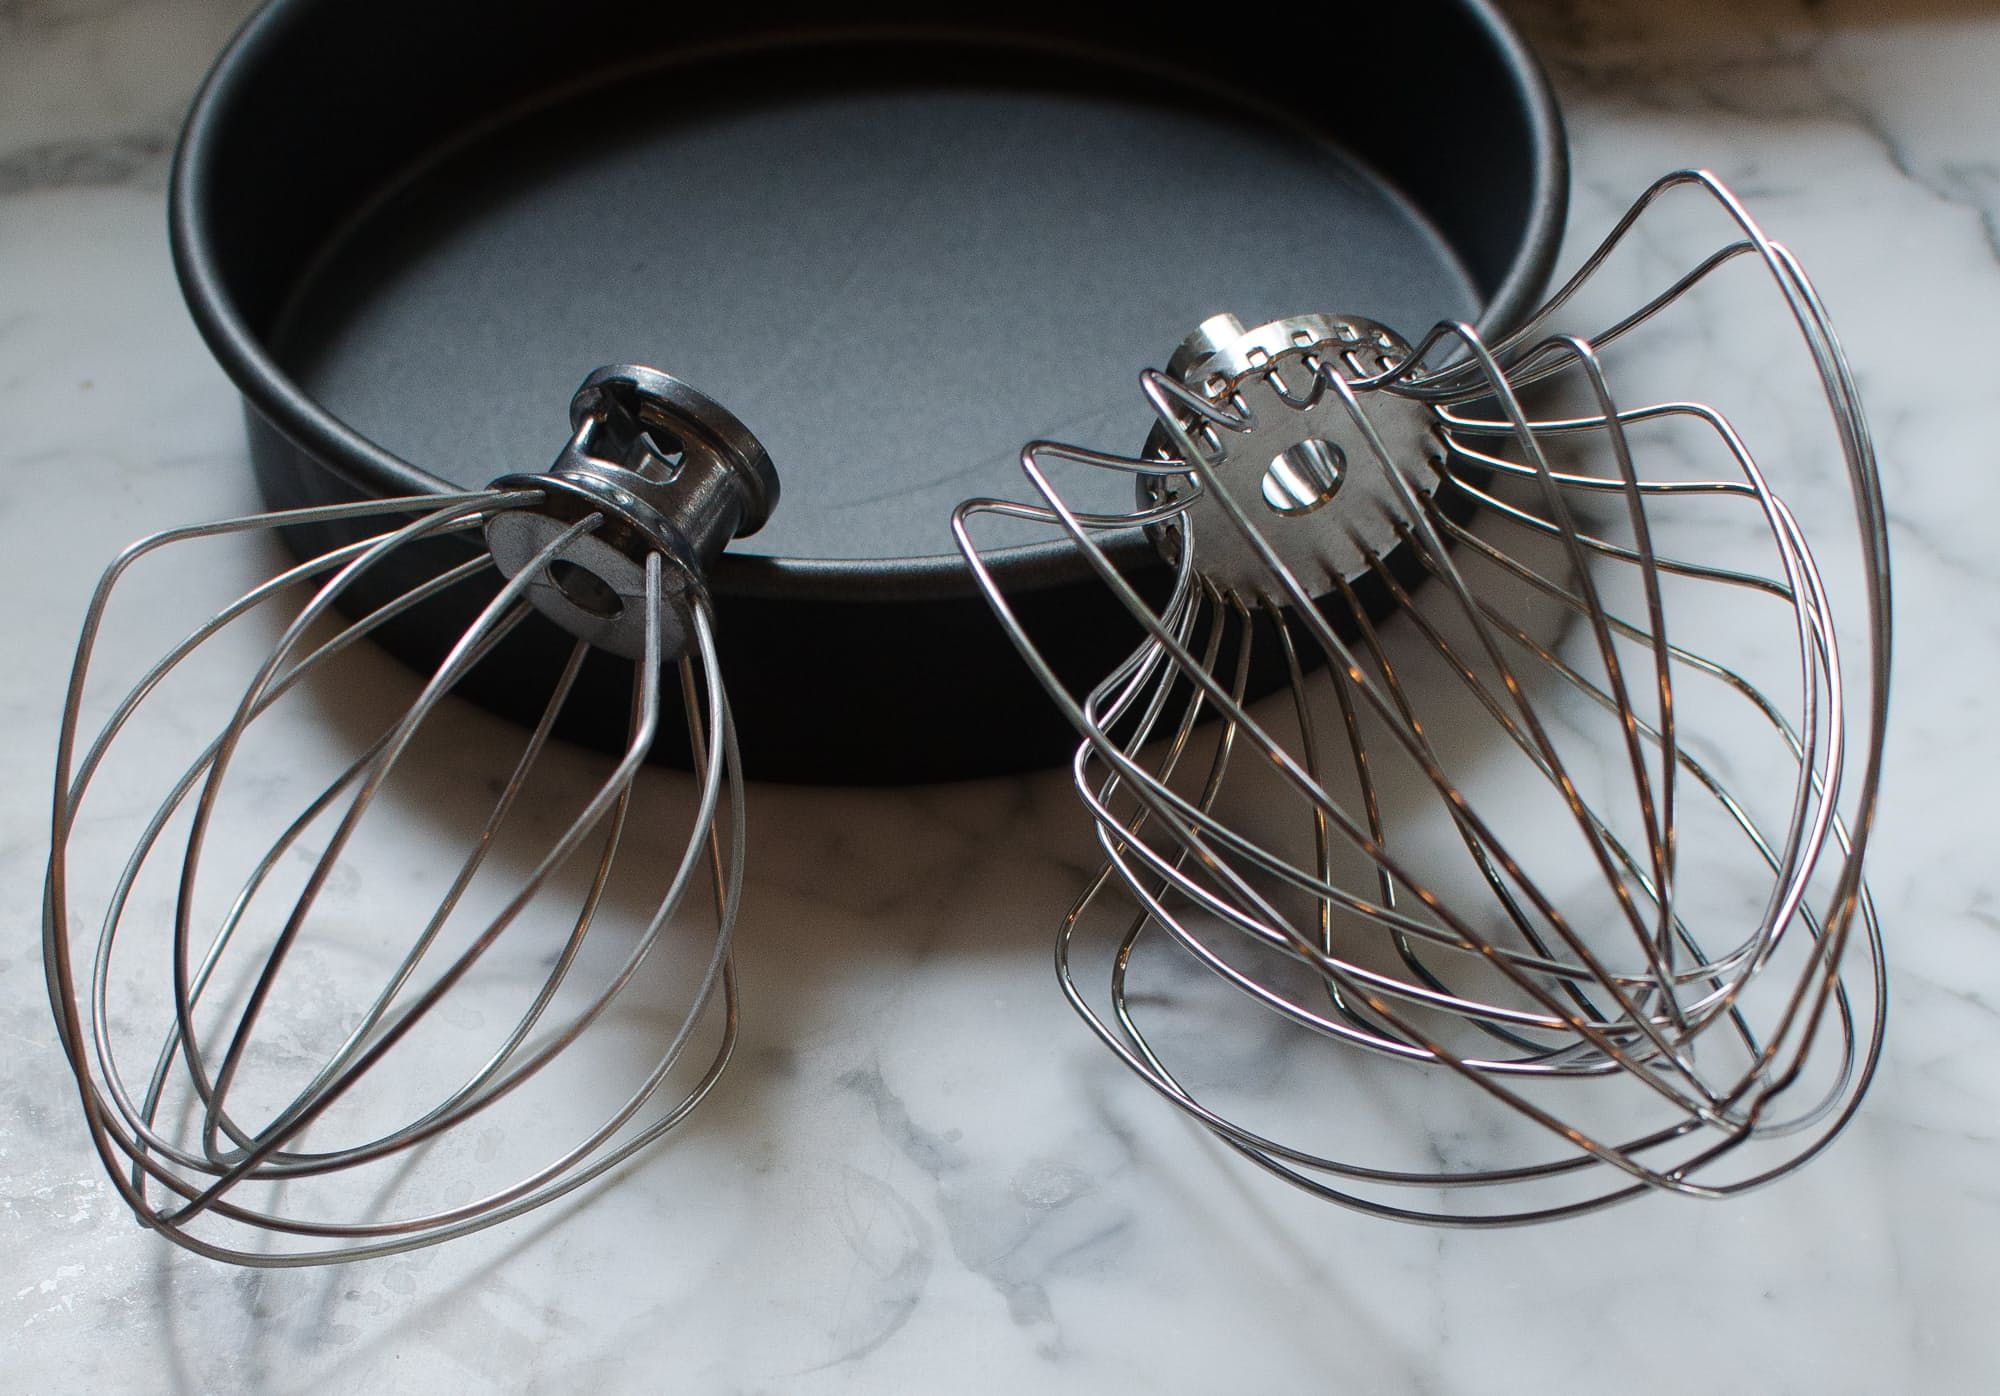
- Attachment Compatibility: The Kitchenaid mixer offers a wide range of attachments that can be used for various purposes such as slicing, shredding, grinding, and more. It is essential to ensure that the attachments are properly installed and securely locked into place before use. This ensures safe and efficient operation.
By familiarizing yourself with these adjustment components, you will be well-equipped to make the necessary adjustments and optimize the performance of your Kitchenaid mixer. In the next section, we will guide you through a step-by-step process for adjusting your mixer.
To adjust a KitchenAid mixer, turn the screw located behind the nameplate counterclockwise to raise the beater or clockwise to lower it. This will help you achieve the perfect mixing and blending consistency for your recipes.
Step-by-Step Guide to Adjusting a Kitchenaid Mixer
Adjusting your Kitchenaid mixer is a straightforward process that can be done with a few simple steps. By following this step-by-step guide, you will be able to fine-tune your mixer and ensure it is operating at its best. Let’s get started:
- Beater Height Adjustment: Begin by ensuring that your mixer is turned off and unplugged. Locate the beater height adjustment screw on the side of the mixer. Using a flat-head screwdriver, turn the screw clockwise to increase the beater height or counterclockwise to decrease it. Make small adjustments and test the height by placing a dime or a nickel at the bottom of the bowl. The beater should barely touch the coin without pushing it.
- Speed Control Lever Adjustment: With your mixer still turned off and unplugged, locate the speed control lever on the front of the mixer. Move the lever up or down to adjust the speed setting. Start on the lowest speed and gradually increase it as needed for your recipe. Ensure that the lever is securely in place and does not move during operation.
- Bowl Height Adjustment: The method of adjusting the bowl height depends on the model of your Kitchenaid mixer. If you have a bowl lift model, use the bowl lift handle to raise or lower the bowl to the desired height. If you have a tilt-head model, tilt the head back to expose the attachment hub. Adjust the bowl height by turning the screw located on the hinge of the head. Clockwise rotation raises the bowl, while counterclockwise rotation lowers it.
- Attachment Installation: If you plan to use a specific attachment, ensure that it is compatible with your Kitchenaid mixer model. Follow the manufacturer’s instructions to properly install and secure the attachment onto the attachment hub. Make sure it locks into place and does not wobble during use.
As you make these adjustments, it is important to test the performance of your mixer with each change. Start with small adjustments and observe how the mixer operates. You want to achieve the optimal settings where the beater reaches all areas of the bowl, the speed is appropriate for your recipe, and the bowl is properly aligned with the beater.
Remember to always unplug your mixer before making any adjustments or attaching/detaching any parts. This ensures your safety and prevents any accidental activation of the mixer.
By following this step-by-step guide, you can confidently adjust your Kitchenaid mixer to achieve ideal settings for your mixing needs. In the next section, we will address common issues that may arise during the adjustment process and provide troubleshooting tips.
Troubleshooting Common Issues with Adjusting the Kitchenaid Mixer
While adjusting your Kitchenaid mixer, you may encounter a few common issues that can hinder the performance of the mixer. However, with some troubleshooting, you can overcome these issues and ensure your mixer operates at its best. Let’s explore some common problems and their solutions:
- Bowl Movement: If you experience excessive movement or wobbling of the mixing bowl during operation, check that the bowl is properly seated and locked into place. Adjust the bowl height using the lift handle or the tilt-head mechanism to ensure a secure fit. Additionally, verify that the bowl lock is engaged.
- Bowl-Beater Clearance: If the beater is hitting the bottom of the bowl or not reaching all areas of the bowl, adjust the beater height. Use the beater height adjustment screw to raise or lower the beater until it properly reaches the ingredients without touching the bowl. Remember to make small, gradual adjustments for precise tuning.
- Poor Mixing Results: If your mixer is not mixing ingredients adequately or the result is lumpy and uneven, ensure you’re using the appropriate mixing speed for your recipe. Adjust the speed control lever to a higher setting if the mixture is not blending well. Also, check that you’re using the correct beater attachment for the specific task, as different attachments provide different mixing results.
- Attachment Issues: If you encounter difficulties attaching or releasing accessories, make sure you’re following the correct procedure outlined in the user manual. Ensure that the attachment is compatible with your specific Kitchenaid mixer model. If the attachment still doesn’t properly fit or lock into place, contact Kitchenaid customer support for assistance.
- Strange Noises: Unusual noises during operation may indicate an issue with the motor or other internal components. If you hear grinding, squeaking, or other abnormal sounds, immediately turn off and unplug the mixer. Contact Kitchenaid customer support for guidance and avoid further use until the issue is resolved.
It’s important to note that if you encounter persistent issues that you’re unable to resolve on your own, it’s recommended to consult the Kitchenaid customer support team or seek professional assistance. They can provide specific guidance tailored to your mixer model and address any underlying mechanical problems.
By troubleshooting common issues and taking appropriate corrective actions, you can ensure that your Kitchenaid mixer operates smoothly and delivers exceptional results. Now, let’s wrap up the article with some final thoughts.
Read more: What Can I Do With A Kitchenaid Mixer
Conclusion
Congratulations! You have successfully adjusted your Kitchenaid mixer and gained a deeper understanding of its components and functionalities. By following the step-by-step guide and troubleshooting common issues, you can now optimize the performance of your mixer and achieve outstanding culinary results.
Remember, the key components involved in adjusting your Kitchenaid mixer are the beater height, speed control lever, bowl height, and attachment compatibility. By making precise adjustments to these components, you can ensure that your mixer is perfectly tailored to your mixing needs.
Throughout the adjustment process, it is essential to prioritize safety. Always unplug the mixer before making any adjustments or attaching/detaching any parts. This will prevent any accidental activation and ensure your well-being.
If you encounter any difficulties or persistent problems during the adjustment process, do not hesitate to reach out to Kitchenaid customer support. They are equipped with the knowledge and expertise to provide guidance and assistance specific to your mixer model.
By properly adjusting and maintaining your Kitchenaid mixer, you can continue to create culinary delights with confidence and efficiency. Enjoy the versatility and convenience that this extraordinary appliance brings to your kitchen.
Thank you for taking the time to learn how to adjust your Kitchenaid mixer. Happy mixing and happy cooking!
Frequently Asked Questions about How Do You Adjust A Kitchenaid Mixer
Was this page helpful?
At Storables.com, we guarantee accurate and reliable information. Our content, validated by Expert Board Contributors, is crafted following stringent Editorial Policies. We're committed to providing you with well-researched, expert-backed insights for all your informational needs.


0 thoughts on “How Do You Adjust A Kitchenaid Mixer”