Home>Technology>Security & Surveillance>How To Fix Milgard Sliding Door Lock
Security & Surveillance
How To Fix Milgard Sliding Door Lock
Modified: October 20, 2024
Learn how to enhance the security of your Milgard sliding door with our expert tips and solutions. Protect your home with our security and surveillance recommendations.
(Many of the links in this article redirect to a specific reviewed product. Your purchase of these products through affiliate links helps to generate commission for Storables.com, at no extra cost. Learn more)
Introduction
Welcome to the ultimate guide on fixing the Milgard sliding door lock! If you've encountered issues with your Milgard sliding door lock, you're in the right place. A malfunctioning lock can be frustrating and compromise the security of your home or office. However, fear not, as we're about to embark on a step-by-step journey to troubleshoot and resolve this common problem.
Milgard sliding doors are renowned for their durability and smooth operation, but over time, the lock mechanism may encounter issues due to wear and tear, dirt accumulation, or lack of proper maintenance. The good news is that many lock-related problems can be rectified without the need for professional assistance, saving you time and money.
In this comprehensive guide, we'll delve into the intricacies of the Milgard sliding door lock, providing you with the knowledge and skills to diagnose and address a range of lock-related issues. Whether your lock is sticking, jammed, or simply not functioning as it should, we'll walk you through the troubleshooting process, from removing the lock to inspecting, cleaning, lubricating, and if necessary, replacing it.
By the end of this guide, you'll feel empowered to tackle the task with confidence, knowing that a smooth-sliding and secure door is within your reach. So, gather your tools, roll up your sleeves, and let's restore the functionality of your Milgard sliding door lock together!
Key Takeaways:
- Regular maintenance and simple troubleshooting steps can restore the functionality of a Milgard sliding door lock, ensuring smooth operation and enhancing home security without the need for professional assistance.
- By understanding the components and following step-by-step instructions, anyone can confidently inspect, clean, lubricate, and even replace a malfunctioning Milgard sliding door lock, saving time and money.
Read more: How To Fix Lock On Sliding Door
Understanding the Milgard Sliding Door Lock
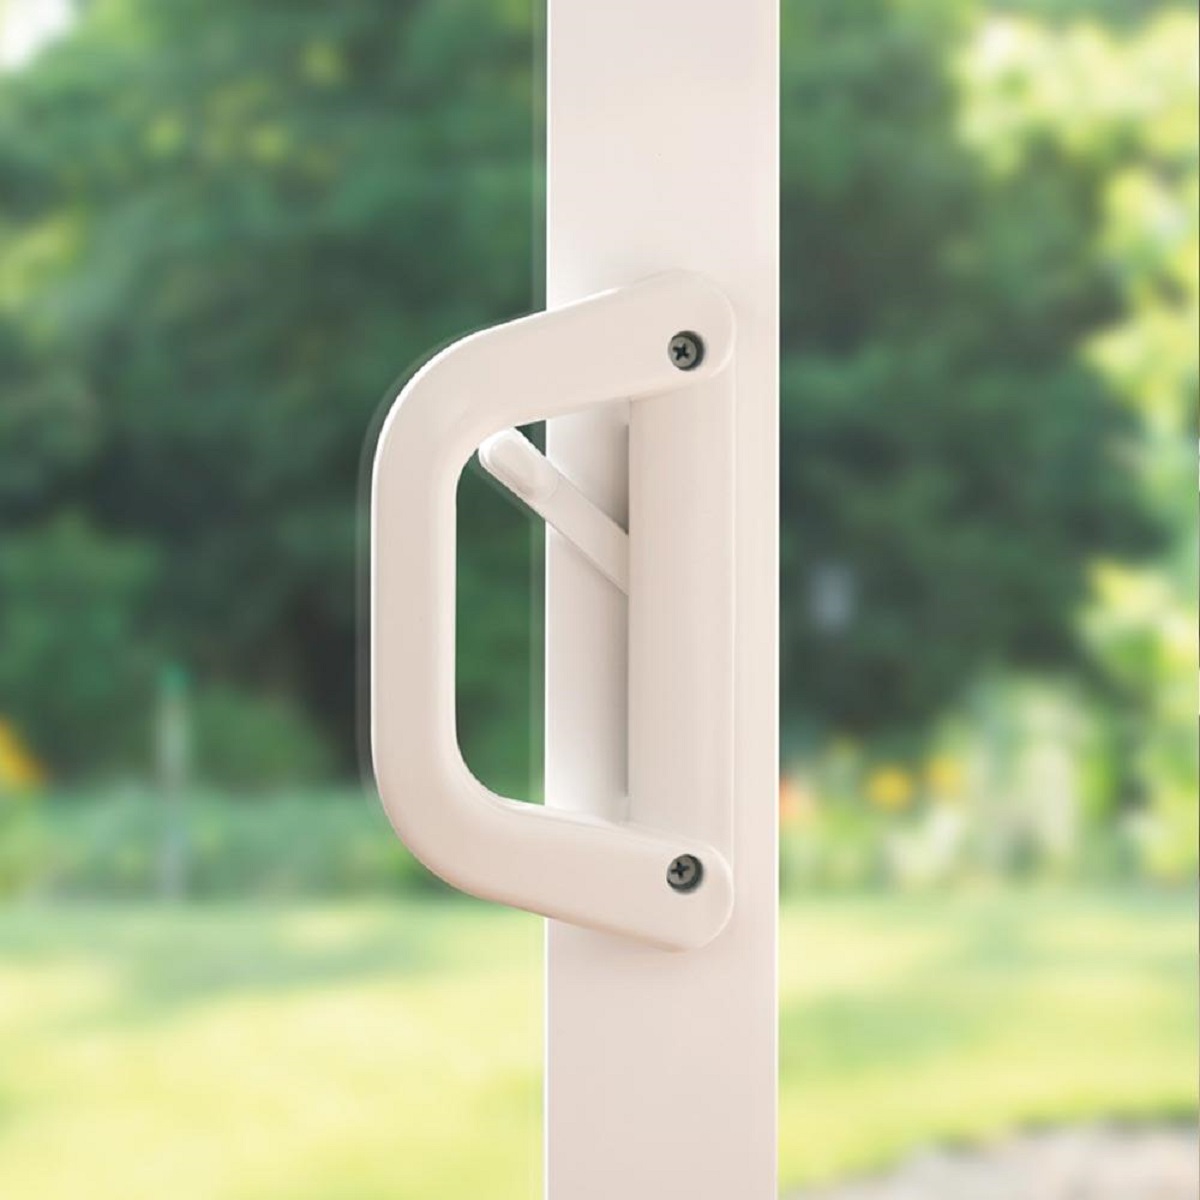
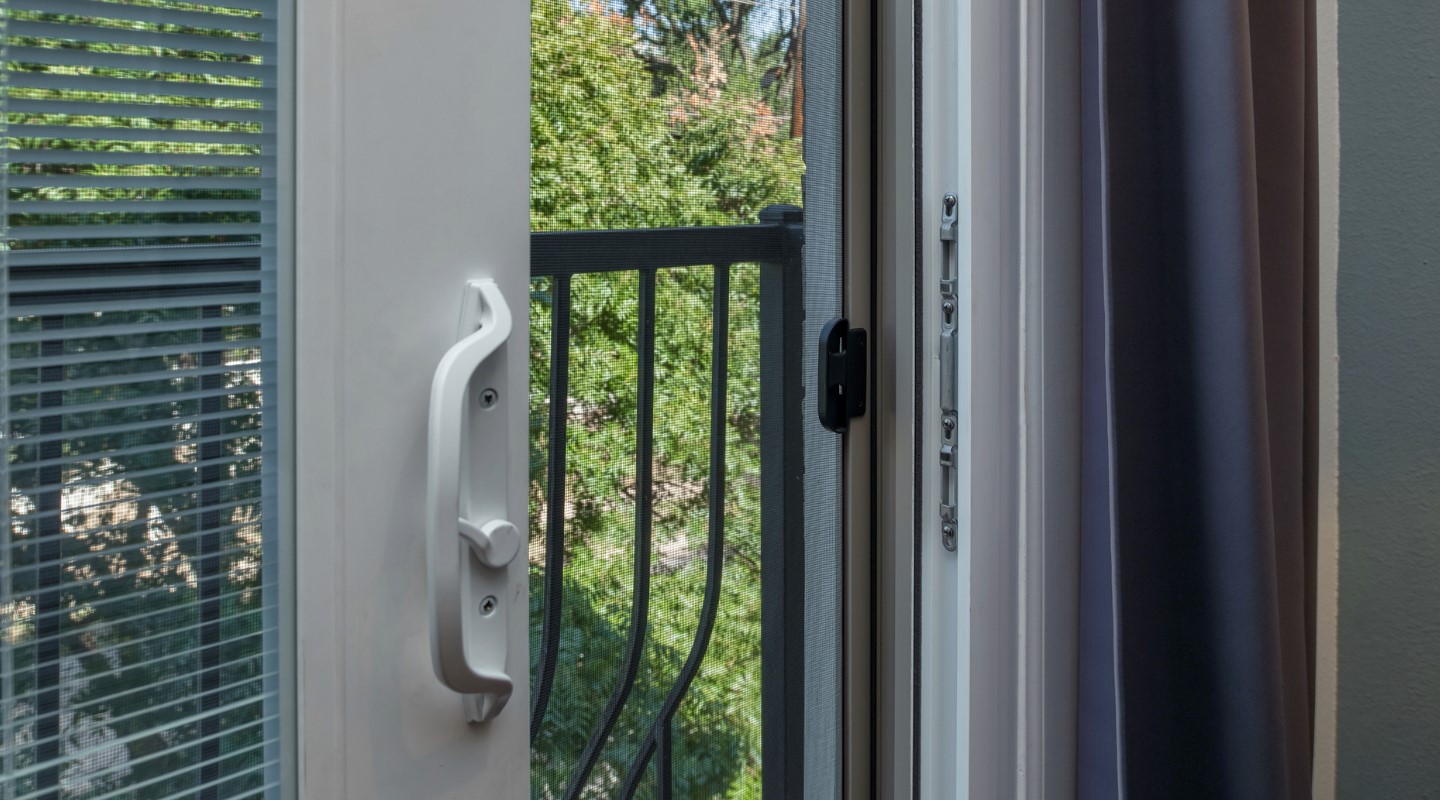
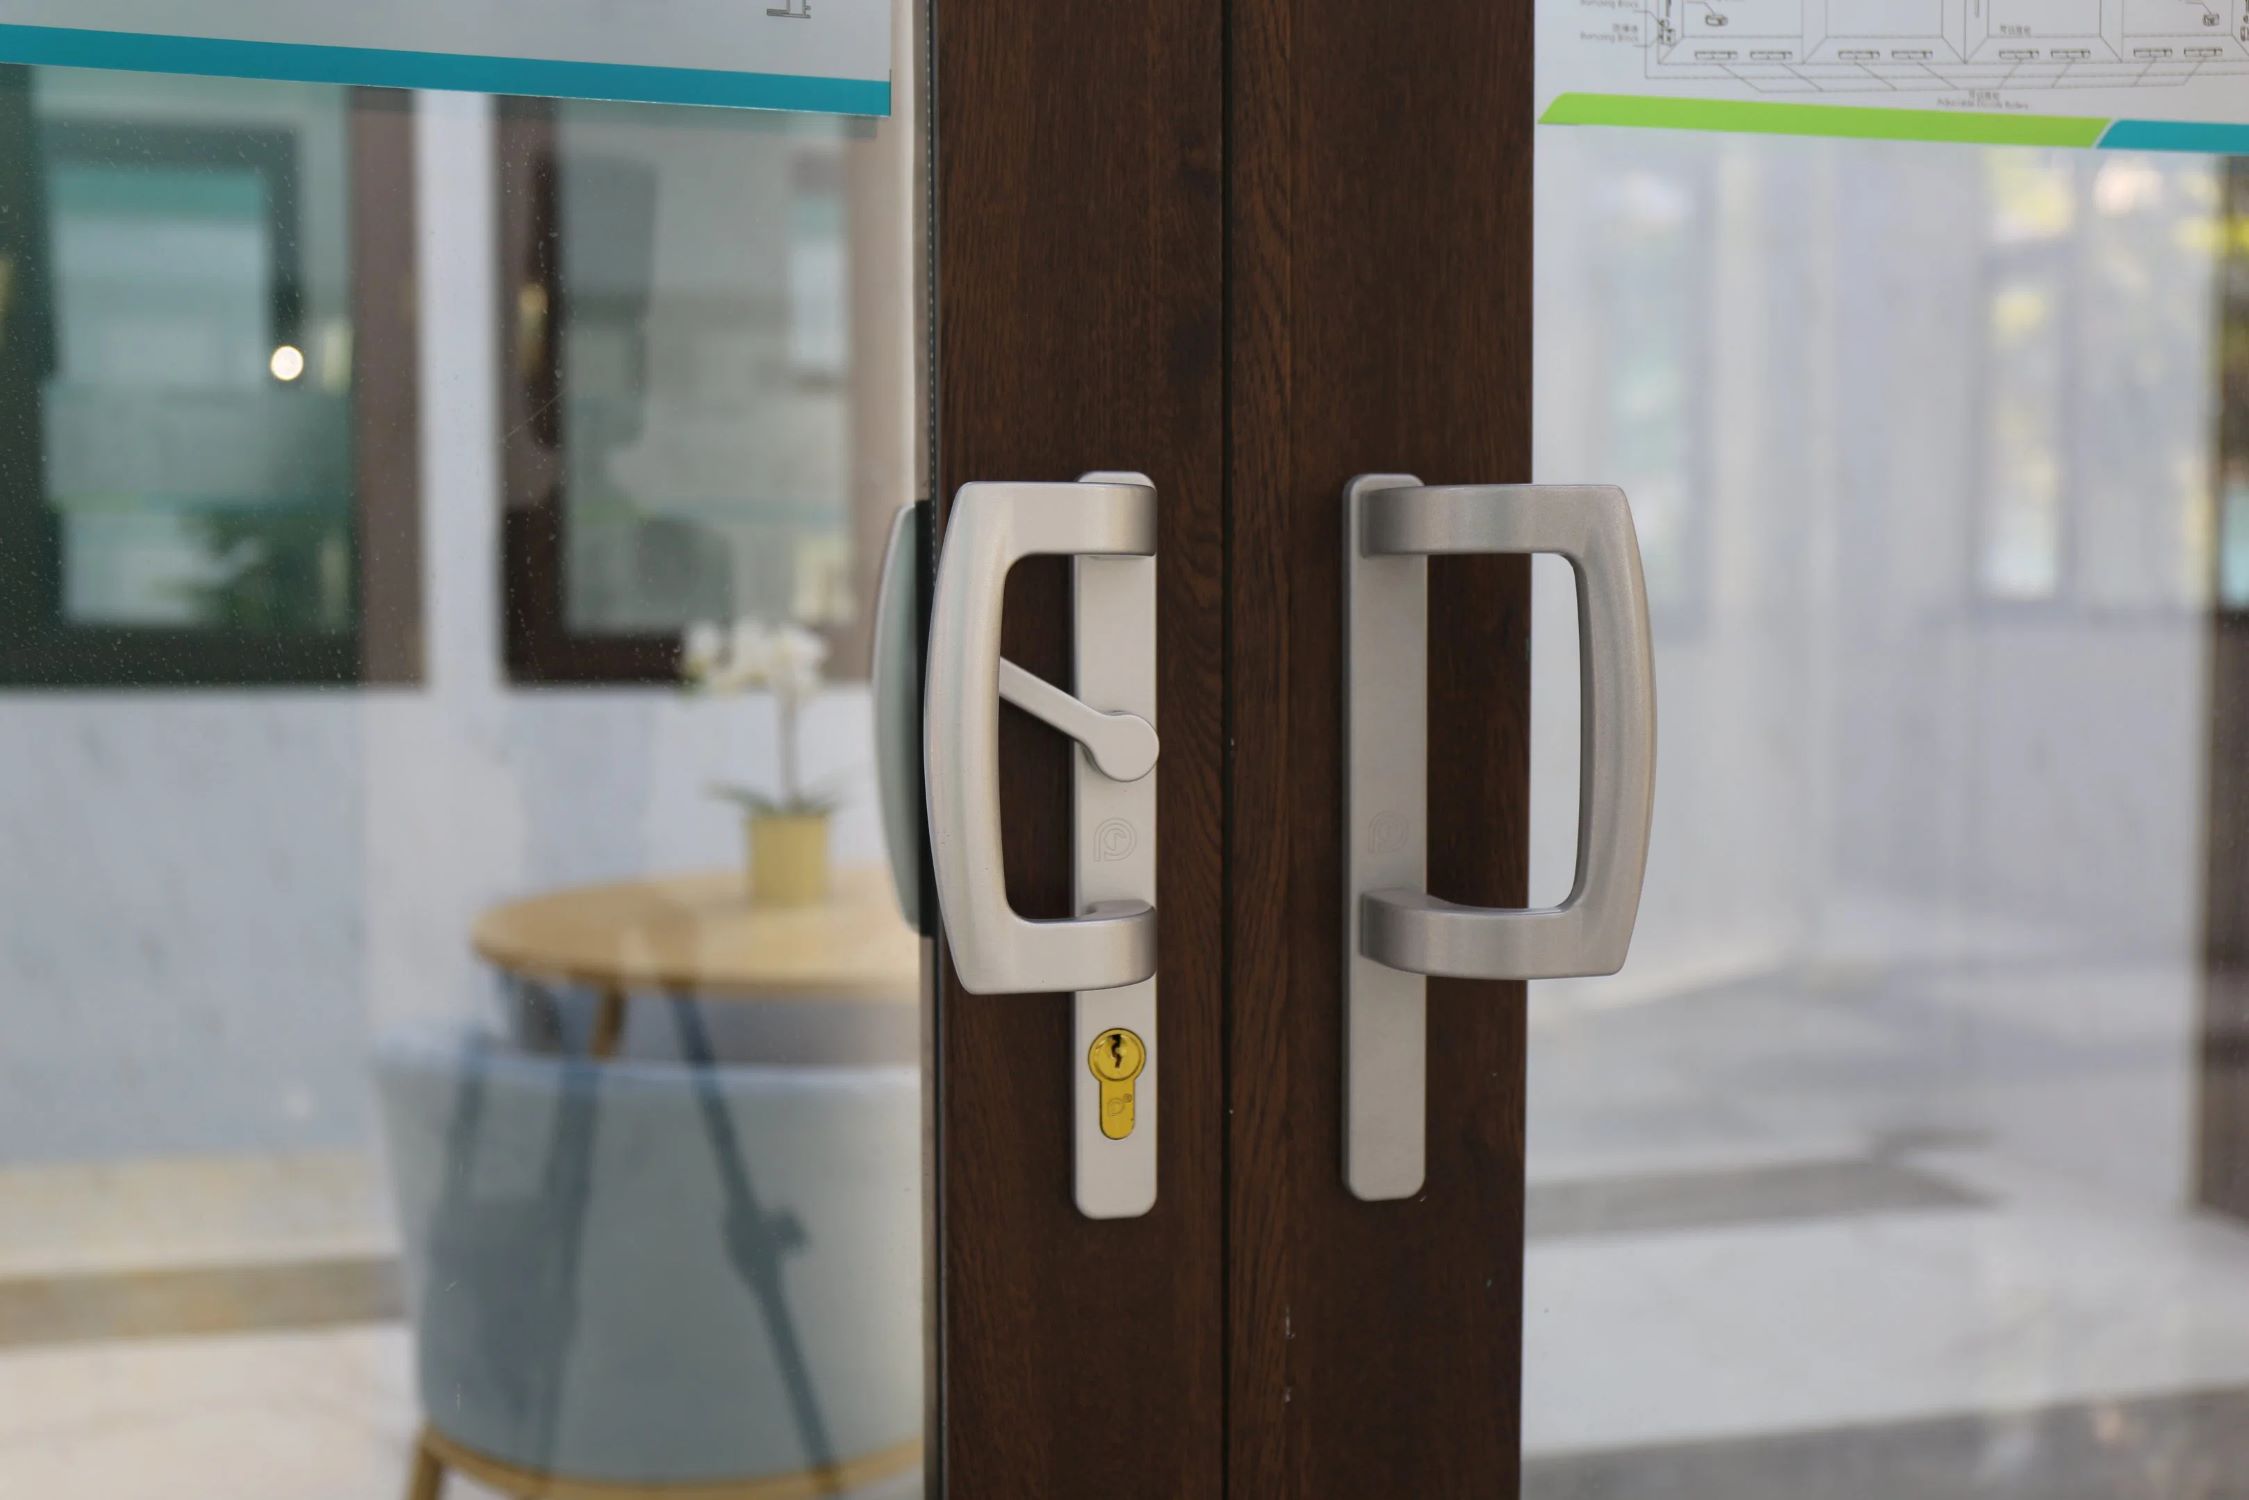
Before diving into the troubleshooting process, it's essential to have a solid understanding of the Milgard sliding door lock and its components. Milgard sliding door locks are designed to provide security and ease of use, featuring a robust mechanism that ensures the door stays securely closed while allowing for smooth operation when unlocking and opening.
The primary components of the Milgard sliding door lock include the lock mechanism itself, the strike plate, and the handle or thumb turn. The lock mechanism consists of internal levers or bolts that, when engaged, secure the door in place. The strike plate is the metal plate affixed to the door frame into which the lock bolt latches, ensuring a firm and stable closure. The handle or thumb turn is the user-operated component that controls the locking and unlocking of the door.
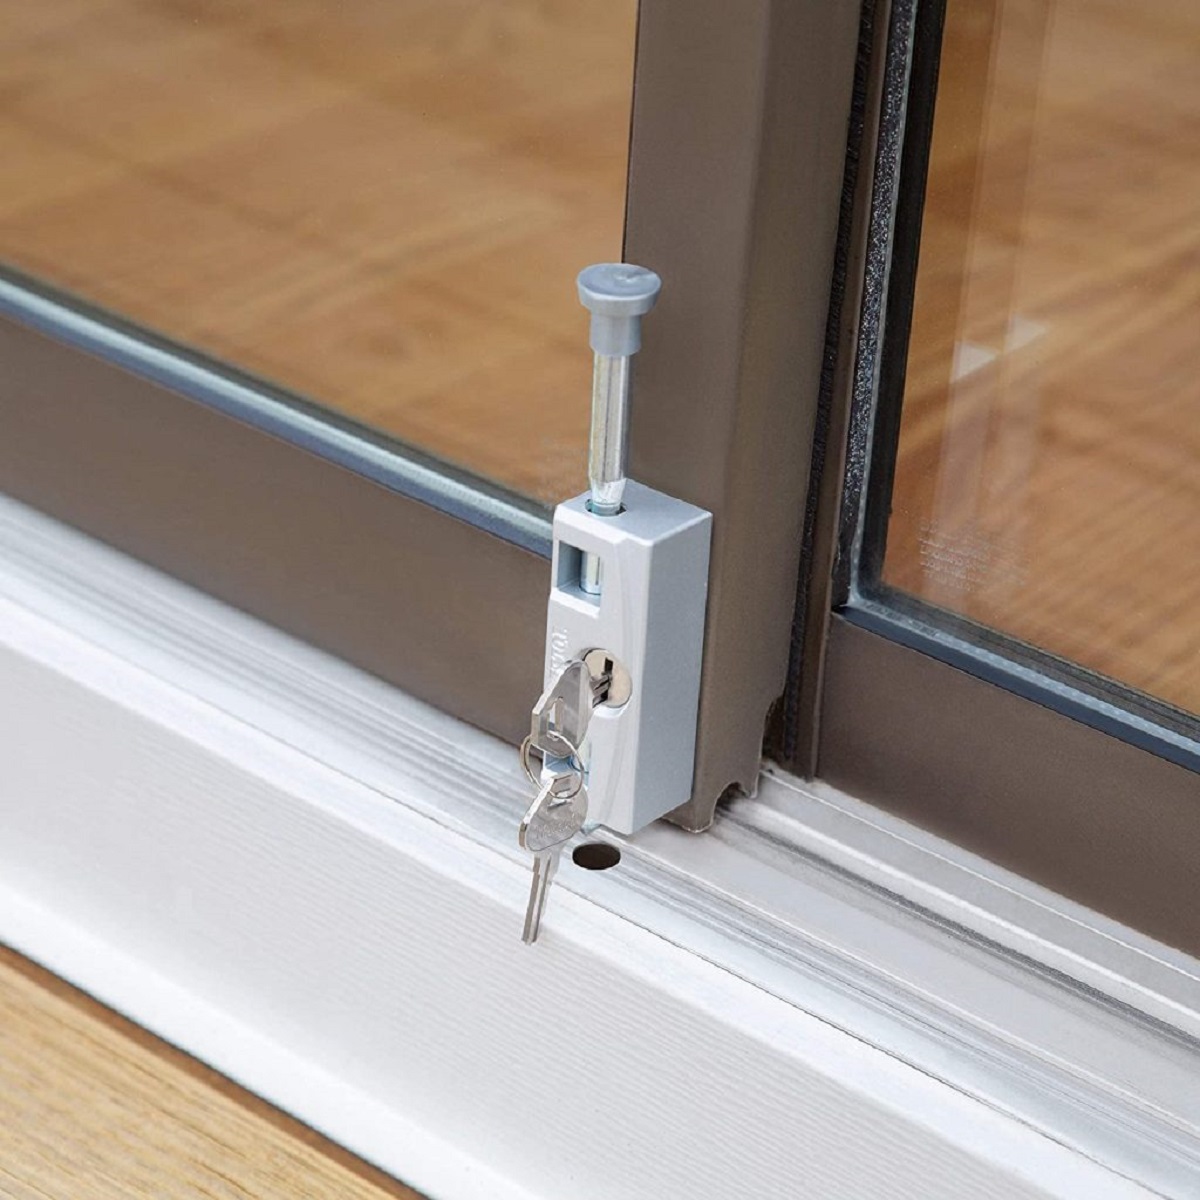
One common type of lock found in Milgard sliding doors is the hook-style lock, which features a hook-shaped bolt that extends from the lock mechanism and latches onto the strike plate when the door is closed and locked. Understanding the specific type of lock on your Milgard sliding door is crucial for troubleshooting and maintenance purposes.
It’s important to note that over time, the lock mechanism may accumulate dirt, dust, or debris, leading to operational issues such as sticking, difficulty turning the thumb turn, or failure to fully engage the lock. Additionally, the lock may experience wear and tear, potentially resulting in diminished performance.
By familiarizing yourself with the inner workings of the Milgard sliding door lock, you’ll be better equipped to identify potential issues and take the necessary steps to address them. With this knowledge as our foundation, we’re ready to delve into the troubleshooting process and restore your Milgard sliding door lock to optimal functionality.
Tools and Materials Needed
Before embarking on the journey to fix your Milgard sliding door lock, it’s essential to ensure that you have the necessary tools and materials at your disposal. Having the right equipment will streamline the troubleshooting process and enable you to address the lock-related issues effectively. Here’s a comprehensive list of the tools and materials you’ll need:
- Screwdriver Set: A set of screwdrivers, including flathead and Phillips head varieties, will be indispensable for removing screws and accessing the lock mechanism.
- Lubricant: A high-quality silicone-based or graphite lubricant is essential for lubricating the moving parts of the lock mechanism, ensuring smooth operation.
- Clean Cloth: A clean, lint-free cloth will be used for wiping down and cleaning the lock components, removing any dirt, grime, or old lubricant.
- Replacement Lock (if necessary): In the event that the lock is damaged beyond repair, having a replacement lock on hand will expedite the fixing process.
- Allen Wrench: Some Milgard sliding door locks may feature set screws that require an Allen wrench for adjustment or removal.
- Utility Knife: A utility knife may be needed for tasks such as removing old sealant or adhesive residue around the lock area.
- Replacement Screws: If the existing screws are worn or damaged, having a few replacement screws of the appropriate size can be beneficial.
- Safety Glasses: Safety glasses are crucial for eye protection, especially when working with tools or handling small components.
- Gloves: Wearing gloves will protect your hands during the troubleshooting process, particularly when handling sharp or dirty components.
By ensuring that you have these tools and materials on hand, you’ll be well-prepared to tackle the task of fixing your Milgard sliding door lock. With everything in place, you’ll be able to proceed with confidence, knowing that you have the necessary resources to troubleshoot, clean, lubricate, and potentially replace the lock, restoring it to its optimal functionality.
Step 1: Removing the Sliding Door Lock
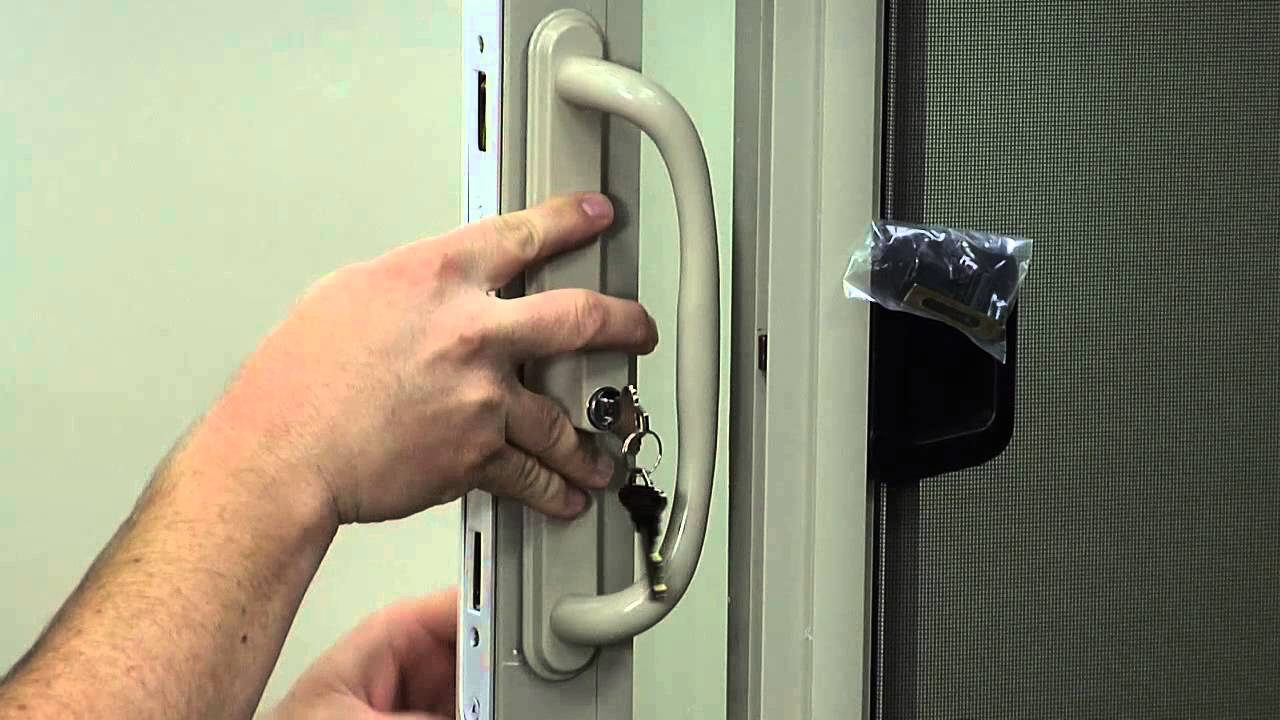
Before delving into the intricate details of the lock mechanism, the first step in troubleshooting your Milgard sliding door lock is to remove the existing lock assembly. This process will grant you access to the internal components, allowing for a thorough inspection and potential maintenance or replacement. Here’s a systematic guide to removing the sliding door lock:
- Gather Your Tools: Ensure that you have the necessary tools and materials, including a screwdriver set, lubricant, clean cloth, and any other items specific to your lock type.
- Close and Secure the Door: Before beginning the removal process, ensure that the sliding door is securely closed and in the locked position. This will prevent the door from moving or shifting as you work on the lock.
- Locate the Screws: Examine the lock assembly to identify the screws securing it in place. Depending on the specific lock model, there may be screws on the interior and/or exterior sides of the door.
- Remove the Screws: Using the appropriate screwdriver, carefully remove the screws from the lock assembly. Keep the screws in a safe place, as you may need them for reinstallation or as a reference for replacement screws.
- Extract the Lock Assembly: Once the screws are removed, gently extract the lock assembly from the door. Take care to support the assembly as you detach it, ensuring that it doesn’t fall or cause damage to the door or surrounding area.
- Set Aside the Lock Assembly: Place the removed lock assembly on a clean, stable surface. This will provide a clear workspace for the subsequent steps, such as inspection, cleaning, and potential lubrication or replacement.
By following these steps, you’ll successfully remove the sliding door lock, setting the stage for a comprehensive assessment of the lock mechanism and related components. With the lock assembly in hand, you’ll be ready to proceed to the next phase of troubleshooting, where you’ll have the opportunity to address any underlying issues and restore the functionality of the lock.
To fix a Milgard sliding door lock, first clean the lock and track to remove any debris. Then, adjust the strike plate and tighten any loose screws. If the lock still doesn’t work, consider replacing the lock mechanism.
Step 2: Inspecting and Cleaning the Lock Mechanism
With the sliding door lock assembly removed, it’s time to delve into the crucial process of inspecting and cleaning the lock mechanism. This step is essential for identifying any issues affecting the lock’s performance and ensuring that the internal components are free from dirt, debris, and obstructions. Follow these detailed steps to conduct a thorough inspection and cleaning:
- Examine the Components: Take a close look at the individual components of the lock mechanism, including the levers, bolts, and any moving parts. Look for signs of wear, corrosion, or damage that may be impeding the smooth operation of the lock.
- Remove Accumulated Dirt: Using a clean cloth, gently wipe away any dirt, dust, or debris that has accumulated within the lock mechanism. Pay particular attention to the areas where the moving parts interact, as these are common sites for buildup.
- Check the Strike Plate: Inspect the strike plate on the door frame to ensure that it is aligned properly and free from damage. The strike plate should securely receive the lock bolt when the door is closed and locked.
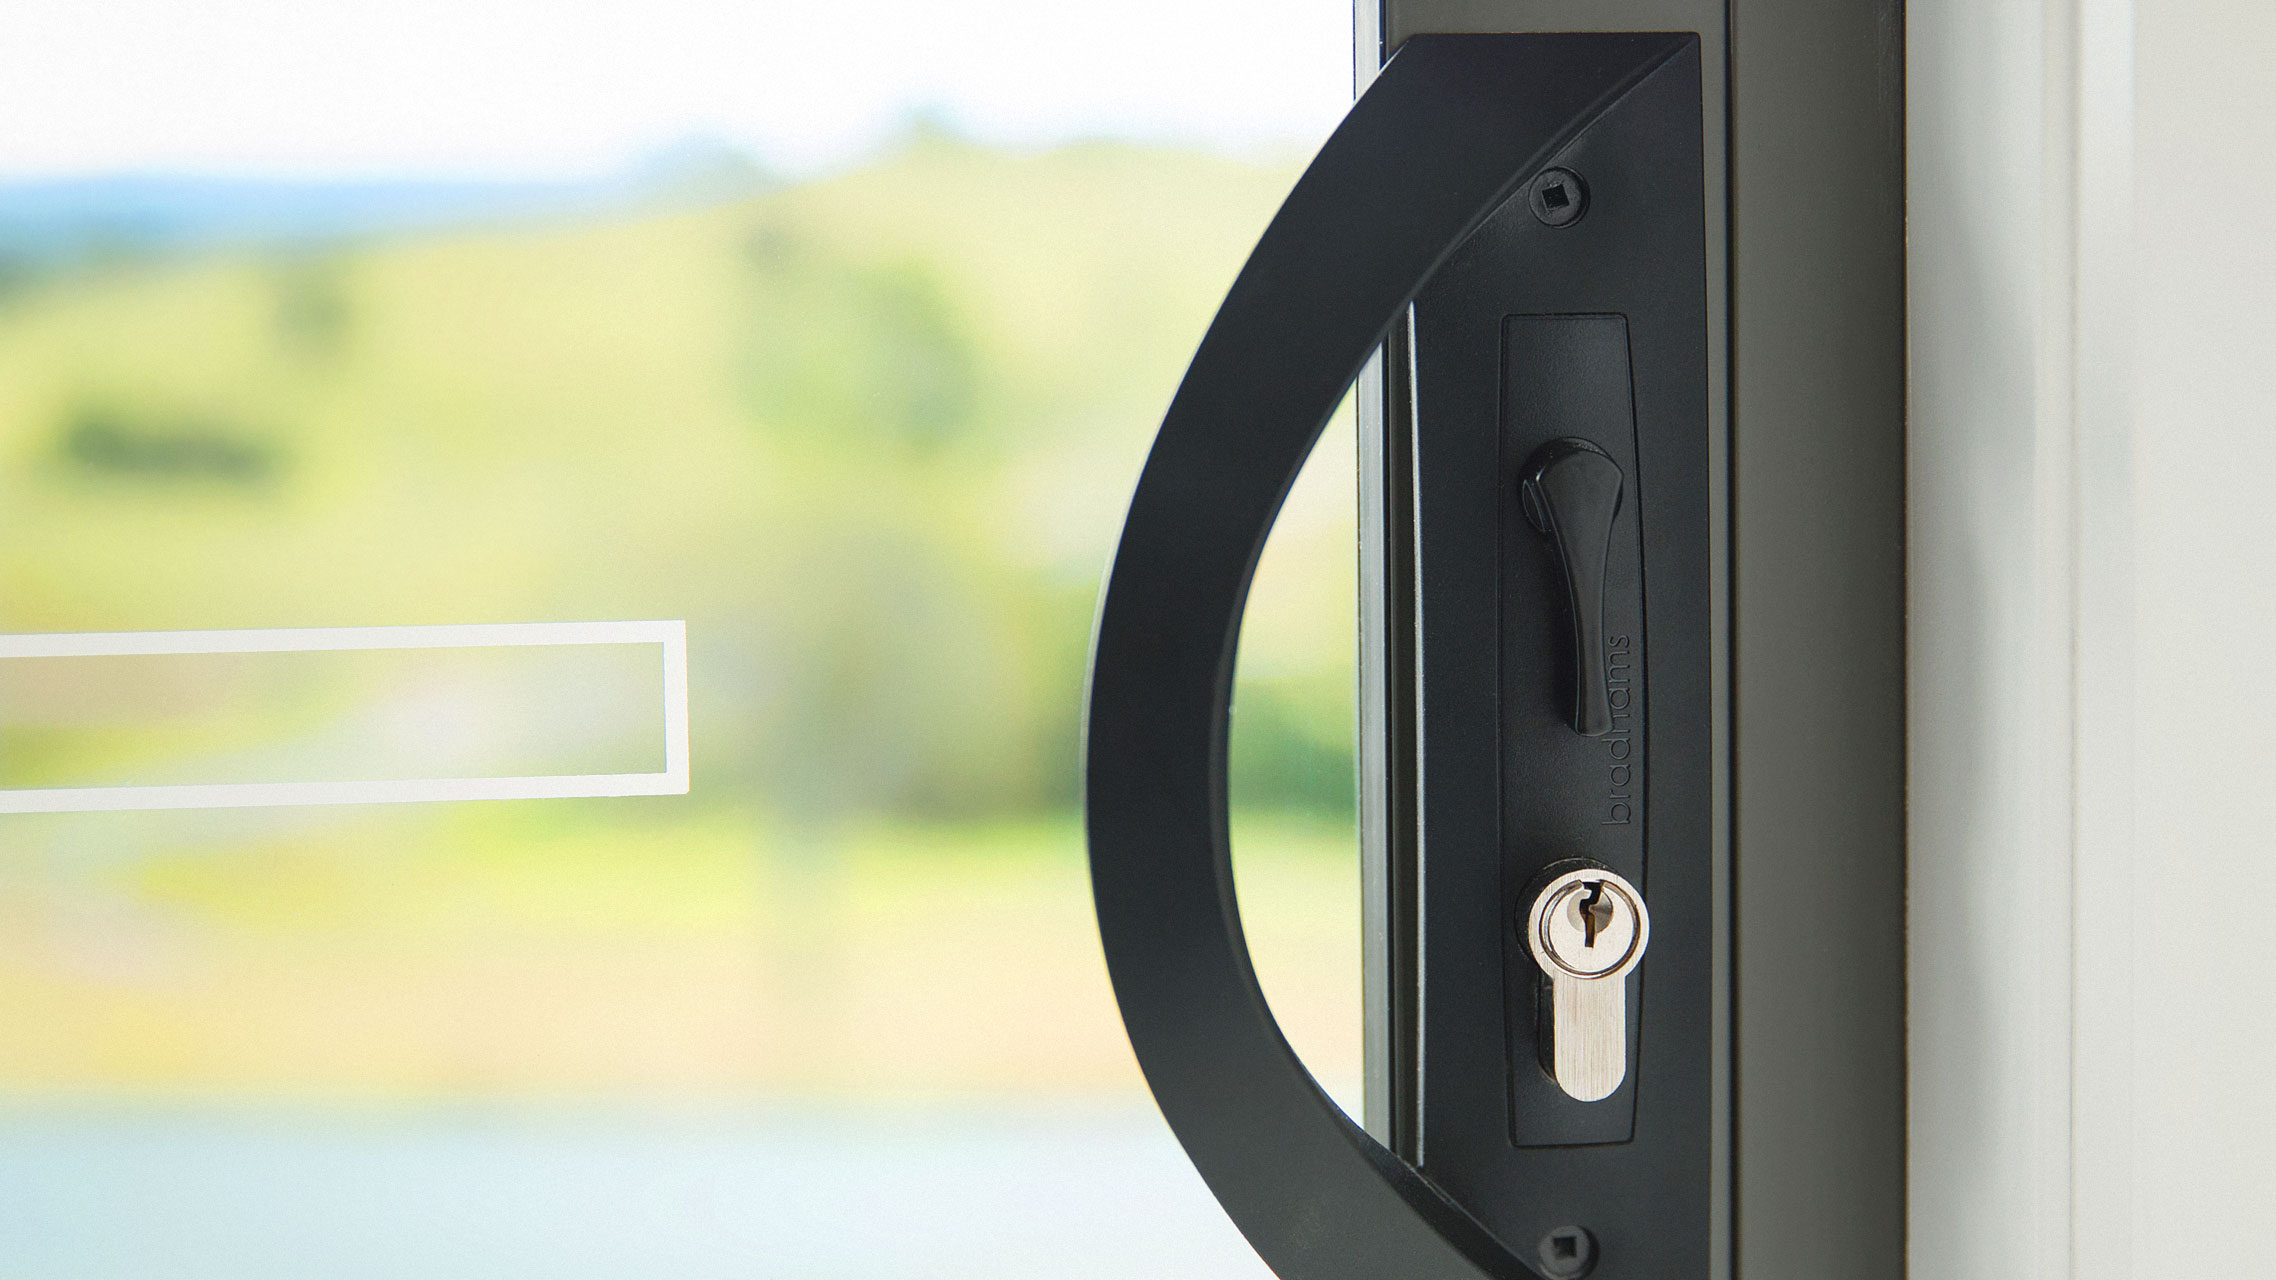
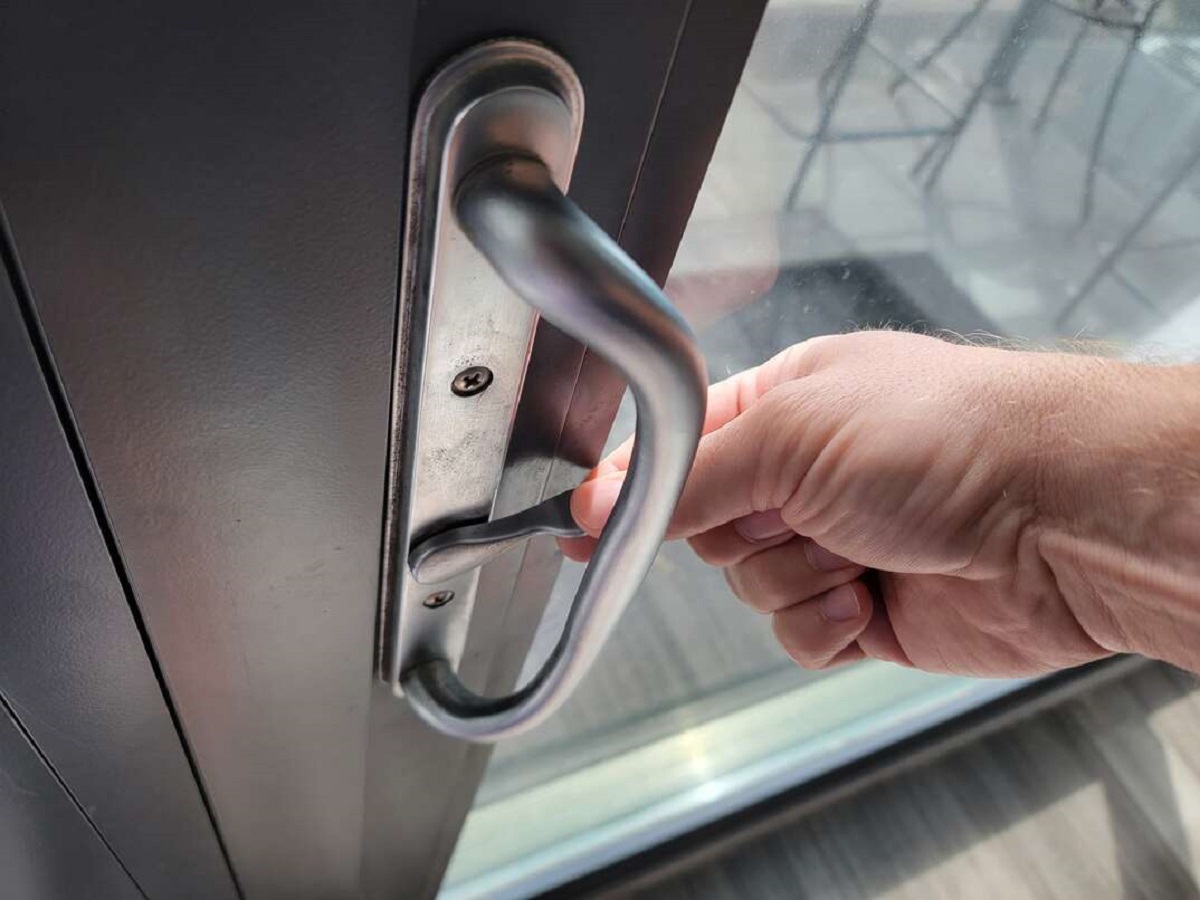
- Assess the Thumb Turn or Handle: If your lock features a thumb turn or handle, examine its condition and functionality. Ensure that it turns smoothly and without resistance, as any issues with this component can affect the locking mechanism.
- Inspect for Corrosion: Look for any signs of corrosion or rust on the internal components. Corrosion can hinder the movement of the lock mechanism and may indicate the need for further cleaning or lubrication.
- Address Stubborn Debris: If you encounter stubborn debris or residue within the lock mechanism, consider using a small brush or compressed air to dislodge and remove it. Take care to avoid causing damage to delicate components.
By meticulously inspecting and cleaning the lock mechanism, you’ll be able to identify potential issues and ensure that the internal components are free from obstructions that could impede the lock’s operation. This proactive approach sets the stage for the subsequent steps, where you’ll address any specific issues discovered during the inspection and prepare the lock for optimal performance.
Read more: How To Fix Sliding Glass Door Lock
Step 3: Lubricating the Sliding Door Lock
Having inspected and cleaned the lock mechanism, the next critical step in restoring your Milgard sliding door lock to optimal functionality is the application of lubrication. Proper lubrication is essential for ensuring smooth operation and longevity of the lock components. Follow these detailed steps to effectively lubricate the sliding door lock:
- Select the Appropriate Lubricant: Choose a high-quality silicone-based or graphite lubricant specifically designed for door locks. Avoid using oil-based lubricants, as they can attract dirt and debris, potentially exacerbating lock-related issues.
- Apply Lubricant to Moving Parts: With the lock mechanism exposed, apply a small amount of lubricant to the moving parts, including levers, bolts, and any areas of friction within the mechanism. Be mindful not to over-lubricate, as excess lubricant can attract dirt and lead to buildup over time.
- Operate the Lock: After applying the lubricant, operate the lock several times to distribute the lubricant evenly and allow it to penetrate the internal components. This will help ensure that the lubricant reaches all critical areas within the lock mechanism.
- Lubricate the Thumb Turn or Handle: If your lock features a thumb turn or handle, apply a small amount of lubricant to the moving parts of this component to facilitate smooth and effortless operation.
- Wipe Excess Lubricant: Using a clean cloth, carefully wipe away any excess lubricant that may have accumulated on the lock components or surrounding areas. This will prevent the accumulation of dirt and maintain a clean and efficient lock mechanism.
By following these steps, you’ll effectively lubricate the sliding door lock, ensuring that the internal components operate smoothly and efficiently. Proper lubrication is key to maintaining the functionality of the lock and preventing issues such as sticking, resistance, or premature wear. With the lock mechanism properly lubricated, you’ll be well on your way to restoring the seamless operation of your Milgard sliding door lock.
Step 4: Replacing the Sliding Door Lock
If, after thorough inspection, cleaning, and lubrication, your Milgard sliding door lock continues to exhibit persistent issues or irreparable damage, it may be necessary to proceed with the replacement of the lock assembly. While troubleshooting and maintenance can resolve many lock-related issues, a replacement lock ensures the long-term security and functionality of your sliding door. Follow these comprehensive steps to successfully replace the sliding door lock:
- Acquire a Replacement Lock: Identify the specific model or type of lock required for your Milgard sliding door. Contact the manufacturer or a reputable supplier to obtain a replacement lock that matches the specifications and dimensions of your existing lock.
- Prepare the Door: Ensure that the sliding door is securely closed and in the locked position before beginning the replacement process. This will prevent the door from moving or shifting as you work on the lock assembly.
- Remove the Existing Lock: Utilize the appropriate tools to carefully remove the existing lock assembly from the door, following the reverse of the steps outlined in “Step 1: Removing the Sliding Door Lock.”
- Install the Replacement Lock: Position the replacement lock assembly in place, aligning it with the existing openings and screw holes on the door. Take care to orient the lock correctly, ensuring that it operates smoothly and securely.
- Secure the Lock in Place: Using the provided screws or those from the original lock assembly, affix the replacement lock securely to the door. Ensure that the screws are tightened appropriately to hold the lock in position without causing damage to the door or lock components.
- Test the New Lock: After installing the replacement lock, test its functionality by operating the thumb turn or handle and ensuring that the lock engages and disengages smoothly. Verify that the strike plate securely receives the lock bolt when the door is closed and locked.
By following these steps, you’ll successfully replace the sliding door lock, addressing persistent issues and ensuring the security and functionality of your Milgard sliding door. A new lock assembly provides peace of mind, knowing that your door is equipped with a reliable and efficient locking mechanism. With the replacement lock in place, you can enjoy the smooth operation and enhanced security that Milgard sliding doors are renowned for.
Conclusion
Congratulations on successfully troubleshooting and addressing the issues with your Milgard sliding door lock! By following the comprehensive steps outlined in this guide, you’ve taken proactive measures to restore the functionality and security of your sliding door, ensuring smooth operation and peace of mind.
Throughout this journey, you gained a deeper understanding of the intricate components that make up the Milgard sliding door lock, allowing you to identify, inspect, and address potential issues with confidence. From removing the lock assembly to meticulously inspecting, cleaning, lubricating, and even replacing the lock when necessary, you’ve demonstrated a proactive approach to maintenance and troubleshooting.
Remember, regular maintenance and care are essential for preserving the longevity and performance of your Milgard sliding door lock. By incorporating simple maintenance tasks into your routine, such as periodic cleaning and lubrication, you can prevent issues from arising and ensure that your lock operates seamlessly for years to come.
As you reflect on your accomplishment, take pride in the knowledge and skills you’ve acquired throughout this process. Your ability to troubleshoot and address lock-related issues not only enhances the security of your home or office but also empowers you to tackle future maintenance tasks with confidence.
With your Milgard sliding door lock now restored to optimal functionality, you can enjoy the convenience, security, and peace of mind that come with a smoothly operating and reliable lock mechanism. Whether it’s the effortless engagement of the lock or the seamless operation of the door, you can take pride in knowing that you’ve played a pivotal role in maintaining the integrity of your sliding door.
Thank you for embarking on this journey to fix your Milgard sliding door lock. Your dedication to maintenance and troubleshooting serves as a testament to your commitment to the security and functionality of your living or working space. With these newfound skills and knowledge, you’re well-equipped to tackle a range of maintenance tasks, ensuring that your surroundings remain safe, secure, and in optimal condition.
Frequently Asked Questions about How To Fix Milgard Sliding Door Lock
Was this page helpful?
At Storables.com, we guarantee accurate and reliable information. Our content, validated by Expert Board Contributors, is crafted following stringent Editorial Policies. We're committed to providing you with well-researched, expert-backed insights for all your informational needs.


0 thoughts on “How To Fix Milgard Sliding Door Lock”