Home>Technology>Security & Surveillance>How To Replace The Lock On A Sliding Glass Door
Security & Surveillance
How To Replace The Lock On A Sliding Glass Door
Modified: February 27, 2024
Learn how to enhance the security of your home with our step-by-step guide on replacing the lock on a sliding glass door. Ensure your peace of mind with our security and surveillance tips.
(Many of the links in this article redirect to a specific reviewed product. Your purchase of these products through affiliate links helps to generate commission for Storables.com, at no extra cost. Learn more)
Introduction
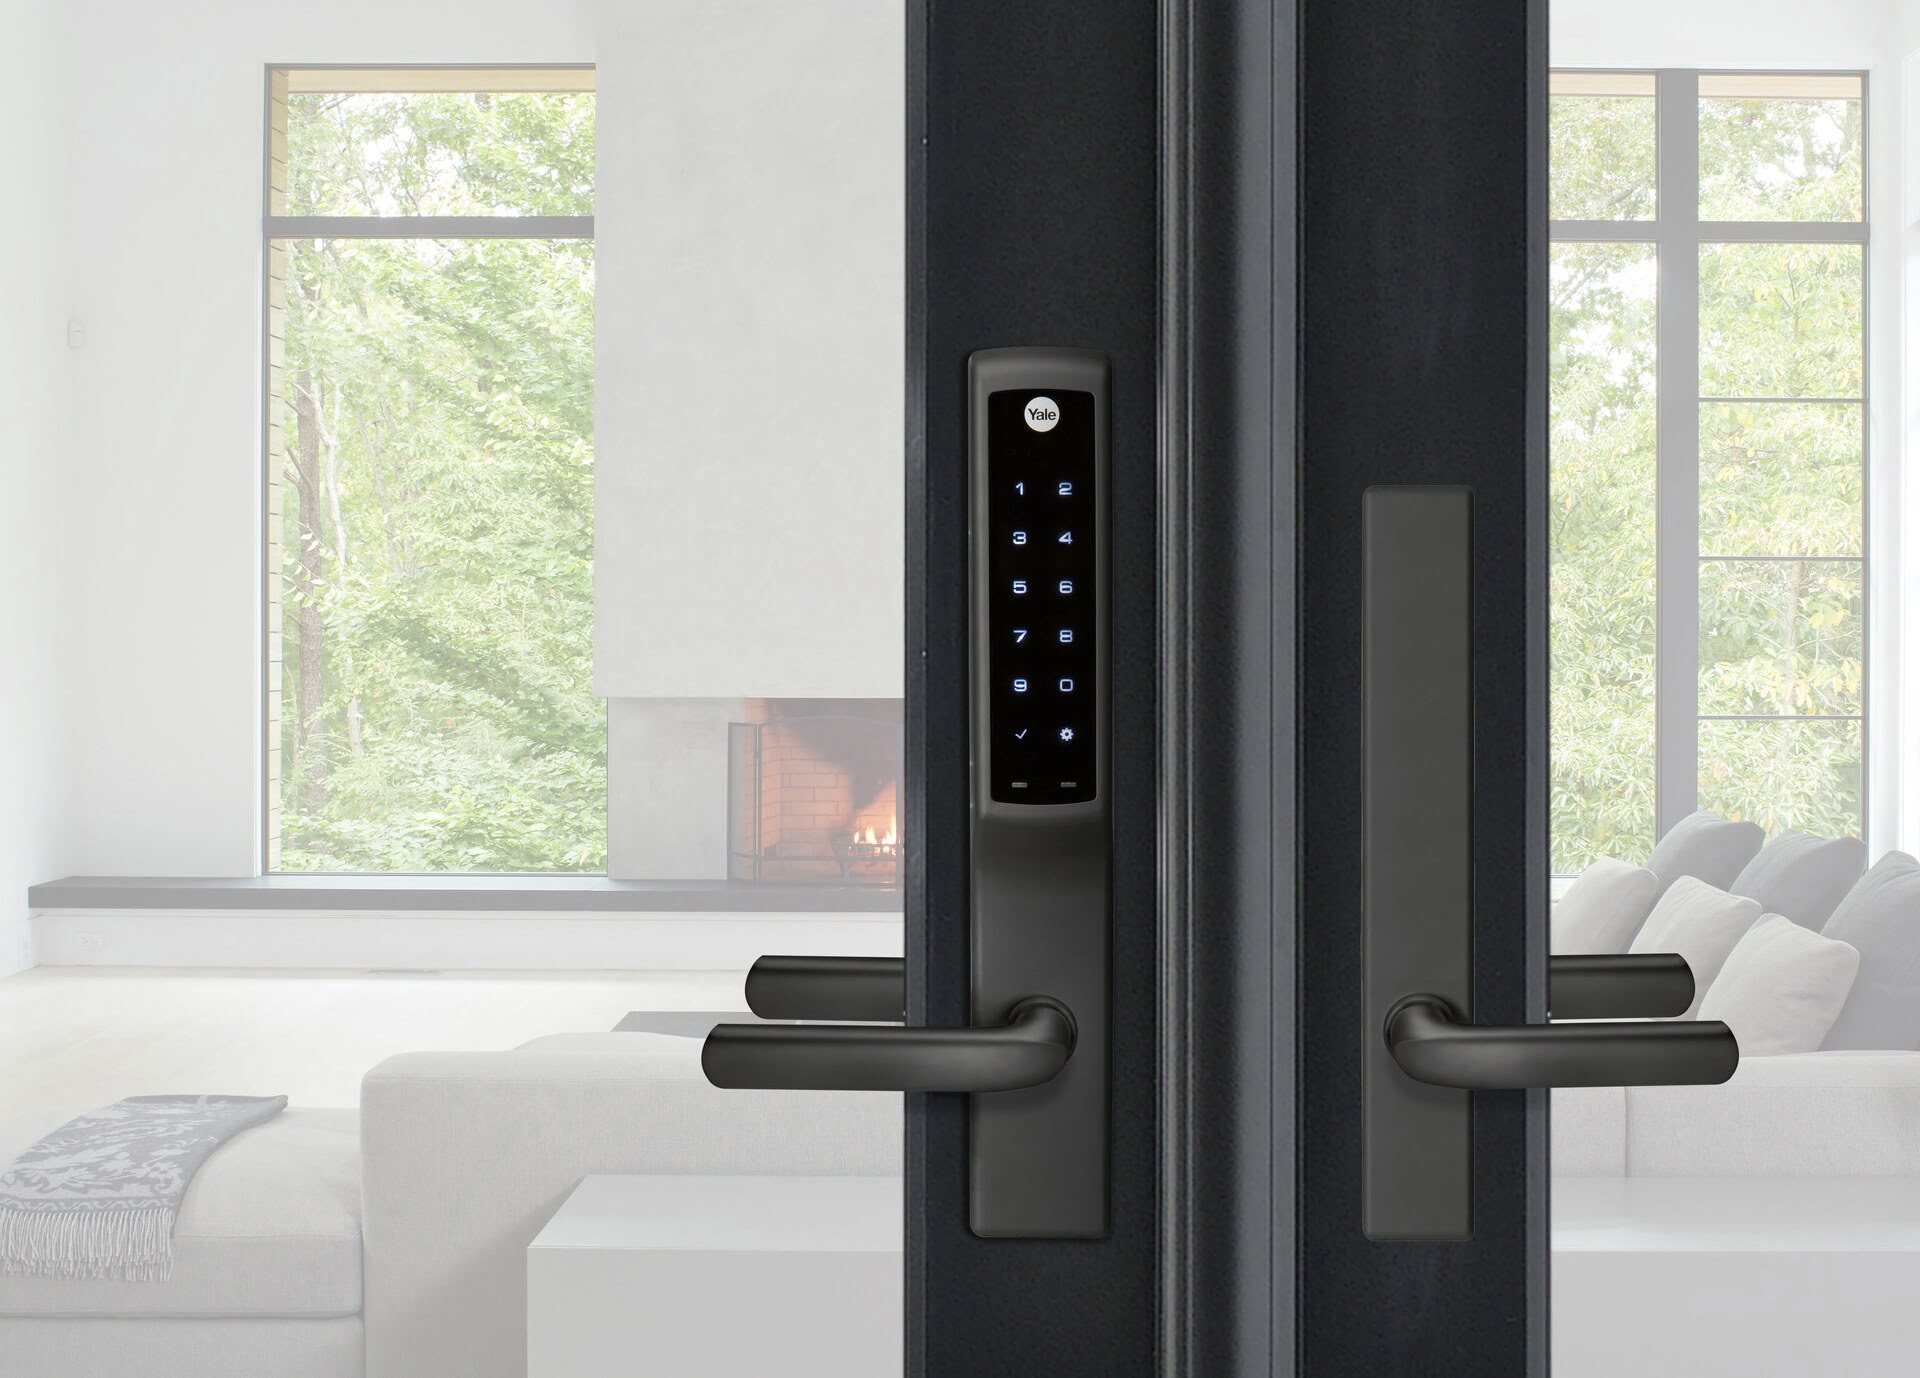
Securing your home is a top priority, and one essential aspect of home security is ensuring that all entry points are properly safeguarded. Sliding glass doors are a popular feature in many homes, offering a seamless connection to the outdoors and allowing natural light to brighten indoor spaces. However, the locks on these doors can become worn or outdated over time, potentially compromising the security of your home.
In this comprehensive guide, we will walk you through the process of replacing the lock on a sliding glass door. Whether you are upgrading to a more robust locking mechanism or simply need to replace a malfunctioning lock, this step-by-step tutorial will equip you with the knowledge and confidence to tackle this task with ease.
By following these instructions and using the recommended tools and materials, you can enhance the security of your home and enjoy peace of mind knowing that your sliding glass door is effectively protected against unauthorized access. Let's dive into the details and empower you to take control of your home security.
Key Takeaways:
- Replacing the lock on a sliding glass door is essential for home security. Gather tools, remove the old lock, install the new one, and test its operation for a safer home.
- By following the step-by-step guide, you can confidently upgrade your sliding glass door lock, enhancing security and demonstrating your commitment to safeguarding your home.
Read more: How To Lock Sliding Glass Door With Dog Door
Tools and Materials Needed
Before embarking on the process of replacing the lock on your sliding glass door, it is essential to gather the necessary tools and materials. By ensuring that you have everything at your disposal, you can streamline the installation process and minimize any potential disruptions. Here’s a comprehensive list of the items you will need:
Tools:
- Phillips-head screwdriver
- Flat-head screwdriver
- Drill with appropriate bits
- Measuring tape
- Utility knife
- Adjustable wrench
- Safety goggles
Materials:
- New sliding glass door lock (ensure compatibility with your door's make and model)
- Screws (if not provided with the new lock)
- Replacement strike plate (if required)
- Wood filler or putty (if there are existing holes that need to be filled)
- Painter's tape (to protect the door's finish during the installation)
Having these tools and materials readily available will facilitate a smooth and efficient lock replacement process. Additionally, it is advisable to wear appropriate safety gear, such as safety goggles, to protect your eyes during the installation.
With the necessary tools and materials in hand, you are well-prepared to proceed with removing the old lock and installing the new one, which we will cover in the following sections.
Removing the Old Lock
Before installing a new lock on your sliding glass door, it is crucial to properly remove the existing lock. This process requires attention to detail and a systematic approach to ensure that the old lock is safely and completely detached. Follow these steps to effectively remove the old lock:
Step 1: Prepare the Work Area
Begin by clearing the area around the sliding glass door to create a safe and unobstructed workspace. Remove any obstacles or furnishings that may hinder your access to the door and its components.
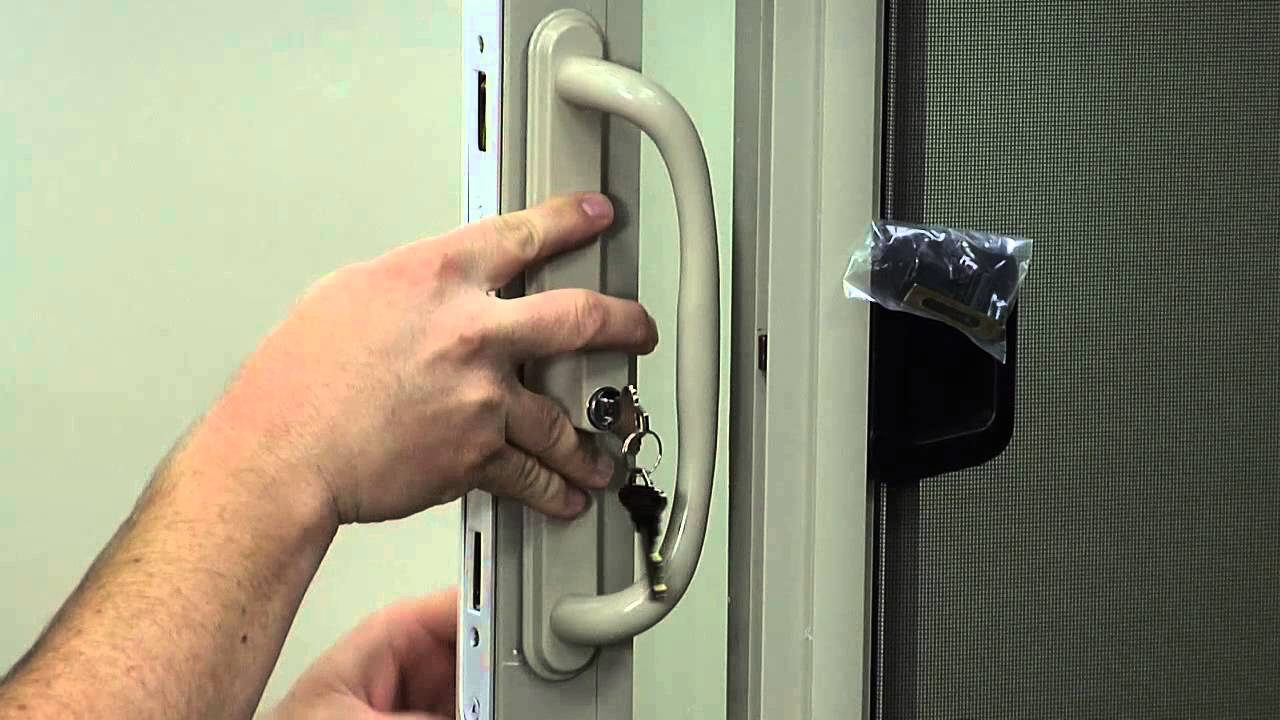
Step 2: Examine the Existing Lock
Carefully inspect the current lock to identify the specific mechanisms and fasteners holding it in place. Take note of any screws, bolts, or other fastening devices that secure the lock to the door.
Step 3: Unscrew and Remove the Faceplate
Using a suitable screwdriver, carefully unscrew and remove the faceplate of the old lock. Place the screws in a secure location to prevent misplacement. The faceplate is typically located on the edge of the door and covers the internal components of the lock.
Step 4: Detach the Lock Mechanism
Once the faceplate is removed, you will gain access to the inner workings of the lock. Depending on the type of lock, you may need to use a screwdriver or wrench to disconnect the lock mechanism from the door. Take care to support the lock as you remove it to prevent any sudden movements that could cause damage.
Read more: How To Open A Locked Sliding Glass Door
Step 5: Remove the Strike Plate (if applicable)
If your sliding glass door features a strike plate, it will also need to be removed. The strike plate is the metal plate installed on the door frame, and it is designed to receive and secure the latch or bolt from the lock. Unscrew and detach the strike plate using the appropriate tools.
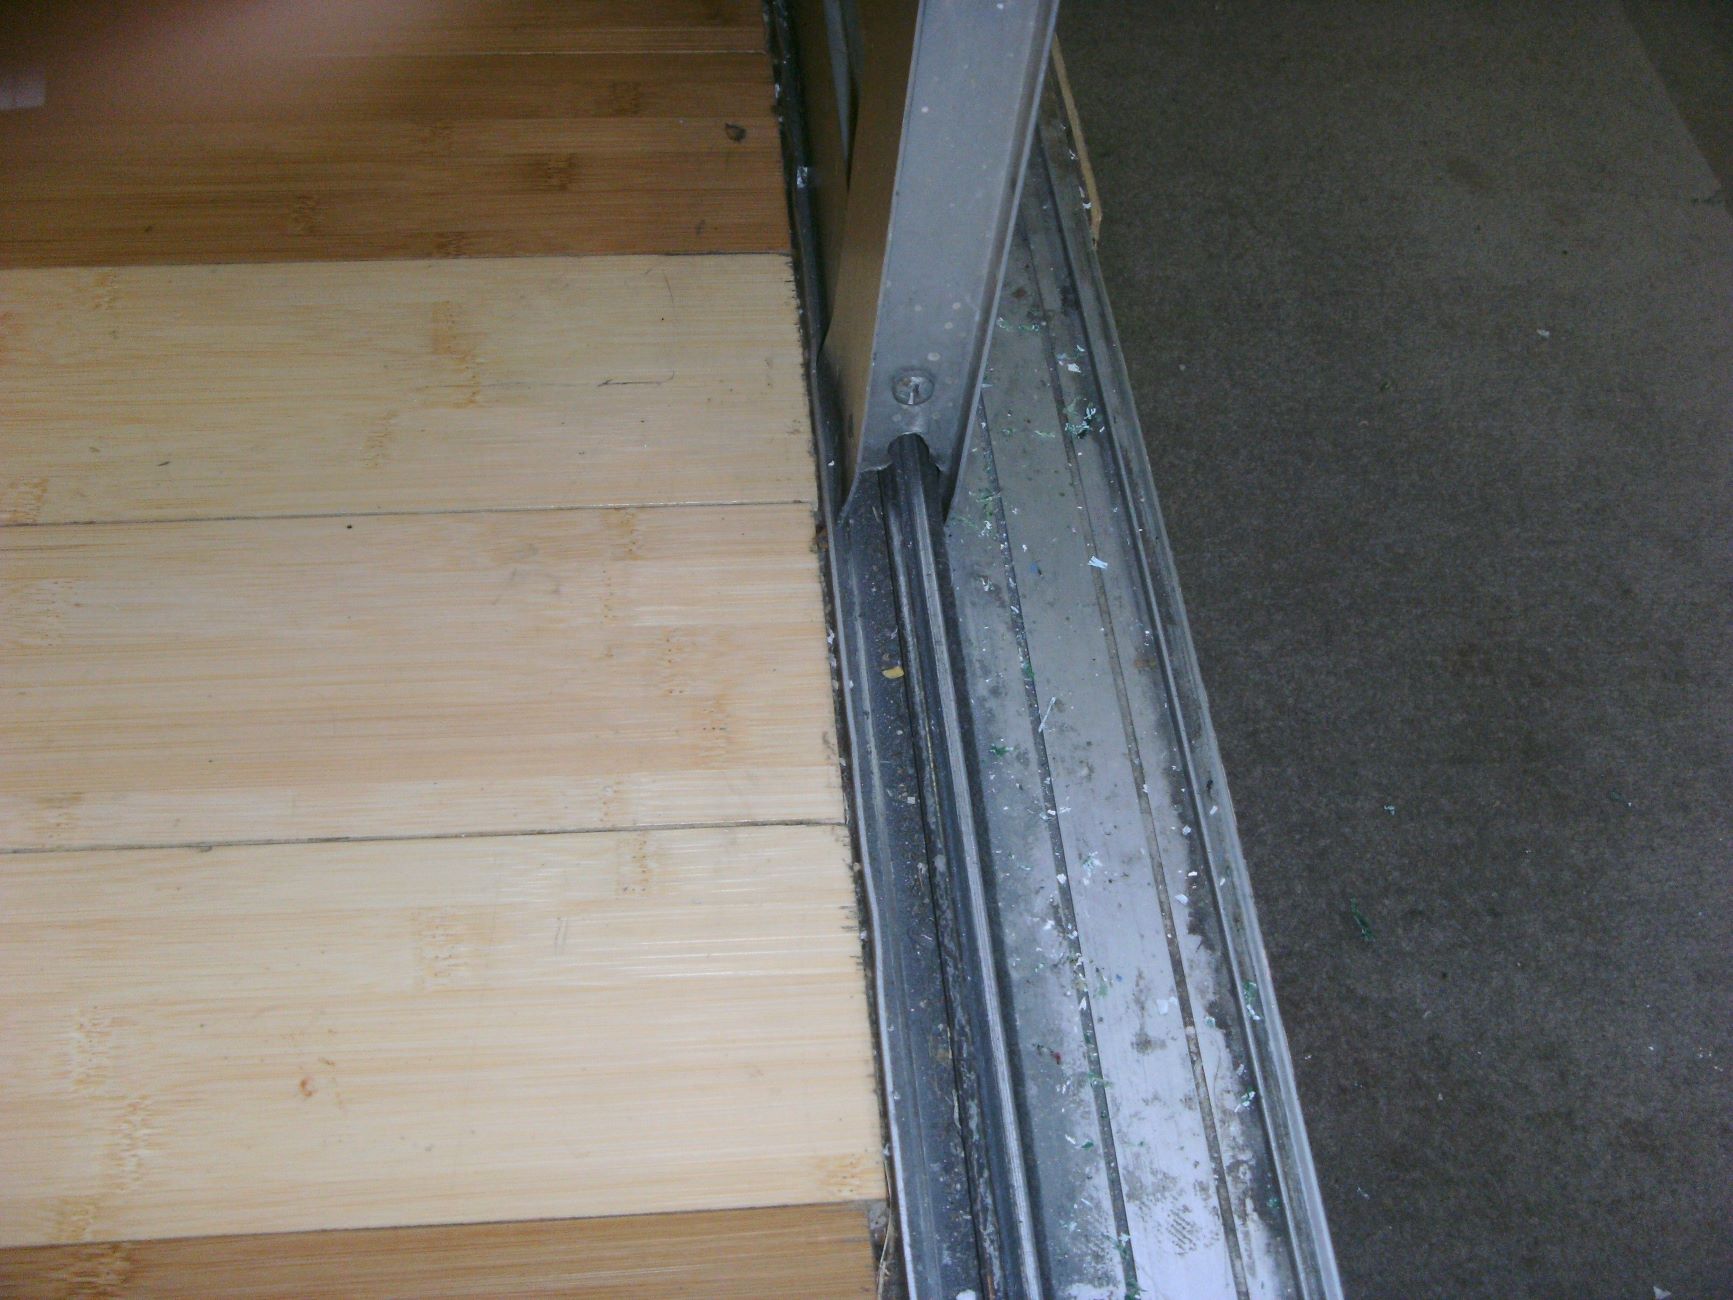
Step 6: Inspect and Clean the Door Surface
After removing the old lock and strike plate, take a moment to inspect the door surface for any residual adhesive, debris, or damage. Clean the area thoroughly to ensure a smooth and even surface for installing the new lock.
By meticulously following these steps, you can successfully remove the old lock from your sliding glass door, setting the stage for the seamless installation of the new lock. With the old lock safely removed, you are now ready to proceed to the next phase of the process: installing the new lock.
Installing the New Lock
With the old lock successfully removed, you are now prepared to install a new, reliable locking mechanism on your sliding glass door. This phase of the process requires precision and attention to detail to ensure that the new lock is securely and effectively installed. Follow these steps to seamlessly install the new lock:
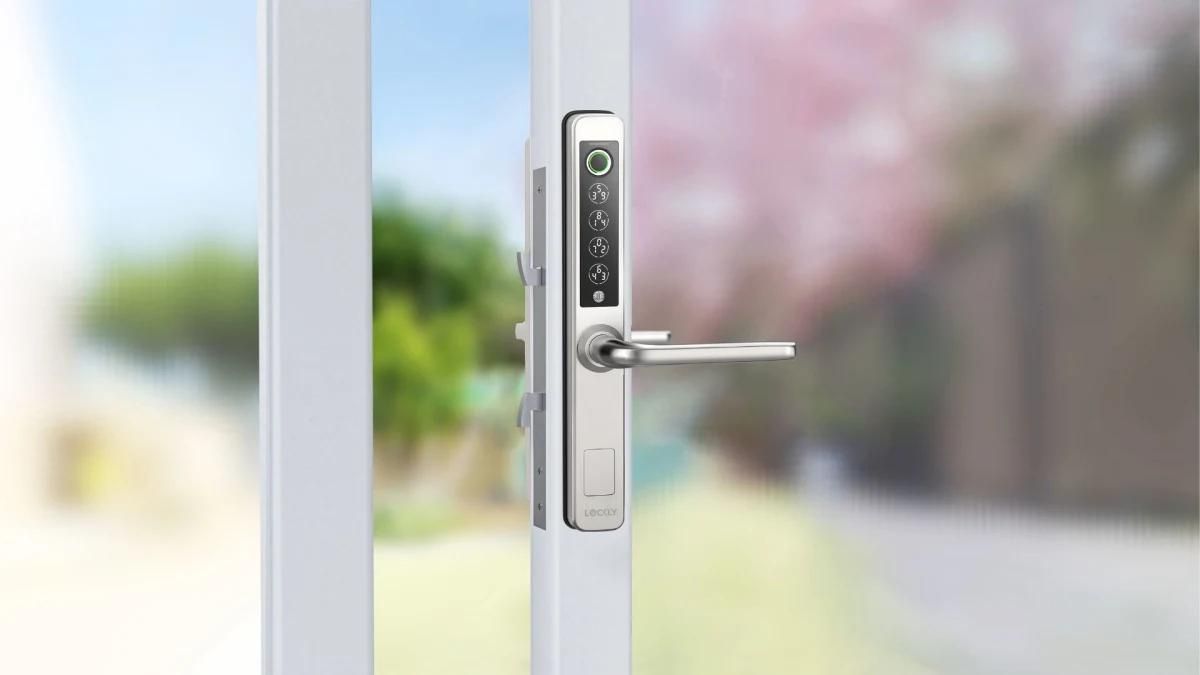
Step 1: Prepare the New Lock
Carefully unpack the new sliding glass door lock and familiarize yourself with its components. Verify that all necessary parts and hardware are included, and ensure that the lock is compatible with your door’s make and model. Familiarize yourself with the manufacturer’s instructions for the specific lock model if available.
Read more: How To Change Lock On Sliding Glass Door
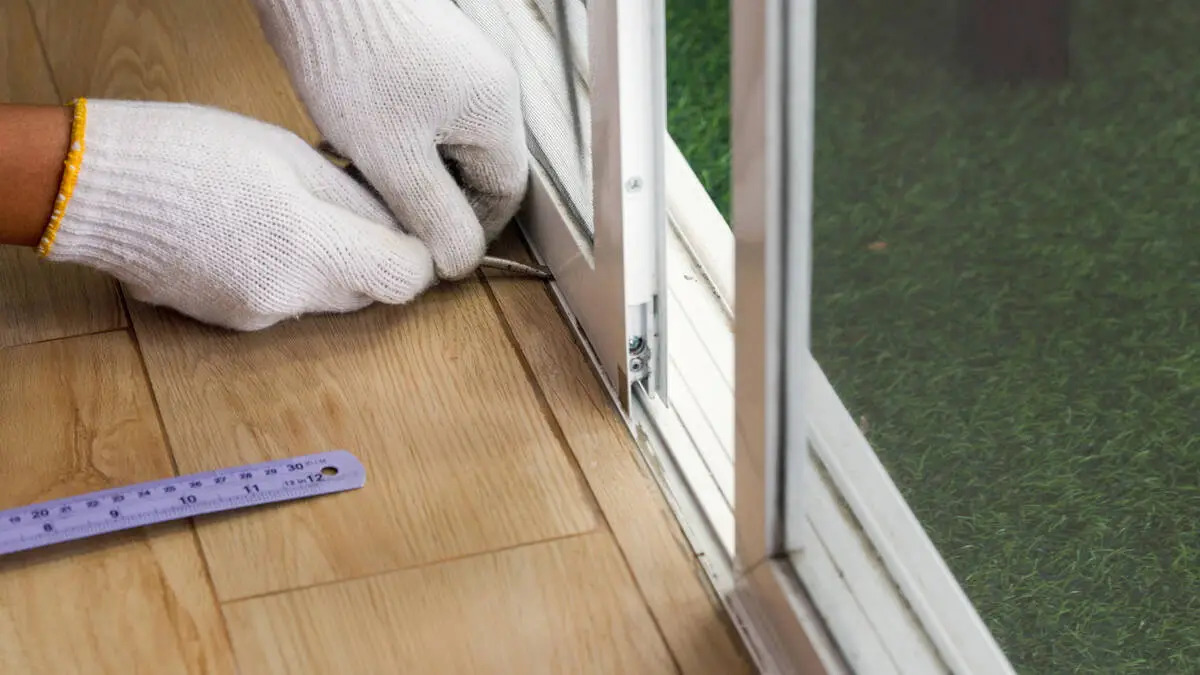
Step 2: Position the New Lock
Hold the new lock against the door to determine the appropriate placement. Ensure that the lock aligns correctly with the door frame and that the keyway (the slot for the key) is oriented in the desired direction. Use painter’s tape to temporarily secure the lock in place, allowing you to make any necessary adjustments before permanent installation.
Step 3: Secure the Lock Mechanism
Using the provided screws or fasteners, affix the new lock mechanism to the door according to the manufacturer’s guidelines. Take care to tighten the screws securely, ensuring that the lock is stable and properly aligned. Avoid over-tightening, as this could strip the threads or damage the door surface.
Step 4: Install the Faceplate
Attach the faceplate of the new lock to the edge of the door, covering the internal components of the lock mechanism. Secure the faceplate using the provided screws, and verify that it sits flush against the door surface for a professional and secure fit.
Step 5: Attach the Strike Plate (if applicable)
If your sliding glass door features a strike plate, position it on the door frame to align with the new lock’s latch or bolt. Secure the strike plate using the appropriate screws, ensuring that it provides a seamless counterpart to the lock mechanism for optimal security.
Read more: How To Fix Sliding Glass Door Lock
Step 6: Test the Lock’s Operation
Once the new lock is securely installed, test its operation to ensure that it functions smoothly and effectively. Insert the key, engage the locking mechanism, and verify that the door locks and unlocks without any resistance or irregularities. Test the handle or thumb turn to confirm that the lock operates as intended.
By meticulously following these steps, you can confidently install a new lock on your sliding glass door, bolstering the security of your home and enhancing your peace of mind. With the new lock in place and functioning seamlessly, you are now ready to proceed to the final phase of the process: testing the new lock to validate its effectiveness.
Testing the New Lock
After successfully installing the new lock on your sliding glass door, it is crucial to conduct thorough testing to ensure that the lock operates as intended and provides the desired level of security. By meticulously testing the new lock, you can identify any potential issues and address them promptly, thereby safeguarding your home against unauthorized access. Follow these steps to effectively test the new lock:
Step 1: Key Operation
Insert the key into the new lock and turn it to engage the locking mechanism. Verify that the key operates smoothly and effortlessly, without any signs of resistance or obstruction. Test the key multiple times to confirm its consistent functionality.
Step 2: Locking and Unlocking
With the key inserted, lock and unlock the sliding glass door multiple times to assess the responsiveness and reliability of the new lock. Pay attention to the smoothness of the locking action and ensure that the door securely latches into place when locked.
Read more: How To Replace Glass In A Sliding Patio Door
Step 3: Handle or Thumb Turn Operation
If the new lock features a handle or thumb turn for internal locking and unlocking, test its operation to ensure that it smoothly engages and disengages the lock. Verify that the handle or thumb turn operates without any sticking or resistance.
Step 4: Security and Stability
Apply gentle pressure to the locked door to assess its stability and resistance to external forces. The new lock should effectively secure the door, preventing it from being easily forced open. Verify that the lock provides a robust level of security and offers peace of mind.
Step 5: Check for Alignment and Clearance
Inspect the alignment of the locking components and verify that there is adequate clearance for the lock to engage seamlessly. Ensure that the lock and strike plate align correctly without any binding or misalignment that could compromise the security of the door.
Step 6: Consult Manufacturer’s Guidelines (if applicable)
Refer to the manufacturer’s instructions for the new lock to ensure that you have followed all recommended procedures for installation and testing. Manufacturers often provide specific guidelines for testing the functionality and security of their products.
By diligently conducting these tests, you can verify the effectiveness and reliability of the new lock, ensuring that it provides the desired level of security for your home. If any issues are identified during testing, address them promptly to guarantee the optimal performance of the lock. With the new lock thoroughly tested and validated, you can rest assured that your sliding glass door is equipped with a dependable and secure locking mechanism.
Conclusion
Securing your home begins with ensuring that all entry points, including sliding glass doors, are equipped with reliable and robust locking mechanisms. By following the step-by-step process outlined in this guide, you have gained the knowledge and confidence to replace the lock on your sliding glass door, enhancing the security of your home and fortifying your peace of mind.
From gathering the necessary tools and materials to meticulously removing the old lock, installing the new lock, and conducting thorough testing, you have taken proactive steps to safeguard your home against unauthorized access. By investing the time and effort into this essential home security task, you have demonstrated a commitment to protecting your living space and the well-being of your loved ones.
As you admire the newly installed lock on your sliding glass door, take pride in the enhanced security it provides and the proactive approach you have taken to fortify your home. The seamless functionality and reliability of the new lock serve as a testament to your dedication to home security and your ability to tackle practical tasks with precision and care.
Remember, the security of your home is an ongoing priority, and regular maintenance and assessments of your locks and overall security measures are essential. By staying proactive and informed, you can uphold a safe and secure environment for you and your family.
With the knowledge and skills acquired from this guide, you are well-equipped to address future security enhancements and tackle other home improvement projects with confidence. Embrace the empowerment that comes with taking control of your home security, and continue to prioritize the well-being of your household through proactive and informed measures.
By replacing the lock on your sliding glass door, you have not only bolstered the security of your home but also demonstrated your capability to navigate practical tasks that contribute to the comfort and protection of your living space. As you enjoy the enhanced security and peace of mind, know that you have the knowledge and expertise to address future home security endeavors with confidence and proficiency.
Frequently Asked Questions about How To Replace The Lock On A Sliding Glass Door
Was this page helpful?
At Storables.com, we guarantee accurate and reliable information. Our content, validated by Expert Board Contributors, is crafted following stringent Editorial Policies. We're committed to providing you with well-researched, expert-backed insights for all your informational needs.


0 thoughts on “How To Replace The Lock On A Sliding Glass Door”