Home>Technology>Smart Home Devices>How To Change Wi-Fi On Smart Plug
Smart Home Devices
How To Change Wi-Fi On Smart Plug
Modified: January 4, 2024
Learn how to easily change the Wi-Fi network on your smart plug and enhance your smart home devices setup. Follow our step-by-step guide.
(Many of the links in this article redirect to a specific reviewed product. Your purchase of these products through affiliate links helps to generate commission for Storables.com, at no extra cost. Learn more)
Introduction
Welcome to the world of smart home devices, where convenience and control are at your fingertips. Smart plugs are nifty gadgets that allow you to remotely control your appliances and devices, providing a seamless integration of technology into your daily life. However, as with any connected device, setting up and configuring a smart plug to a new Wi-Fi network may seem daunting at first. Fear not, as I will guide you through the process of changing the Wi-Fi network on your smart plug in a few simple steps.
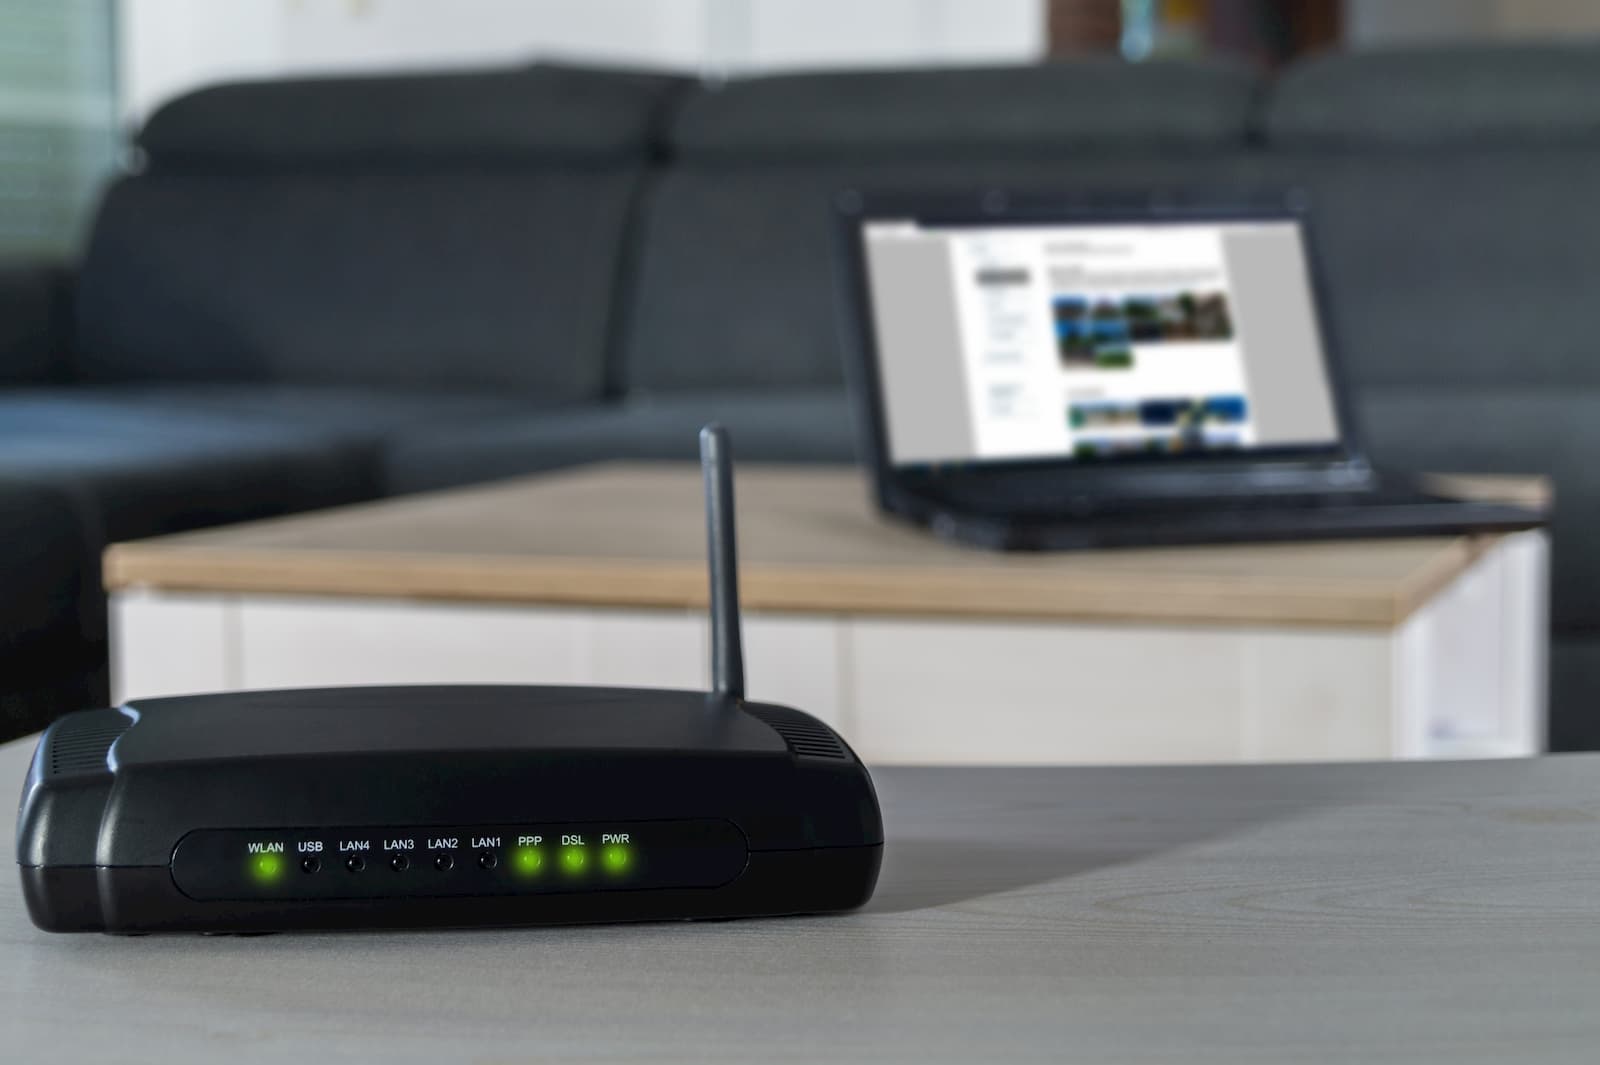
Whether you’re moving to a new home, upgrading your Wi-Fi router, or simply reconfiguring your network settings, knowing how to change the Wi-Fi on your smart plug is essential for maintaining a smooth and uninterrupted smart home experience. By following the steps outlined in this guide, you’ll be able to seamlessly transition your smart plug to a new Wi-Fi network without any hassle.
Key Takeaways:
- Changing the Wi-Fi on your smart plug is easy! Just access the plug physically or through the app, connect to the new Wi-Fi, and configure the settings for a seamless transition.
- After changing the Wi-Fi, make sure to verify the connection, update device settings, and test the smart plug to ensure it’s working smoothly in the new network environment.
Read more: How To Connect Smart Life Plug To Wi-Fi
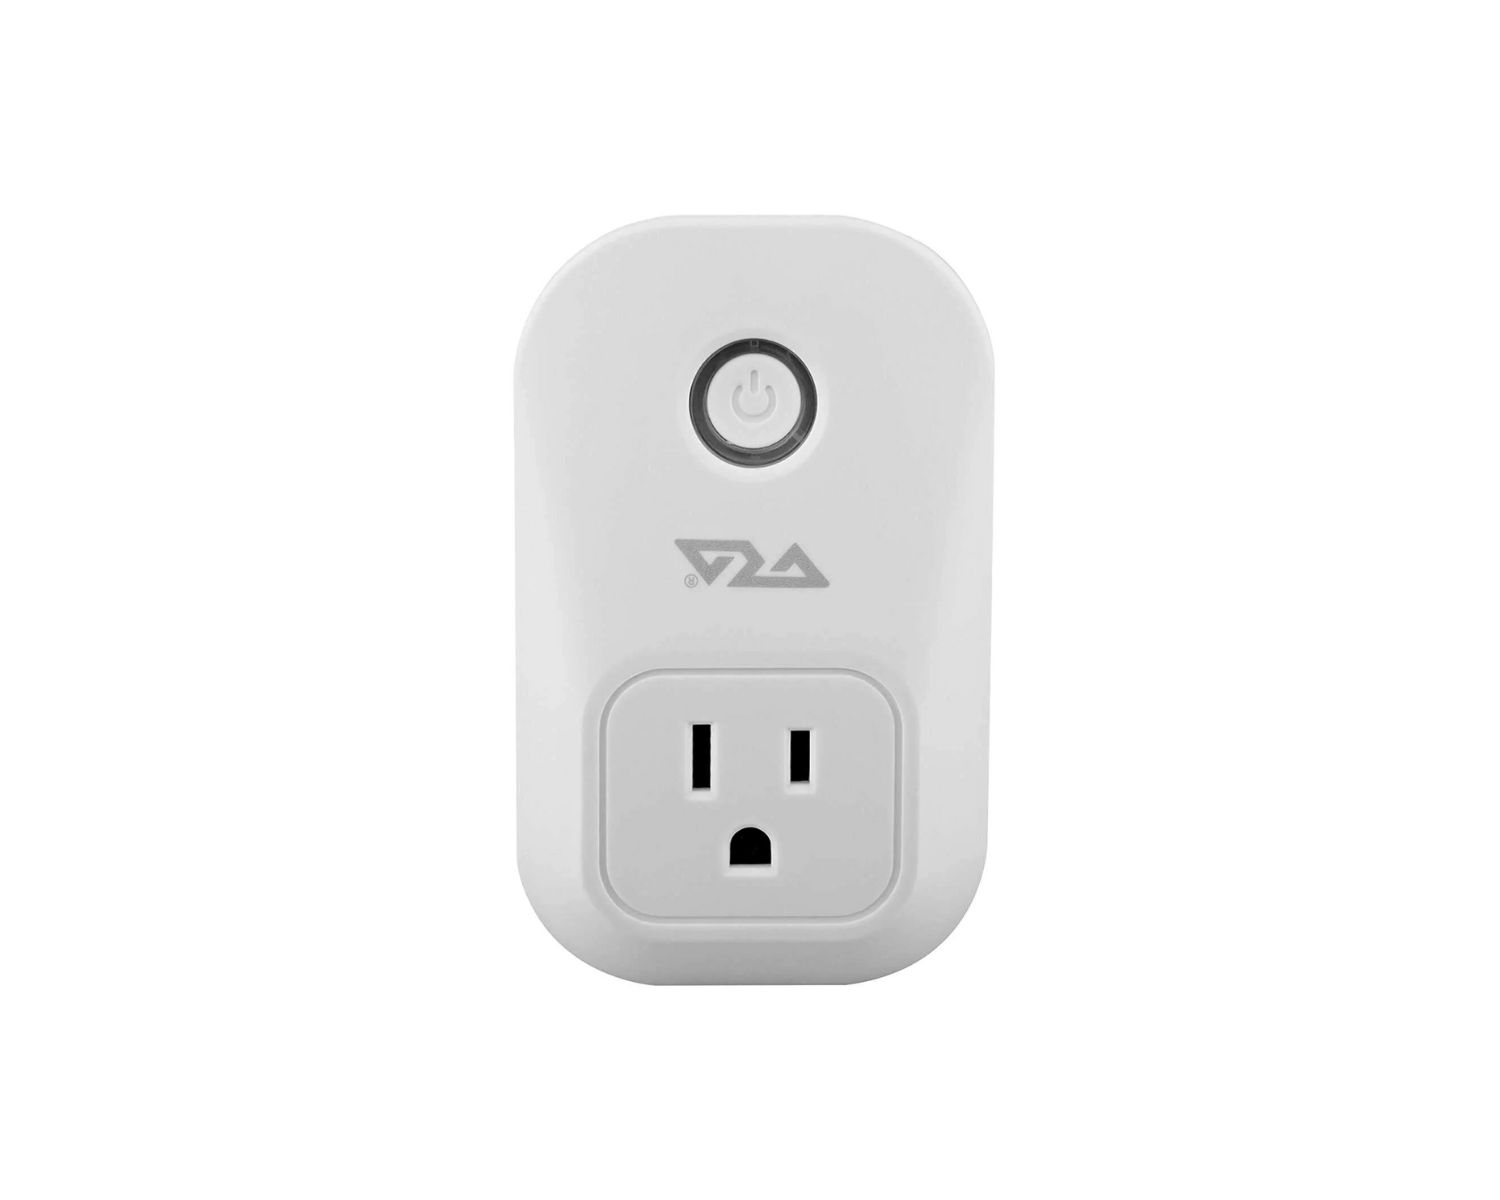
Step 1: Accessing the Smart Plug
Before you can change the Wi-Fi network on your smart plug, you need to access the device physically or through its associated mobile app. Here’s how you can do it:
- Physically Accessing the Smart Plug: If your smart plug has a physical button or switch, locate the plug and ensure it’s connected to a power source. Press and hold the button for the specified duration, usually indicated in the user manual or accompanying documentation. This action typically puts the smart plug into a configuration or pairing mode, allowing it to connect to a new Wi-Fi network.
- Using the Mobile App: Many smart plugs come with dedicated mobile apps that enable you to control and manage the device remotely. Open the app on your smartphone or tablet, and navigate to the settings or configuration section for the smart plug. Look for an option to change the Wi-Fi network or reconfigure the device. Follow the on-screen instructions to initiate the process of connecting the smart plug to a new Wi-Fi network.
By accessing the smart plug either physically or through its mobile app, you’ll be ready to proceed with the next steps of connecting it to a new Wi-Fi network.
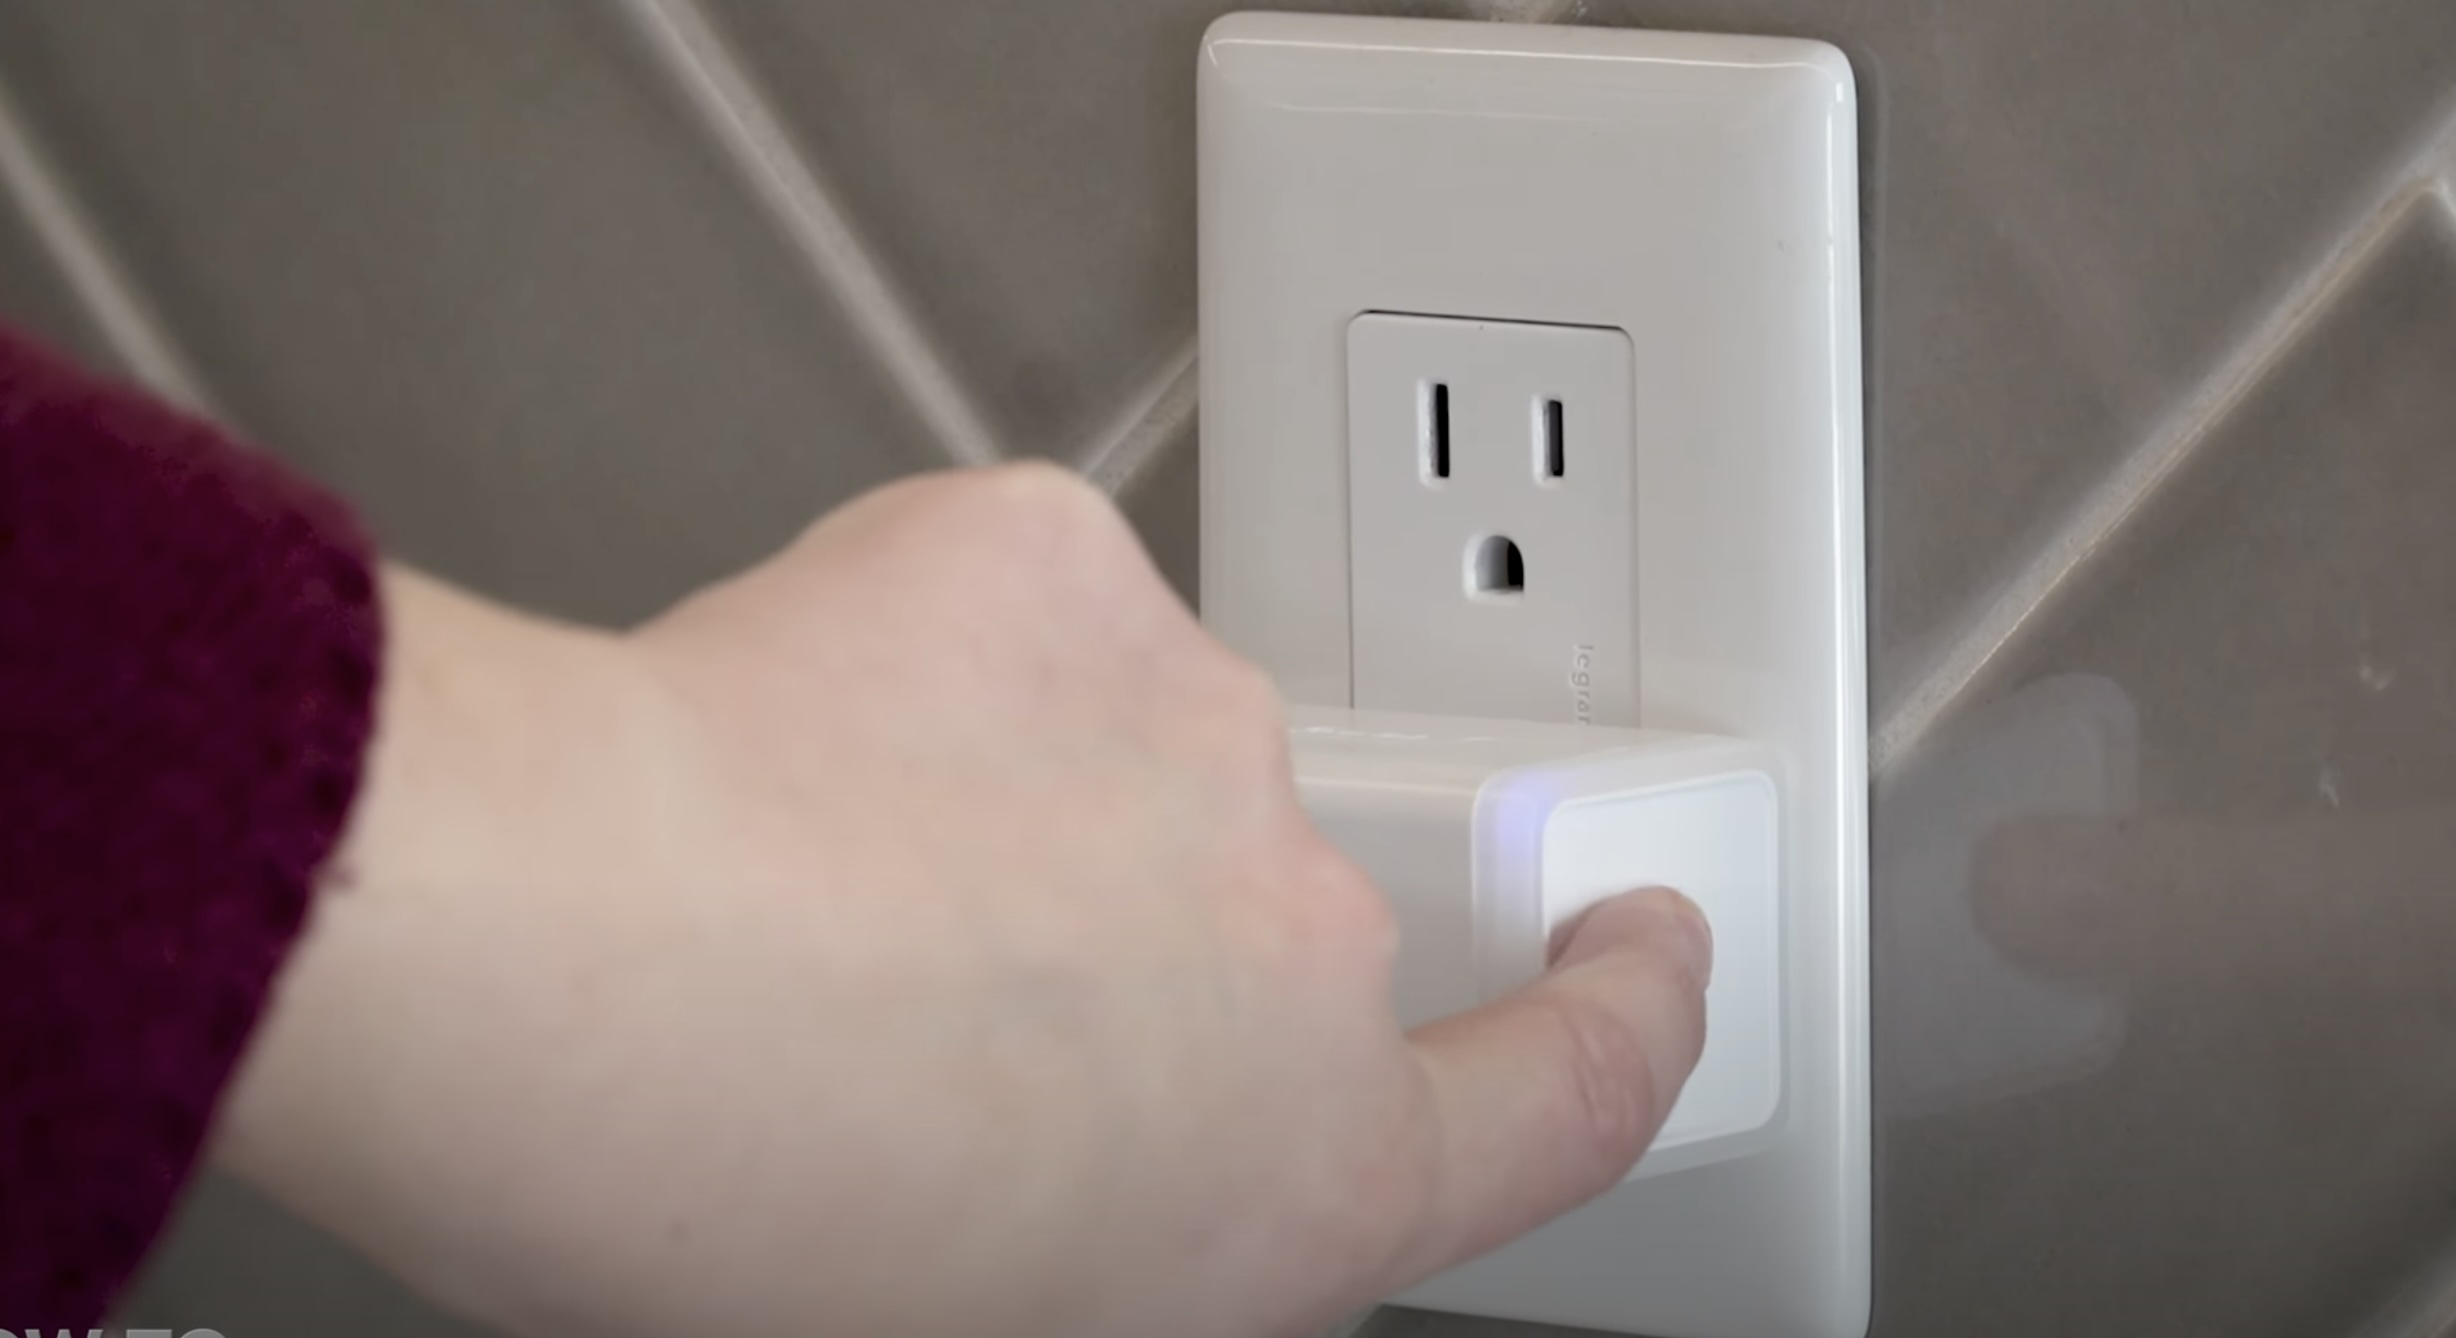
Step 2: Connecting to a New Wi-Fi Network
Once you have accessed your smart plug, the next step is to connect it to a new Wi-Fi network. This process typically involves initiating a Wi-Fi setup mode on the smart plug and then using the associated mobile app to establish a connection with the new network. Here’s how you can accomplish this:
- Initiating Wi-Fi Setup Mode: Depending on the smart plug model, there may be a specific sequence of actions to trigger the Wi-Fi setup mode. This often involves pressing and holding the device’s button or switch for a predetermined duration, causing the smart plug’s indicator lights to signal that it’s ready to connect to a new Wi-Fi network.
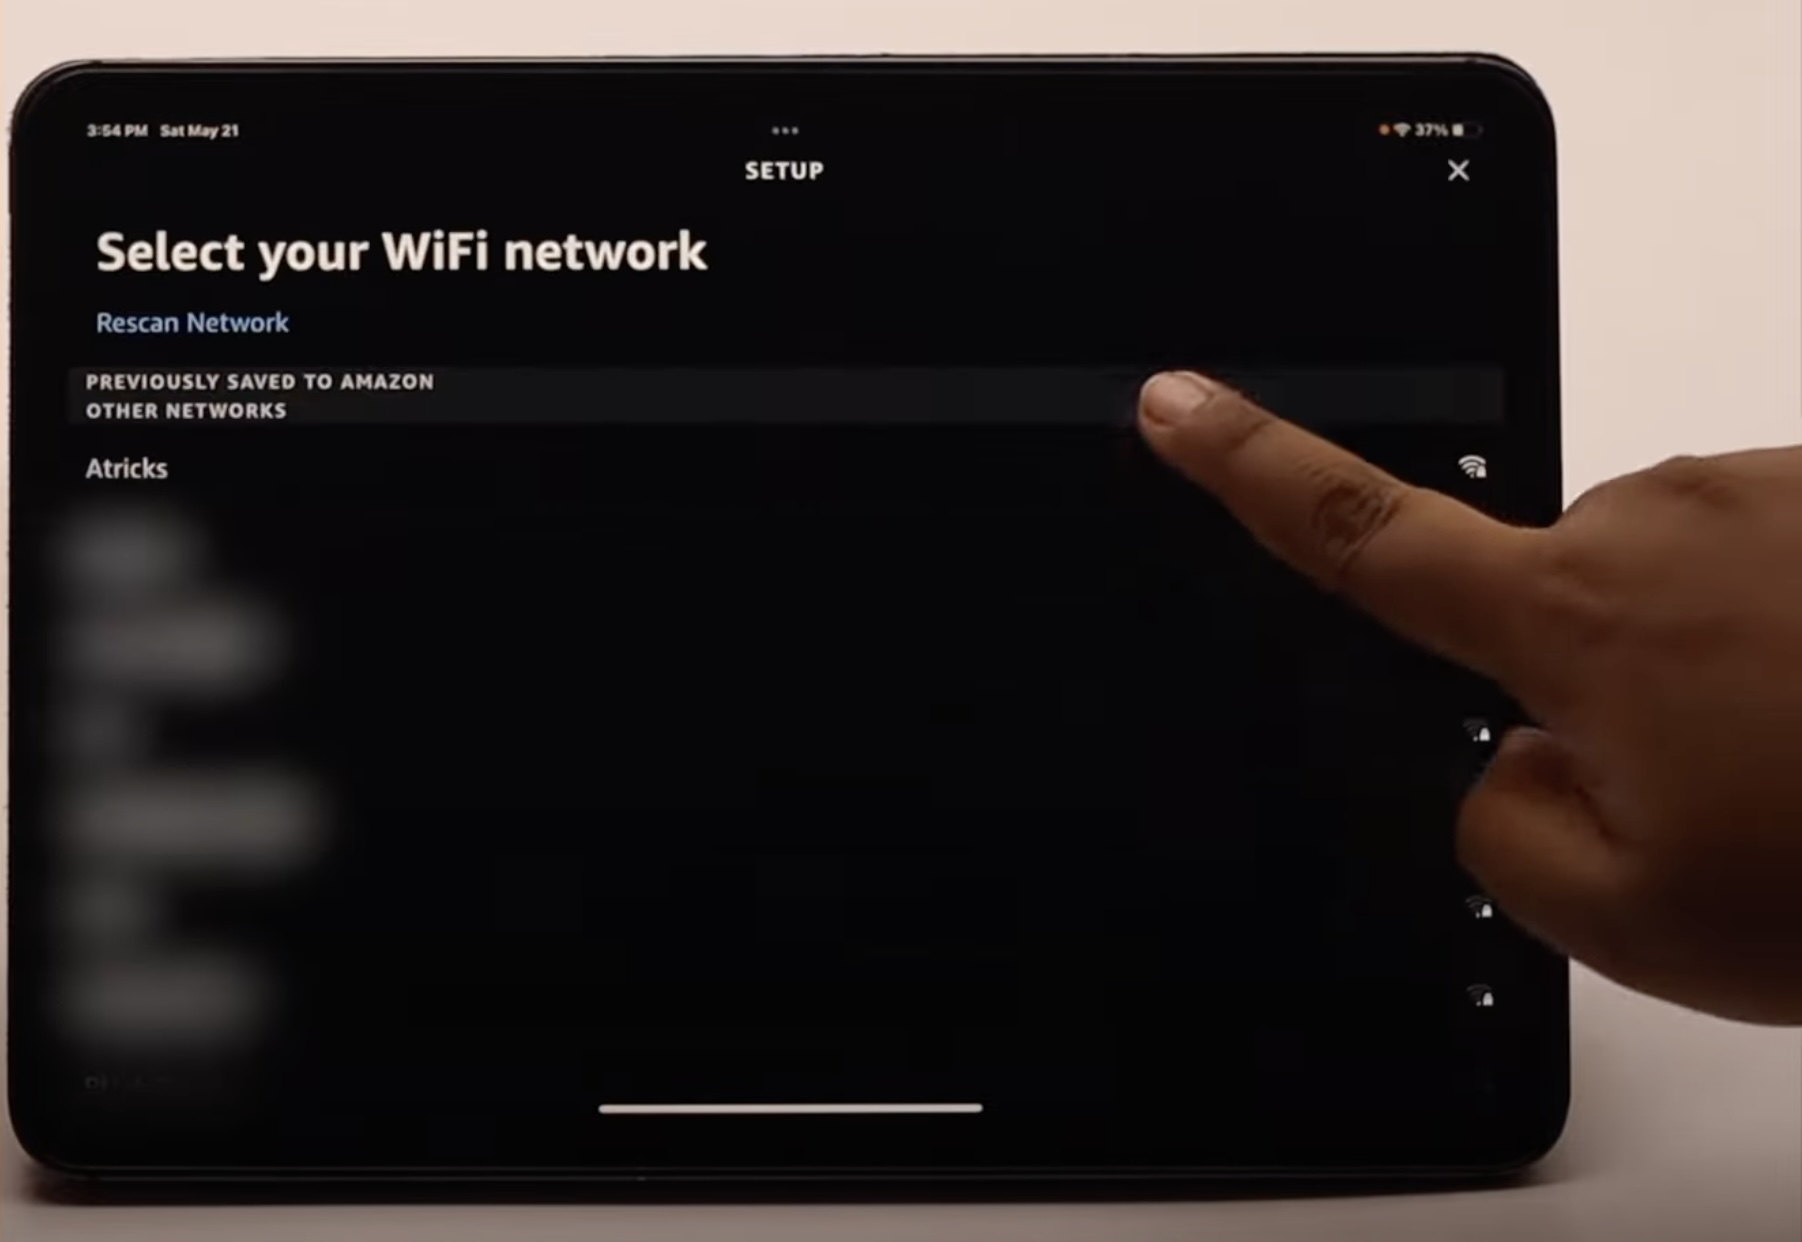
- Accessing the Mobile App: Open the mobile app associated with your smart plug and navigate to the Wi-Fi setup or network configuration section. Look for an option to add a new device or connect to a different Wi-Fi network. Select the appropriate choice to begin the process of pairing the smart plug with the new network.
- Following On-Screen Instructions: Once the smart plug is in Wi-Fi setup mode and the mobile app is ready to pair with a new network, follow the on-screen instructions provided by the app. This typically involves selecting the new Wi-Fi network from a list of available options and entering the network’s password or security credentials.
By connecting your smart plug to a new Wi-Fi network, you are taking the necessary steps to ensure that it remains seamlessly integrated into your smart home ecosystem, regardless of any changes to your network infrastructure.
To change the Wi-Fi on a smart plug, first reset the plug to its factory settings. Then, set up the plug again using the new Wi-Fi network and password.
Step 3: Configuring the Smart Plug with the New Wi-Fi
After successfully connecting your smart plug to the new Wi-Fi network, the final step involves configuring the device to ensure it operates smoothly within the updated network environment. This typically entails verifying the connection, updating any relevant settings, and conducting a test to confirm that the smart plug is functioning as intended. Here’s how you can configure your smart plug with the new Wi-Fi:
- Verifying the Connection: Once the smart plug is connected to the new Wi-Fi network, ensure that it has established a stable and reliable connection. Check the indicator lights on the smart plug or use the mobile app to confirm that it is successfully linked to the new network.
- Updating Device Settings: Access the settings or configuration options within the mobile app to review and update any specific parameters related to the smart plug. This may include assigning a new name to the device, adjusting scheduling or automation settings, and ensuring that any firmware updates are applied to maintain optimal performance.
- Testing the Smart Plug: After configuring the device with the new Wi-Fi network, perform a test to ensure that the smart plug responds to commands and operates as expected. Turn the connected appliance or device on and off using the mobile app to verify that the smart plug’s functionality remains intact within the updated network environment.
By following these steps to configure your smart plug with the new Wi-Fi network, you can rest assured that your smart home device is seamlessly integrated and ready to continue enhancing your daily routines with its convenient features and remote control capabilities.
Conclusion
Congratulations! You have successfully navigated the process of changing the Wi-Fi network on your smart plug, ensuring that it remains connected and functional within your smart home ecosystem. By following the steps outlined in this guide, you have empowered yourself to adapt to changes in your network infrastructure, whether it’s due to a new router, a different location, or an upgrade to your home’s Wi-Fi setup.
As you embrace the convenience and control offered by smart home devices, it’s essential to be equipped with the knowledge and confidence to manage and configure these technologies. The ability to change the Wi-Fi network on your smart plug not only demonstrates your technical prowess but also ensures that your smart home remains seamlessly integrated and responsive to your needs.
Remember, the process begins with accessing the smart plug, initiating the connection to a new Wi-Fi network, and then configuring the device to operate optimally within the updated network environment. By taking these steps, you are actively maintaining the functionality and reliability of your smart plug, allowing it to continue enhancing your daily routines and providing you with the convenience and peace of mind that smart home devices offer.
With this newfound knowledge, you are well-equipped to adapt to changes in your network setup and confidently manage the connectivity of your smart plug. Embrace the possibilities that smart home technology brings, and continue to explore the ways in which it can simplify and enrich your lifestyle.
Frequently Asked Questions about How To Change Wi-Fi On Smart Plug
Was this page helpful?
At Storables.com, we guarantee accurate and reliable information. Our content, validated by Expert Board Contributors, is crafted following stringent Editorial Policies. We're committed to providing you with well-researched, expert-backed insights for all your informational needs.


0 thoughts on “How To Change Wi-Fi On Smart Plug”