Home>Articles>How Long Do You Cook Boneless Chicken Breast In An Electric Pressure Cooker
Articles
How Long Do You Cook Boneless Chicken Breast In An Electric Pressure Cooker
Modified: August 17, 2024
Discover the perfect cooking time for boneless chicken breast in an electric pressure cooker with our informative articles.
(Many of the links in this article redirect to a specific reviewed product. Your purchase of these products through affiliate links helps to generate commission for Storables.com, at no extra cost. Learn more)
Introduction
When it comes to cooking boneless chicken breast, using an electric pressure cooker is a game-changer. This versatile kitchen appliance not only saves you time and energy, but it also locks in the flavors and moisture of the chicken, resulting in tender and succulent meat. Whether you’re a busy professional, a home cook looking for efficiency, or simply someone who enjoys delicious meals, an electric pressure cooker can be your best friend in the kitchen.
In this article, we will explore the benefits of using an electric pressure cooker for cooking boneless chicken breast and guide you through the process, from preparation to serving. So, grab your apron and let’s delve into the world of electric pressure cooking!
Key Takeaways:
- Cooking boneless chicken breast in an electric pressure cooker offers time-saving, energy efficiency, and tender, juicy results. Prepare, cook, and enjoy delicious meals with ease, thanks to the versatile nature of this kitchen appliance.
- After cooking, ensure the chicken breast reaches an internal temperature of 165°F for safety. Explore serving options and store leftovers following food safety guidelines. Embrace the convenience and flavor of electric pressure cooking for delightful meals.
Benefits of Using an Electric Pressure Cooker
There are numerous benefits to using an electric pressure cooker for cooking boneless chicken breast. Here are some of the key advantages:
- Time-Saving: One of the biggest advantages of an electric pressure cooker is its ability to cook food faster. The high-pressure environment significantly reduces cooking time, allowing you to enjoy a delicious chicken breast dish in a fraction of the time it would take using traditional cooking methods.
- Energy Efficiency: Electric pressure cookers are designed to be energy efficient, using less electricity compared to other cooking appliances. The enclosed cooking environment and efficient heat distribution help to conserve energy while delivering perfectly cooked chicken breast.
- Retains Nutrients: Unlike boiling or steaming, electric pressure cooking helps to retain the nutrients in the chicken breast. The shorter cooking time limits nutrient loss, ensuring that you get a highly nutritious and flavorful meal.
- Tender and Juicy Results: The sealed environment of the pressure cooker helps to trap steam and moisture, resulting in tender and juicy chicken breast. The high pressure breaks down the fibers, making the meat incredibly tender and flavorful.
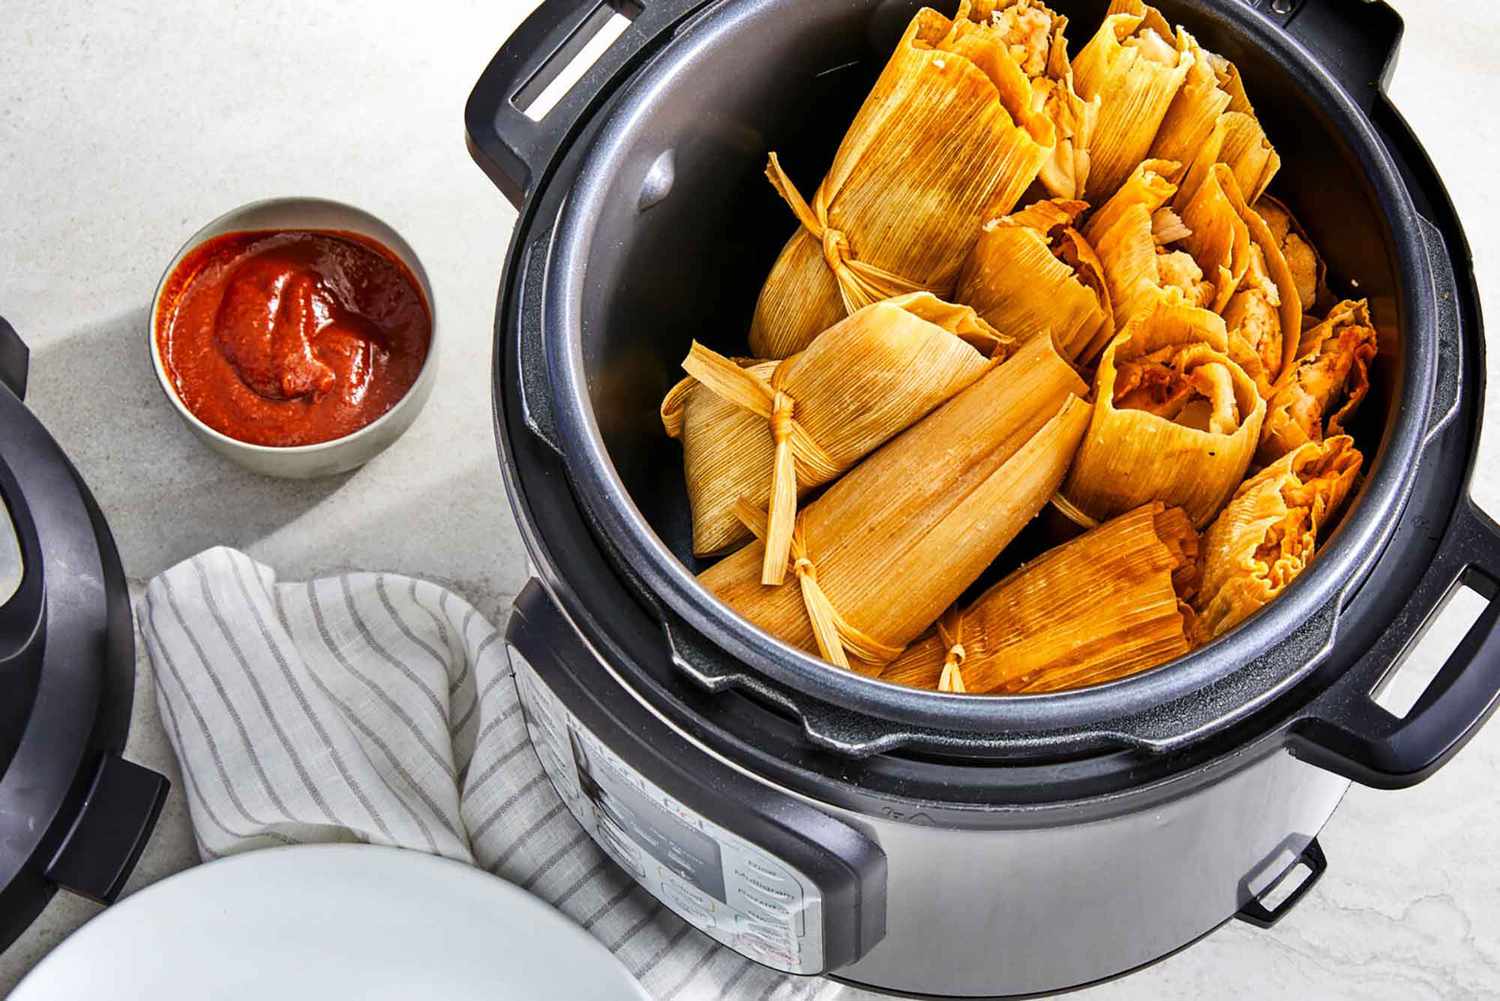
- Versatility: Electric pressure cookers are incredibly versatile appliances. Apart from cooking boneless chicken breast, you can use it for various other recipes like soups, stews, rice dishes, and even desserts.
- Convenient One-Pot Cooking: With an electric pressure cooker, you can easily prepare your boneless chicken breast and accompanying ingredients in a single pot. This minimizes the cleanup process and reduces the number of dishes you need to wash.
Overall, using an electric pressure cooker for cooking boneless chicken breast offers a range of benefits, including saving time, energy efficiency, retaining nutrients, tender and juicy results, versatility, and convenient one-pot cooking. Now that you understand the advantages, let’s move on to the next step: preparing the boneless chicken breast for cooking.
Preparing Boneless Chicken Breast for Cooking
Before you begin cooking boneless chicken breast in an electric pressure cooker, it’s important to properly prepare the meat. Follow these steps to ensure a delicious and safe cooking experience:
- Trimming: Start by trimming any excess fat or connective tissue from the chicken breast. This will help prevent the meat from becoming chewy during the cooking process. Use a sharp knife to carefully trim off any unwanted parts.
- Seasoning: Season the chicken breast with your desired spices and seasonings. This is where you can get creative! You can stick with classic flavors like salt, pepper, and garlic powder, or experiment with herbs and spices like paprika, thyme, or cumin. Rub the seasonings onto both sides of the chicken breast to infuse it with flavor.
- Marinating: If you have some extra time, consider marinating the chicken breast for added flavor and tenderness. You can use a simple marinade of olive oil, lemon juice, and herbs, or explore different marinade recipes according to your taste preferences. Place the chicken breast in a sealed bag or a covered container and let it marinate in the refrigerator for at least 30 minutes or up to overnight.
- Brining: Another option to enhance the juiciness of the chicken breast is to brine it. To prepare a basic brine, dissolve salt and sugar in water and submerge the chicken breast in the solution for 30 minutes to 1 hour. After brining, rinse the chicken breast thoroughly under cold running water to remove any excess salt.
- Patting Dry: Before placing the chicken breast in the electric pressure cooker, make sure to pat it dry using a paper towel. Removing excess moisture from the surface of the meat will help with browning and searing during the cooking process.
By following these preparation steps, you’ll have a well-seasoned and ready-to-cook boneless chicken breast. Now, let’s move on to the next step: setting up the electric pressure cooker.
Setting up the Electric Pressure Cooker
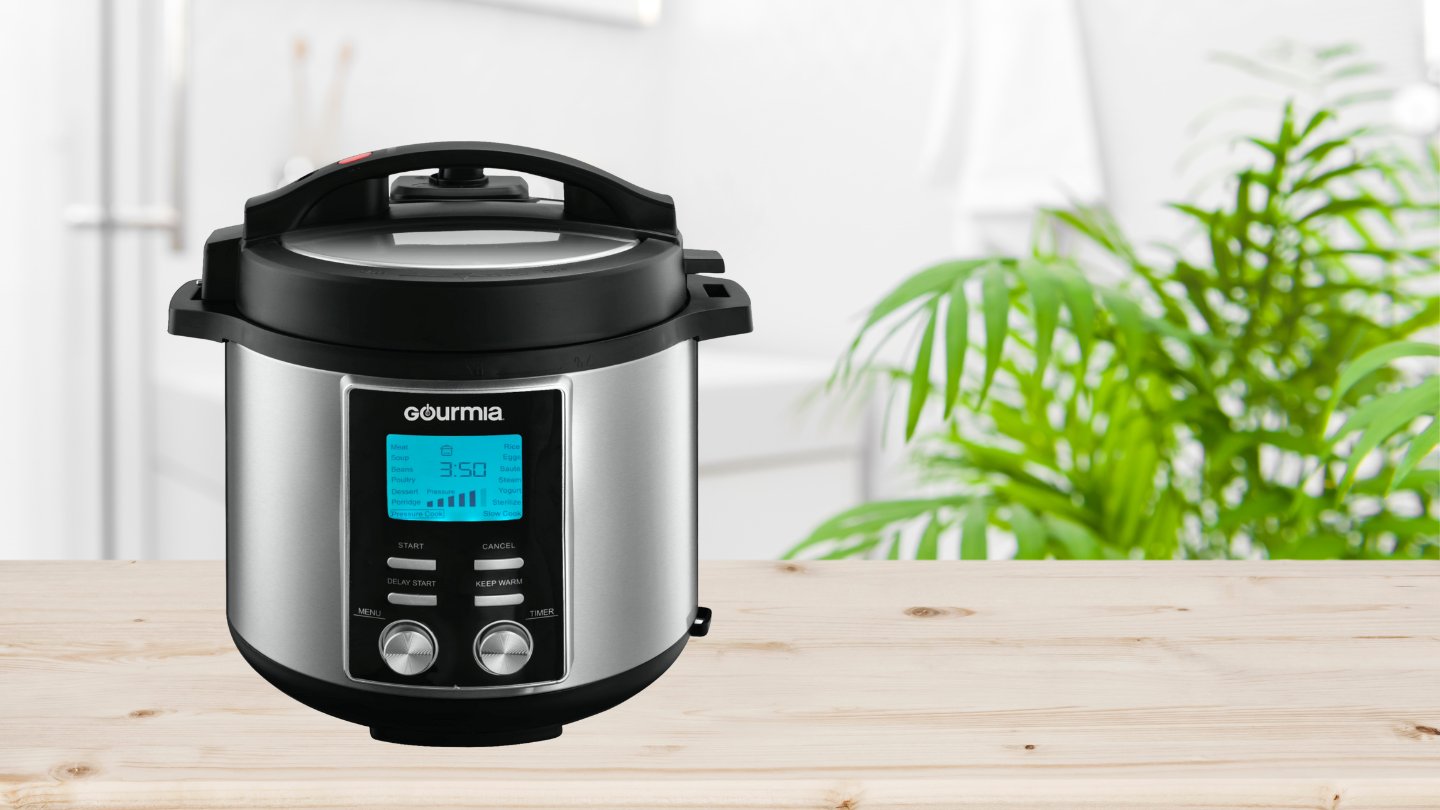
Setting up the electric pressure cooker properly is essential for a successful cooking experience. Here’s how to get your appliance ready:
- Read the Manual: Before you begin, take the time to read the instruction manual that comes with your electric pressure cooker. Familiarize yourself with the different parts, functions, and safety precautions specific to your model.
- Check the Sealing Ring: The sealing ring is a crucial component that helps create a tight seal for pressure cooking. Inspect the sealing ring to ensure there are no cracks or damage. Replace it if necessary to prevent leaks during cooking.
- Insert the Cooking Pot: Place the cooking pot into the electric pressure cooker. Make sure it is clean and dry before inserting it. Most pressure cookers have a removable pot for easy cleaning.
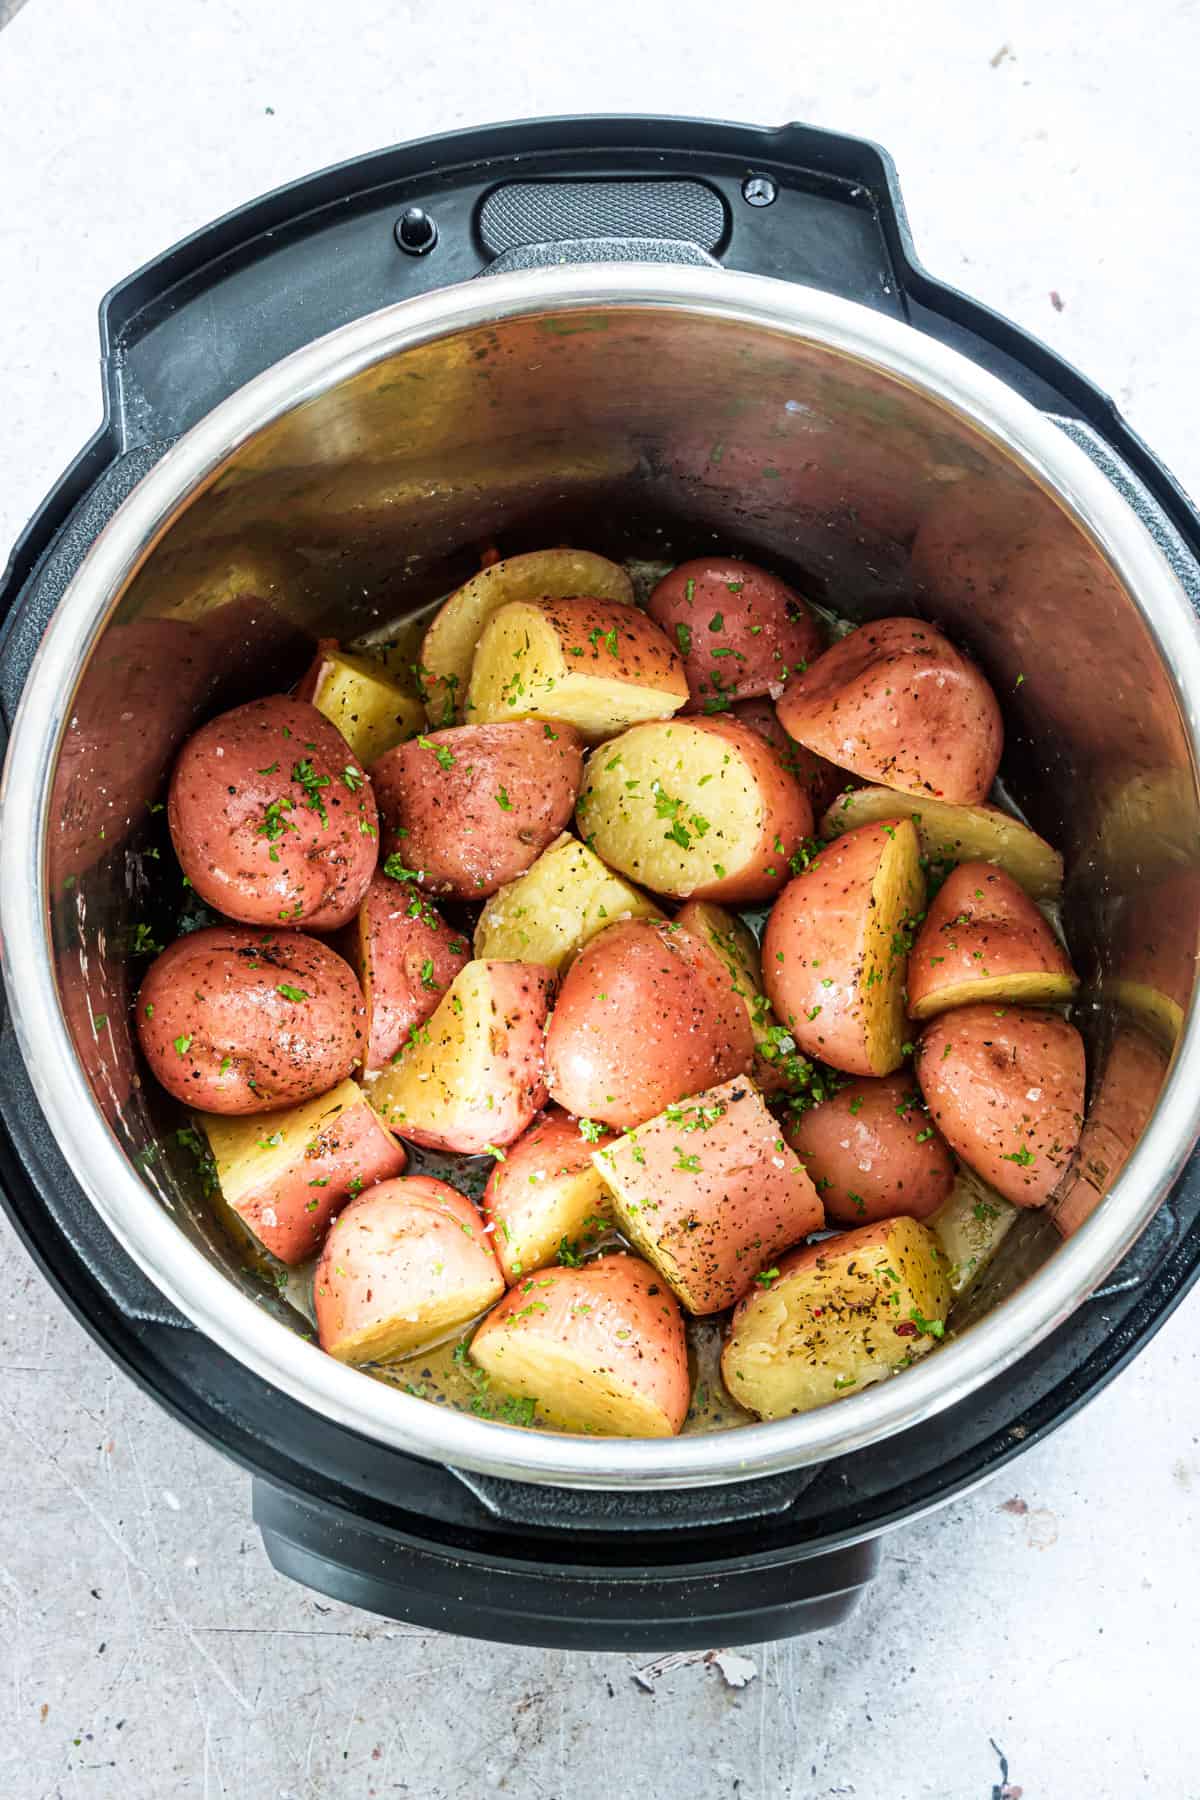
- Add Liquid: Add the required amount of liquid to the cooking pot. The liquid can be water, broth, or any flavorful liquid of your choice. It is essential to have enough liquid to create steam and build pressure, but be careful not to exceed the maximum fill line indicated in the pressure cooker.
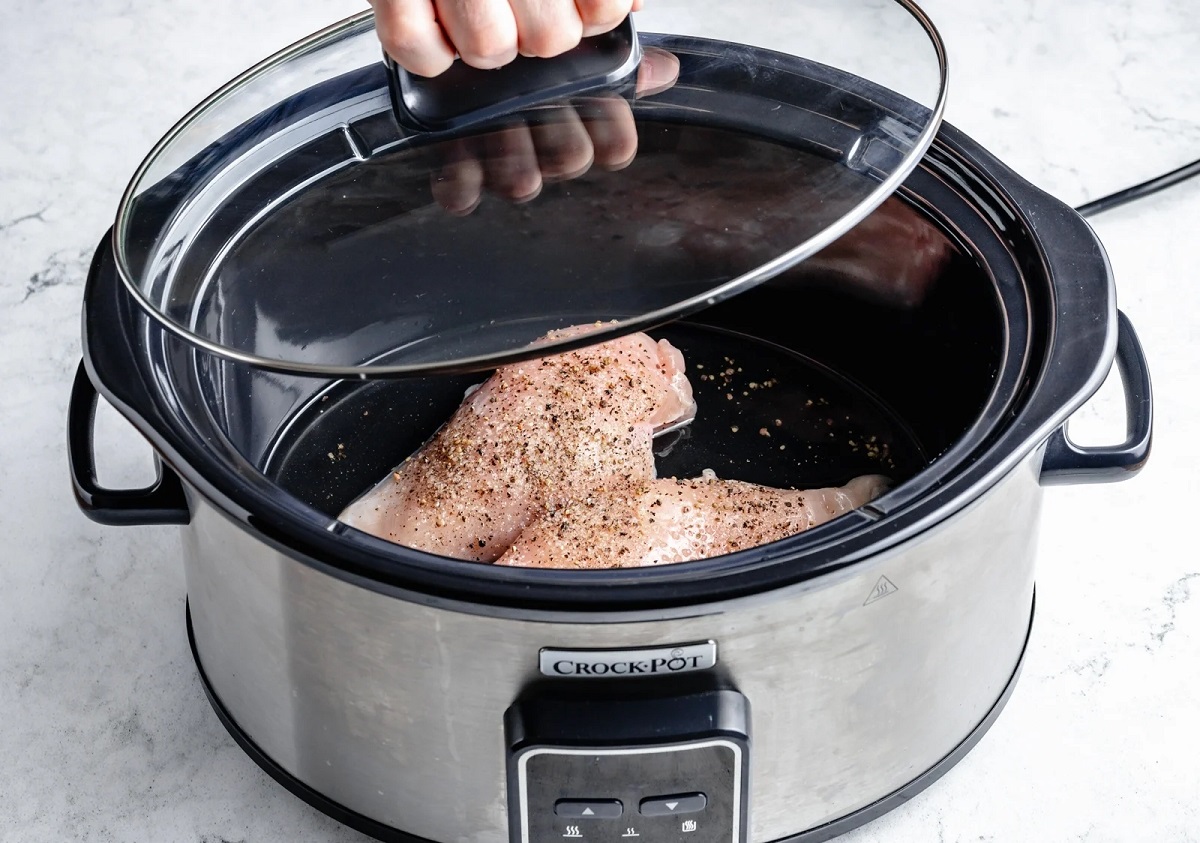
- Attach the Lid: Securely attach the lid to the pressure cooker. Ensure that the venting knob or valve is in the “Sealing” position. This will prevent steam from escaping during cooking.
- Plug in the Electric Pressure Cooker: Plug the electric pressure cooker into a power outlet and make sure it is properly connected.
Once your electric pressure cooker is set up and ready, it’s time to move on to the next step: cooking the boneless chicken breast. Stay tuned!
Cooking Boneless Chicken Breast in an Electric Pressure Cooker
Now that your electric pressure cooker is set up and ready to go, it’s time to cook your boneless chicken breast to perfection. Follow these steps for a delicious and hassle-free cooking process:
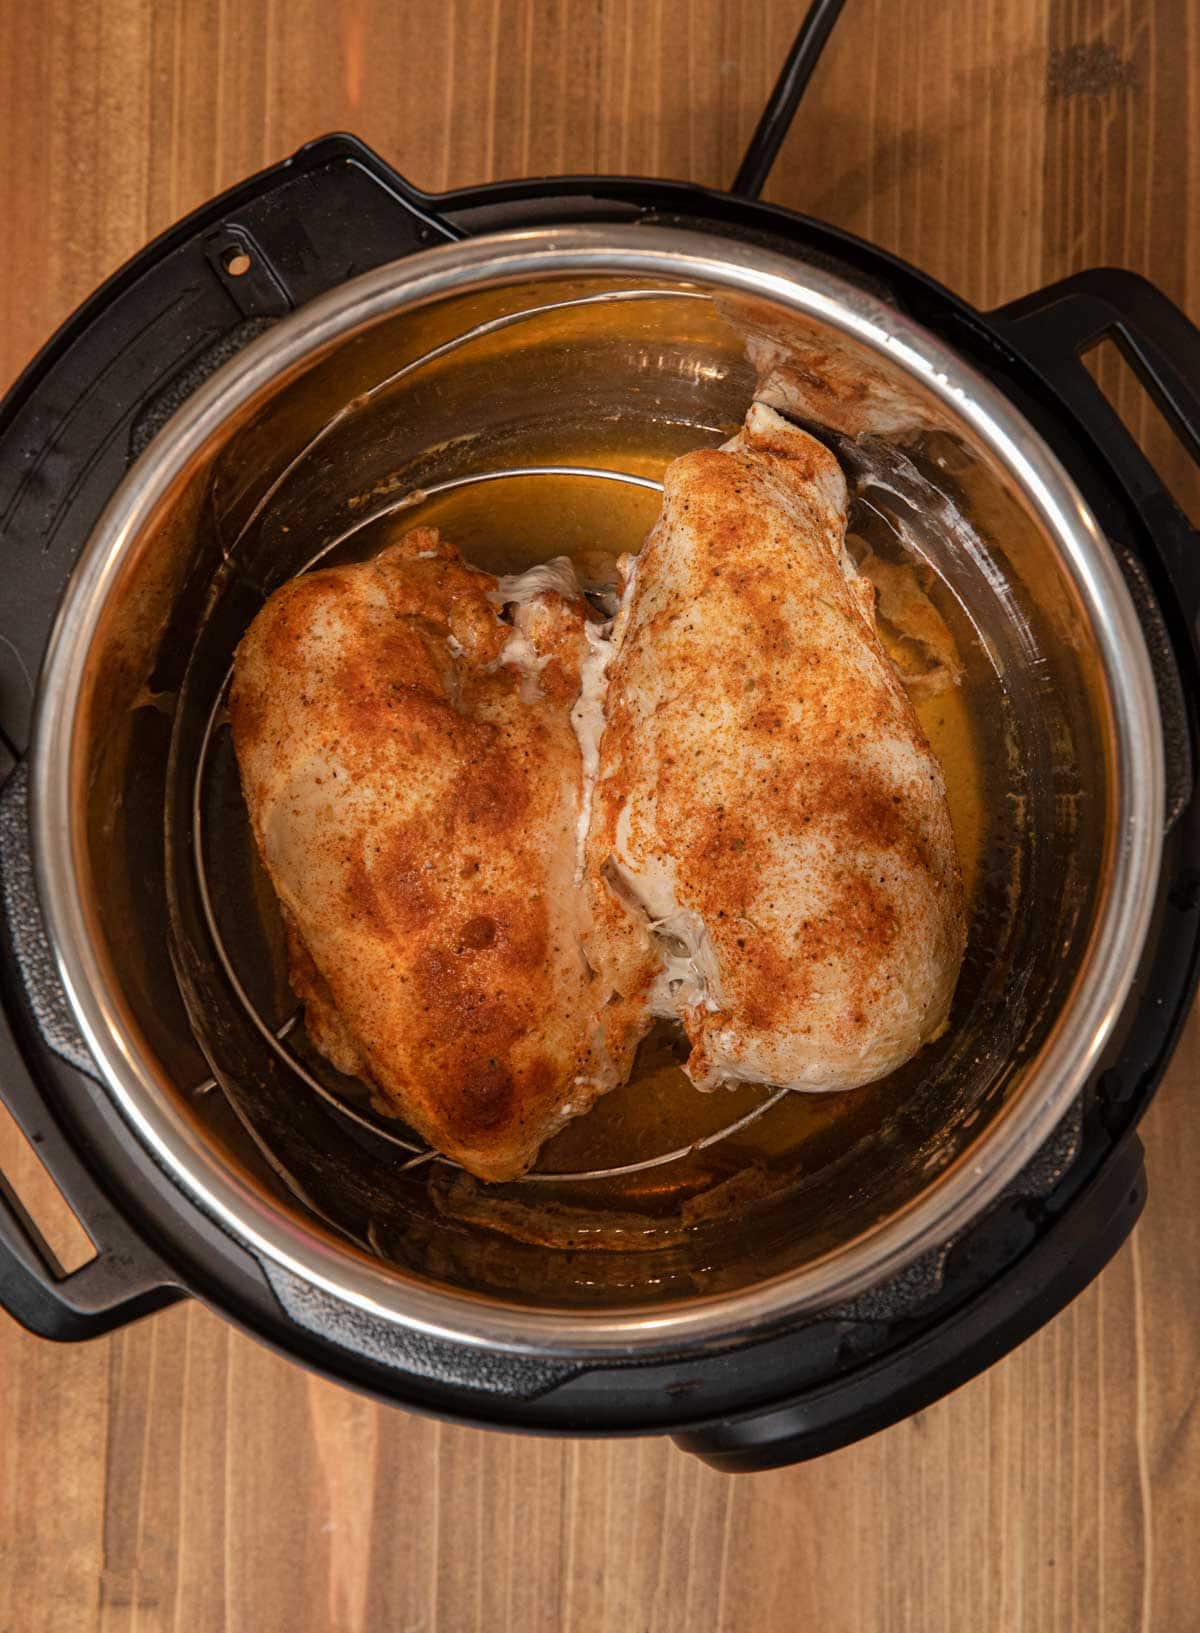
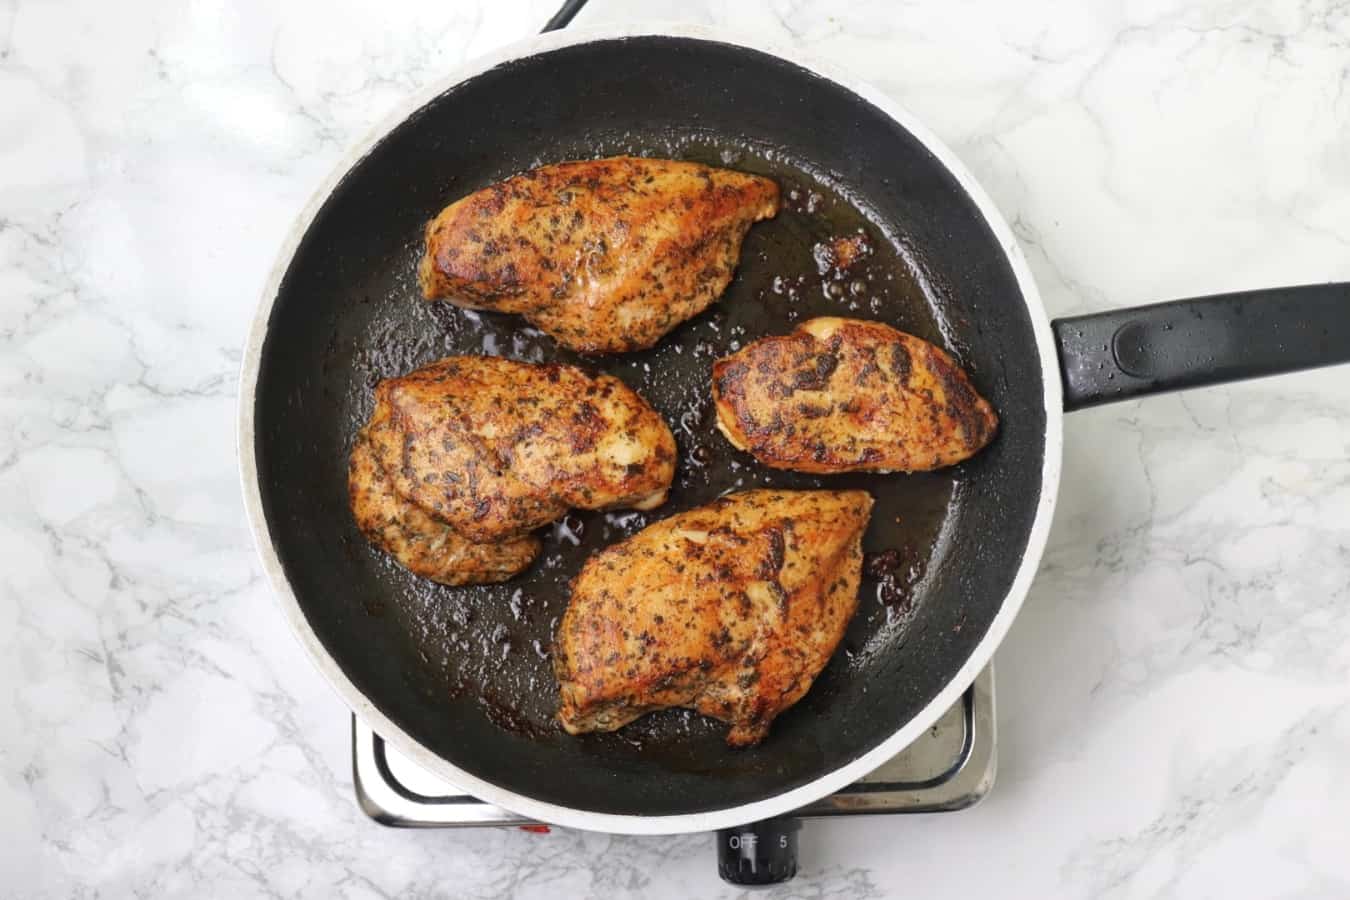
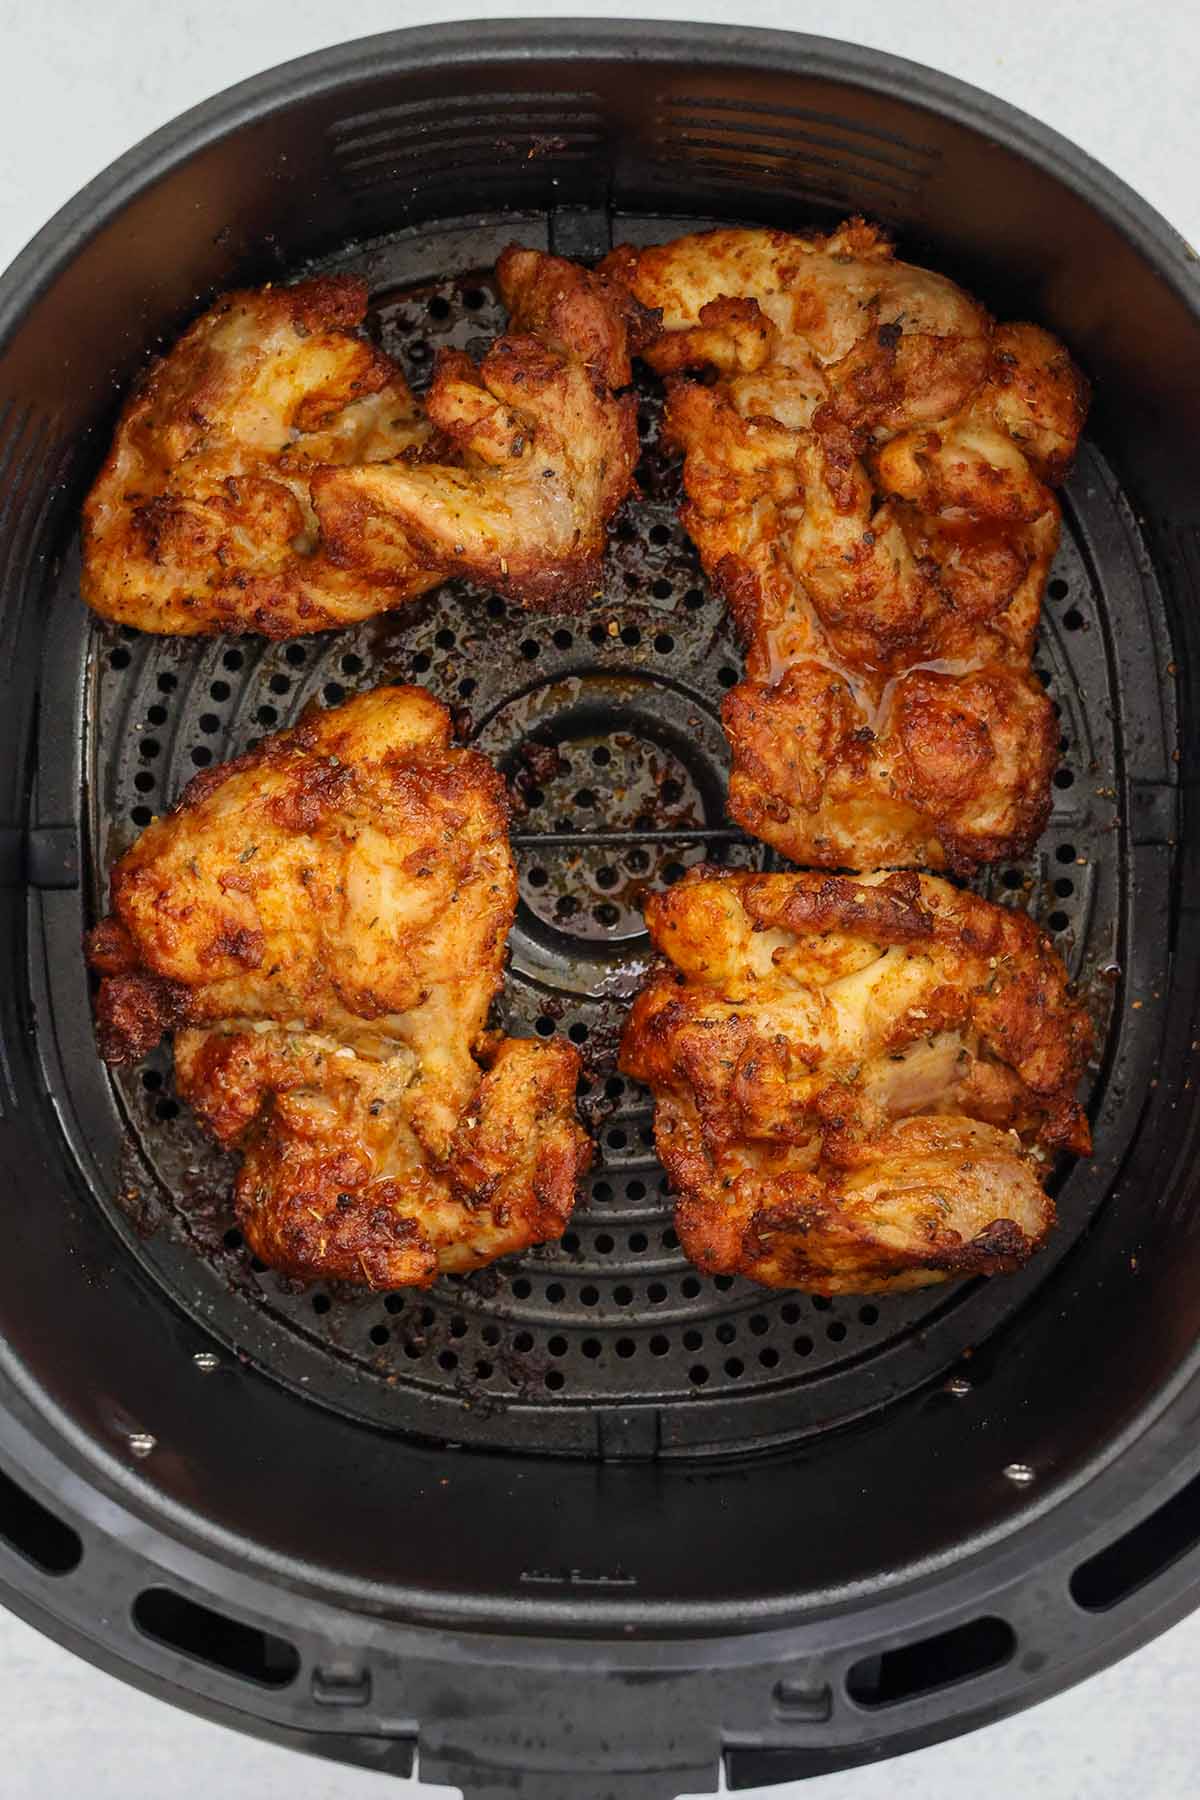
- Sear the Chicken: Set your electric pressure cooker to the sauté or browning function. Add a small amount of cooking oil or butter to the pot and let it heat up. Place the seasoned chicken breast in the pot and sear each side for a few minutes until it develops a golden brown crust. Searing adds extra flavor and enhances the texture of the chicken.
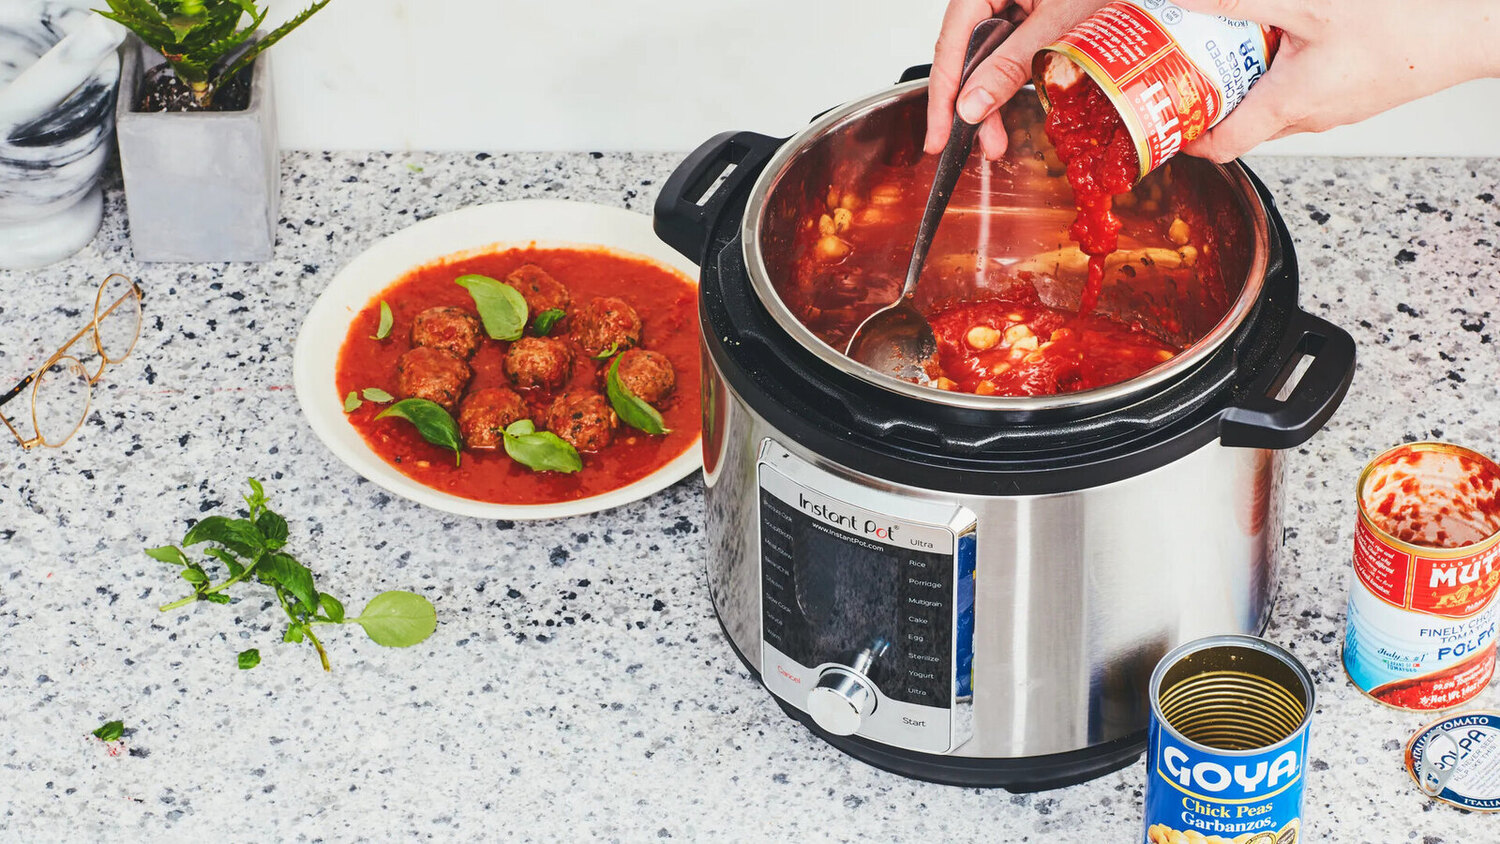
- Add Liquid and Flavorings: Once the chicken is seared, remove it from the pot and set it aside temporarily. Add more liquid to the pot if needed, such as broth or flavored sauces, to provide moisture and enhance the taste of the chicken. You can also add additional herbs, spices, or aromatics at this stage for more flavor.
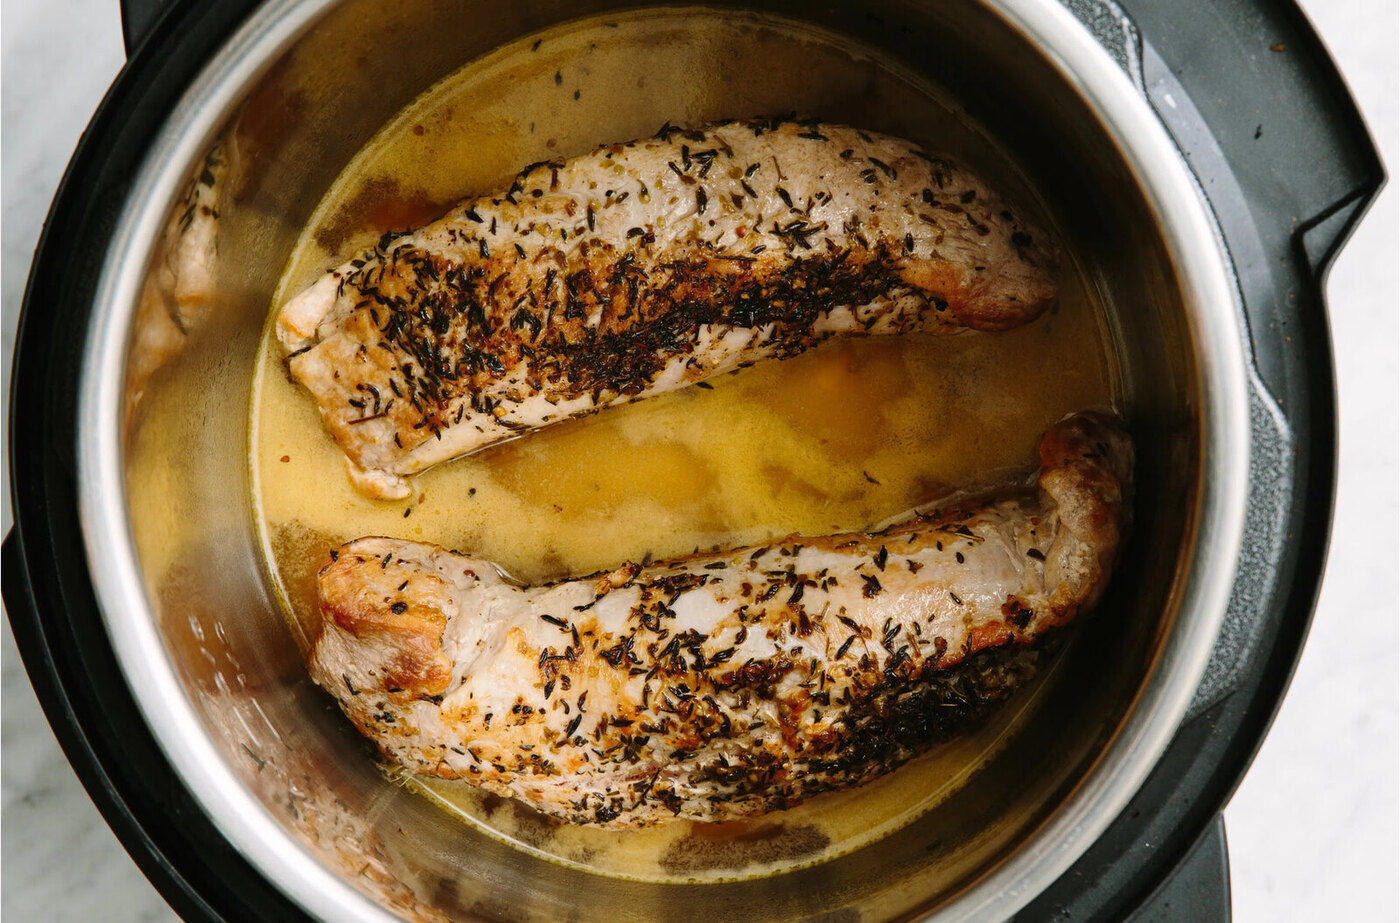
- Place the Chicken Back into the Pot: Return the seared chicken breast to the pot, ensuring that it is submerged in the liquid. Close the lid securely.
- Select Cooking Time and Pressure Level: Set the desired cooking time and pressure level on your electric pressure cooker. The cooking time will vary depending on the thickness and size of the chicken breast. As a general guideline, boneless chicken breast typically cooks in around 6 to 8 minutes under high pressure. Follow the manufacturer’s instructions for your specific model.
- Start the Cooking Process: Once you’ve set the cooking time and pressure level, start the cooking process by pressing the appropriate buttons on your electric pressure cooker. The cooker will take a few minutes to reach the desired pressure level before the cooking time starts counting down.
- Allow for Natural Release: After the cooking time is complete, let the pressure release naturally. This means allowing the pressure inside the cooker to come down on its own without any intervention. Depending on the model and the amount of food, natural pressure release can take anywhere from 10 to 20 minutes.
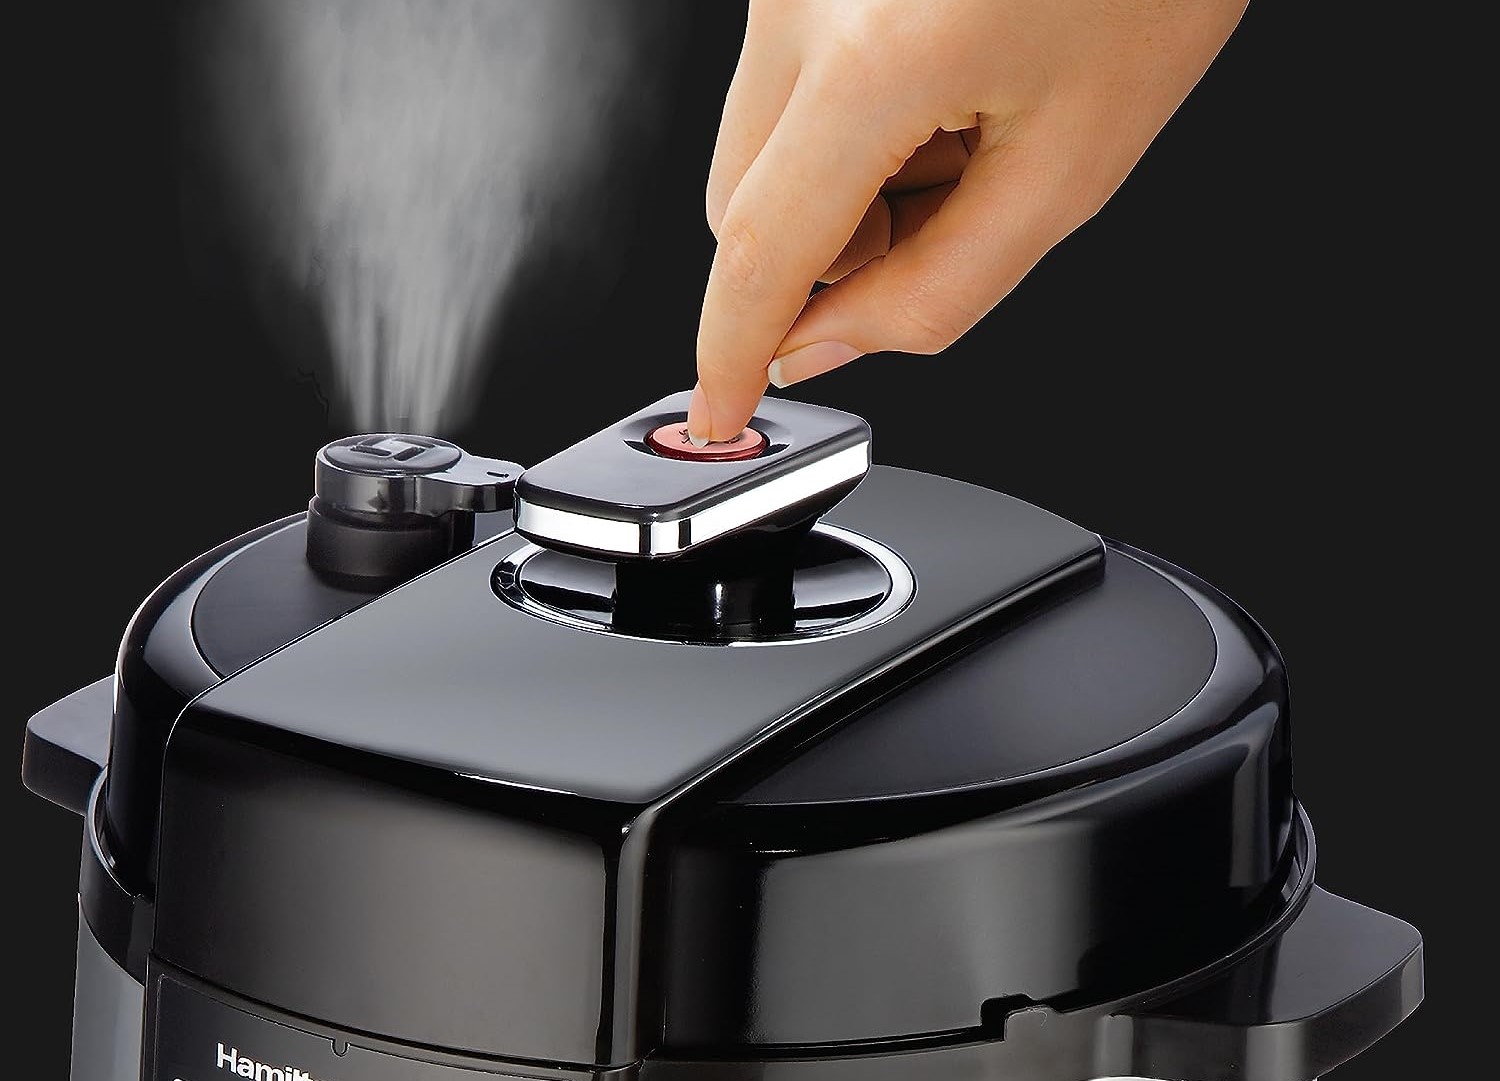
- Quick Release (Optional): If you’re short on time, you can opt for a quick release of pressure. This can be done by carefully turning the pressure release valve to the venting position, using a long spoon or tongs to avoid steam burns. However, keep in mind that a quick release may result in slightly drier chicken compared to a natural release.
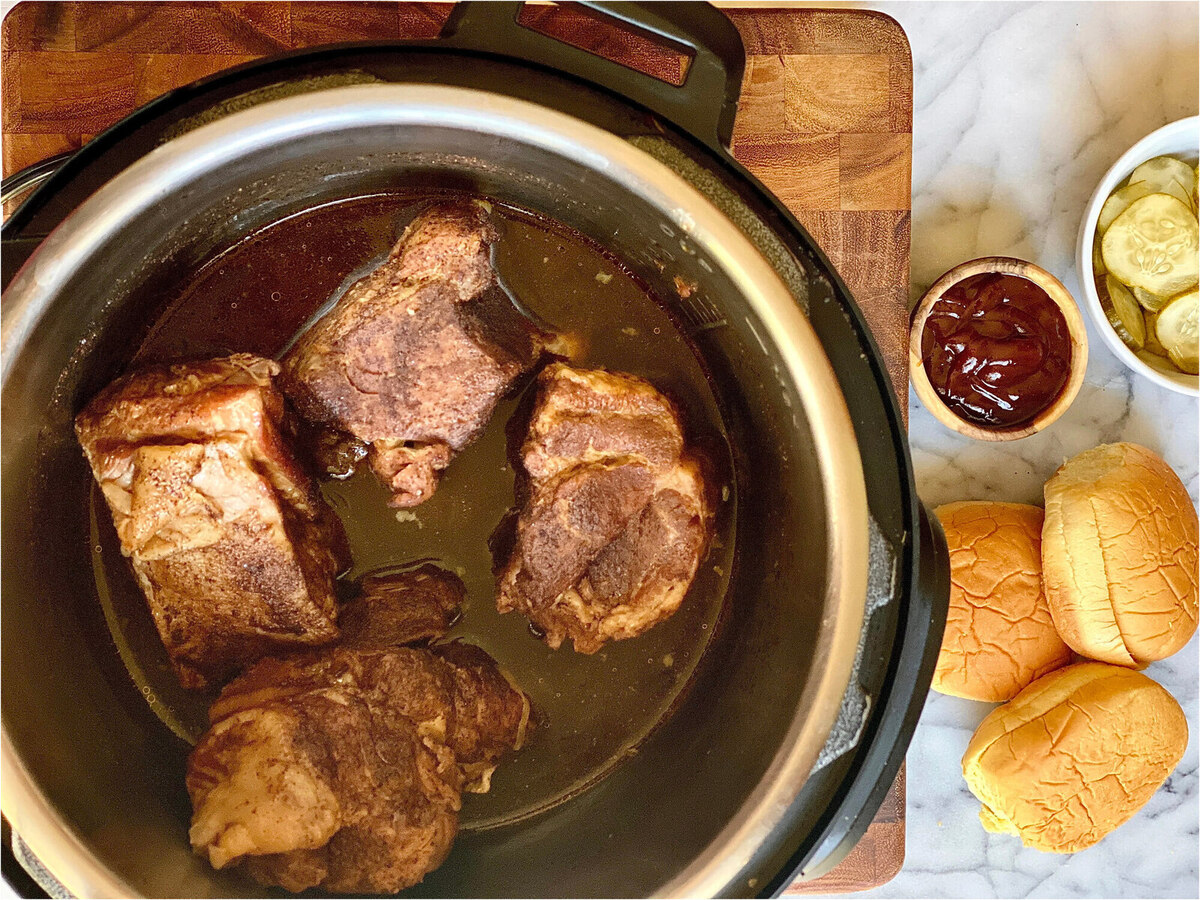
Once the pressure has been fully released, it is safe to open the lid of your electric pressure cooker. Your boneless chicken breast should be tender and cooked to perfection. However, before diving in, it’s essential to check for doneness. Let’s explore how to do it in the next section.
For boneless chicken breast in an electric pressure cooker, cook for 6-8 minutes on high pressure, then do a quick release. Always ensure the internal temperature reaches 165°F for safety.
Release Methods for Pressure Cooked Chicken Breast
After cooking boneless chicken breast in an electric pressure cooker, you have two options for releasing the pressure: natural release and quick release. Let’s take a closer look at each method:
- Natural Release: Natural release is the preferred method for most pressure-cooked meats, including chicken breast. After the cooking time is complete, allow the pressure to release naturally. This involves leaving the electric pressure cooker untouched and allowing the internal pressure to decrease on its own. This process can take anywhere from 10 to 20 minutes. Natural release helps the chicken breast retain its juices and results in a more tender and moist final product.
- Quick Release: If you’re short on time and want to speed up the pressure release, you can opt for a quick release. After the cooking time is complete, carefully turn the pressure release valve to the venting position. This will release the steam and pressure rapidly. However, keep in mind that the steam released during a quick release is hot, so take precautions to avoid steam burns. Quick release is a suitable option if you’re in a rush, but be aware that it may result in slightly drier chicken breast compared to natural release.
Choose the release method that best suits your schedule and preferences. Remember to always follow the manufacturer’s guidelines for your specific electric pressure cooker model. Once the pressure has been released, it’s time to check the doneness of the chicken breast. Let’s dive into that in the next section.
Checking the Doneness of Boneless Chicken Breast
Ensuring that your boneless chicken breast is cooked to the proper internal temperature is crucial for both flavor and food safety. Here’s how you can check the doneness of your chicken breast:
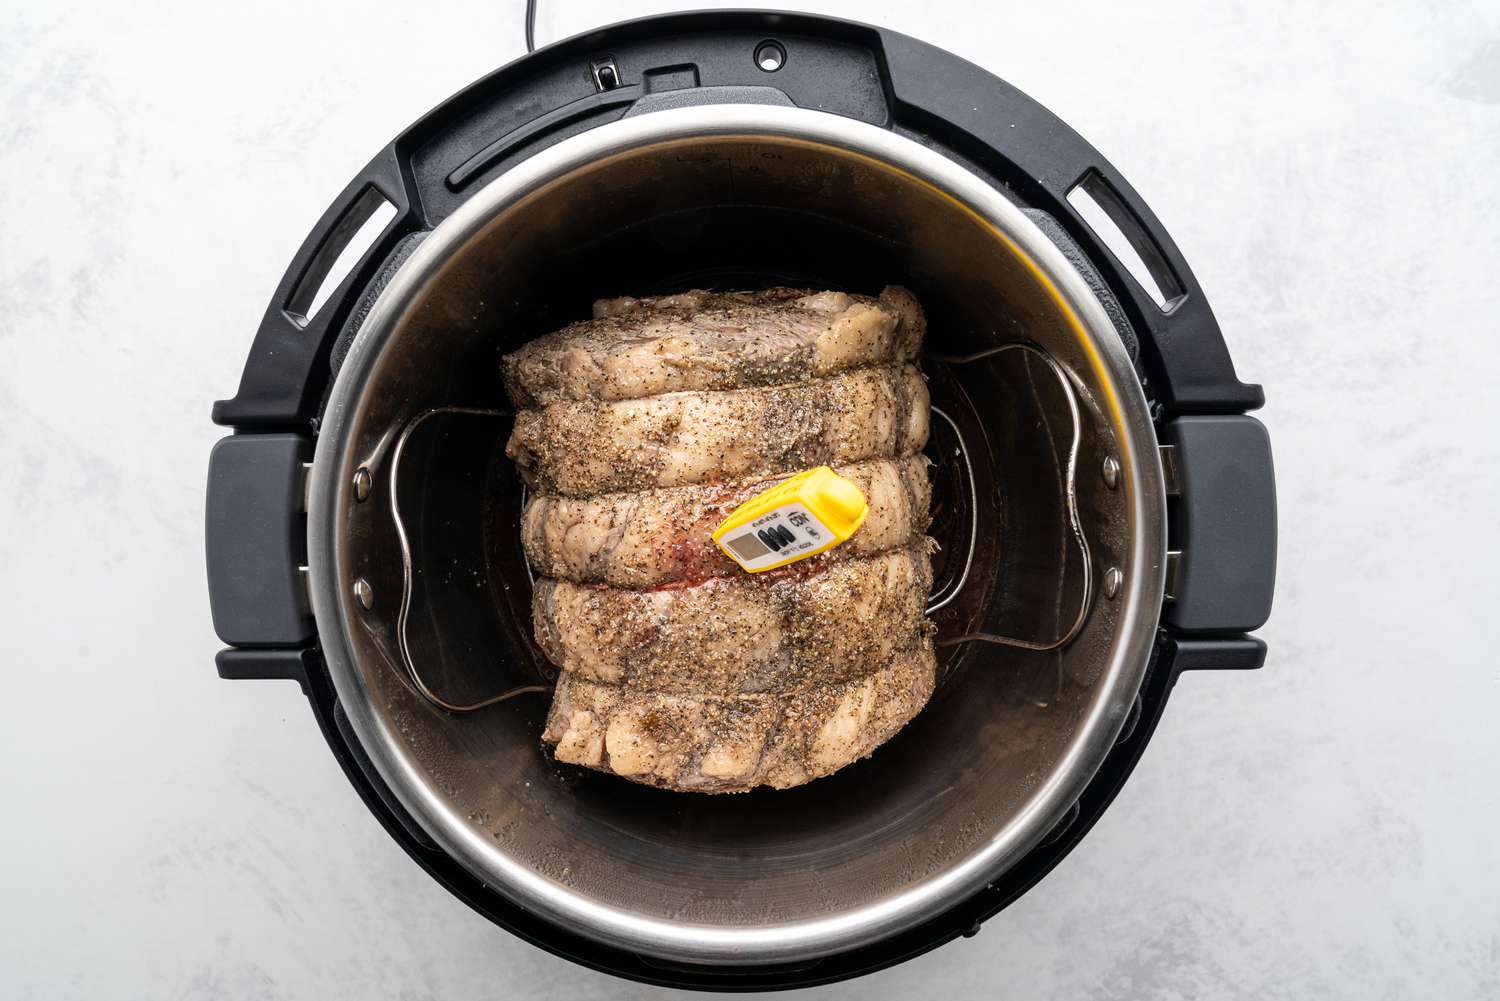
- Use a Meat Thermometer: The most accurate way to determine if the chicken breast is done is by using a meat thermometer. Insert the thermometer into the thickest part of the chicken without touching the bone. The internal temperature should register at least 165°F (74°C) for fully cooked chicken.
- Check the Color and Texture: If you don’t have a meat thermometer, you can visually inspect the chicken breast for doneness. Cut into the thickest part of the meat, and the juices should run clear without any traces of pink. The texture should be firm but still moist and tender.
- Check for Residual Heat: Keep in mind that the chicken breast will continue to cook slightly even after removing it from the pressure cooker. Therefore, it’s best to remove the chicken from the electric pressure cooker a few degrees below the desired temperature to account for residual heat. Allow the chicken to rest for a few minutes before serving to allow the juices to redistribute.
It’s essential to ensure that your chicken breast is fully cooked to prevent any potential foodborne illnesses. By using a meat thermometer or visually inspecting the chicken, you can be confident that your boneless chicken breast is safe to consume and enjoy. Now, let’s move on to the final steps: serving and storing the cooked chicken breast.
Serving and Storing the Cooked Chicken Breast
Once your boneless chicken breast is cooked to perfection, it’s time to savor the delicious flavors. Here are some tips for serving and storing your cooked chicken breast:
- Serving Suggestions: There are countless ways to enjoy your cooked chicken breast. You can serve it as a standalone main dish, slice it and use it in sandwiches or wraps, shred it for salads or tacos, or incorporate it into stir-fries or pasta dishes. Get creative and explore different recipes to make the most of your tender and flavorful chicken breast.
- Let it Rest: Before slicing or serving the chicken breast, allow it to rest for a few minutes. This allows the juices to distribute evenly, resulting in a more flavorful and succulent final product. Cover the chicken loosely with foil to keep it warm during the resting period.
- Refrigerating Leftovers: If you have any leftovers, cool the cooked chicken breast completely before placing it in an airtight container. Store it in the refrigerator for up to 3-4 days. To maintain the moisture and quality of the meat, consider storing it in a sealed container with a drizzle of the cooking liquid or broth.
- Freezing: If you have a larger quantity of cooked chicken breast that you won’t be able to finish within a few days, freezing is an excellent option. Portion the chicken into freezer-safe bags or containers, removing as much air as possible. Properly sealed, it can be kept in the freezer for up to 3 months.
- Reheating: When you’re ready to enjoy your leftover chicken breast, gently reheat it to maintain its tenderness. You can reheat it in the microwave, oven, or stovetop. To prevent dryness, consider adding a splash of broth or sauce before reheating.
Remember to always handle and store cooked chicken breast following food safety guidelines. Properly storing and reheating leftovers will help maintain their flavor and texture and minimize any potential risks.
Now that you know how to serve and store your cooked chicken breast, you’re ready to enjoy the fruits of your labor. With an electric pressure cooker, cooking boneless chicken breast has never been easier and more delicious. Happy cooking!
Conclusion
Using an electric pressure cooker to cook boneless chicken breast is a fantastic way to save time, energy, and effort in the kitchen. The benefits of this versatile appliance, such as its ability to retain nutrients, shorten cooking time, and deliver tender and juicy results, make it a must-have for any home cook.
By following the step-by-step guide outlined in this article, you can confidently prepare and cook boneless chicken breast in your electric pressure cooker. From the proper preparation of the meat to setting up the cooker and selecting the appropriate cooking time and pressure level, every step is crucial in achieving a delicious end result.
Remember to check the doneness of the chicken breast using a meat thermometer or by visually inspecting its color and texture. Ensuring that the meat reaches an internal temperature of 165°F (74°C) is essential for both flavor and food safety.
Once your boneless chicken breast is cooked, you have a myriad of serving options. Whether you choose to enjoy it as a standalone dish, incorporate it into other recipes, or store it for later use, there are endless possibilities to explore. Just make sure to handle and store the cooked chicken safely, following proper food storage guidelines.
An electric pressure cooker is a valuable tool that can simplify and elevate your cooking experience. Its time-saving, energy-efficient, and versatile nature allows you to create delicious meals with ease. So, embrace the power of the electric pressure cooker and enjoy tender and flavorful boneless chicken breast in a fraction of the time it would take using traditional cooking methods.
With the knowledge and tips provided in this article, you’re now equipped to embark on your culinary adventures and impress your family and friends with your mastery of cooking boneless chicken breast in an electric pressure cooker. Happy cooking and bon appétit!
Frequently Asked Questions about How Long Do You Cook Boneless Chicken Breast In An Electric Pressure Cooker
Was this page helpful?
At Storables.com, we guarantee accurate and reliable information. Our content, validated by Expert Board Contributors, is crafted following stringent Editorial Policies. We're committed to providing you with well-researched, expert-backed insights for all your informational needs.
0 thoughts on “How Long Do You Cook Boneless Chicken Breast In An Electric Pressure Cooker”