Home>Articles>How Long Do You Cook A Boston Butt In An Electric Pressure Cooker?
Articles
How Long Do You Cook A Boston Butt In An Electric Pressure Cooker?
Modified: December 6, 2023
Discover the perfect cooking time for a Boston Butt in an electric pressure cooker. Explore our informative articles and become a pressure cooking expert!
(Many of the links in this article redirect to a specific reviewed product. Your purchase of these products through affiliate links helps to generate commission for Storables.com, at no extra cost. Learn more)
Introduction
Are you a fan of tender, flavorful pulled pork? If so, then you’ve probably heard of the popular cut known as the Boston butt. This versatile cut comes from the shoulder of the pig and is perfect for slow cooking methods, such as smoking or braising. But what if you don’t have hours to spend tending to a smoker or oven? That’s where an electric pressure cooker comes in handy.
An electric pressure cooker is a versatile kitchen appliance that can dramatically reduce cooking times for a variety of dishes, including the Boston butt. With the right cooking techniques and a few simple steps, you can achieve tender, succulent pulled pork in a fraction of the time it would take using traditional cooking methods.
In this article, we will guide you through the process of cooking a Boston butt in an electric pressure cooker. From preparing the meat to setting up the pressure cooker and achieving the perfect cooking time, we will cover all the essential steps to ensure a delicious end result.
So, if you’re ready to learn how to cook a Boston butt in an electric pressure cooker, let’s get started!
Key Takeaways:
- Cooking a Boston butt in an electric pressure cooker allows you to achieve tender, flavorful pulled pork in a fraction of the time compared to traditional methods, making it a game-changer for busy home cooks.
- Proper preparation, setting up the pressure cooker, and mastering the natural release method are crucial steps in ensuring that your Boston butt is cooked to perfection and ready to be shredded into mouthwatering pulled pork.
The Basics of Cooking a Boston Butt
Before we dive into the specifics of cooking a Boston butt in an electric pressure cooker, it’s important to understand the basics of this flavorful cut of meat. The Boston butt, also known as pork shoulder or pork butt, is a tough and fatty cut that becomes incredibly tender when cooked low and slow. It is marbled with fat, which helps keep the meat moist and adds richness to the final dish.
When it comes to cooking a Boston butt, there are a few key factors to keep in mind:
- Size: Boston butts typically weigh between 4 to 8 pounds, although you may find smaller or larger ones. The cooking time will depend on the size, so it’s important to adjust accordingly.
- Bone-in or Boneless: You can choose to cook a bone-in or boneless Boston butt. The bone-in variety may take slightly longer to cook, but both options will result in tender, flavorful meat.
- Seasoning: The Boston butt can be customized with your favorite seasonings. Common choices include a dry rub, marinade, or a combination of spices. This will infuse the meat with flavor during the cooking process.
Traditionally, Boston butts are cooked using methods like smoking or braising. These techniques require a long cooking time at a low temperature to break down the connective tissues and render the fat, resulting in tender, pull-apart meat. However, with an electric pressure cooker, you can achieve similar results in a fraction of the time.
Now that you have an understanding of the basics of cooking a Boston butt, let’s move on to the specific steps required for pressure cooking this delicious cut of meat.
Preparing the Boston Butt for Pressure Cooking
Proper preparation is key to achieving a delicious and tender Boston butt in your electric pressure cooker. Here are the essential steps to prepare the meat:
- Trimming: Start by trimming any excess fat from the surface of the Boston butt. While some fat is desirable for flavor and moisture, too much can make the final result greasy. Remove any large chunks of fat and silver skin.
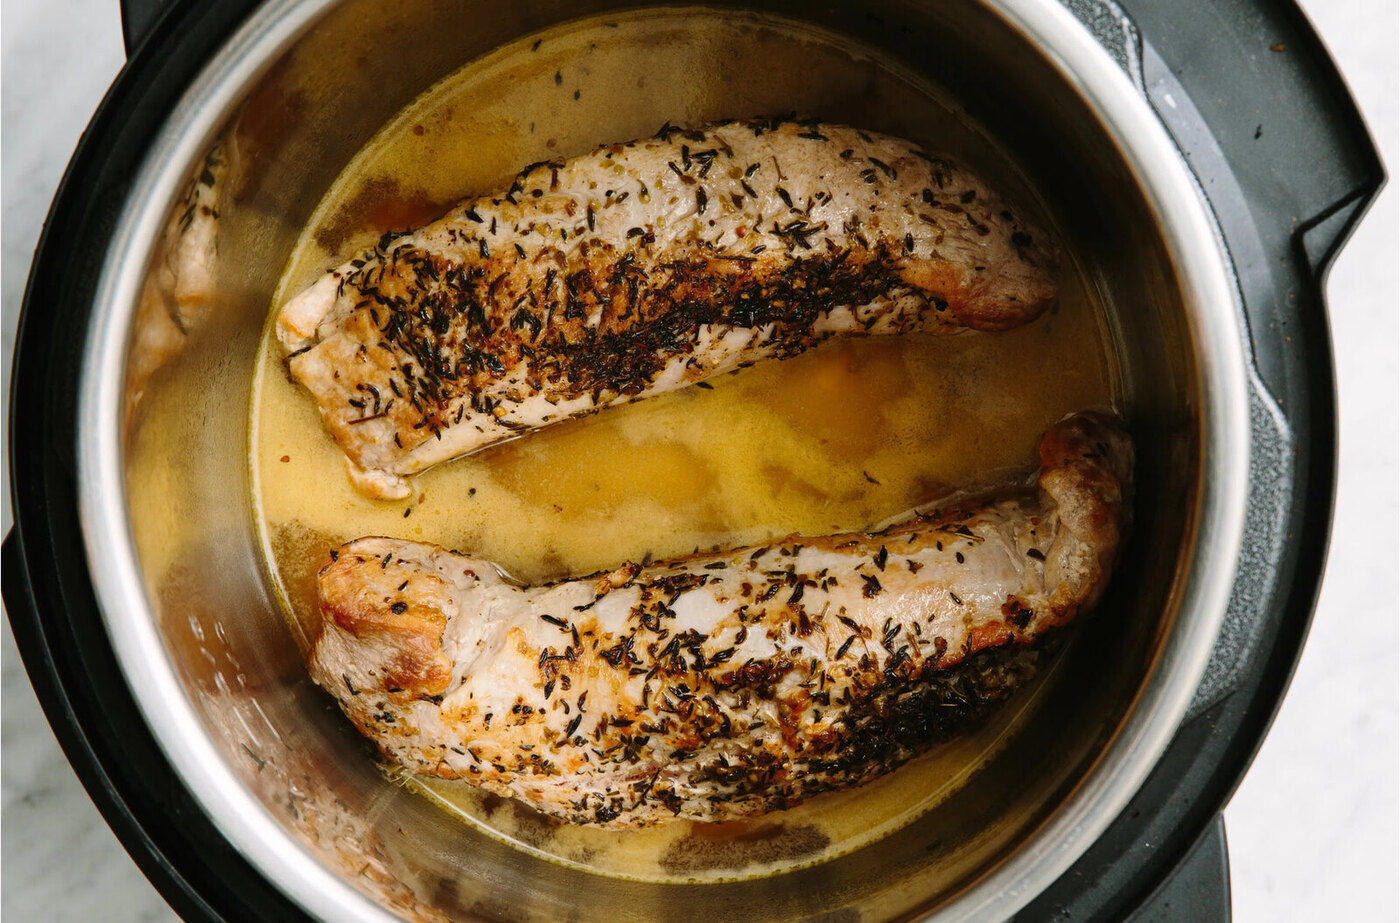
- Seasoning: Season the Boston butt according to your preference. You can use a dry rub, marinade, or a combination of herbs and spices. Make sure to coat the meat evenly on all sides, allowing the flavors to penetrate.
- Resting: After seasoning, let the Boston butt rest at room temperature for about 30 minutes. This allows the seasoning to penetrate the meat further and brings it closer to room temperature, promoting even cooking.
By properly trimming and seasoning the Boston butt, you lay the foundation for a delicious and well-flavored end result. Once the meat is prepped and ready, it’s time to set up your electric pressure cooker.
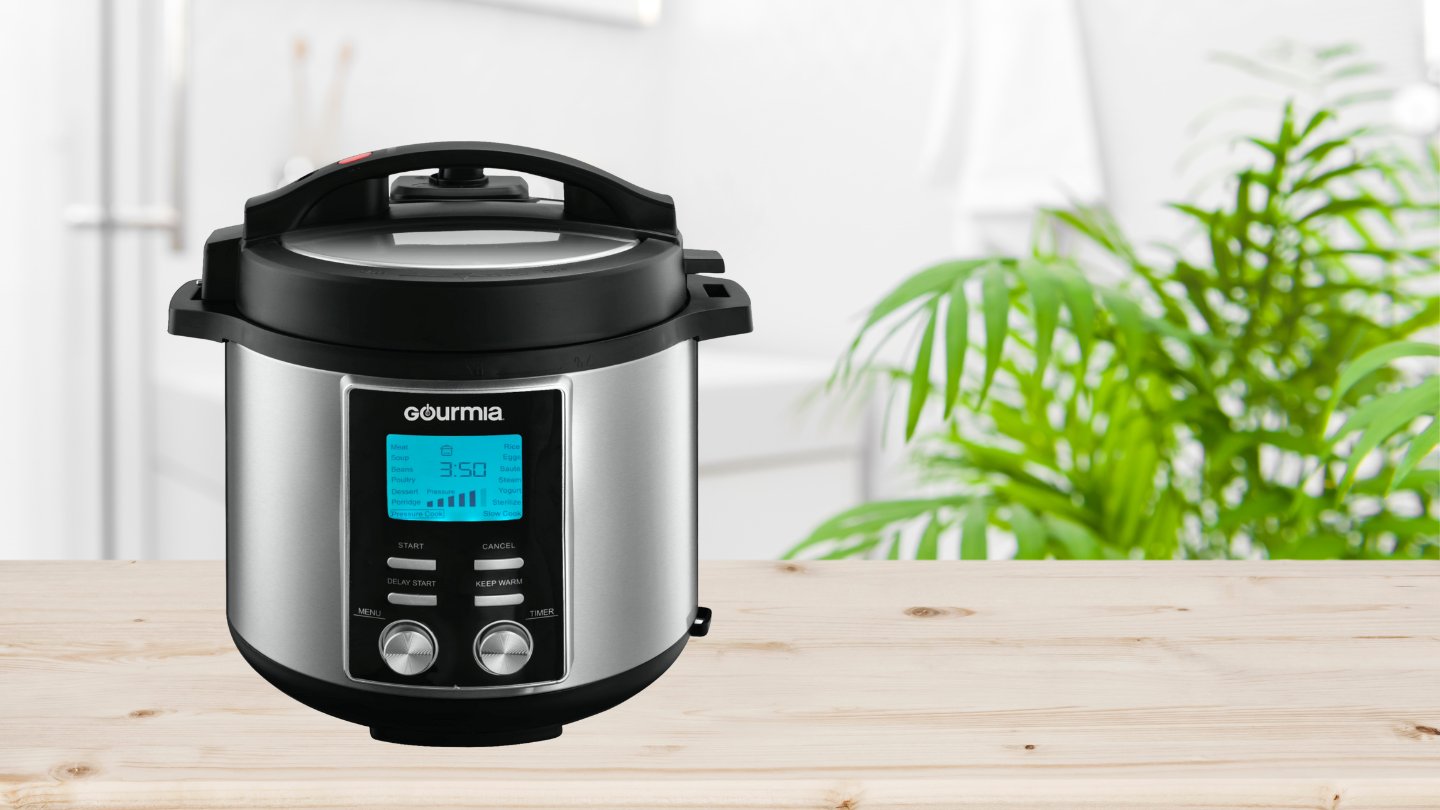
Setting up the Electric Pressure Cooker
Now that the Boston butt is prepared, it’s time to set up your electric pressure cooker for cooking. Here’s how to do it:
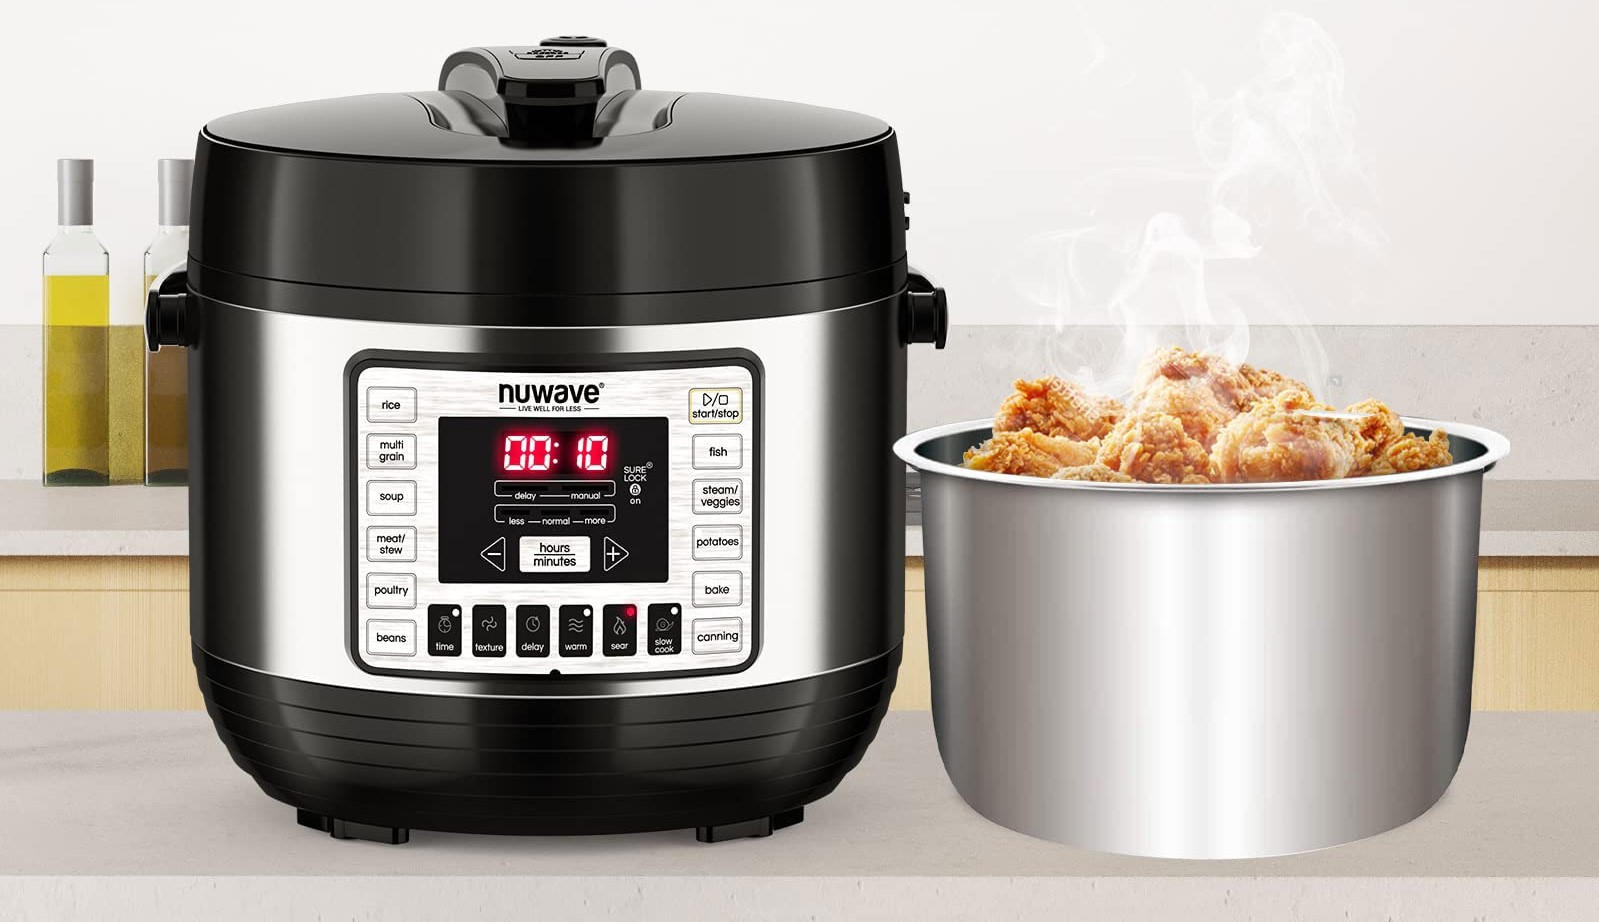
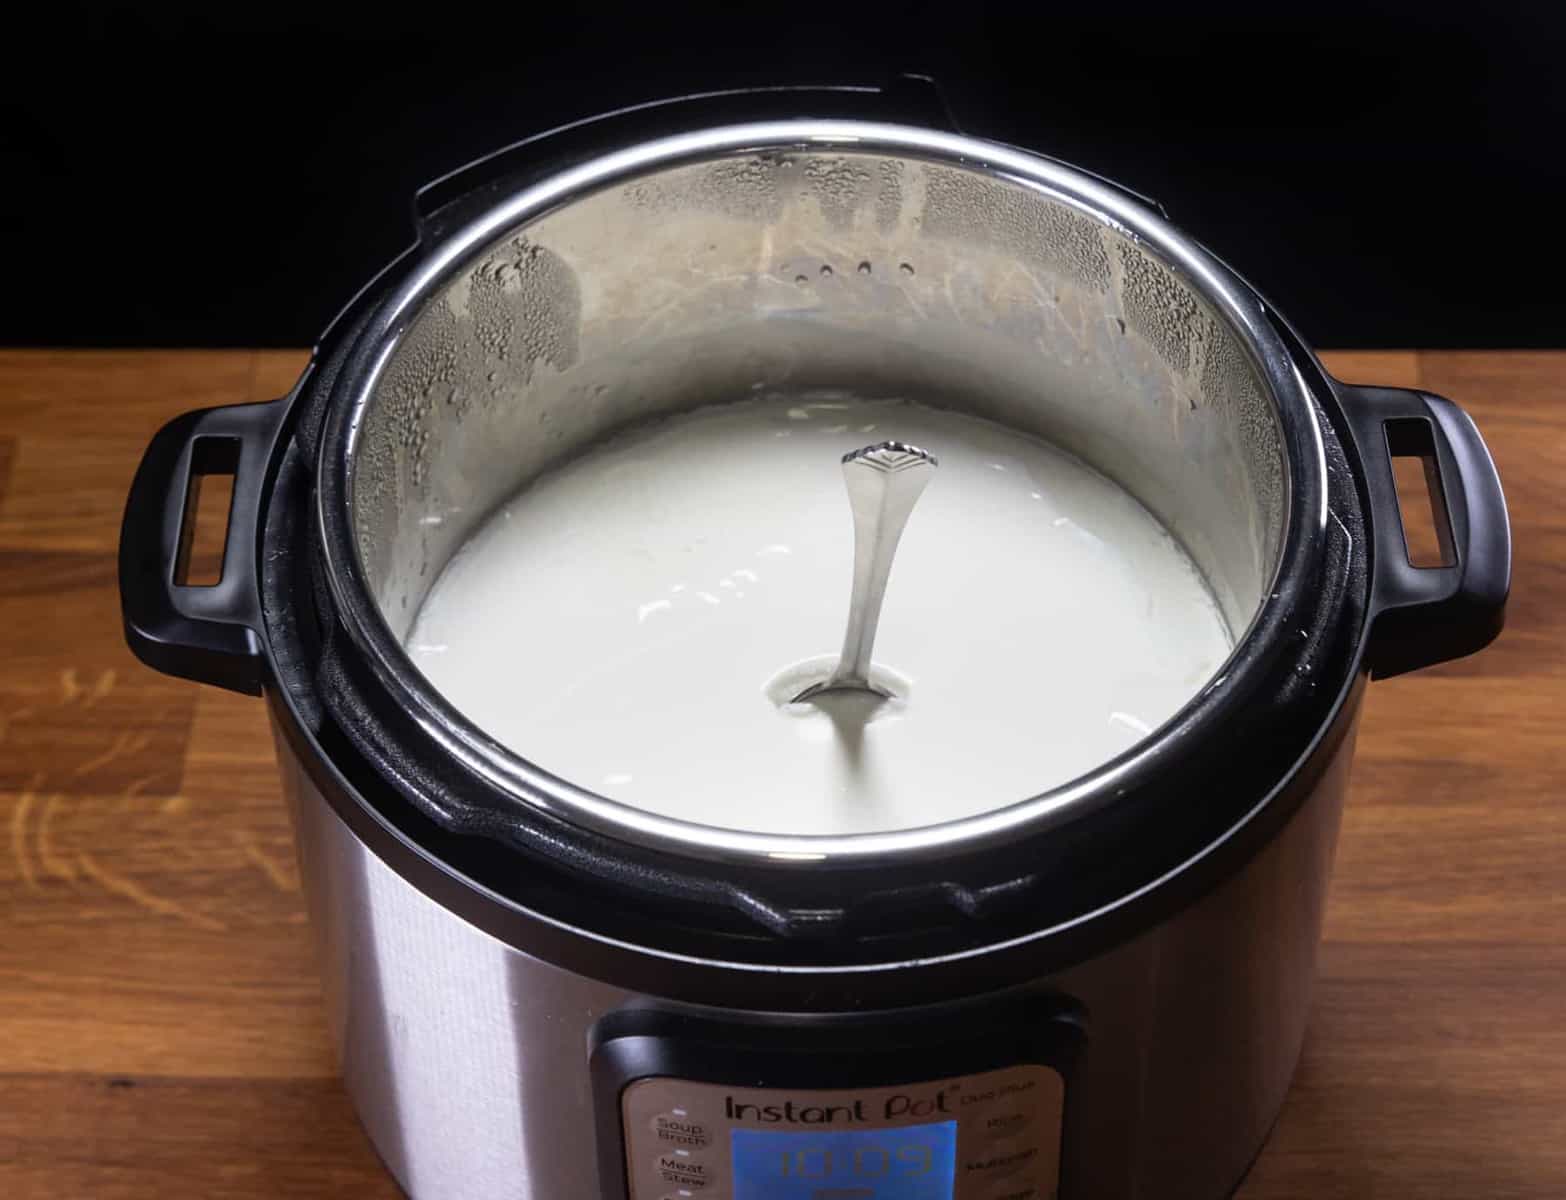
- Insert the Inner Pot: Start by inserting the inner pot into the electric pressure cooker. Ensure that it is clean and free from any debris.
- Add Liquid: Most electric pressure cookers require a minimum amount of liquid to come to pressure. Check your specific model’s instructions, but typically, 1 to 2 cups of liquid, such as water, broth, or a combination of both, is sufficient.
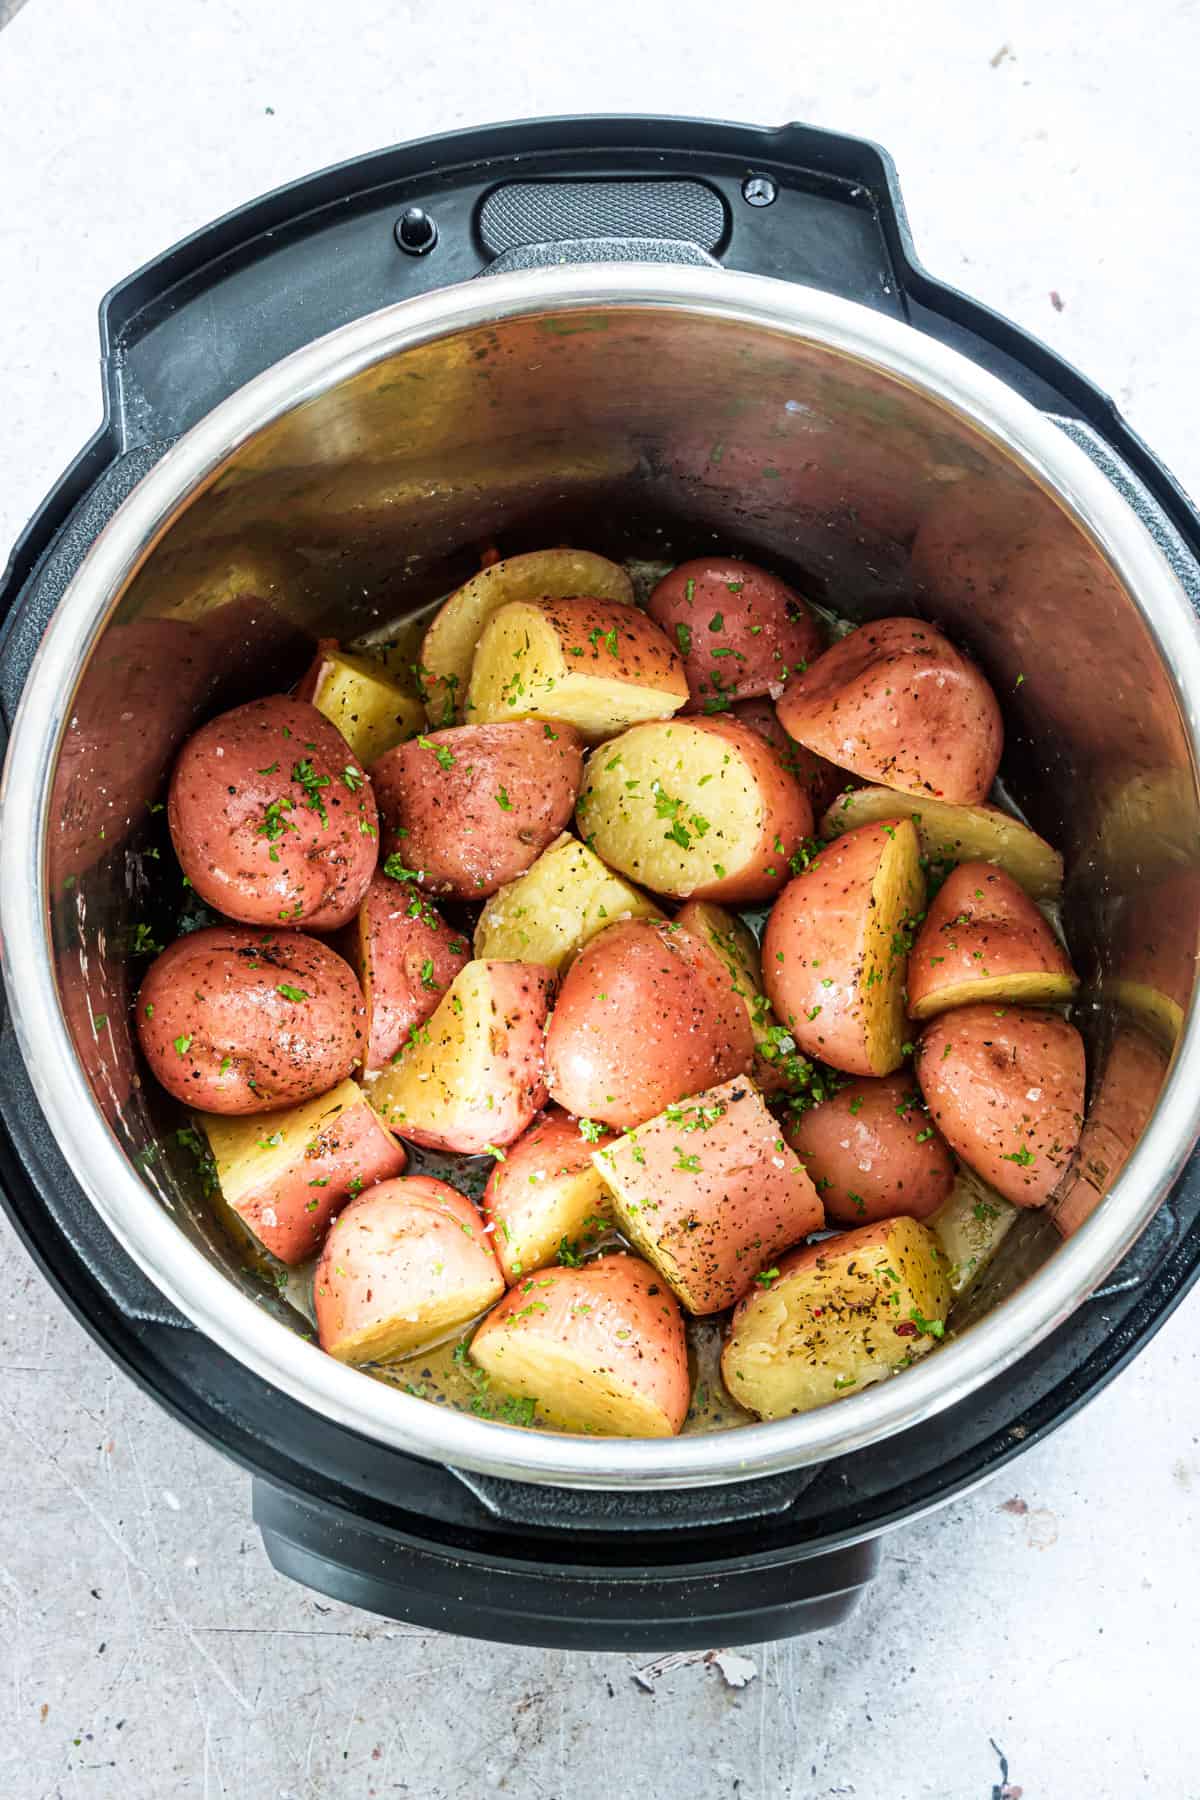
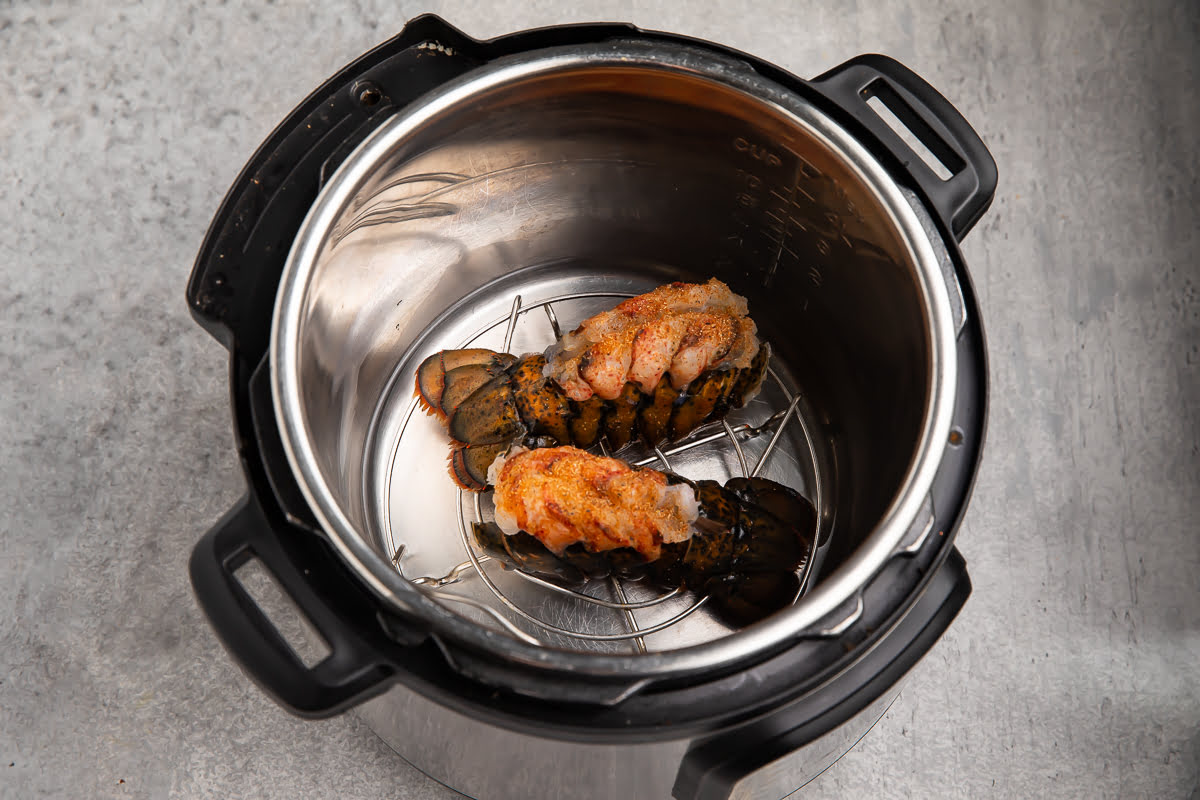
- Trivet or Rack: Place a trivet or rack into the inner pot. This will keep the Boston butt elevated from the liquid and prevent it from sitting in a pool of liquid during cooking.
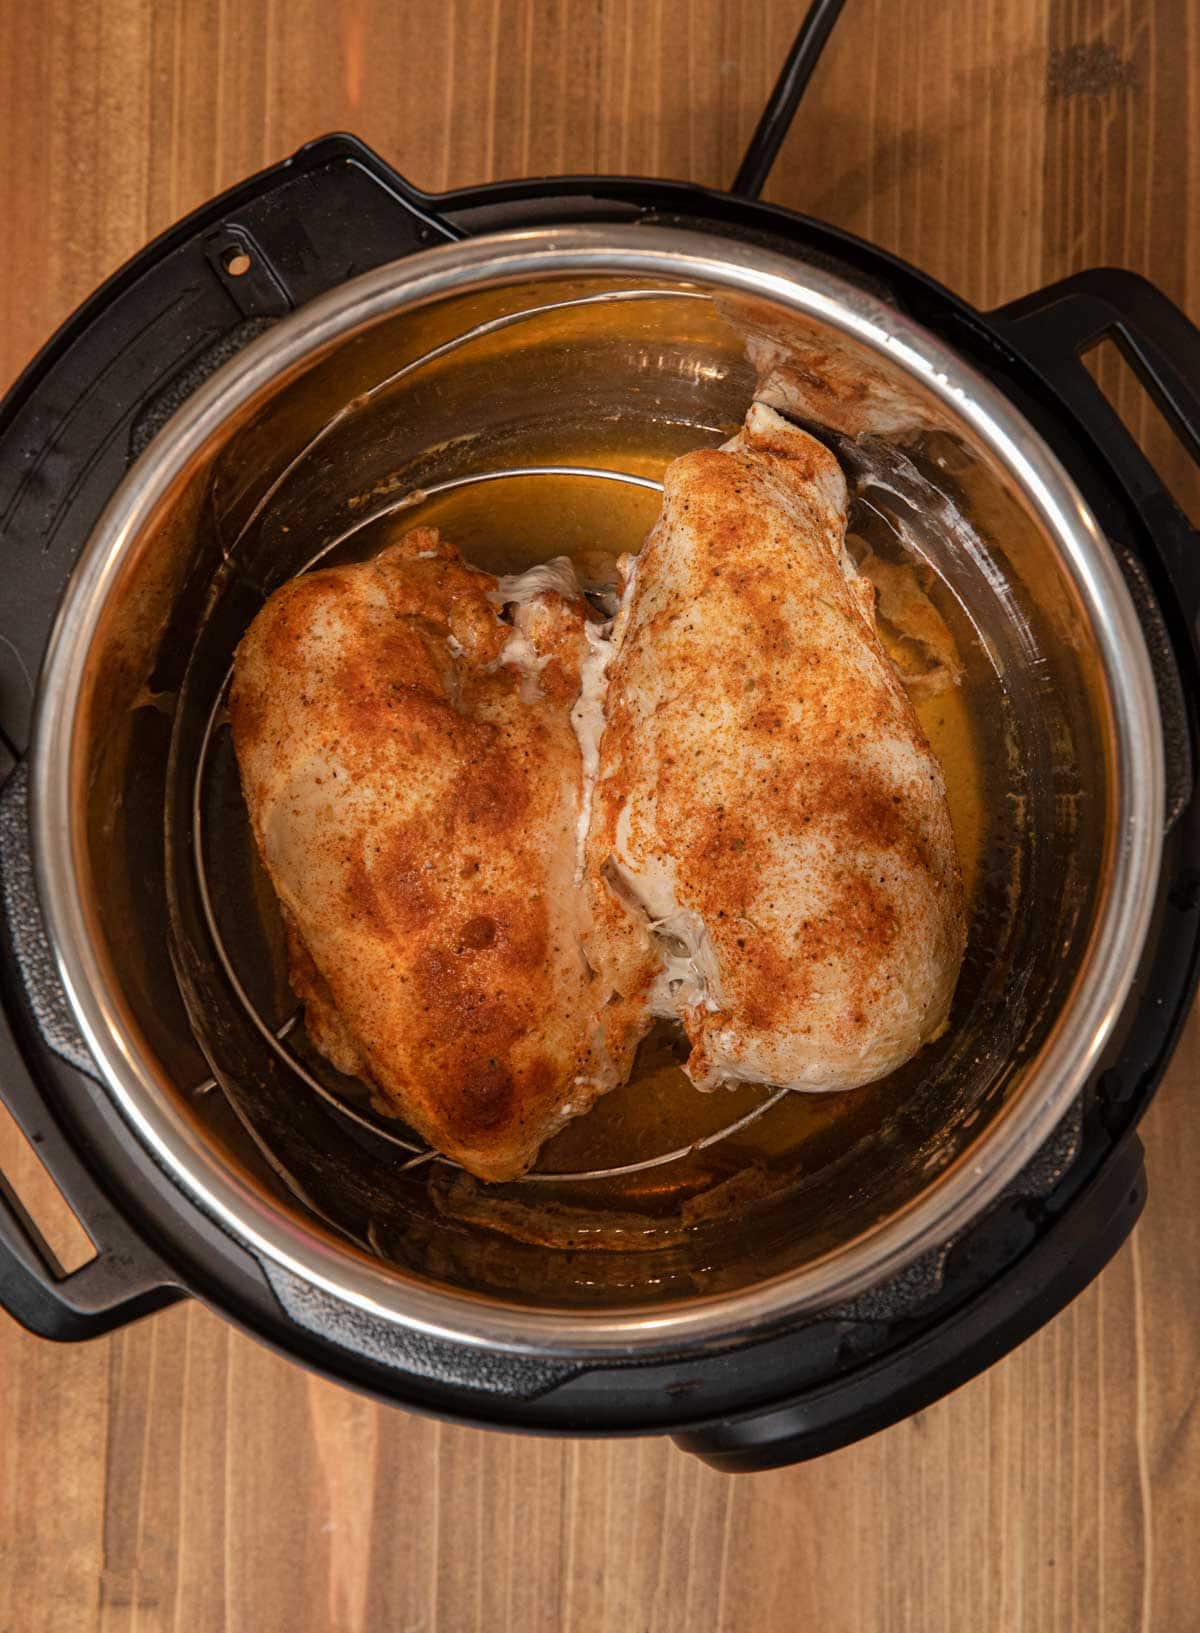
- Place the Boston Butt: Carefully place the seasoned Boston butt onto the trivet or rack, ensuring it’s centered and not touching the sides of the pressure cooker.
Once you have set up your electric pressure cooker, it is important to follow the manufacturer’s instructions for securing the lid and setting the cooking time and pressure level. This will vary depending on your specific model, so consult the user manual for guidance.
Now that the electric pressure cooker is ready, it’s time to move on to the cooking process for the Boston butt.
Cooking the Boston Butt
With the electric pressure cooker set up and the Boston butt in place, it’s time to begin the cooking process. Follow these steps to cook the Boston butt to perfection:
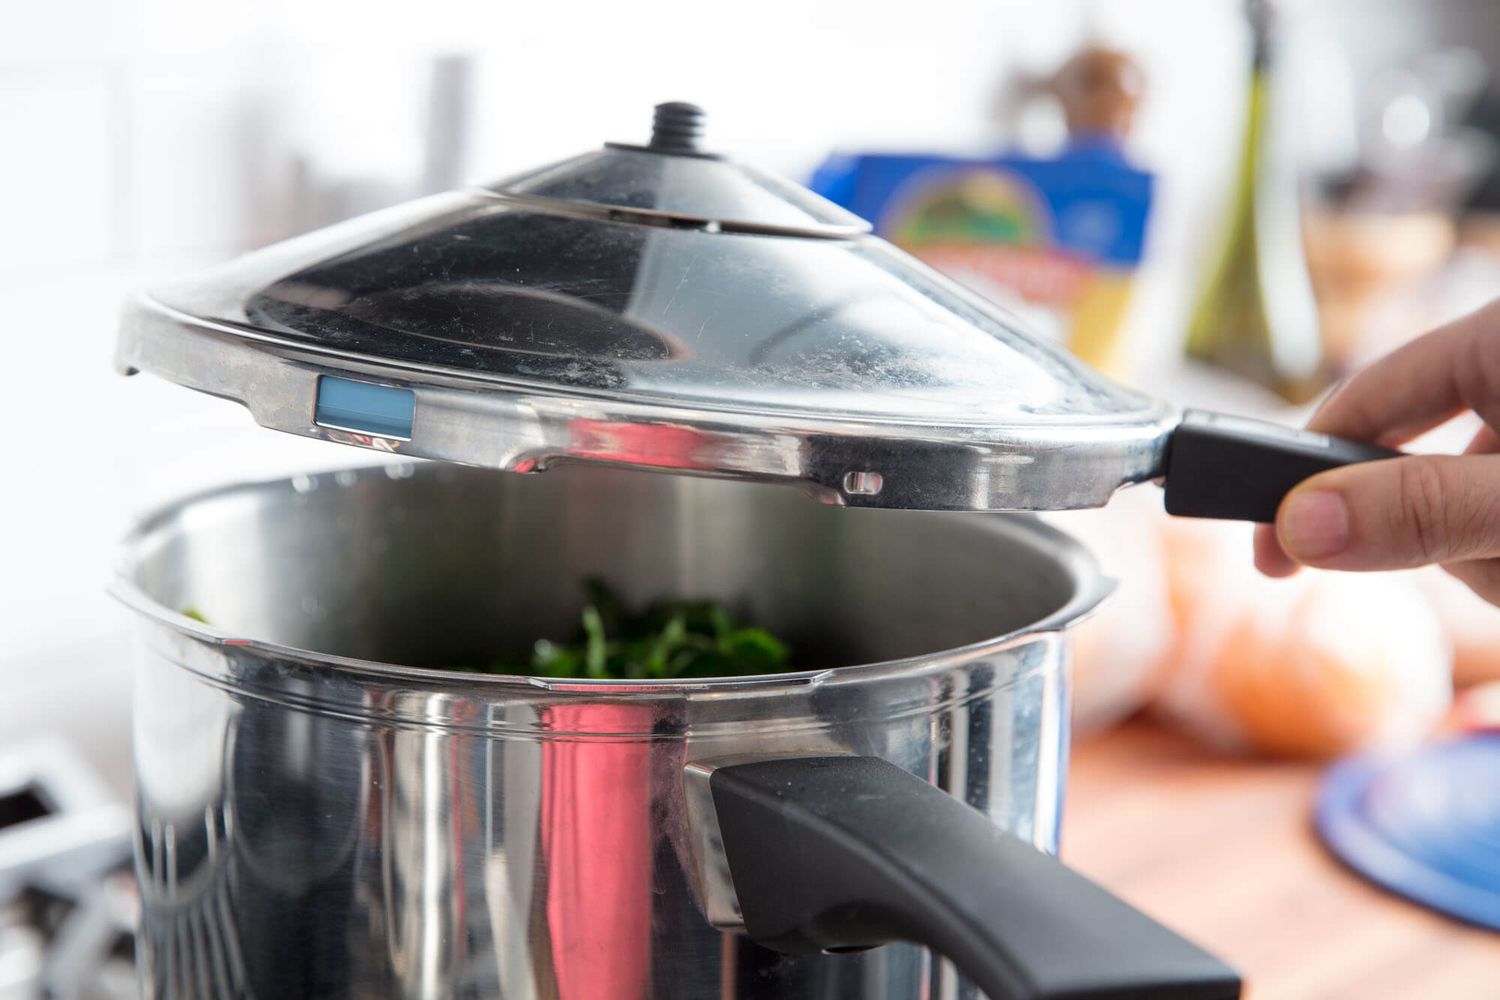
- Secure the Lid: Make sure the lid is properly secured onto the electric pressure cooker, ensuring a tight seal.
- Select the Pressure Cooking Setting: Depending on your electric pressure cooker model, choose the appropriate pressure cooking setting. Typically, “High Pressure” is used for cooking a Boston butt.
- Set the Cooking Time: Set the cooking time for the Boston butt. As a general guideline, calculate the cooking time based on 15-20 minutes per pound of meat. For example, a 6-pound Boston butt would require a cooking time of approximately 90-120 minutes.
- Start the Cooking Process: Once you have set the cooking time, start the pressure cooking process according to your electric pressure cooker’s instructions. The cooker will take some time to come to pressure before the cooking timer starts counting down.
During the cooking process, the electric pressure cooker will build up pressure, allowing the meat to cook under high pressure. This helps break down the tough fibers in the Boston butt, resulting in tender, juicy meat.
While the Boston butt is cooking, you have two options for releasing the pressure once the cooking time is complete: natural release or quick release.
Let’s explore the differences between these two methods.
For a Boston butt in an electric pressure cooker, cook for 15 minutes per pound on high pressure, then allow for a natural pressure release for 15 minutes before manually releasing any remaining pressure.
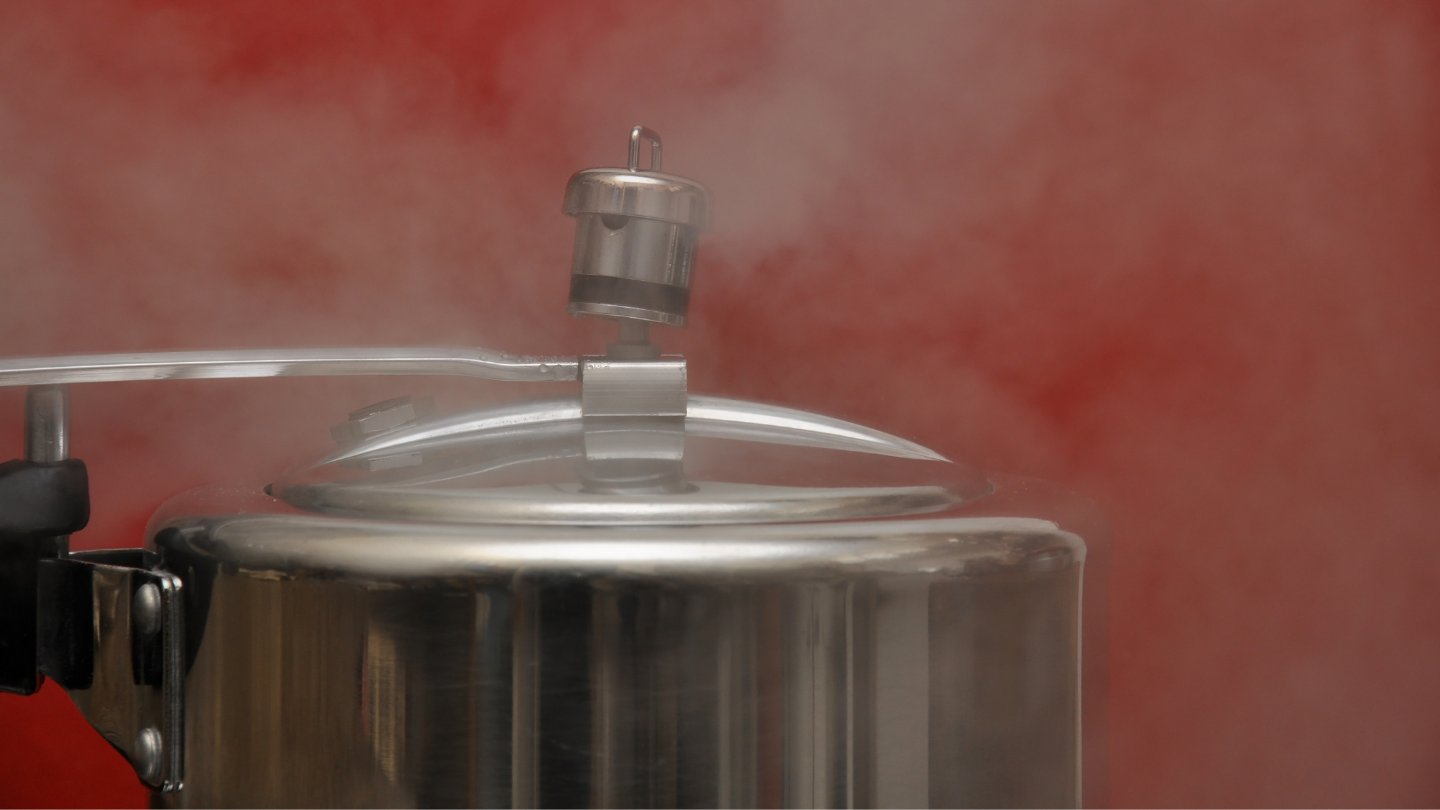
Natural Release vs. Quick Release
Once the cooking time for the Boston butt is complete, you have the option to release the pressure from the electric pressure cooker. There are two methods you can choose from: natural release and quick release. Here’s what you need to know about each:
- Natural Release: With the natural release method, you allow the pressure to come down naturally without any intervention. This typically takes around 10 to 15 minutes, but can vary depending on the size of the Boston butt and the amount of pressure built up in the cooker. Natural release is ideal for cuts of meat that benefit from additional cooking time, such as the Boston butt. It allows the meat to rest and continue cooking in its own juices, resulting in enhanced tenderness.
- Quick Release: Quick release involves manually releasing the pressure from the electric pressure cooker using the quick release valve or pressure release button. This method rapidly releases the pressure, allowing you to open the cooker and check the doneness of the meat. Quick release is useful when you are short on time or need to halt the cooking process quickly. However, keep in mind that the meat may be slightly less tender compared to using the natural release method.
When cooking a Boston butt in an electric pressure cooker, the choice between natural release and quick release will depend on your specific preferences and time constraints. Ultimately, both methods can yield delicious and tender results.
Once you have released the pressure from the electric pressure cooker, it’s time to check the internal temperature of the Boston butt to ensure it has reached the desired level of doneness.
Checking the Internal Temperature
Checking the internal temperature of the Boston butt is crucial to ensure it is cooked to the appropriate level of doneness and safe to consume. Here’s how to do it:
- Use a Meat Thermometer: Insert a meat thermometer into the thickest part of the Boston butt, avoiding contact with the bone if it is bone-in. The thermometer should give you an accurate reading of the internal temperature.
- Target Temperature: The ideal internal temperature for a fully cooked Boston butt is around 195 to 205 degrees Fahrenheit (90 to 96 degrees Celsius). At this temperature, the meat will be tender, easily shred, and have a melt-in-your-mouth texture.
- Multiple Readings: It’s recommended to take the temperature in different areas of the Boston butt to ensure even cooking. The thickest part will likely take the longest to reach the desired temperature.
If the Boston butt has not reached the target internal temperature, you can return it to the electric pressure cooker and cook for a few more minutes using the appropriate pressure cooking setting.
Once the Boston butt has reached the desired internal temperature, it’s time to remove it from the electric pressure cooker and prepare it for shredding and serving.
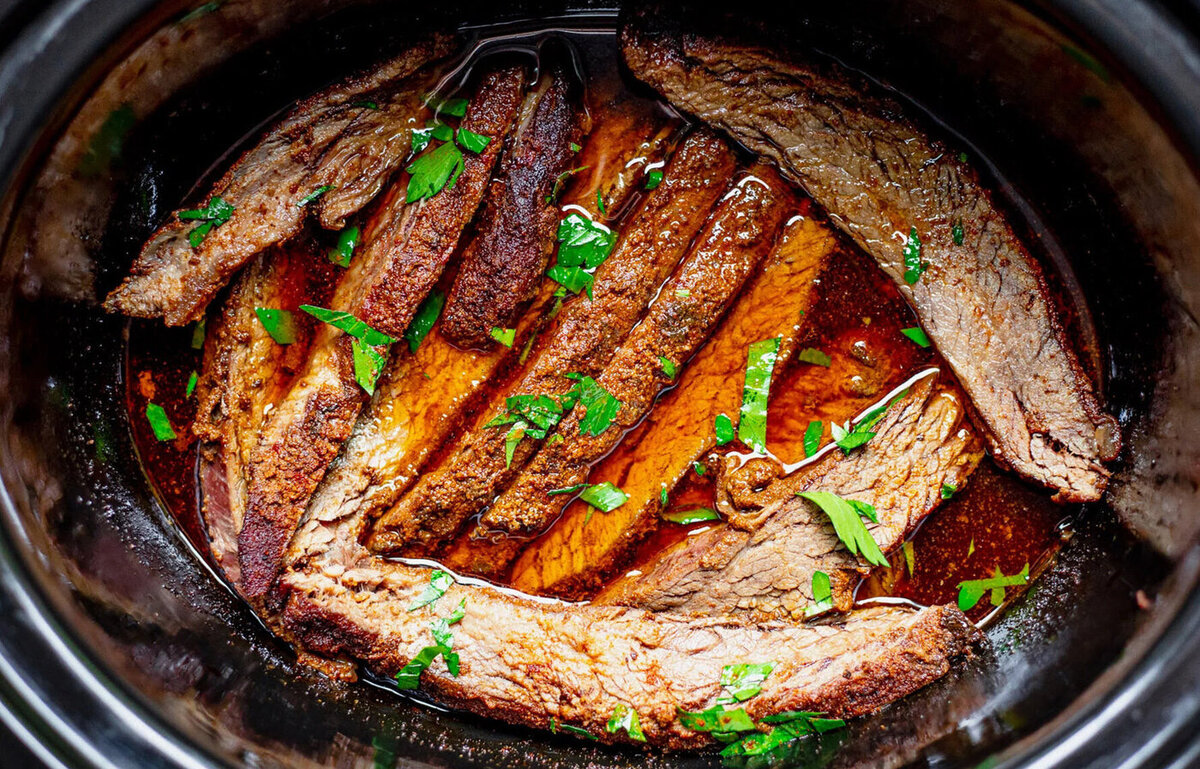
Shredding and Serving the Boston Butt
After the Boston butt has reached the desired internal temperature and is cooked to perfection, it’s time to shred the meat and get ready to enjoy its deliciousness. Here’s how to shred and serve the Boston butt:
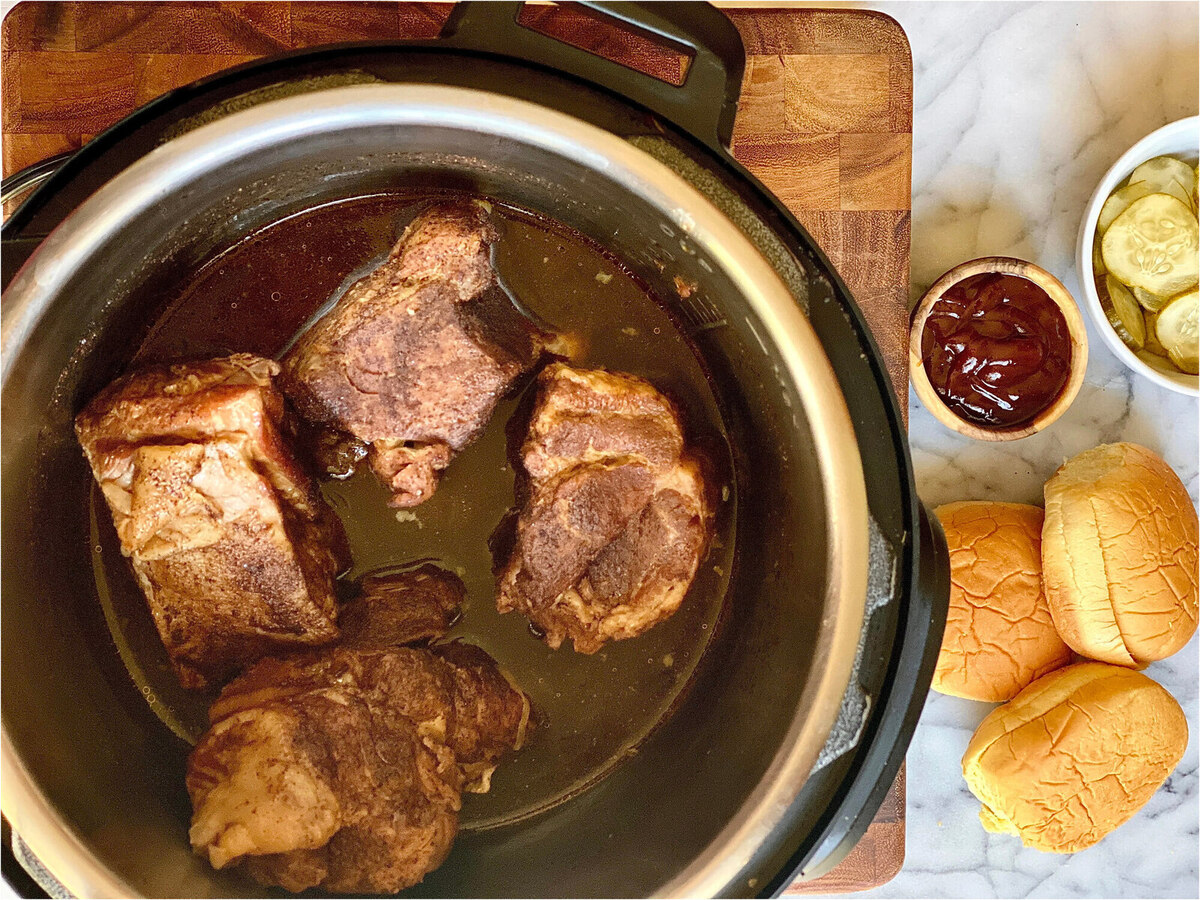
- Remove from Pressure Cooker: Using tongs or a large fork, carefully remove the cooked Boston butt from the electric pressure cooker and transfer it to a cutting board or a large plate.
- Let it Rest: Allow the Boston butt to rest for about 10-15 minutes before shredding. This allows the juices to redistribute, resulting in a more flavorful and moist end result.
- Shred the Meat: Use two forks or meat claws to shred the Boston butt. Pull the meat apart, separating it into smaller, bite-sized pieces. The texture should be tender and easy to shred due to the low and slow cooking process.
- Optional: Add Sauce or Seasonings: If desired, you can toss the shredded Boston butt in your favorite barbecue sauce or any other desired seasonings to enhance the flavor. This step is optional, as the meat is already packed with delicious flavors.
- Serve and Enjoy: Serve the shredded Boston butt on sandwiches, buns, or as a main dish alongside your favorite sides. It makes a fantastic filling for tacos, burritos, or pulled pork sliders. Get creative and enjoy the mouthwatering flavors!
Now that you’ve mastered the art of cooking a Boston butt in an electric pressure cooker and shredding it like a pro, you can impress your friends and family with your homemade pulled pork creations.
Remember, the Boston butt is a versatile cut that can be enjoyed on its own or in various dishes. Don’t forget to store any leftovers properly in the refrigerator for future use.
So, fire up your electric pressure cooker, grab a Boston butt, and get ready to enjoy some tender, flavorful pulled pork that will leave your taste buds wanting more!
Conclusion
Cooking a Boston butt in an electric pressure cooker is a game-changer when it comes to preparing tender, flavorful pulled pork in a fraction of the time. With the right techniques and steps, you can achieve mouthwatering results that will impress your family and friends.
We began by understanding the basics of cooking a Boston butt and its unique qualities. The marbling of fat throughout the meat ensures a moist and tender result when cooked low and slow. However, with the help of an electric pressure cooker, we can achieve the same tenderness in a much shorter time.
Properly preparing the Boston butt is crucial to maximizing flavor and tenderness. Trimming excess fat, seasoning with your favorite flavors, and allowing the meat to rest before cooking lays the foundation for a delicious end result.
Setting up the electric pressure cooker involves adding liquid, using a trivet or rack to elevate the meat, and placing the seasoned Boston butt inside. Selecting the proper pressure cooking setting and cooking time ensures that the meat cooks to perfection.
After the cooking time is complete, you have the option to release the pressure using either the natural release or quick release method. Both have their advantages, but the natural release method allows the meat to further tenderize and absorb flavors.
Checking the internal temperature of the Boston butt is crucial to ensure it’s fully cooked and safe to eat. Aim for an internal temperature of around 195 to 205 degrees Fahrenheit (90 to 96 degrees Celsius) for tender, melt-in-your-mouth pork.
Once the Boston butt is cooked, it’s time to shred the meat into delectable, bite-sized pieces. Whether you choose to add sauce or seasonings is up to you, as the meat is already packed with incredible flavor.
Serve the shredded Boston butt on buns, sandwiches, or as a main dish alongside your favorite sides. It’s also perfect for tacos, burritos, or any other dish that calls for tender pulled pork.
By following these steps, you can become a master of cooking a Boston butt in an electric pressure cooker. With its convenience and time-saving qualities, you can enjoy the incredible taste of pulled pork any day of the week.
So, fire up your electric pressure cooker, grab a Boston butt, and get ready to savor the amazing flavors and textures that this classic cut of meat has to offer.
Frequently Asked Questions about How Long Do You Cook A Boston Butt In An Electric Pressure Cooker?
Was this page helpful?
At Storables.com, we guarantee accurate and reliable information. Our content, validated by Expert Board Contributors, is crafted following stringent Editorial Policies. We're committed to providing you with well-researched, expert-backed insights for all your informational needs.


0 thoughts on “How Long Do You Cook A Boston Butt In An Electric Pressure Cooker?”