Articles
How Do You Freeze Pears In A Freezer Bag
Modified: February 27, 2024
Learn how to freeze pears in a freezer bag with this informative article. Preserve your favorite fruit for later use.
(Many of the links in this article redirect to a specific reviewed product. Your purchase of these products through affiliate links helps to generate commission for Storables.com, at no extra cost. Learn more)
Introduction
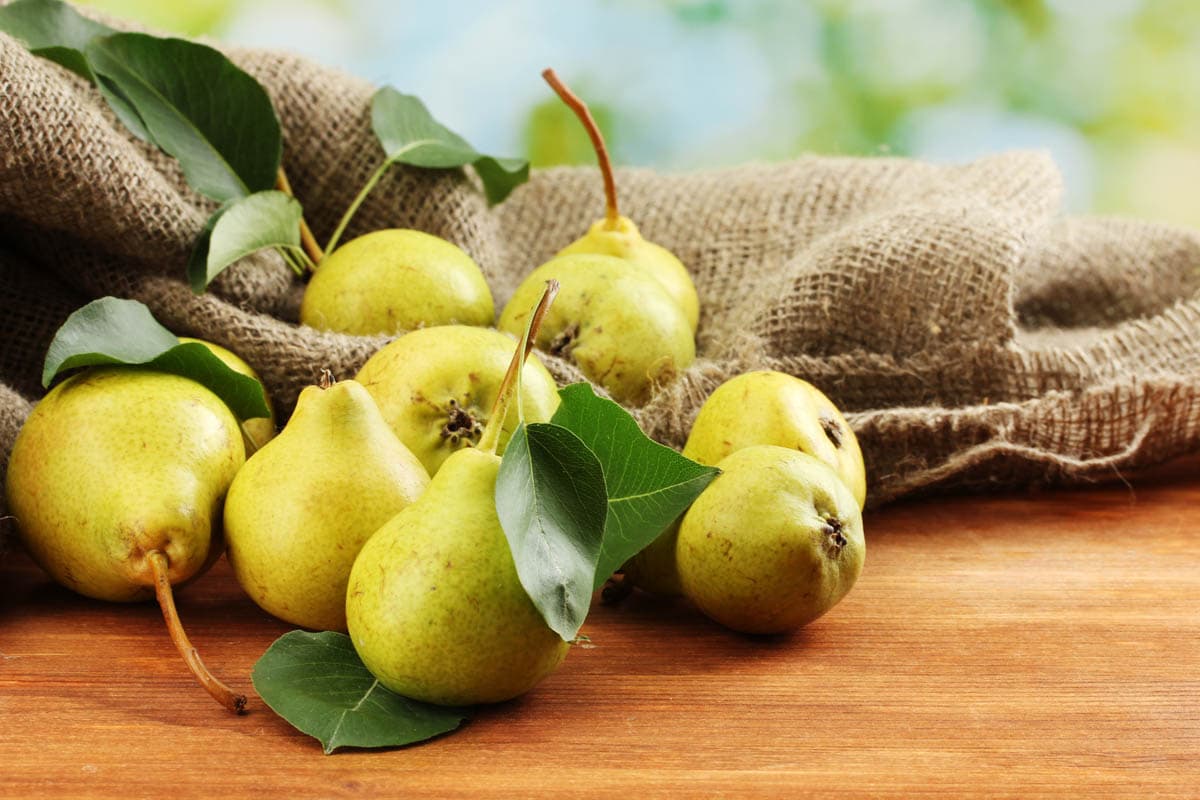
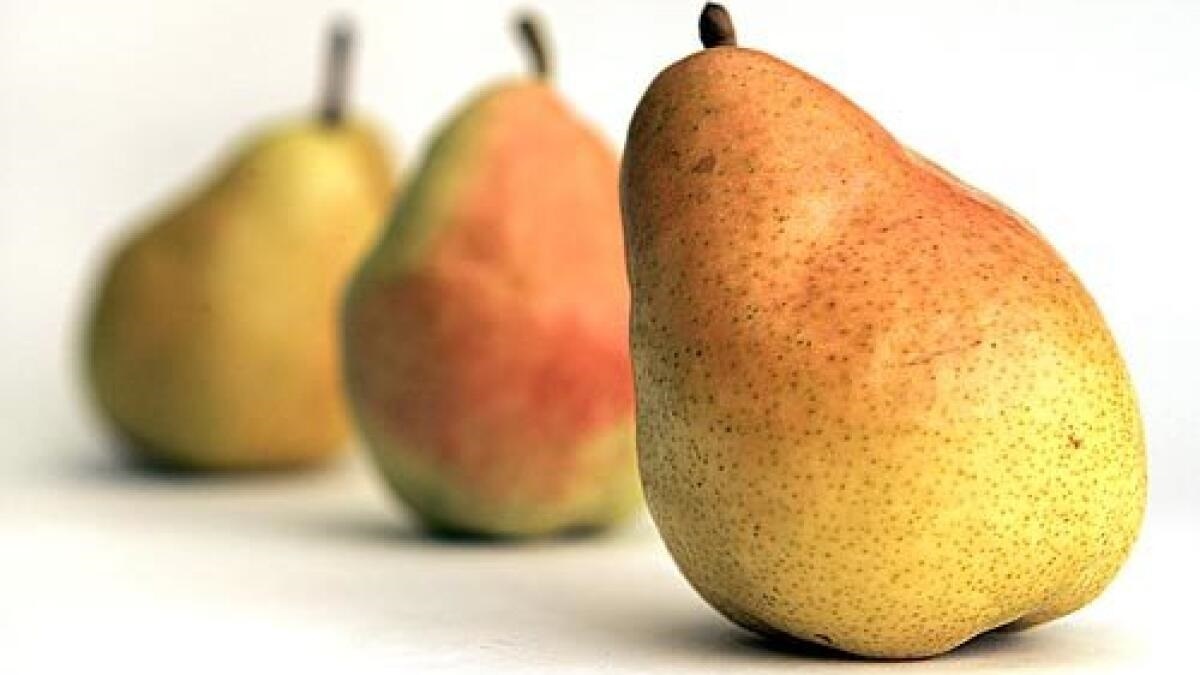
Freezing pears is a great way to preserve their freshness and flavor all year round. Whether you have an abundance of ripe pears from your garden or you simply want to take advantage of seasonal sales, freezing pears in a freezer bag is a convenient method that allows you to enjoy their delicious taste in various recipes like pies, smoothies, and desserts.
In this article, we will guide you through the process of freezing pears in a freezer bag, ensuring that they stay intact and retain their nutritional value. You don’t need any fancy equipment or extensive knowledge to freeze pears successfully. Just follow our simple steps, and you’ll have a stash of frozen pears ready to add a burst of natural sweetness to your dishes whenever you need them.
Before we dive into the step-by-step process, let’s take a look at the equipment you’ll need for freezing pears in a freezer bag.
Key Takeaways:
- Preserve the delicious taste and nutritional value of pears year-round by freezing them in a freezer bag. Enjoy the convenience of having frozen pears ready to enhance your favorite recipes, from pies to smoothies!
- Ensure the quality of your frozen pears by choosing the right freezer bags, properly labeling them, and organizing them in the freezer. Unlock a world of culinary possibilities with versatile and flavorful frozen pears!
Read more: What Is A Freezer Bag
Equipment Needed
Freezing pears in a freezer bag doesn’t require any specialized equipment. Most of the items you’ll need are likely already in your kitchen. Here’s a list of the essential equipment:
- Sharp Knife: A sharp knife will make it easier to slice and prepare the pears for freezing. Make sure it’s clean and suitable for cutting fruits.
- Cutting Board: Use a sturdy cutting board to provide a stable surface for slicing the pears.
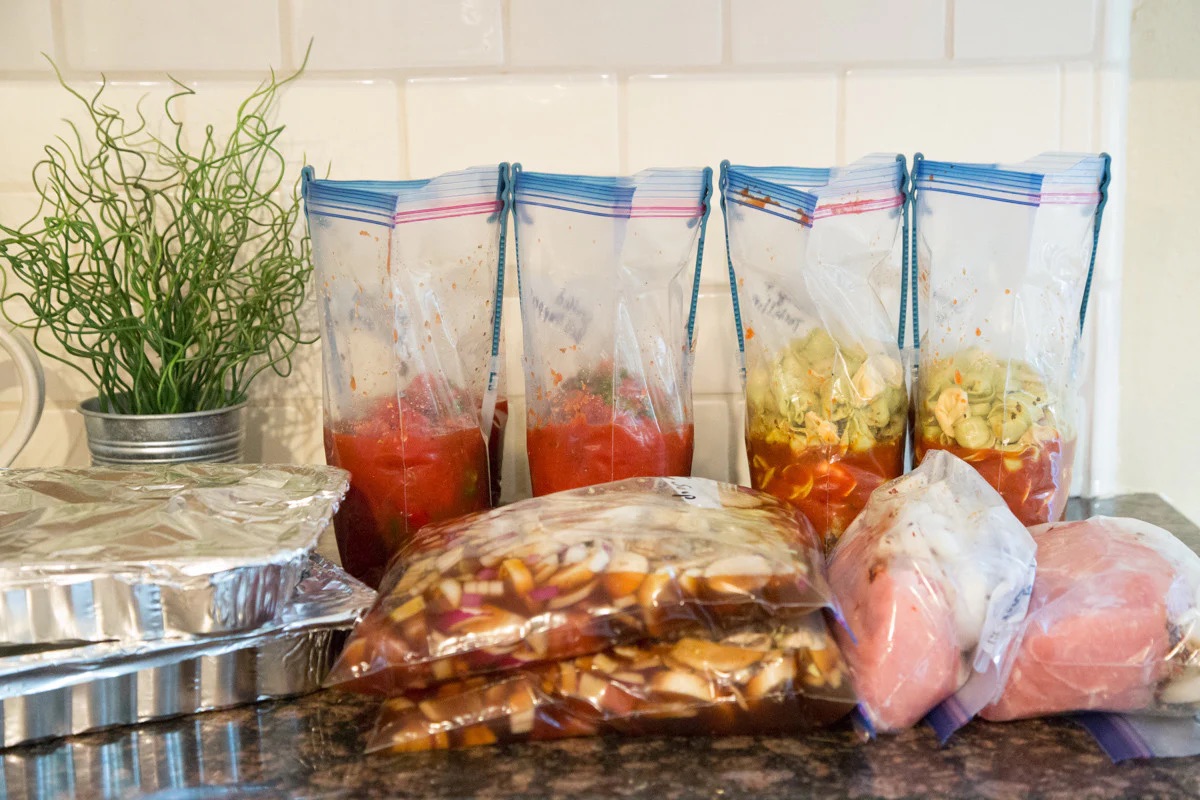
- Freezer Bags: Choose high-quality freezer bags that are durable and have a strong seal to prevent freezer burn. Quart-sized bags are ideal for individual portions, while gallon-sized bags are perfect for larger quantities.
- Permanent Marker: A permanent marker will come in handy for labeling the bags with the date and contents. This will help you keep track of when the pears were frozen and make it easier to find what you need later.
- Large Mixing Bowl: A large mixing bowl will allow you to toss the sliced pears with any necessary additives or preservatives before transferring them to the freezer bags.
Now that you have all the necessary equipment ready, let’s move on to preparing the pears for freezing.
Preparing the Pears
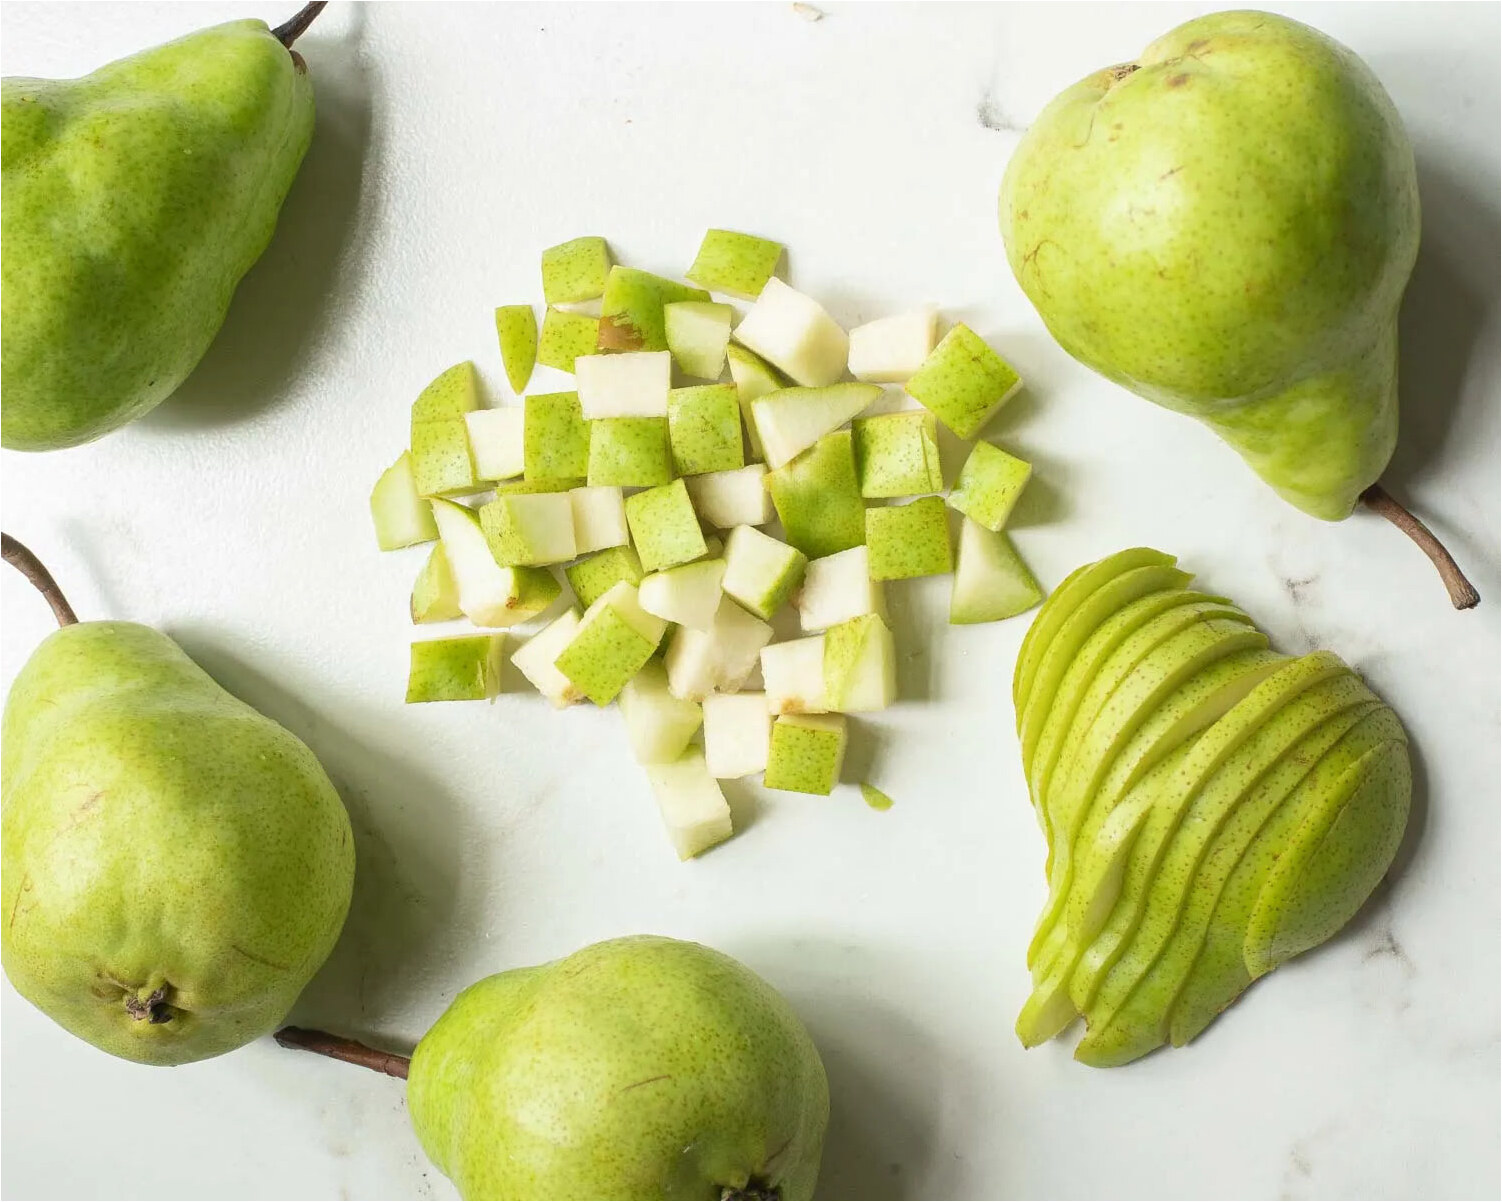
Before freezing the pears, it’s essential to properly prepare them to maintain their texture and flavor. Here are the steps to follow:
- Wash the Pears: Start by washing the pears under cool running water to remove any dirt or residue. Gently scrub the surface of the pears with your hands or a soft brush.
- Peel and Core: If you prefer, you can peel the pears using a vegetable peeler or a paring knife. However, keep in mind that leaving the skin on can add extra texture and nutrients to your frozen pears. If you choose to peel them, make sure to remove the core and seeds as well.
- Slice or Dice: Once the pears are peeled and cored, decide whether you want to slice or dice them. Sliced pears are ideal for adding to recipes like pies or crisps, while diced pears work well in smoothies or as a topping for yogurt.
- Prevent Browning: Pears tend to brown when exposed to air. To prevent this, you can treat the pears with a solution of lemon juice and water. Simply mix one tablespoon of lemon juice for every cup of water and soak the sliced or diced pears for a few minutes. This will help preserve their color.
Once the pears are prepared, it’s time to transfer them to freezer bags.
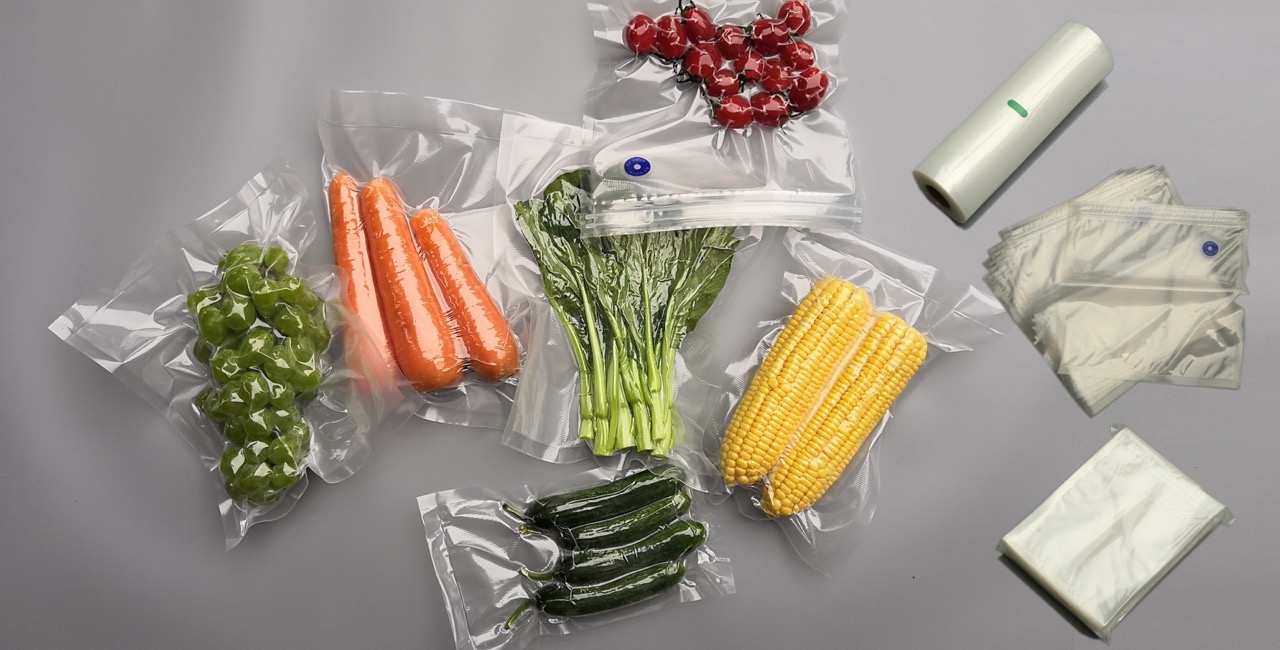
Choosing the Right Freezer Bag
When it comes to freezing pears, selecting the right freezer bag is crucial. The bag should be sturdy, durable, and have a strong seal to prevent air and moisture from entering. Here are a few factors to consider when choosing the right freezer bag:
- Material: Look for freezer bags made of thick, food-grade plastic that is specifically designed for freezing food. Avoid using regular storage bags, as they may not be able to withstand the extreme temperatures of the freezer.
- Size: Consider the portion size you prefer and the amount of pears you want to freeze. Quart-sized bags are suitable for individual or small portions, while gallon-sized bags are ideal for larger quantities.
- Seal: Ensure that the freezer bag has a secure seal to prevent freezer burn and maintain the quality of the pears. Double-zipper bags or bags with a press-and-seal closure are recommended.
- Labeling Space: Look for bags with ample space for labeling. This will allow you to easily identify the contents and date of freezing.
It’s always a good idea to invest in high-quality freezer bags to ensure the best results and to preserve the flavor and texture of the frozen pears. Now that you have selected the right freezer bags, it’s time to freeze the pears.
When freezing pears in a freezer bag, make sure to remove the skin and core, then slice or chop the pears before placing them in the bag. Squeeze out any excess air before sealing the bag to prevent freezer burn.
Freezing the Pears
Now that your pears are prepared and you have the appropriate freezer bags, it’s time to freeze them. Follow these simple steps:
- Arrange the Pears: Lay the sliced or diced pears in a single layer on a baking sheet lined with parchment paper. This will prevent them from sticking together and make it easier to transfer them to the freezer bags.
- Flash Freeze: Place the baking sheet with the pears in the freezer for about 1-2 hours, or until the pears are partially frozen. This process, known as flash freezing, helps maintain the individual pieces without clumping together.
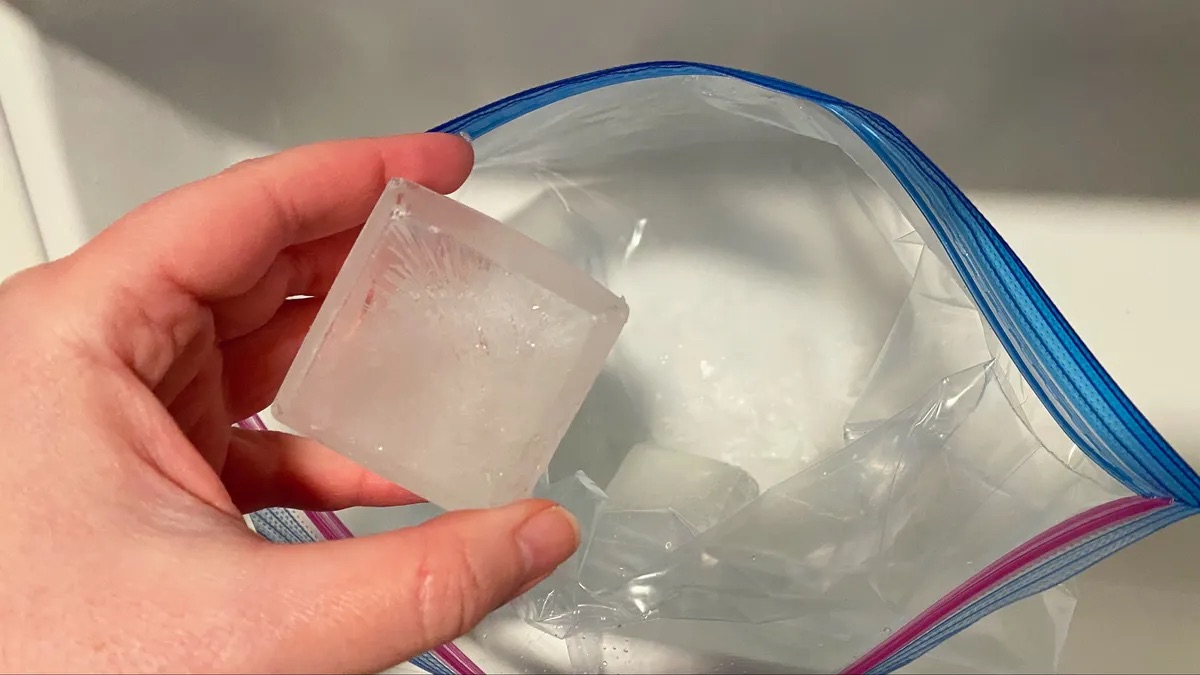
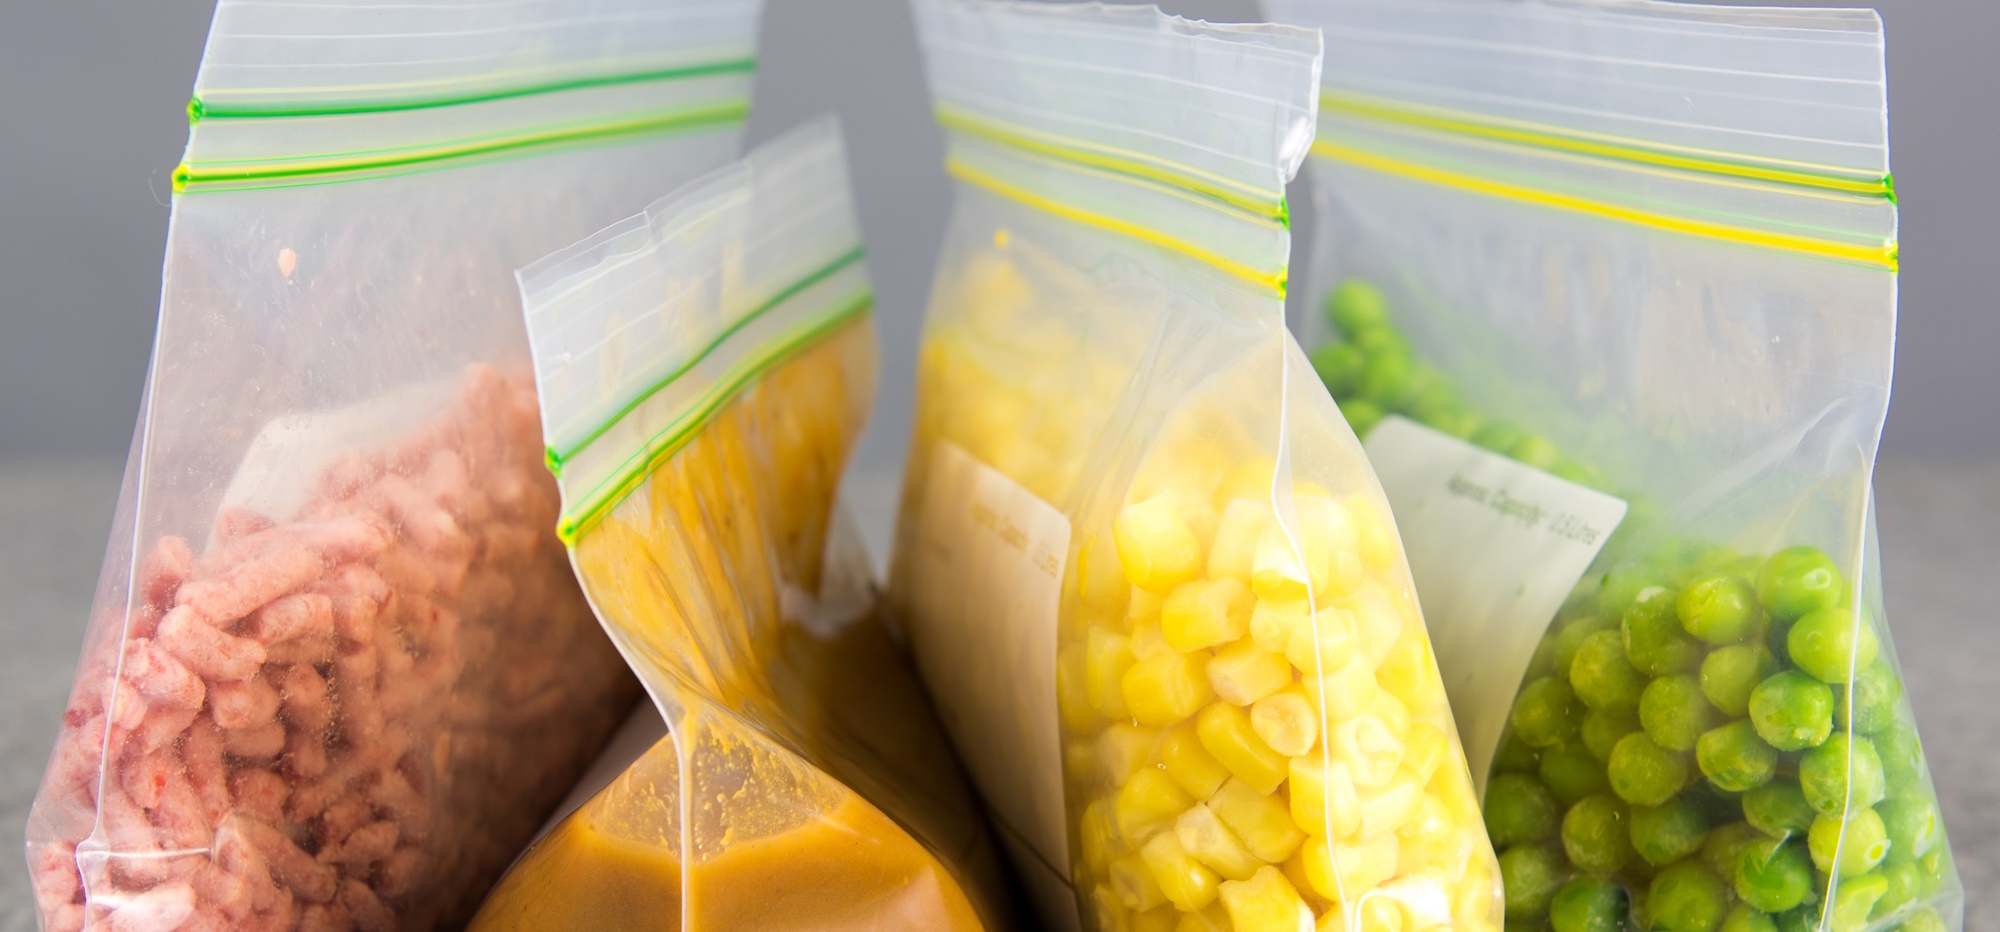
- Transfer to Freezer Bags: Once the pears have partially frozen, remove the baking sheet from the freezer. Carefully transfer the frozen pears into the labeled freezer bags. Fill the bags about two-thirds full, leaving enough space for expansion during freezing.
- Remove Air and Seal: Squeeze out any excess air from the bags before sealing them tightly. This will help prevent freezer burn and maintain the quality of the pears.
- Label the Bags: Using a permanent marker, write the date of freezing and the contents on each bag. This will help you keep track of the storage time and easily identify the frozen pears later on.
Once the pears are in the freezer bags, it’s time to store them properly and ensure they remain fresh and delicious.
Read more: How To Freeze Cookies Without Freezer Burn
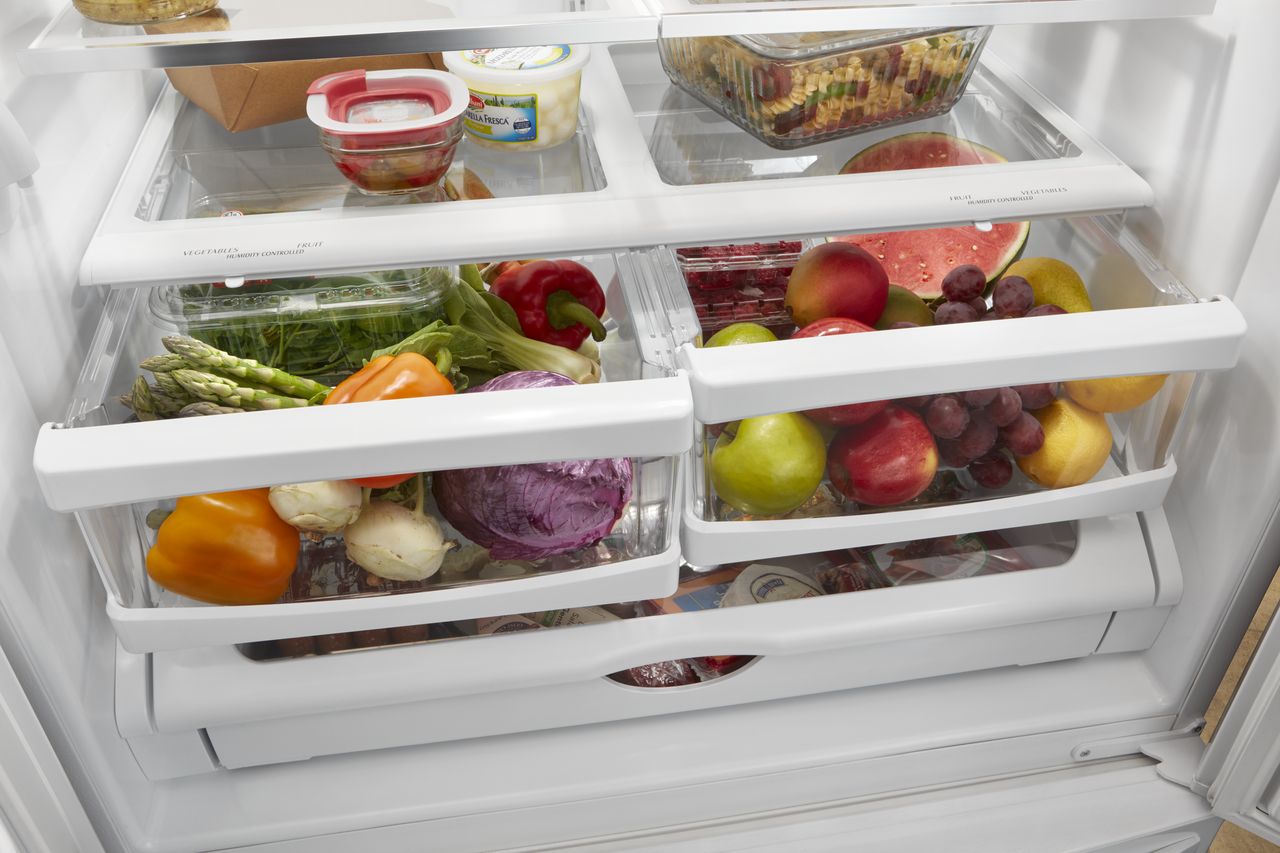
Storing and Labeling the Frozen Pears
Proper storage is crucial to maintain the quality of your frozen pears over time. Follow these steps to store and label the freezer bags effectively:
- Organize in the Freezer: Place the labeled freezer bags of pears in a single layer in the freezer. Make sure they are arranged in a way that allows for good air circulation and easy access.
- Stacking: If you have multiple bags, you can stack them on top of each other. However, avoid overloading the freezer with too many bags, as this can affect the temperature distribution and result in uneven freezing.
- Freezer Shelf Life: Frozen pears can typically be stored in the freezer for up to 12 months. However, for the best quality, it’s recommended to consume them within 6 months.
- Thawing: When you’re ready to use the frozen pears, you can easily thaw them in the refrigerator overnight or in a bowl of cold water. Avoid thawing them at room temperature, as this can lead to a loss of texture and quality.
Labeling the freezer bags with the date of freezing and the contents is essential to keep track of your inventory and ensure you use the oldest pears first. Additionally, it’s a good idea to make a note of any additives or preservatives used, especially if you have different batches of frozen pears.
Now that you know how to store and label your frozen pears, let’s explore some tips for using them in various recipes.
Tips for Using Frozen Pears
Having a stash of frozen pears opens up a world of culinary possibilities. Here are some useful tips for using frozen pears in your recipes:
- Baking: Frozen pears are perfect for baking pies, cakes, muffins, and bread. Simply thaw them in the refrigerator before incorporating them into your favorite recipes.
- Smoothies and Shakes: Add frozen pears directly to your blender for a refreshing and nutritious addition to your smoothies or shakes. They will provide a natural sweetness and a creamy texture.
- Fruit Compotes and Sauces: Simmer thawed frozen pears with a bit of sugar and spices to create delicious fruit compotes or sauces. Serve them over pancakes, waffles, or ice cream for a delectable treat.
- Fruit Salads: Thawed frozen pears can be added to fruit salads to enhance their flavor and texture. They pair well with other fruits like berries, apples, and citrus.
- Yogurt Toppings: Dice frozen pears and sprinkle them over your favorite yogurt for a burst of sweetness and added nutrients. You can also add some granola or nuts for extra crunch.
- Pear Sauce: Cook thawed frozen pears with a bit of water, sugar, and cinnamon to make a flavorful pear sauce. Enjoy it warm or chilled as a topping for pancakes, oatmeal, or roasted meats.
- Pancakes and Waffles: Incorporate thawed frozen pears into your pancake or waffle batter for a delightful twist. They will add moisture and a hint of natural sweetness.
Remember to adjust the sugar levels in your recipes when using frozen pears, as they tend to be sweeter than fresh pears due to the concentration of natural sugars during the freezing process.
By following these tips, you can make the most of your frozen pears and enjoy their delicious flavor even during the off-season!
Conclusion
Freezing pears in a freezer bag is a simple and effective way to preserve their taste and texture for later use. By following the steps outlined in this article, you can ensure that your frozen pears stay fresh and flavorful for an extended period.
From baking to blending, frozen pears can be used in a variety of recipes, adding a natural sweetness and nutritional value to your dishes. They are a versatile ingredient that can elevate your culinary creations all year round.
Remember to choose high-quality freezer bags, properly label them, and store them in an organized manner in your freezer. This will ensure that you can easily find and utilize your frozen pears when needed.
Whether you have an abundance of pears from your garden or want to take advantage of seasonal sales, freezing pears in a freezer bag is a wise decision. You’ll be able to enjoy the delicious taste of pears in pies, smoothies, sauces, and more, regardless of the time of year.
So, why let those ripe pears go to waste? Take the time to freeze them properly and enjoy the benefits of having frozen pears at your disposal whenever inspiration strikes. Get started today and experience the convenience and flavor of frozen pears in your favorite recipes!
Frequently Asked Questions about How Do You Freeze Pears In A Freezer Bag
Was this page helpful?
At Storables.com, we guarantee accurate and reliable information. Our content, validated by Expert Board Contributors, is crafted following stringent Editorial Policies. We're committed to providing you with well-researched, expert-backed insights for all your informational needs.


0 thoughts on “How Do You Freeze Pears In A Freezer Bag”