Articles
What Is A Pastry Blender Used For
Modified: February 26, 2024
Learn all about what a pastry blender is used for in this informative article. Find out how this handy kitchen tool can help you create the perfect flaky pastries!
(Many of the links in this article redirect to a specific reviewed product. Your purchase of these products through affiliate links helps to generate commission for Storables.com, at no extra cost. Learn more)
Introduction
When it comes to baking, having the right tools is essential. One of the most underrated tools in a baker’s arsenal is the pastry blender. Whether you’re a professional pastry chef or an amateur home baker, a pastry blender is a versatile and handy tool that can make a world of difference in your baking endeavors.
A pastry blender is a simple yet highly effective tool used in the preparation of various types of dough, such as pie crusts, biscuits, scones, and more. It is designed to combine solid fats, such as butter or shortening, with dry ingredients like flour, creating a crumbly texture that forms the foundation of many delicious baked goods.
While it may seem like a small and insignificant tool, a good pastry blender can save you time and effort when it comes to baking. In this article, we will explore the different uses of a pastry blender, its benefits, and how to choose the right one for your baking needs.
Key Takeaways:
- A pastry blender is a versatile tool that efficiently blends fats into dry ingredients, ensuring consistent texture and flavor in baked goods. It also has practical uses beyond baking, making it a valuable addition to any kitchen.
- When choosing a pastry blender, consider factors such as material, handle design, blade spacing, construction, ease of cleaning, size, and user reviews to find the perfect tool for your baking needs. This versatile and indispensable tool enhances the baking experience and saves time.
Read also: 12 Amazing Pastry Blender for 2025
Definition of a Pastry Blender
A pastry blender, also known as a pastry cutter or dough blender, is a handheld kitchen tool specifically designed for cutting solid fats into dry ingredients. It consists of a handle and several curved metal blades or wires attached to the handle at one end. The blades are evenly spaced and arranged in a way that allows them to effectively blend the ingredients together.
The primary purpose of a pastry blender is to incorporate solid fats, such as butter or shortening, into dry ingredients, such as flour, sugar, or baking powder. By cutting the fats into the dry ingredients, the pastry blender creates small, pea-sized pieces, resulting in a crumbly texture that is essential for achieving flaky and tender baked goods.
Pastry blenders come in a variety of sizes and designs, ranging from classic handheld models with a wooden or plastic handle to modern versions with ergonomic grips or stainless steel blades. Some pastry blenders even feature additional functions, such as a built-in scraper or a dough divider.
Overall, a pastry blender is a simple yet effective tool that plays a crucial role in the baking process. It allows bakers to easily and efficiently mix the ingredients, ensuring that the fat is evenly distributed throughout the dough for optimal texture and taste.
Now that we understand the basic definition of a pastry blender, let’s explore its various components and how they contribute to its functionality.
Components of a Pastry Blender
A pastry blender consists of a few key components that work together to blend the ingredients efficiently:
- Handle: The handle is the part of the pastry blender that you grip and hold onto while using it. It is typically made of wood, plastic, or metal and is designed to provide a comfortable and secure grip.
- Blades or wires: The blades or wires, which are attached to the handle, are the main working part of the pastry blender. They are usually made of stainless steel or another sturdy metal. The blades are curved and evenly spaced to allow for effective cutting and blending of the ingredients. Some modern pastry blenders may have wires instead of blades, but both designs serve the same purpose.
- Construction: The construction of the pastry blender is another important component to consider. Some pastry blenders have a solid, one-piece construction with the blades or wires securely attached to the handle. Others may have detachable blades that can be replaced or interchanged based on your preference.
- Ergonomic features: Many modern pastry blenders are designed with ergonomic features to enhance comfort and ease of use. These features may include a contoured handle for a better grip, a cushioned grip to reduce hand fatigue, or a thumb rest for added stability.
The combination of these components makes the pastry blender a versatile and efficient tool for blending butter or shortening into dry ingredients. It allows for precise cutting and blending, ensuring that the fat is evenly distributed throughout the dough.
Now that we have covered the components of a pastry blender, let’s move on to learning how to use this tool effectively for your baking needs.
How to Use a Pastry Blender Effectively
Using a pastry blender effectively requires a few simple steps. Follow these guidelines to achieve optimal results:
- Preparation: Before you begin, make sure your ingredients are measured and ready. This will ensure a smooth and efficient blending process.
- Cutting in the fat: Start by adding cold, solid fats, such as butter or shortening, to your dry ingredients in a mixing bowl. Using the pastry blender, begin cutting the fat into the dry ingredients. Hold the handle firmly and press down on the ingredients, using a rocking motion to blend them. The blades or wires of the pastry blender will cut through the fats, breaking them into small pieces and blending them into the dry ingredients.
- Repeat until desired texture: Continue cutting in the fat with the pastry blender until the mixture resembles coarse crumbs. Make sure to evenly distribute the fat throughout the dry ingredients to achieve the desired texture. Be cautious not to overmix, as this can lead to a tough pastry.
- Finishing touches: Once the fat has been blended into the dry ingredients, it is time to add any additional liquids, such as water or milk, and gently mix everything together. This will bring the dough together and create a cohesive mixture that is ready for shaping or rolling.
Remember, practice makes perfect. It may take a few tries to find the right motion and pressure when using the pastry blender. Don’t be discouraged if your first attempt isn’t perfect. With time and experience, you will develop a feel for using the pastry blender effectively.
Now that you know how to use a pastry blender, let’s explore the different uses of this versatile tool.
A pastry blender is used to cut butter or shortening into dry ingredients when making pastry dough, creating a crumbly texture. Use a gentle rocking motion for best results.
Different Uses of a Pastry Blender
While the primary use of a pastry blender is to cut solid fats into dry ingredients for baking dough, it has several other practical applications in the kitchen:
- Crumb Topping: A pastry blender can be used to make crumb toppings for pies, coffee cakes, or fruit crisps. By combining flour, sugar, and butter with the pastry blender, you can create a delicious and crumbly topping to sprinkle over your desserts.
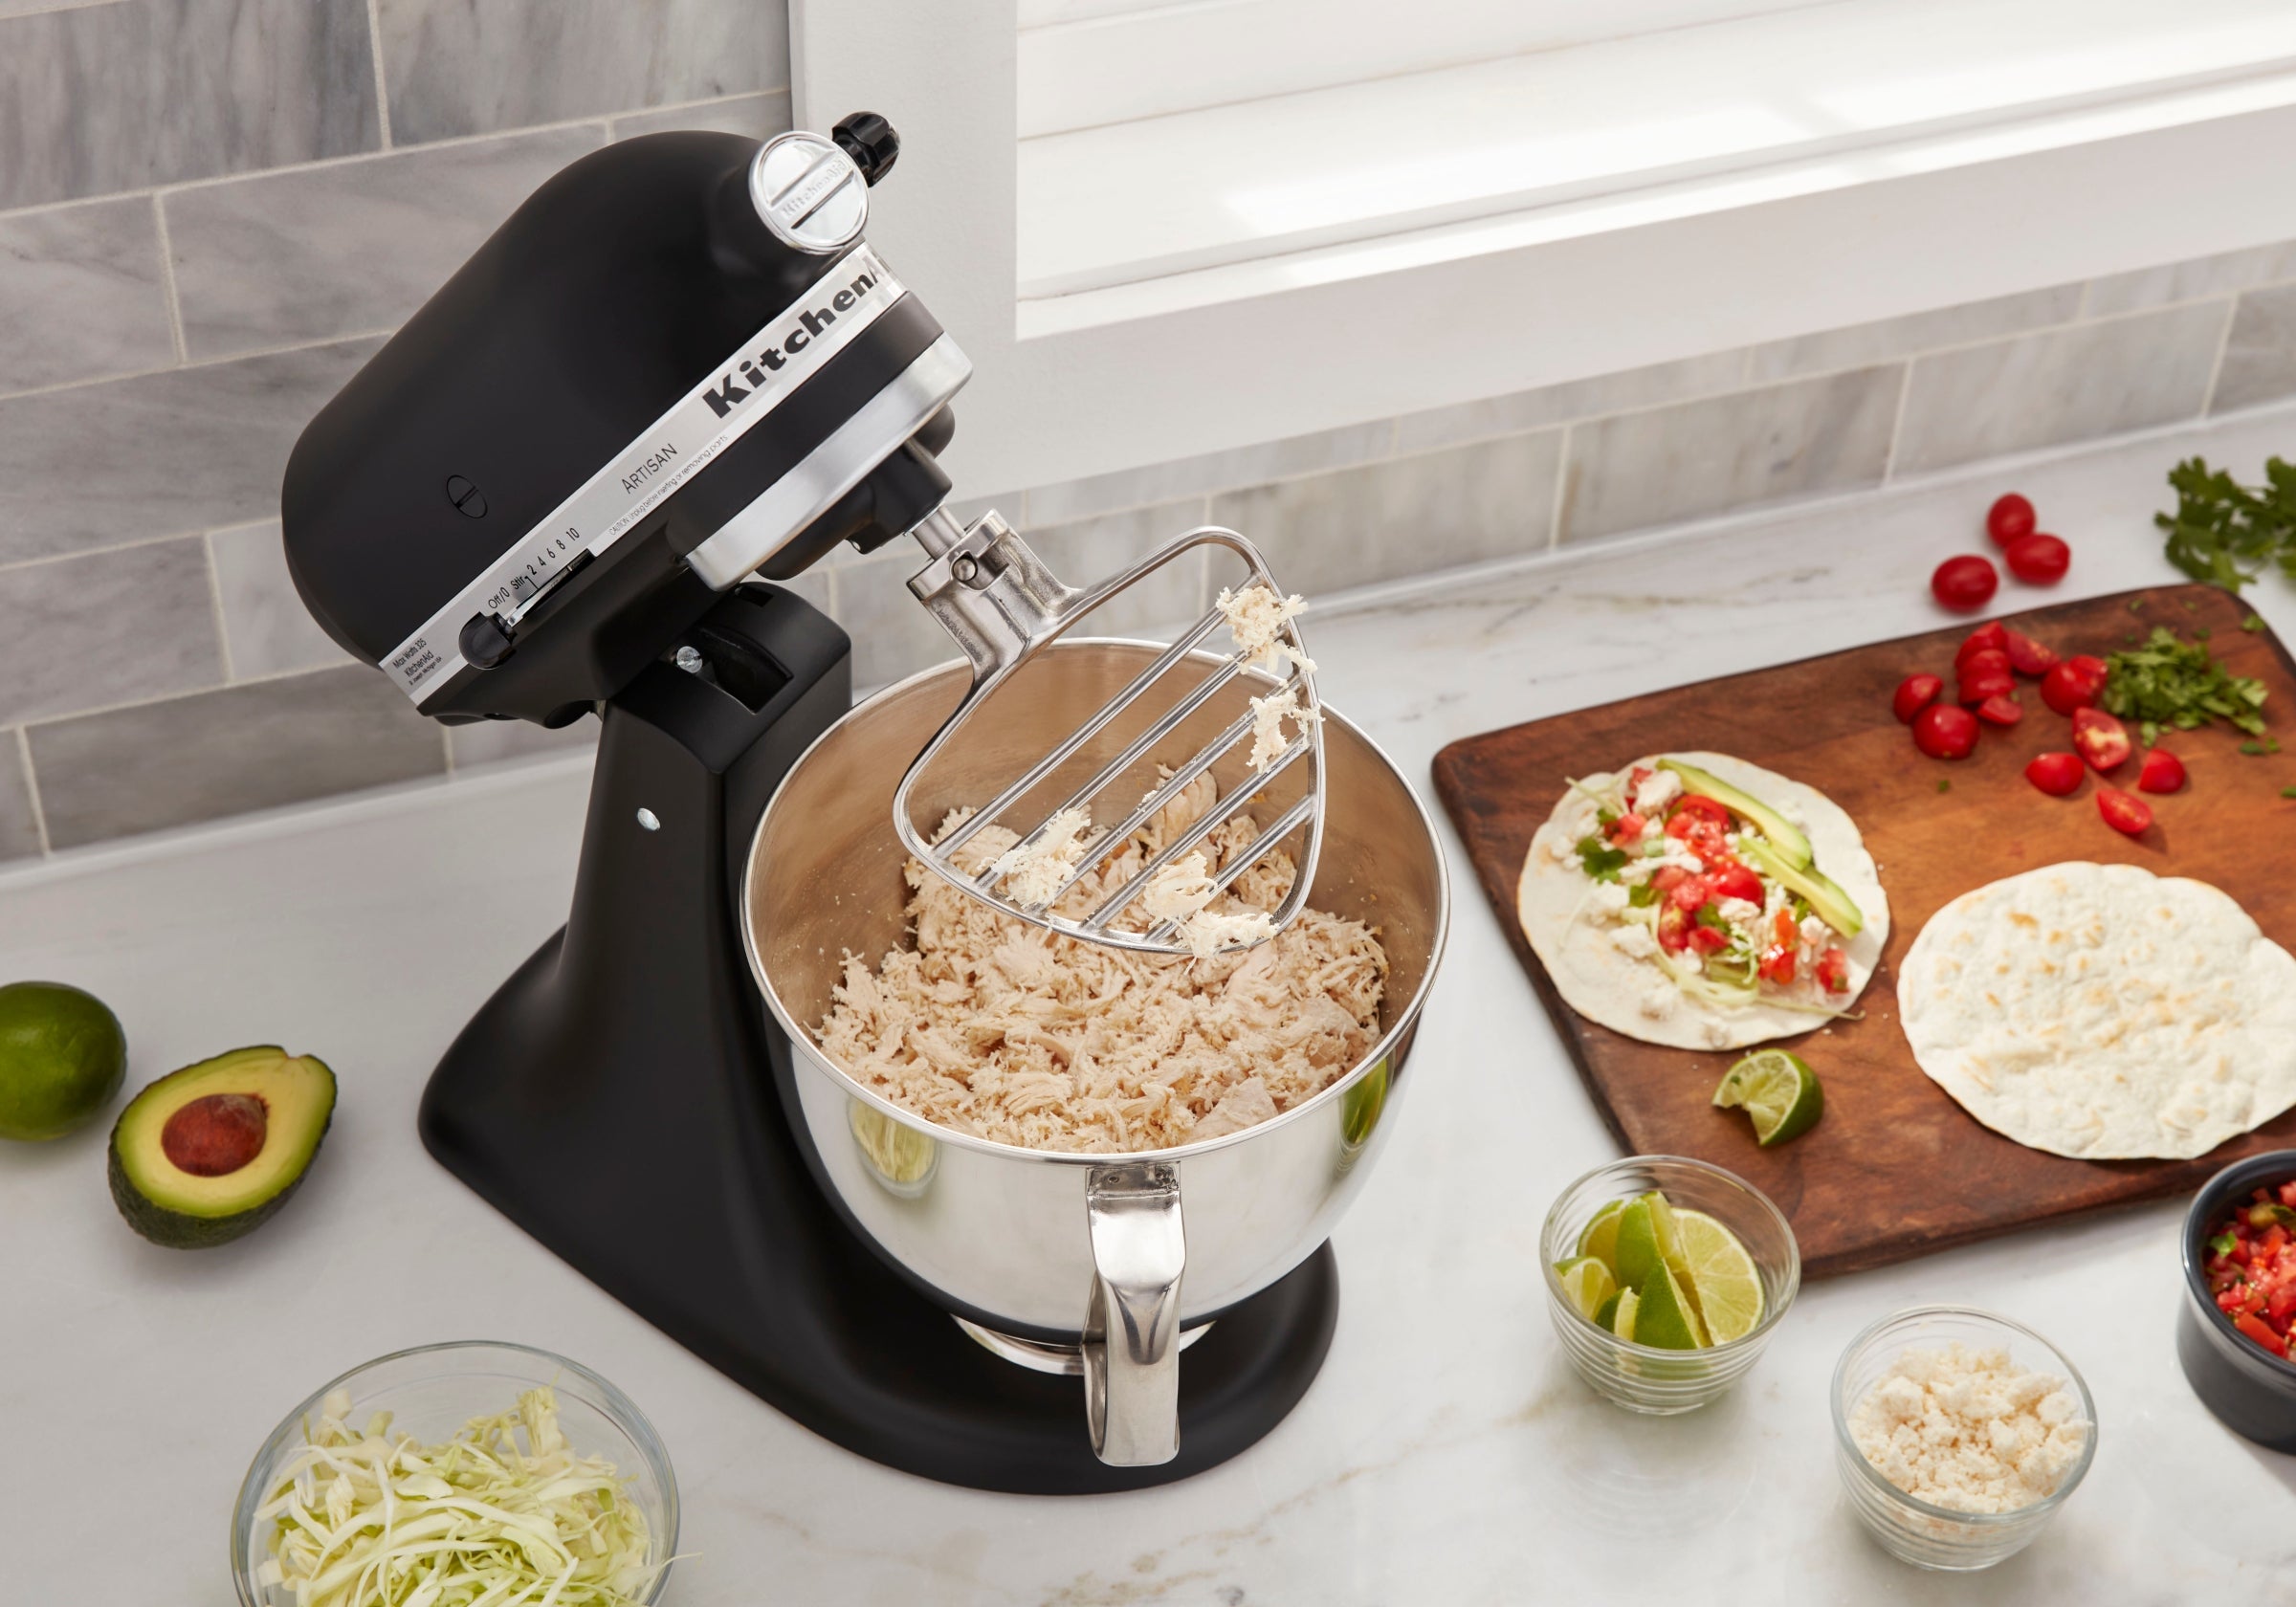
- Mashed Potatoes: Instead of using a fork or a potato masher, you can use a pastry blender to mash boiled potatoes. The blades or wires will help break down the potatoes into a smooth and creamy consistency.
- Guacamole: If you prefer a chunkier texture for your guacamole, a pastry blender can be used to mash avocados and mix them with other ingredients like lime juice, onions, and cilantro.
- Egg Salad: Use a pastry blender to chop hard-boiled eggs for egg salad. This tool makes the task quick and easy, resulting in evenly chopped eggs for your delicious salad.
- Fruit Compotes and Sauces: A pastry blender can be used to break down cooked fruits for compotes and sauces. It helps create a smoother consistency while still maintaining some texture.
- Making Cracker Crumbs: If you need crushed crackers for a recipe, a pastry blender can be a great tool to break them down into fine crumbs quickly.
These are just a few examples of the many creative uses for a pastry blender beyond baking. Its versatility makes it a valuable tool in the kitchen, providing convenience and efficiency.
Now that we have explored the different uses of a pastry blender, let’s move on to discussing the benefits of using this tool.
Read more: What To Use A Blender For
Benefits of Using a Pastry Blender
Using a pastry blender in your baking endeavors offers several benefits that contribute to the overall quality of your baked goods. Here are some of the key advantages of using a pastry blender:
- Efficient blending: A pastry blender allows for quick and efficient blending of solid fats into dry ingredients. It cuts through the fats, evenly distributing them throughout the mixture, resulting in a consistent texture and flavor in your baked goods.
- Flaky and tender crusts: When making pie crusts or other pastry dough, incorporating the fat properly is crucial to achieving a flaky and tender texture. The pastry blender helps achieve this by breaking the fat into small, evenly distributed pieces, resulting in the desired flakiness.
- Control over the blending process: The use of a pastry blender gives you control over how much you blend the fats into the dry ingredients. This control allows you to customize the texture and consistency of the dough according to your preference and recipe requirements.
- Consistent results: By using a pastry blender, you can achieve consistent results in your baking. The even distribution of fat throughout the dough ensures that each bite of your baked goods is equally delicious and well-balanced in flavor.
- Time-saving: A pastry blender makes the task of cutting in fats much faster and easier compared to other methods, such as using a fork or your hands. It saves you valuable time during the baking process, allowing you to enjoy your creations sooner.
- Versatility in the kitchen: As mentioned earlier, a pastry blender has uses beyond the realm of baking. It can be utilized for various tasks like mashing potatoes, making crumb toppings, or even preparing guacamole. The versatility of this tool makes it a valuable addition to any kitchen.
Overall, the benefits of using a pastry blender center around achieving optimal texture, consistent results, and efficient blending. Whether you’re a professional baker or an aspiring home cook, the pastry blender is an essential tool that enhances your baking experience.
Now let’s move on to some helpful tips for choosing the right pastry blender for your needs.
Tips for Choosing a Pastry Blender
When it comes to selecting a pastry blender, there are a few factors to consider to ensure you choose the right one for your needs. Here are some tips to help you make an informed decision:
- Material: Look for a pastry blender with blades or wires made of sturdy and durable materials, such as stainless steel. This ensures the longevity of the tool and its ability to withstand frequent use and pressure.
- Handle: Consider the handle design and material. Look for a comfortable and ergonomic handle that provides a secure grip. Handles made of wood, plastic, or metal with a cushioned grip are popular choices for added comfort.
- Blade or wire spacing: Check the spacing between the blades or wires. Evenly spaced blades or wires ensure that the fats and dry ingredients are distributed evenly during blending, resulting in a consistent texture.
- Construction: Choose a pastry blender with a solid construction. Look for a one-piece design or secure attachment of the blades or wires to the handle. This ensures stability and prevents any loosening or detachment during use.
- Cleaning and maintenance: Consider the ease of cleaning the pastry blender. Look for one that is dishwasher safe or easy to clean by hand. Some models may have detachable blades or wires that make cleaning more convenient.
- Size: Consider the size of the pastry blender. Smaller pastry blenders are suitable for smaller batches and precision work, while larger ones are ideal for larger quantities. Choose a size that matches the volume of your typical baking needs.
- Reviews and recommendations: Read reviews and seek recommendations from fellow bakers or reputable sources. Real-life experiences can provide valuable insights into the quality and performance of different pastry blenders.
By considering these tips, you can select a pastry blender that meets your requirements and enhances your baking experience.
Now that we have covered the tips for choosing a pastry blender, let’s wrap up our discussion.
Conclusion
A pastry blender is a versatile and indispensable tool in any baker’s kitchen. It plays a vital role in achieving the perfect texture and consistency of dough, resulting in flaky and tender baked goods. From pie crusts to scones, a pastry blender ensures that the fats are evenly distributed throughout the dry ingredients, creating a delicious and satisfying end product.
Not only does a pastry blender excel in its primary function of blending fats into dry ingredients, but it also has a range of other useful applications in the kitchen. From mashing potatoes to making crumb toppings, its flexibility makes it a valuable tool for various culinary tasks.
When choosing a pastry blender, consider factors such as material, handle design, blade spacing, construction, ease of cleaning, size, and user reviews. These factors will help you select the perfect pastry blender that fits your preferences and needs.
Using a pastry blender effectively requires practice and finesse, but the benefits are well worth the effort. By using this tool, you can achieve consistent results, save time, and elevate the quality of your baked goods.
Whether you’re a seasoned baker or just starting out on your baking journey, a pastry blender is an essential tool that should not be overlooked. So go ahead and invest in a high-quality pastry blender, and let your creativity shine through in the kitchen with the perfect texture and taste of your homemade baked goods.
Happy baking!
Frequently Asked Questions about What Is A Pastry Blender Used For
Was this page helpful?
At Storables.com, we guarantee accurate and reliable information. Our content, validated by Expert Board Contributors, is crafted following stringent Editorial Policies. We're committed to providing you with well-researched, expert-backed insights for all your informational needs.


0 thoughts on “What Is A Pastry Blender Used For”