Home>Articles>How To Make Pie Crust Without A Food Processor

Articles
How To Make Pie Crust Without A Food Processor
Modified: January 5, 2024
Learn how to make a flaky, homemade pie crust without the need for a food processor. Our collection of articles will guide you step-by-step in mastering this essential baking skill.
(Many of the links in this article redirect to a specific reviewed product. Your purchase of these products through affiliate links helps to generate commission for Storables.com, at no extra cost. Learn more)
Introduction
Have you ever found yourself craving a homemade pie, only to realize that you don’t have a food processor to make the pie crust? Don’t worry, you don’t need fancy equipment to achieve a flaky and delicious pie crust. With a few simple tools and ingredients, you can easily make pie crust by hand. In this article, we’ll guide you through the process of making pie crust without a food processor.
There’s something truly special about making pie crust from scratch. The process of kneading the dough, feeling it come together, and experiencing the satisfaction of a perfectly baked crust is truly rewarding. By following these steps, you’ll be able to create a pie crust that rivals any store-bought version.
Before we dive into the step-by-step instructions, let’s take a look at the tools and ingredients you’ll need for this recipe.
Key Takeaways:
- Making pie crust by hand is achievable and rewarding, requiring only basic tools and ingredients. The process involves mixing, incorporating butter, adding liquid, forming, chilling, rolling, and transferring to a pie pan.
- Homemade pie crust adds a personal touch and elevates the taste of pies. With practice, confidence and skills will improve, resulting in flaky, scrumptious crusts that rival store-bought versions.
Read more: How To Make Pie Crust In Kitchenaid Mixer
Tools and Ingredients
To make pie crust without a food processor, you’ll need the following tools and ingredients:
- A large mixing bowl: This will serve as your main mixing vessel.
- A pastry cutter or two forks: These tools will help you cut the butter into the flour mixture.
- A wooden spoon or spatula: This will assist with mixing the ingredients.
- A rolling pin: You’ll need this to roll out the dough later on.
- A pie pan: Make sure you have a pie pan ready to transfer your dough into.
- 2 ½ cups all-purpose flour: This is the base for your pie crust.
- 1 teaspoon salt: This will enhance the flavor of the crust.
- 1 tablespoon granulated sugar: If you prefer a slightly sweet crust, add sugar to the mixture.
- 1 cup unsalted butter, cold and cubed: The butter is what will give your pie crust its flaky texture.
- 6-8 tablespoons ice water: You’ll need just enough ice water to bring the dough together.
Now that you have all the necessary tools and ingredients, let’s turn our attention to the step-by-step process of making pie crust without a food processor.
Step 1: Mixing the Ingredients
The first step in making pie crust without a food processor is to mix the dry ingredients together. In a large mixing bowl, combine 2 ½ cups of all-purpose flour, 1 teaspoon of salt, and 1 tablespoon of granulated sugar if desired.
Using a wooden spoon or spatula, gently stir the dry ingredients together until they are evenly combined. This helps to ensure that the salt and sugar are distributed evenly throughout the crust.
By mixing the dry ingredients first, you create a foundation for the rest of the dough-making process. It’s important to make sure there are no lumps or clumps in the mixture.
Once the dry ingredients are thoroughly combined, we can move on to the next step of incorporating the butter into the dough.
Note: If you prefer to use a gluten-free flour or have any dietary restrictions, you can substitute the all-purpose flour with a gluten-free alternative. Just make sure to follow the specific instructions for the gluten-free flour you are using.
Step 2: Incorporating the Butter
Now that you have mixed the dry ingredients, it’s time to incorporate the cold, cubed butter into the mixture. The butter is what will give your pie crust its flaky texture.
Using a pastry cutter or two forks, cut the cold butter into the flour mixture. You want to work quickly to ensure that the butter stays cold and doesn’t melt. As you cut the butter, mix it into the flour until the mixture resembles coarse crumbs. The goal is to have small butter pieces evenly distributed throughout the dough.
Incorporating the butter into the dough with this method helps create layers, which will result in a flaky crust when baked. The cold butter creates pockets of steam in the dough that expand during baking, leading to that desirable flakiness.
This step requires a bit of patience and precision. Take care not to overmix or break down the butter too much. The little pockets of butter are what will give your crust its texture and tenderness.
Once you have achieved a crumbly texture with the butter and flour mixture, it’s time to move on to the next step of adding the liquid to bring the dough together.
Step 3: Adding the Liquid
Now that you have incorporated the butter into the flour mixture, it’s time to add the liquid that will bring the dough together. In this step, we’ll be adding ice water to the dough.
Start by adding 6-8 tablespoons of ice water to the mixture, one tablespoon at a time. Using a wooden spoon or spatula, gently mix the dough after each addition of water. The goal is to add just enough water to bring the dough together without it becoming too wet or sticky.
Be careful not to overmix the dough at this stage. Overmixing can lead to a tough crust, so it’s best to mix until just combined. If the dough still seems crumbly after adding the initial amount of water, add an additional tablespoon at a time until the dough starts to hold together when squeezed.
The amount of water needed may vary depending on humidity and other factors, so it’s important to use your judgment. The dough should hold together without feeling sticky or overly wet.
Once you have achieved the right consistency, it’s time to move on to the next step of forming the dough into a ball.
Note: Some recipes may call for the addition of a splash of vinegar or lemon juice to help tenderize the dough. This can be added when adding the water if desired, but it’s not necessary for a basic pie crust.
When making pie crust without a food processor, use a pastry cutter or two knives to cut the butter into the flour until it resembles coarse crumbs. This will help create a flaky and tender crust.
Read more: How To Store Pie Crust
Step 4: Forming the Dough
With the liquid added to the flour mixture, it’s time to form the dough. The goal is to create a cohesive ball of dough that will be easy to roll out later on.
Start by using your hands to gently gather the dough together in the mixing bowl. As you bring the dough together, be careful not to knead or overwork it. The key to a tender crust is minimal handling.
If the dough feels too dry and crumbly, you can moisten your hands with a little water and continue to gather the dough until it holds together. Be cautious not to add too much water, as this can result in a tough crust.
Once the dough is formed into a ball, transfer it to a lightly floured surface. Give the dough a gentle press to flatten it slightly and then shape it into a disk. The disk shape will make it easier to roll out the dough evenly later on.
It’s important to note that the dough may appear slightly rough or crumbly at this stage. Don’t worry; as you roll it out, the dough will come together and the rough edges will smooth out.
Once you have shaped the dough into a disk, it’s time to move on to the next step of chilling the dough before rolling it out.
Note: If you find it difficult to handle the dough or if it starts to soften too much, you can always transfer it back to the refrigerator for a few minutes to firm up. This will make it easier to work with.
Step 5: Chilling the Dough
After forming the dough into a disk, it’s important to let it chill before rolling it out. Chilling the dough helps solidify the butter and relaxes the gluten, making it easier to handle and preventing shrinkage during baking.
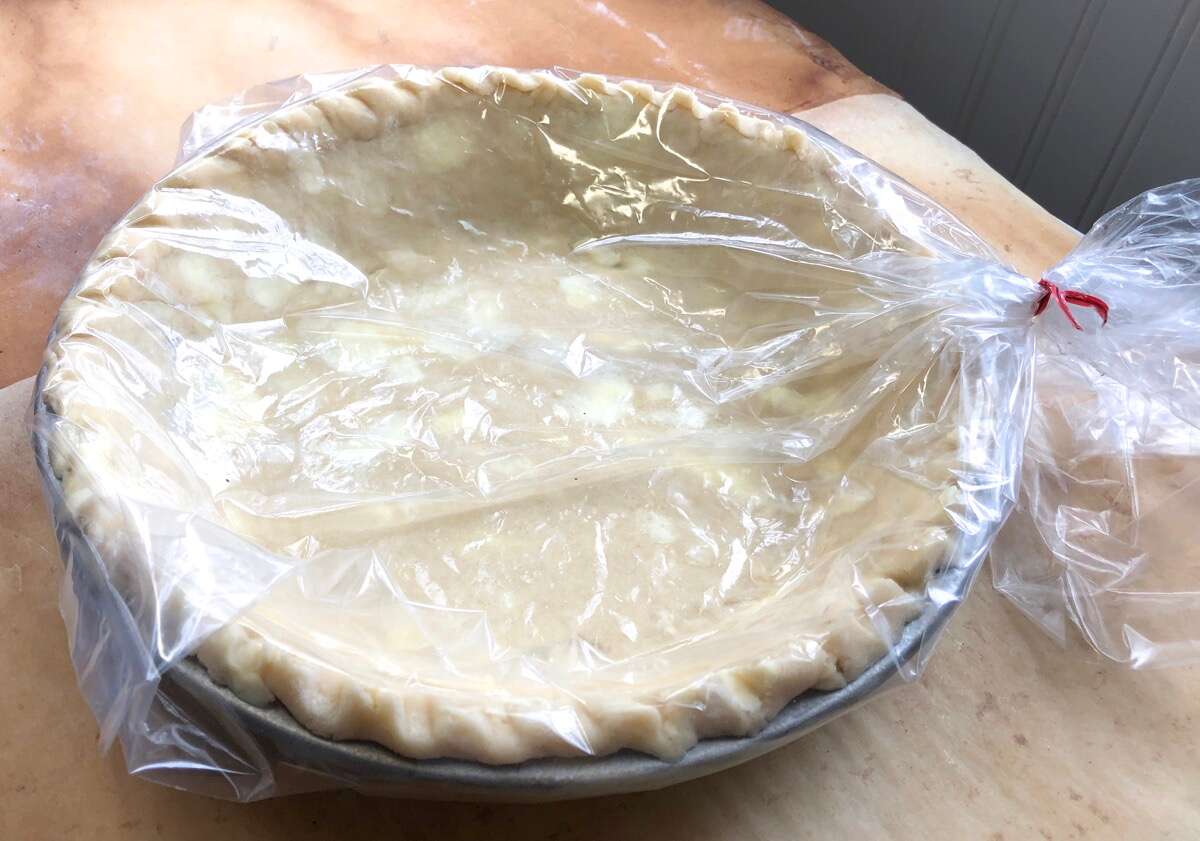
To chill the dough, wrap it tightly in plastic wrap and place it in the refrigerator. Let it chill for at least 30 minutes, but ideally for 1 to 2 hours. This allows the dough to firm up and allows the flavors to meld together.
Chilling the dough also ensures that it retains its shape when rolled out and transferred to the pie pan. If the dough is too soft or warm, it may become sticky and difficult to work with.
During the chilling process, you can use the time to prepare the filling for your pie, gather any additional toppings or ingredients you’ll need, or simply take a break and relax.
Once the dough has chilled sufficiently, it’s time to move on to the next step of rolling out the crust.
Note: If you’re in a hurry and don’t have much time for chilling, you can place the dough in the freezer for about 15-20 minutes. This will help speed up the chilling process while still allowing the dough to firm up.
Step 6: Rolling out the Dough
With the dough chilled and ready, it’s time to roll it out into a thin, even layer. Rolling out the dough might seem intimidating, but with a few tips and techniques, you’ll be able to achieve a perfect crust.
Start by lightly flouring your work surface and the rolling pin to prevent the dough from sticking. Place the chilled dough on the floured surface and sprinkle a little flour on top of the dough as well.
Using the rolling pin, begin rolling the dough out from the center in all directions, applying gentle and even pressure. Turn the dough periodically and sprinkle more flour underneath and on top as needed to prevent sticking.
Continue rolling the dough until it reaches your desired thickness, typically around 1/8 to 1/4 inch. Keep in mind that a slightly thicker crust may be easier to work with for beginners, while a thinner crust will result in a more delicate and crispy texture.
Try to maintain a circular shape as you roll out the dough. This will make it easier to fit into the pie pan and create an evenly baked crust. If the edges become uneven, you can always trim them later.
Aim for a diameter that is about 2 inches larger than the diameter of your pie pan to allow for overhang. This overhang will help create a sealed edge and prevent the crust from shrinking during baking.
Once the dough is rolled out to the desired thickness and size, it’s time to move on to the next step of transferring the dough to a pie pan.
Note: If the dough becomes too soft or difficult to work with while rolling, you can place it back in the refrigerator for a few minutes to firm up before continuing.
Step 7: Transferring the Dough to a Pie Pan
After rolling out the dough, it’s time to transfer it to a pie pan in preparation for filling and baking. This step requires a bit of careful handling to ensure the dough fits properly and holds its shape.
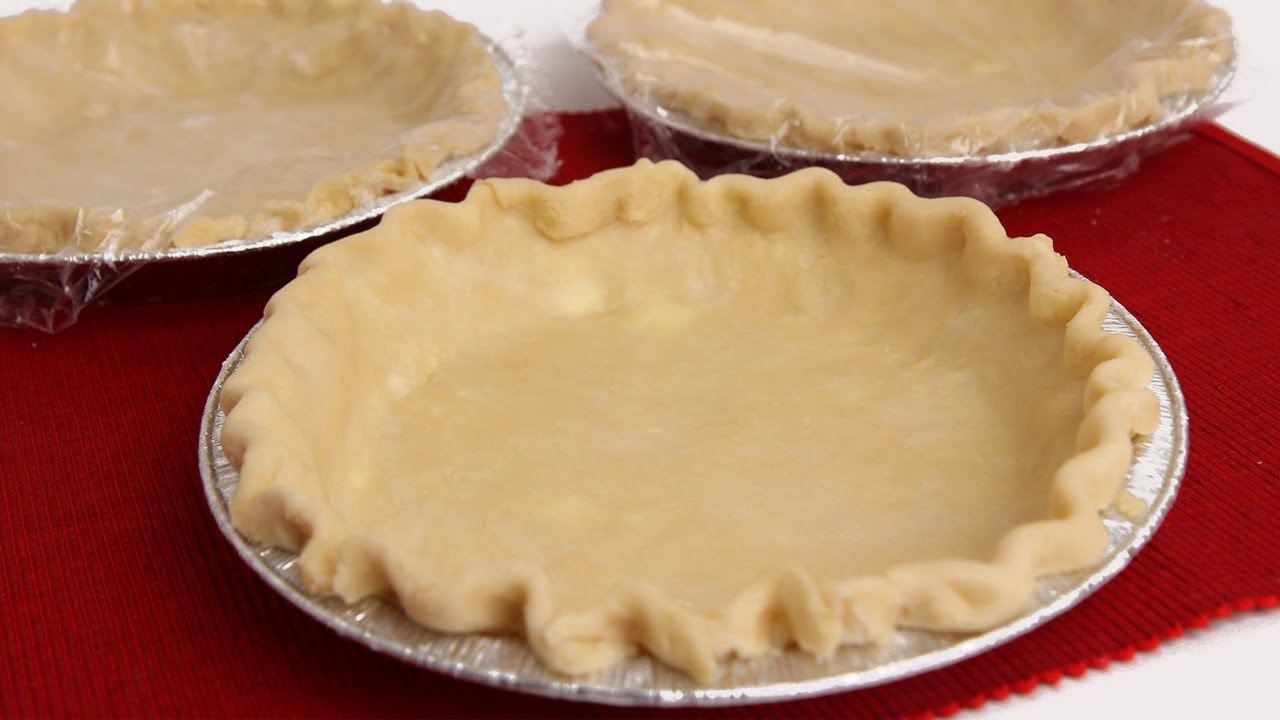
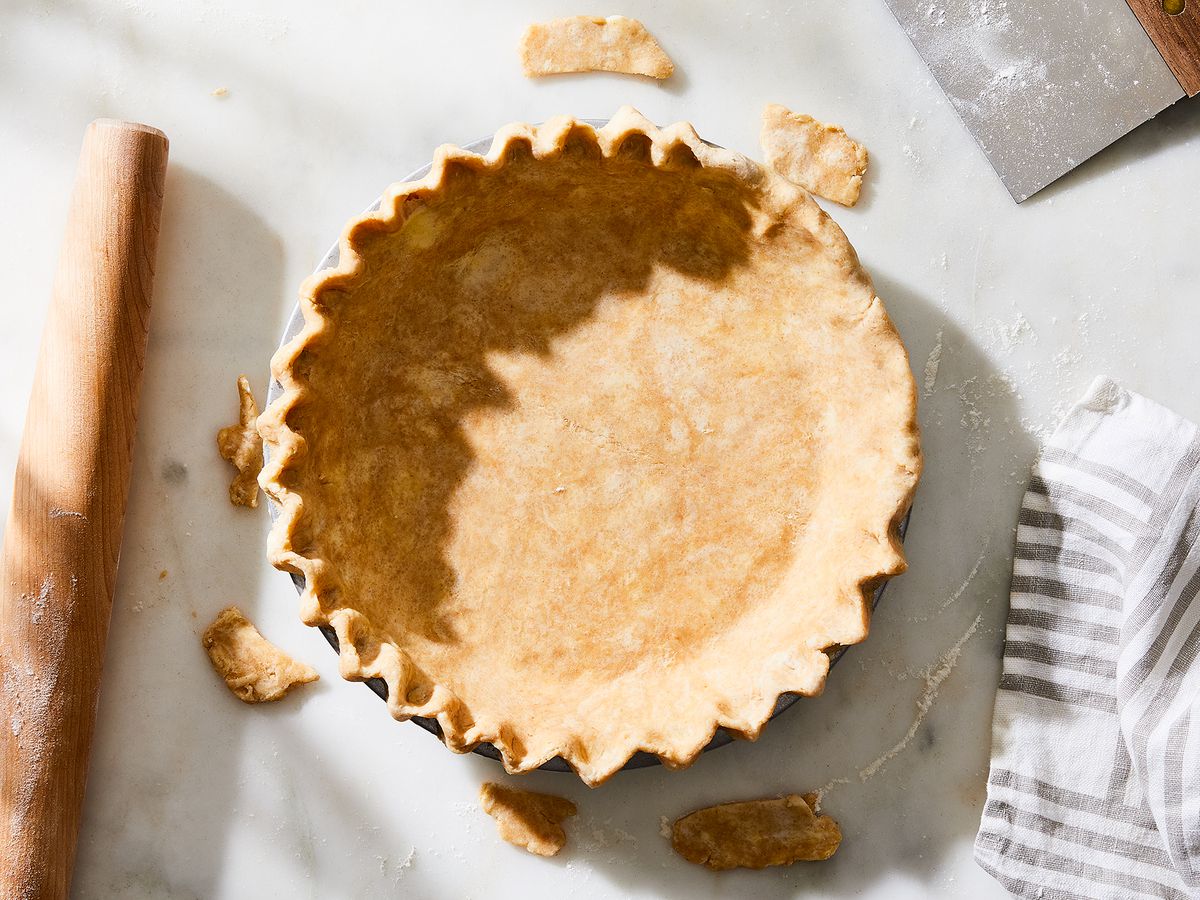
Gently lift the rolled-out dough by rolling it onto the rolling pin or by folding it in half and then lifting it. Carefully place the dough over the pie pan, ensuring that it is centered. Gently unfold or unroll the dough, allowing it to naturally settle into the pan.
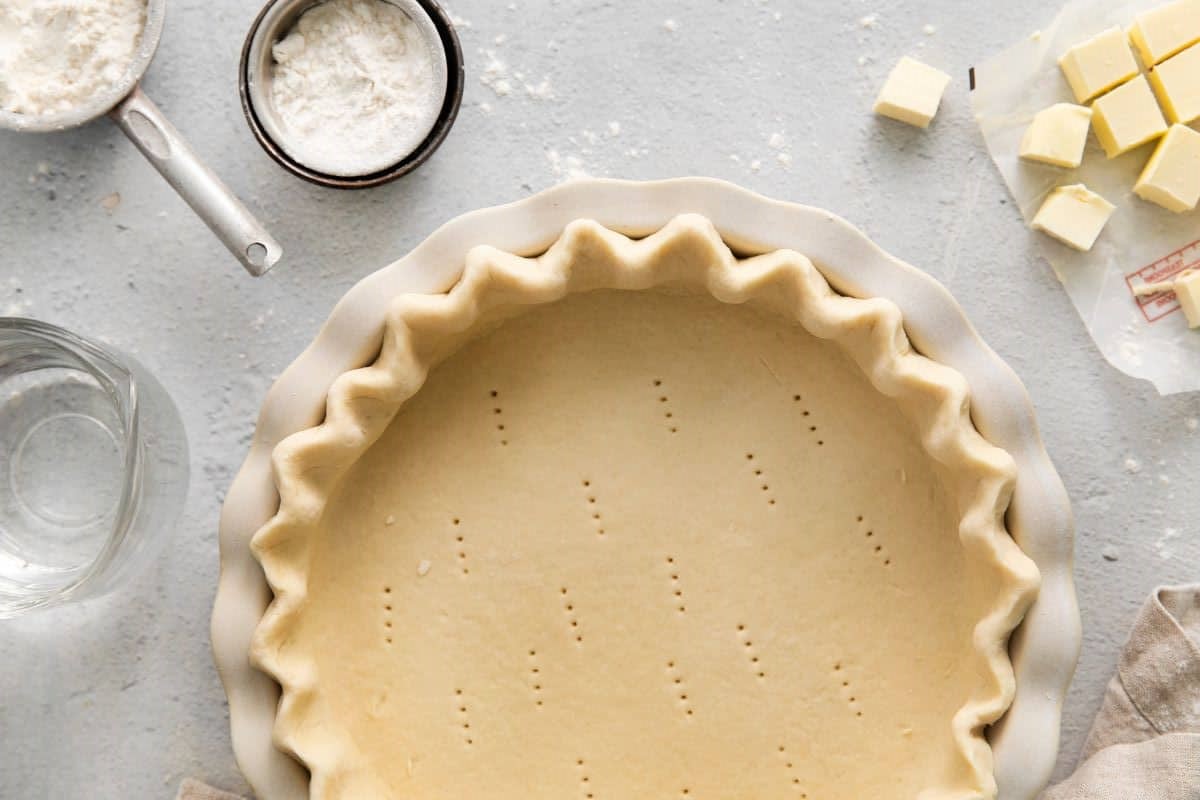
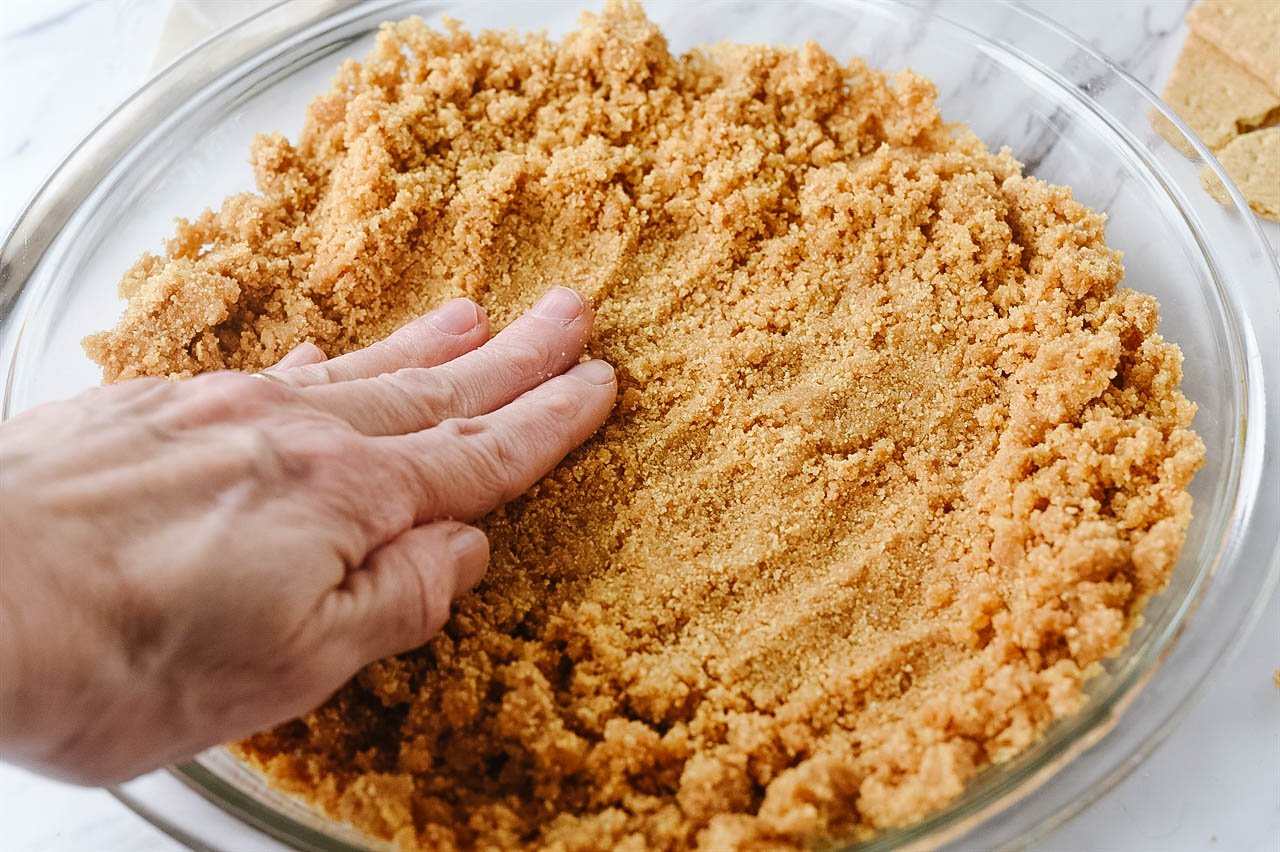
Gently press the dough into the corners and against the sides of the pan, making sure it adheres to the pan’s shape. Use your fingers to gently press the dough against any ridges in the pan, ensuring an even distribution of the dough.
Trim any excess dough that hangs over the edges of the pan, leaving about a 1-inch overhang. This overhang will be used to create a decorative edge or to seal a top crust if you’re making a double-crust pie.
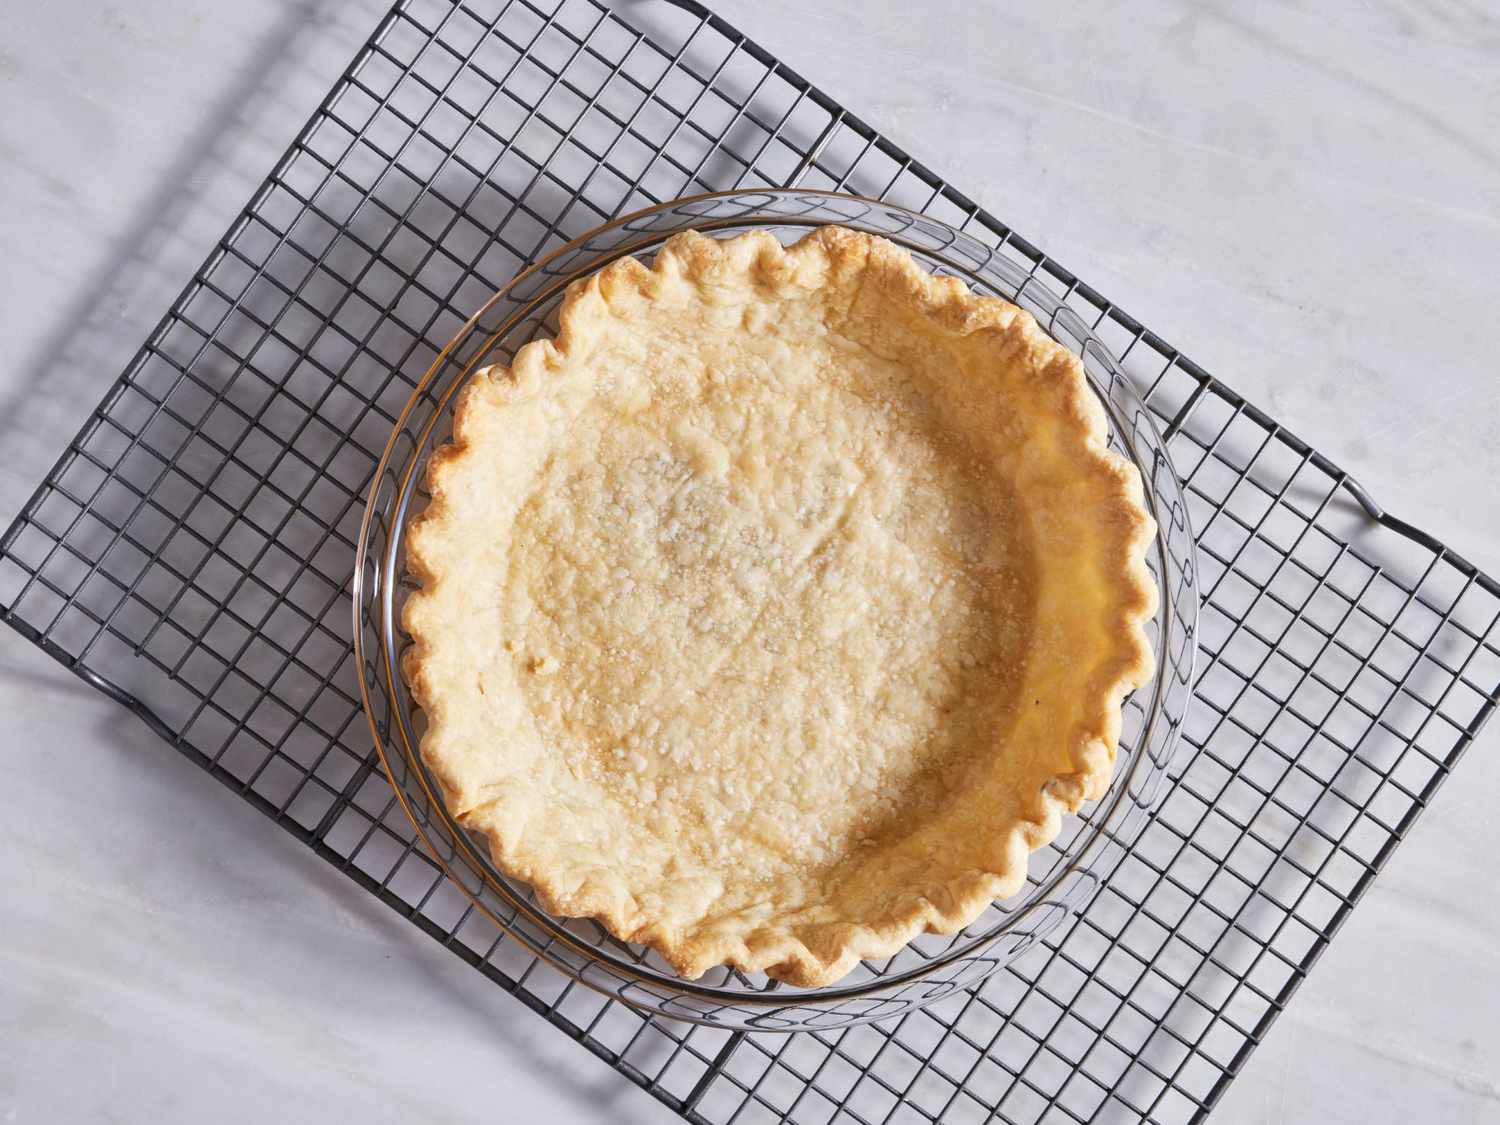
If you’re making a pie with a pre-baked crust, you can use a fork to prick the bottom of the dough to prevent it from puffing up during baking.
At this point, your pie crust is ready to be filled and baked according to your recipe. Follow the instructions for your specific pie filling, whether it’s a fruit filling, custard, or savory filling.
Remember, practice makes perfect. Don’t be discouraged if your first attempt at transferring the dough to the pan isn’t perfect. With each try, you’ll gain more confidence and skill.
Congratulations! You have successfully made pie crust without a food processor. The homemade crust will add an extra touch of deliciousness to your pies and impress your friends and family.
Enjoy the process and savor the outcome – a flaky and scrumptious homemade pie crust that you can proudly call your own!
Read more: How To Make Pie Crust In A Stand Mixer
Conclusion
Making pie crust without a food processor may seem like a daunting task, but with the right tools, ingredients, and technique, it’s completely achievable. By following the steps outlined in this article, you can create a flaky and delicious pie crust that will rival any store-bought version.
The process of mixing the ingredients, incorporating the butter, adding the liquid, forming the dough, chilling it, rolling it out, and transferring it to a pie pan is a labor of love. It requires patience, attention to detail, and a gentle touch. But the end result is well worth the effort.
Homemade pie crust has a special quality that store-bought crusts simply can’t replicate. It adds a personal touch and elevates the overall taste and texture of your pies. Whether you’re making a sweet fruit pie or a savory quiche, a homemade crust will take your culinary creations to the next level.
Remember, practice makes perfect. Don’t be discouraged if your first attempt isn’t perfect. With each time you make pie crust by hand, you’ll gain more confidence and improve your skills.
So, the next time you find yourself in the mood for a delicious homemade pie but don’t have a food processor, don’t worry. Just grab a few essential tools, gather your ingredients, and follow the steps outlined in this article. You’ll be amazed at the results you can achieve.
Enjoy the process, have fun with it, and savor the satisfaction of biting into a pie with a homemade crust that you can proudly call your own.
Frequently Asked Questions about How To Make Pie Crust Without A Food Processor
Was this page helpful?
At Storables.com, we guarantee accurate and reliable information. Our content, validated by Expert Board Contributors, is crafted following stringent Editorial Policies. We're committed to providing you with well-researched, expert-backed insights for all your informational needs.

0 thoughts on “How To Make Pie Crust Without A Food Processor”