Home>Articles>How Long Do You Cook Waffles For In A Waffle Iron
Articles
How Long Do You Cook Waffles For In A Waffle Iron
Modified: August 28, 2024
Discover the perfect cooking time for waffles in a waffle iron with our informative articles. Master the art of making delicious waffles every time.
(Many of the links in this article redirect to a specific reviewed product. Your purchase of these products through affiliate links helps to generate commission for Storables.com, at no extra cost. Learn more)
Introduction
Waffles are a beloved breakfast treat, known for their crisp exterior and fluffy interior. Whether you’re a waffle aficionado or just starting out, knowing how long to cook waffles for in a waffle iron is essential for achieving the perfect texture and taste. In this article, we’ll guide you through the process of cooking waffles to perfection, from preparing the waffle iron to checking for doneness. So, grab your favorite waffle recipe, dust off your waffle iron, and let’s get cooking!
Key Takeaways:
- Master the art of cooking waffles by properly preparing and preheating the waffle iron, pouring the batter, and checking for doneness to achieve the perfect balance of crispness and fluffiness.
- Get creative with waffle recipes and experiment with flavors, toppings, and alternative flours to cater to different dietary preferences, impressing family and friends with delicious homemade waffles.
Read more: How Long Do Waffles Take On Waffle Iron?
Preparing the Waffle Iron
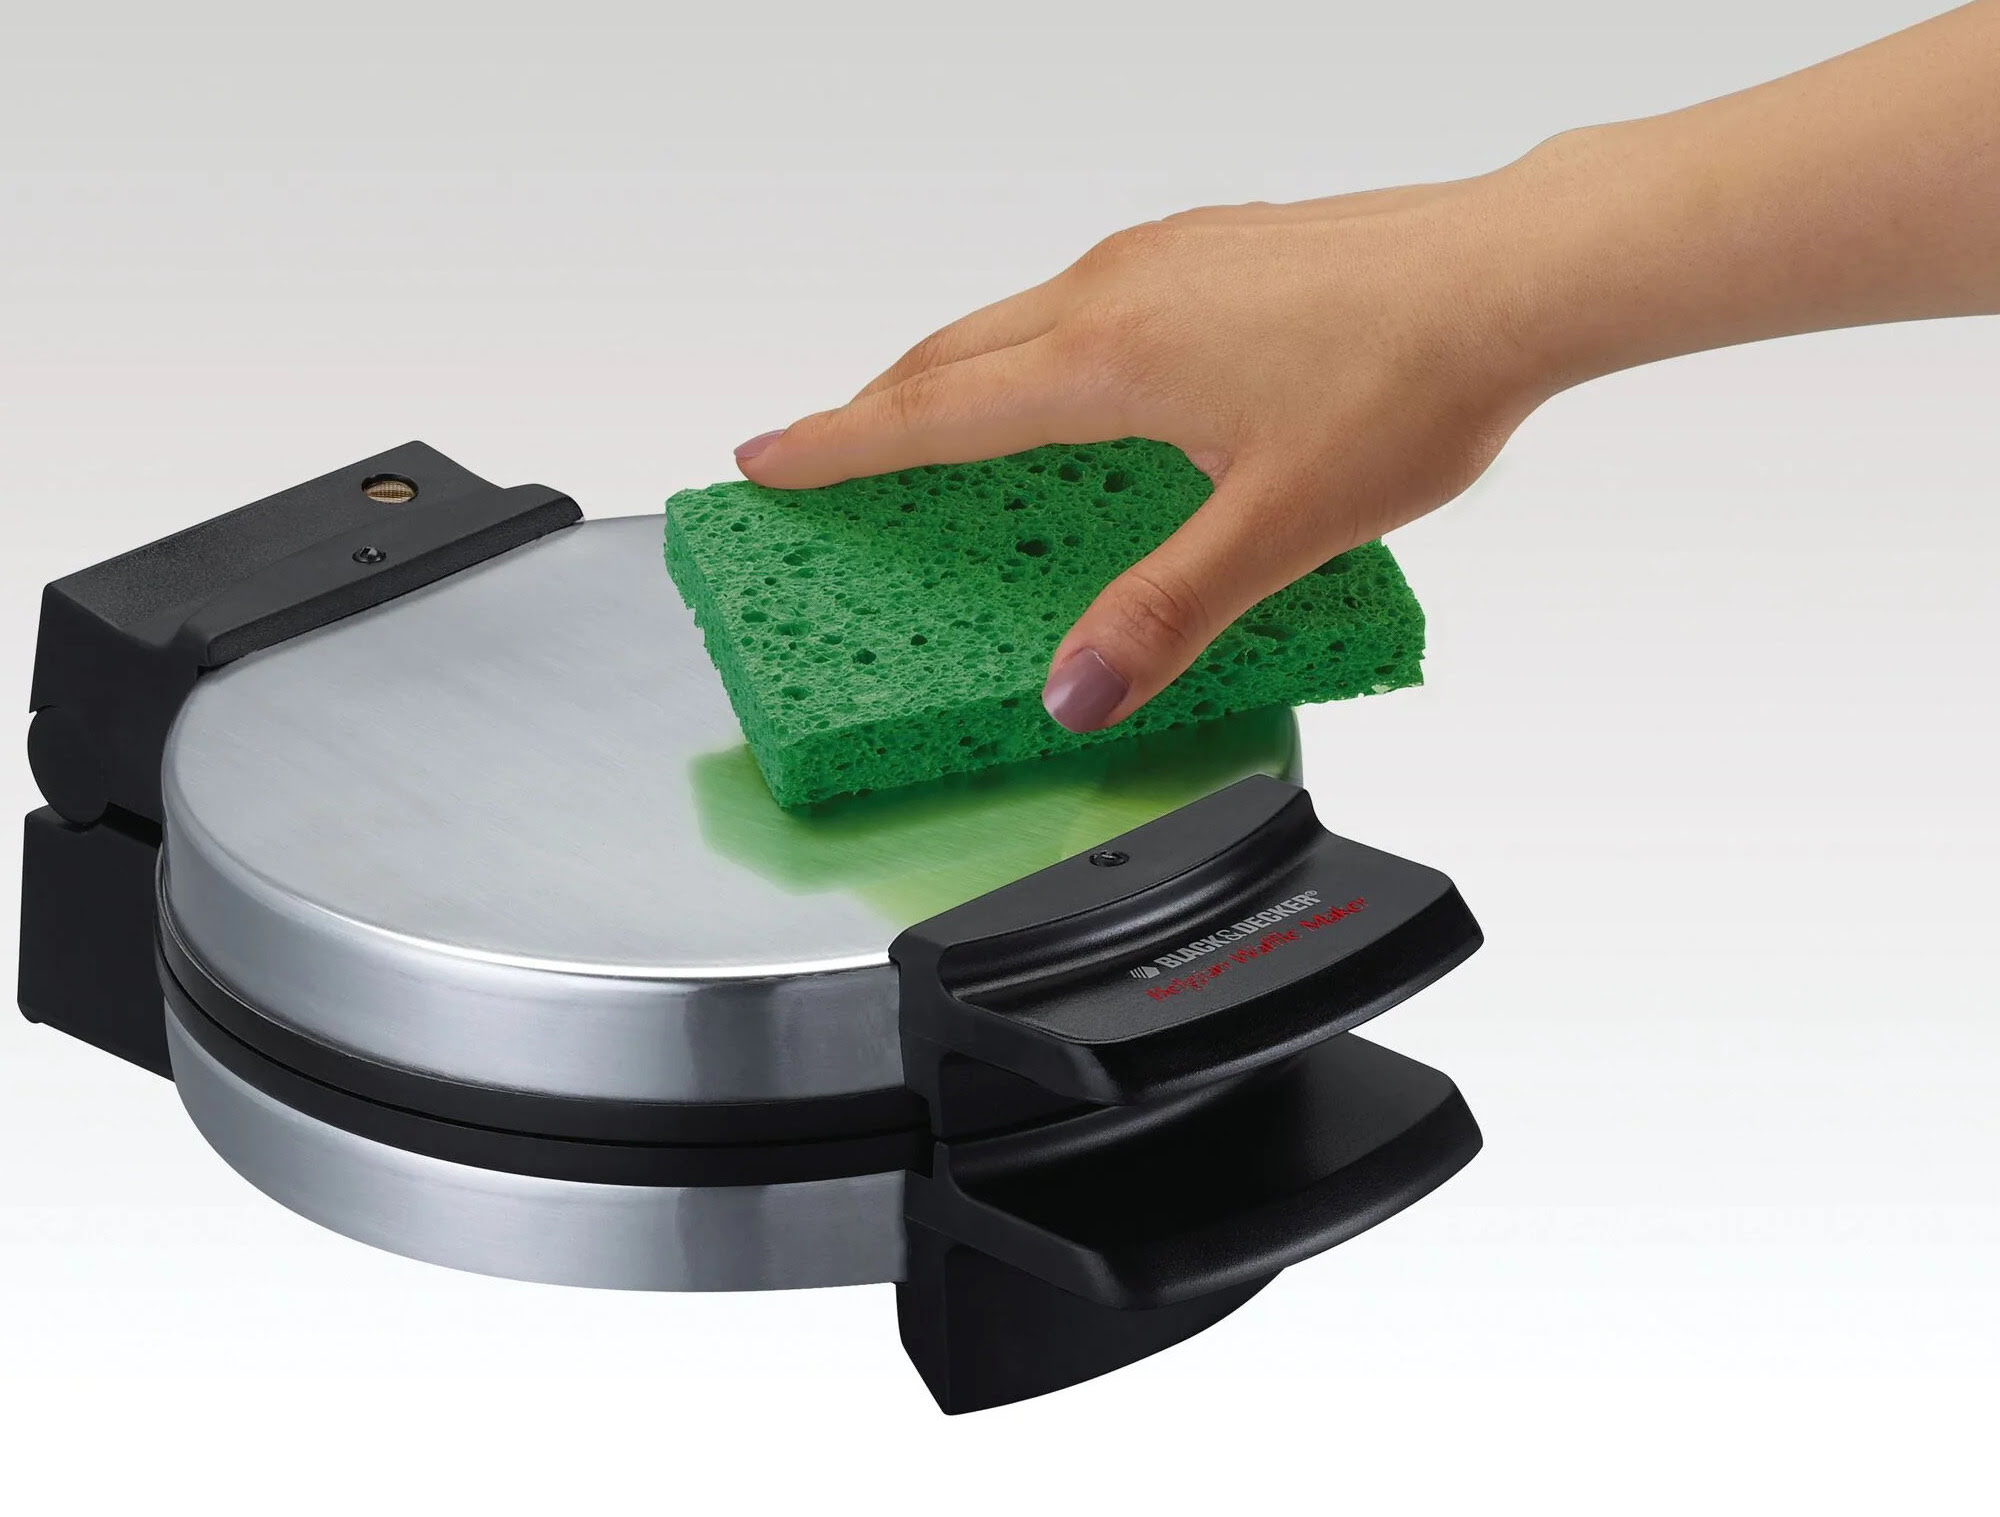
Before you start cooking your waffles, it’s important to properly prepare your waffle iron. This step ensures that the waffles don’t stick to the surface and allows for even heat distribution.
- Begin by reading the manufacturer’s instructions for your specific waffle iron model. Different waffle irons may have unique requirements and recommendations.
- If your waffle iron has removable plates, take them out and wash them thoroughly. This will help remove any residue or dust that may have accumulated.
- If your waffle iron doesn’t have removable plates, use a damp cloth to wipe down the surface. Make sure to remove any debris or leftover remnants from previous use.
- Next, preheat your waffle iron according to the manufacturer’s instructions. This will ensure that your iron is at the proper temperature when you’re ready to cook the waffles.
- While the waffle iron is preheating, take this opportunity to prepare your waffle batter. Follow your favorite recipe or use a pre-made mix for convenience.
- Once your batter is ready, give it a gentle stir to ensure that all the ingredients are well combined. Set the batter aside until the waffle iron is fully heated.
By properly preparing your waffle iron, you’ll create an optimal cooking environment for your waffles and reduce the risk of them sticking to the surface.
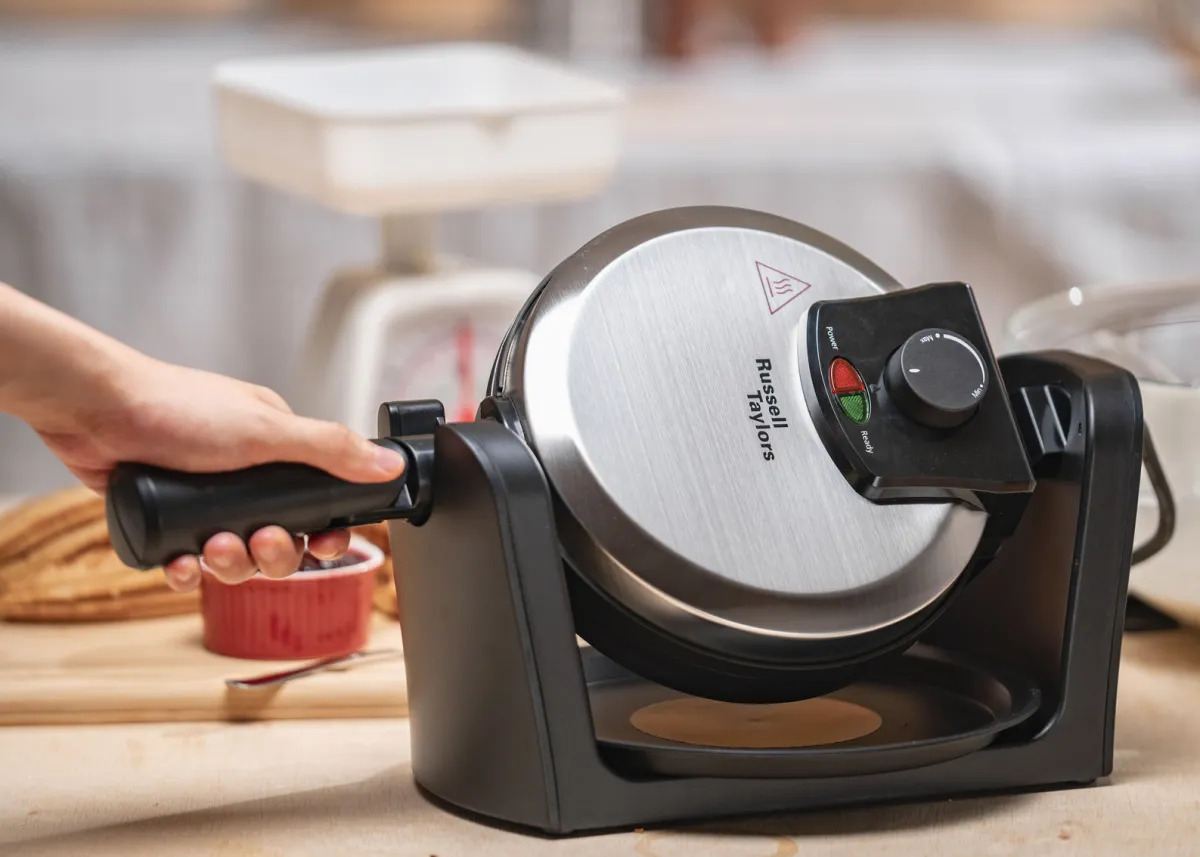
Preheating the Waffle Iron
Preheating the waffle iron is a crucial step in ensuring that your waffles cook evenly and achieve that perfect golden brown color. Follow these steps to preheat your waffle iron:
- Plug in your waffle iron and switch it on. Most models have an indicator light that will let you know when the iron is properly heated.
- Refer to the manufacturer’s instructions regarding the preheating time for your specific waffle iron. This can typically range from 5 to 10 minutes.
- As the iron heats up, it’s normal for a little bit of steam to be released. This is a sign that the iron is reaching the desired temperature.
- While waiting for the waffle iron to preheat, you can take this time to prepare any toppings or sides that you’d like to serve with your waffles.
Ensure that you give your waffle iron enough time to reach the optimal temperature. Preheating your waffle iron will promote even cooking and help prevent the batter from sticking to the surface.
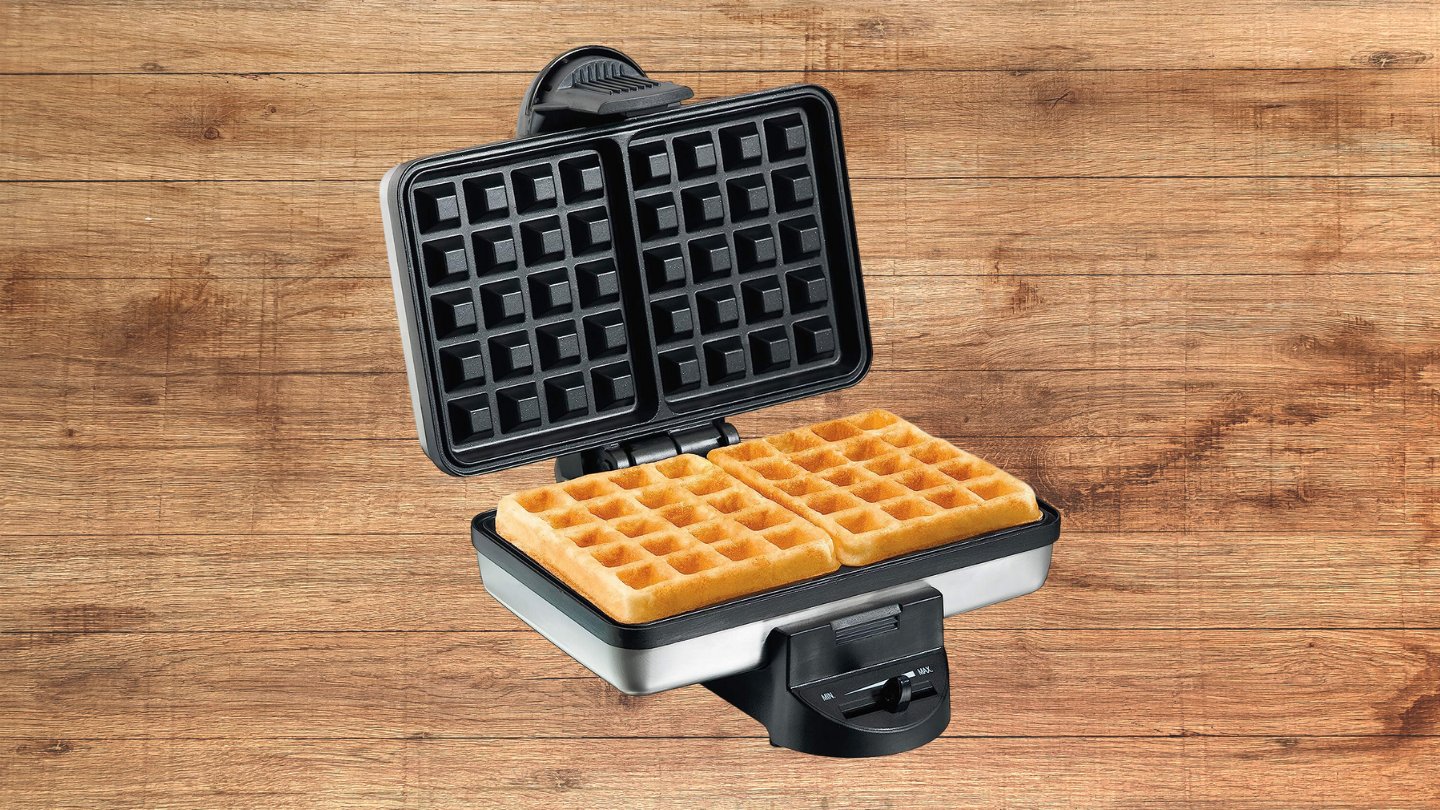
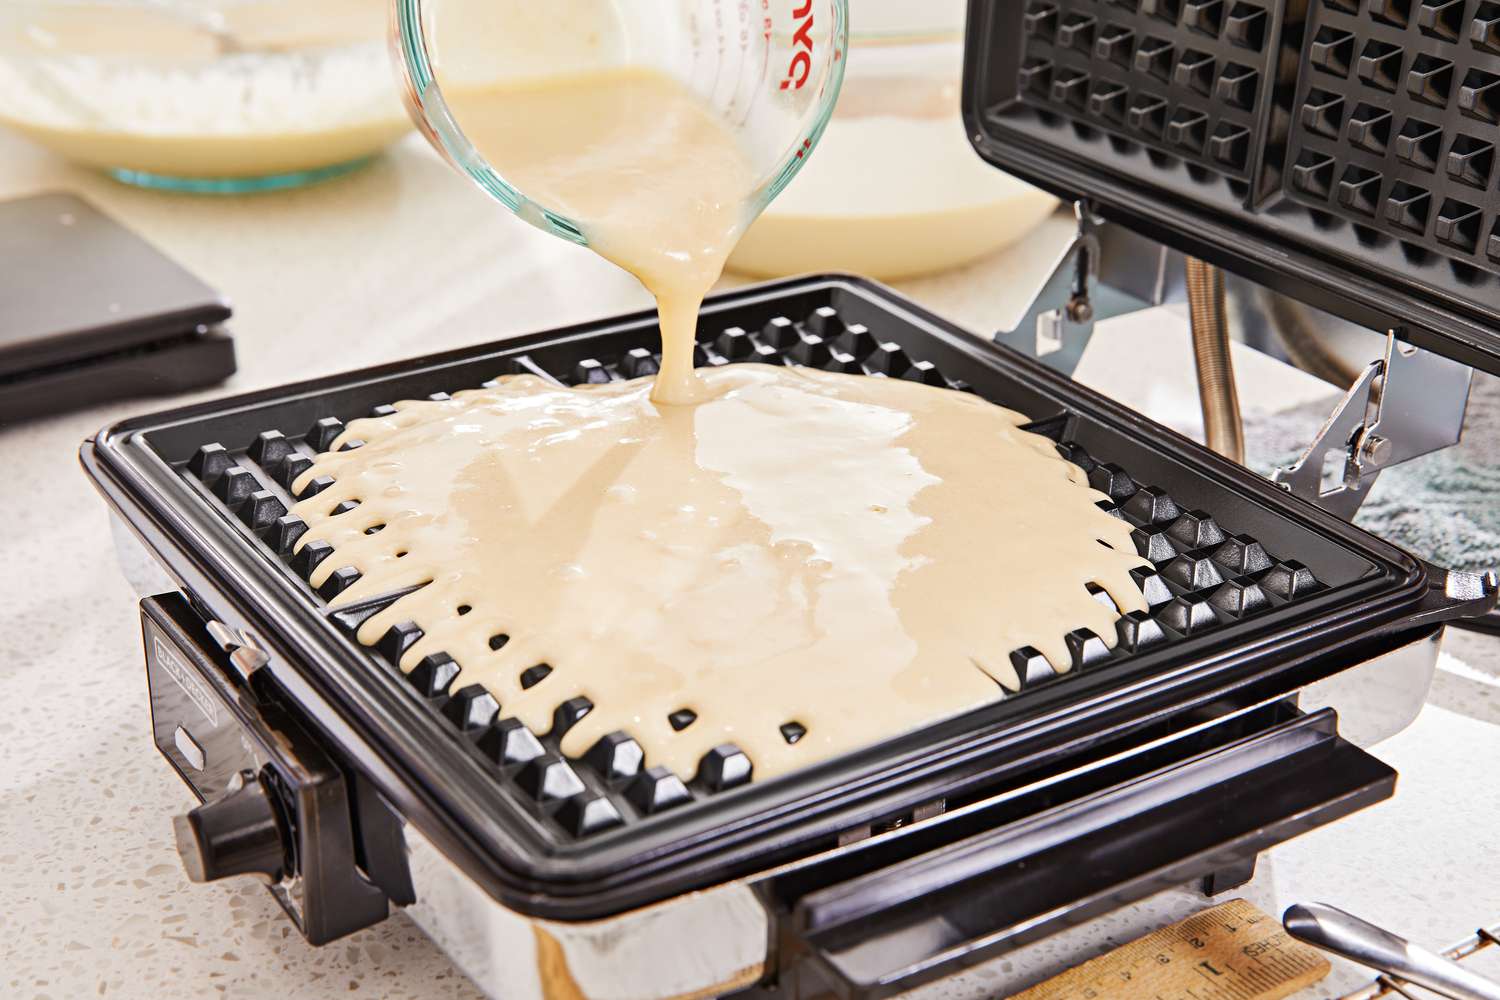
Pouring the Batter
Now that your waffle iron is preheated and ready to go, it’s time to pour the batter onto the iron. Follow these steps for a successful pour:
- Give your waffle batter a quick stir to make sure it’s well mixed. This will help ensure consistent texture and flavor throughout the waffles.
- If your waffle iron has a non-stick surface, you may not need to grease it. However, if you prefer to add a bit of extra crispiness to the waffles or if your iron isn’t non-stick, lightly grease it with cooking spray or a small amount of melted butter.
- Using a ladle or a measuring cup, pour the batter onto the center of the waffle iron. The amount of batter will depend on the size of your waffle iron and your desired waffle thickness. As a general guideline, start with about 1/2 to 3/4 cup of batter per waffle.
- Using a spatula or the back of a spoon, carefully spread the batter to the edges of the iron, ensuring even distribution and a uniform thickness.
- Close the lid of the waffle iron and allow the batter to spread and settle. The waffle iron’s design will determine how much the batter spreads during cooking, so be mindful of this when pouring.
Remember not to overfill the waffle iron, as the batter may overflow and make a mess. It’s better to start with a smaller amount and adjust as needed for subsequent waffles.
With the batter poured and evenly spread, you’re one step closer to enjoying delicious homemade waffles!
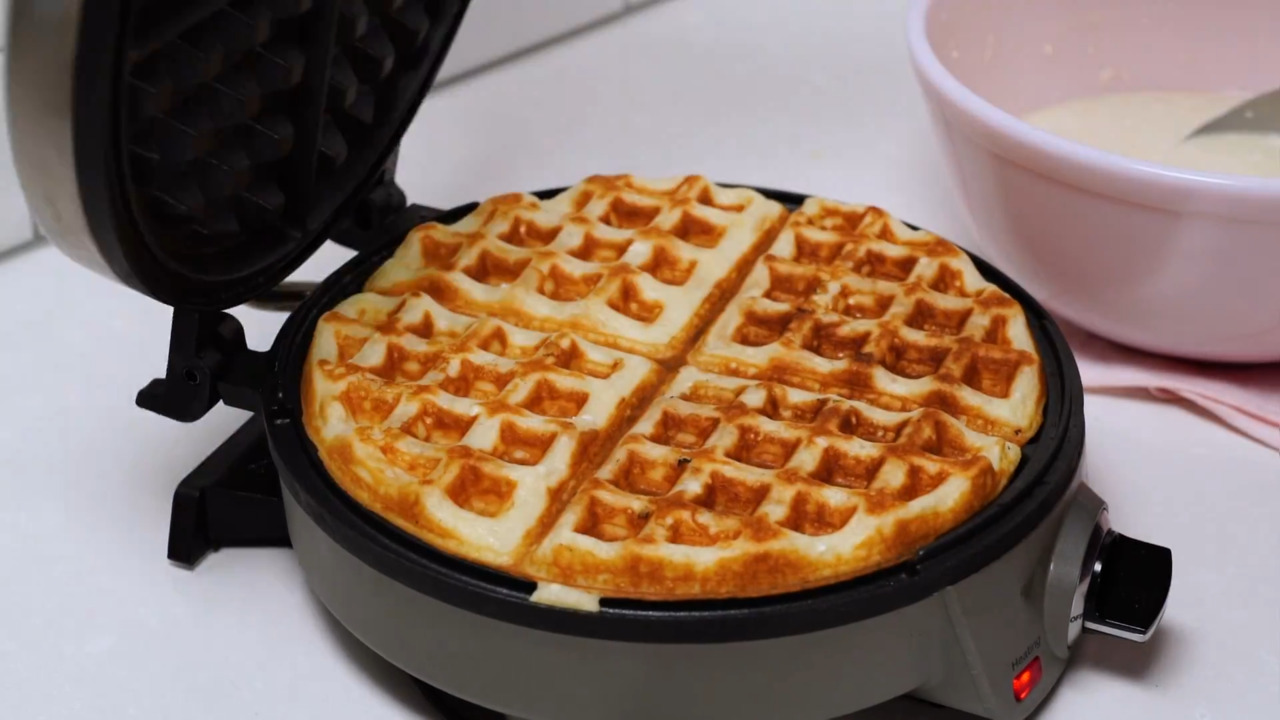
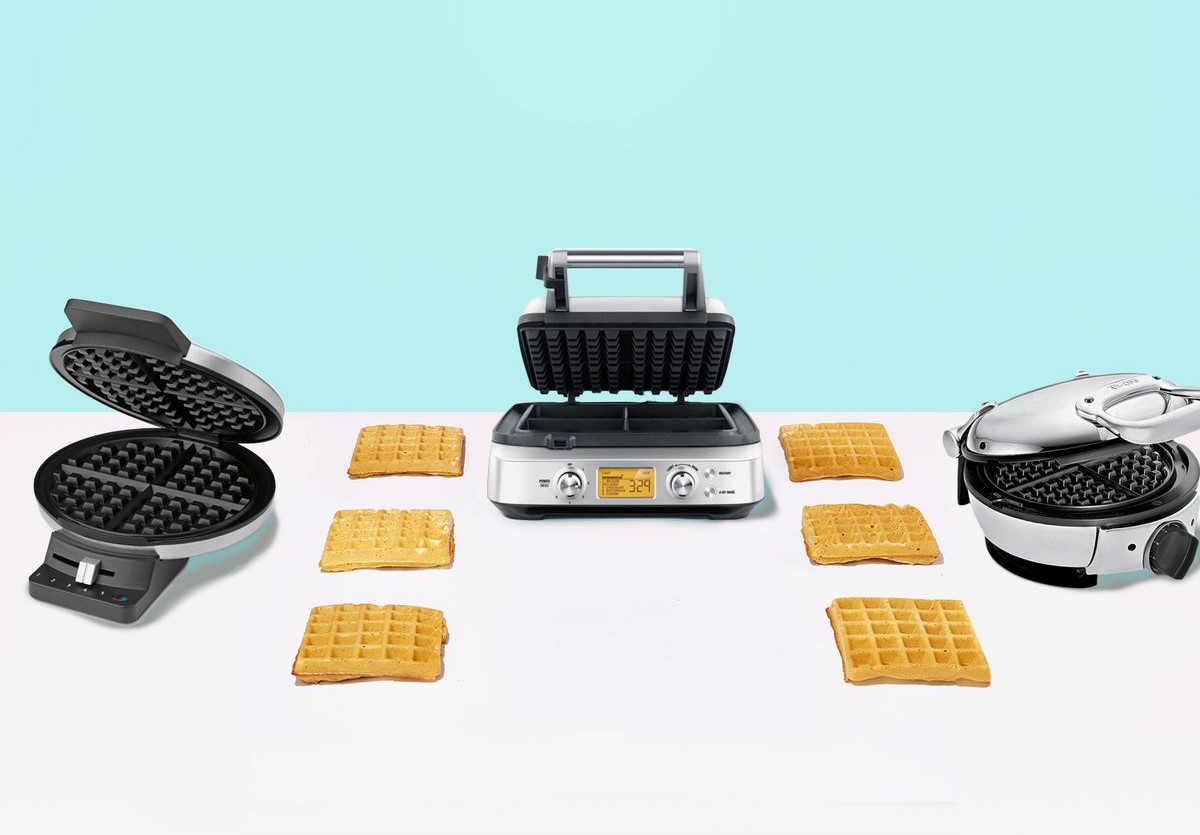
Cooking Time and Temperature
The cooking time and temperature for waffles can vary depending on your waffle iron and personal preference. However, we’ll provide some general guidelines to help you achieve perfectly cooked waffles:
- Most waffle irons have a temperature control dial that allows you to adjust the heat. It’s recommended to start with a medium heat setting and adjust as needed based on your desired level of crispiness.
- Average cooking time for waffles is typically around 3-5 minutes. However, this can vary depending on the thickness and density of your batter, as well as the specific instructions provided by your waffle iron manufacturer.
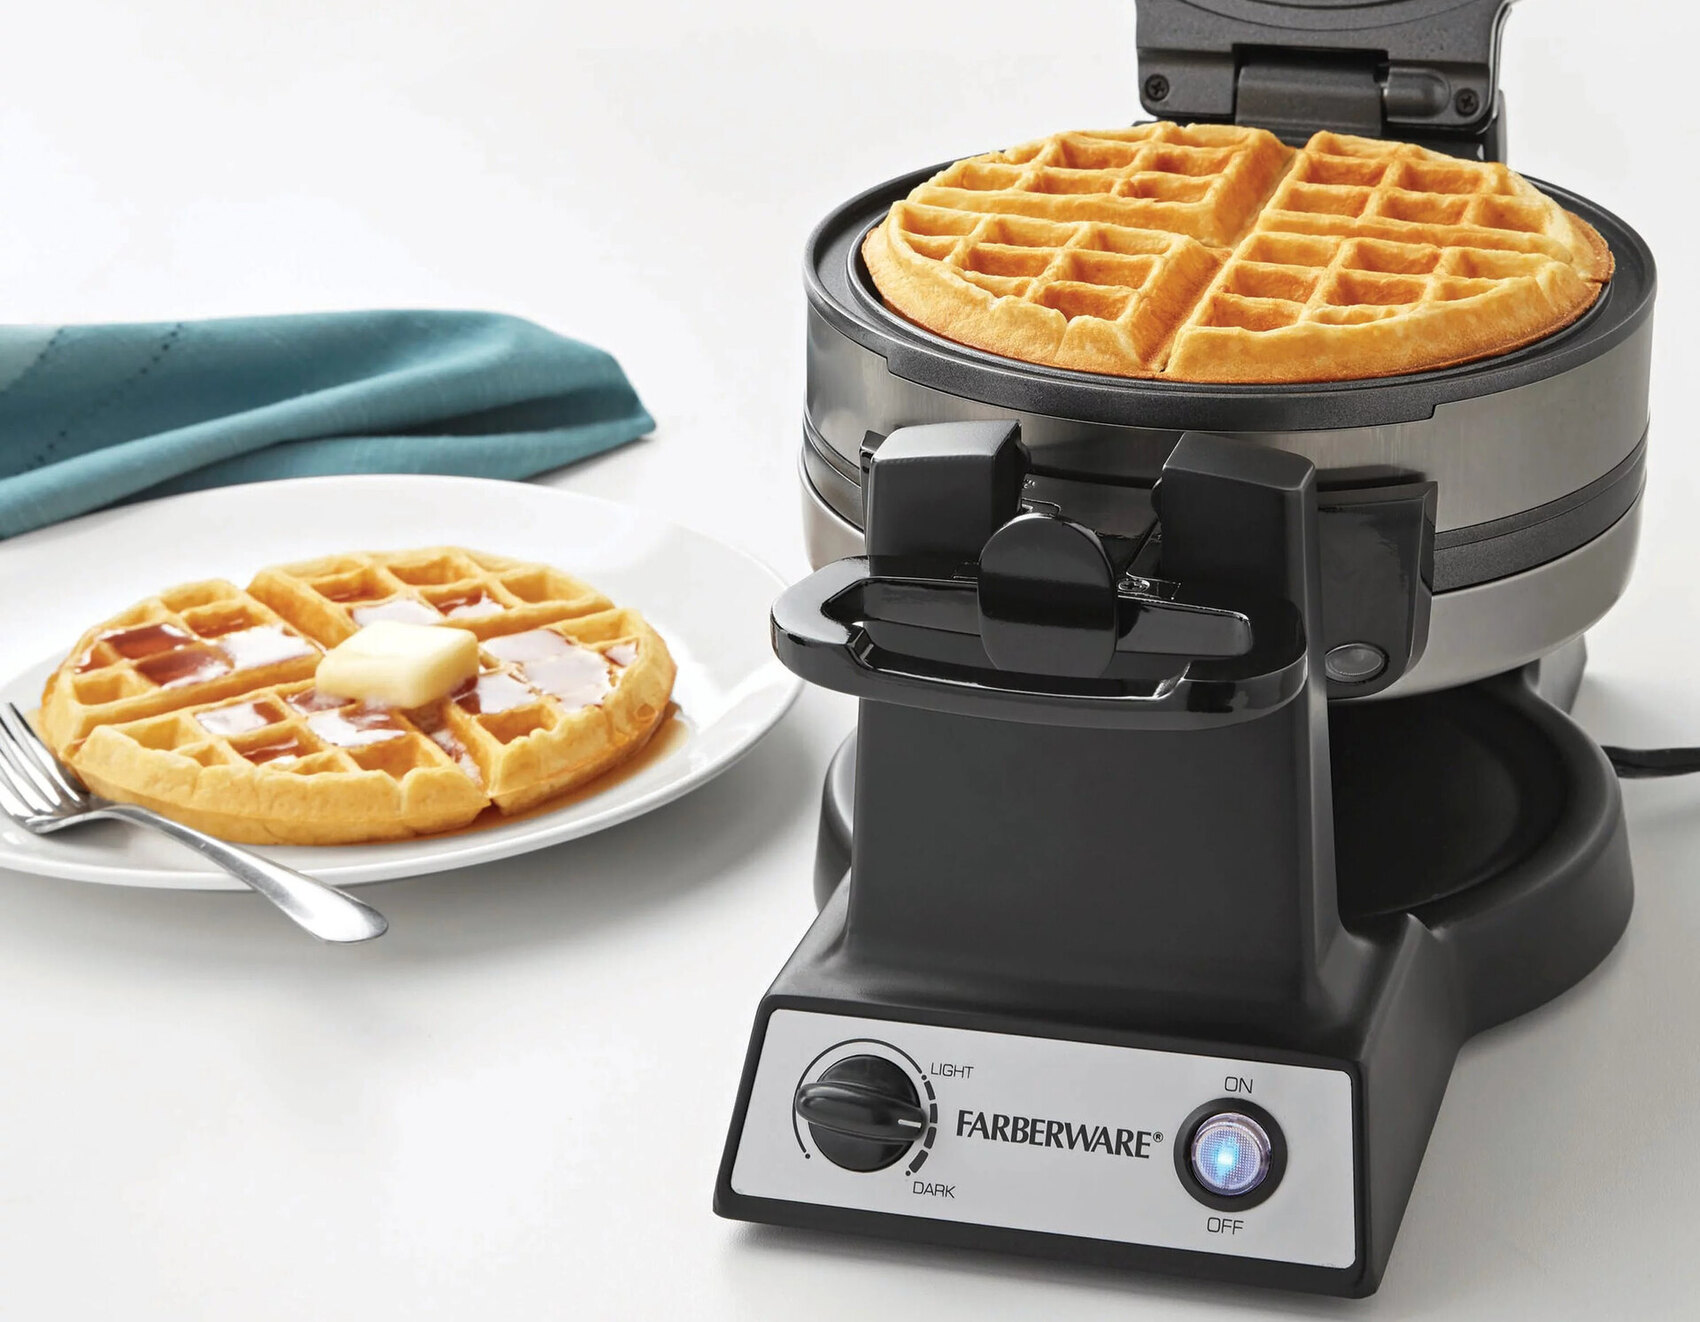
- While cooking times may vary, an indicator light on your waffle iron will often signal when the waffles are done. The light may turn off or change color, indicating that the waffles are cooked to perfection. If your waffle iron doesn’t have an indicator light, you can rely on visual cues.
- As the waffles cook, you may notice steam escaping from the sides of the waffle iron. This is a sign that the waffles are cooking and the batter is turning into a crispy, golden brown texture.
- A good rule of thumb is to avoid opening the waffle iron too frequently during the cooking process. Opening it too early or too often can disrupt the cooking time and result in undercooked waffles.
Remember that these are general guidelines, and it may take some experimentation to find the perfect cooking time and temperature for your waffles. Keep an eye on the color and texture of the waffles to determine when they are cooked to your liking.
With the cooking time and temperature in mind, you’re well on your way to creating mouthwatering waffles that will delight your family and friends.
Cook waffles for 4-5 minutes in a preheated waffle iron, or until golden brown and crispy. Avoid opening the waffle iron too soon to prevent the waffles from sticking.
Read more: How Do You Cook Bacon In A Waffle Iron
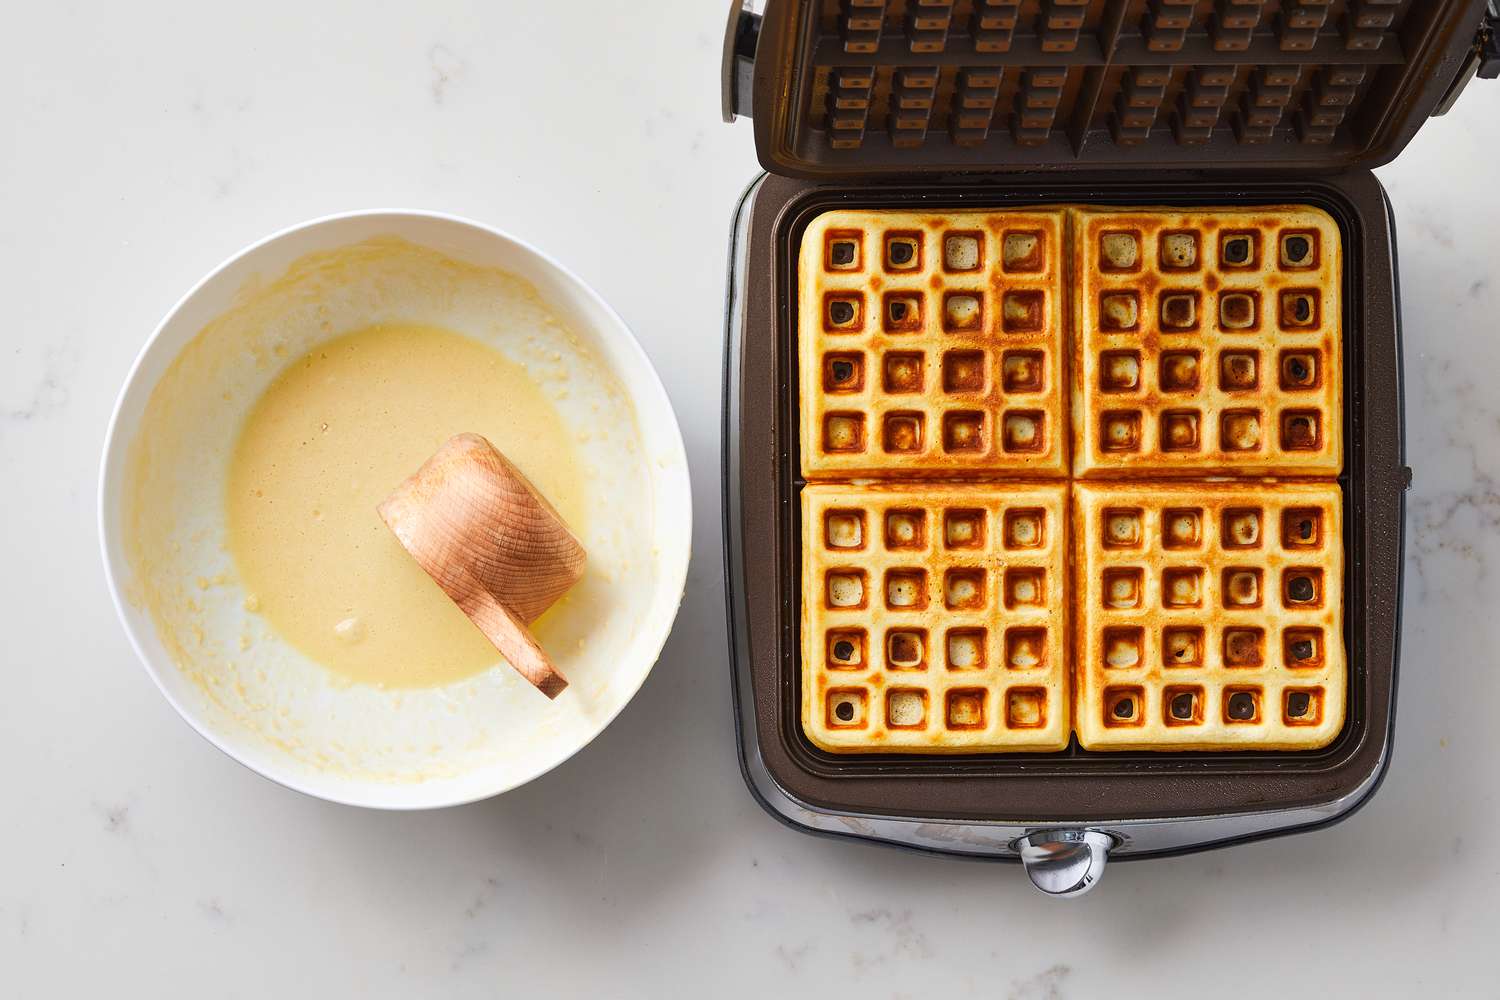
Checking for Doneness
Checking for doneness is an important step in ensuring that your waffles are cooked to perfection. Follow these tips to determine if your waffles are done:
- When the cooking time is almost up, listen for any steam escaping from the waffle iron. Once the steam diminishes or stops completely, it’s a good indication that the waffles are nearing completion.
- Carefully lift the lid of the waffle iron to check the color of the waffles. Golden brown is the desired hue for most waffles, but you can adjust the cooking time to achieve a lighter or darker appearance based on your preference.
- Using a pair of tongs or a heat-resistant spatula, carefully lift one corner of the waffle to check its crispiness. A fully cooked waffle should be crispy on the outside and fluffy on the inside.
- If the waffle appears to be slightly undercooked or pale, close the lid and continue cooking for another minute or so until it reaches your desired level of doneness.
- Keep in mind that the first waffle may serve as a test run to determine the optimal cooking time. Subsequent waffles may require slight adjustments to achieve the desired texture and color.
Remember that practice makes perfect, and with each batch of waffles, you’ll become more adept at determining the doneness and perfecting your cooking technique.
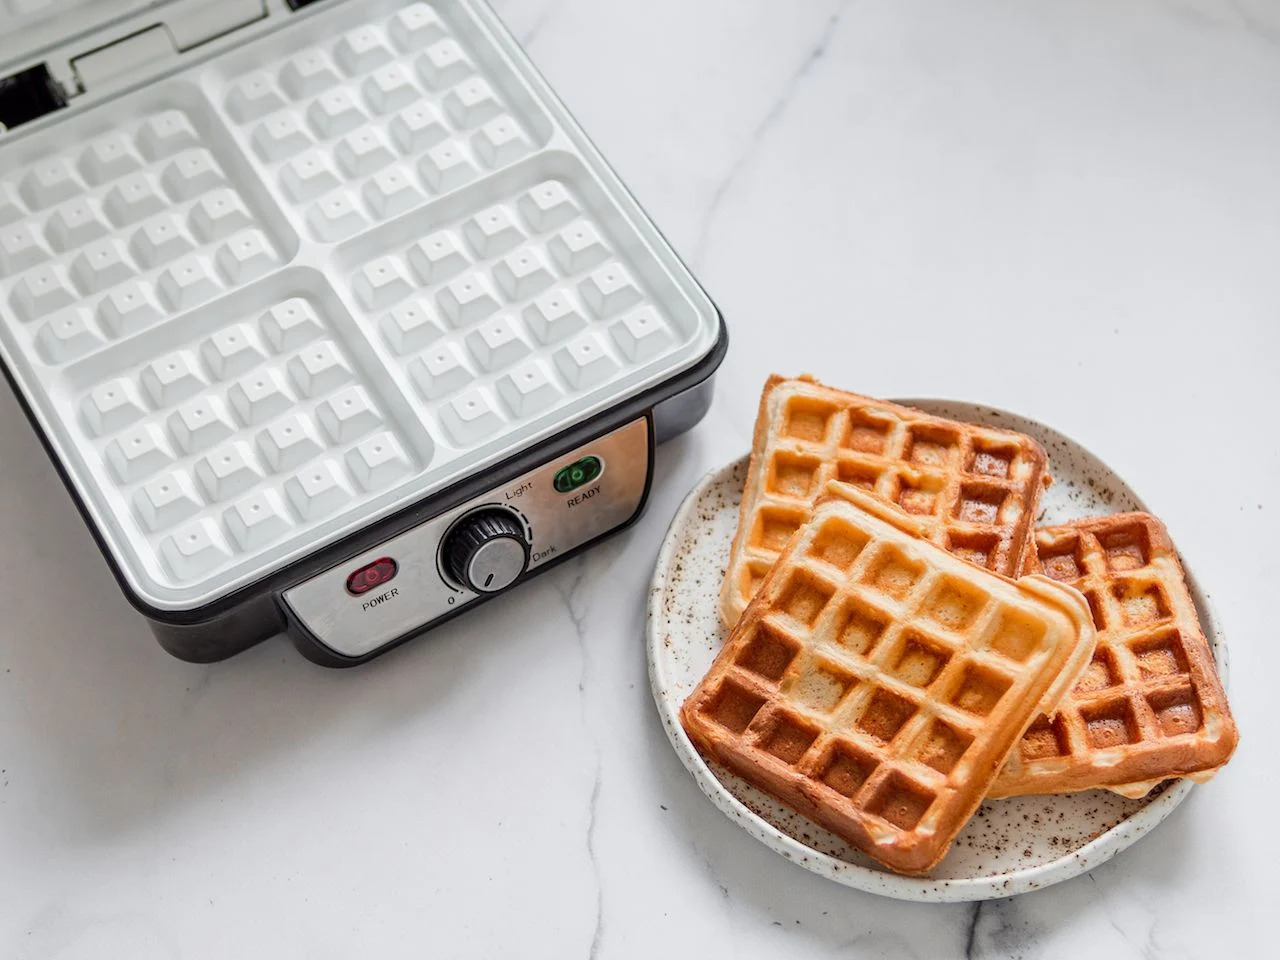
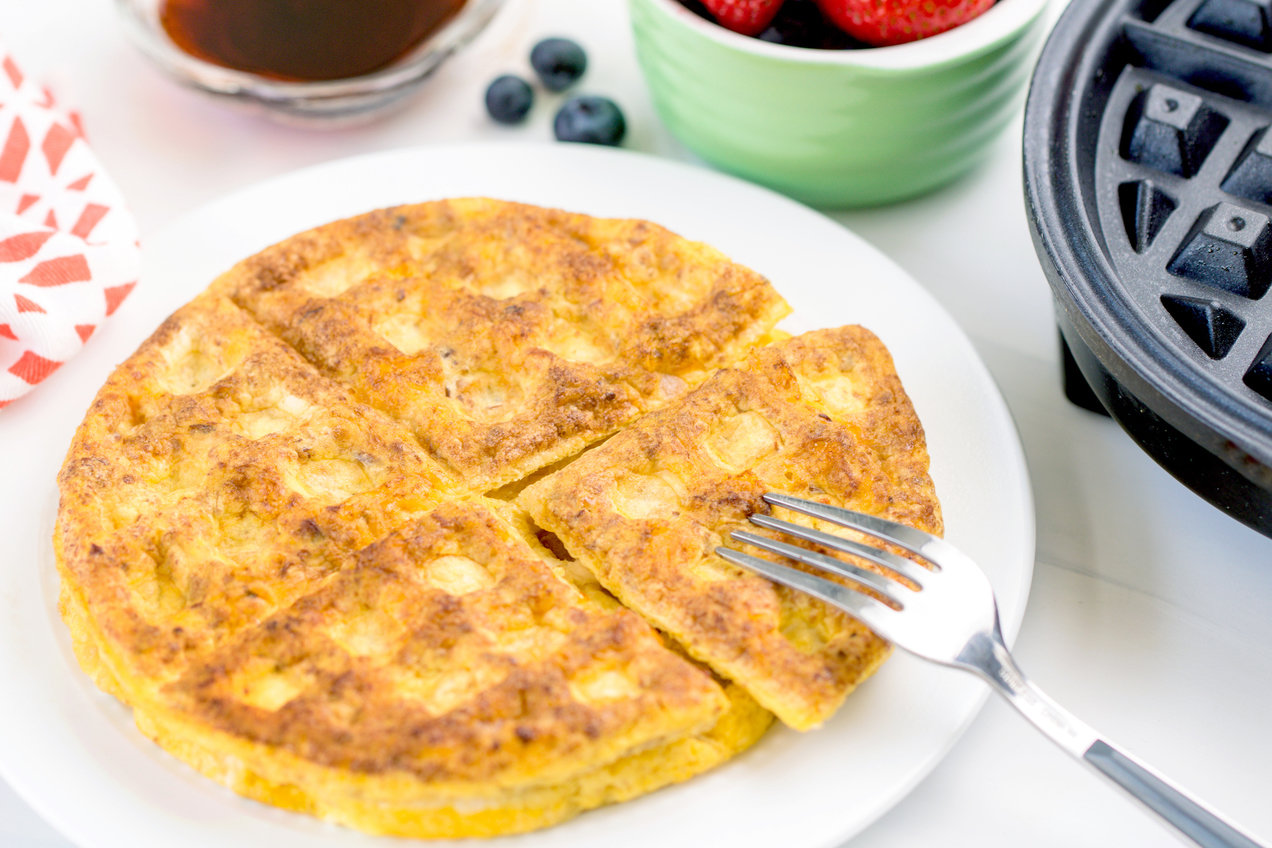
Once you’re satisfied with the color and crispiness of the waffles, it’s time to remove them from the waffle iron, ready to be enjoyed with your favorite toppings and syrups!
Removing the Waffles
After your waffles are fully cooked and have reached the perfect level of doneness, it’s time to remove them from the waffle iron. Follow these steps to safely and efficiently extract your waffles:
- First, switch off the waffle iron and unplug it from the power source. This will prevent any accidental burns or injuries while removing the waffles.
- Using a pair of heat-resistant tongs or a heat-resistant spatula, carefully lift the waffle from the iron. Start from one edge and work your way towards the center to avoid breaking or damaging the waffle.
- Place the freshly cooked waffle on a wire cooling rack or a plate lined with a paper towel. This will help excess moisture to escape and prevent the waffle from becoming soggy.
- If you plan on serving multiple waffles, you can stack them on top of each other. To prevent them from sticking together, place a sheet of parchment paper or a clean kitchen towel between each waffle.
- Remember that the freshly cooked waffles will be hot, so handle them with care to avoid burns. You may want to use oven mitts or another heat-resistant tool to protect your hands while handling the waffles.
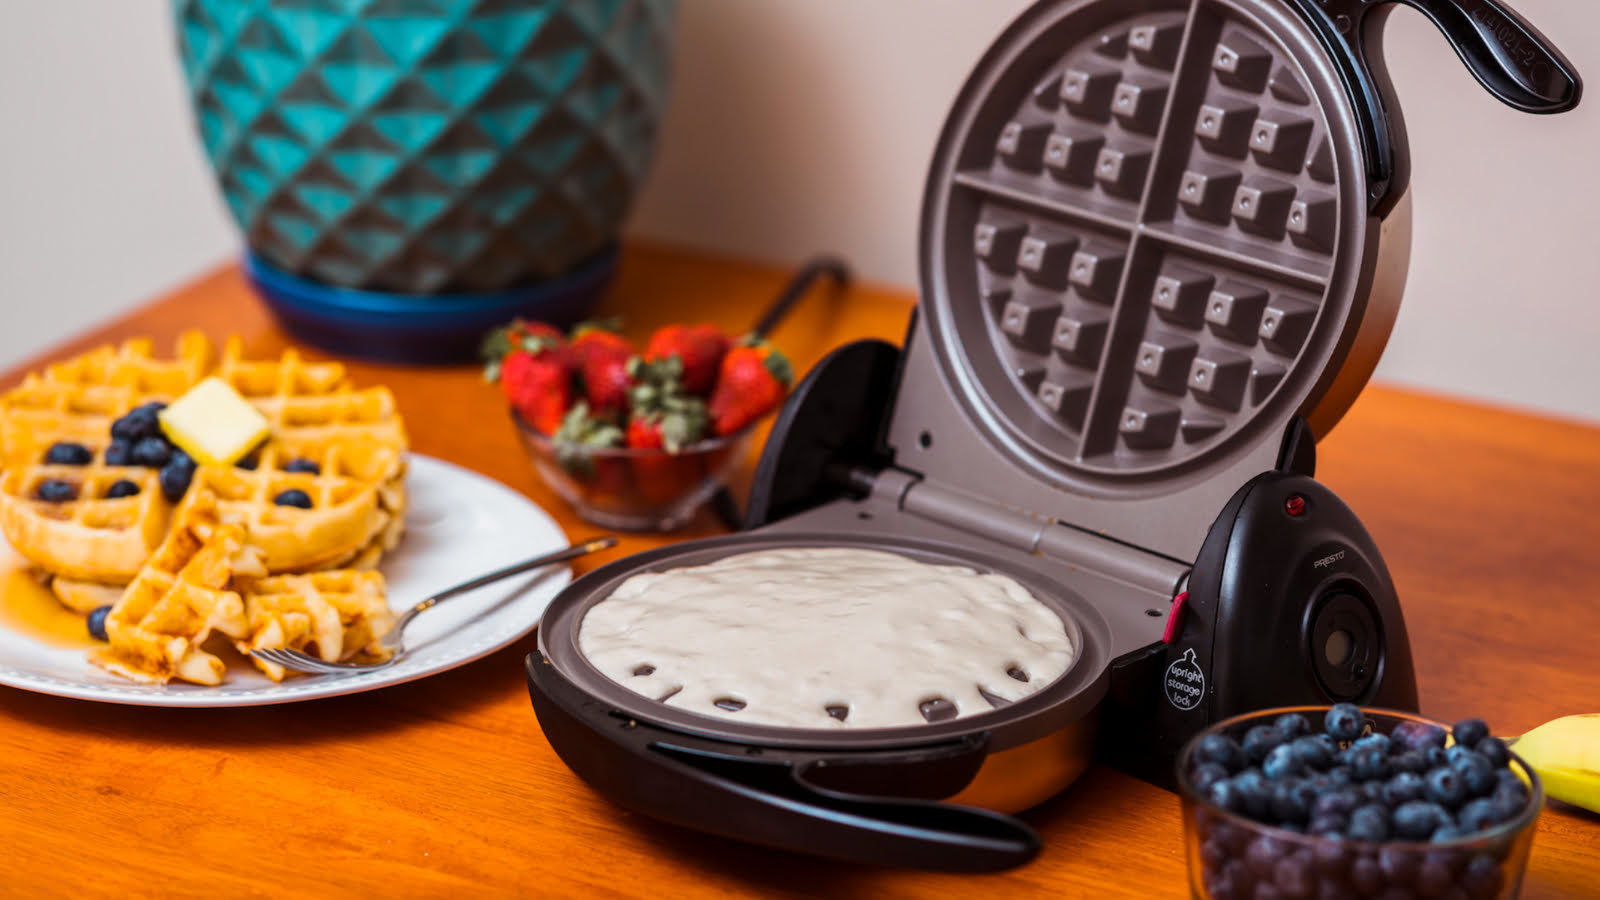
With the waffles safely removed from the iron, you’re ready to serve them to eager family members or guests. Add your favorite toppings, such as butter, syrup, fresh fruits, or whipped cream, and enjoy the delightful combination of crispy exteriors and fluffy interiors.
Now that you know how to remove the waffles, you can confidently maneuver them from the waffle iron to the plate, and indulge in a delicious breakfast or brunch treat.
Additional Tips and Variations
While the basic process of cooking waffles in a waffle iron has been covered, here are some additional tips and variations to take your waffle-making skills to the next level:
- Experiment with different types of batter to create unique and flavorful waffles. You can try variations like buttermilk, chocolate, pumpkin, or even savory waffles with ingredients like cheese and herbs.
- For extra texture and crunch, consider adding chopped nuts or seeds to your waffle batter. They can add a delightful contrast to the soft and fluffy interior of the waffles.
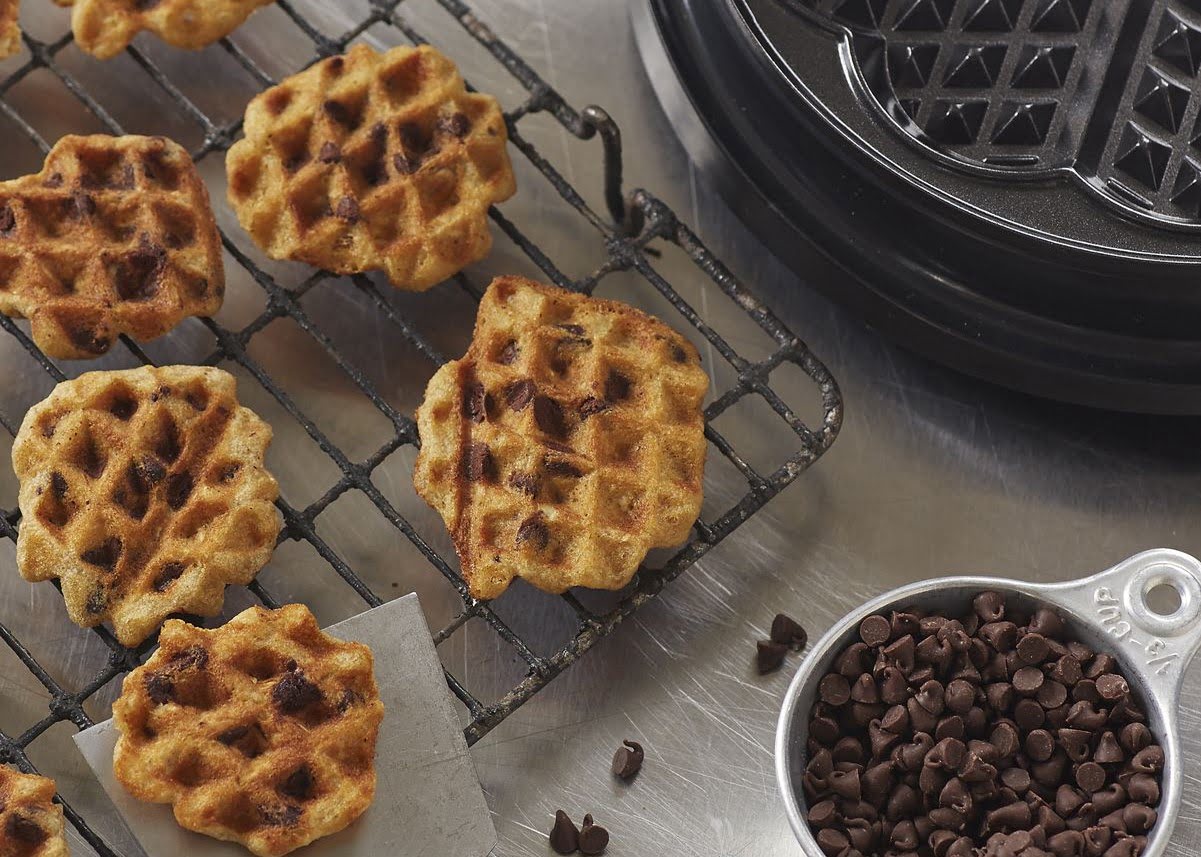
- To make your waffles even more indulgent, consider adding chocolate chips, blueberries, or sliced bananas to the batter before pouring it onto the waffle iron.
- If you’re catering to dietary restrictions, experiment with alternative flours such as almond flour or gluten-free flour blends. These can create waffles that are suitable for those with gluten intolerance or other dietary preferences.
- If you want to keep your waffles warm while cooking multiple batches, preheat your oven to a low temperature (around 200°F or 93°C) and place the cooked waffles on a baking sheet inside the oven. This will keep them warm and crisp until you’re ready to serve.
- Don’t limit yourself to just serving waffles for breakfast or brunch. Waffles can be a versatile base for savory dishes as well. Top them with fried chicken, bacon, or scrambled eggs for a delicious twist on the classic chicken and waffles.
- If you’re making a large batch of waffles, consider using a cooling rack to stack them instead of piling them directly on top of each other. This will help them retain their crispness.
Remember to have fun and get creative with your waffle-making process. Adjust the recipes and techniques to suit your taste preferences and dietary needs. With time and practice, you’ll become a waffle-making pro!
Conclusion
Now that you’ve learned how long to cook waffles for in a waffle iron and mastered the art of creating mouthwatering waffles, you can confidently whip up these delectable treats for breakfast, brunch, or any time you’re in the mood for a delicious homemade meal. By preparing the waffle iron, preheating it to the right temperature, pouring the batter, cooking for the appropriate time, and checking for doneness, you’ll be able to achieve waffles with the perfect balance of crispness and fluffiness.
Remember to get creative with your waffle recipes and experiment with various flavors, toppings, and even alternative flours to cater to different dietary preferences. Whether you prefer classic buttermilk waffles, sweet variations with chocolate chips or berries, or even savory options like cheese and herb waffles, the possibilities are endless.
With proper preparation, practice, and a touch of personalization, you can make waffles that will impress your family and friends. So, dust off that waffle iron, gather your ingredients, and embark on a culinary adventure to create the most delicious homemade waffles. And most importantly, don’t forget to savor every bite!
Frequently Asked Questions about How Long Do You Cook Waffles For In A Waffle Iron
Was this page helpful?
At Storables.com, we guarantee accurate and reliable information. Our content, validated by Expert Board Contributors, is crafted following stringent Editorial Policies. We're committed to providing you with well-researched, expert-backed insights for all your informational needs.


0 thoughts on “How Long Do You Cook Waffles For In A Waffle Iron”