Articles
How Long For Charcoal Chimney To Get Ready
Modified: February 27, 2024
Discover how long it takes for a charcoal chimney to get ready in this informative article. Find helpful tips and tricks to optimize your charcoal grilling experience.
(Many of the links in this article redirect to a specific reviewed product. Your purchase of these products through affiliate links helps to generate commission for Storables.com, at no extra cost. Learn more)
Introduction
A charcoal chimney is an essential tool for grilling enthusiasts who prefer to use charcoal as their fuel source. It provides a quick and efficient way to ignite charcoal, eliminating the need for lighter fluid or other chemical starters. But how long does it actually take for a charcoal chimney to get ready?
In this article, we will explore the various factors that affect the time it takes for a charcoal chimney to reach the desired level of readiness. We will also discuss the process of preparing and lighting the charcoal, as well as provide some tips for monitoring the progress. By the end of this article, you will have a clear understanding of how to optimize the use of a charcoal chimney and get your grill ready in no time.
Key Takeaways:
- Quick and Efficient Ignition
A charcoal chimney offers fast and even ignition, eliminating the need for chemical starters. Its efficient design ensures consistent heat distribution for perfectly grilled food. - Optimize Grilling Experience
Understanding factors affecting ignition time and monitoring progress helps optimize the grilling process. Prepare the chimney, light the charcoal properly, and enjoy delicious flavors with safety in mind.
Read more: When Is A Charcoal Chimney Ready
What is a Charcoal Chimney?
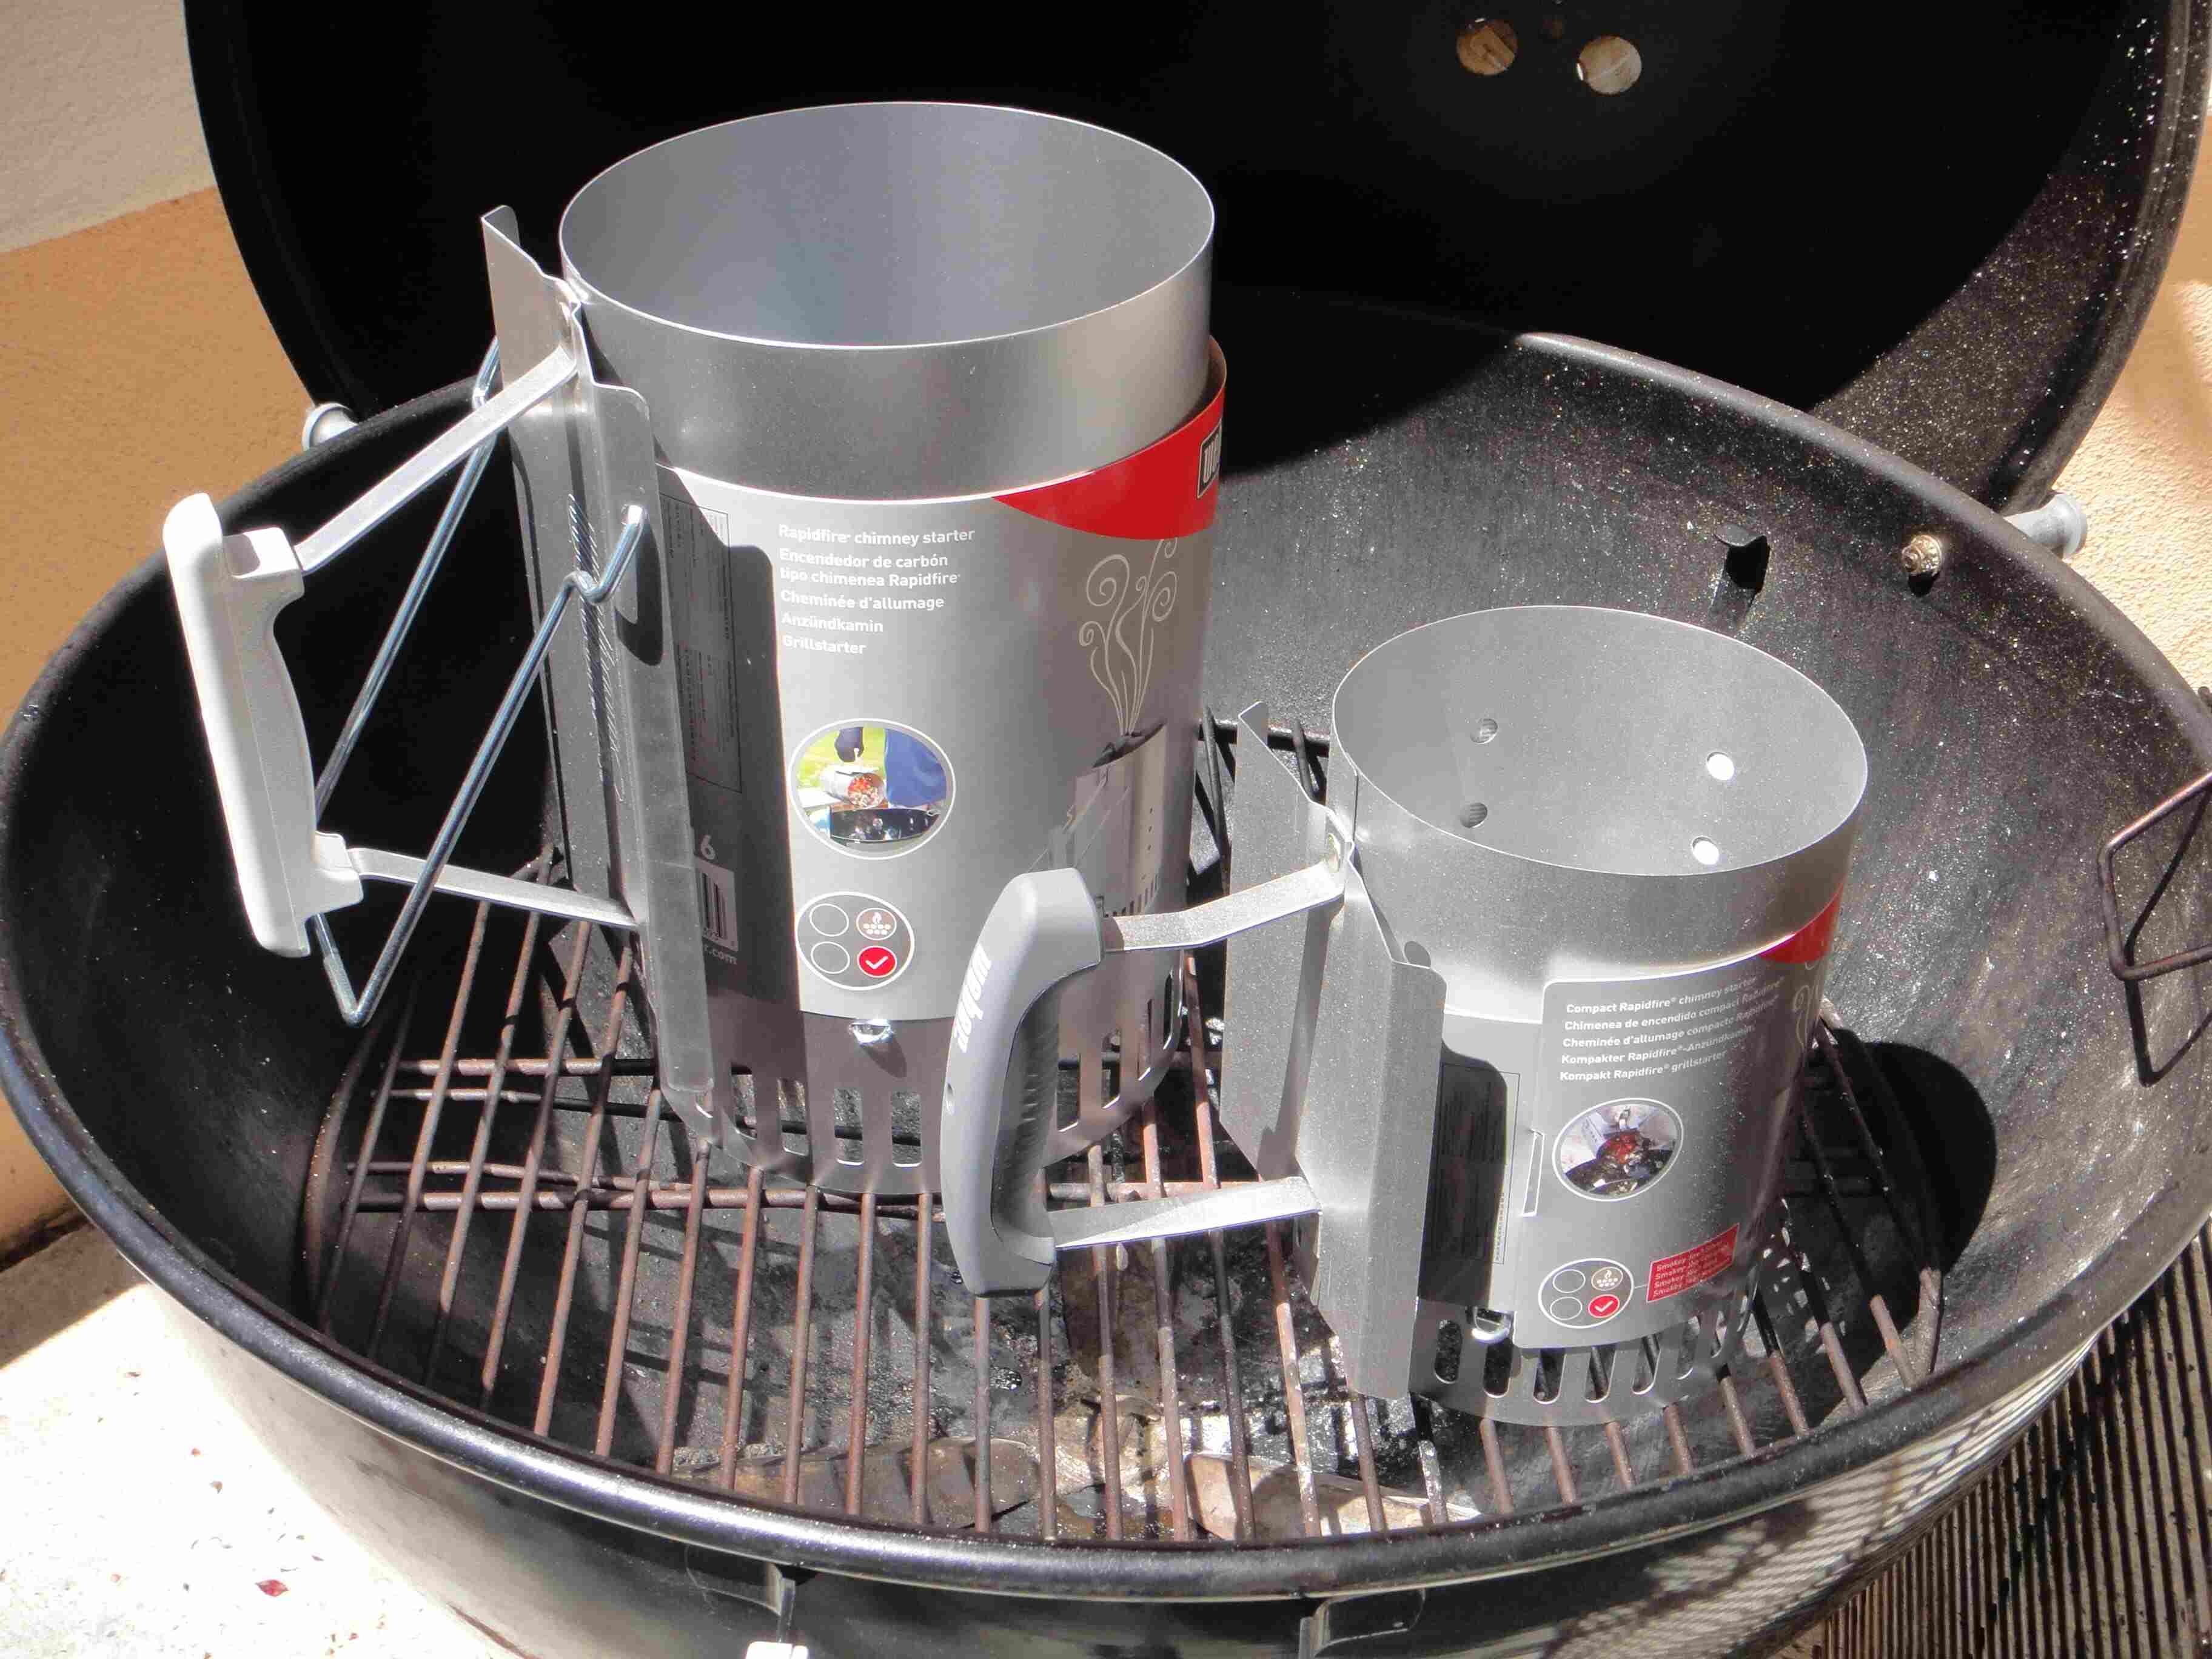
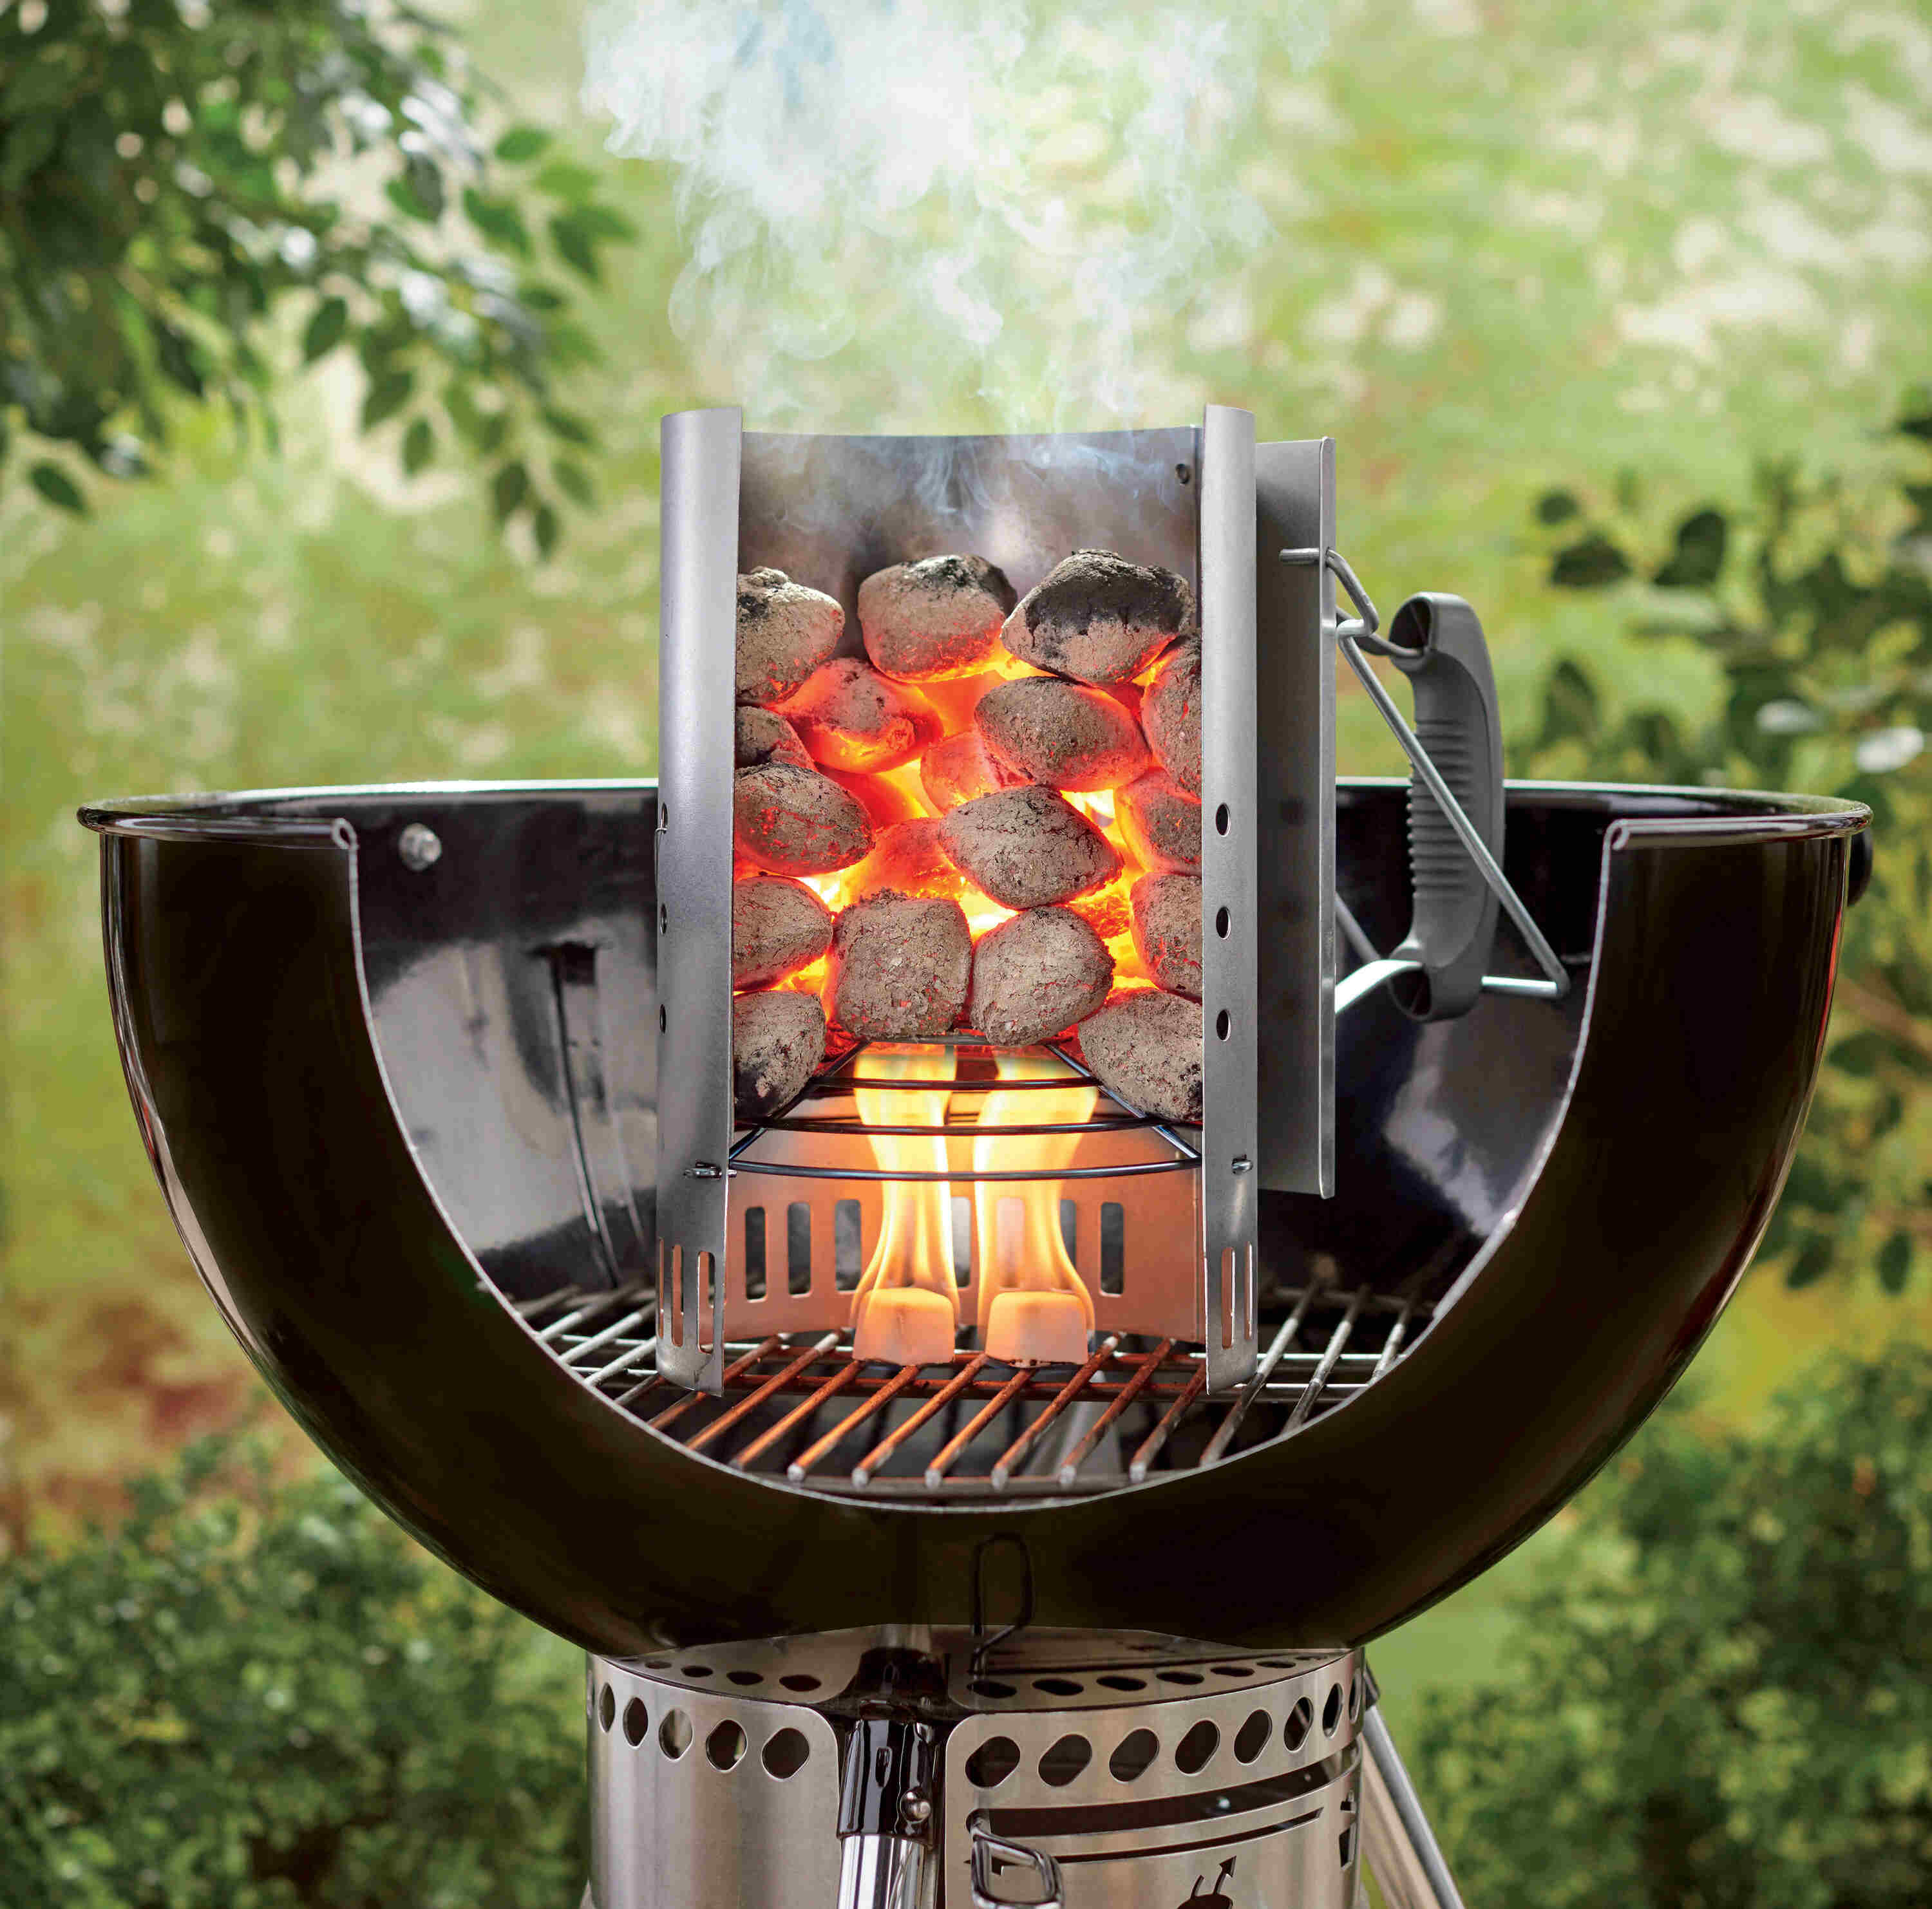
A charcoal chimney is a cylindrical metal container that is specifically designed to ignite charcoal for grilling or barbecuing. It typically consists of two main components: a bottom compartment, also known as the charcoal chamber, and an upper compartment, called the handle or chimney.
The charcoal chamber is where the charcoal briquettes are placed, while the chimney serves as a ventilation system to allow air circulation and aid in the ignition process. The handle is used to hold and maneuver the chimney during the lighting process.
One of the key features of a charcoal chimney is the presence of small holes or vents at the bottom of the charcoal chamber. These holes allow oxygen to flow through and promote the combustion of the charcoal. The chimney design also helps create an efficient airflow, enabling the charcoal to ignite evenly and quickly.
Unlike traditional methods of lighting charcoal, such as using lighter fluid or charcoal starters, a charcoal chimney provides a safer and more natural way to ignite the charcoal. It eliminates the risk of introducing harmful chemicals or off-flavors into the food, as well as the need to wait for the lighter fluid to burn off before cooking.
In addition to its functionality, a charcoal chimney is also environmentally friendly. It reduces the reliance on non-renewable resources and minimizes the carbon footprint associated with the use of chemical starters.
Overall, a charcoal chimney is an essential tool for any charcoal grill or barbecue enthusiast. Its simple yet effective design makes it a convenient and reliable method to quickly and safely ignite charcoal, ensuring a seamless grilling experience.
Benefits of Using a Charcoal Chimney
Using a charcoal chimney to ignite your charcoal briquettes offers several advantages over alternative methods. Let’s explore some of the key benefits:
- Efficient and Fast Ignition: A charcoal chimney allows for efficient and fast ignition of charcoal. The chimney design promotes airflow, leading to even and consistent lighting of the charcoal. This means that you can start grilling in a shorter amount of time compared to other methods.
- No Need for Chemical Starters: With a charcoal chimney, there’s no need for lighter fluid or other chemical starters. This eliminates the risk of chemical flavors contaminating your food and ensures a more natural grilling experience.
- Environmentally Friendly: Using a charcoal chimney reduces your reliance on non-renewable resources. By avoiding the use of chemical starters, you minimize the environmental impact associated with their production and disposal.
- Safe and Easy to Use: Charcoal chimneys are designed for safe and easy use. The insulated handle allows you to handle the chimney without the risk of burning your hands. Additionally, the chimney’s ventilation system helps prevent flare-ups, making it a safer option compared to other ignition methods.
- Cost-Effective: Since a charcoal chimney does not require additional supplies like lighter fluid, it can save you money in the long run. You only need charcoal briquettes and a few sheets of newspaper to get your grill ready.
- Consistent Heat Distribution: The even ignition provided by a charcoal chimney translates into consistent heat distribution on your grill. This allows for more precise temperature control while cooking, giving you better results and perfectly grilled food.
Overall, using a charcoal chimney offers a range of benefits, from efficiency and convenience to safety and cost-effectiveness. It is a must-have tool for grilling enthusiasts who want to enhance their grilling experience and achieve optimal results with their charcoal grills or barbecues.
Factors Affecting the Time to Get Ready
The time it takes for a charcoal chimney to get ready can vary depending on various factors. Understanding these factors will help you optimize the ignition process and achieve the desired level of readiness. Let’s explore the key factors that can affect the time it takes for a charcoal chimney to get ready:
- Charcoal Type: Different types of charcoal, such as briquettes or lump charcoal, can have varying ignition times. Briquettes are typically denser and can take a bit longer to ignite compared to lump charcoal.
- Charcoal Quantity: The amount of charcoal you load into the chimney will affect the ignition time. A larger quantity of charcoal will naturally take longer to ignite compared to a smaller amount.
- Charcoal Arrangement: How you arrange the charcoal briquettes or lumps in the chimney can also impact the ignition time. A tightly packed arrangement may take longer to ignite compared to a looser arrangement that allows for better airflow.
- Environmental Conditions: The weather conditions can influence the ignition process. Windy conditions can help fuel the fire and speed up the ignition, while colder temperatures may slow down the process. Consider the weather conditions when planning your grilling session.
- Quality of Airflow: The airflow within the chimney is crucial for efficient ignition. Ensure that the bottom vents or holes of the charcoal chamber are clear and unobstructed to allow proper airflow. Restricted airflow can significantly prolong the ignition process.
- Ignition Method: The method you choose to light the newspaper or starter inside the chimney can affect the ignition time. Using crumpled newspaper is a popular and effective method, but alternatives like paraffin starters or chimney starters may have different ignition characteristics.
- Altitude: The altitude at which you are grilling can impact the time it takes for the charcoal to ignite. Higher altitudes have lower oxygen levels, which can slow down the ignition process. Adjusting the amount of charcoal and ensuring proper airflow becomes even more important at higher altitudes.
It’s important to consider these factors and make necessary adjustments to ensure optimal ignition time. By understanding how these variables can impact the process, you can optimize your grilling experience and get the charcoal chimney ready in a timely manner.
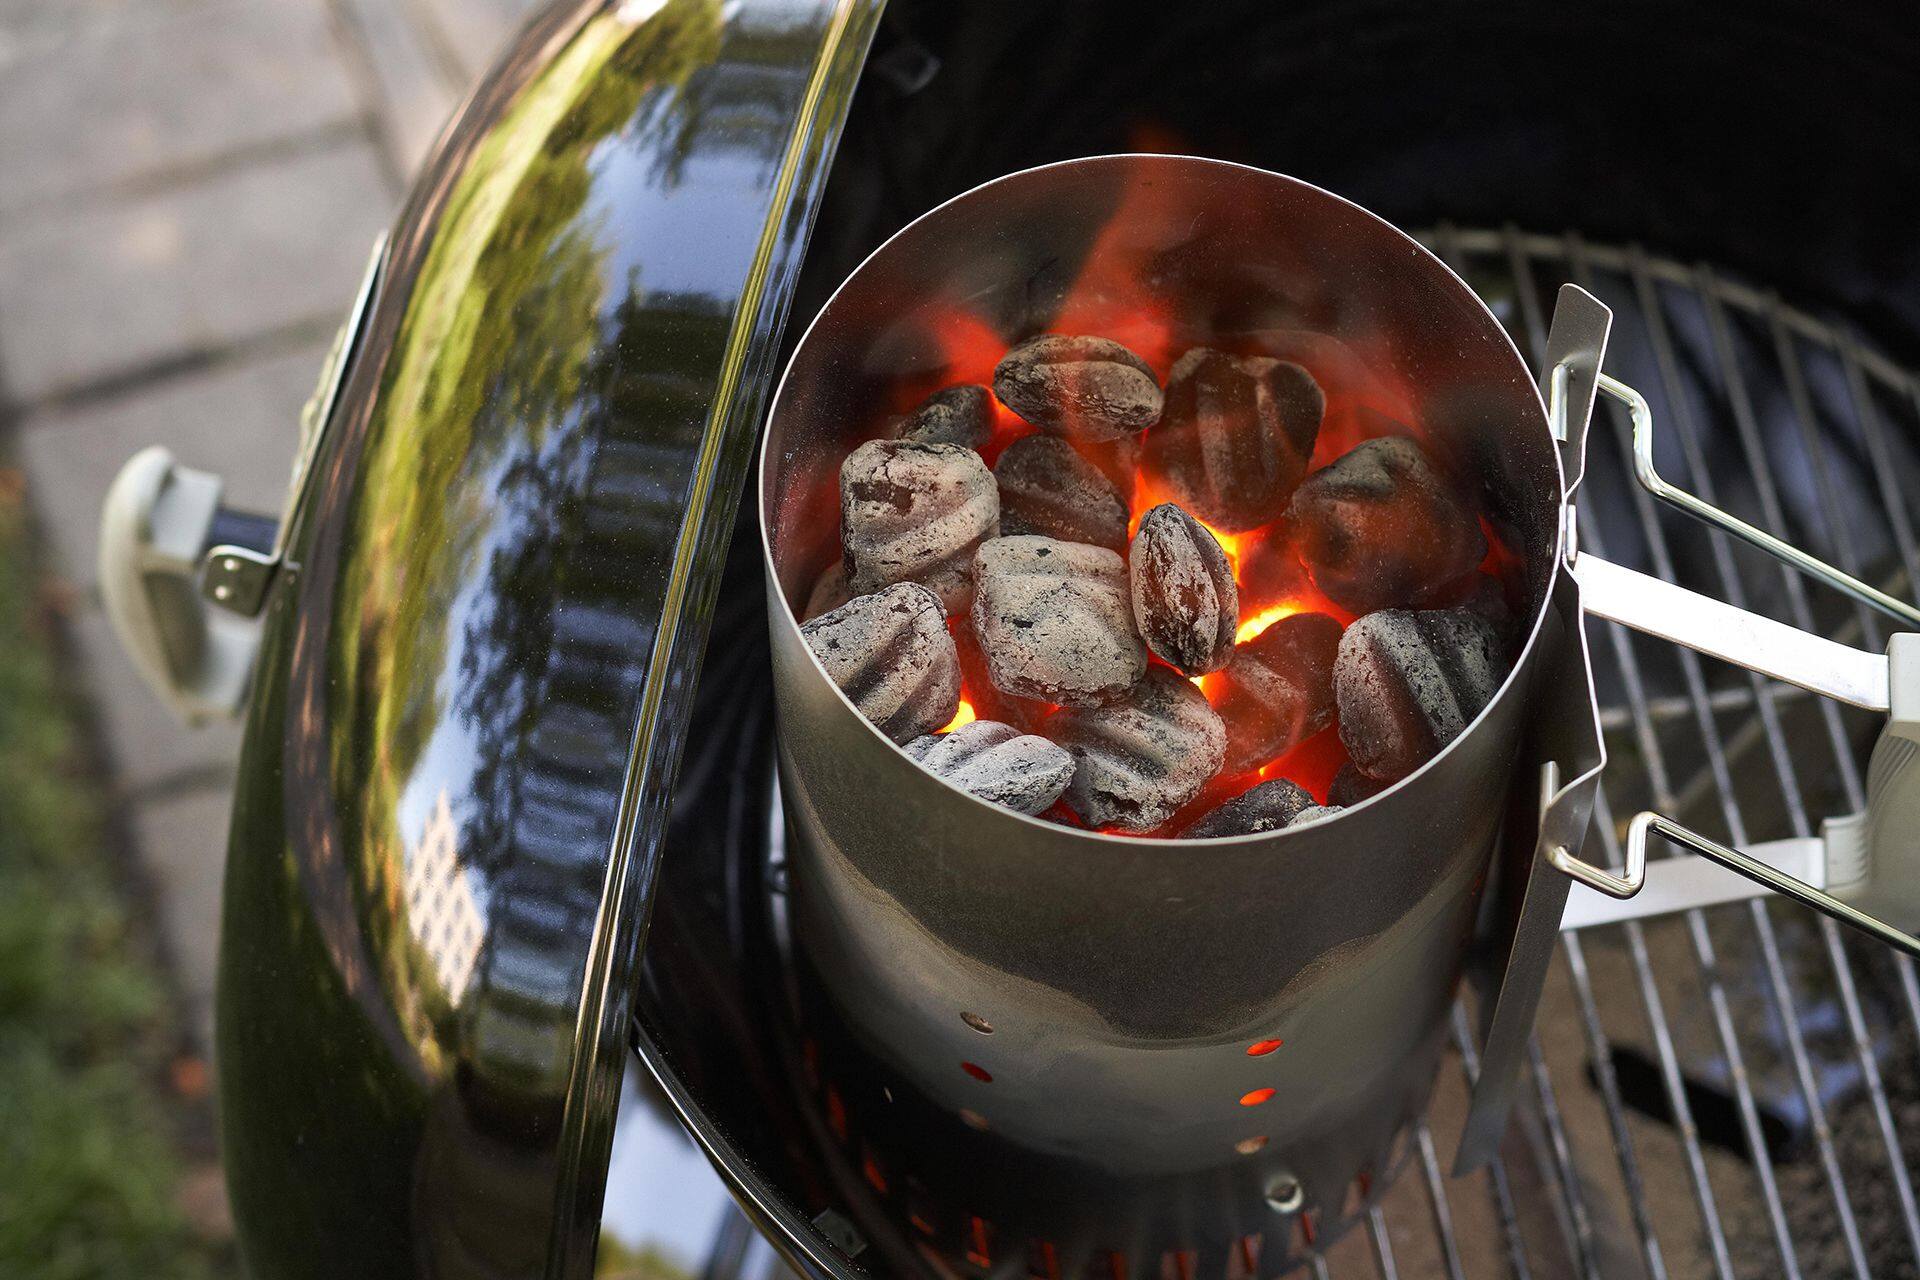
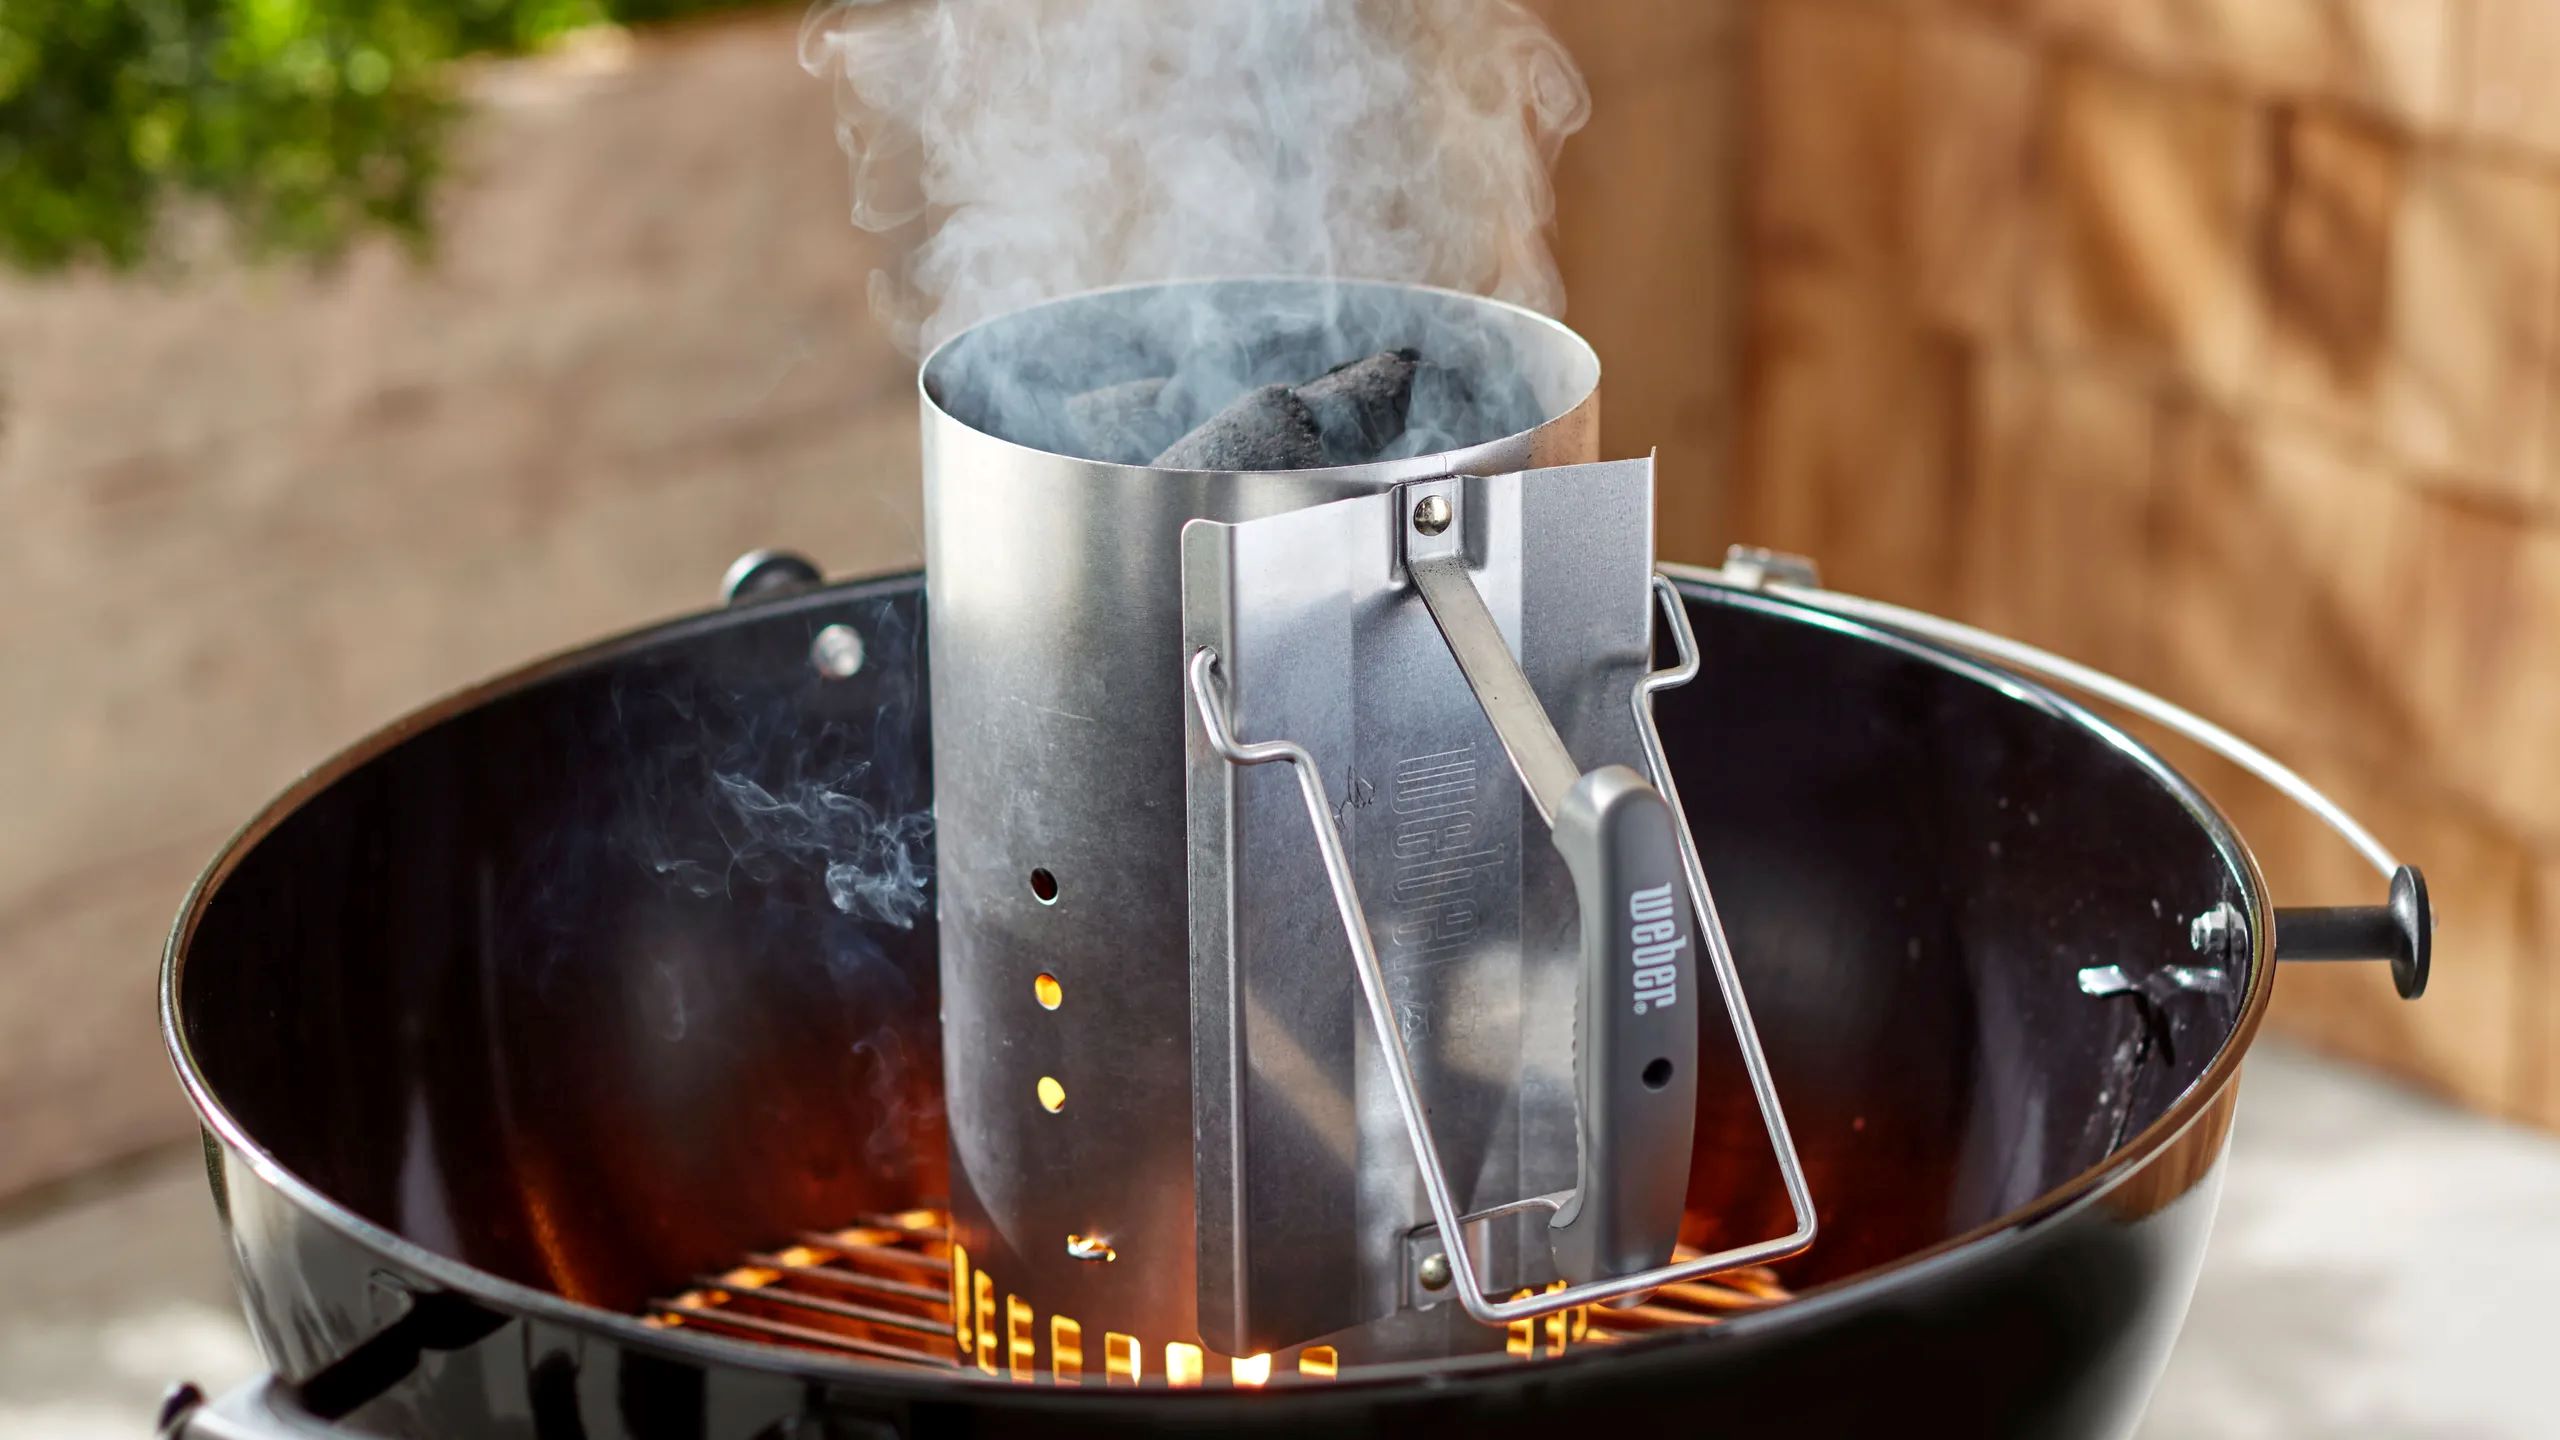
It typically takes about 15-20 minutes for a charcoal chimney to get ready. You’ll know it’s ready when the coals are covered in gray ash.
Preparing the Chimney for Use
Before you begin using the charcoal chimney, it is important to properly prepare it for the ignition process. Here are the steps to follow to ensure a successful and efficient lighting experience:
- Clean the Chimney: Start by ensuring that the charcoal chimney is clean. Remove any leftover ash or charcoal residue from previous use. A clean chimney allows for better airflow and more successful ignition.
- Set up a Safe Area: Choose a safe and well-ventilated area for lighting the chimney. It is advisable to use the chimney on a heat-resistant surface such as a concrete or metal surface. Keep it away from flammable objects and ensure there is enough space for the chimney to stand upright without any risk of tipping over.
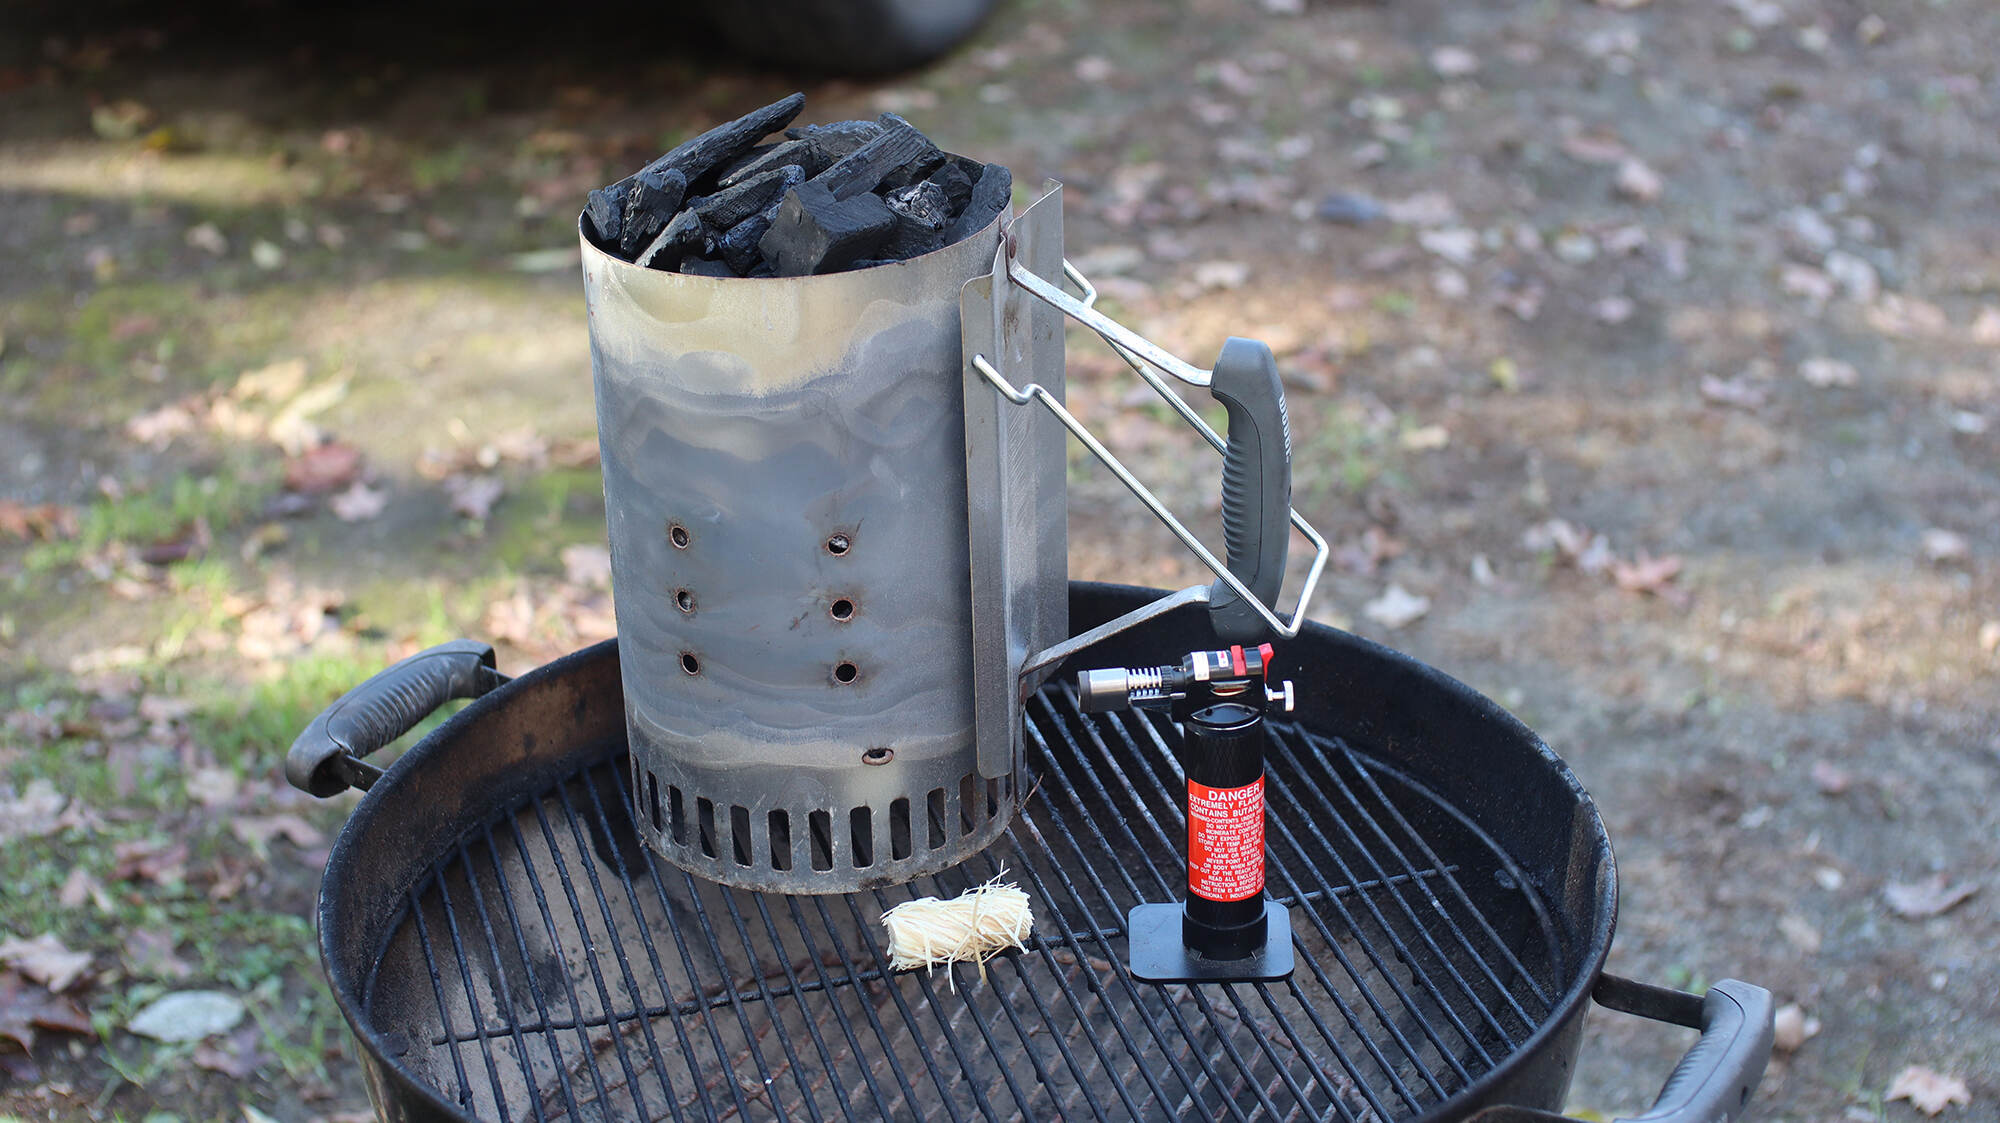
- Fill the Charcoal Chamber: Fill the bottom compartment, or charcoal chamber, of the chimney with the desired amount of charcoal. The amount of charcoal will depend on your grilling needs and the size of your grill. Ensure that the charcoal is arranged evenly to facilitate proper airflow.
- Place Fuel at the Bottom: To ignite the charcoal, place crumpled newspaper or a few paraffin starters under the charcoal chamber. These act as the fuel source for the ignition process.
- Check the Ventilation: Before lighting the fuel, ensure that the ventilation holes or vents at the bottom of the chimney are clear and unobstructed. These holes allow oxygen to flow and promote the combustion of the fuel.
- Ignition: Once everything is set up, it’s time to ignite the fuel. Use a long-reach lighter or match to light the newspaper or paraffin starters at the bottom of the chimney. As the fuel ignites, it will gradually spread to the charcoal, starting the ignition process.
- Allow for Ignition: After lighting the fuel, leave the chimney undisturbed for a few minutes to allow the ignition process to take place. During this time, you may notice the flames starting to rise and the charcoal turning gray as it heats up.
- Monitor Progress: Keep an eye on the progress of the ignition. You will notice the flames gradually die down, and the charcoal will continue to burn and turn ashy gray. At this point, the charcoal is ready to be poured onto the grill.
By following these steps, you will ensure that your charcoal chimney is properly prepared for use, allowing for efficient ignition and a successful grilling experience.
Read more: How To Light Charcoal With A Chimney
Lighting the Charcoal
Once the fuel in the charcoal chimney has been ignited, it’s time to focus on lighting the charcoal. Lighting the charcoal properly is essential for achieving even and consistent heat throughout your grilling session. Follow these steps to ensure a successful lighting process:
- Allow for Ignition: After lighting the fuel, give the fire a few minutes to spread and ignite the charcoal. During this time, you will notice flames rising and the charcoal starting to turn gray as it heats up.
- Check the Progress: Keep an eye on the progress of the ignition. As the charcoal continues to burn, you will notice a thin layer of ash forming on the surface. This is an indication that the charcoal is getting ready for use.
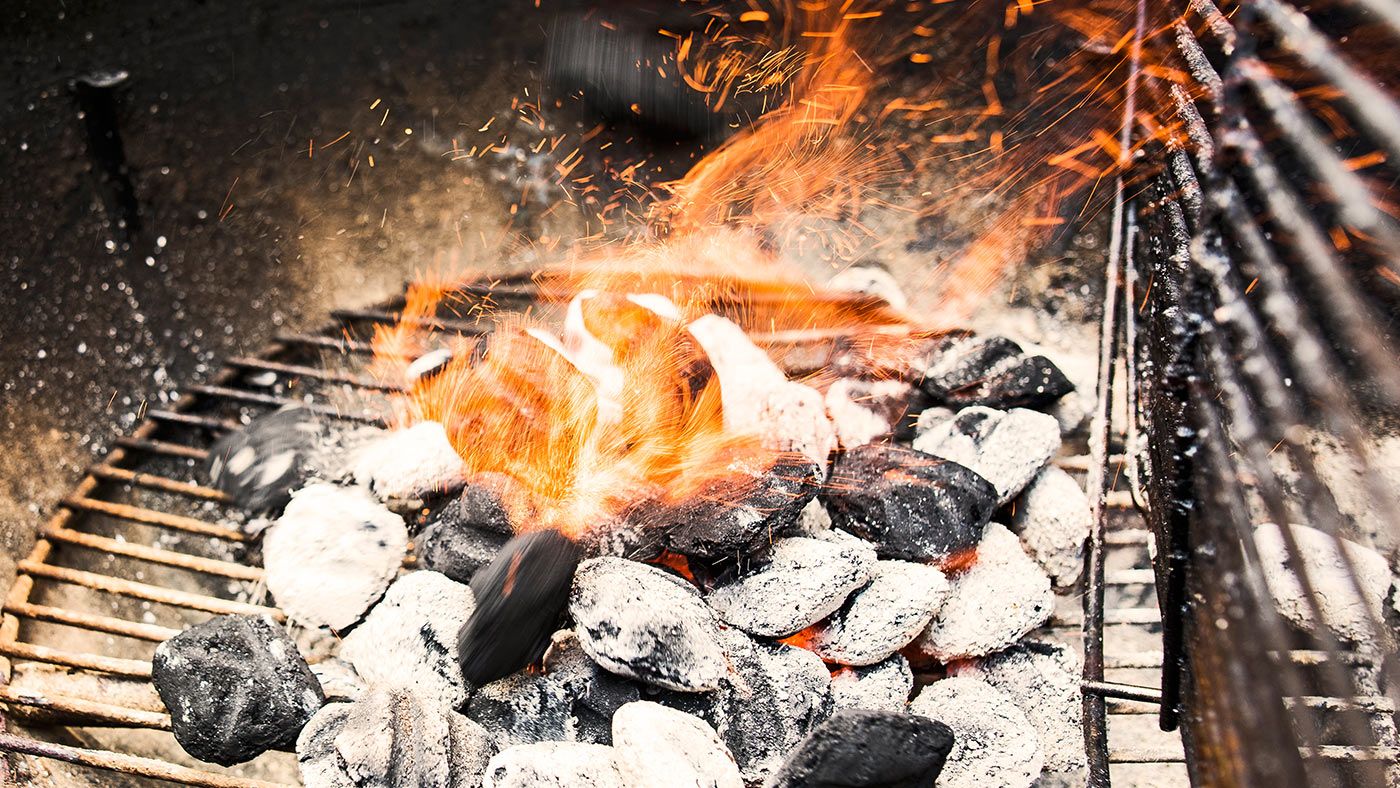
- Wait for Even Ash Distribution: It’s important to ensure that the charcoal is evenly lit before using it for grilling. Wait until a significant portion of the charcoal briquettes or lumps have turned ashy gray. This indicates that the heat has spread evenly, and the charcoal is ready for cooking.
- Use Long-Handled Tools: When it’s time to transfer the charcoal onto the grill, use long-handled tongs or a shovel to minimize the risk of burns. The charcoal will be hot, so take caution and avoid direct contact with your hands.
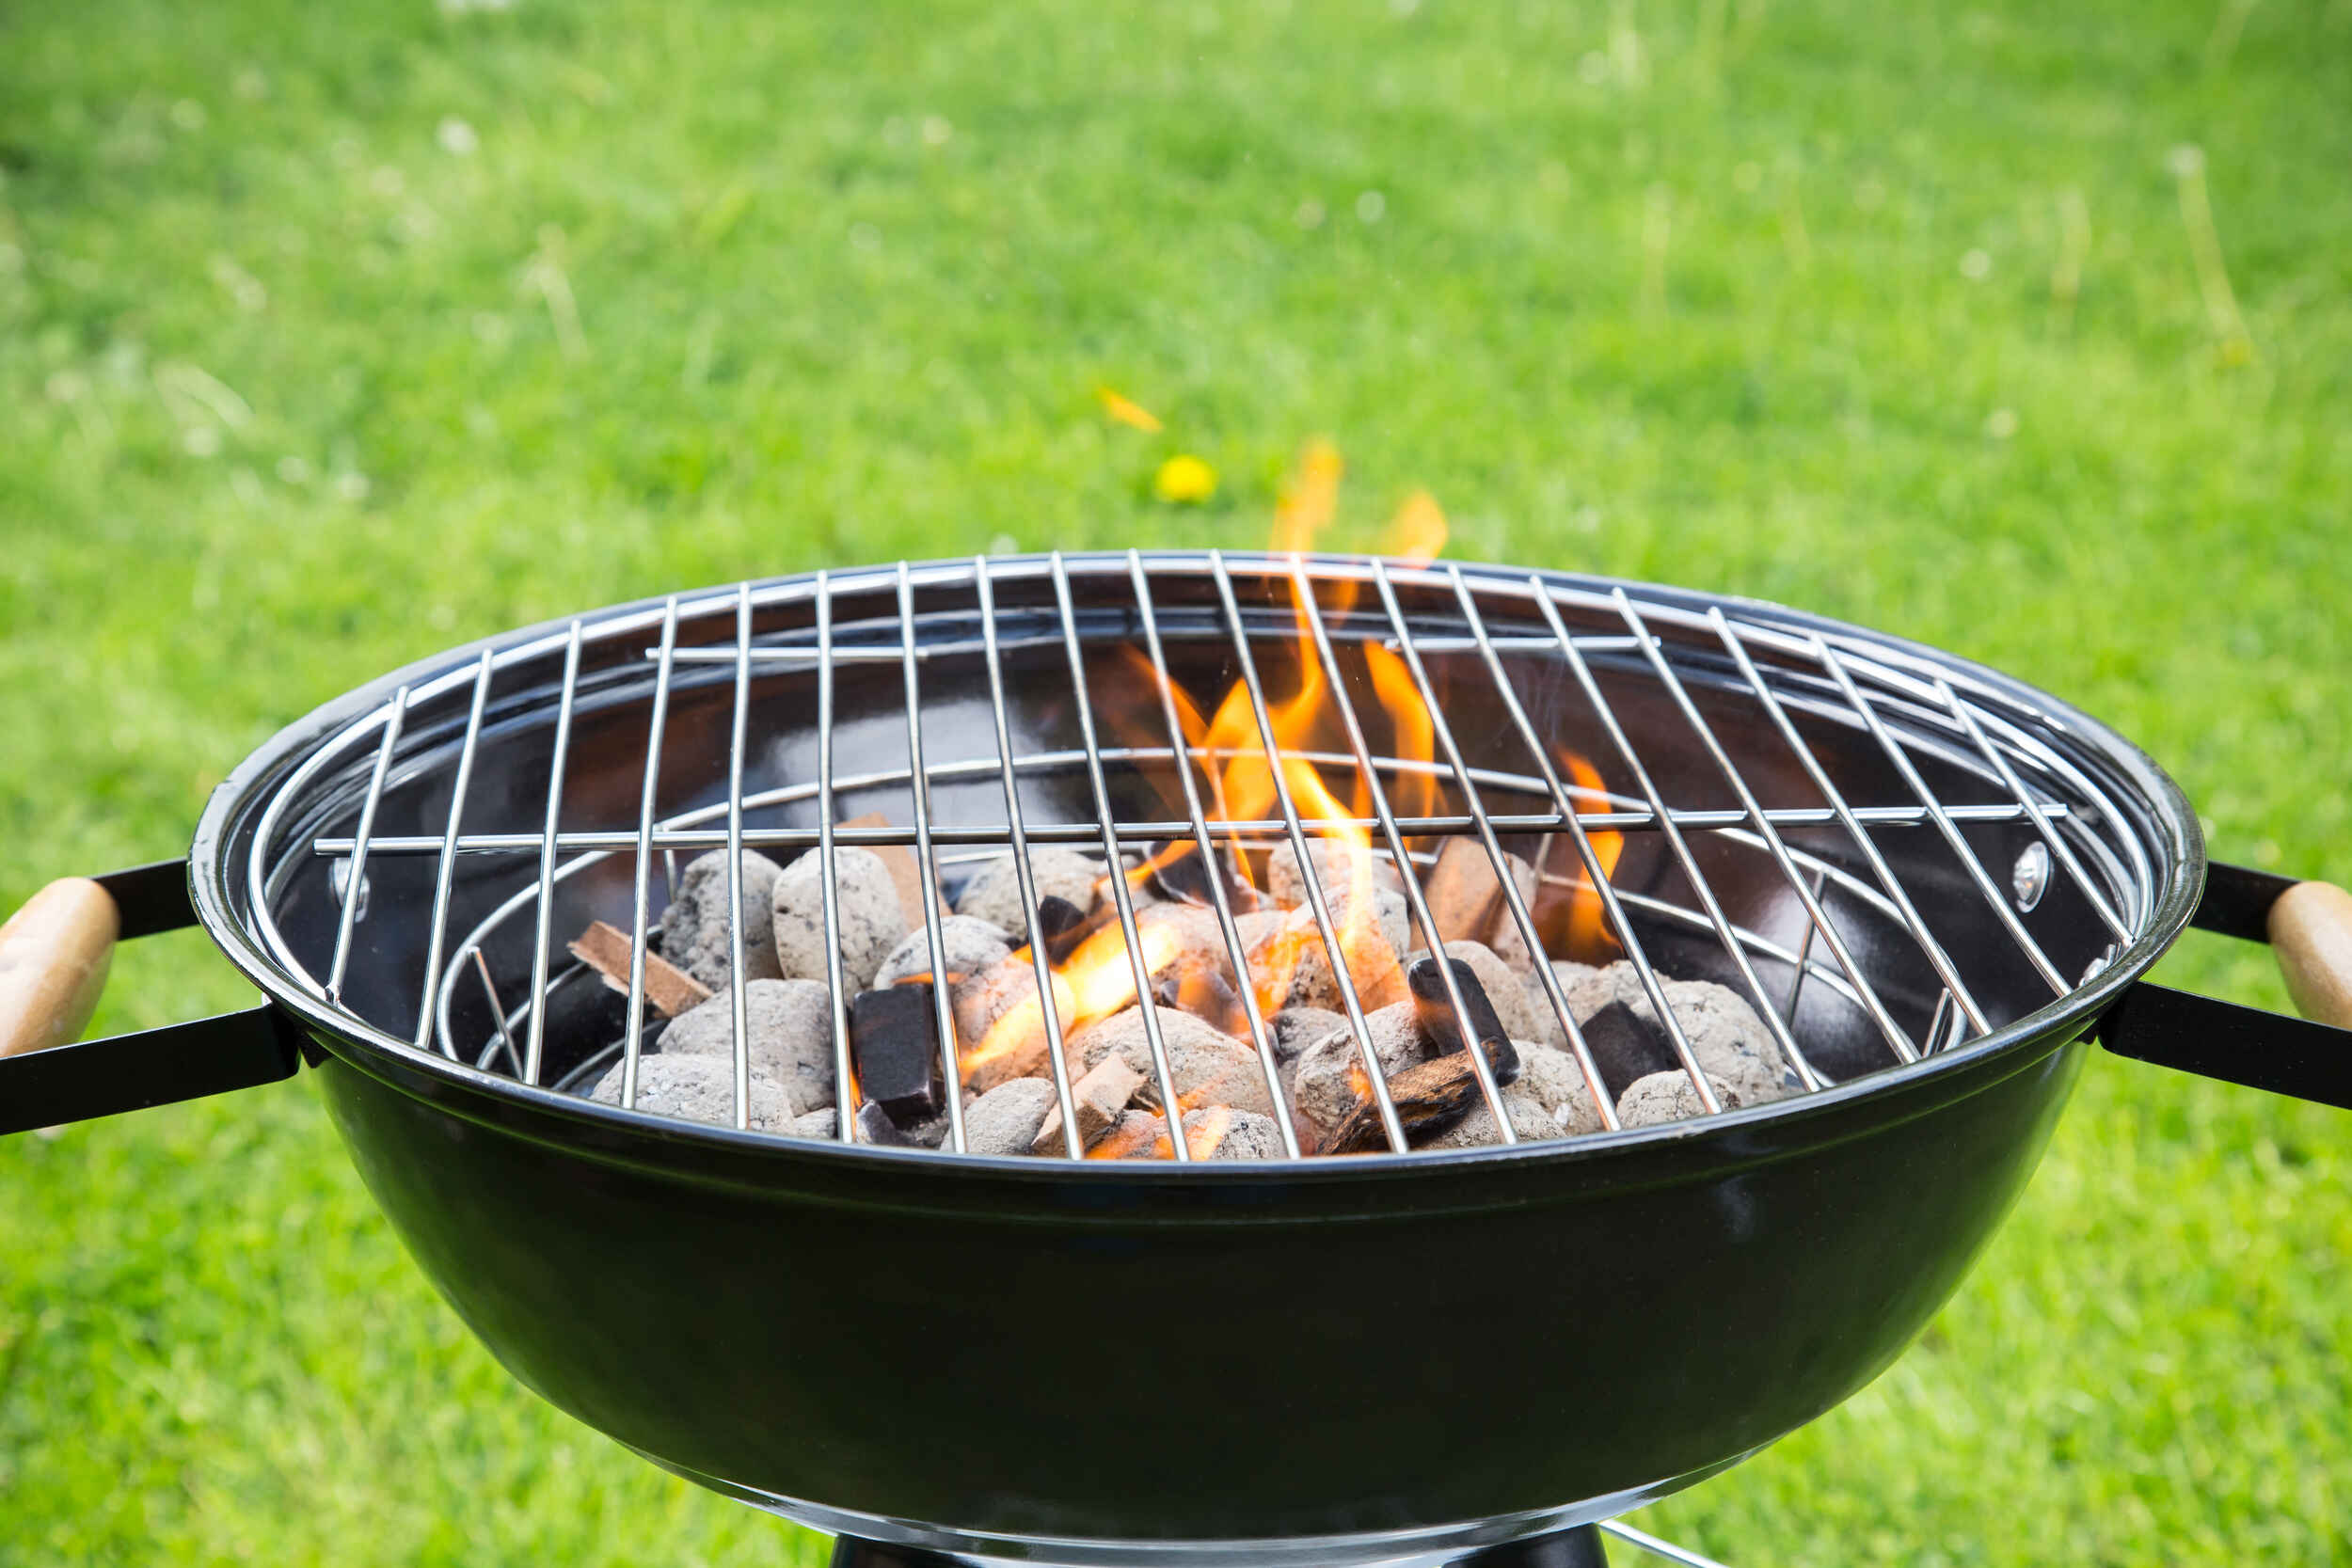
- Distribute Charcoal Evenly: Once the charcoal is ready, distribute it evenly across the grill grates. This will ensure consistent heat distribution and prevent hot spots or areas with insufficient heat. Spread the charcoal in a single layer or create zones for different heat levels, depending on your specific grilling needs.
- Allow for Stabilization: After distributing the charcoal, give it a few minutes to stabilize and reach the desired cooking temperature. Close the grill lid and adjust the vents if necessary to regulate airflow and control the heat. This will help you achieve the optimal grilling conditions for your specific recipe.
- Start Grilling: Once the grill has stabilized and reached the desired temperature, it’s time to start grilling. Place your food on the grill grates and begin the cooking process. Enjoy the aromas and flavors that come from grilling over charcoal!
Following these steps will ensure that you properly light the charcoal and create the optimal grilling environment for delicious and flavorful results.
Monitoring the Progress
Once you have lit the charcoal and started grilling, it’s important to monitor the progress and make any necessary adjustments to maintain optimal heat and ensure a successful grilling experience. Here are some key tips for monitoring the progress:
- Observe the Heat: Keep an eye on the temperature of the grill to ensure it stays within the desired range. You can use a grill thermometer to monitor the heat and adjust the charcoal or vents as needed to maintain the desired temperature.
- Check for Hot Spots: Occasionally check the grill grates to identify any hot spots where the heat may be more concentrated. Adjust the food placement accordingly to ensure even cooking. Shifting the position of the food or adjusting the airflow can help distribute the heat more evenly.
- Regulate Airflow: The airflow is a crucial factor in controlling the heat of the grill. Adjust the vents on the grill or the charcoal chimney to increase or decrease the airflow as needed. Opening the vents allows more oxygen in, increasing the heat, while closing them limits airflow and lowers the temperature.
- Manage Flare-ups: If you encounter flare-ups where the flames rise excessively, gently move the food away from the flames or close the grill lid to smother the fire. Keep a spray bottle filled with water nearby to quickly extinguish any flare-ups if necessary.
- Rotate and Flip the Food: To ensure even cooking, periodically rotate or flip the food on the grill. This helps promote even browning and prevents any one side from becoming overdone. Use long-handled tongs or a spatula to handle the food safely.
- Add More Charcoal if Needed: Depending on the duration of your grilling session, you may need to add more charcoal to maintain the desired heat. Prepare additional charcoal in a separate chimney, and when ready, add the hot charcoal to the grill. Be cautious when adding charcoal to avoid any ash or sparks from landing on your food.
- Keep a Watchful Eye: Throughout the grilling process, it’s important to stay attentive and continuously monitor the progress. This will ensure that you make any necessary adjustments promptly and achieve the desired results.
By closely monitoring the progress, you can maintain optimal heat, prevent any mishaps, and ensure that your food is cooked to perfection. Enjoy the grilling experience and savor the delicious flavors you’ve created!
Conclusion
A charcoal chimney is a valuable tool for grilling enthusiasts who prefer the authentic flavors and experience of cooking with charcoal. It offers numerous benefits, including quick and efficient ignition, a safer and more natural lighting method, and cost-effectiveness. By understanding the factors that affect the time it takes for a charcoal chimney to get ready, you can optimize the grilling process and achieve the desired cooking temperature.
Preparing the chimney for use by cleaning it and setting up a safe area is crucial to ensure a successful ignition. Lighting the charcoal properly by allowing for even ash distribution and using long-handled tools will help create a consistent heat source for grilling. Monitoring the progress throughout the cooking session, adjusting the airflow, checking for hot spots, and rotating the food will help you achieve delicious and evenly cooked results.
Remember to prioritize safety at all times when using a charcoal chimney. Keep flammable objects away, use heat-resistant surfaces, and handle hot charcoal with caution to prevent burns or accidents.
In conclusion, a charcoal chimney is a valuable tool that simplifies the process of igniting charcoal and enhances the grilling experience. By following the steps outlined in this article and remaining vigilant throughout the process, you can achieve optimal results and enjoy the delicious flavors of food cooked over charcoal.
So why wait? Grab your charcoal chimney, fire up the grill, and get ready to create mouthwatering dishes that will delight your family and friends!
Frequently Asked Questions about How Long For Charcoal Chimney To Get Ready
Was this page helpful?
At Storables.com, we guarantee accurate and reliable information. Our content, validated by Expert Board Contributors, is crafted following stringent Editorial Policies. We're committed to providing you with well-researched, expert-backed insights for all your informational needs.


0 thoughts on “How Long For Charcoal Chimney To Get Ready”