
Articles
How Long To BBQ Hamburgers
Modified: October 19, 2024
Learn how long it takes to BBQ hamburgers with our informative articles. Discover expert tips and techniques for perfectly grilled burgers.
(Many of the links in this article redirect to a specific reviewed product. Your purchase of these products through affiliate links helps to generate commission for Storables.com, at no extra cost. Learn more)
Introduction
When it comes to outdoor cooking, few things are as satisfying as the smell of sizzling hamburgers on a barbecue grill. Whether you’re hosting a backyard cookout or simply craving a juicy burger, knowing how long to BBQ hamburgers is essential for achieving that perfect level of doneness.
BBQing hamburgers is not just about grilling them to perfection; it’s also about creating a flavorful patty that will tantalize your taste buds. From choosing the right meat to mastering the cooking technique, each step plays a crucial role in creating the ultimate burger experience.
In this article, we’ll guide you through the process of BBQing hamburgers from start to finish. We’ll cover everything from selecting the right meat to the ideal cooking time, ensuring that your hamburgers turn out deliciously juicy every time you fire up the grill.
So grab your spatula, gather your ingredients, and let’s dive into the world of BBQing hamburgers!
Key Takeaways:
- Master the art of BBQing hamburgers by choosing the right meat, preparing flavorful patties, and grilling with precision to create juicy, mouthwatering burgers every time.
- Experiment with seasonings, meats, and toppings to customize your burgers, and don’t be afraid to adjust cooking times and temperatures based on your preferred level of doneness.
Read more: How To Store Hamburger Buns In The Freezer
Choosing the Right Meat
The foundation of a delicious hamburger starts with choosing the right meat. While there are various options available, the most popular choice for hamburgers is ground beef. When selecting the meat for your burgers, there are a few key factors to consider:
- Ground Beef: Opt for ground beef with a higher fat content, such as ground chuck or ground sirloin. The fat helps to keep the patties moist and flavorful during the grilling process. Aim for a fat content of around 80% lean, 20% fat for the perfect balance.
- Quality: Look for high-quality, fresh ground beef. Choose meat that is bright red, well-marbled, and free from any off-putting odors. If possible, source your meat from a trusted local butcher or farmers market to ensure the best quality.
- Grass-fed or Grain-fed: Decide whether you prefer grass-fed or grain-fed beef. Grass-fed beef tends to have a leaner profile with a slightly different flavor, while grain-fed beef is typically more tender and has a richer taste. Both options can result in a delicious burger, so it ultimately comes down to personal preference.
It’s worth noting that you can also get creative with your meat choices. Experiment with ground turkey, chicken, pork, or even a combination of different meats to add variety to your burgers. Just make sure to adjust the cooking time and temperature accordingly based on the protein you choose.
Once you’ve selected your ideal meat, it’s time to move on to the next step: preparing the patties.
Preparing the Patties
Creating the perfect patty is essential for a delicious burger. Here are some tips to help you prepare the patties for your BBQ:
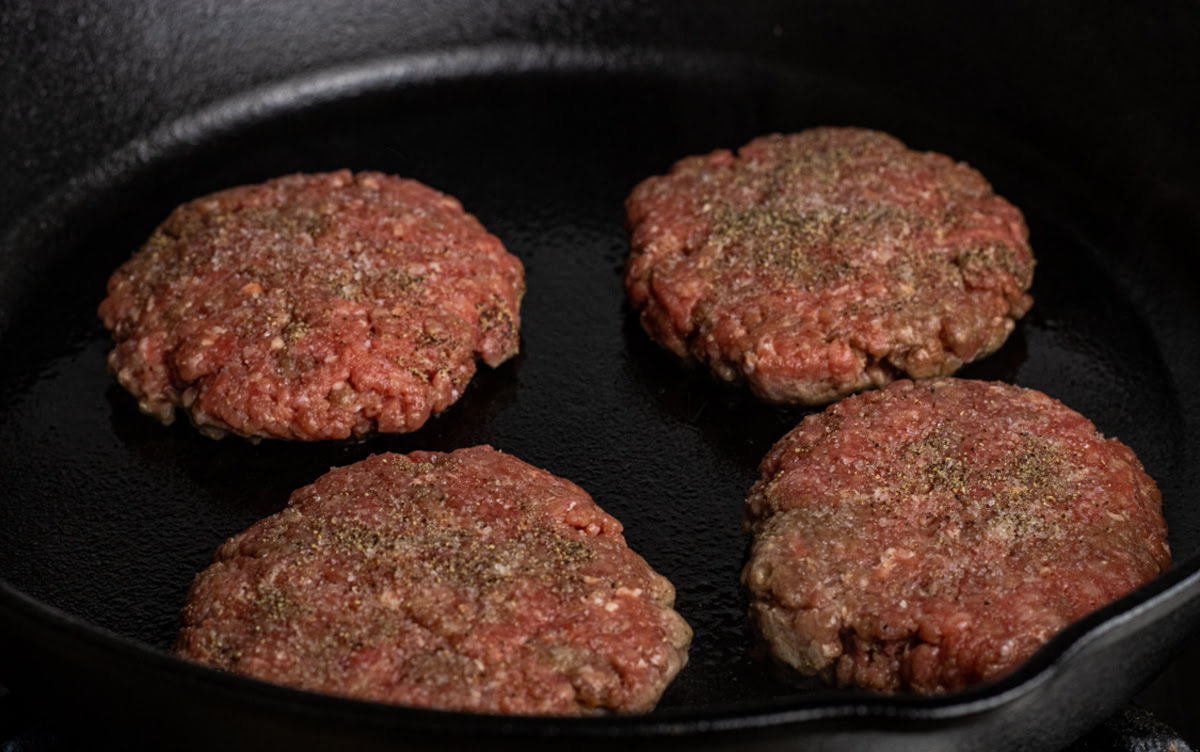
- Seasoning: Start by seasoning the ground beef with your favorite blend of spices. Common additions include salt, pepper, garlic powder, onion powder, and Worcestershire sauce. Mix the seasonings into the meat evenly, but be careful not to overwork the mixture, as this can result in tough burgers.
- Shaping: Divide the seasoned ground beef into equal portions, typically around 6-8 ounces per patty. Gently shape each portion into a round ball, then flatten it into a patty using your hands or a burger press. Aim for a thickness of approximately ¾ to 1 inch to ensure even cooking.
- Indention: To prevent the burgers from puffing up in the middle during cooking, make a small indentation in the center of each patty with your thumb or the back of a spoon. This will help the burgers retain their shape and cook more evenly.
Once the patties are shaped and ready, it’s time to move on to the next step: preheating the grill.
Preheating the Grill
Before you start cooking the hamburgers, it’s important to properly preheat your grill. Preheating ensures that the grill grates are hot and ready to sear the patties, leading to those beautiful grill marks and a flavorful crust. Here’s how to preheat your grill:
- Clean the grill: Make sure your grill grates are clean and free from any leftover residue. Use a grill brush to remove any stuck-on food particles and debris. This not only promotes better heat distribution but also prevents your burgers from sticking to the grates.
- Gas grill: If you’re using a gas grill, preheating is relatively straightforward. Close the lid and turn the burners to high heat. Allow the grill to preheat for about 10-15 minutes, or until it reaches a temperature of around 450-500°F (232-260°C).
- Charcoal grill: For a charcoal grill, start by arranging the charcoal briquettes in a pyramid shape at the bottom of the grill. Light the briquettes using either a chimney starter or lighter fluid. Once the coals have turned ashy-gray, spread them out in an even layer. Place the grill grates on top and let them heat up for about 10-15 minutes.
During the preheating process, keep the grill lid closed to trap the heat inside. This will ensure that the entire cooking surface reaches the desired temperature.
Once your grill is thoroughly preheated, it’s time to move on to the most exciting part: cooking the hamburgers!
Cooking the Hamburgers
Now that your grill is preheated and ready, it’s time to start cooking the hamburgers. Follow these steps to achieve the perfect balance of juicy, flavorful, and well-cooked burgers:
- Oil the grill grates: Before placing the patties on the grill, lightly oil the grill grates to prevent sticking. You can use a pair of tongs and a paper towel soaked in cooking oil to do this. Just be careful not to use too much oil, as it can cause flare-ups.
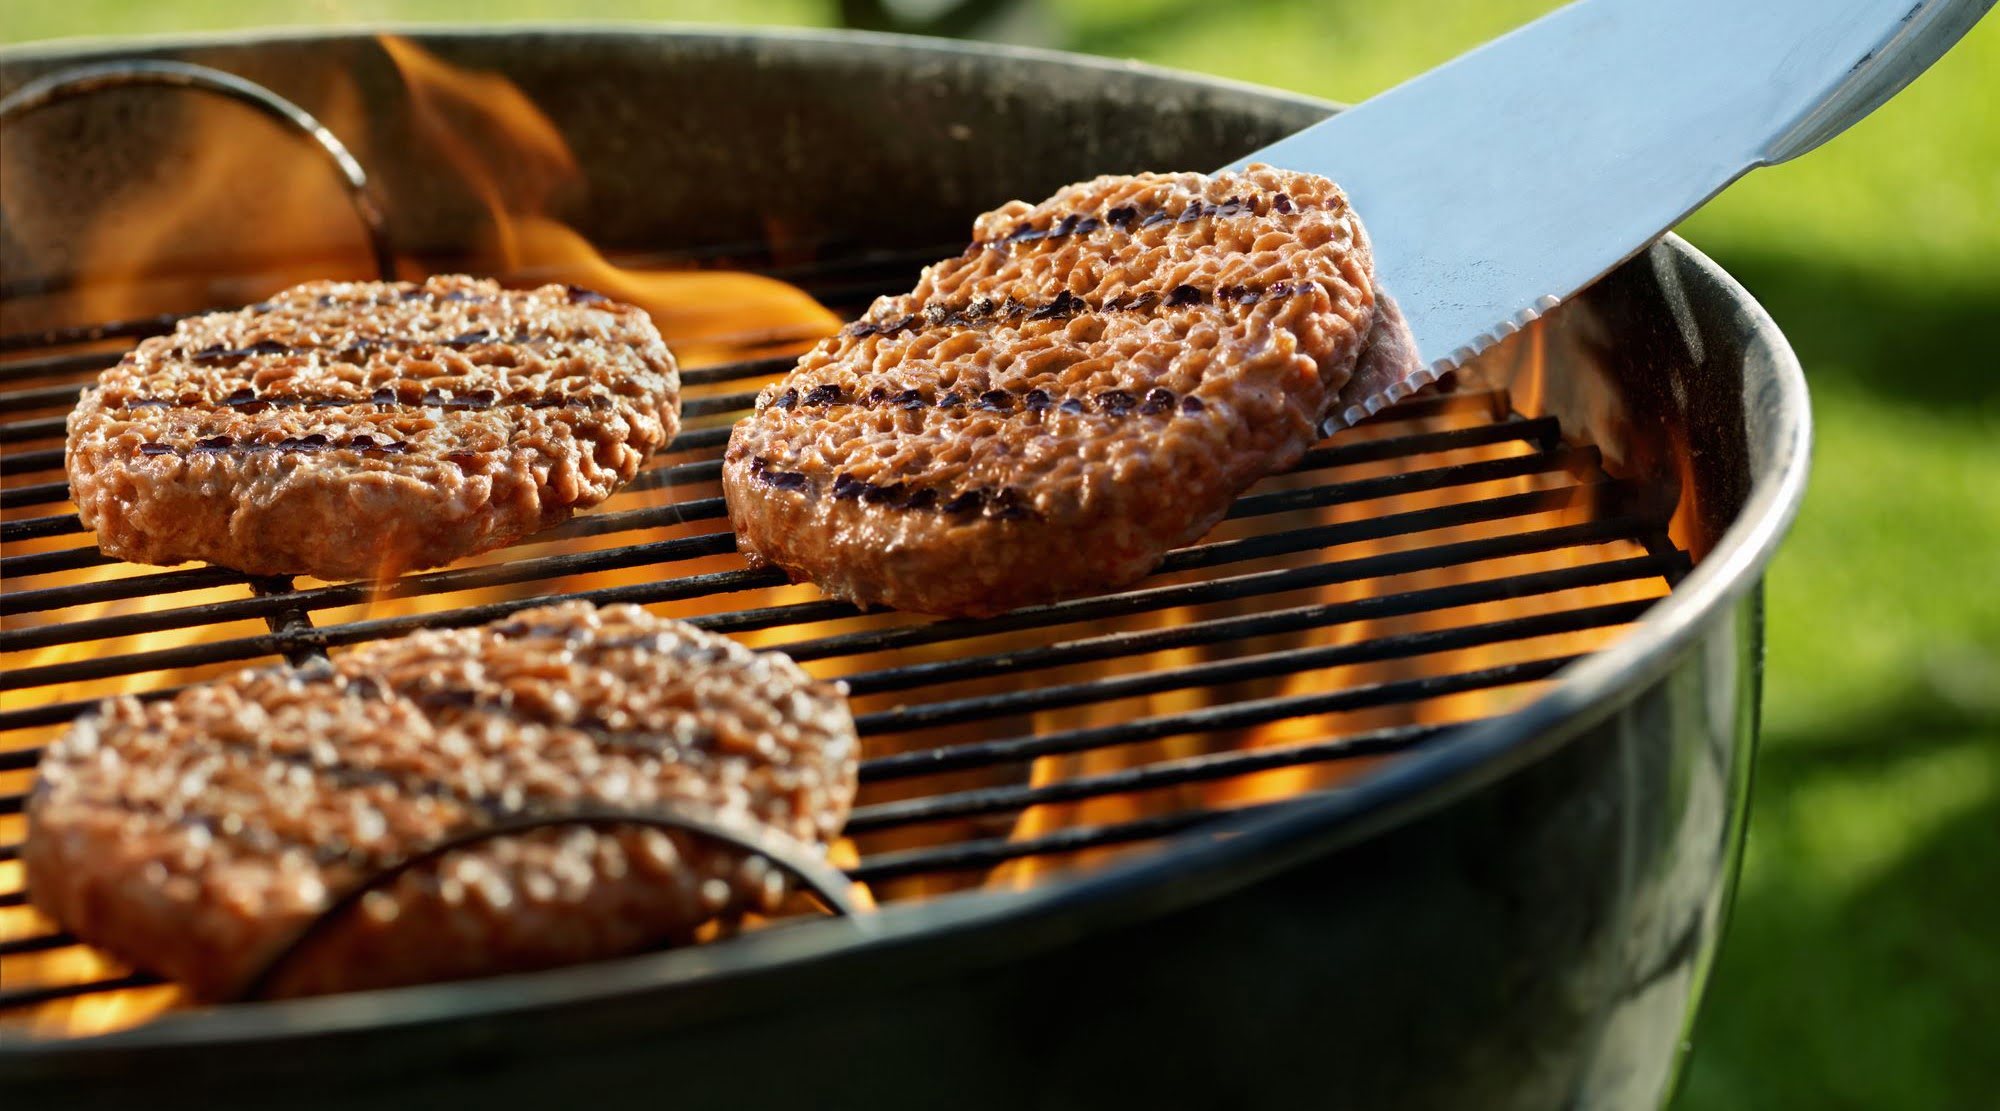
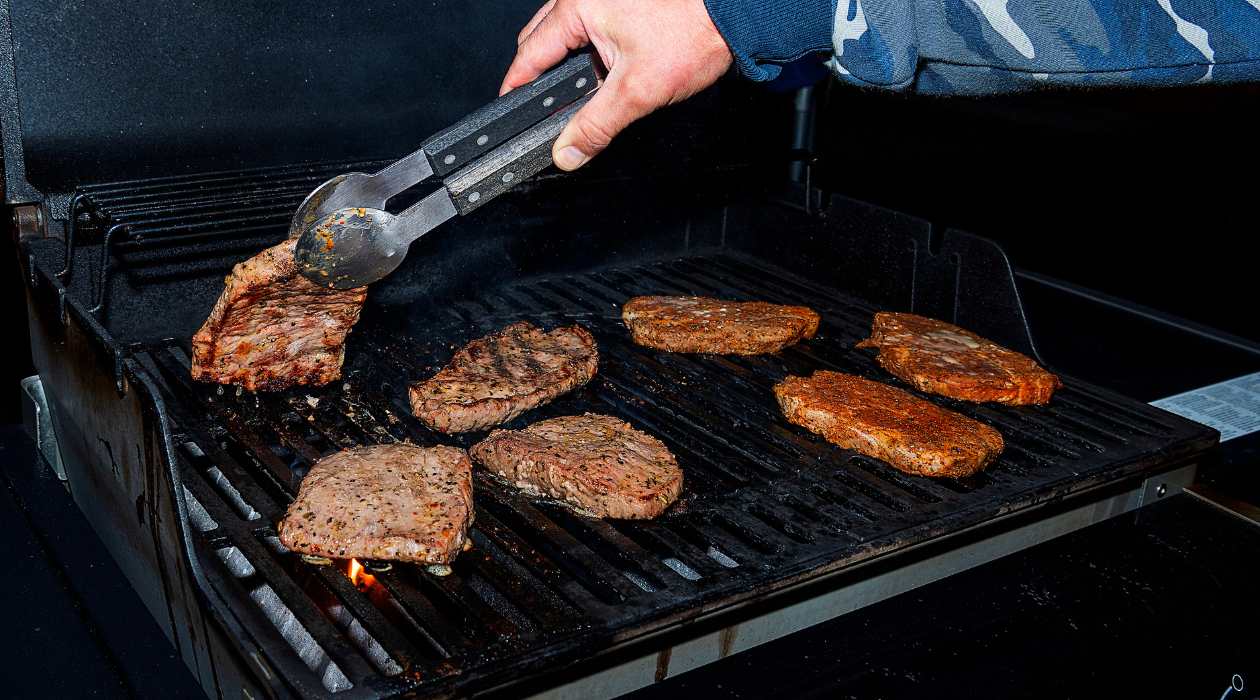
- Place the patties: Carefully place the patties onto the preheated grill grates. Use a spatula to handle the patties gently and avoid pressing them down, as this can lead to the loss of juices.
- Cooking time: The cooking time for hamburgers will vary depending on the thickness of the patties and the desired level of doneness. As a general rule, for medium-rare burgers, cook them for about 4-5 minutes per side. For medium burgers, aim for 5-6 minutes per side. Adjust the cooking time accordingly if you prefer your burgers more well done.
- Flipping: Avoid the temptation to flip the burgers too frequently. Flip them only once during cooking to allow for proper browning and caramelization. Over-flipping can prevent the crust from forming.
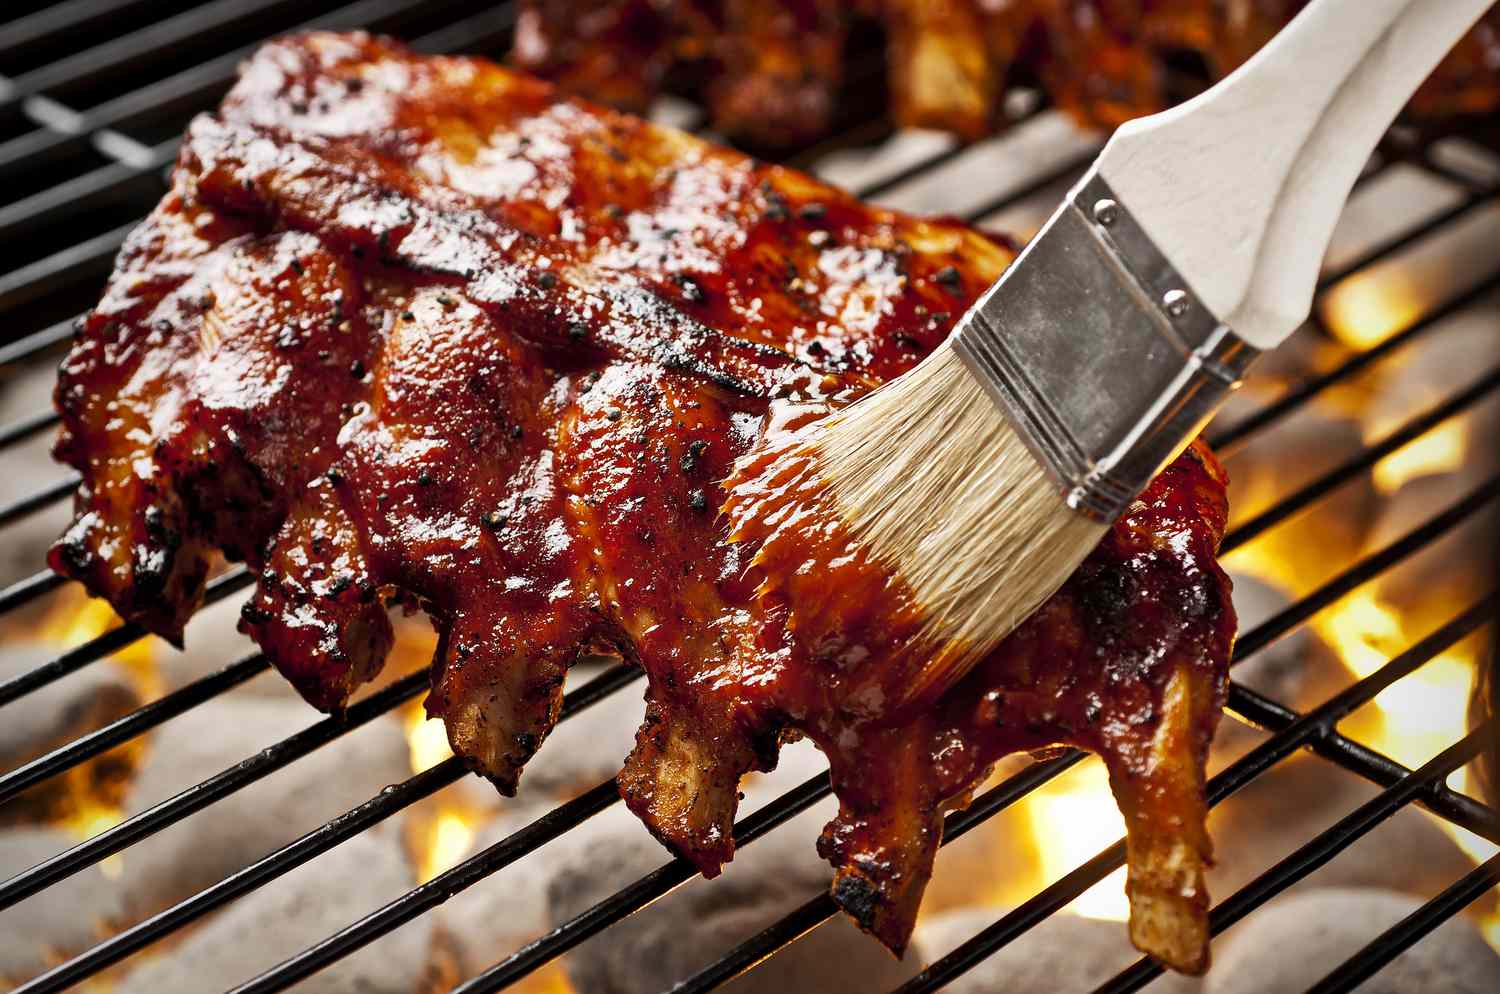
- Basting: To add extra flavor and moisture, you can baste the burgers with your favorite barbecue sauce, marinade, or melted butter during the last few minutes of cooking. Brush the sauce onto one side of the patties, flip them, and repeat on the other side.
Remember that these cooking times are merely guidelines, and it’s important to use a meat thermometer to ensure that the internal temperature reaches a safe level. For ground beef, the minimum safe internal temperature is 160°F (71°C).
Once the hamburgers are cooked to perfection, it’s time to move on to the next step: checking for doneness.
When grilling hamburgers, cook them for 4-5 minutes per side for medium-rare, 5-6 minutes for medium, and 6-7 minutes for well-done. Use a meat thermometer to ensure they reach an internal temperature of 160°F.
Read more: How To Store Hamburger Meat
Checking for Doneness
Checking for doneness is a crucial step to ensure that your hamburgers are cooked to your desired level of perfection. Here are a few methods you can use to determine if your burgers are done:
- Visual cues: One simple way to gauge doneness is by visually inspecting the burgers. Cut into the thickest part of one patty to check the color. For medium-rare, the interior should have a pinkish-red center. For medium, you should see a slight hint of pink. For a well-done burger, there should be no traces of pink, and the juices should run clear.
- Touch test: Another method is to use the touch test. Gently press the center of a patty with the back of a spatula or your finger. For a rare burger, it should be very soft and spring back quickly. A medium burger will have a slight resistance and spring back with moderate pressure. A well-done burger will feel firm and have little to no give.
- Meat thermometer: The most accurate way to determine the doneness of your burgers is by using a meat thermometer. Insert the thermometer into the thickest part of a patty without touching the grill grates. For medium-rare, the internal temperature should read around 130-135°F (54-57°C). For medium, aim for 140-145°F (60-63°C). For well-done, the temperature should reach 160°F (71°C).
Remember to remove the burgers from the grill a few degrees before reaching your desired level of doneness, as they will continue to cook slightly while resting. This brings us to the next step: letting the hamburgers rest.
Letting the Hamburgers Rest
After you’ve cooked the hamburgers to perfection, it’s crucial to let them rest before serving. Resting allows the juices to redistribute throughout the patties, resulting in a more flavorful and moist burger. Here’s what you need to do:
- Remove from the grill: Carefully transfer the cooked hamburgers from the grill to a clean plate or a cutting board. Use a spatula to handle them gently, as they may be delicate and prone to falling apart.
- Tent with foil: To keep the burgers warm and allow them to continue cooking slightly, tent them loosely with aluminum foil. This helps to retain heat while also allowing excess steam to escape, preventing the burgers from becoming soggy.
- Resting time: Let the hamburgers rest for about 5-10 minutes. This rest period allows the juices to redistribute, resulting in a more flavorful and tender burger.
During the resting period, take this time to prepare your burger buns and gather your desired toppings and condiments. The resting time also allows you to enjoy a moment of anticipation before indulging in your perfectly cooked hamburgers.
Once the hamburgers have rested, it’s time to move on to the final step: serving and enjoying the hamburgers!
Serving and Enjoying the Hamburgers
Now that you’ve gone through all the steps of choosing the right meat, preparing the patties, grilling them to perfection, checking for doneness, and letting them rest, it’s time to serve and savor your delicious hamburgers. Here are some tips for serving and enjoying them:
- Burger buns: Select fresh, high-quality burger buns that can hold up to the juicy patties and your choice of toppings. You can lightly toast the buns on the grill for added texture and flavor.
- Toppings and condiments: The toppings you choose can add a burst of flavor and texture to your hamburgers. Consider traditional options like lettuce, tomato, pickles, onions, and cheese. Get creative and add unique toppings such as caramelized onions, avocado slices, bacon, or a special sauce.
- Layering: Assemble your burgers by placing the patties on the bottom bun and adding your desired toppings and condiments. Layer them in a way that allows for easy eating and prevents the burger from becoming too messy.
- Sides: Serve your hamburgers with a variety of delicious sides such as french fries, sweet potato fries, coleslaw, or a refreshing salad. These sides complement the flavors of the burger and complete the meal.
- Savor the moment: Take a moment to appreciate your hard work and the amazing flavors you’ve created. Gather with friends and family, share stories, and enjoy the mouthwatering experience of biting into a juicy, perfectly grilled hamburger.
Remember to serve your hamburgers hot and fresh off the grill for the best taste. As you savor each bite, appreciate the time and effort you put into creating a memorable meal.
Congratulations! You’ve mastered the art of BBQing hamburgers. With these tips and techniques, you can confidently fire up the grill and delight everyone with your mouthwatering homemade burgers.
Enjoy the thrill of outdoor cooking, the incredible flavors of a perfectly grilled burger, and the joy of sharing a fantastic meal with your loved ones. Happy grilling!
Conclusion
BBQing hamburgers is a classic and delicious way to enjoy outdoor cooking. By following the steps outlined in this article, you can create mouthwatering burgers that are juicy, flavorful, and cooked to perfection.
Choosing the right meat, preparing the patties, preheating the grill, cooking the hamburgers with precision, checking for doneness, letting them rest, and serving them with your favorite toppings all contribute to the ultimate burger experience.
Remember to experiment with different seasonings, meats, and toppings to customize your burgers to your liking. Whether you prefer classic flavors or want to try something adventurous, BBQing hamburgers allows you to get creative and satisfy your taste buds.
Additionally, don’t be afraid to adjust cooking times and temperatures based on your preferred level of doneness. The more you practice and fine-tune your grilling skills, the better you’ll become at achieving the perfect burger every time.
So, the next time you fire up the grill, armed with your knowledge of choosing the right meat, preparing the patties, and cooking them to perfection, you’ll be able to impress your friends and family with mouthwatering hamburgers that are second to none.
Enjoy the process, savor each bite, and relish in the joy of creating a memorable meal that will have everyone coming back for more. Happy BBQing!
Frequently Asked Questions about How Long To BBQ Hamburgers
Was this page helpful?
At Storables.com, we guarantee accurate and reliable information. Our content, validated by Expert Board Contributors, is crafted following stringent Editorial Policies. We're committed to providing you with well-researched, expert-backed insights for all your informational needs.


0 thoughts on “How Long To BBQ Hamburgers”