Articles
How To Make BBQ
Modified: October 28, 2024
Learn the art of BBQ with our comprehensive collection of articles. From beginner tips to advanced techniques, we've got you covered.
(Many of the links in this article redirect to a specific reviewed product. Your purchase of these products through affiliate links helps to generate commission for Storables.com, at no extra cost. Learn more)
Introduction
When it comes to summertime grilling, there’s nothing quite like the mouthwatering aroma and flavor of a perfectly cooked BBQ. Whether you’re hosting a backyard cookout or simply craving a delicious meal with that smoky and charred taste, mastering the art of BBQ is a skill that will elevate your culinary prowess.
While BBQ can seem intimidating to some, it’s actually a straightforward cooking method that can be enjoyed by beginners and seasoned grill masters alike. In this article, we’ll guide you through the process of making a BBQ that will leave your taste buds wanting more. From choosing the right BBQ grill to applying the perfect amount of BBQ sauce, we’ll cover all the essential steps to ensure BBQ success.
So fire up your grill, grab your apron, and get ready to embark on a culinary adventure that will make your friends and family beg for seconds. Let’s dive into the world of BBQ!
Key Takeaways:
- Master the art of BBQ by choosing the right grill, preparing ingredients, and applying grilling techniques to create mouthwatering, flavorful masterpieces that will impress friends and family.
- Elevate your BBQ game by marinating meat, preheating the grill, and applying BBQ sauce strategically to create a culinary adventure that brings people together and creates lasting memories.
Read more: How Long To BBQ Hamburgers
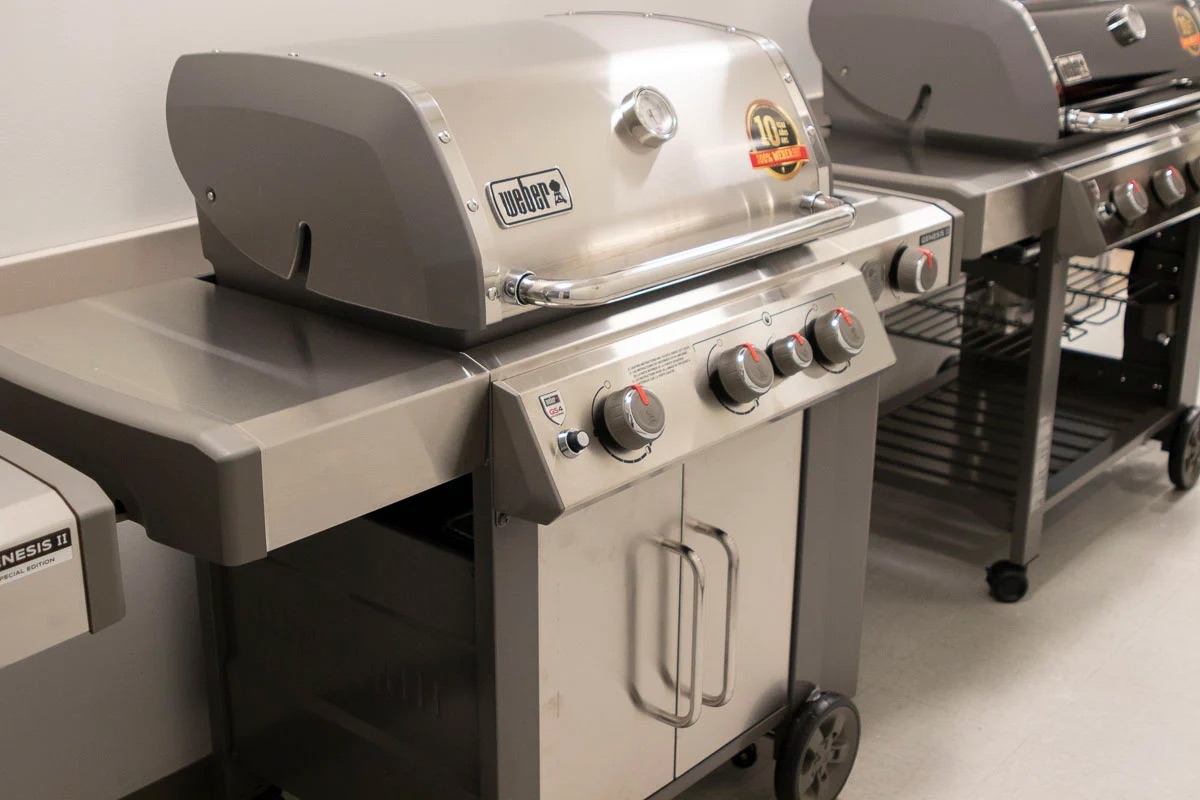
Choosing the Right BBQ Grill
When it comes to making BBQ, one of the first decisions you’ll need to make is choosing the right BBQ grill. There are several types of grills available, each with its own unique features and advantages. Here are a few options to consider:
- Charcoal Grill: Charcoal grills are a classic choice for BBQ enthusiasts. They offer a distinct smoky flavor and give you more control over the cooking temperature. However, they require more time and effort to set up and maintain.
- Gas Grill: Gas grills are convenient and easy to use. They heat up quickly and offer precise temperature control. While they don’t provide the same smoky flavor as charcoal grills, they are a popular choice for their convenience.
- Electric Grill: Electric grills are perfect for those who don’t have access to an outdoor space or prefer a smokeless grilling experience. They are compact, easy to use, and ideal for grilling in small spaces.
- Pellet Grill: Pellet grills use wood pellets as fuel, providing a unique smoky flavor to your BBQ. They offer excellent temperature control and versatility for smoking, grilling, and even baking.
Consider your personal grilling preferences, budget, and available space when choosing the right BBQ grill for you. It’s also worth considering the size of the grill, as it should be able to accommodate the amount of food you plan to cook.
Once you’ve selected the perfect BBQ grill, it’s time to gather the necessary ingredients and prepare them for grilling. In the next section, we’ll explore the steps to prepare your ingredients to maximize the flavor of your BBQ.
Preparing the Ingredients
The key to a delicious BBQ lies in the quality and preparation of the ingredients. Whether you’re grilling meat, vegetables, or seafood, taking the time to properly prepare your ingredients will ensure a flavorful and tender result. Here are some important steps to follow:
- Fresh Ingredients: Start with fresh, high-quality ingredients for the best flavor. Choose meats that are well-marbled and vegetables that are ripe and in-season. This will enhance the natural flavors and textures of your BBQ.
- Trim and Season: Trim any excess fat from your meat to prevent flare-ups and uneven cooking. Season your ingredients generously with salt, pepper, and any other desired spices or marinades. This will help to enhance the flavors and tenderize the meat.
- Vegetable Preparation: If you’re grilling vegetables, make sure to wash and dry them thoroughly. Cut them into even-sized pieces to ensure even cooking. You can also brush them with olive oil to prevent sticking and add a hint of flavor.
- Seafood Preparation: For grilling seafood, ensure that it is fresh and properly cleaned. Shellfish should be deveined, and fish should be scaled and filleted. Brush the seafood with oil or marinade to prevent sticking and add moisture.
- Soak Wooden Skewers: If you’re planning to use wooden skewers for kebabs, soak them in water for about 30 minutes before grilling. This will prevent them from burning on the grill.
By taking the time to properly prepare your ingredients, you’ll set the stage for a flavorful and satisfying BBQ experience. Once your ingredients are ready, it’s time to move on to the next step: marinating the meat. We’ll explore this important process in the following section.
Marinating the Meat
Marinating the meat is a crucial step in the BBQ process as it helps to infuse flavors, tenderize the meat, and enhance its juiciness. Whether you’re grilling beef, poultry, pork, or any other type of meat, marinating adds depth and complexity to your BBQ. Here are some tips for marinating the meat:
- Choose the Right Marinade: Select a marinade that complements the type of meat you’re grilling. Popular options include BBQ sauce, soy-based marinades, citrus marinades, and herb-infused marinades. Consider the flavor profile you want to achieve and pick a marinade accordingly.
- Marinating Time: The length of time you marinate the meat depends on the thickness and type of meat. As a general rule, poultry and seafood require shorter marinating times, while tougher cuts of meat like beef brisket or pork shoulder benefit from longer marinating periods. Aim for at least 30 minutes to overnight, refrigerated.
- Proper Marinating Technique: Place the meat in a shallow dish or a resealable plastic bag and pour the marinade over it, ensuring it coats the meat thoroughly. Massage the marinade into the meat to ensure even distribution. If using a plastic bag, squeeze out excess air before sealing it.
- Refrigeration: Always marinate the meat in the refrigerator, never at room temperature. This prevents the growth of harmful bacteria. For food safety, make sure to discard any leftover marinade that has come into contact with raw meat.
- Flavor Enhancers: Consider adding additional flavor enhancers like minced garlic, grated ginger, or fresh herbs to the marinade. This will give your BBQ an extra punch of deliciousness.
Remember that marinating should be done prior to grilling to allow ample time for the flavors to penetrate the meat. Once you’ve marinated the meat, it’s time to fire up the grill and preheat it for that perfect BBQ experience. We’ll cover the preheating process in the next section.
Preheating the Grill
Preheating your grill is an essential step to ensure even cooking and to achieve those beautiful grill marks and caramelization on your BBQ. Proper preheating helps to create a hot and clean cooking surface that prevents food from sticking to the grates. Here’s how to preheat your grill:
- Clean the Grill: Before preheating, make sure your grill grates are clean and free from any debris or remnants of previous grilling sessions. Use a grill brush to remove any stuck-on residue.
- Gas Grill Preheating: For gas grills, preheating is typically as simple as turning the burners to high and closing the lid. Allow the grill to heat up for about 10-15 minutes to reach the desired cooking temperature.
- Charcoal Grill Preheating: If you’re using a charcoal grill, fill the chimney starter with the appropriate amount of charcoal and ignite it. Once the coals are glowing red and covered with a thin layer of ash, carefully pour them onto one side of the grill. Place the cooking grate on top and close the lid. Let the grill preheat for about 10-15 minutes.
- Electric Grill Preheating: Electric grills typically have a preheat setting or temperature control dial. Follow the manufacturer’s instructions to preheat your electric grill to the desired cooking temperature.
- Pellet Grill Preheating: Pellet grills require preheating as well. Fill the hopper with your desired hardwood pellets and set the temperature to the recommended level. Allow the grill to preheat for about 10-15 minutes until the desired temperature is reached.
Remember to keep the lid closed during the preheating process to maintain a consistent temperature. Once your grill is preheated and the temperature is steady, you’re ready to start grilling your marinated meat to perfection. In the next section, we’ll explore various grilling techniques to help you achieve that mouthwatering BBQ goodness.
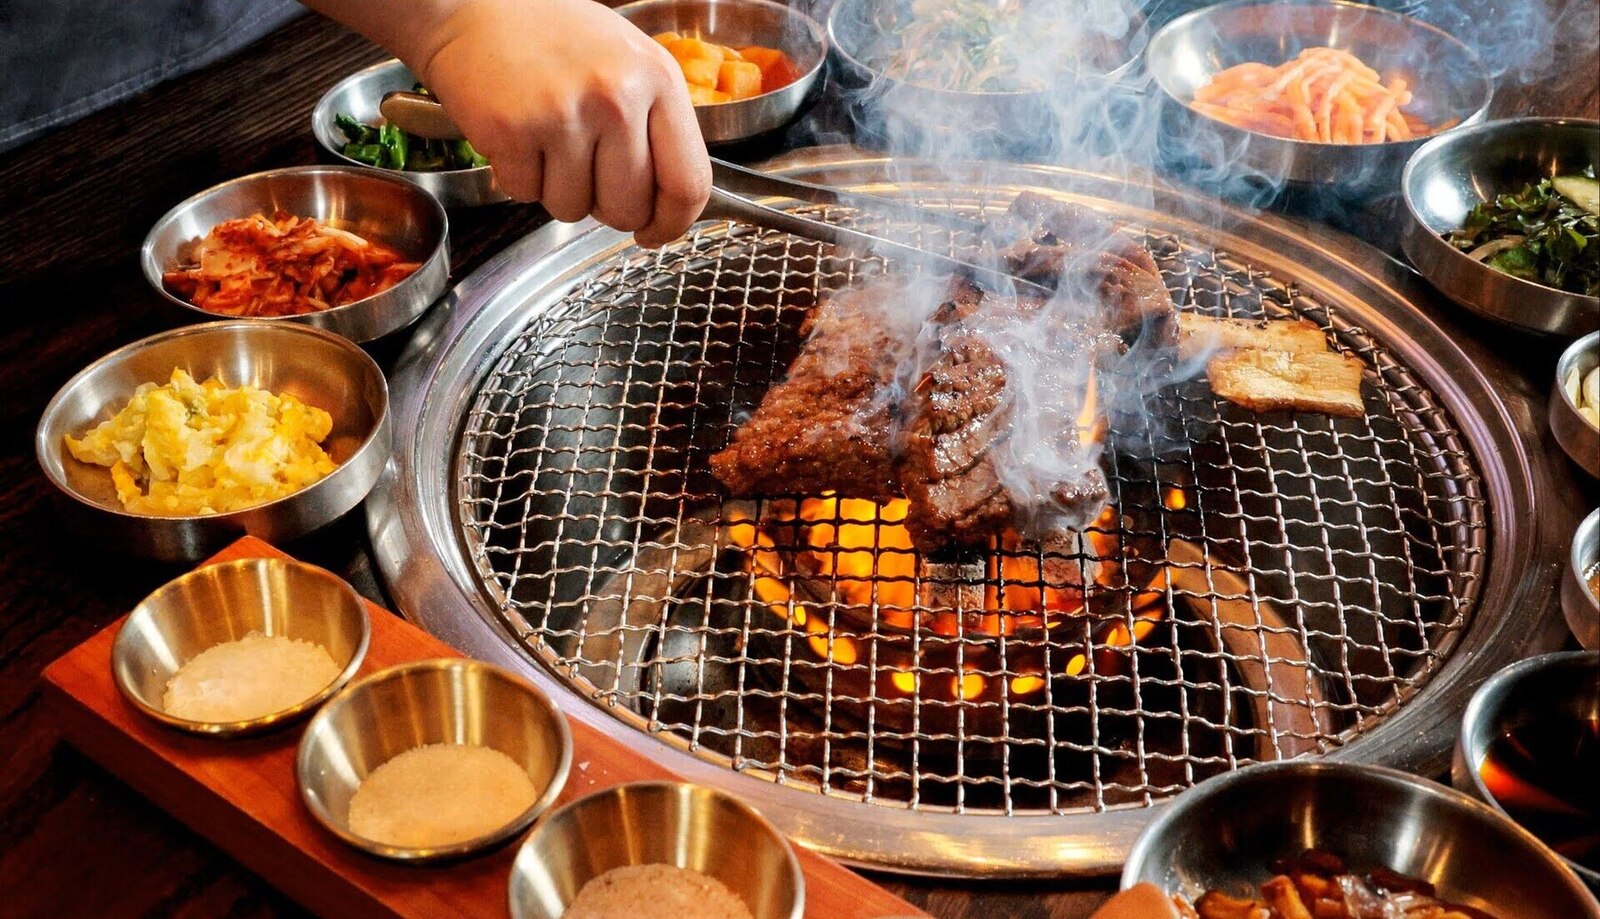
Read more: How To Do Korean BBQ
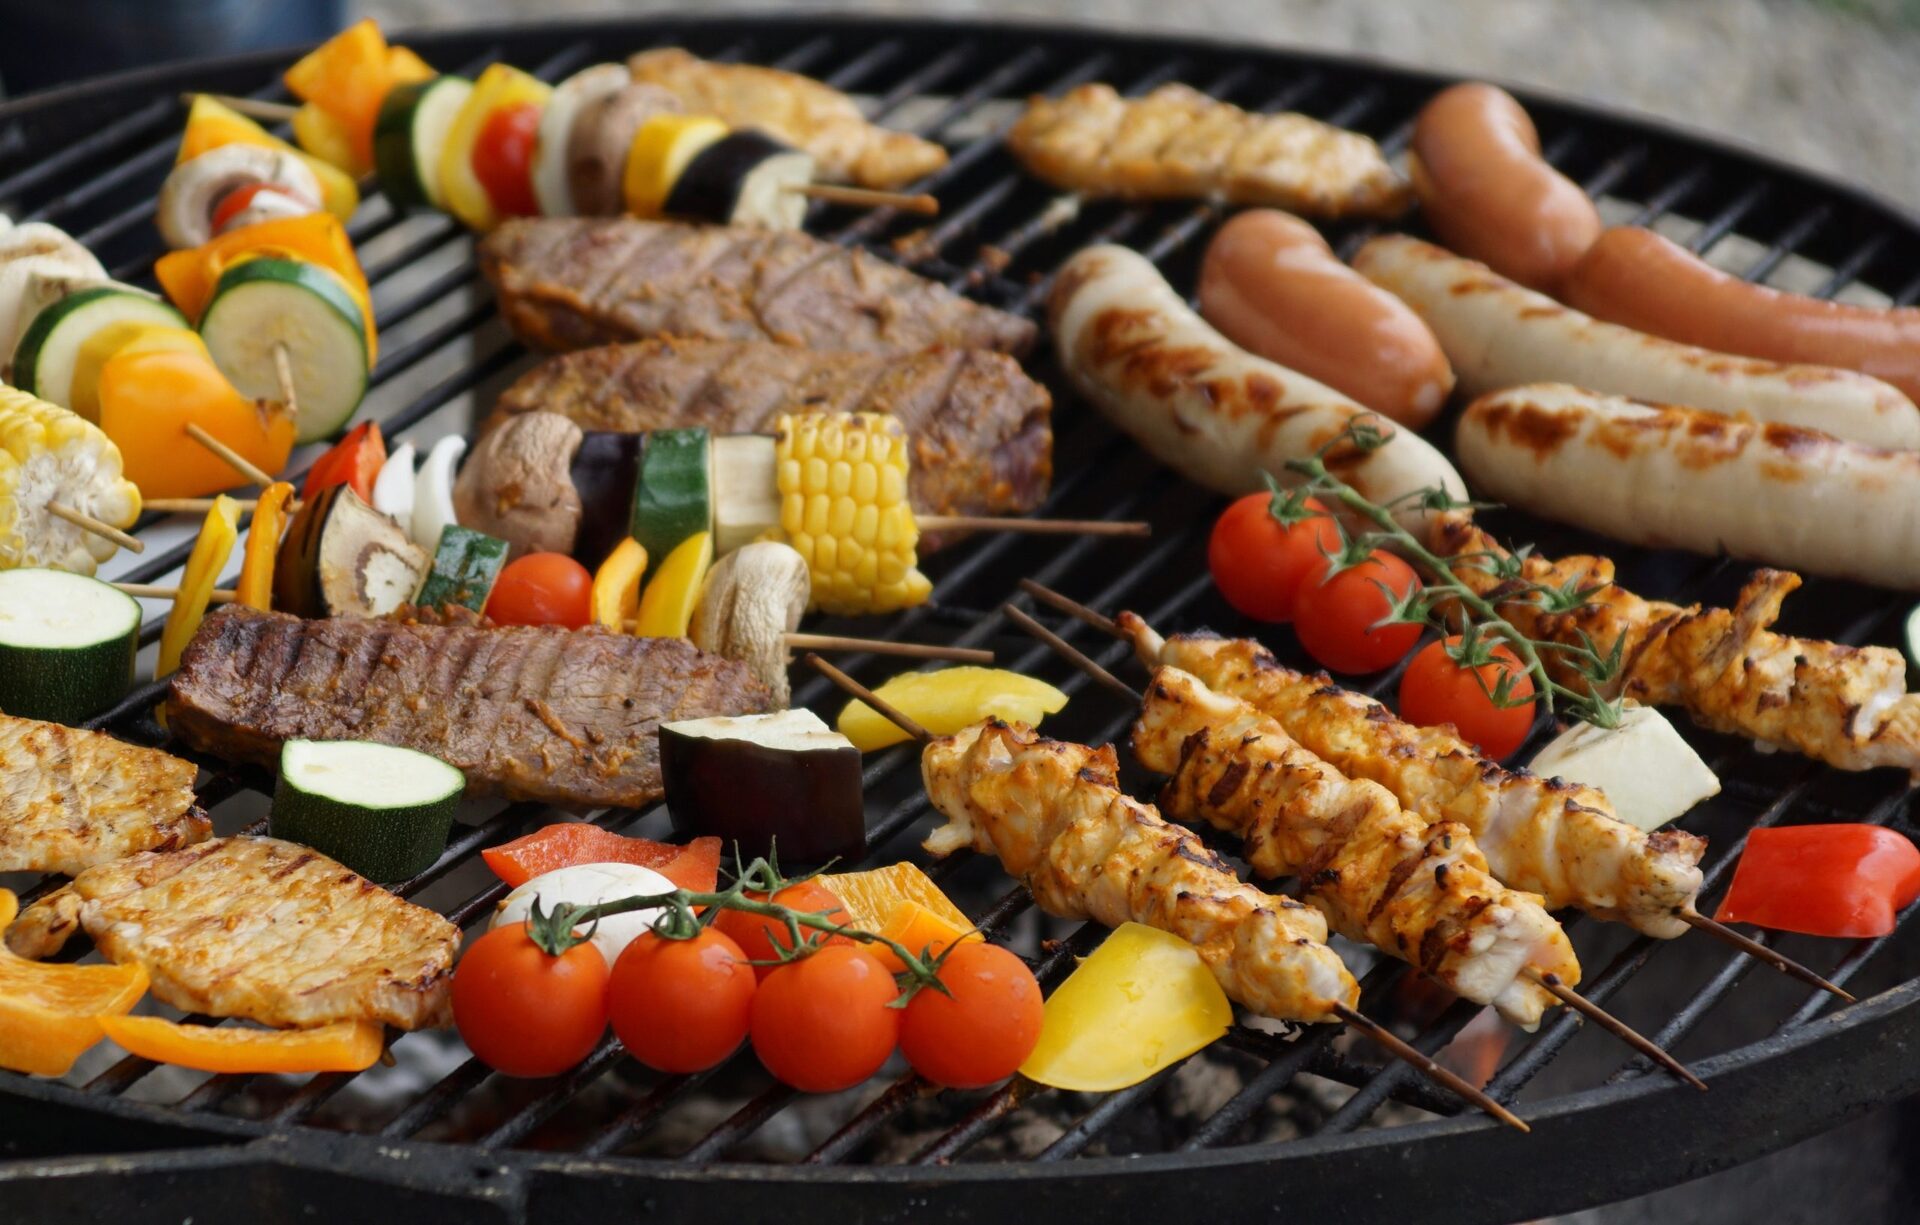
Grilling Techniques
Mastering different grilling techniques will take your BBQ game to the next level. These techniques help to maximize flavor, ensure even cooking, and create those sought-after grill marks. Here are some popular grilling techniques to consider:
- Direct Grilling: This technique involves cooking your food directly over the heat source. It’s ideal for smaller cuts of meat, vegetables, and seafood. Place the ingredients on the hot grill grates and cook them until they reach the desired level of doneness, flipping them occasionally.
- Indirect Grilling: Indirect grilling is perfect for larger cuts of meat that require longer cooking times. This technique involves placing the food on the grill away from the heat source, creating an oven-like environment. Close the lid to allow the heat to circulate and cook the meat evenly. This method is great for slow roasting and smoking.
- Searing: Searing is a technique used to create a delicious crust on the exterior of the meat, sealing in the natural juices. Start by preheating the grill to high heat. Place the meat directly over the hot grates and cook it for a short period of time, usually a couple of minutes per side, until you achieve a caramelized and flavorful crust.
- Grill Marks: Grill marks not only add visual appeal but also provide a smoky and slightly charred flavor. To achieve perfect grill marks, place the food on the hot grill grates diagonally and let it cook for a few minutes without moving it. Then, rotate the food 90 degrees to create cross-hatch grill marks.
- Basting: Basting involves brushing your BBQ sauce, marinade, or any flavorful liquid onto the meat while it cooks. This helps to enhance the flavor and keep the meat moist. Be sure to baste during the last few minutes of cooking, as high sugar content sauces can burn if applied too early.
Experimenting with these grilling techniques will allow you to create a variety of flavor profiles and textures, elevating your BBQ experience. However, it’s important to monitor and adjust the heat accordingly to prevent overcooking or burning. In the next section, we’ll discuss how to monitor and adjust the heat on your grill.
When making BBQ, be sure to marinate your meat for at least 4 hours to infuse it with flavor. This will result in a more tender and tasty end product.
Monitoring and Adjusting Heat
To achieve the perfect BBQ, it’s crucial to monitor and adjust the heat on your grill throughout the cooking process. Proper heat management ensures that your food cooks evenly and prevents it from becoming undercooked or overcooked. Here are some tips for effectively monitoring and adjusting the heat:
- Use a Thermometer: Invest in a good-quality meat thermometer to accurately monitor the internal temperature of your food. This will help you determine when the meat is cooked to your desired level of doneness.
- Two-Zone Cooking: Set up your grill with two zones: a direct heat zone and an indirect heat zone. Place the coals or burners on one side of the grill and keep the other side free of direct heat. This allows you to move the food between the two zones as needed, providing more control over the cooking process.
- Adjusting the Burners: For gas grills, you can control the heat by adjusting the burners. If you need to lower the temperature, reduce the flame by turning down the burner knobs. If you need to increase the heat, simply turn the knobs up.
- Air Vents: Charcoal grills have air vents that allow you to control the airflow and, consequently, the heat. Opening the vents will increase the heat, while closing them will reduce the heat. Adjust the vents as needed to maintain the desired cooking temperature.
- Move the Food: If you notice that certain areas of the grill are hotter than others, move the food around to different spots. This will ensure that the food cooks evenly and avoids any hot spots that may cause burning or overcooking.
Remember that practice makes perfect when it comes to monitoring and adjusting the heat on your grill. With experience, you’ll become more familiar with your specific grill’s tendencies and be able to fine-tune the heat for optimal results. In the next section, we’ll discuss the proper techniques for flipping and rotating the meat during the grilling process.
Flipping and Rotating the Meat
Flipping and rotating the meat while grilling is important to ensure even cooking, beautiful grill marks, and to prevent sticking. By following the proper techniques, you’ll achieve the desired texture and doneness of your BBQ. Here are some tips on flipping and rotating the meat:
- Don’t Flip Too Soon: Avoid flipping the meat too early. Let it cook for a few minutes on one side to allow a proper sear and caramelization to develop.
- Use the Right Tools: Invest in a good pair of long-handled tongs or a spatula to safely and effectively flip your meat. Avoid using a fork, as it can puncture the meat and release its juices.
- Flip Once: Preferably, flip the meat only once during the grilling process. This allows each side to develop a nice crust and retain its juiciness. Use your tongs to carefully flip the meat, ensuring it lands on a clean part of the grill grates.
- Rotate for Grill Marks: To create those coveted grill marks, rotate the meat 90 degrees halfway through cooking on each side. This technique produces an attractive crosshatch pattern and adds visual appeal to your BBQ.
- Account for Different Thicknesses: If you’re grilling different cuts of meat with varying thicknesses, you may need to adjust the cooking time for each piece. Thicker cuts require longer cooking times, while thinner cuts cook more quickly.
- Avoid Constant Poking and Pressing: Resist the temptation to constantly poke or press down on the meat while grilling. This only releases its flavorful juices and can result in a dry end product.
By following these flipping and rotating techniques, you’ll achieve an evenly cooked and visually appealing BBQ. Remember to adjust cooking times based on the thickness of the meat and use your judgement to determine the desired level of doneness. In the next section, we’ll cover the important step of applying BBQ sauce to enhance the flavor of your grilled masterpiece.
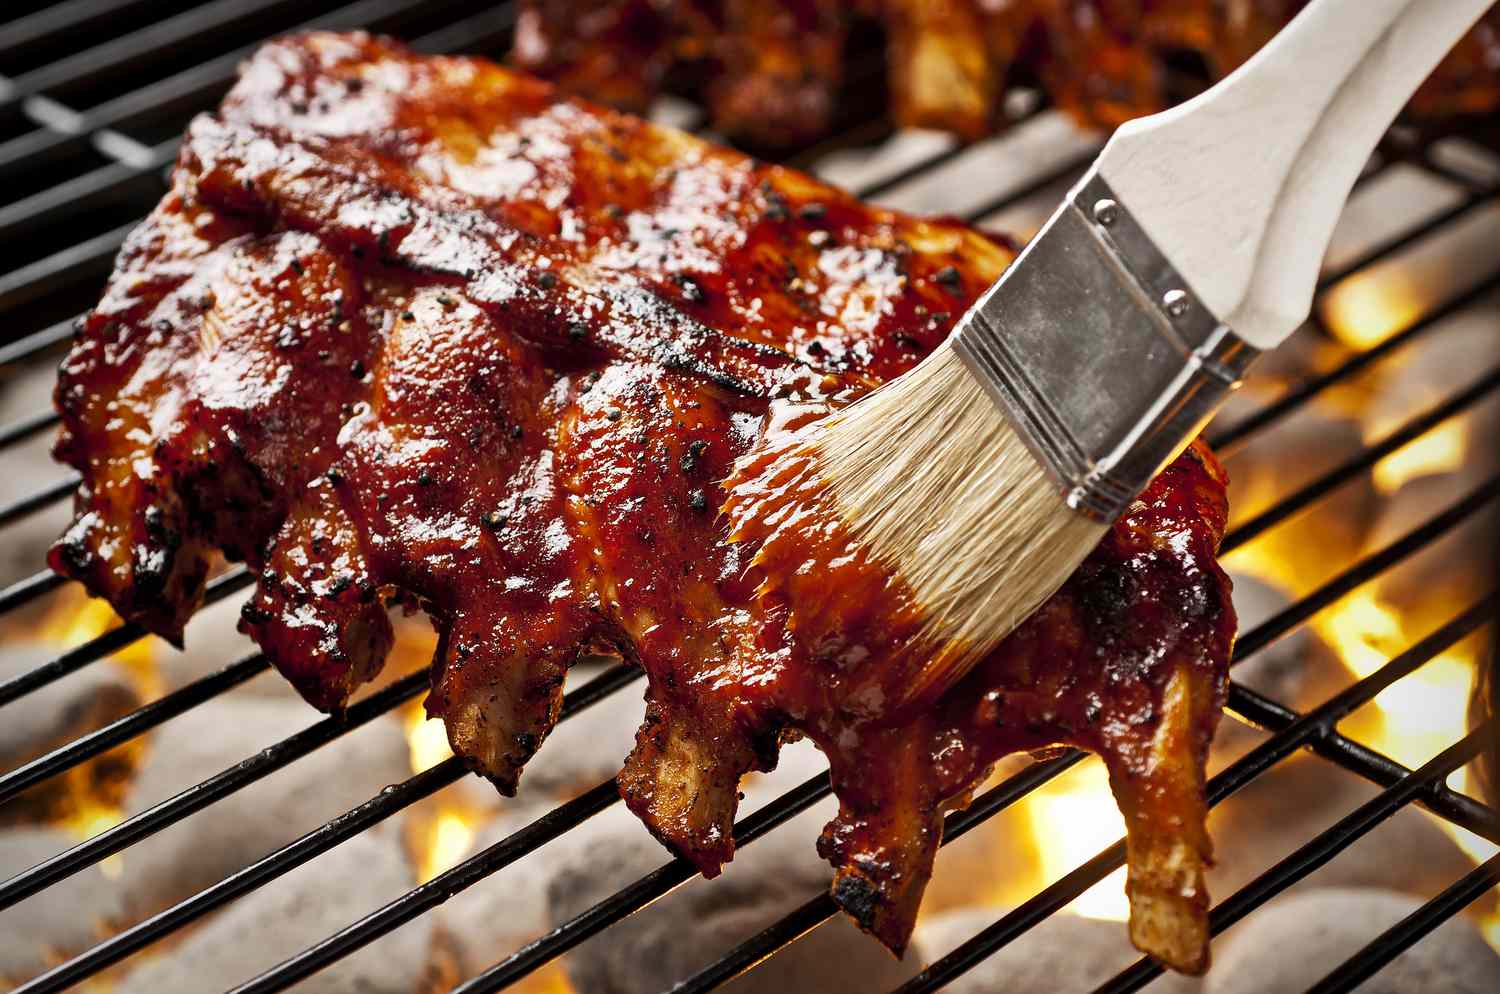
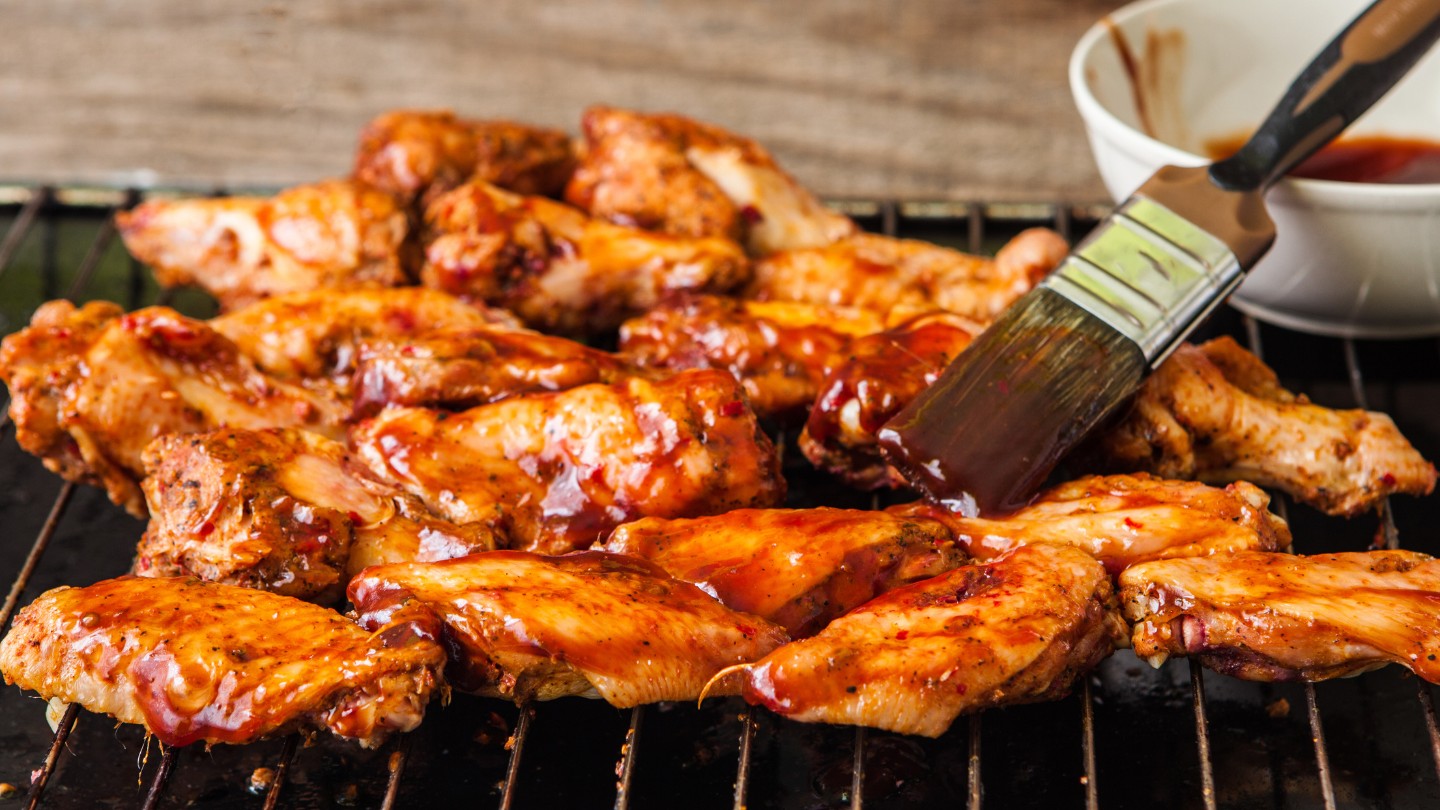
Applying BBQ Sauce
Applying BBQ sauce is the final step to elevate the flavor and add a signature touch to your grilled masterpiece. Whether you prefer a tangy, sweet, smoky, or spicy sauce, the key is to apply it strategically to enhance the taste without overpowering the natural flavors of the meat. Here’s how to apply BBQ sauce effectively:
- Timing: Apply the BBQ sauce during the last few minutes of cooking. The heat from the grill will help caramelize the sugars in the sauce, creating a delicious glaze. Applying the sauce too early can result in burning or charring.
- Brush or Dip: Use a brush or basting mop to evenly coat the meat with the BBQ sauce, ensuring that all sides are coated. Alternatively, you can serve the sauce on the side for dipping, allowing each person to customize their preferred level of sauciness.
- Multiple Layers: Apply multiple layers of BBQ sauce if desired. Allow each layer to set and slightly thicken on the meat before applying the next coat. This builds up flavor and creates a rich, sticky glaze.
- Refrigerate Leftover Sauce: If you have leftover BBQ sauce that has come into contact with raw meat, remember to refrigerate it and discard it after use. This prevents the potential risk of cross-contamination.
- Experiment with Flavors: Don’t be afraid to experiment with different BBQ sauce flavors or even create your own. From classic tomato-based sauces to tangy mustard-based and fruity glazes, there are endless flavor combinations to explore and find your personal favorite.
Applying the BBQ sauce is your chance to add that final layer of flavor and customize your BBQ to suit your taste preferences. Remember, a little sauce goes a long way, so apply it judiciously to let the meat shine. In the next section, we’ll discuss the importance of letting the meat rest before serving.
Read more: How Much BBQ Meat Per Person
Letting the Meat Rest
After taking the time and effort to grill the perfect BBQ, it’s important to let the meat rest before serving. While it may be tempting to dive right into your creation, allowing the meat to rest helps to retain its juiciness and enhances the overall dining experience. Here’s why letting the meat rest is crucial:
- Retains Juices: When meat is cooked, the juices move towards the center. Allowing the meat to rest for 5 to 10 minutes after grilling allows the juices to redistribute throughout the meat, resulting in a moist and tender mouthful with every bite.
- Tenderization: Resting the meat allows the proteins in the meat to relax and become more tender. This makes it easier to carve and results in a more enjoyable texture.
- Carryover Cooking: Resting the meat helps to even out the cooking process. The residual heat continues to cook the meat slightly during the resting time, ensuring that it reaches the desired level of doneness without overcooking.
- Improved Flavor: Resting allows the flavors to meld together and intensify. The meat will be more flavorful, and the nuances of the marinade, seasonings, and BBQ sauce will be more pronounced.
- Tent with Foil: To keep the meat warm while it rests, lightly tent it with foil. This retains heat without steaming the meat, allowing it to stay at a perfect temperature until ready to serve.
Be patient and resist the urge to cut into your grilled meat immediately. The short resting period will greatly enhance the dining experience, resulting in a juicy, tender, and flavorful BBQ that will impress your guests or satisfy your own taste buds. In the final section, we’ll discuss the joy of serving and enjoying your BBQ creation.
Serving and Enjoying the BBQ
After all the preparation, grilling, and resting, it’s time to present your BBQ creation and indulge in the flavors you’ve worked so hard to achieve. Properly serving and enjoying your BBQ ensures that everyone gets the most out of the culinary experience. Here are some tips for serving and savoring your BBQ:
- Carving and Presentation: Use a sharp knife to carve the meat into serving portions. Arrange the meat on a platter for an inviting and visually appealing presentation. Garnish with fresh herbs or a sprinkle of spice to add an extra touch of elegance.
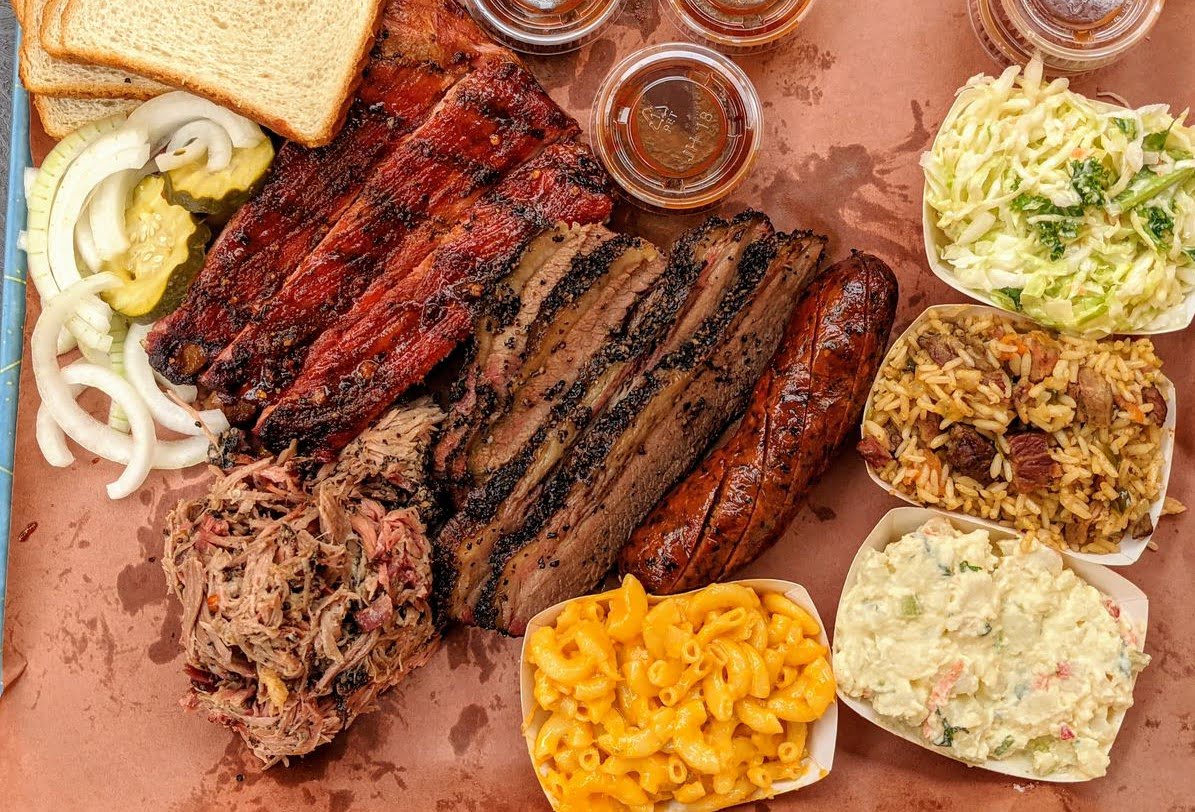
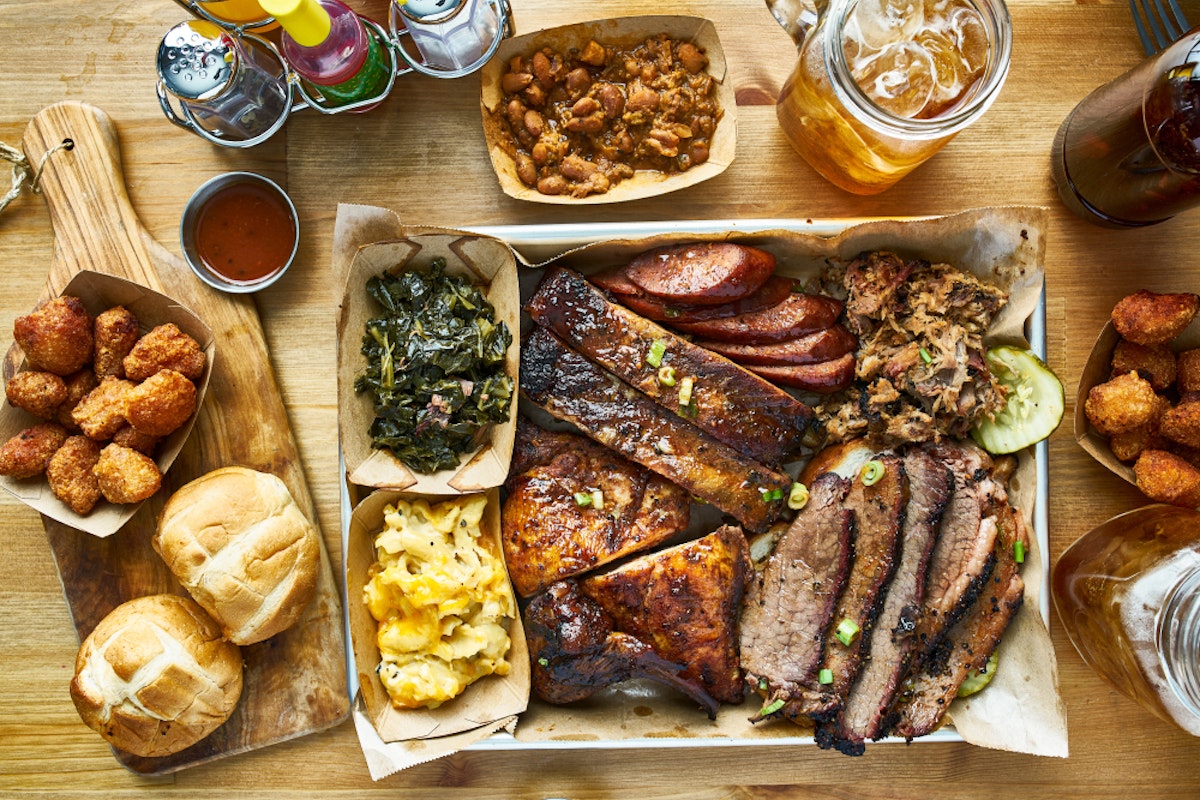
- Side Dishes and Accompaniments: Pair your BBQ with delicious side dishes and accompaniments. Traditional options like coleslaw, cornbread, baked beans, or grilled vegetables complement the rich flavors of the meat. Don’t forget to offer condiments and sauces on the side for additional flavor enhancements.
- Family-Style or Individual Plates: Depending on the occasion and your serving preferences, consider serving the BBQ family-style on a large platter for everyone to help themselves or plate individual servings for a more formal dining experience.
- Savor the Moment: Take a moment to appreciate the aroma, flavors, and textures of your BBQ creation. Enjoy the company of your loved ones, savor each bite, and engage in lively conversations around the table.
- Experiment and Have Fun: BBQ is an art, and there’s no right or wrong way to enjoy it. Feel free to experiment with different sauces, spices, and side dishes. Make it a fun and creative experience that reflects your personal taste and culinary preferences.
Remember, BBQ is about more than just the food. It’s a social experience that brings people together. So, gather your friends, family, or loved ones, share the joy of a delicious BBQ meal, and create memories that will last a lifetime.
With these comprehensive tips and techniques, you’re well-equipped to embark on your BBQ journey and create mouthwatering grilled masterpieces. So fire up the grill, embrace your inner grilling enthusiast, and let the magic of BBQ unfold!
Conclusion
Congratulations! You’ve now learned the key steps and techniques to make a delicious and satisfying BBQ. From choosing the right grill to mastering grilling techniques and applying the perfect BBQ sauce, you have the knowledge to create mouthwatering grilled masterpieces that will impress your friends and family.
Remember, BBQ is a culinary adventure that allows you to unleash your creativity and explore different flavors. Don’t be afraid to experiment with different marinades, seasonings, and sauces to create your own unique BBQ creations. The more you practice and refine your skills, the more confident and precise you’ll become in achieving the perfect grill marks, tenderness, and flavor.
Moreover, BBQ is not just about the end result—it’s about the entire experience. Enjoy the process of preparing the ingredients, marinating the meat, and grilling it to perfection. Take the time to savor the flavors, share the meal with loved ones, and create lasting memories around the grill.
So, fire up the grill, breathe in the tantalizing aroma, and let the sizzle of the meat ignite your culinary passion. With your newfound knowledge and skills, you’re ready to embark on a BBQ journey that will bring joy, satisfaction, and deliciousness to your meals.
Now, go forth and become a BBQ master, impressing everyone with your mouthwatering grilled creations. Happy grilling!
Frequently Asked Questions about How To Make BBQ
Was this page helpful?
At Storables.com, we guarantee accurate and reliable information. Our content, validated by Expert Board Contributors, is crafted following stringent Editorial Policies. We're committed to providing you with well-researched, expert-backed insights for all your informational needs.


0 thoughts on “How To Make BBQ”