Home>Furniture>Outdoor Furniture>How To Smooth A Concrete Patio

Outdoor Furniture
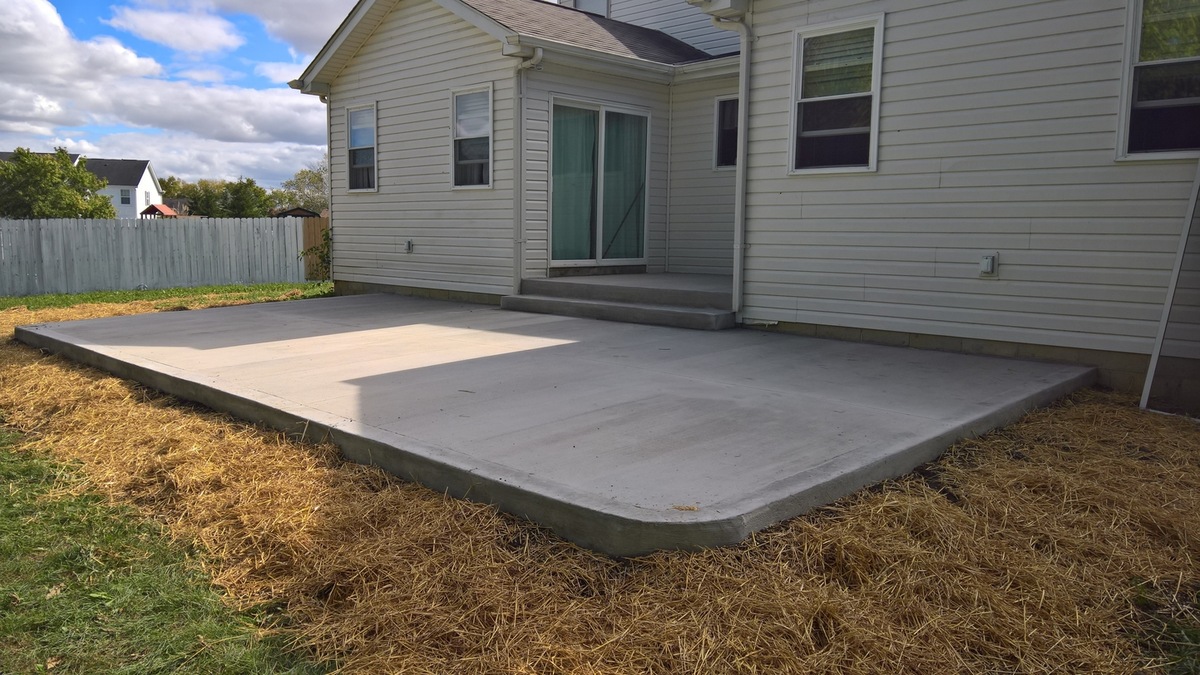
How To Smooth A Concrete Patio
Modified: August 27, 2024
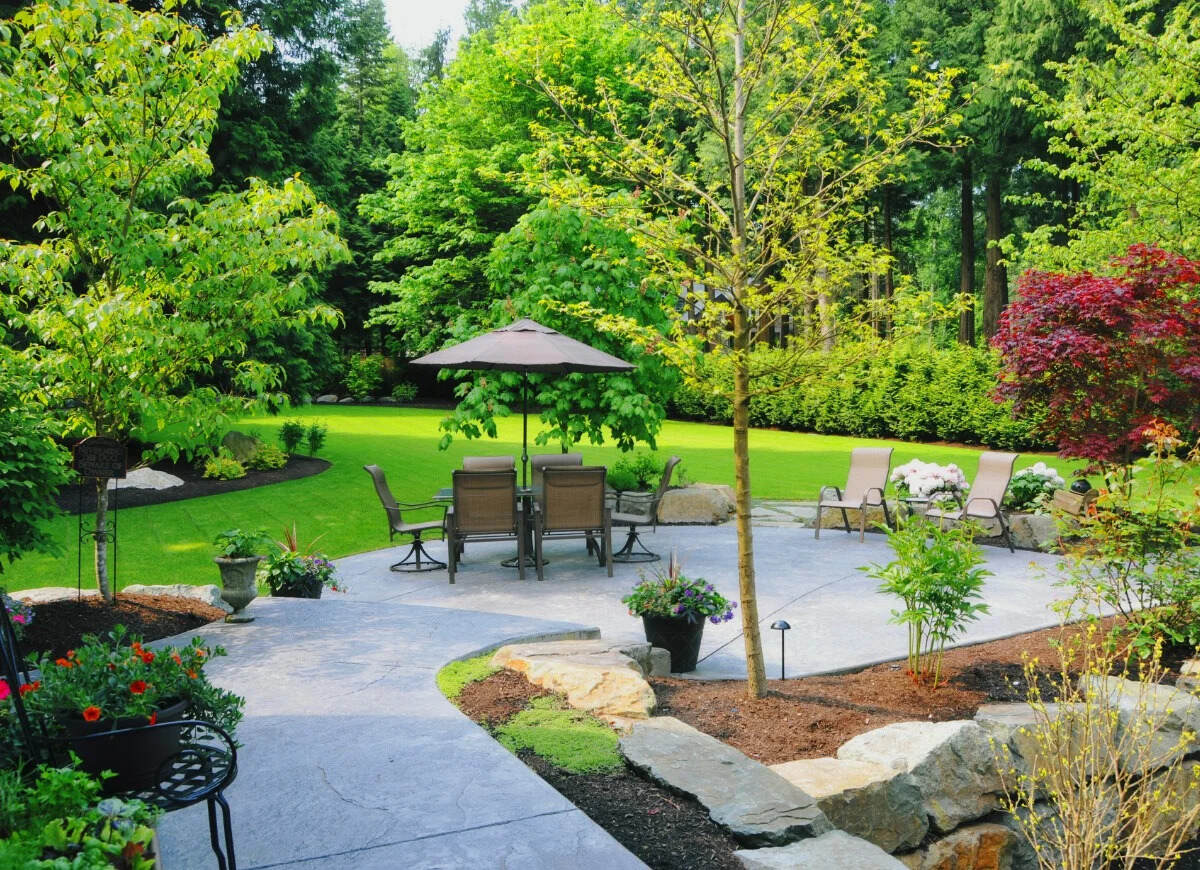
Transform your outdoor space with our guide on how to smooth a concrete patio. From cracks to rough surfaces, make your patio the perfect foundation for your outdoor furniture.
(Many of the links in this article redirect to a specific reviewed product. Your purchase of these products through affiliate links helps to generate commission for Storables.com, at no extra cost. Learn more)
Introduction
Welcome to our comprehensive guide on how to smooth a concrete patio. A concrete patio is a fantastic addition to any outdoor space, providing a durable and low-maintenance area for relaxing, entertaining, and enjoying the great outdoors. Over time, however, weather, wear and tear, and other factors can cause your patio to become uneven, cracked, or worn down. Fortunately, with the right tools, materials, and techniques, you can restore your concrete patio to its former glory and create a smooth and functional surface.
In this article, we will take you through the step-by-step process of smoothing a concrete patio, from preparing the surface to applying a concrete resurfacer and finishing techniques. Whether you’re an experienced DIYer or have little experience with home improvement projects, by following these instructions, you’ll be able to transform your patio and make it a beautiful and inviting outdoor space once again.
Before we dive into the details, let’s go over the tools and materials you’ll need for this project.
Key Takeaways:
- Transform your worn concrete patio into a beautiful outdoor space by following our step-by-step guide. Clean, fill, resurface, and smooth for a polished finish that will last for years to come.
- Don’t forget to allow your patio to cure fully and consider adding a concrete sealer for added protection. Add your personal touch with furniture, plants, and decorations to create a cozy retreat for relaxation and entertainment.
Read more: How To Smooth Concrete Countertops
Tools and Materials
Before you start smoothing your concrete patio, gather the following tools and materials:
- Pressure washer
- Concrete cleaner
- Concrete patching compound
- Trowel
- Concrete resurfacer
- Paint roller or brush
- Concrete finishing broom
- Bucket
- Water
- Protective gloves and goggles
- Dust mask
The pressure washer and concrete cleaner will help you remove dirt, debris, and stains from the patio surface. The concrete patching compound is used to fill any cracks or holes before applying the resurfacer. A trowel is essential for spreading the compound and resurfacer evenly. A paint roller or brush is needed for applying the resurfacer, while a concrete finishing broom will help create a textured surface. You will also need a bucket and water for mixing the resurfacer, and protective gloves, goggles, and a dust mask to ensure your safety during the process.
Make sure to gather all the necessary tools and materials before you begin, as it will save you time and ensure a smooth workflow.
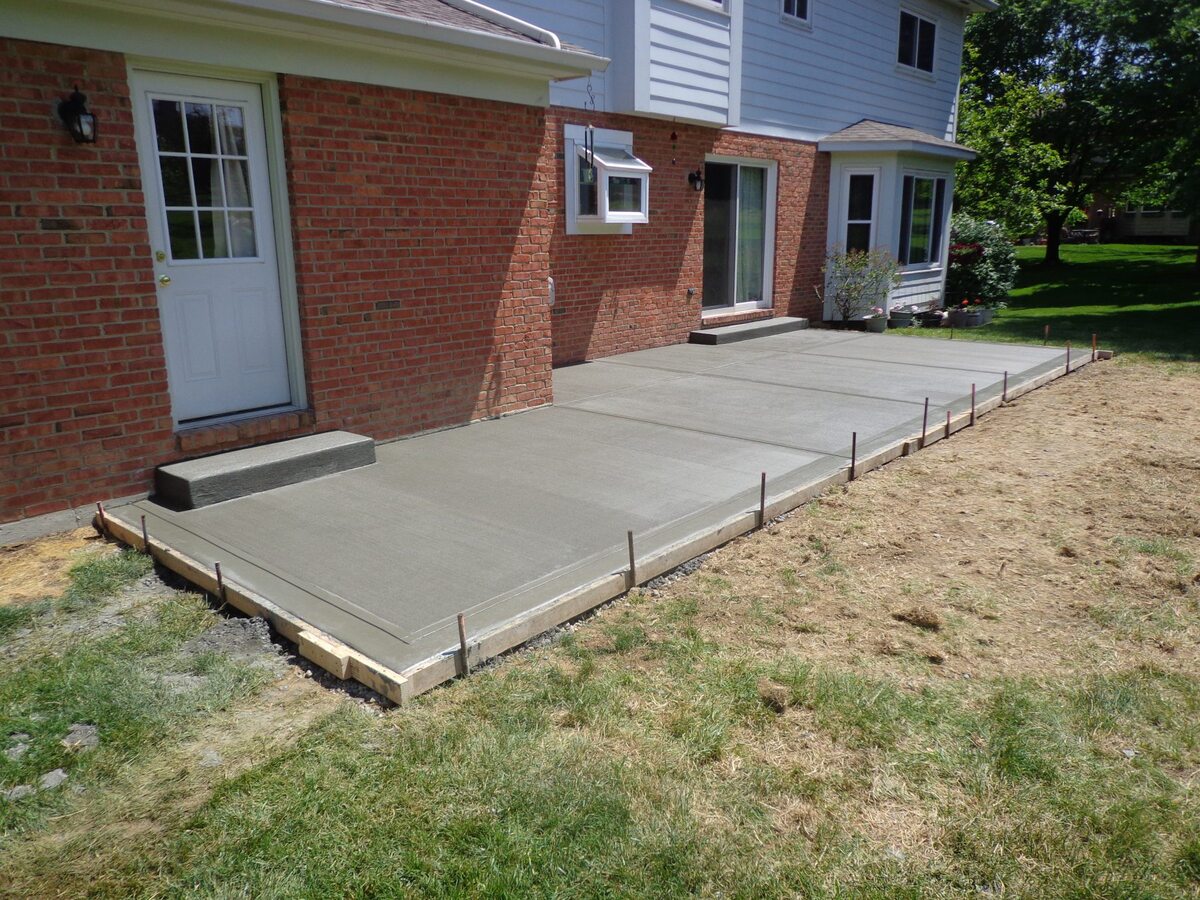
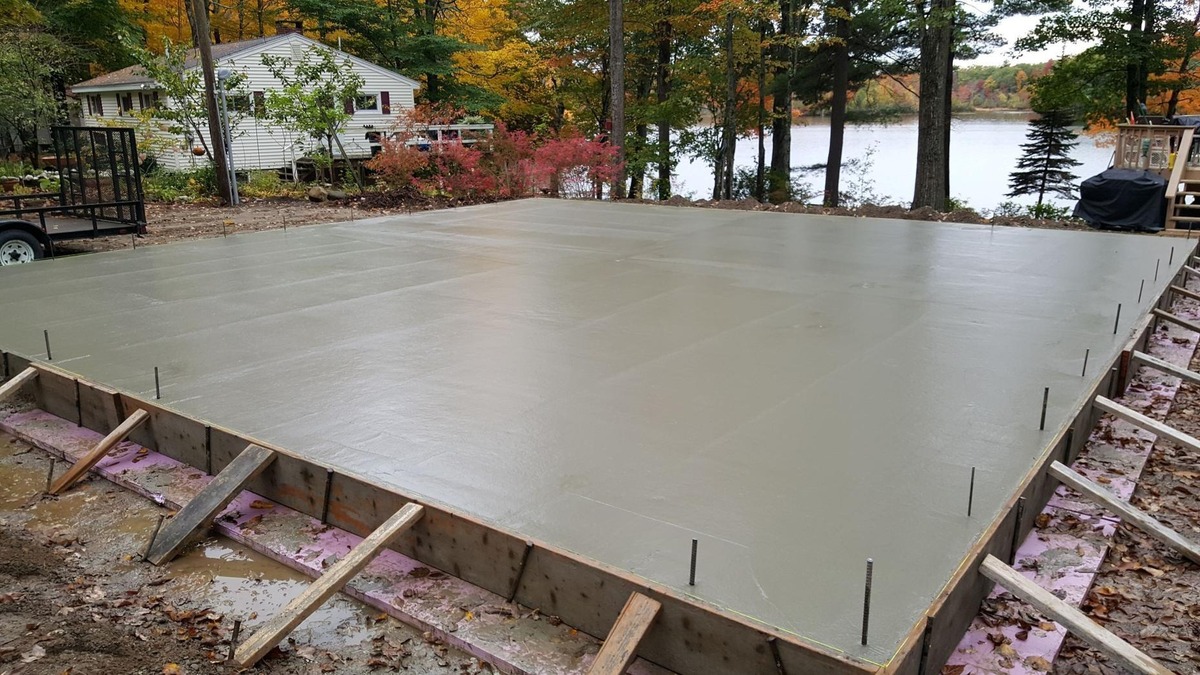
Preparing the Patio
Before you can begin smoothing your concrete patio, it’s important to properly prepare the surface. Follow these steps to ensure a clean and debris-free work area:
- Clean the patio: Start by removing any furniture, plants, or decorations from the patio. Sweep the surface to remove loose dirt and debris.
- Pressure wash the patio: Use a pressure washer to thoroughly clean the surface of the patio. This will remove deep-seated dirt, grime, and stains. Follow the manufacturer’s instructions for operating the pressure washer and be sure to wear protective goggles and gloves.
- Apply a concrete cleaner: After pressure washing, apply a concrete cleaner to the patio surface. Follow the manufacturer’s instructions for the specific cleaner you are using. Use a stiff-bristle brush or broom to scrub the cleaner into the concrete. Rinse off the cleaner with water and allow the surface to dry completely.
Preparing the patio by cleaning it thoroughly will ensure better adhesion of the concrete resurfacer and a smoother, more durable finish. Take your time during this step to achieve the best results.
Cleaning the Surface
Once you have prepared the patio by removing furniture and plants and pressure washing the surface, it’s time to focus on cleaning the surface more deeply. The goal is to remove any remaining dirt, grime, or stains that could affect the adhesion of the concrete resurfacer. Follow these steps to clean the surface effectively:
- Inspect the patio: Take a close look at the patio surface and identify any stubborn stains or areas of heavy dirt buildup. These areas may require extra attention during the cleaning process.
- Use a concrete cleaner: Apply a concrete cleaner directly to the stained or dirty areas of the patio. Follow the manufacturer’s instructions on the cleaner’s packaging. Use a stiff brush or broom to scrub the cleaner into the concrete, focusing on the targeted areas.
- Rinse the patio: Once you have scrubbed the cleaner into the surface, rinse the entire patio thoroughly with a hose or pressure washer. Ensure that all traces of the cleaner are removed from the surface. This step is crucial to ensure the proper bonding of the resurfacer.
- Allow the patio to dry: After rinsing, give the patio enough time to dry completely. Drying times will vary depending on weather conditions. It is important to have a completely dry surface before moving on to the next step.
Cleaning the surface thoroughly will provide a clean canvas for applying the concrete resurfacer. Take your time during this step to remove any remaining dirt or stains, as it will result in a smoother and more professional-looking finish.
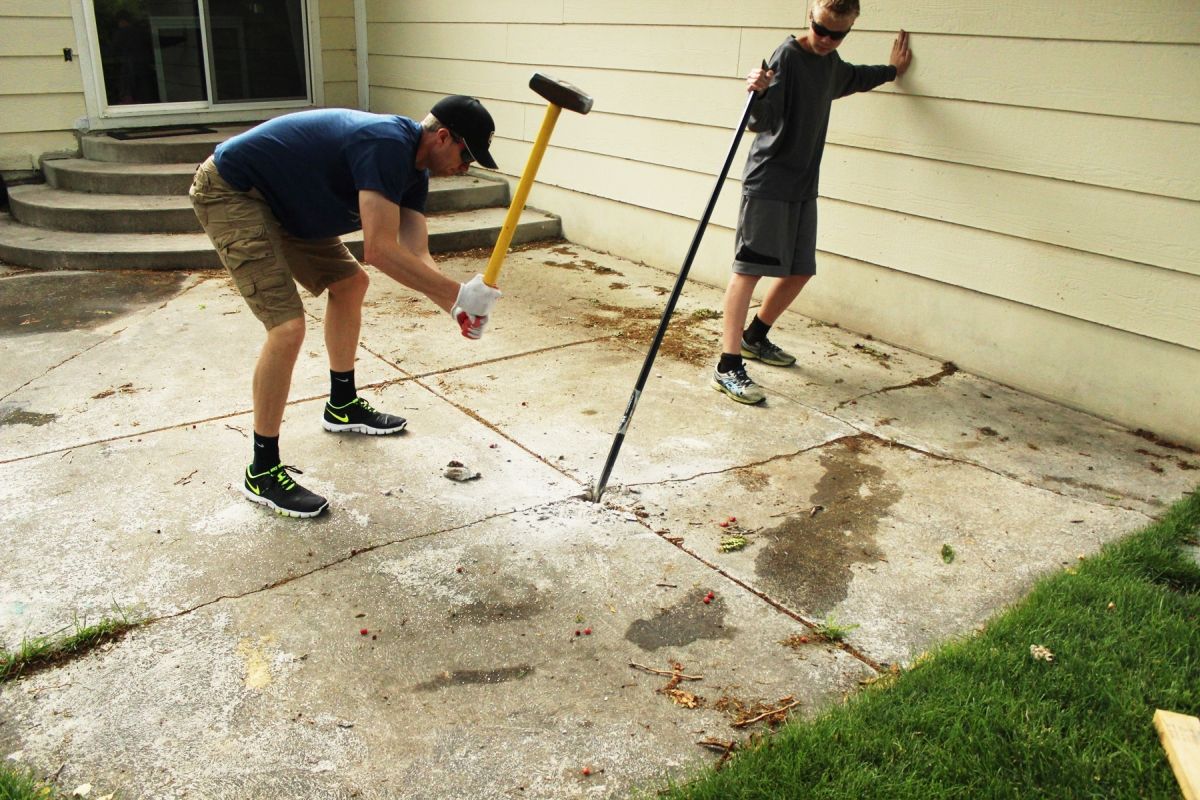
Filling Cracks and Holes
After cleaning the surface of the patio, it’s time to address any cracks or holes that may be present. Filling these imperfections is essential to create a smooth and even surface for the concrete resurfacer. Follow these steps to fill cracks and holes effectively:
- Inspect the patio: Carefully examine the entire patio surface and identify any cracks or holes that need to be filled. Cracks that are wider than ¼ inch (6.35 mm) should be filled with a concrete patching compound.
- Prepare the compound: Mix the concrete patching compound according to the manufacturer’s instructions. Typically, you will need to combine the compound with water in a bucket until you achieve a smooth and workable consistency.
- Apply the compound: Use a trowel to scoop up the prepared compound and fill the cracks or holes. Press the compound firmly into the crevices, ensuring that it fills the entire depth of the crack or hole. Smooth the surface of the compound with the trowel, making it level with the surrounding concrete.
- Allow the compound to dry: Follow the drying time specified by the manufacturer for the concrete patching compound. It may take several hours or even longer for the compound to fully cure.
- Sand the filled areas (optional): If desired, you can lightly sand the filled areas to ensure a seamless transition between the patched areas and the rest of the patio surface.
Filling cracks and holes will prevent them from expanding or worsening over time and create a smoother surface for applying the concrete resurfacer. Take your time during this step to ensure that the compound is applied properly and allowed to cure thoroughly.
To smooth a concrete patio, start by cleaning the surface thoroughly. Then, use a concrete grinder or sander to remove any rough spots or imperfections. Finally, apply a concrete resurfacer to fill in any remaining cracks or uneven areas, and smooth it out with a trowel.
Read more: How To Level A Concrete Patio
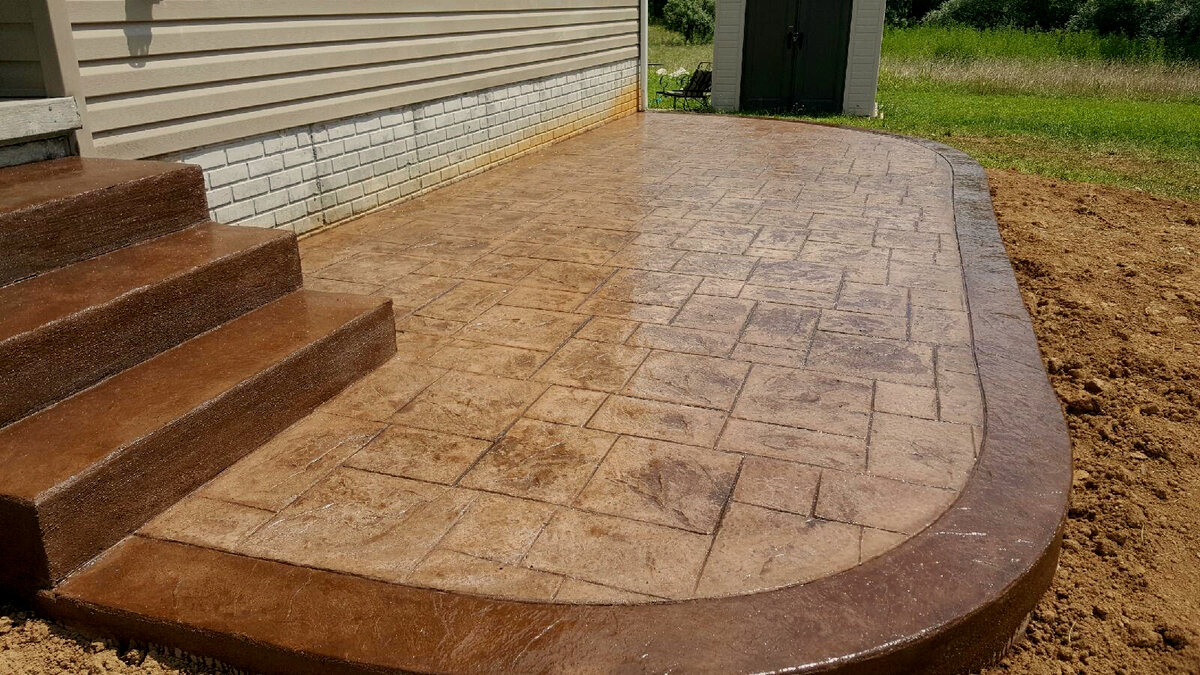
Applying Concrete Resurfacer
With the cracks and holes filled, it’s time to apply the concrete resurfacer to the patio surface. This material will help create a new, smooth layer that restores the appearance and functionality of your patio. Follow these steps to apply the concrete resurfacer effectively:
- Mix the resurfacer: Read the instructions provided by the manufacturer to determine the proper mixing ratio for the resurfacer. In a clean bucket, combine the resurfacer with water, following the recommended ratio. Use a drill with a mixing paddle attachment to create a smooth and even mixture.
- Start applying: Begin by moistening the patio surface with water. This helps the resurfacer bond properly. Then, pour a small amount of the resurfacer onto the patio and spread it evenly using a paint roller or brush. Work in small sections to ensure that the resurfacer does not dry out before you can smooth it.
- Spread and level: Use a trowel to spread the resurfacer over the section you poured. Push the resurfacer firmly into the cracks and smooth it over the surface, ensuring an even layer. Continue this process, working in small sections, until the entire patio is covered.
- Follow the texture preferences: The resurfacer can either dry with a smooth surface or be textured using a concrete finishing broom. If you prefer a textured finish, wait until the resurfacer has hardened slightly but is still workable, and then gently drag the broom across the surface to create the desired texture.
- Allow it to cure: Follow the manufacturer’s instructions on drying time. Typically, you will need to allow the resurfacer to cure for at least 24 hours before walking on it and 48-72 hours before placing furniture or heavy objects on it.
Applying the concrete resurfacer is a critical step in smoothinig your patio’s surface. Take your time and ensure an even application throughout the entire area. The resurfacer will provide a fresh and rejuvenated appearance to your concrete patio.
Smoothing the Surface
Once the concrete resurfacer has cured and hardened, it’s time to focus on smoothing the surface of your patio. This step is crucial to achieving a professional and polished finish. Follow these steps to smooth the surface effectively:
- Inspect the patio: Carefully examine the resurfaced patio surface and identify any imperfections or rough spots. These areas will need to be smoothed out to create an even and uniform surface.
- Use a concrete finishing broom: If you prefer a textured finish, gently drag a concrete finishing broom across the surface of the patio. This will create light grooves and texture, enhancing the slip resistance and visual appeal of the patio.
- Sand rough spots: For areas that need additional smoothing, use a handheld grinder or a sanding block with fine-grit sandpaper to gently remove any rough edges or bumps. Be careful not to apply too much pressure to avoid damaging the resurfaced surface.
- Clean the patio: After smoothing the surface, sweep away any dust or debris. Rinse the patio with water to remove any remaining residue from the sanding or grinding process. Allow the surface to dry completely before moving on to the next step.
Smoothing the surface of your concrete patio will result in a visually appealing and safe outdoor space. Take your time during this step to achieve a uniform and flawless finish.
Curing and Finishing
After smoothing the surface of your concrete patio, it’s important to focus on the final steps of the process: curing and finishing. These steps will ensure the longevity and durability of your patio. Follow these instructions to complete the project effectively:
- Curing time: Refer to the manufacturer’s instructions for the recommended curing time for the concrete resurfacer. Typically, you should allow the patio to cure undisturbed for at least 24 hours before walking on it, and 48-72 hours before placing furniture or heavy objects on it. Avoid exposing the patio to excessive moisture or temperature fluctuations during this time.
- Apply a sealer (optional): To enhance the longevity and prevent stains on your patio, applying a concrete sealer is recommended. Follow the manufacturer’s instructions for the specific sealer you have chosen. Typically, you will use a paint roller or brush to apply the sealer in even coats. Allow the sealer to dry completely before using the patio.
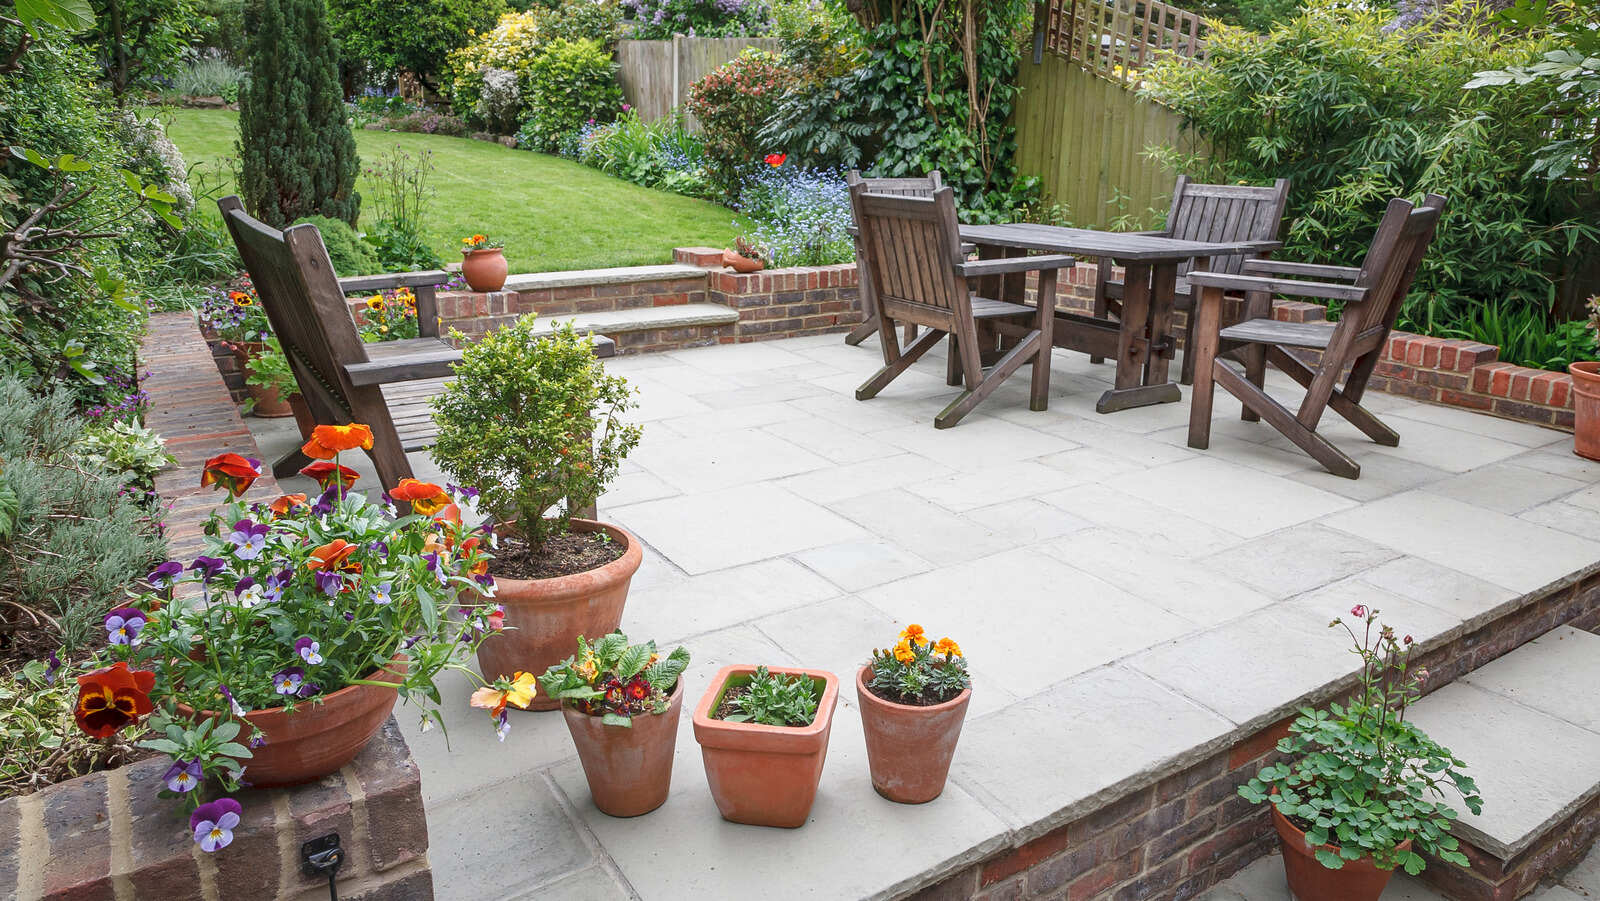
- Add finishing touches: Once the patio is fully cured, you can bring back the furniture, plants, and decorations. Consider adding some outdoor rugs or cushions to create a cozy and inviting space. Regularly clean and maintain your patio to keep it looking its best.
Curing the concrete patio and adding a sealer, if desired, are essential steps to protect the surface from wear and tear, weather conditions, and potential stains. The finishing touches will personalize and enhance the overall appearance of your outdoor space.
With these steps and careful attention to detail, you now have the knowledge and tools to successfully smooth a concrete patio. Enjoy your rejuvenated outdoor space and create lasting memories with family and friends.
Conclusion
Congratulations! You’ve reached the end of our comprehensive guide on how to smooth a concrete patio. By following the step-by-step instructions and utilizing the right tools and materials, you can transform your worn and uneven patio into a beautiful, functional, and inviting outdoor space.
Remember, preparation is key. Cleaning the surface thoroughly, filling cracks and holes, and applying a concrete resurfacer are essential steps to achieving a smooth and polished patio surface. Take your time during each phase of the process to ensure the best results.
Additionally, don’t forget to allow the patio to cure fully and consider adding a concrete sealer for added protection and longevity. These final steps will help your patio withstand the test of time and maintain its beauty for years to come.
Now that you’ve successfully smoothed your concrete patio, it’s time to add your personal touch. Bring back your furniture, plants, and decorations to create a welcoming ambiance. Consider adding outdoor rugs, cushions, and lighting to further enhance the space and make it a cozy retreat for relaxation and entertainment.
Regular maintenance and cleaning will keep your patio looking its best. Sweep away debris regularly and rinse off any spills or stains promptly. With proper care, your newly smoothed concrete patio will provide you with many enjoyable outdoor experiences.
We hope this guide has been helpful and inspiring. Enjoy your transformed patio and make the most of your outdoor living space!
Frequently Asked Questions about How To Smooth A Concrete Patio
Was this page helpful?
At Storables.com, we guarantee accurate and reliable information. Our content, validated by Expert Board Contributors, is crafted following stringent Editorial Policies. We're committed to providing you with well-researched, expert-backed insights for all your informational needs.


0 thoughts on “How To Smooth A Concrete Patio”