
Articles
How To Bake Brownies in An Electric Skillet
Modified: December 6, 2023
Discover the best articles on how to bake delicious brownies in an electric skillet. Find step-by-step instructions and expert tips for perfect results!
(Many of the links in this article redirect to a specific reviewed product. Your purchase of these products through affiliate links helps to generate commission for Storables.com, at no extra cost. Learn more)
Introduction
Welcome to the delicious world of brownies! If you’re a fan of this delectable dessert and happen to have an electric skillet at home, you’re in for a treat. Baking brownies in an electric skillet is a fantastic alternative to the traditional oven method, offering a unique twist to your baking experience.
Electric skillets provide even heat distribution, allowing your brownies to cook evenly and ensuring a moist and fudgy texture. Plus, it’s a convenient option if you don’t have access to an oven or simply want to try something different. In this article, we’ll walk you through the step-by-step process of baking brownies in an electric skillet, from preparing the skillet to serving up a delicious batch of homemade treats.
So, let’s dust off that electric skillet and get ready to create some mouthwatering brownies that will impress your family and friends!
Key Takeaways:
- Baking brownies in an electric skillet offers a convenient and unique twist to traditional oven baking, resulting in moist, fudgy, and evenly cooked treats. Get ready to impress with this delicious alternative!
- With even heat distribution and a few essential tools, baking brownies in an electric skillet is a smooth and enjoyable experience. From preparation to serving, create mouthwatering brownies with ease and delight.
Read more: How To Bake Pie In A Electric Skillet
Ingredients
Before diving into the baking process, let’s gather all the ingredients you’ll need to make your scrumptious electric skillet brownies:
- 1 cup of all-purpose flour
- 1/2 cup of unsweetened cocoa powder
- 1/4 teaspoon of salt
- 1 teaspoon of baking powder
- 1 cup of granulated sugar
- 1/2 cup of unsalted butter, melted
- 2 large eggs
- 1 teaspoon of vanilla extract
- 1/2 cup of chocolate chips (optional, for that extra indulgence)
These basic ingredients will result in a classic and delicious batch of brownies. However, feel free to add your own twist by incorporating nuts, caramel, or any other favorite mix-ins you prefer. The beauty of baking is that you can customize the recipe to suit your taste buds!
Equipment Needed
Baking brownies in an electric skillet requires a few essential tools. Make sure you have the following equipment ready before you begin:
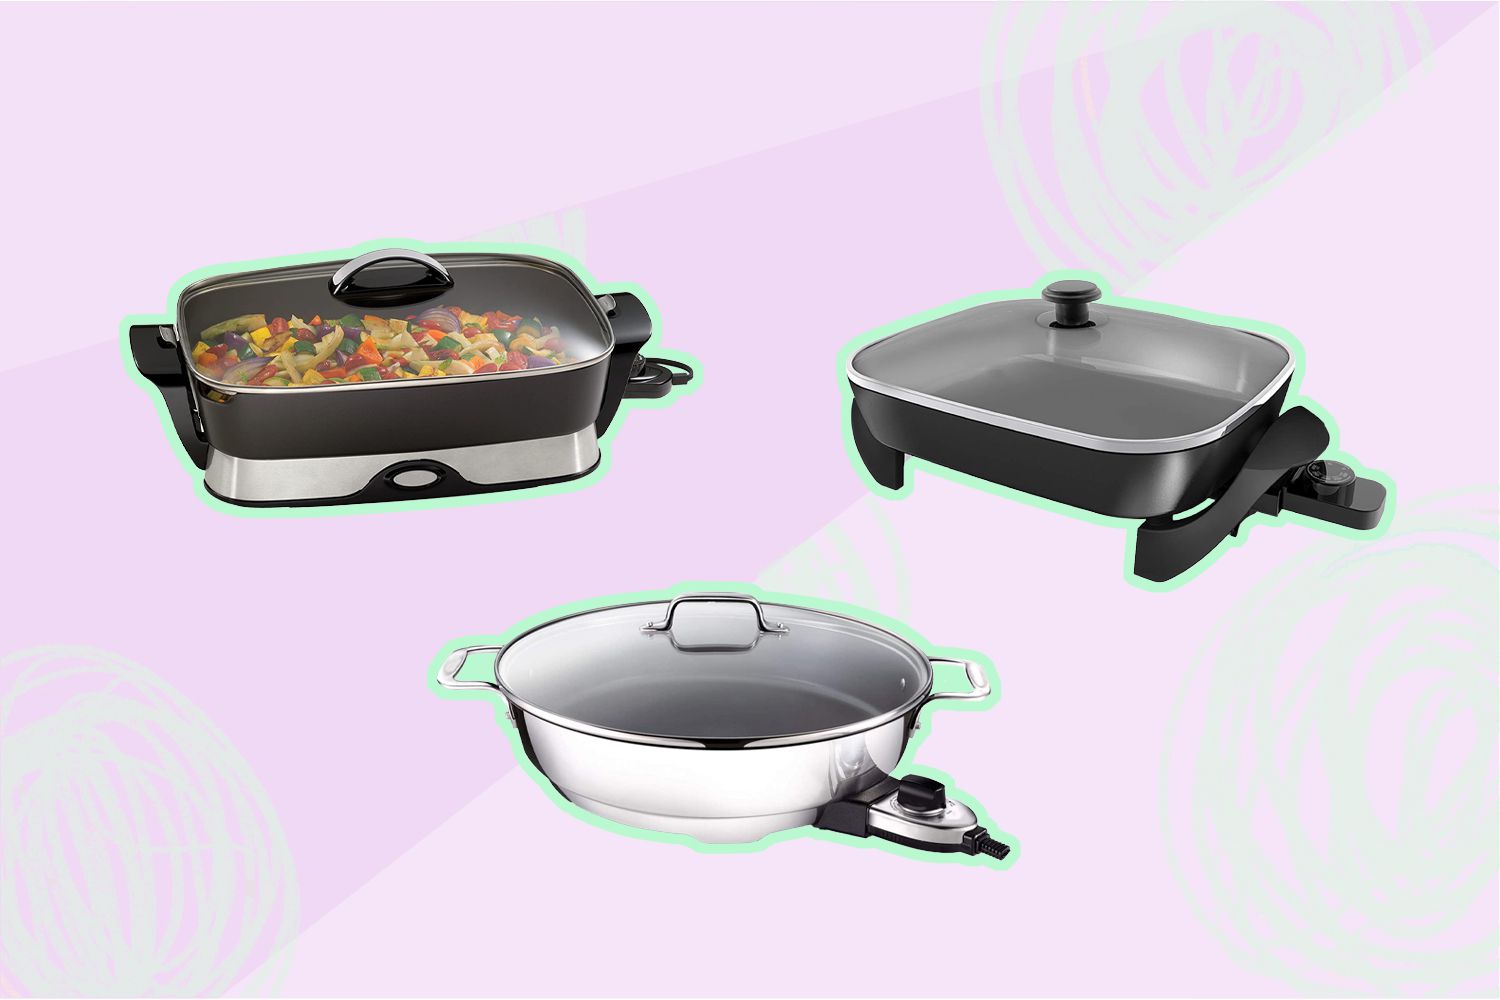
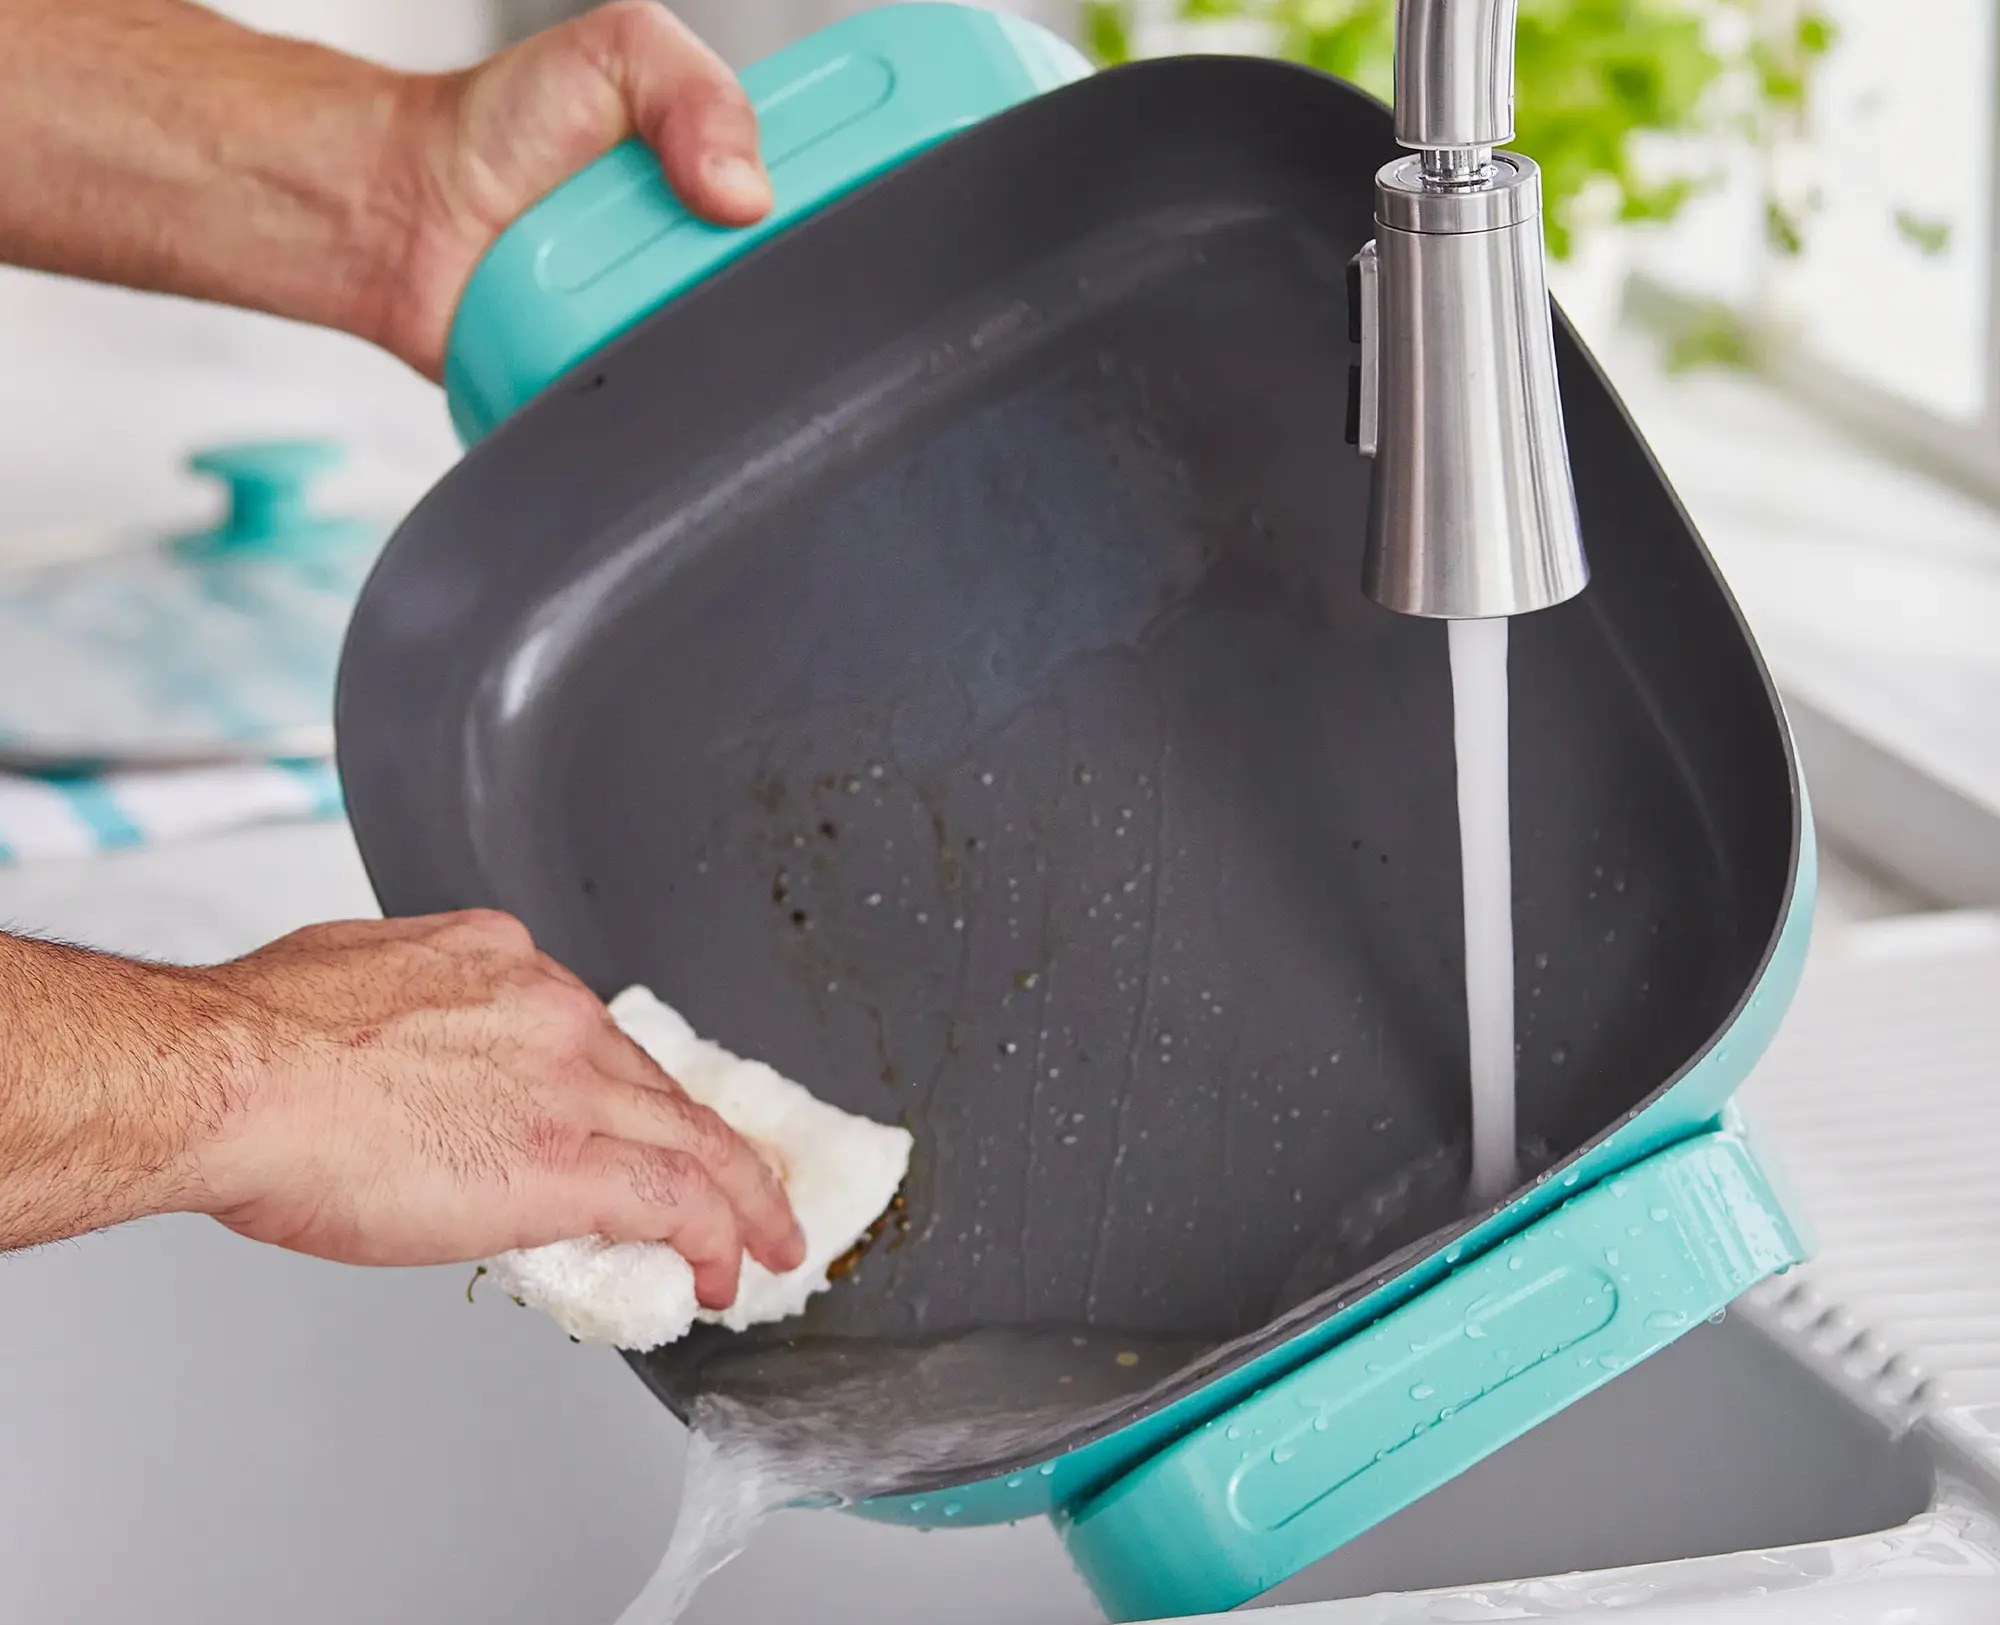
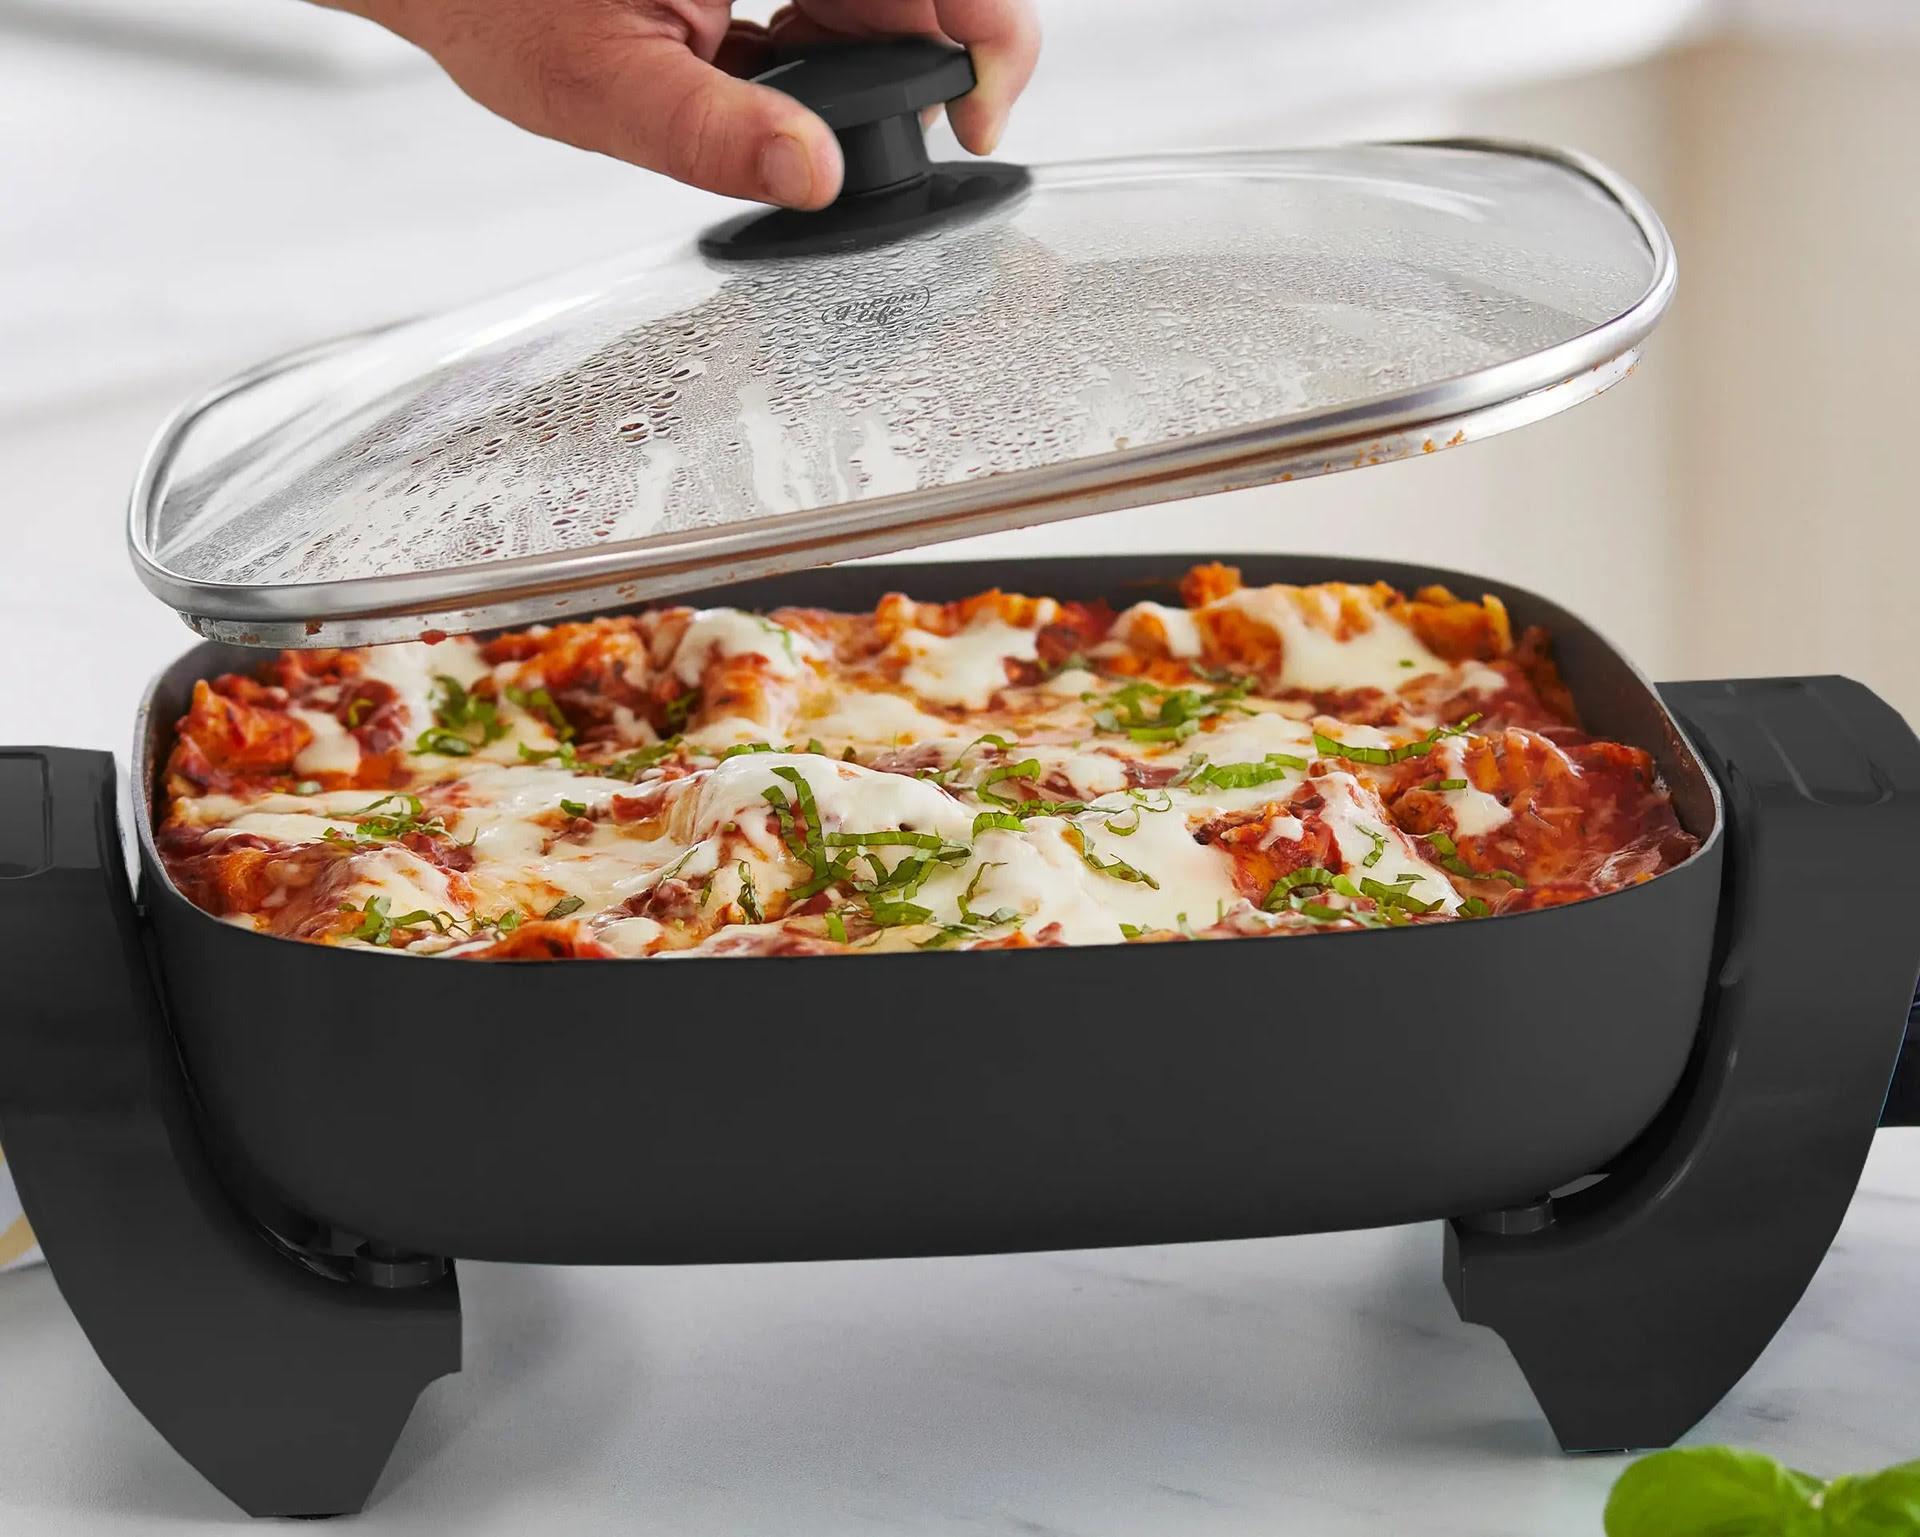
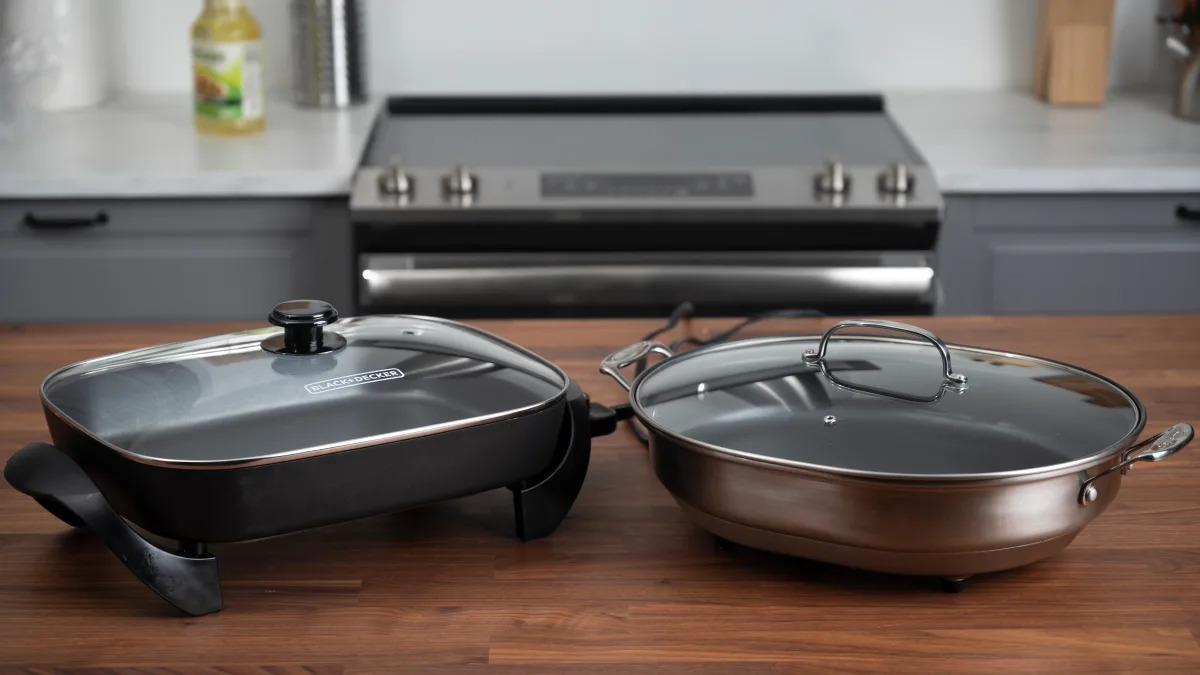
- Electric Skillet: You’ll need an electric skillet with a non-stick surface. Ideally, choose a skillet with a diameter of at least 10 inches to accommodate the brownie batter.
- Mixing Bowl: Use a large mixing bowl to combine the dry and wet ingredients.
- Whisk or Spatula: A whisk or spatula will help you mix the ingredients thoroughly.
- Measuring Cups and Spoons: Accurate measurements are crucial in baking, so make sure you have measuring cups and spoons on hand.
- Spatula or Knife: You’ll need a spatula or knife to cut and remove the brownies from the skillet.
- Oven Mitts: Electric skillets can get hot during the baking process, so protect your hands with oven mitts or heat-resistant gloves when handling the skillet.
Having these tools ready will ensure a smooth and enjoyable baking experience. Now that you have your ingredients and equipment prepared, it’s time to move on to preparing your electric skillet for baking!
Preparing the Electric Skillet
Before you start baking your brownies, it’s essential to prepare the electric skillet for optimal cooking. Follow these steps to ensure a successful baking experience:
- Preheat the Skillet: Turn on your electric skillet and set the temperature to 350°F (175°C). Allow the skillet to preheat for about 5 minutes. This will ensure that it reaches the optimal temperature for baking.
- Grease the Skillet: Once the skillet is preheated, use a small amount of butter or cooking spray to lightly grease the surface. This will prevent the brownies from sticking to the skillet during baking.
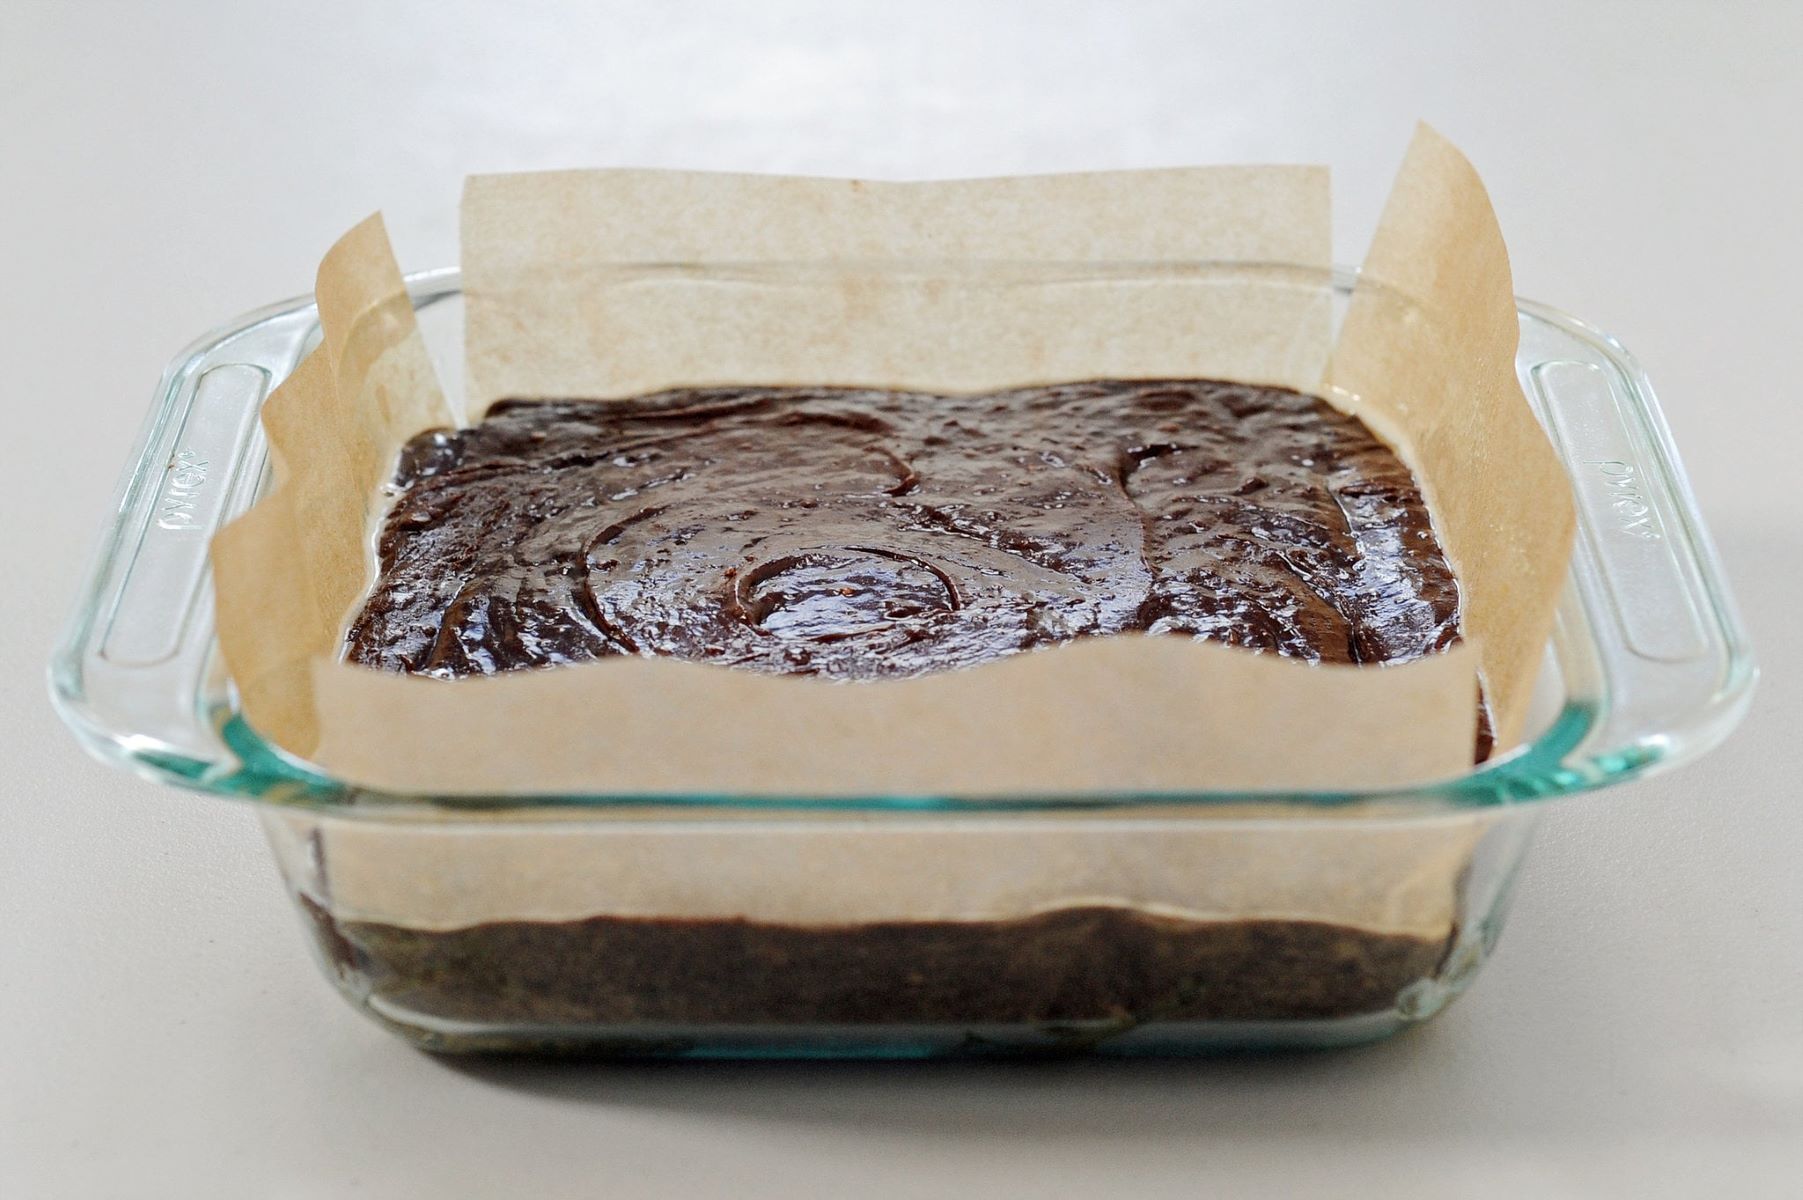
- Add a Lining (Optional): If you want to make it even easier to remove the brownies from the skillet later, you can line the bottom with parchment paper. Simply cut a piece of parchment paper to fit the bottom of the skillet, ensuring it covers the entire surface.
By preheating and greasing the skillet, you’re setting the stage for perfectly baked brownies. Now, let’s move on to mixing the brownie batter!
Mixing the Batter
Now that your electric skillet is prepped and ready, it’s time to mix the brownie batter. Follow these steps to achieve a smooth and delicious batter:
- Sieve the Dry Ingredients: In a large mixing bowl, sift together the all-purpose flour, unsweetened cocoa powder, salt, and baking powder. This step will help remove any lumps and ensure a smooth texture.
- Combine the Wet Ingredients: In a separate bowl, whisk together the granulated sugar, melted butter, eggs, and vanilla extract until well combined. Make sure the sugar is fully dissolved.
- Combine the Dry and Wet Ingredients: Gradually add the dry ingredients to the bowl of wet ingredients. Stir well until all the ingredients are fully combined and no lumps remain. Avoid overmixing as it can result in tough brownies.
- Add Chocolate Chips (Optional): For an extra touch of indulgence, fold in the chocolate chips into the batter. They will melt slightly during baking, creating pockets of gooey chocolate in the brownies.
Once the batter is mixed, it’s time to transfer it to the preheated and greased electric skillet. The aroma of freshly baked brownies will soon fill your kitchen!
To ensure even cooking, preheat the electric skillet before pouring in the brownie batter. This will help the brownies cook more evenly and prevent any hot spots.
Read more: How To Bake Using An Electric Skillet
Baking the Brownies
With the batter prepared, it’s time to bake the brownies in your electric skillet. Follow these steps to achieve gooey, chocolatey perfection:
- Transfer the Batter to the Skillet: Carefully pour the brownie batter into the preheated and greased electric skillet. Use a spatula or the back of a spoon to spread the batter evenly, ensuring it reaches all corners of the skillet.
- Cover and Bake: Place the lid on the skillet to trap the heat and moisture. Allow the brownies to bake for approximately 25-30 minutes, or until a toothpick inserted into the center comes out with a few moist crumbs. Avoid opening the lid frequently, as it can affect the baking process.
- Check for Doneness: After about 25 minutes of baking, start checking for doneness. The edges should be slightly firm, and the center should still be slightly gooey. Remember, brownies will continue to cook as they cool, so it’s better to slightly underbake them for that fudgy texture.
While the brownies are baking, your kitchen will be filled with an irresistible aroma. Try to resist the temptation to open the lid too frequently, as it can affect the baking process. Once they’re done, you’re in for a real treat!
Checking for Doneness
Checking for doneness is a crucial step in baking brownies to ensure that they are perfectly cooked. Here’s how you can determine if your brownies are ready:
- Toothpick Test: Insert a toothpick into the center of the brownies and gently pull it out. If it comes out with a few moist crumbs clinging to it, the brownies are done. If the toothpick comes out with wet batter, continue baking for a few more minutes.
- Firm Edges: Another sign of doneness is when the edges of the brownies appear firm and slightly pulled away from the sides of the skillet. The center may still be slightly soft, but it will set as the brownies cool.
- Jiggly Center: When you gently shake the skillet, the center of the brownies should jiggle slightly but not appear runny. This indicates that the brownies are cooked but still retain their fudgy texture.
Remember that the baking time may vary depending on the size and model of your electric skillet, so it’s important to rely on visual and texture cues rather than strictly following the suggested time. It’s always better to slightly underbake the brownies rather than overbake them for that moist and fudgy consistency.
Once you’re satisfied with the doneness of your brownies, it’s time to remove them from the skillet and get ready to indulge!
Removing the Brownies from the Skillet
Removing the brownies from the skillet requires a gentle touch to ensure they come out intact and ready to be devoured. Follow these steps to safely remove the brownies:
- Cooling Time: Once the brownies are done baking, remove the skillet from the heat and let them cool in the skillet for about 10-15 minutes. This cooling time allows the brownies to set and makes them easier to handle.
- Loosening the Edges: Take a thin spatula or a butter knife and gently run it along the edges of the skillet to loosen the brownies. This will make it easier to remove them without any breakage.
- Flip and Invert: Place a large cutting board or a flat plate on top of the skillet. With one hand firmly holding the skillet handle, and the other supporting the bottom of the skillet, carefully and quickly flip it over to release the brownies onto the cutting board or plate. If you lined the skillet with parchment paper, make sure to remove it before flipping.
- Final Invert: If you want to present the brownies with the top surface facing up, gently invert them once again onto another cutting board or serving platter. Alternatively, you can serve them directly from the first flip, with the bottom surface facing up.
Take your time while removing the brownies to ensure they come out in one piece. If you experience any resistance, gently shake or tap the skillet to encourage the brownies to release. Once they’re out of the skillet, it’s time to cut and serve these delectable treats!
Serving and Enjoying
Now that your brownies are beautifully baked and ready to be enjoyed, it’s time to serve them up! Follow these steps to make your brownie experience even more delightful:
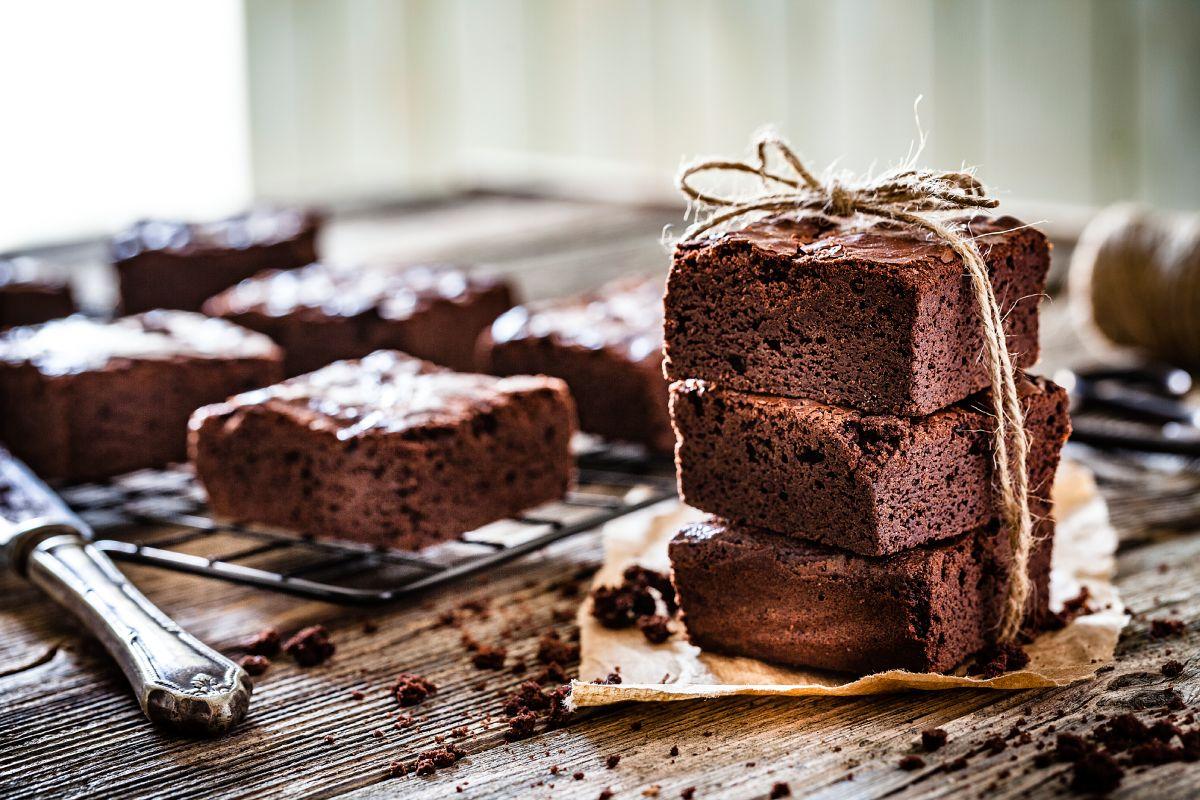
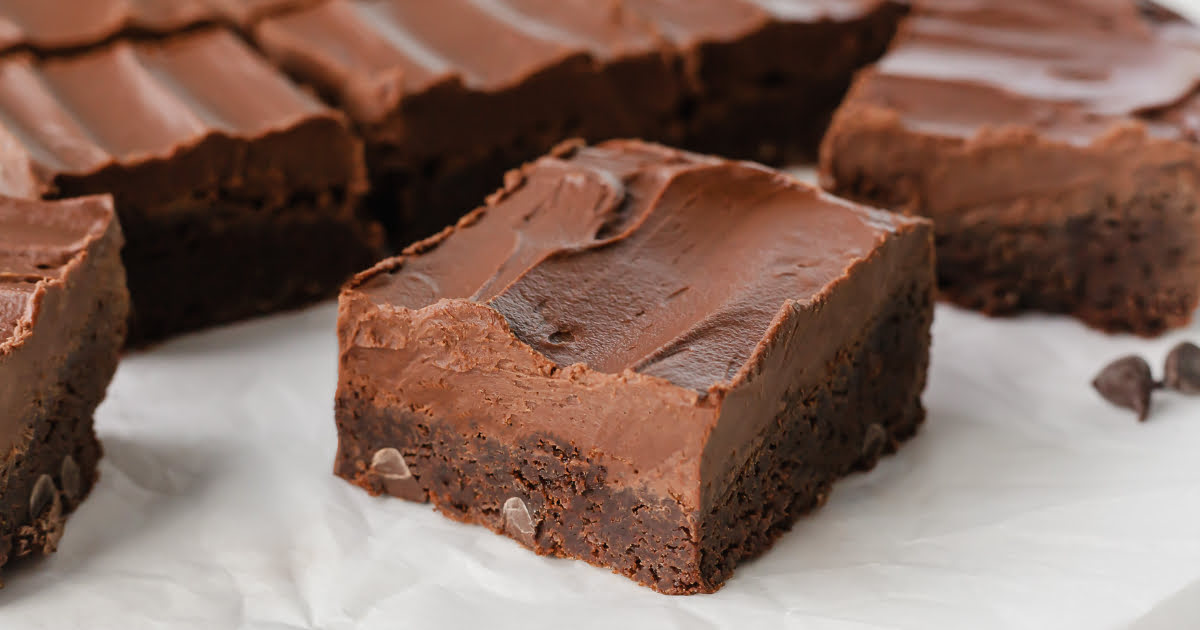
- Cutting the Brownies: Use a sharp knife to cut the brownies into squares or rectangles of your desired size. Wipe the knife clean between each cut to ensure clean edges.
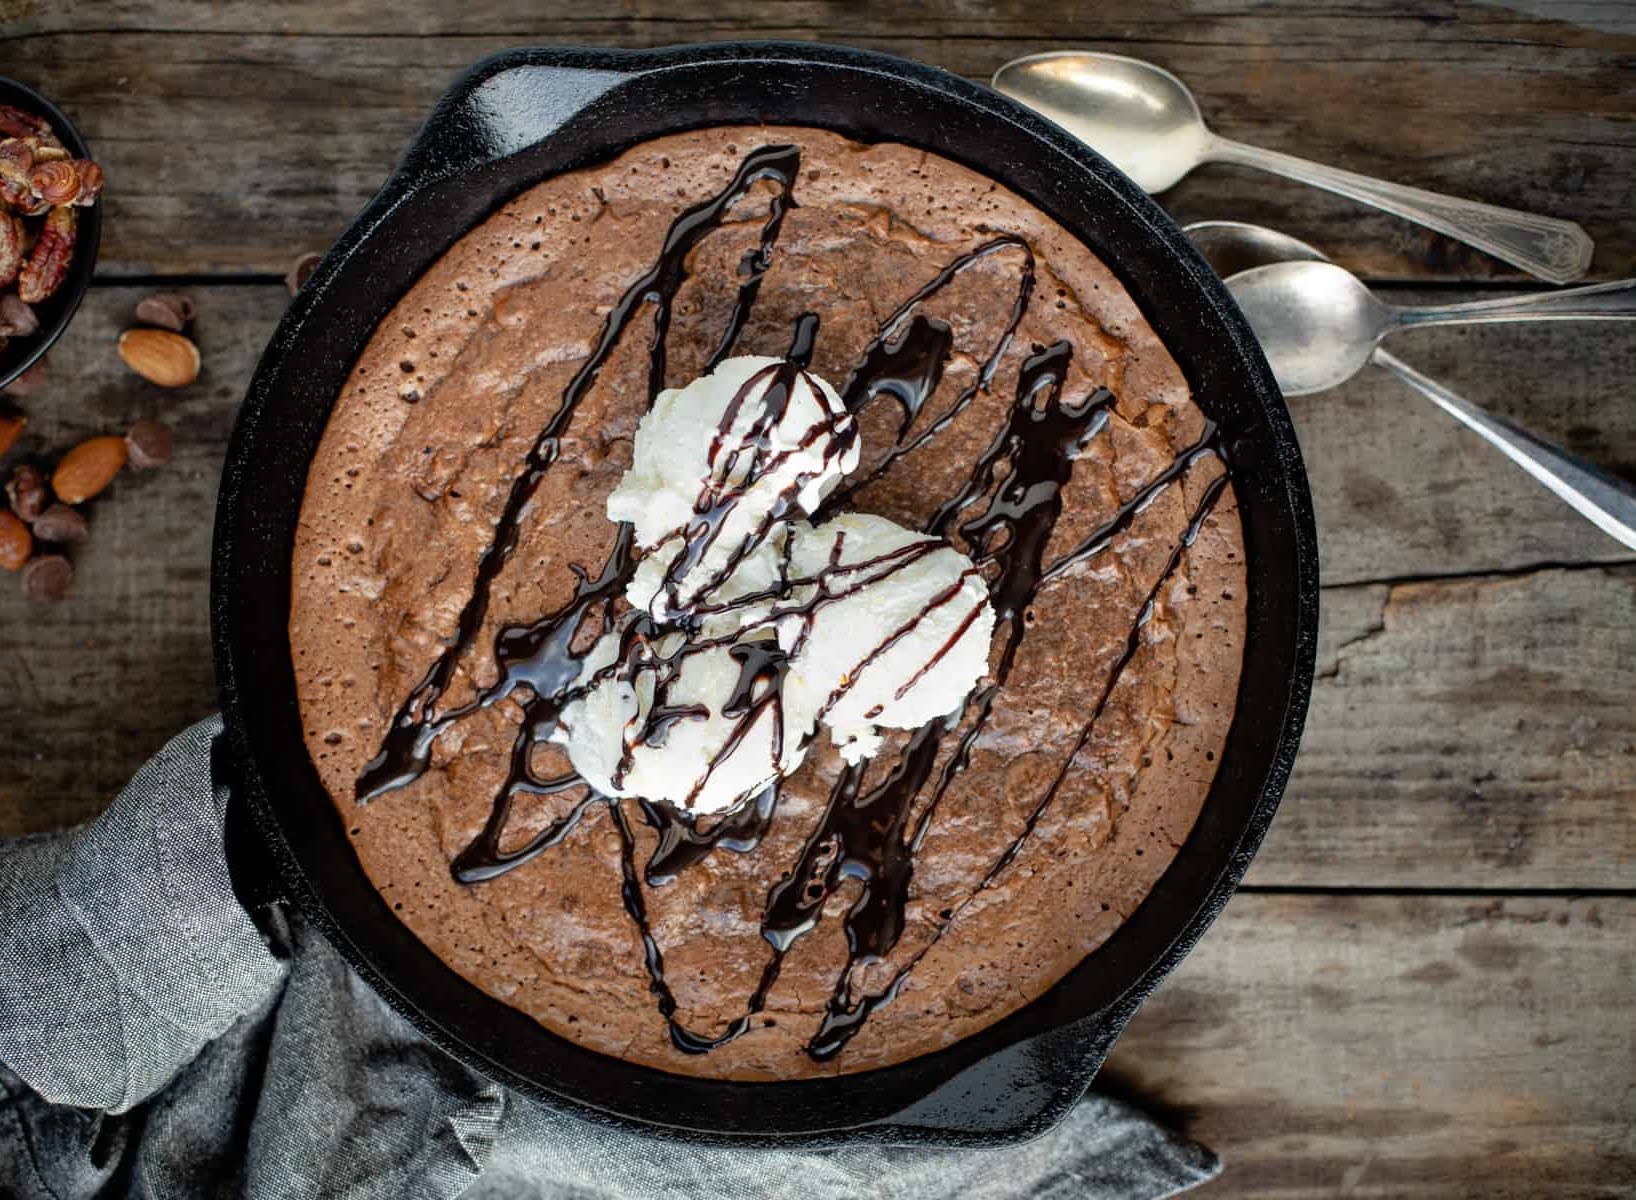
- Presentation: Arrange the brownie squares on a serving platter or individual plates. You can dust them with powdered sugar, drizzle them with chocolate sauce, or top them with a scoop of vanilla ice cream for an extra indulgent touch.
- Serving Suggestions: Brownies are a versatile dessert that can be enjoyed in various ways. Serve them warm for a gooey and melty treat, or allow them to cool completely for a firm and chewy texture. Pair them with a glass of milk, a cup of coffee, or your favorite ice cream flavor for a delightful combination.
- Storage: If you have any leftover brownies (though that may be a rare occurrence!), store them in an airtight container at room temperature for up to 3-4 days. You can also freeze them for longer storage, ensuring they’re properly wrapped to prevent freezer burn.
Whether you’re enjoying the brownies for a special occasion, sharing them with loved ones, or simply treating yourself to a sweet indulgence, take a moment to savor each bite. The rich chocolatey flavor and fudgy texture will surely satisfy your cravings.
So, go ahead and gather your friends and family to share these homemade electric skillet brownies. They’re guaranteed to be a crowd-pleaser and a delightful addition to any dessert table or gathering. Enjoy!
Frequently Asked Questions about How To Bake Brownies In An Electric Skillet
Was this page helpful?
At Storables.com, we guarantee accurate and reliable information. Our content, validated by Expert Board Contributors, is crafted following stringent Editorial Policies. We're committed to providing you with well-researched, expert-backed insights for all your informational needs.



0 thoughts on “How To Bake Brownies in An Electric Skillet”