Articles
How To Bake Pie In A Electric Skillet
Modified: August 20, 2024
Learn how to bake delicious pies in a convenient electric skillet with these helpful articles. Discover tips, techniques, and recipes for perfect homemade pies.
(Many of the links in this article redirect to a specific reviewed product. Your purchase of these products through affiliate links helps to generate commission for Storables.com, at no extra cost. Learn more)
Introduction
Welcome to the world of electric skillet baking! Baking a delicious pie in an electric skillet may not be the most traditional approach, but it can certainly produce fantastic results. Whether you have a small kitchen with limited oven space or simply want to try a new cooking method, using an electric skillet for pie baking can be a game changer.
In this article, we will guide you through the process of baking a homemade pie using an electric skillet. From choosing the right skillet to preparing the pie crust and filling, we’ll cover all the essential steps to achieve a perfectly delectable pie.
Why an electric skillet, you may ask? An electric skillet offers precise temperature control, even heat distribution, and the ability to adjust settings easily. These features make it an excellent alternative to a conventional oven for baking pies. Plus, it’s a versatile kitchen appliance that can be used for various cooking methods, making it a worthwhile investment for any home cook.
Now, let’s dive into the world of electric skillet pie baking and discover how to create sweet, flaky, and mouthwatering pies that will have your family and friends begging for more!
Key Takeaways:
- Embrace the versatility of electric skillet pie baking for delicious, flaky pies. Choose the right skillet, prepare the crust and filling, and enjoy the convenience and fantastic results of this unconventional method.
- Achieve perfectly baked pies with an electric skillet by mastering temperature control, proper preparation, and doneness indicators. Impress your guests with mouthwatering homemade desserts and enjoy the creative possibilities.
Read more: How To Bake Using An Electric Skillet
Choosing the Right Electric Skillet
When it comes to baking a pie in an electric skillet, selecting the right skillet is key to achieving optimal results. Here are a few factors to consider when choosing an electric skillet for your pie baking adventures:
- Size: Look for an electric skillet that is large enough to accommodate your pie dish. A skillet with a diameter of around 12 inches should be sufficient for most standard pie recipes. However, if you plan on baking larger pies or deep-dish pies, consider opting for a larger skillet.
- Nonstick Surface: It’s essential to choose an electric skillet with a nonstick cooking surface. This will prevent your pie crust from sticking to the bottom or sides of the skillet, making it easier to remove the pie once it’s baked.
- Temperature Control: Ensure that the electric skillet you choose offers precise temperature control. Pie baking generally requires a lower temperature compared to other cooking methods. Look for a skillet with temperature settings that go as low as 200°F (93°C) to allow for gentle, even baking.
- Depth: Consider the depth of the electric skillet, especially if you’re planning to bake pies with tall fillings or a double-crust pie. A deeper skillet will give you enough space to layer the filling and seal the pie with a top crust without worrying about it overflowing during the baking process.
- Sturdy Construction: Look for an electric skillet made from durable materials that can withstand high temperatures. A skillet with a sturdy construction will ensure that heat is distributed evenly and that the skillet retains its shape throughout the baking process.
Remember to read customer reviews and consider the reputation of the brand before making your purchase. Doing so will help you make an informed decision and select a reliable electric skillet that meets your baking needs.
Now that you have a better understanding of what to look for in an electric skillet, it’s time to move on to the next step: preparing the pie crust!
Preparing the Pie Crust
No pie is complete without a flaky and delicious crust. The key to a successful pie crust lies in the preparation. Follow these steps to ensure your pie crust turns out perfectly when baked in an electric skillet:
- Gather the Ingredients: Prepare your ingredients in advance. You will need flour, salt, cold butter or shortening, and ice water. Keeping the butter and water cold is crucial for achieving a flaky crust.
- Combine the Dry Ingredients: In a mixing bowl, whisk together the flour and salt. This step helps distribute the salt evenly and ensures a consistent flavor throughout the crust.
- Add the Cold Fat: Cut the cold butter or shortening into small cubes and add it to the flour mixture. Use a pastry cutter or your fingers to cut the fat into the flour until the mixture resembles coarse crumbs. This creates a crumbly texture, which contributes to the flakiness of the crust.
- Drizzle in the Ice Water: Gradually add ice water to the flour-fat mixture, starting with a few tablespoons at a time. Gently mix the dough with a fork or your hands until it just comes together. Be careful not to overmix, as this can result in a tough crust.
- Form the Dough: Gather the dough into a ball and divide it in half. Flatten each half into a disk and wrap them tightly in plastic wrap. Chill the dough in the refrigerator for at least 30 minutes. Chilling allows the gluten to relax and the fat to solidify, making it easier to roll out the dough later.
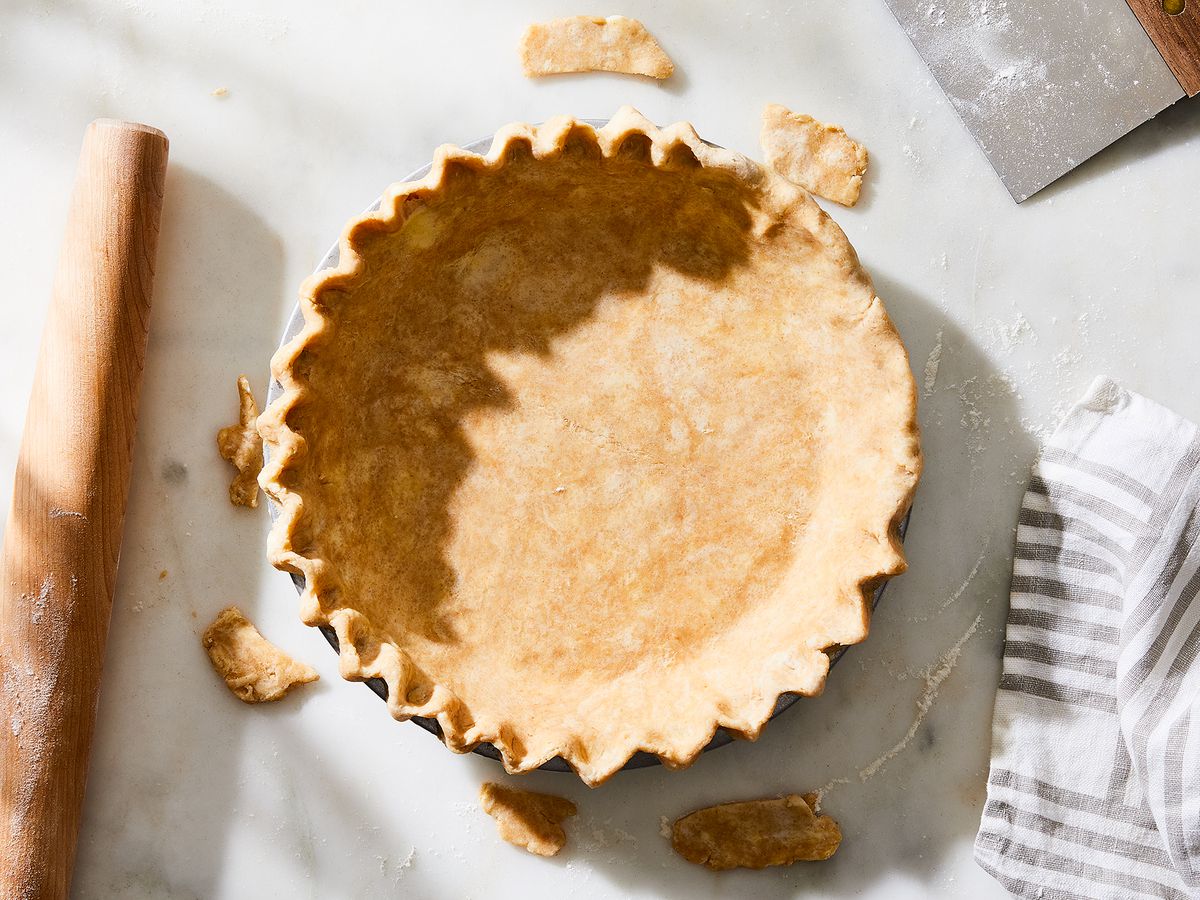
- Roll Out the Dough: On a lightly floured surface, roll out one disk of dough into a circle that’s slightly larger than the diameter of your electric skillet. The thickness should be about ¼ inch (0.6 cm). Use a rolling pin to lift the dough and transfer it to the greased skillet, gently pressing it down and up the sides.
- Trim and Decorate: Trim any excess dough hanging over the edges of the skillet. You can crimp the edges decoratively using your fingers or a fork to create a finished look.
With the pie crust prepared, you’re one step closer to baking a delectable pie in your electric skillet. Next, let’s move on to mixing the pie filling!
Mixing the Pie Filling
Now that the pie crust is ready, it’s time to focus on creating a delicious filling for your pie. The filling is where you can let your creativity shine and experiment with various flavors and combinations. Here are the steps to follow when mixing the pie filling for your electric skillet pie:
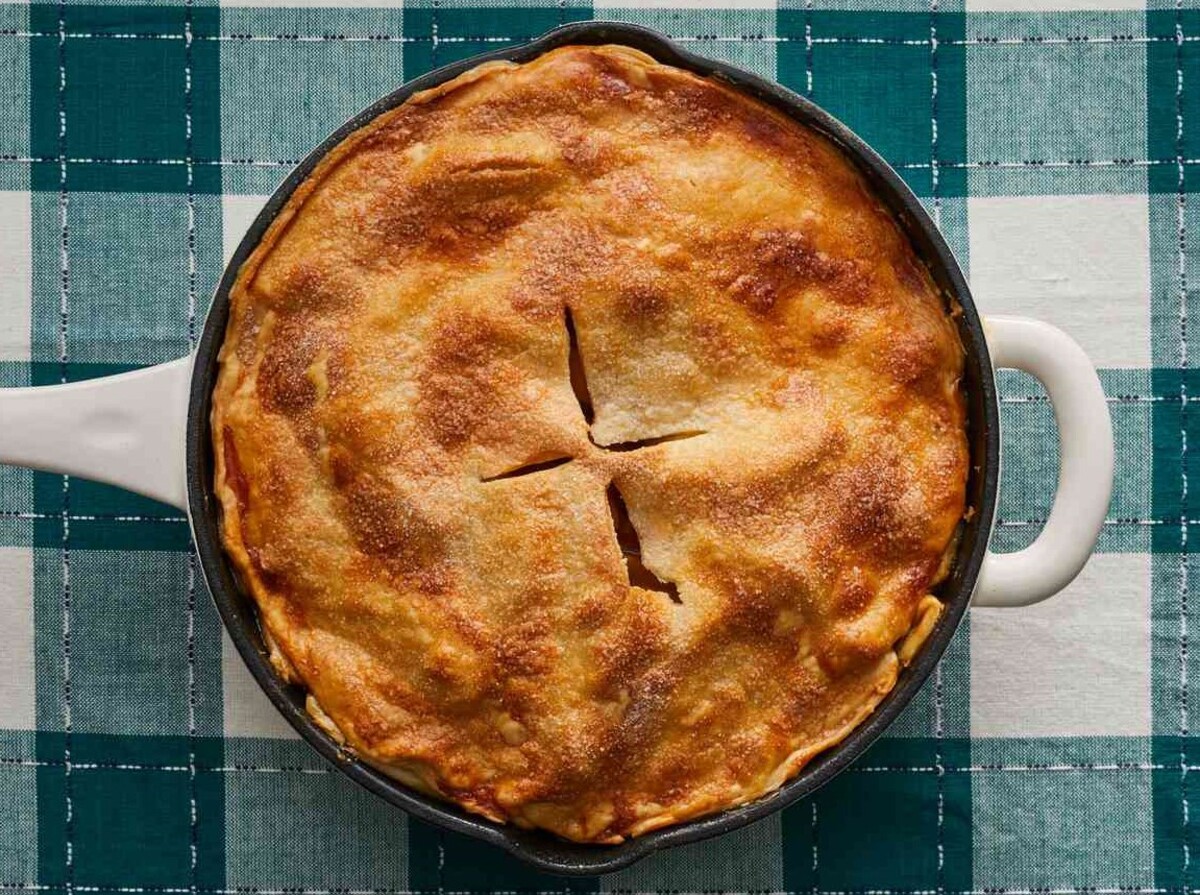
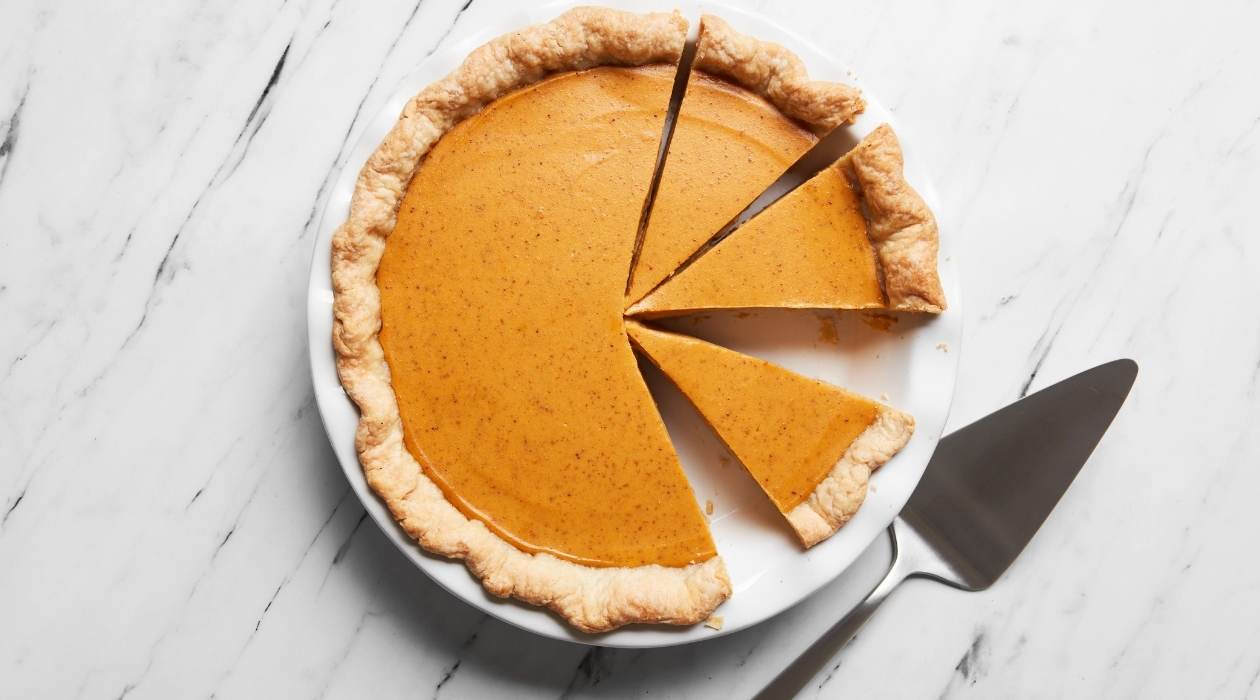
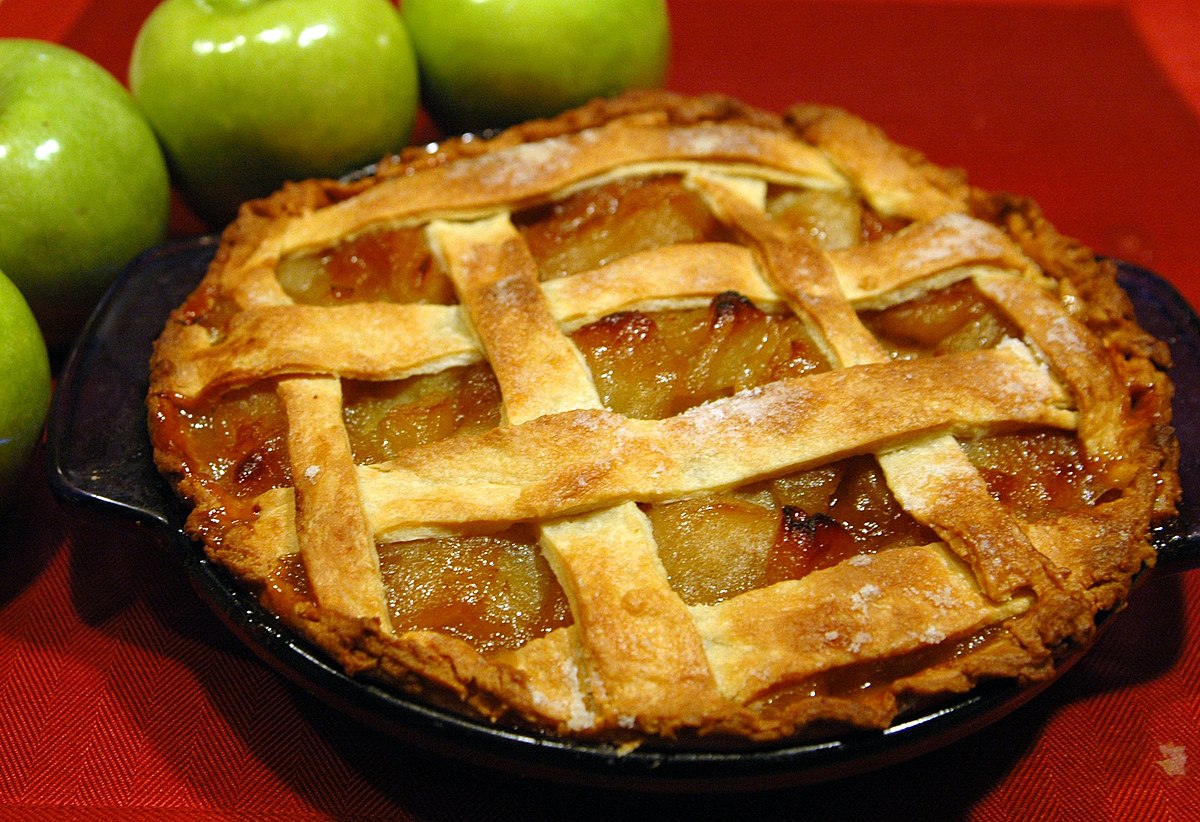
- Select Your Filling: Choose your desired filling based on the type of pie you want to bake. Whether it’s a classic apple pie or a luscious pumpkin pie, make sure you have all the necessary ingredients on hand.
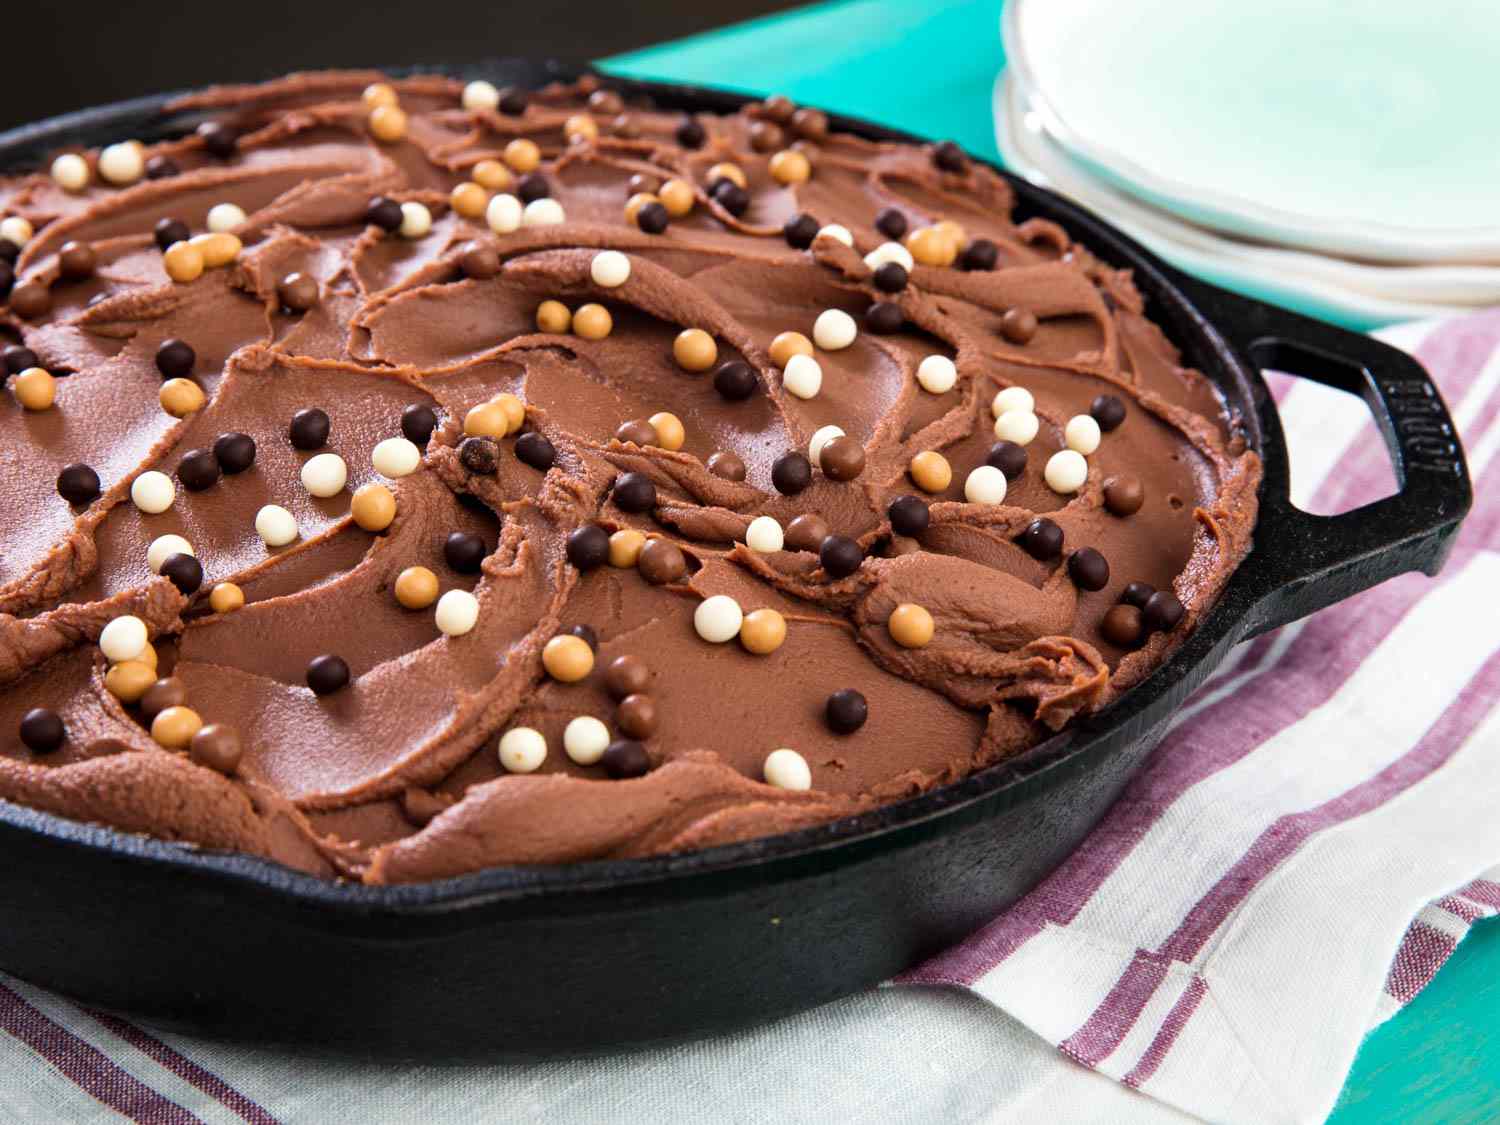
- Prepare the Fruits or Ingredients: If you’re making a fruit pie, wash, peel, and slice the fruits as needed. For other fillings, ensure that any additional ingredients, such as chocolate chips or nuts, are measured and ready to use.
- Combine the Ingredients: In a mixing bowl, gently combine the fruits or ingredients with the required amount of sugar, spices, and other flavorings called for in your recipe. Toss them together until they are evenly coated and the flavors are well incorporated.
- Let It Rest: Allow the filling to rest for a few minutes at room temperature. This resting period helps the flavors marry and allows any excess moisture to be released.
- Adjust Consistency: Depending on your filling, you may need to make some adjustments to the consistency. If the filling seems too dry, add a small amount of fruit juice or water. If it’s too runny, you can thicken it with a touch of cornstarch or flour. These adjustments will help ensure a perfect filling texture when baked.
Remember, the pie filling should complement the flavor of the crust while providing a burst of deliciousness with every bite. Now that your pie filling is prepared, it’s time to move on to preparing the electric skillet for baking.
Preparing the Electric Skillet
Before you start baking your pie in the electric skillet, it’s essential to properly prepare the skillet to ensure even cooking and prevent any sticking or burning. Follow these steps to prepare your electric skillet:
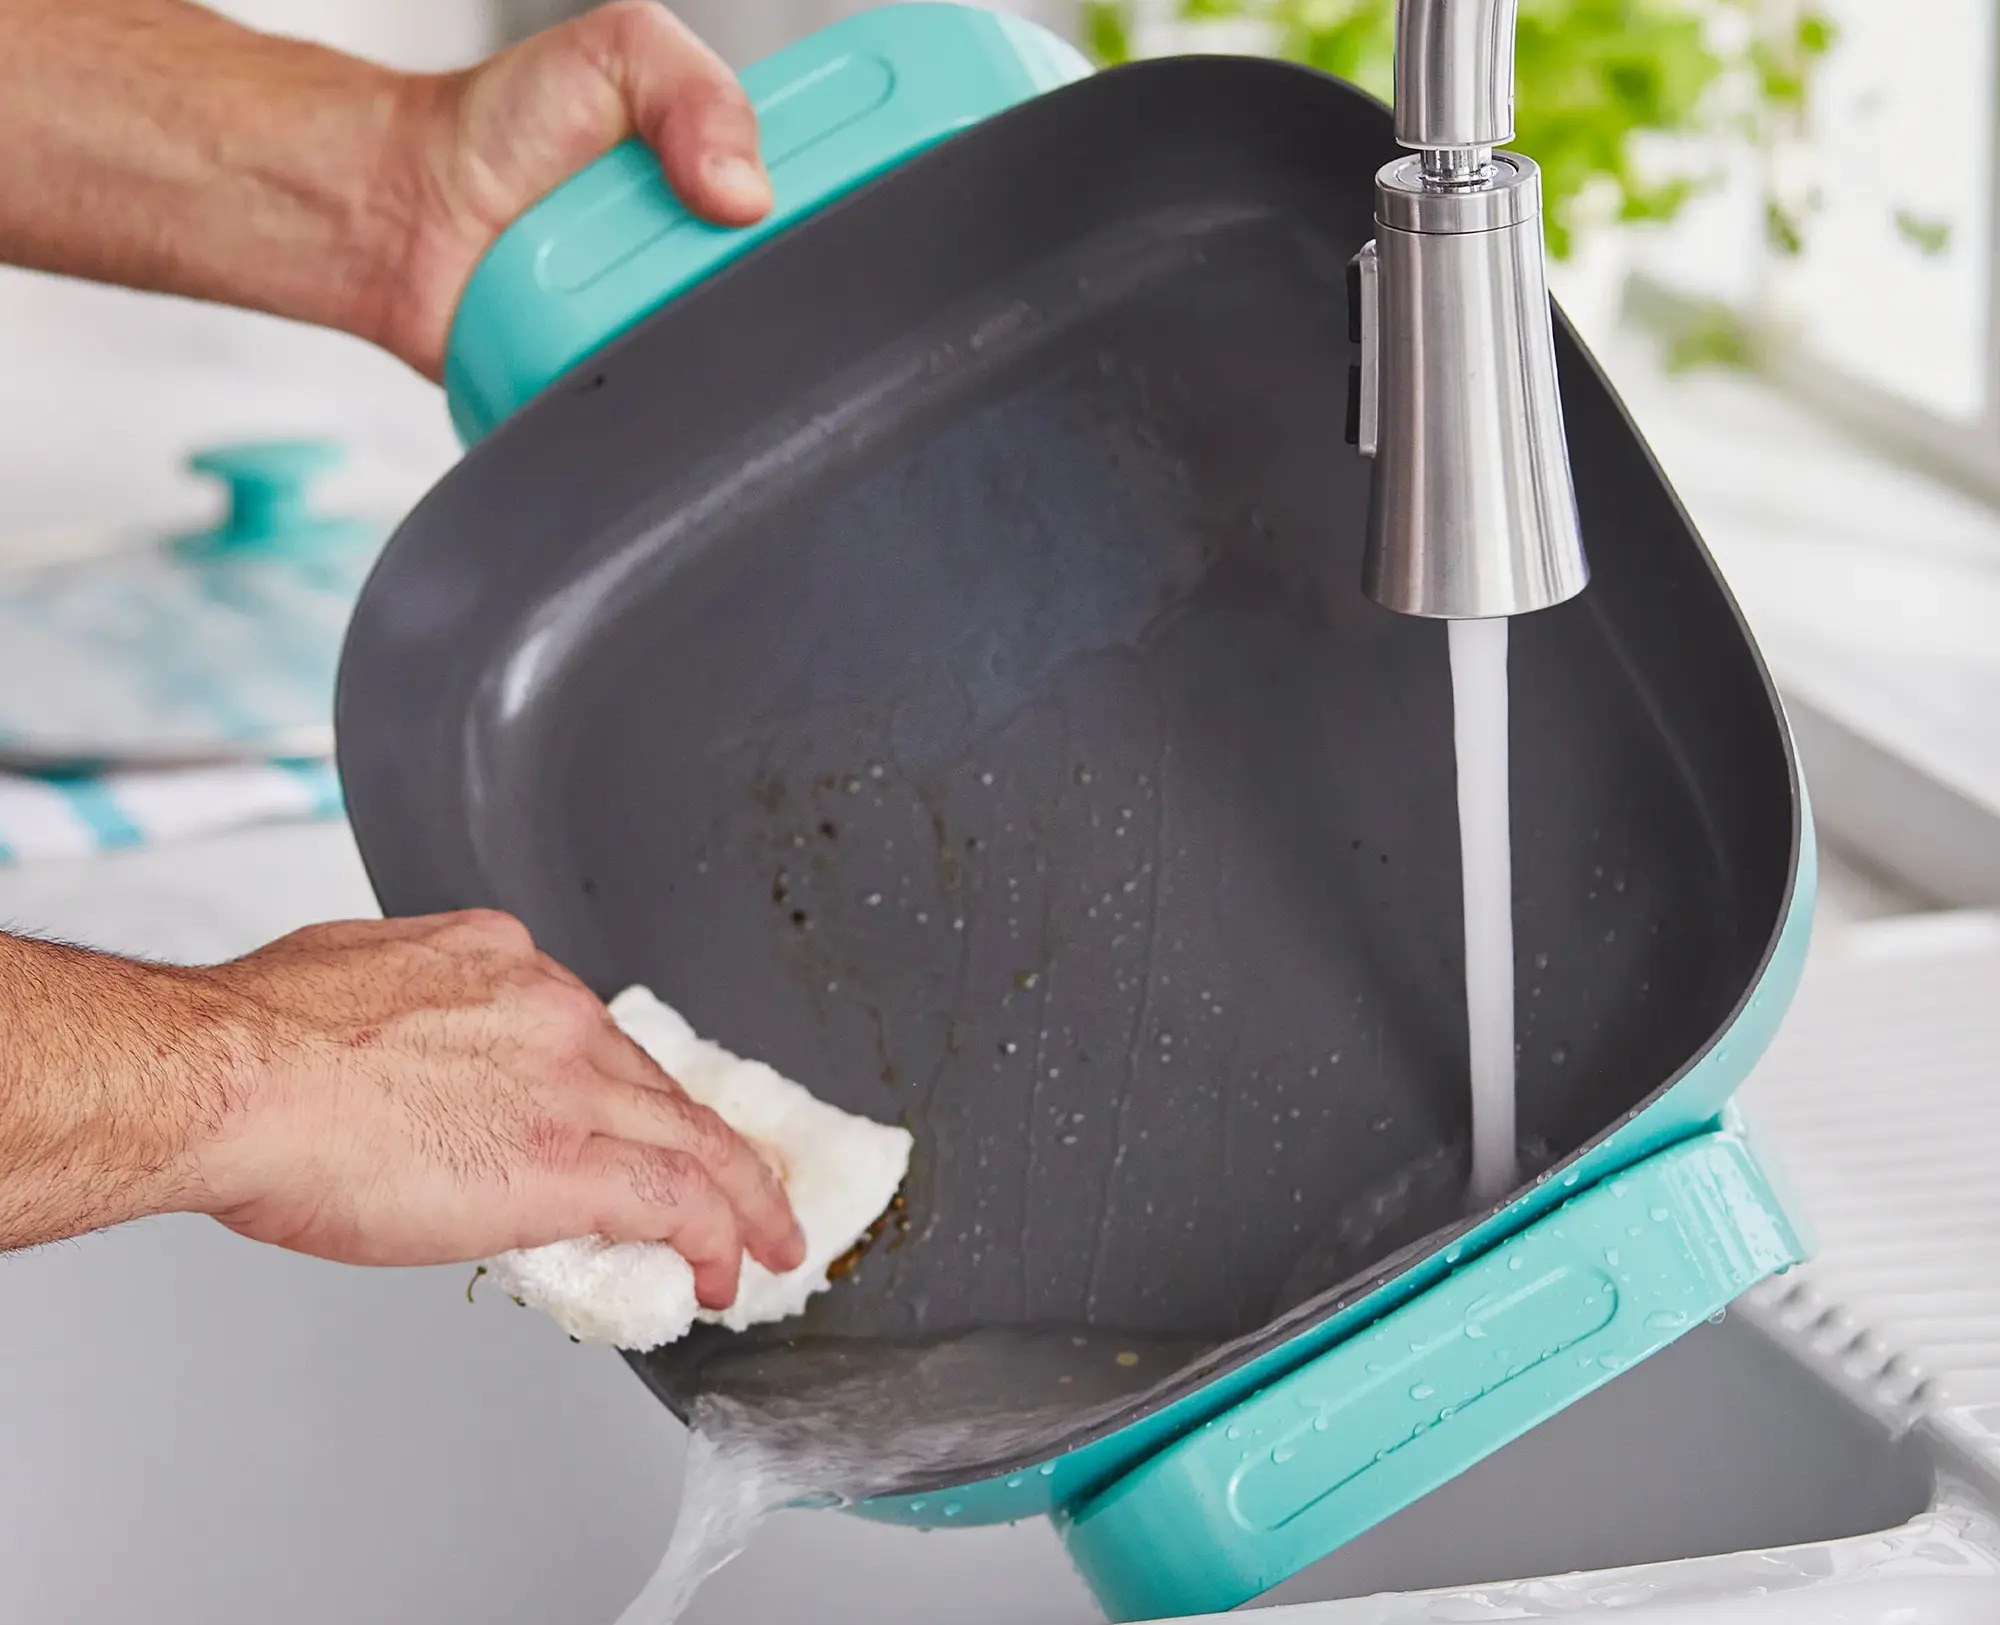
- Check the Skillet: Ensure that your electric skillet is clean and in good working condition. Examine the cooking surface for any scratches or damaged areas that could affect the baking process or cause the pie to stick.
- Grease the Skillet: Apply a thin layer of cooking spray or lightly brush the cooking surface of the skillet with melted butter or vegetable oil. This will help prevent the pie crust from sticking to the skillet and make it easier to remove the pie once it’s baked.
- Preheat the Skillet: Set your electric skillet to the desired baking temperature specified in your recipe. Preheat the skillet for a few minutes to ensure that it reaches the right temperature before placing the pie inside. This step is crucial for even baking throughout the pie.
- Place the Pie Crust: Gently transfer the prepared pie crust into the greased electric skillet, making sure it fits snugly and covers the entire bottom. Press the crust lightly against the sides of the skillet, ensuring it adheres well and forms a sturdy base for the filling.
- Add the Filling: Pour the prepared pie filling into the pie crust, ensuring an even distribution. Spread out the filling, avoiding any overfilling that could lead to spillage during baking.
With the electric skillet prepared and the pie crust and filling in place, it’s time for the much-anticipated step: baking the pie in the electric skillet. Let’s move on to the next section to discover how to achieve perfectly baked pies every time.
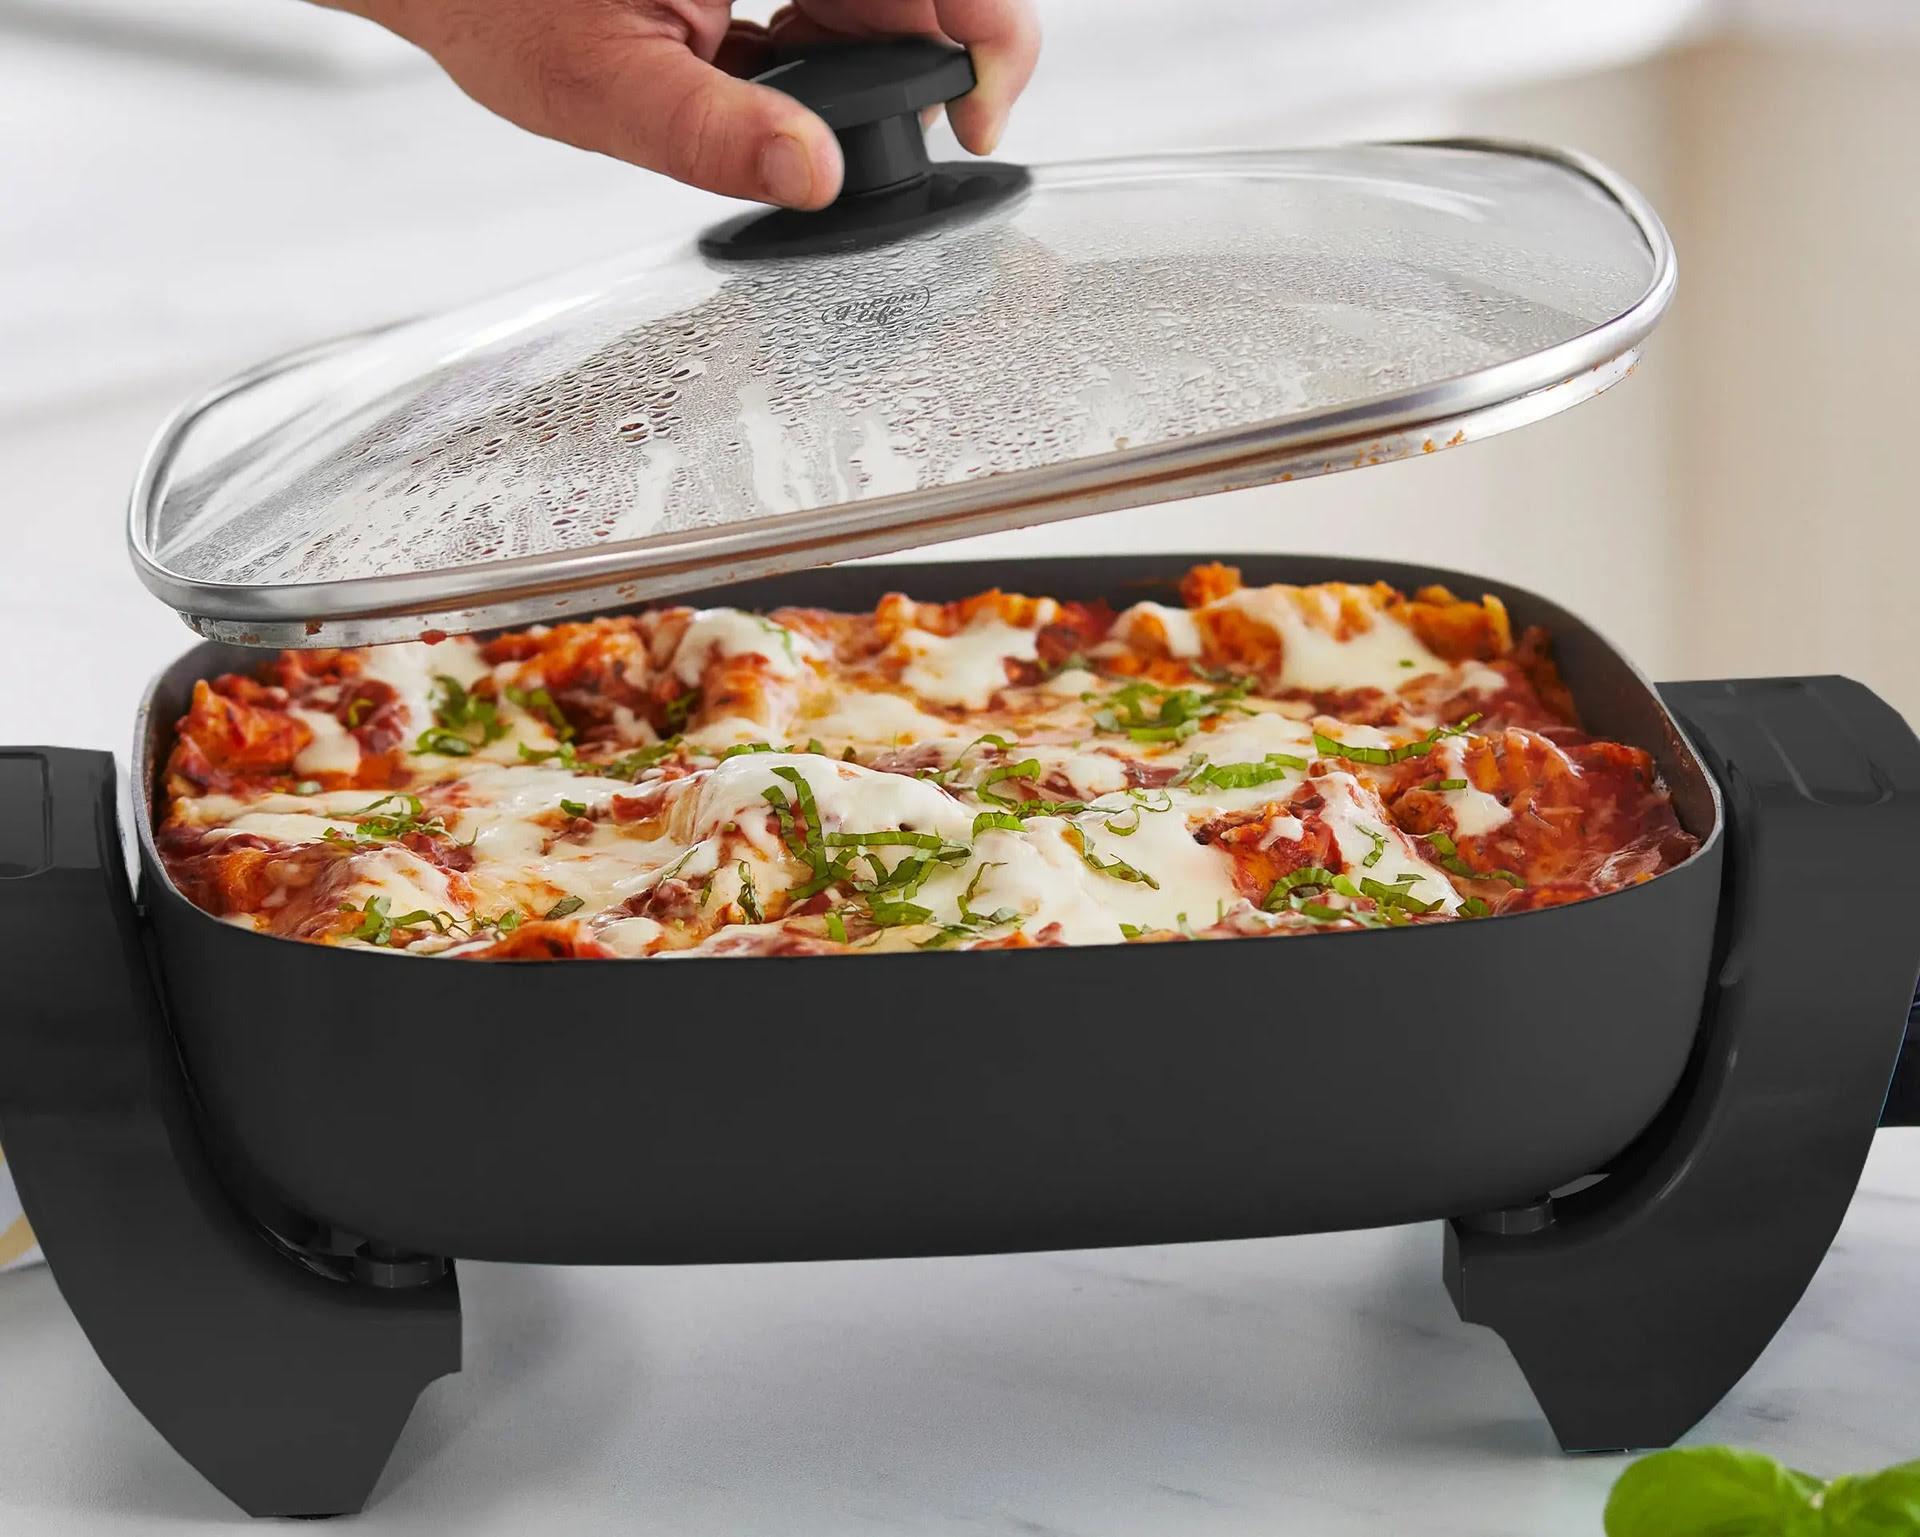
Preheat the electric skillet to 375°F and place the pie inside. Cover and cook for 30-40 minutes, or until the crust is golden brown and the filling is bubbly. Check periodically to ensure even cooking. Enjoy your delicious pie!
Read more: How To Bake Brownies in An Electric Skillet
Baking the Pie in the Electric Skillet
Now comes the exciting part – baking your pie in the electric skillet. Follow these steps to ensure a successful baking process:
- Set the Temperature: Adjust the temperature on the electric skillet according to the baking instructions in your pie recipe. Different pie fillings and crusts may require different temperatures, so follow the recipe guidelines for the best results.
- Cover the Skillet: Cover the electric skillet with a lid or aluminum foil to create a controlled baking environment. This helps trap the heat and moisture, ensuring that the pie bakes evenly and stays moist.
- Baking Time: The baking time will vary depending on the type of pie you’re making and the recipe instructions. Typically, pies baked in an electric skillet may take a bit longer than when baked in a traditional oven. Make sure to set a timer and check for doneness periodically.
- Rotate and Monitor: About halfway through the baking time, rotate the skillet to ensure even browning. Keep an eye on the pie during the baking process to prevent over-browning or burning.
Remember that baking times may vary depending on your specific electric skillet model and personal preferences. Use the visual cues and aroma of a golden crust to determine when your pie is perfectly baked.
Once you notice that the crust is golden brown, the filling is bubbling, and the kitchen is filled with a delightful aroma, it’s time to perform the final step: checking for doneness.
Checking for Doneness
Checking for doneness is a crucial step when baking a pie in an electric skillet. Although visual cues are essential, it’s also important to rely on other indications to ensure that your pie is perfectly baked. Here are a few methods to check if your pie is done:
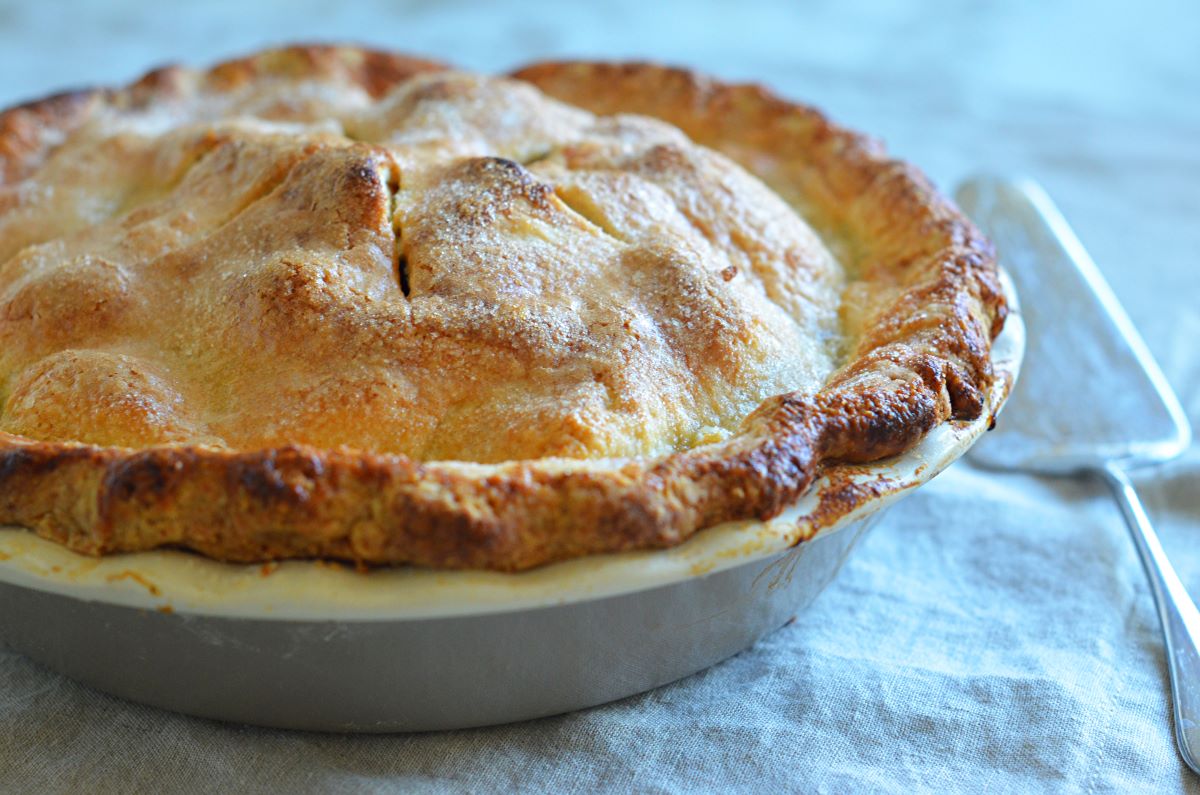
- Visual Inspection: Carefully observe the color and texture of the pie crust. A fully baked crust will have a golden brown color, indicating that it’s crispy and cooked through. Look for a flaky texture and avoid any undercooked or doughy spots.
- Filling Appearance: The pie filling should be bubbling and thickened, indicating that it has cooked properly. If your pie has a fruit or custard filling, ensure that the fruits are soft and tender or that the custard is set.
- Internal Temperature: Use a food thermometer to check the internal temperature of the pie filling. The temperature should generally range from 165°F (74°C) for fruit pies to 175°F (79°C) for custard-based pies. This ensures that the filling is fully cooked and safe to eat.
- Jiggle Test: Gently give your electric skillet a light shake. The pie should have a slight jiggle in the center but not be too wobbly. This indicates that the filling is set and will not be liquidy when sliced.
Remember that the precise doneness indicators may vary depending on the type of pie you’re baking. Always refer to your specific recipe instructions and use these general guidelines as a reference point.
If your pie needs a little more time to bake, cover it once again and continue baking for a few more minutes. Keep a close eye on it to prevent overcooking or burning.
Now that your pie is perfectly baked, it’s time to remove it from the electric skillet and serve it to your eager guests.
Removing and Serving the Pie
After all the anticipation and hard work, it’s finally time to remove your freshly baked pie from the electric skillet and serve it to your eager guests. Here’s how to do it:
- Cooling Time: Allow the pie to cool in the electric skillet for a few minutes. This helps the filling set and makes it easier to handle without collapsing.
- Removing the Pie: Carefully lift the pie out of the electric skillet, using oven mitts or heat-resistant gloves to protect your hands from the heat. You can use a spatula or a wide serving utensil to support the pie from below as you lift it out.
- Placing on a Serving Dish: Transfer the pie to a serving dish or a cooling rack, depending on your preference. Be gentle to avoid any breakage or damage to the pie crust.
- Cooling Further: Allow the pie to cool completely at room temperature before serving, usually for about 1 to 2 hours. This cooling time ensures that the pie filling sets and the flavors meld together.
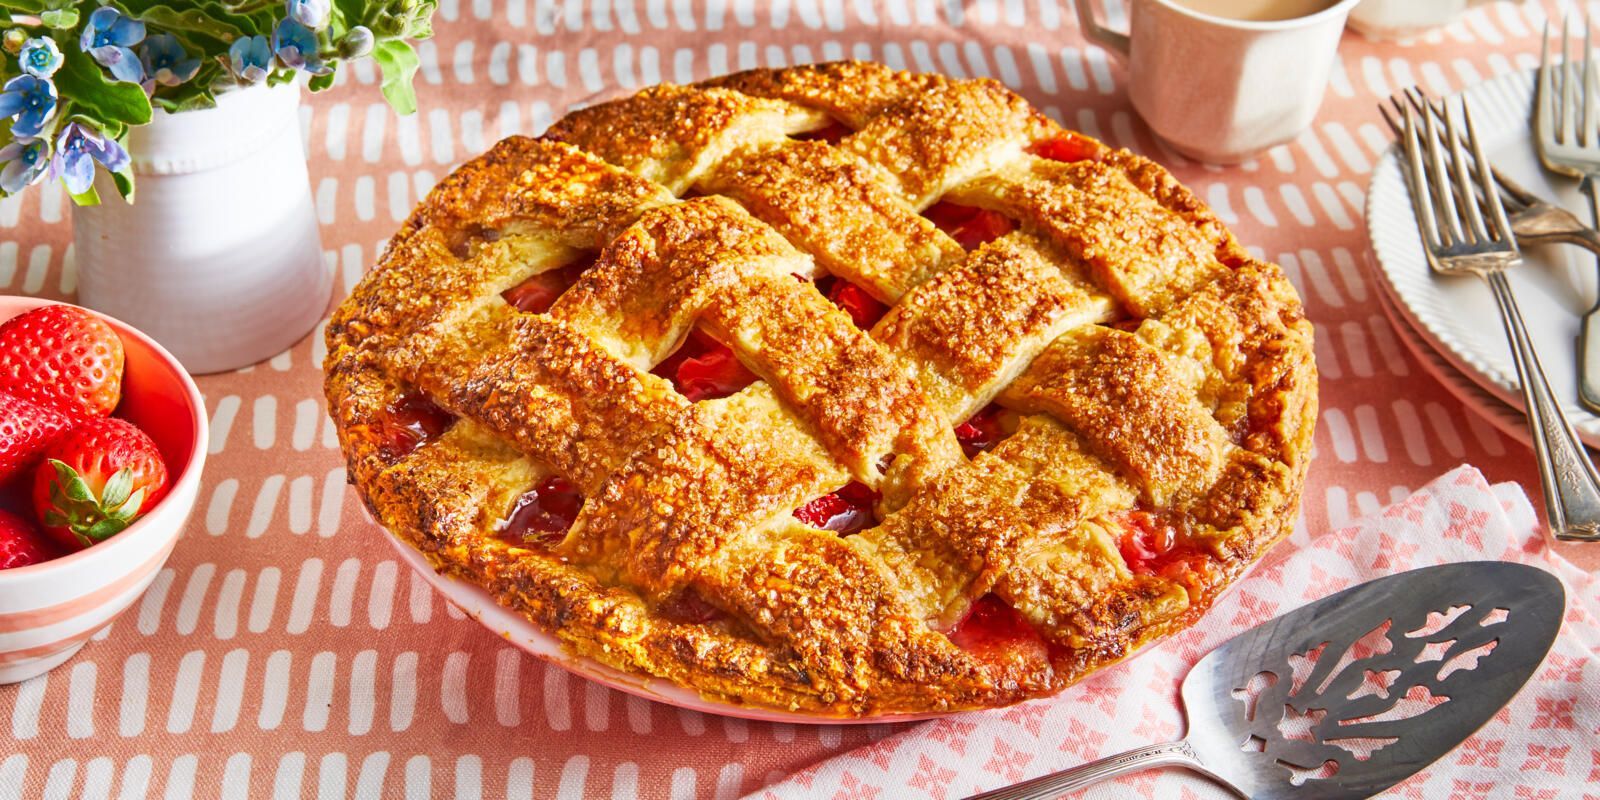
- Slicing and Plating: Once the pie has cooled, use a sharp knife to slice it into portions. For fruit pies, a clean slice through the crust and fruit filling is a sign of a well-baked pie. Serve each slice on individual plates or dishes.
- Serving Options: Enhance the presentation by adding a dollop of whipped cream, a sprinkle of powdered sugar, or a scoop of ice cream on top of each slice. These accompaniments add a touch of sweetness and complement the flavors of the pie.
Enjoy the fruits of your labor and savor the delightful flavors of your homemade pie. Share this delicious dessert with your loved ones, and take pride in the fact that you baked a scrumptious pie using an electric skillet!
Congratulations on successfully navigating the process of baking a pie in an electric skillet. With practice, you’ll become even more confident and skilled at creating mouthwatering pies that everyone will love. Happy baking!
Conclusion
Baking a pie in an electric skillet opens up a world of possibilities for delicious and homemade desserts. With the right equipment, proper preparation, and a little bit of creativity, you can achieve incredible results that will impress both yourself and your loved ones.
We started this article by discussing the importance of choosing the right electric skillet for your pie baking adventures. Size, nonstick surface, temperature control, depth, and sturdy construction are key factors to consider when making your selection.
We then moved on to the essential steps of preparing the pie crust and mixing the pie filling. Creating a flaky crust and a flavorful filling are paramount to the success of your pie. Remember to chill the dough, roll it out to the appropriate thickness, and delicately combine the ingredients for the filling.
After preparing the crust and filling, we covered the crucial task of preparing the electric skillet. Greasing the skillet, preheating it to the desired temperature, and adding the pie crust and filling are necessary to ensure a smooth baking process.
With the skillet prepared, we moved on to baking the pie. We discussed the importance of covering the skillet, monitoring the baking time, and using visual cues, filling appearance, internal temperature, and the jiggle test to determine if the pie is done.
Once the pie has been successfully baked, we outlined the steps for removing it from the electric skillet and serving it to your delighted guests. Cooling the pie, transferring it to a serving dish, and allowing it to cool further before slicing and plating are essential for presenting a beautifully served pie.
In conclusion, baking a pie in an electric skillet may be unconventional, but it opens up new possibilities and offers a convenient alternative to traditional oven baking. With practice, you’ll become more confident in your skills and adapt recipes to suit your personal taste.
So, go ahead and embrace the world of electric skillet pie baking. Let your creativity run wild, experiment with different fillings, and enjoy the delicious results of your labor. Whether it’s a classic apple pie, a rich chocolate pie, or a comforting pumpkin pie, the possibilities are endless. Happy baking!
Frequently Asked Questions about How To Bake Pie In A Electric Skillet
Was this page helpful?
At Storables.com, we guarantee accurate and reliable information. Our content, validated by Expert Board Contributors, is crafted following stringent Editorial Policies. We're committed to providing you with well-researched, expert-backed insights for all your informational needs.


0 thoughts on “How To Bake Pie In A Electric Skillet”