Home>Articles>How To Bake Chicken Drumsticks In An Electric Skillet?
Articles
How To Bake Chicken Drumsticks In An Electric Skillet?
Modified: August 25, 2024
Learn how to bake chicken drumsticks perfectly in an electric skillet with these helpful articles. Explore tips, tricks, and delicious recipes for a tasty meal.
(Many of the links in this article redirect to a specific reviewed product. Your purchase of these products through affiliate links helps to generate commission for Storables.com, at no extra cost. Learn more)
Introduction
If you’re looking for a delicious and convenient way to cook chicken drumsticks, an electric skillet may be just what you need. Using an electric skillet to bake chicken drumsticks offers a hassle-free cooking experience, resulting in juicy, tender, and flavorful meat. Whether you’re a beginner in the kitchen or a seasoned home cook, this versatile appliance allows you to achieve excellent results with minimal effort.
Electric skillets are designed to provide consistent heat distribution, making them ideal for baking chicken drumsticks. They offer precise temperature control, ensuring that the chicken is cooked to perfection every time. Additionally, electric skillets are easy to clean and maintain, making them a convenient option for busy individuals or families.
In this article, we’ll take you through a step-by-step process of how to bake chicken drumsticks in an electric skillet. From preparing the drumsticks to checking their doneness, we’ll cover everything you need to know to create a delicious meal that will impress your family and friends.
So, let’s get started and discover the secrets to cooking mouthwatering chicken drumsticks in an electric skillet!
Key Takeaways:
- Cooking chicken drumsticks in an electric skillet offers a hassle-free and flavorful experience, from preparing and seasoning the drumsticks to checking their doneness. The precise temperature control ensures juicy, tender, and perfectly cooked results every time.
- After enjoying the delicious meal, proper cleanup and maintenance of the electric skillet are essential for its longevity and continued performance. By following these practices, you can ensure many more delightful dishes in the future.
Read more: How To Bake Pie In A Electric Skillet
Preparing the Chicken Drumsticks
Before you start cooking the chicken drumsticks in your electric skillet, it’s important to prepare them properly to enhance their flavor and tenderness. Here are a few key steps to follow:
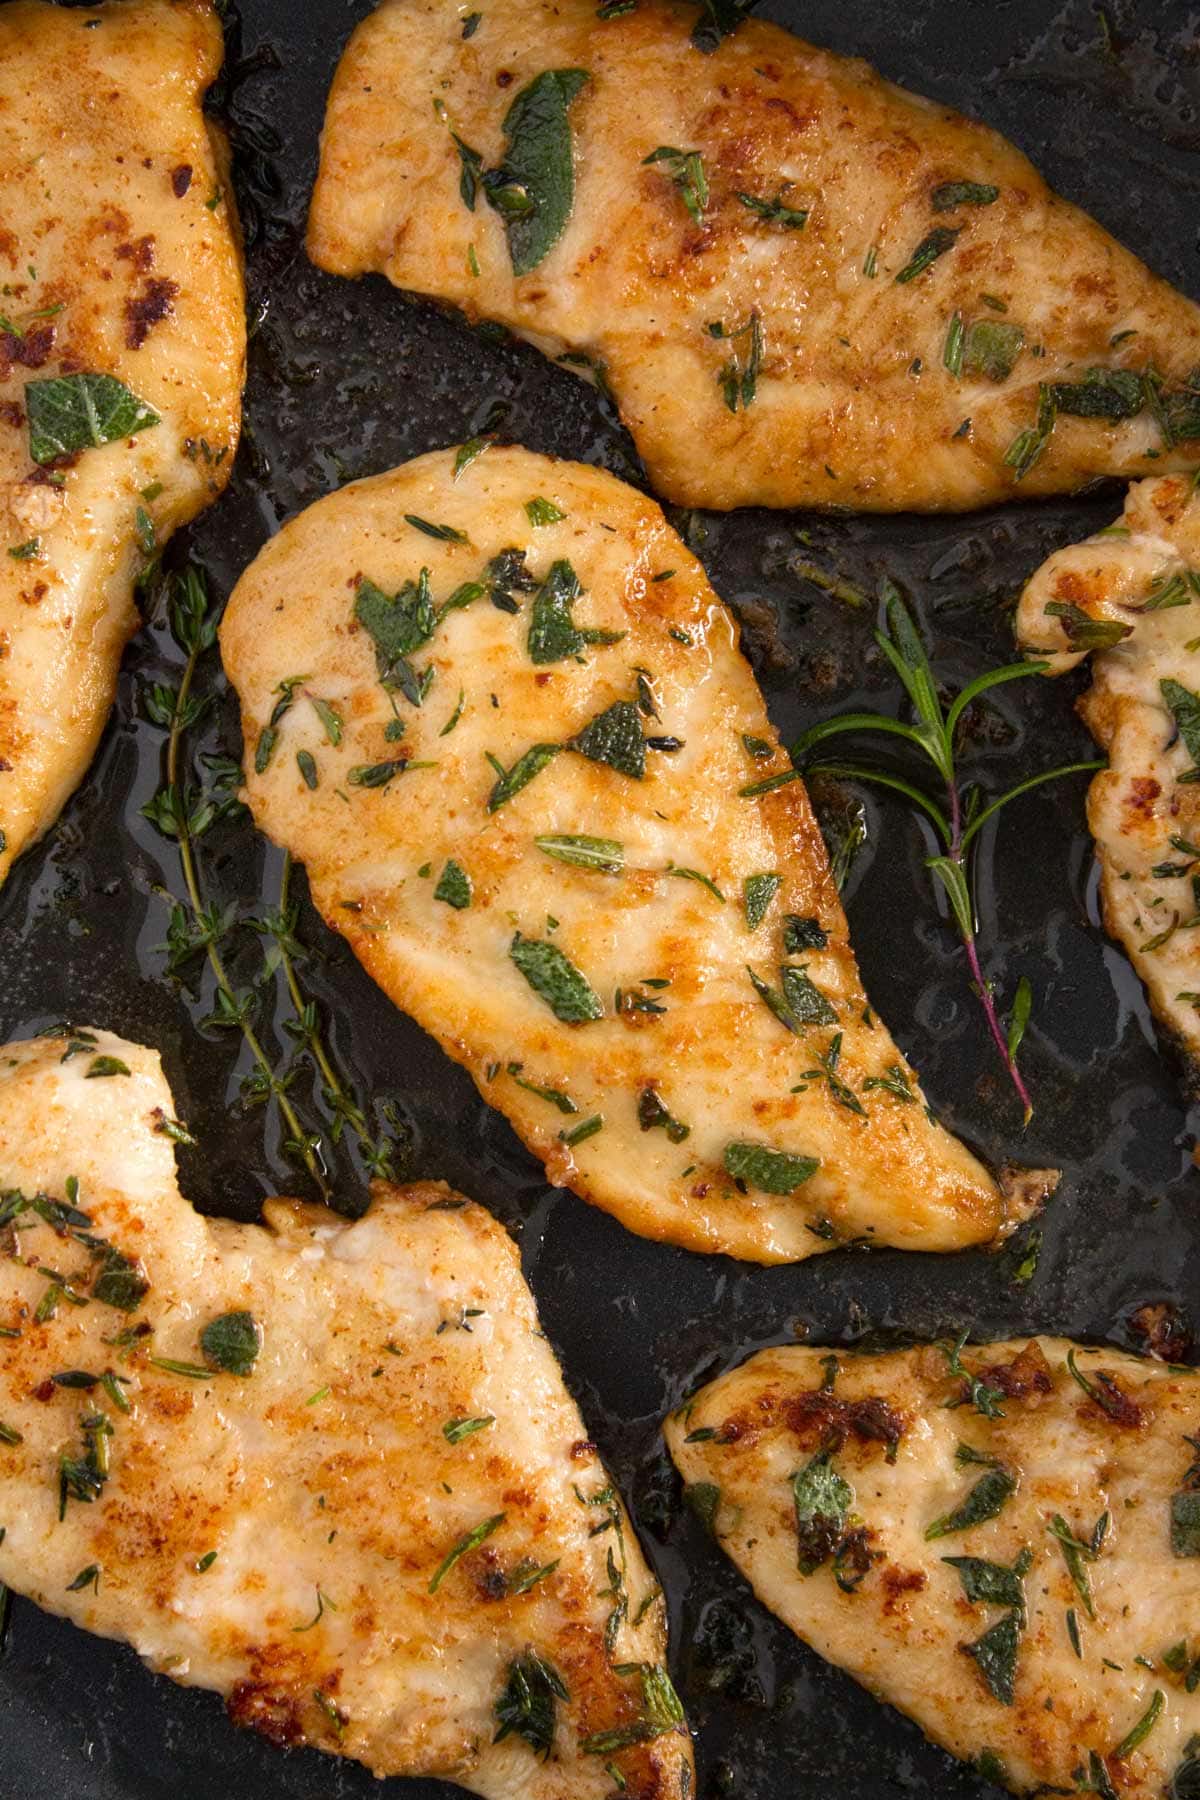
Seasoning the Drumsticks
To add flavor to your chicken drumsticks, you’ll want to season them generously. Start by patting the drumsticks dry with paper towels to remove any excess moisture. This will help the seasonings stick better to the surface of the meat.
Next, create a seasoning blend using your favorite herbs and spices. Some popular options for seasoning chicken drumsticks include paprika, garlic powder, onion powder, black pepper, and dried herbs like thyme or rosemary. Combine the seasonings in a small bowl and mix well.
Sprinkle the seasoning blend all over the drumsticks, making sure to coat them evenly. You can use your hands to massage the seasonings into the meat, ensuring that every bite is flavorful.
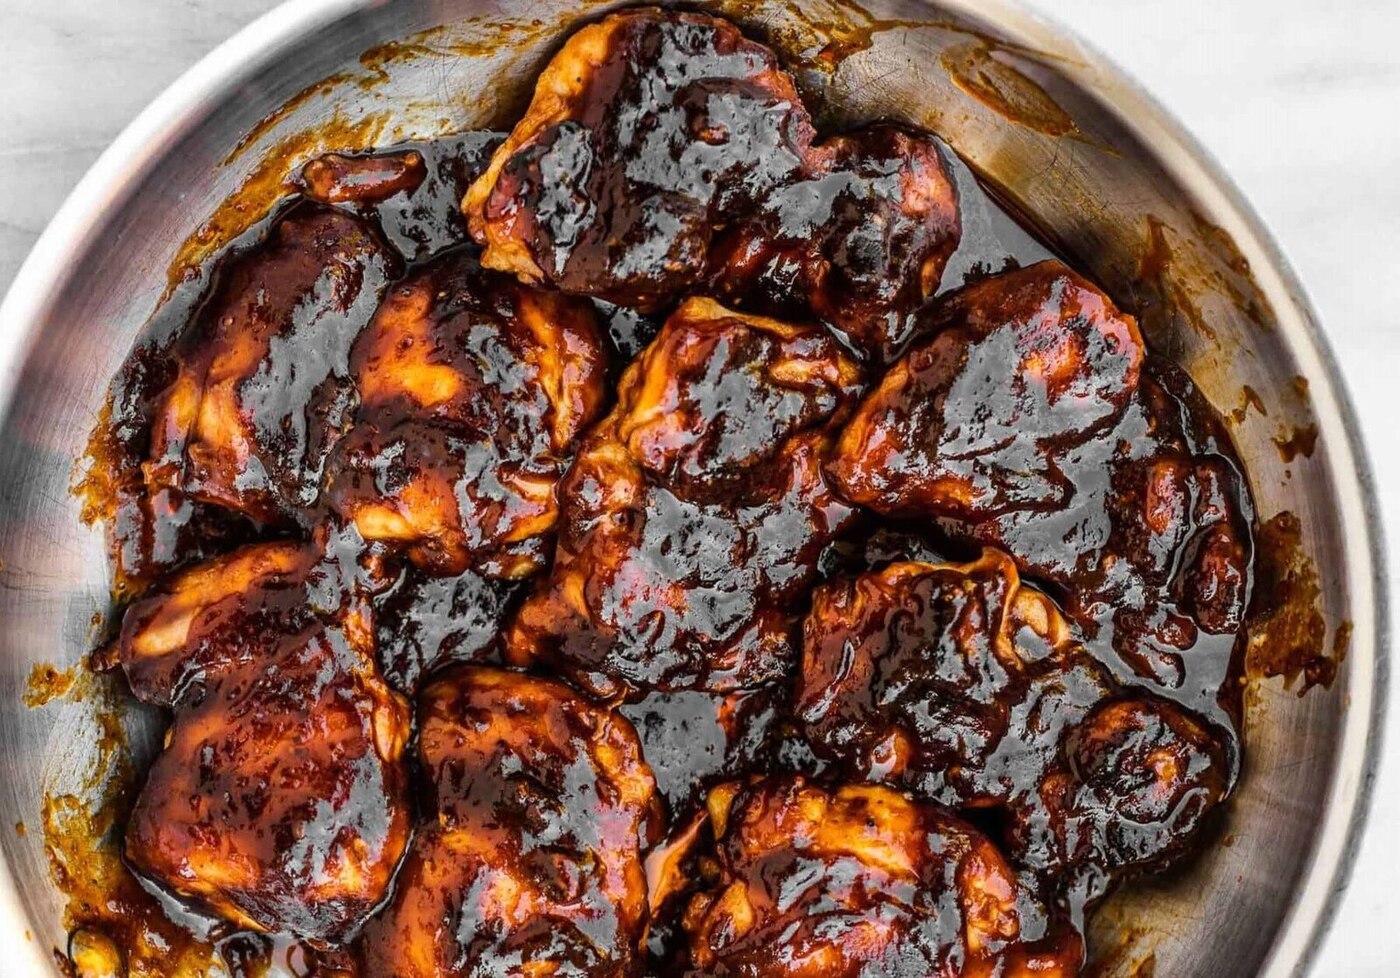
Marinating Options
In addition to seasoning, marinating the chicken drumsticks can infuse them with even more flavor and tenderness. Marinating involves soaking the drumsticks in a mixture of liquids and spices to enhance their taste.
One simple marinade option is a combination of olive oil, lemon juice, minced garlic, salt, and pepper. In a bowl or resealable plastic bag, mix these ingredients together and then add the drumsticks, making sure they are well coated. Allow the drumsticks to marinate in the refrigerator for at least 30 minutes, or up to overnight.
Alternatively, you can try a marinade with soy sauce, ginger, honey, and a splash of vinegar for a delicious Asian-inspired twist. The longer the drumsticks marinate, the more flavorful they will become.
Once the drumsticks have been seasoned or marinated, set them aside for a few minutes to allow the flavors to penetrate the meat. This will ensure that every bite is full of deliciousness when you cook them in the electric skillet.
Now that the chicken drumsticks are well-seasoned and possibly marinated, it’s time to move on to the next step: preheating the electric skillet.
Preheating the Electric Skillet
Before you can start cooking the chicken drumsticks in your electric skillet, it’s important to preheat it to the appropriate temperature. Preheating ensures that the skillet is evenly heated, allowing for consistent and efficient cooking.
Here’s how to preheat your electric skillet:
- Plug in the electric skillet and make sure it’s clean and dry.
- Set the temperature control to the desired level. For cooking chicken drumsticks, a temperature of around 350°F (175°C) is recommended.
- Allow the skillet to heat up for a few minutes until it reaches the desired temperature. This may take anywhere from 5 to 10 minutes, depending on the power and model of your electric skillet.
- During the preheating process, you may notice the indicator light turning on or off periodically. This is normal and indicates that the skillet is adjusting its temperature to maintain the set temperature.
It’s important to note that different electric skillets may have slightly different temperature controls and preheating times. Refer to the instructions provided by the manufacturer for specific guidelines and recommendations.
By preheating the electric skillet, you ensure that the chicken drumsticks will sizzle and cook evenly once they are placed in the skillet. Preheating also helps to seal in the juices, resulting in tender and juicy drumsticks.
Once the electric skillet is preheated to the desired temperature, it’s time to move on to cooking the chicken drumsticks.
Read more: How To Bake Using An Electric Skillet
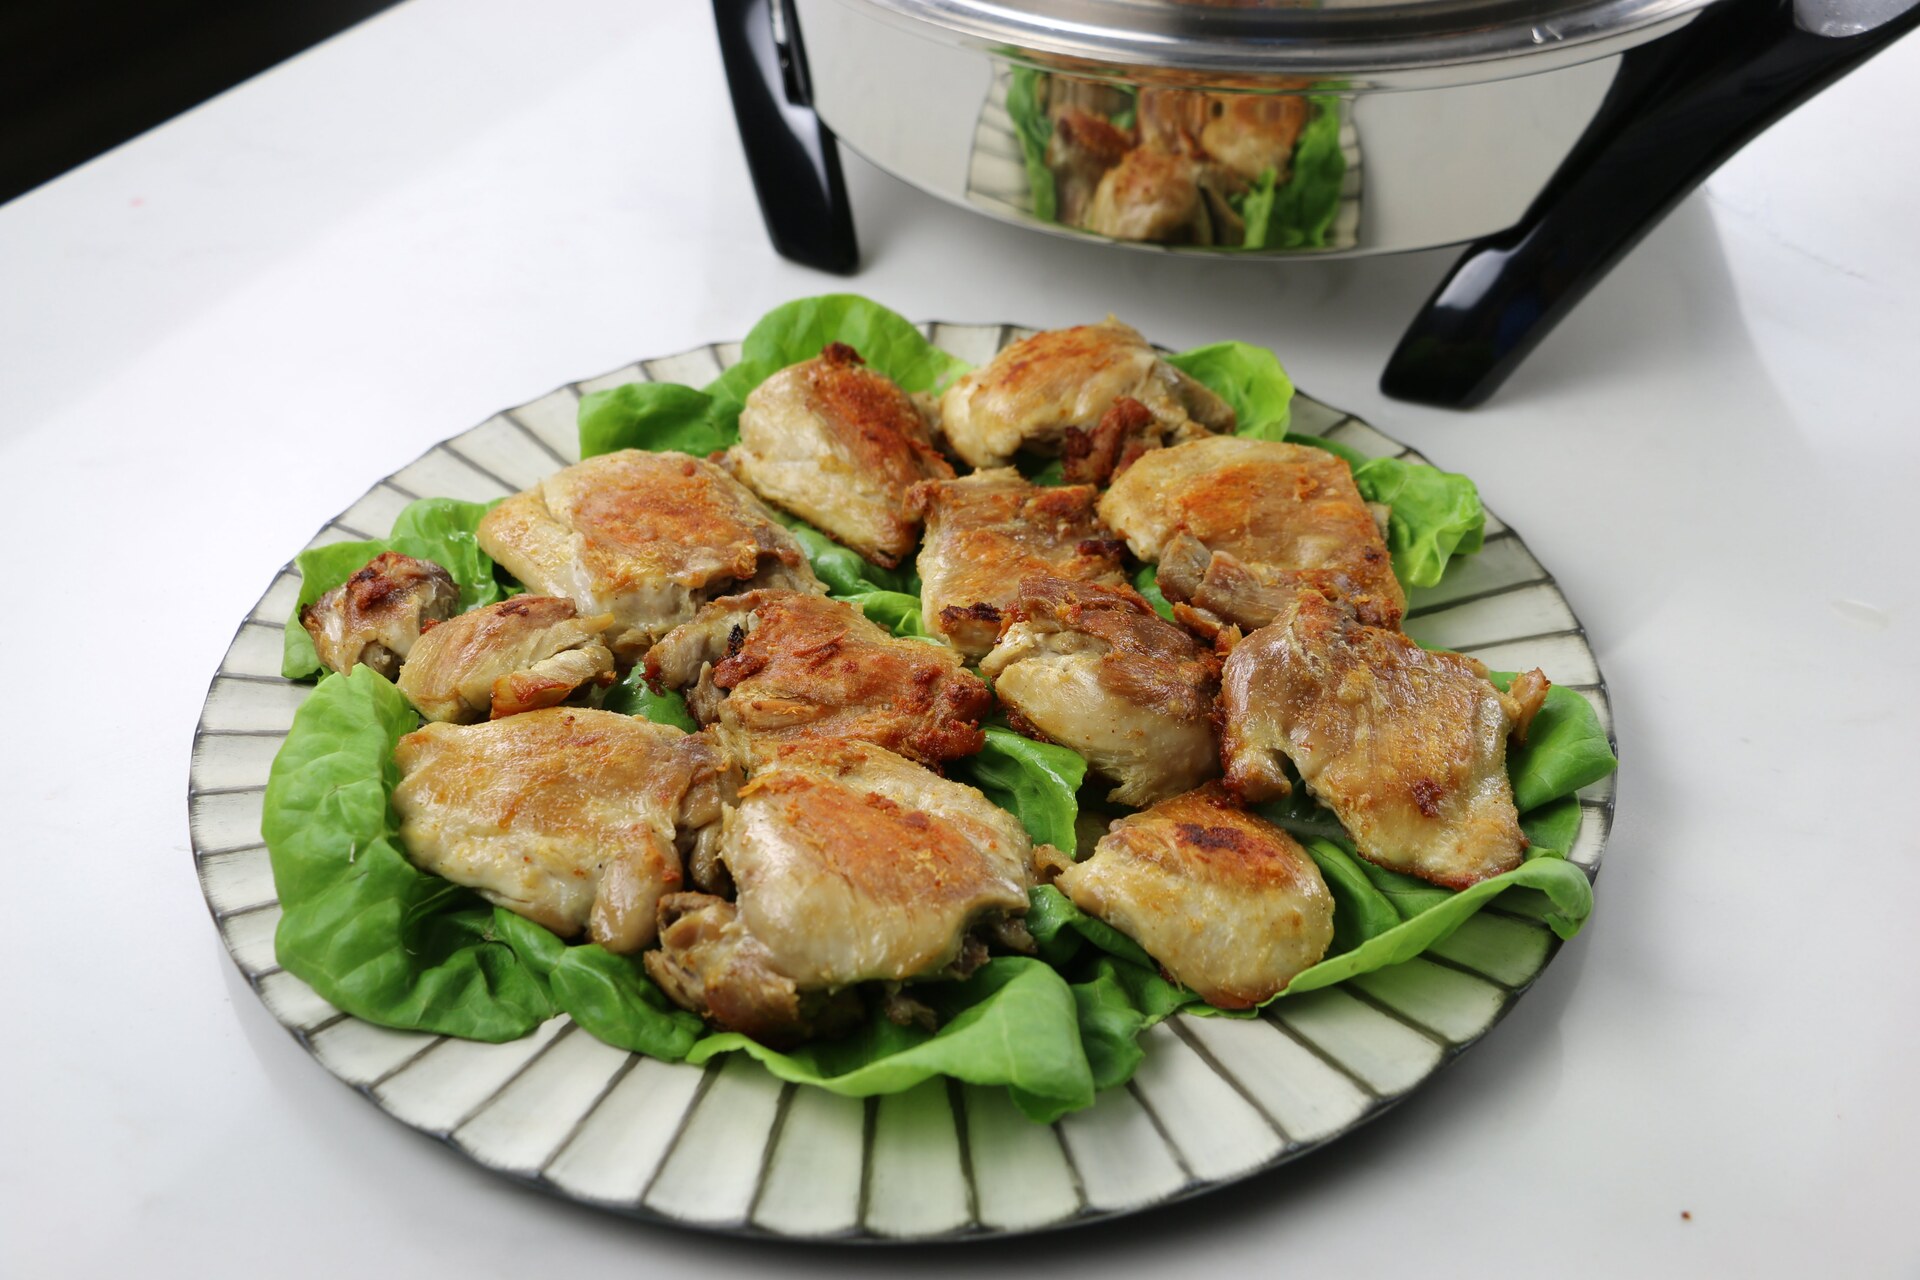
Cooking the Chicken Drumsticks
Now that you have preheated your electric skillet, it’s time to start cooking the chicken drumsticks to perfection. Follow these steps to ensure delicious results:
Setting the Temperature
Set the temperature on your electric skillet to the recommended temperature for cooking chicken drumsticks, which is around 350°F (175°C). This temperature allows the chicken to cook through without burning the exterior.
Setting the temperature too high may result in overly browned or burnt drumsticks, while setting it too low may cause the chicken to cook unevenly or not reach the desired internal temperature for safe consumption. Adjust the temperature according to your skillet’s settings and the instructions provided by the manufacturer.
Placing the Drumsticks in the Skillet
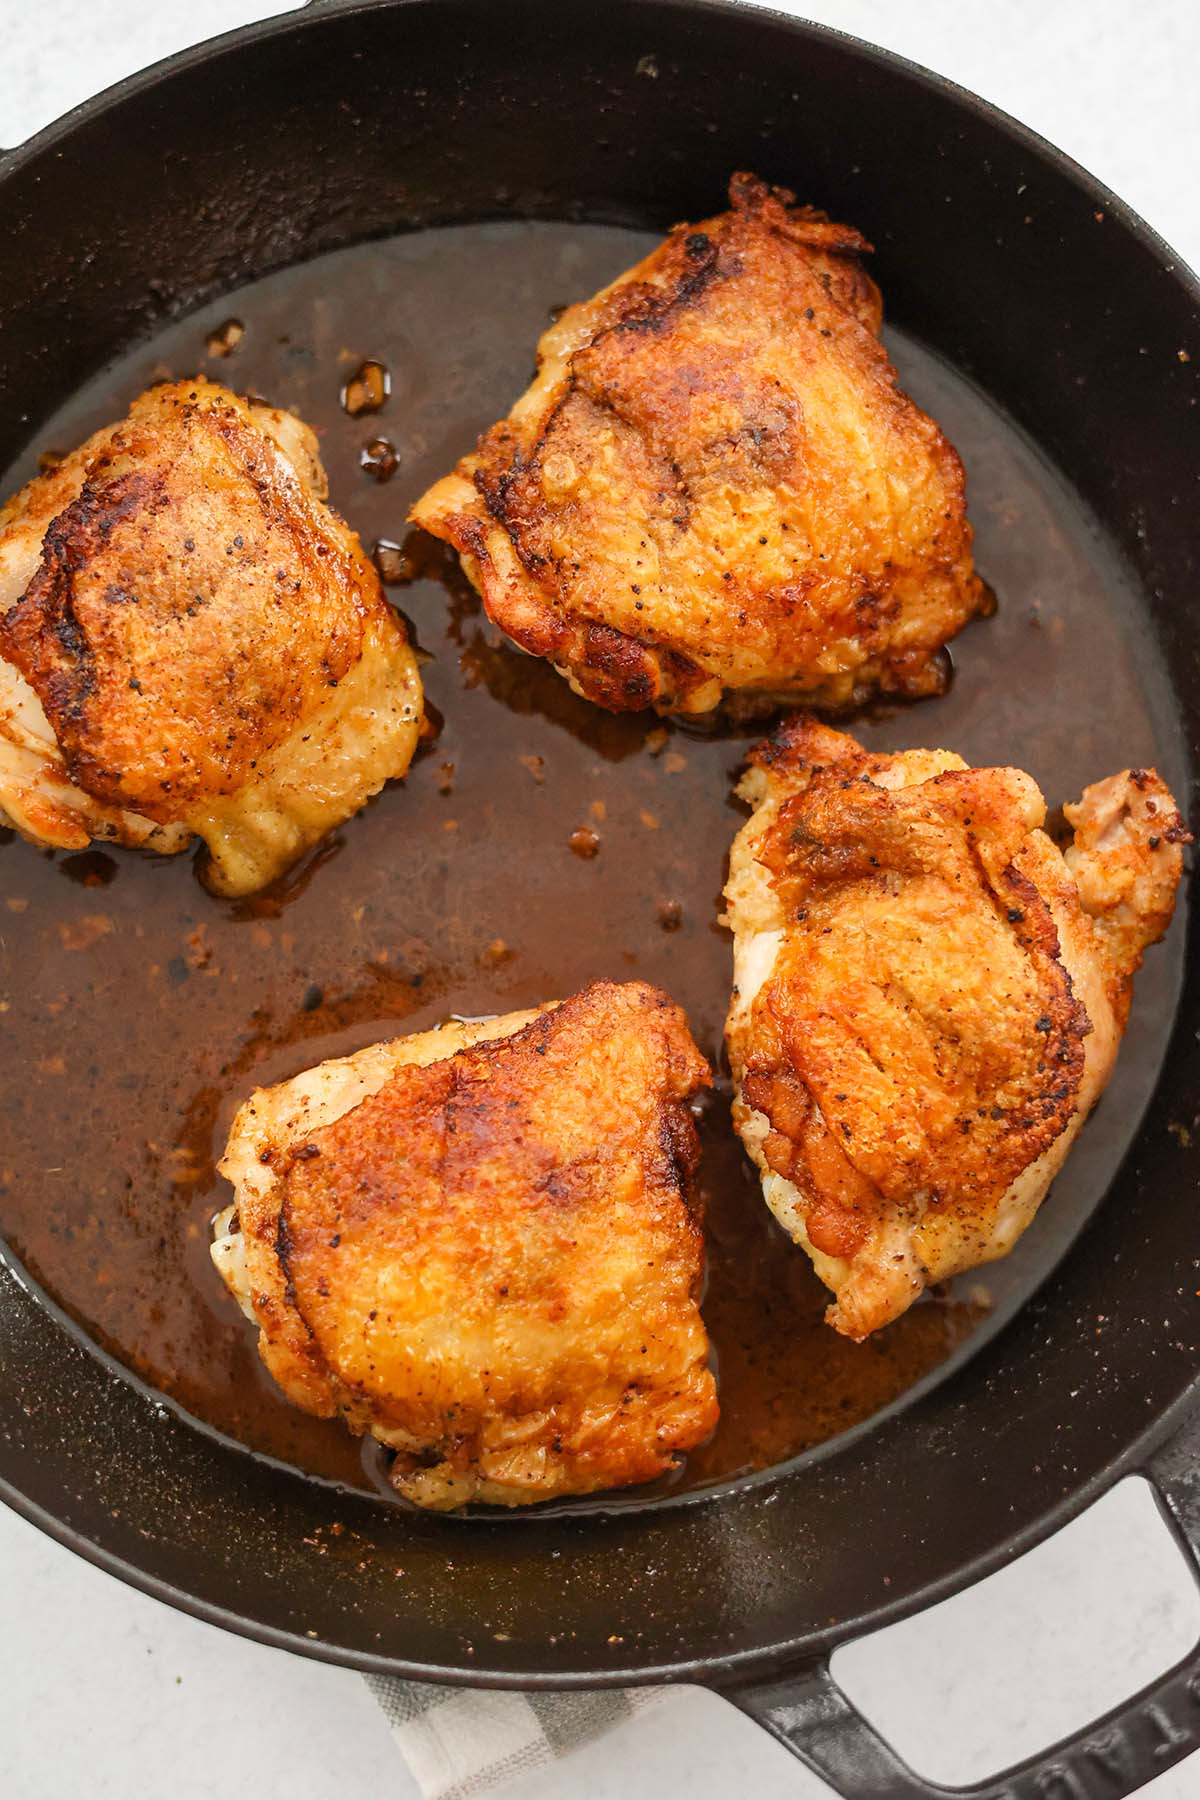
Once the skillet reaches the desired temperature, carefully place the seasoned or marinated drumsticks in a single layer in the skillet. Avoid overcrowding the skillet, as this can prevent even cooking and browning.
If the skillet is not large enough to accommodate all the drumsticks in a single layer, you may need to cook them in batches. This ensures that each drumstick has enough space to cook properly and allows for even heat distribution throughout the skillet.
Adjusting the Cooking Time
The cooking time for chicken drumsticks in an electric skillet can vary depending on the size of the drumsticks and the individual skillet. It’s important to cook the drumsticks thoroughly to ensure they are safe to eat.
As a general guideline, you can cook chicken drumsticks for approximately 20 to 25 minutes, flipping them halfway through the cooking process. You can also use a meat thermometer to check if the drumsticks have reached an internal temperature of 165°F (74°C), which is the minimum safe temperature for poultry.
It’s essential to keep an eye on the drumsticks as they cook, adjusting the cooking time if necessary. The skin should turn golden brown and crisp, and the juices should run clear when the drumsticks are fully cooked.
Remember that cooking times may vary depending on the size and thickness of the drumsticks. Always rely on visual cues such as color and texture, along with the internal temperature, to ensure that the drumsticks are properly cooked.
Once the chicken drumsticks are cooked to perfection, it’s time to check their doneness before serving and enjoying them.
Read more: How To Bake Brownies in An Electric Skillet
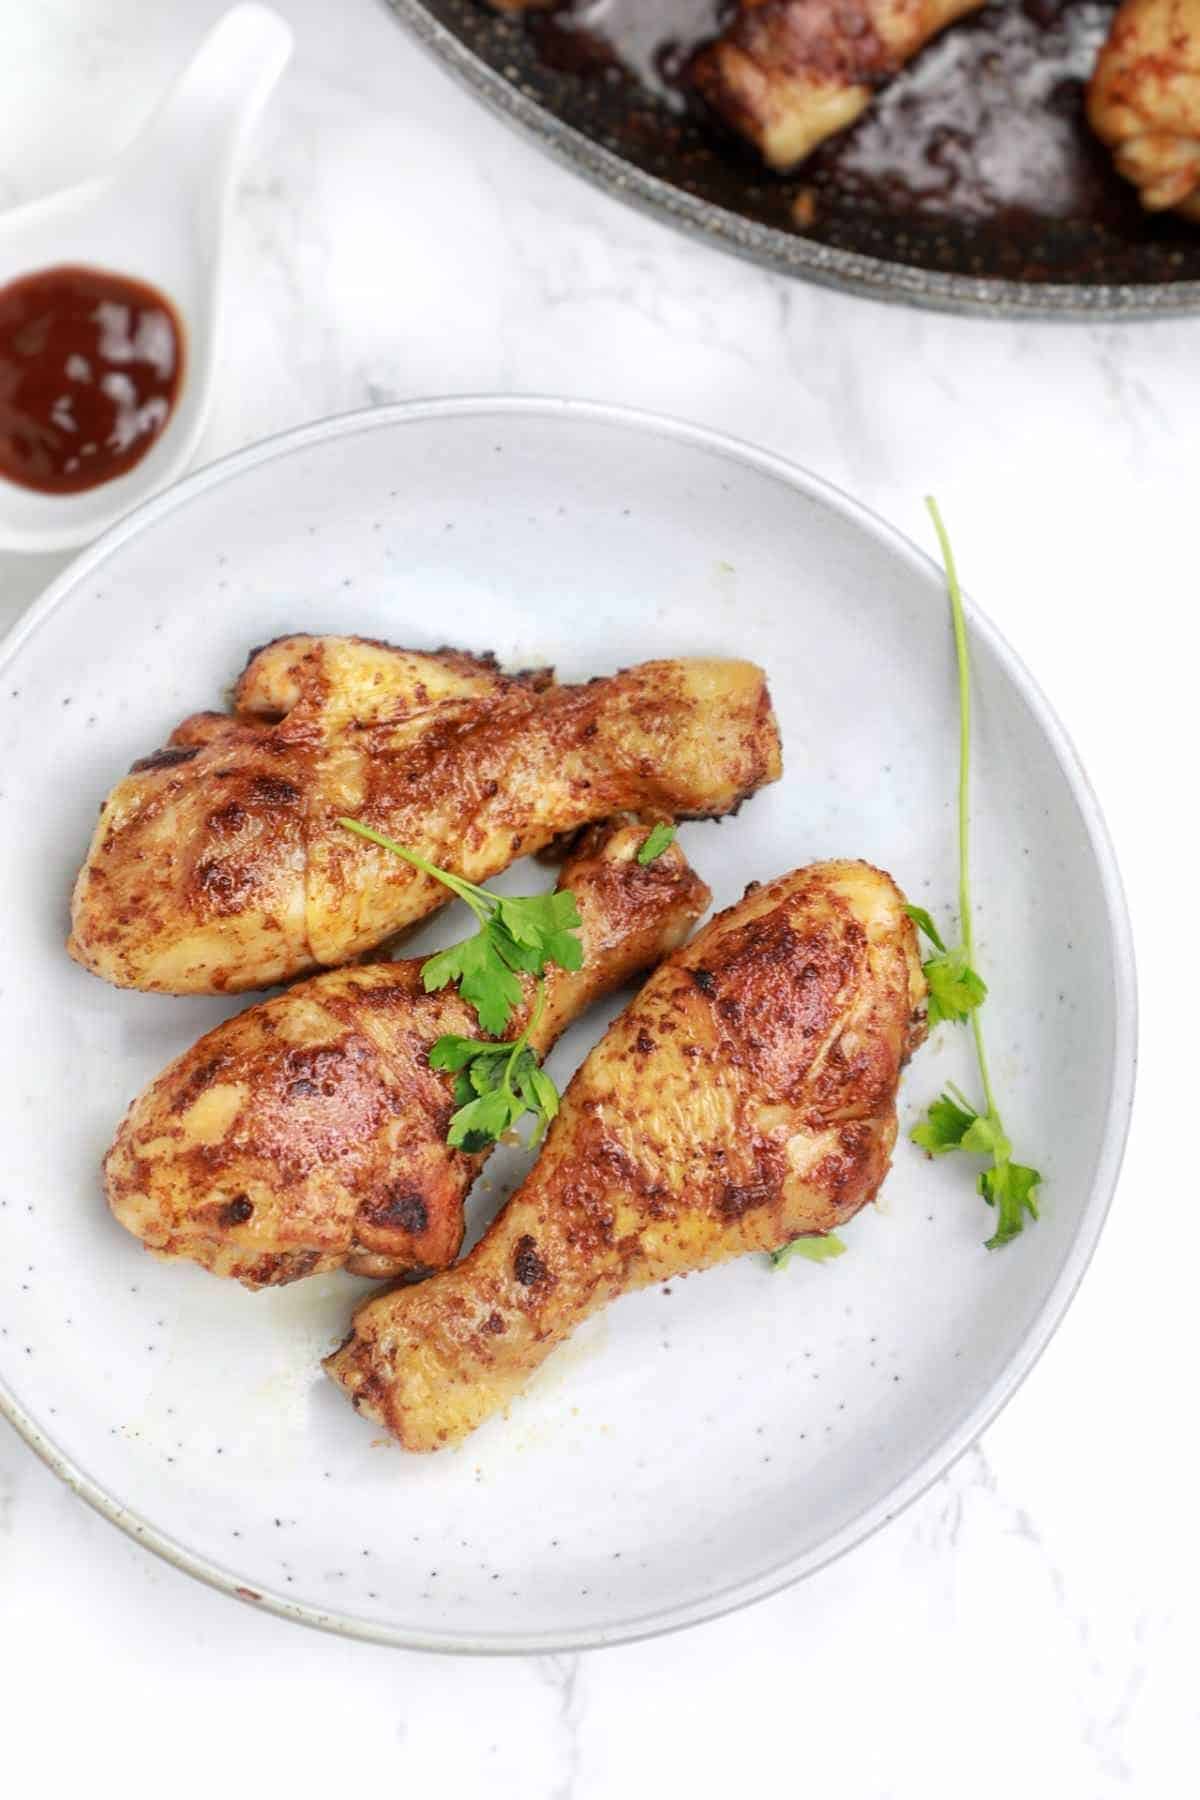
Checking the Doneness of the Chicken Drumsticks
Ensuring that your chicken drumsticks are cooked to the right temperature is crucial for both taste and food safety. Here are two reliable methods to check the doneness of your chicken drumsticks:
Using a Meat Thermometer
One of the most accurate ways to determine the internal temperature of the chicken drumsticks is by using a meat thermometer. Insert the probe into the thickest part of the meat, being careful not to touch the bone, as this can give a false reading.
The chicken drumsticks should reach an internal temperature of 165°F (74°C) to be considered safe to eat. If the thermometer reads below this temperature, continue cooking the drumsticks for a few more minutes and then check the temperature again. Repeat this process until the desired internal temperature is reached.
A meat thermometer ensures that your chicken drumsticks are cooked to the appropriate temperature, guaranteeing their safety and eliminating any guesswork.
Visual Cues
In addition to using a meat thermometer, you can also rely on visual cues to assess the doneness of your chicken drumsticks.
Look for the following signs to determine if the drumsticks are cooked through:
- The skin should be golden brown and crispy.
- The meat should be opaque and no longer pink, especially near the bone.
- When pierced with a fork or knife, the juices should run clear and not have any trace of pinkness.
- The drumsticks should feel firm when pressed with tongs or a spatula.
If you notice any signs indicating that the drumsticks are not fully cooked, continue cooking them for a few more minutes until they reach the desired doneness.
Using a combination of a meat thermometer and visual cues ensures that your chicken drumsticks are not only safe to eat but also flavorful, juicy, and cooked to perfection.
Once you’re confident that the chicken drumsticks are fully cooked, it’s time to serve and enjoy them with your favorite sides or sauces.
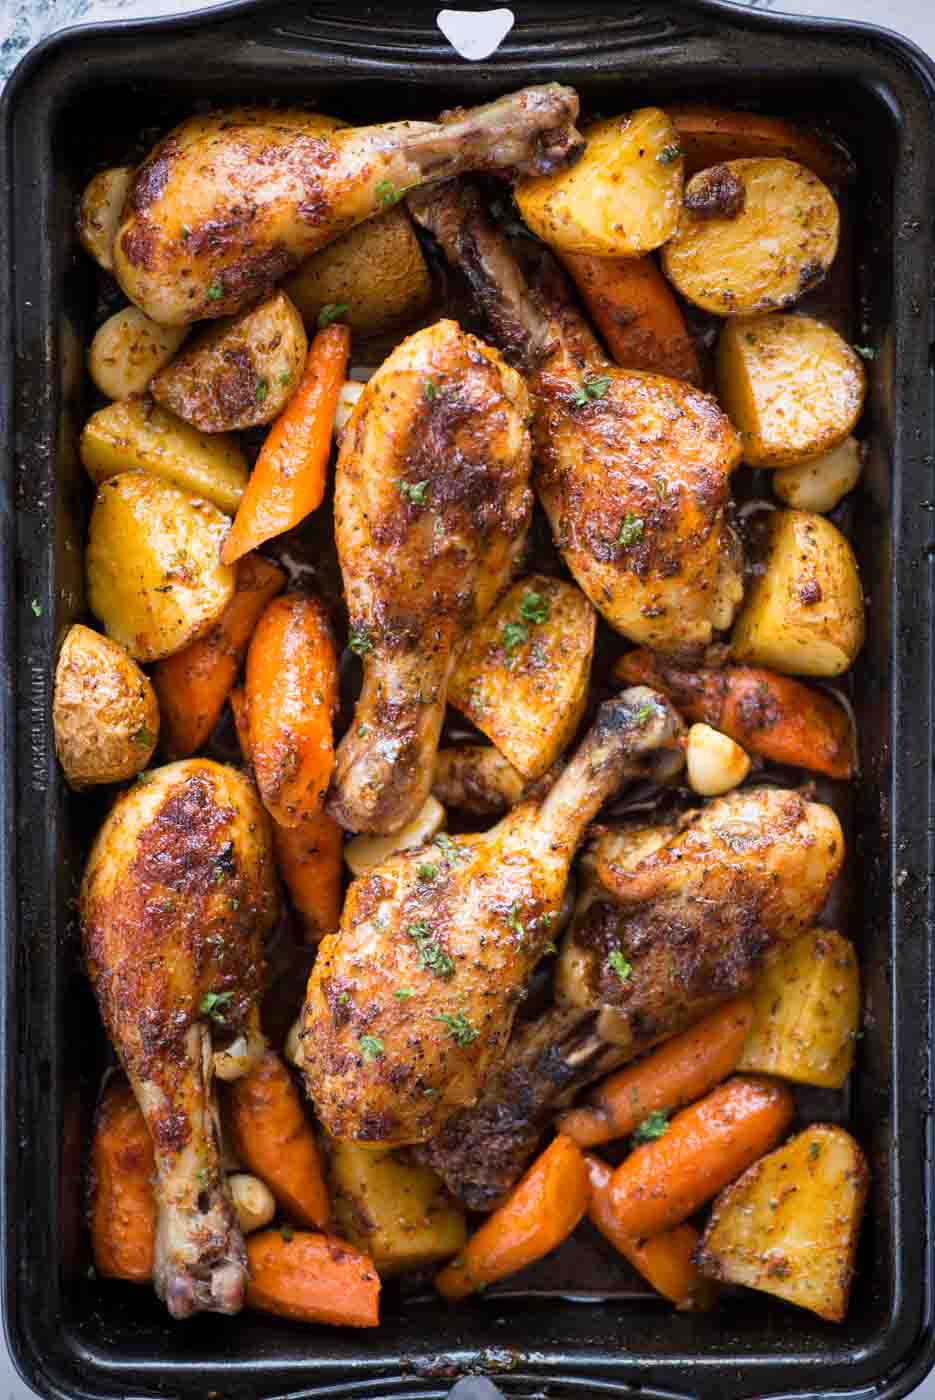
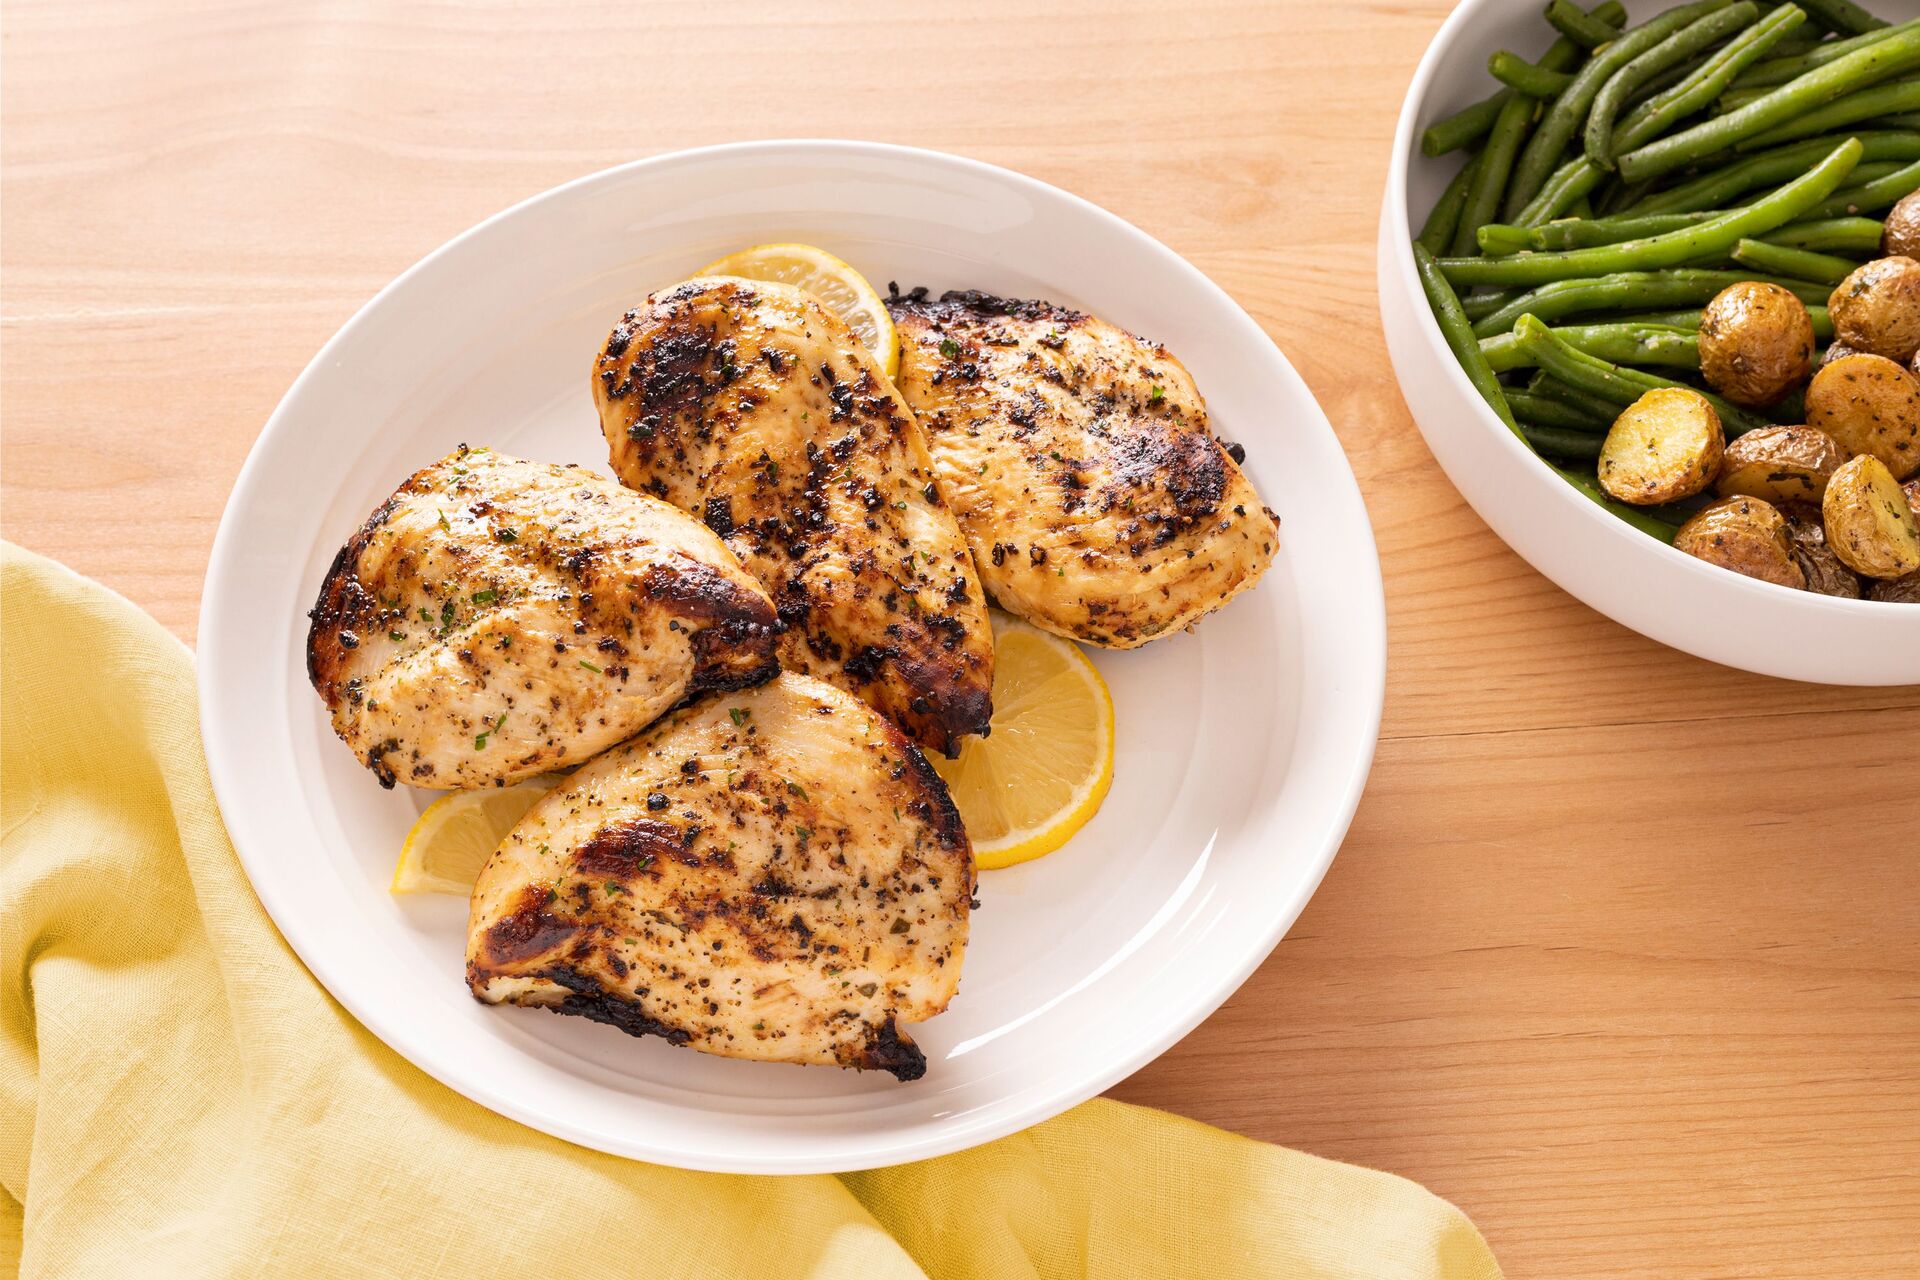
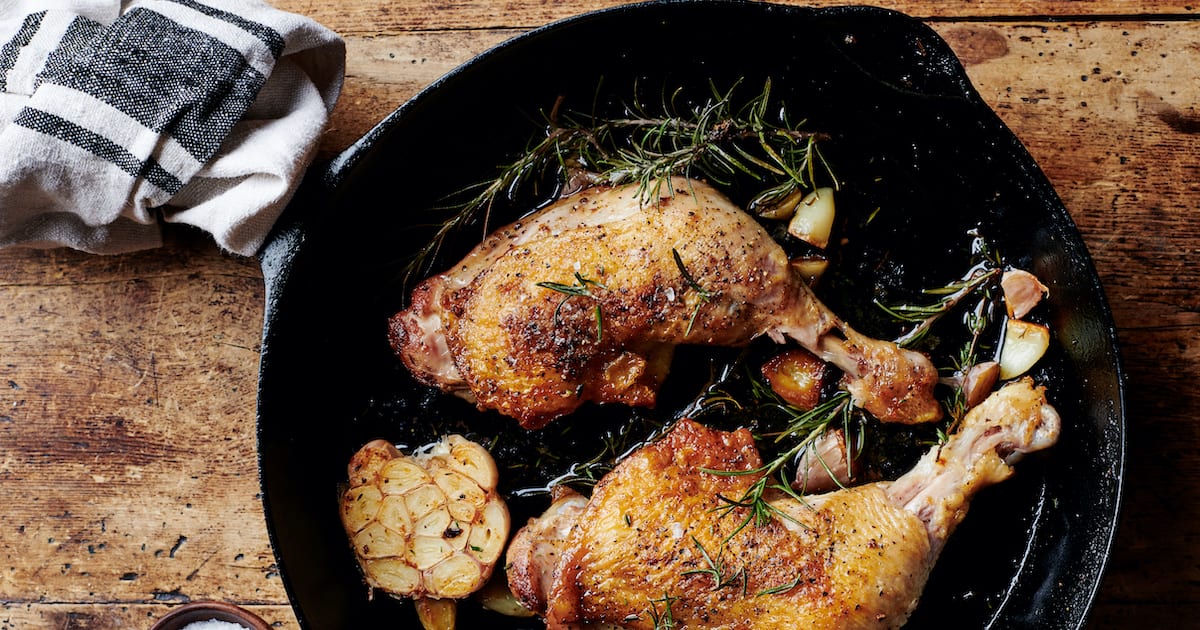
Serving and Enjoying the Chicken Drumsticks
After putting in the effort to prepare and cook the chicken drumsticks, it’s time to savor the fruits of your labor. Here are some tips for serving and enjoying the delicious chicken drumsticks:
Read more: How To Bake A Cake In Electric Skillet
Plating and Presentation:
- Transfer the cooked chicken drumsticks to a serving platter or individual plates.
- Garnish the drumsticks with fresh herbs like parsley or cilantro to add a pop of color.
- Accompany the drumsticks with your favorite side dishes such as mashed potatoes, steamed vegetables, or a fresh salad.
- Add a squeeze of lemon or lime juice over the drumsticks for a burst of tanginess.
Sauces and Dips:
- Pair the chicken drumsticks with dipping sauces like barbecue sauce, honey mustard, or ranch dressing for added flavor.
- Create a homemade sauce by mixing mayonnaise, garlic, and herbs for a creamy and savory dip.
- Experiment with different flavors and spices to create your unique sauce that complements the chicken drumsticks.
Family and Friends:
- Share the delicious chicken drumsticks with your loved ones, friends, or guests.
- Arrange a family gathering or a casual get-together to enjoy the meal together.
- Ask for feedback and suggestions to improve your cooking skills and enhance the recipe for the next time.
- Celebrate the satisfaction of a well-cooked meal and enjoy the joy of sharing good food with good company.
Remember, the key to enjoying chicken drumsticks is to savor the flavors, appreciate the effort put into cooking them, and create a warm and inviting dining experience.
Once you’ve finished your meal, don’t forget to clean and maintain your electric skillet for future use.
Cleanup and Maintenance of the Electric Skillet
After enjoying a delicious meal of chicken drumsticks cooked in your electric skillet, it’s important to properly clean and maintain the skillet to ensure its longevity and optimal performance. Here are some tips for cleaning and maintaining your electric skillet:
Read more: How To Fry Chicken In Electric Skillet
Cleaning:
- Unplug the electric skillet and allow it to cool down before cleaning.
- Remove the temperature control and any other detachable parts according to the manufacturer’s instructions.
- Wipe the interior of the skillet with a clean, damp cloth or sponge to remove any food residue.
- If there are stubborn stains or food particles, add a small amount of dish soap to the cloth or sponge and scrub gently.
- Rinse the skillet thoroughly with warm water to remove any soap residue.
- Dry the skillet completely using a soft cloth or paper towels.
- Reattach the temperature control and any other detachable parts.
Maintenance:
- Avoid using abrasive materials or harsh chemicals when cleaning the electric skillet, as they can damage the non-stick coating or the electrical components.
- Store the electric skillet in a cool, dry place away from direct sunlight or heat sources.
- Regularly check the power cord for any signs of damage and replace it if necessary.
- If the skillet has a removable cooking surface, periodically check for any signs of wear and tear and replace it if needed.
- Follow the manufacturer’s instructions for any specific maintenance guidelines, such as seasoning the skillet or periodically oiling the heating element.
By following these cleaning and maintenance practices, you can ensure that your electric skillet stays in excellent condition and continues to provide you with deliciously cooked meals for years to come.
Now that you’re well-versed in cleaning and maintaining your electric skillet, you’re ready to unleash your culinary creativity and explore more delectable dishes!
Conclusion
Cooking chicken drumsticks in an electric skillet offers a convenient and flavorful way to enjoy this popular poultry dish. With precise temperature control and even heat distribution, the electric skillet ensures that your drumsticks turn out tender, juicy, and perfectly cooked every time. By following the step-by-step process outlined in this article, you can become a master at baking chicken drumsticks in your electric skillet.
From preparing the drumsticks with delicious seasonings or marinating them for extra flavor, to preheating the skillet and cooking the drumsticks to the ideal temperature, each step is important in achieving a mouthwatering result. Checking the doneness using a meat thermometer or visual cues guarantees that the drumsticks are cooked through and safe to eat.
Once the drumsticks are cooked to perfection, serving and enjoying them becomes a delight. Plating the drumsticks with attractive presentation, complementing them with tasty sauces or dips, and sharing the meal with loved ones create an unforgettable dining experience.
After the meal, proper cleanup and maintenance of your electric skillet ensure its longevity and continued performance. Taking care of your skillet will enable you to enjoy many more delicious dishes in the future.
In conclusion, cooking chicken drumsticks in an electric skillet is an excellent way to enjoy a tasty and hassle-free meal. The versatility and convenience of the electric skillet make it a valuable tool in any kitchen. So, grab your electric skillet, season those drumsticks, preheat the skillet, and get ready to indulge in a mouthwatering and satisfying meal!
Excited about mastering your electric skillet? Dive deeper into versatile cooking techniques with our guide on Electric Skillet Cooking, where you'll learn five different methods to whip up delicious meals using this handy appliance. Once you've got the techniques down, put your skills to the test with our collection of Skillet Recipes, featuring 14 must-try dishes curated for 2024. These guides will surely make meal prep more exciting and flavorful!
Frequently Asked Questions about How To Bake Chicken Drumsticks In An Electric Skillet?
Was this page helpful?
At Storables.com, we guarantee accurate and reliable information. Our content, validated by Expert Board Contributors, is crafted following stringent Editorial Policies. We're committed to providing you with well-researched, expert-backed insights for all your informational needs.

0 thoughts on “How To Bake Chicken Drumsticks In An Electric Skillet?”