Articles
How To Store Leaf Blower In Garage
Modified: August 31, 2024
Learn the best tips on how to store your leaf blower in the garage with our informative articles. Keep your equipment safe and extend its lifespan.
(Many of the links in this article redirect to a specific reviewed product. Your purchase of these products through affiliate links helps to generate commission for Storables.com, at no extra cost. Learn more)
Introduction
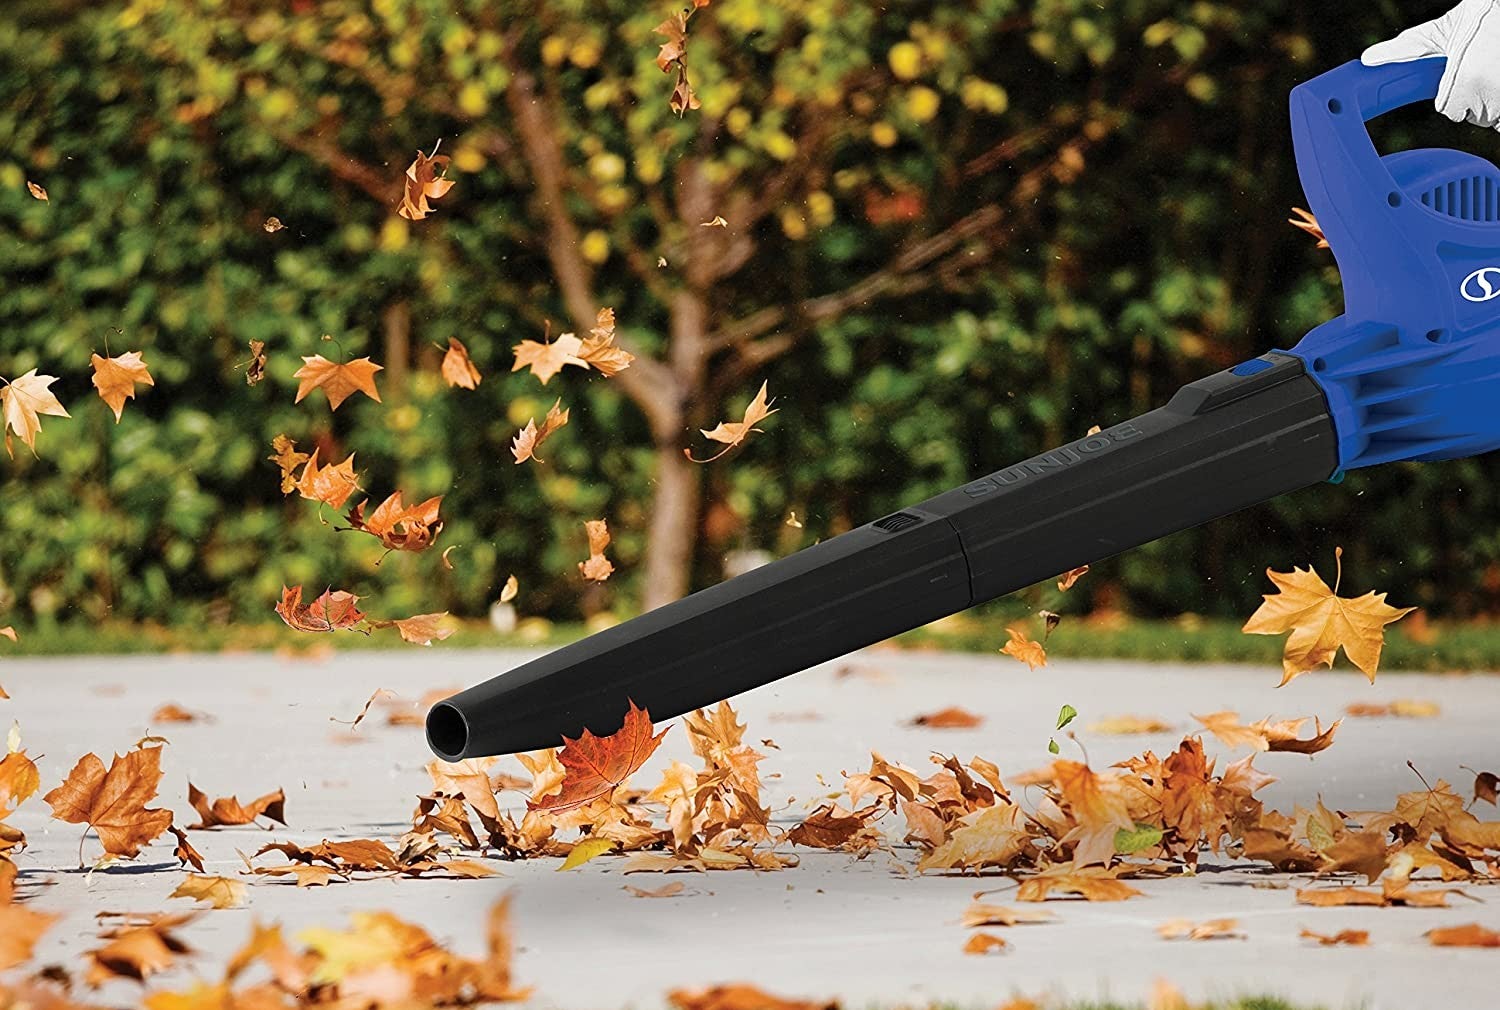
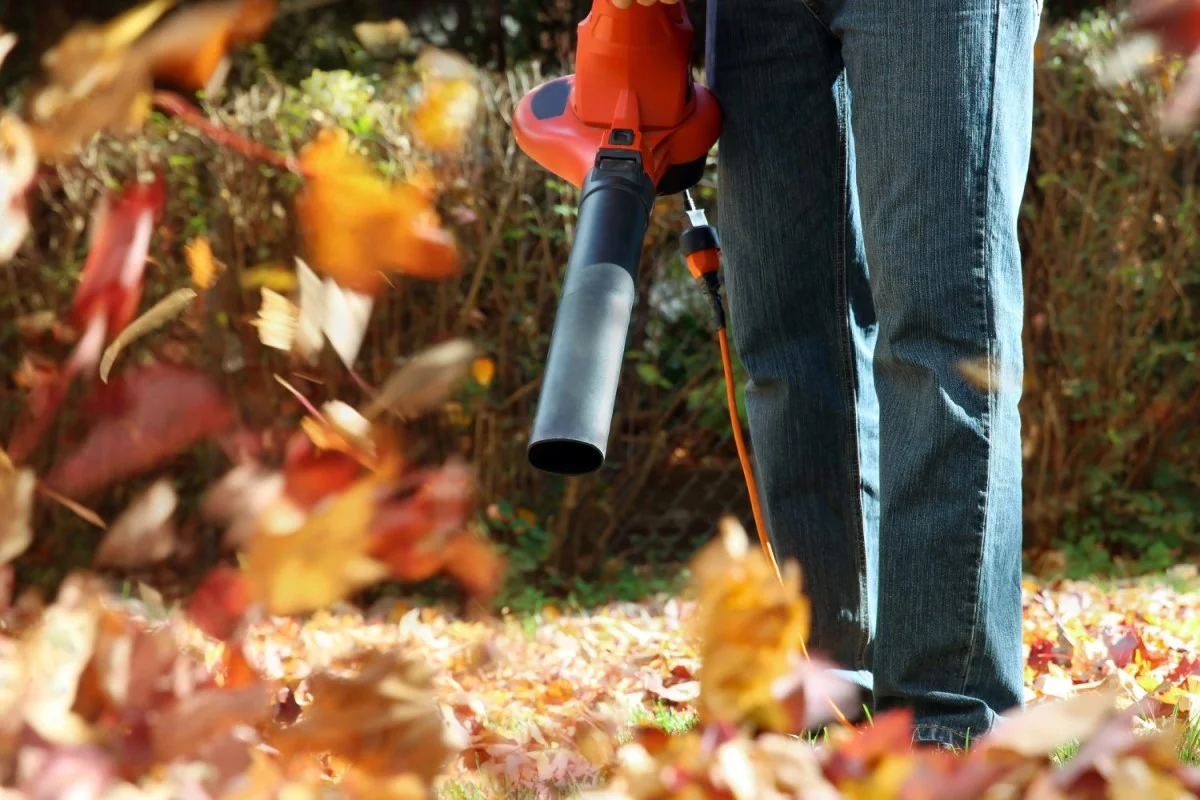
When the fall season comes to an end, it’s time to put away your leaf blower until the next year. Properly storing your leaf blower in your garage ensures that it remains in good condition and ready for use when needed. However, storing a leaf blower in a garage requires some preparation and care.
In this article, we will walk you through the step-by-step process of storing your leaf blower in the garage. From cleaning and maintenance to choosing the right storage location, we will cover all the essential tips and tricks to help you keep your leaf blower safe and well-preserved during the off-season.
By following these guidelines, you can prevent damage to your leaf blower and ensure it’s ready to tackle the next batch of fallen leaves with ease. So let’s dive in and learn how to properly store your leaf blower in the garage.
Key Takeaways:
- Properly storing your leaf blower in the garage involves cleaning, choosing a suitable storage location, disconnecting and draining fuel, protecting the battery, and periodic maintenance to ensure optimal performance and longevity.
- Regular monitoring and maintenance throughout the storage period are essential to catch any issues early and ensure your leaf blower remains in good working condition for hassle-free operation when the next season arrives.
Read more: How To Store Backpack Leaf Blower In Garage
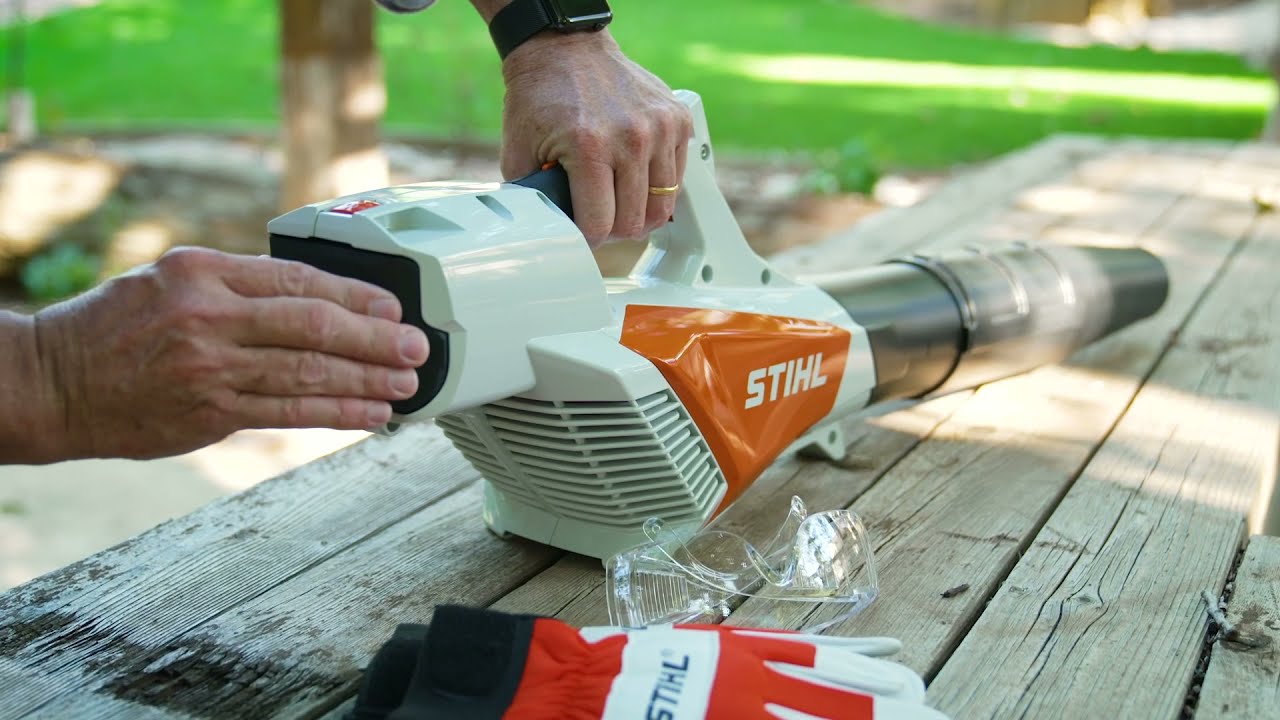
Step 1: Clean and Maintain the Leaf Blower
Before storing your leaf blower, it’s crucial to clean and maintain it properly. This step will help remove any dirt, debris, or residual materials that can cause problems if left untouched during the storage period.
Start by turning off the leaf blower and disconnecting it from any power source. Use a soft brush or cloth to gently remove any dirt, leaves, or grass clippings from the exterior of the blower. Pay attention to the air vents, intake ports, and the fan blades. Make sure to remove any clogs or obstructions that may affect the blower’s performance.
Next, inspect the air filter, spark plug, and fuel lines. Clean or replace the air filter if necessary, and check the spark plug for any signs of wear or damage. If needed, replace the spark plug to ensure optimal performance.
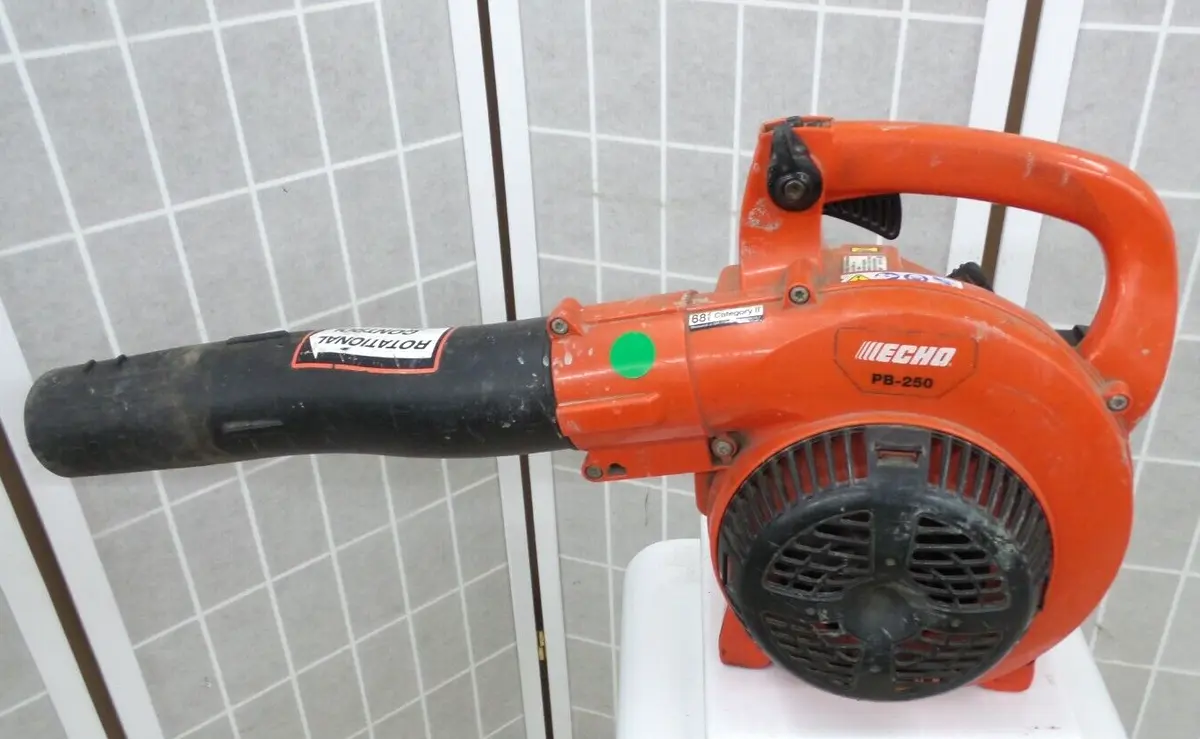
If your leaf blower has a gas-powered engine, it’s important to properly maintain the fuel system. Consider adding a fuel stabilizer to the gas tank to prevent the fuel from deteriorating during storage. Follow the manufacturer’s instructions on how to properly add the stabilizer and run the engine briefly to allow the stabilizer to circulate.
Additionally, empty or drain the fuel tank if you anticipate a storage period longer than a month. Running the leaf blower until the fuel tank is empty is an effective way to do this. Dispose of the fuel properly according to local regulations.
Lastly, inspect the blower’s accessories, such as the nozzles or attachments. Clean them thoroughly and ensure they are in good condition. Replace any damaged or worn-out accessories before storing the leaf blower. This will ensure you have everything you need for the next use.
By cleaning and maintaining your leaf blower before storage, you not only extend its lifespan but also ensure that it starts up smoothly when you need it again.
Step 2: Choose a Suitable Storage Location
Choosing the right storage location for your leaf blower is crucial to ensure its safety and longevity. Ideally, you want to find a spot in your garage that is clean, dry, and away from any potential hazards.
Start by clearing out any clutter or debris in the area where you plan to store your leaf blower. This will help create a clean and organized space specifically for your equipment.
Next, consider the temperature and humidity levels of your chosen storage location. Extreme temperatures and high humidity can negatively impact the condition of your leaf blower. Aim for a moderate temperature and humidity level to prevent any damage caused by fluctuations in weather conditions.
Avoid storing the leaf blower in areas that are prone to leaks or flooding. Even minor moisture exposure can lead to rust and corrosion, which can significantly reduce the lifespan of your equipment.
It’s also important to provide adequate ventilation in the storage area. Good air circulation helps prevent the buildup of condensation and keeps the air fresh, minimizing the risk of mold or mildew formation on the leaf blower.
Consider using a storage shelf, wall hooks, or a designated storage container to keep the leaf blower off the ground. This will protect it from potential damage caused by accidental bumps or spills on the garage floor.
Lastly, ensure that the storage location is easily accessible and convenient for retrieval when you need to use the leaf blower again. Organizing your garage and creating a dedicated space for the blower will save you time and effort when it comes to finding and retrieving your equipment.
By choosing a suitable storage location, you can provide an optimal environment for your leaf blower, ensuring its safety and allowing for easy access when the time comes to use it again.
Step 3: Prepare the Garage for Storage
Preparing your garage for leaf blower storage is an essential step in ensuring the safety and proper maintenance of your equipment. By taking the time to prepare the storage space, you can minimize the risk of damage and make retrieval easier in the future.
First, declutter your garage and organize your belongings. Remove any unnecessary items or hazards that could potentially damage the leaf blower or obstruct access to it. Clearing up space will not only provide a safer environment for storage but also make it easier to locate and retrieve your leaf blower when needed. Consider using storage bins or shelves to keep smaller items organized and out of the way.
Next, clean the garage thoroughly. Sweep the floor and remove any dust, dirt, or debris that could accumulate on the leaf blower during storage. Wipe down any surfaces or shelves where the blower will be placed to prevent dirt from transferring onto the equipment.
Inspect the garage for any signs of pests, such as rodents or insects. Seal any cracks or openings that may serve as entry points for these pests to prevent them from damaging your leaf blower. You may also want to consider using pest control measures, such as traps or repellents, to further protect your equipment.
If your garage lacks proper insulation, consider using a cover or storage bag specifically designed for leaf blowers. These covers will protect the blower from dust, moisture, and other potential damages. Ensure that the cover fits properly and provides adequate protection.
Lastly, install proper lighting in your garage if it’s not already present. Good lighting will not only make it easier to locate your leaf blower but also provide a safer environment when accessing and handling the equipment.
By preparing your garage for storage, you create a clean and organized space that promotes the proper maintenance and longevity of your leaf blower. Taking these precautions ensures that your equipment remains in excellent condition for future use.
Step 4: Disconnect and Drain Fuel
Before storing your leaf blower, it is important to properly disconnect and drain the fuel from the machine. This step is crucial to prevent the fuel from deteriorating, which can lead to engine issues and potential damage to your leaf blower during storage.
Start by turning off the leaf blower and allowing it to cool down completely. Find the fuel tank and locate the fuel shut-off valve if your leaf blower has one. Turn off the fuel shut-off valve to prevent any fuel flow during the draining process.
Next, place a container or a suitable fuel-safe canister below the fuel tank. Carefully remove the fuel line from the tank, ensuring that the container is ready to catch any fuel that drains out. Drain the fuel into the container until the tank is empty.
After draining the fuel, dispose of it properly according to local regulations. Gasoline should never be poured down the drain or discarded in regular household waste. Contact your local waste disposal facility for instructions on how to properly dispose of gasoline.
If you have a two-stroke engine leaf blower, it’s a good practice to mix a small amount of two-stroke oil with the last bit of gasoline before draining it. This ensures that the internal components are coated with oil, preventing rust and corrosion during storage.
Once you have drained the fuel, give the fuel tank and fuel lines a quick wipe-down to remove any residual gasoline. This will help keep the inside of the tank clean and prevent any potential clogs or damage caused by leftover fuel residue.
By properly disconnecting and draining the fuel, you can avoid potential fuel-related issues and ensure that your leaf blower is ready for use when the next season arrives.
To store a leaf blower in the garage, make sure to clean it thoroughly to remove any debris, then find a designated spot to hang or place it to prevent any damage or tripping hazards.
Read more: How To Hang A Leaf Blower In The Garage
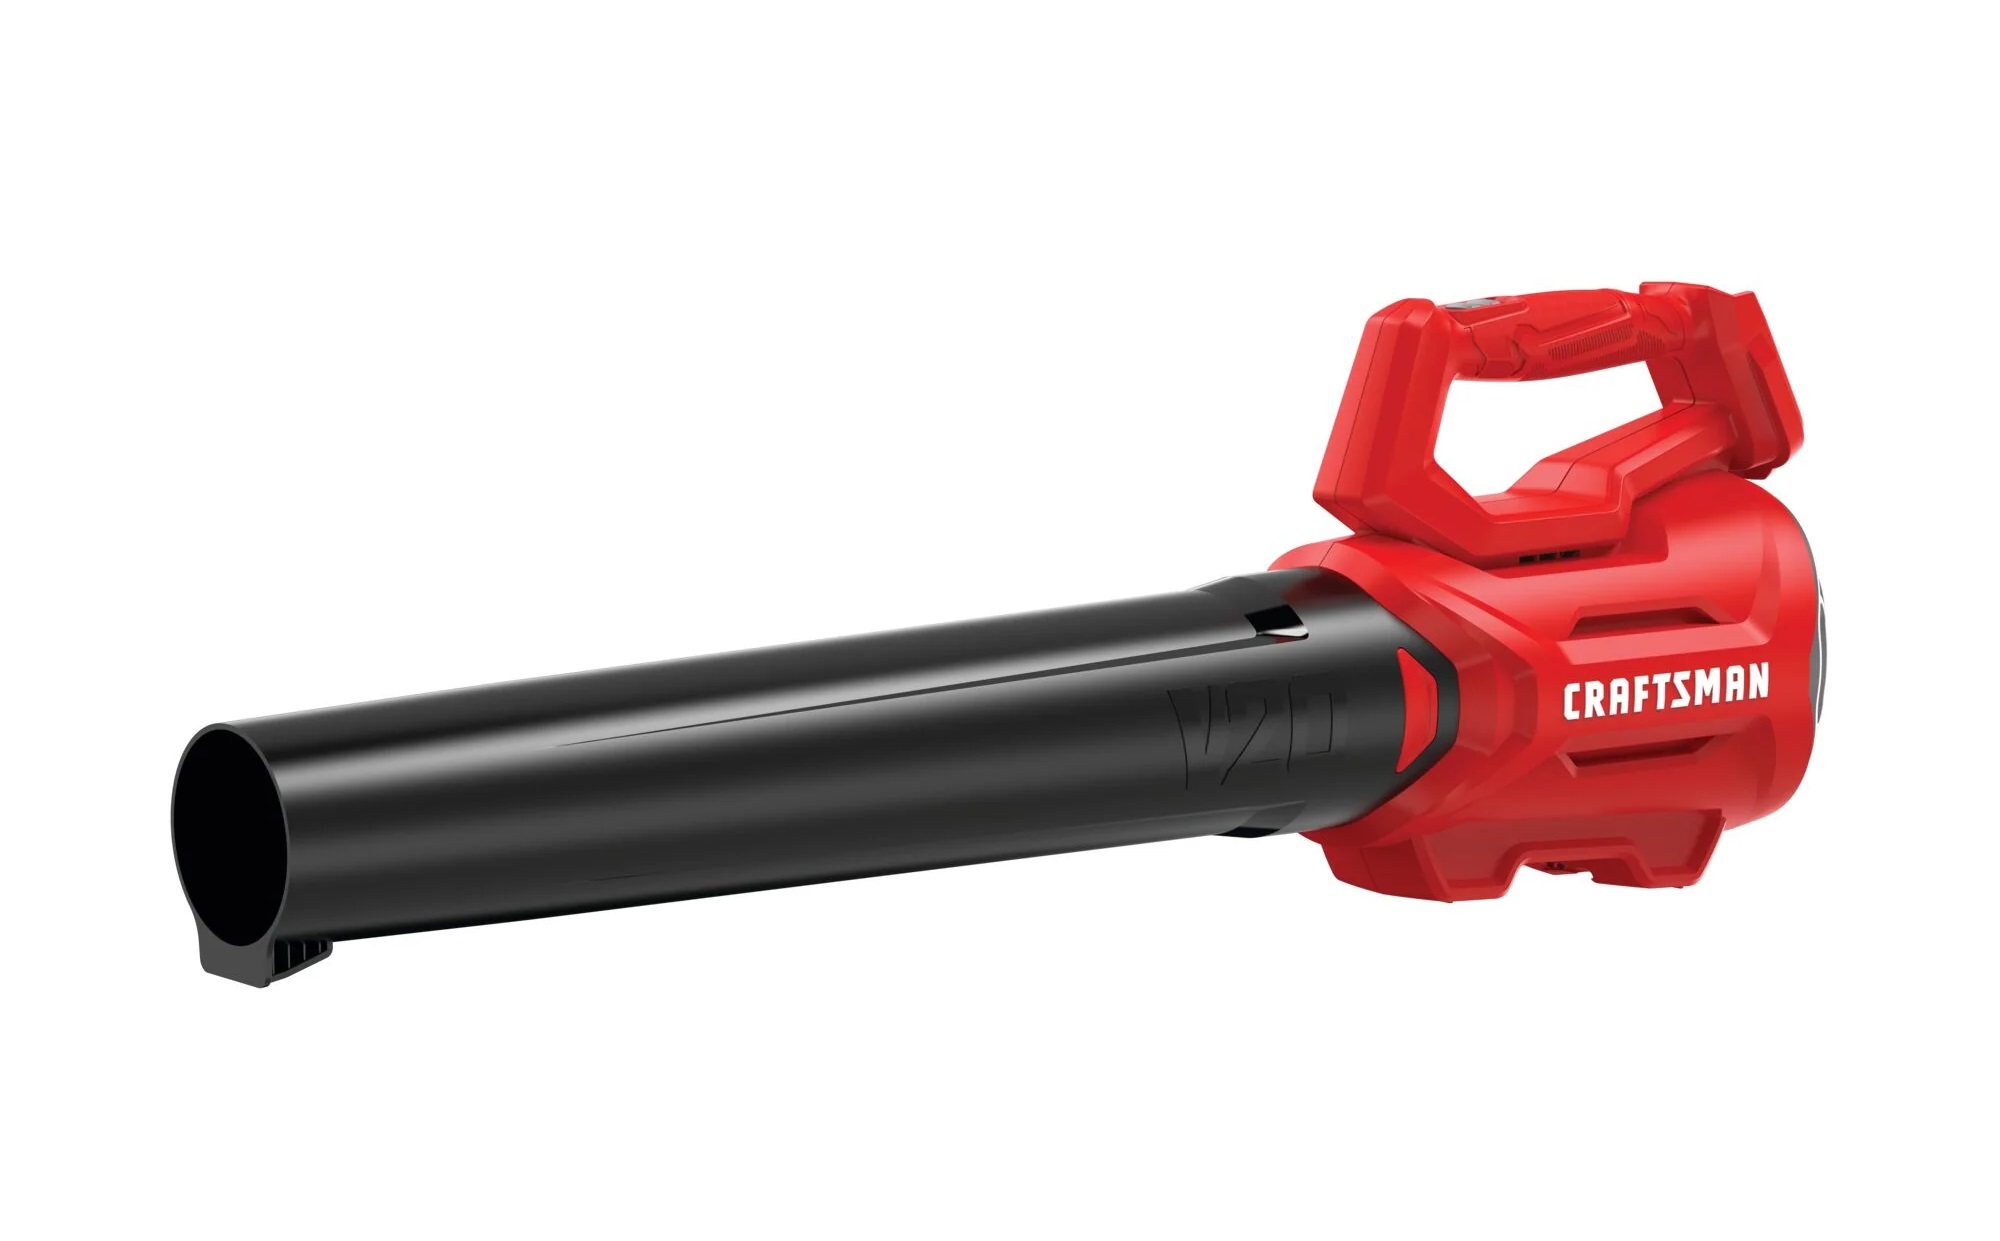
Step 5: Remove or Protect the Battery (If Applicable)
If your leaf blower is equipped with a battery, it is important to properly handle and store it during the off-season. Batteries can degrade and lose their charge over time, so it’s essential to take the necessary steps to preserve their performance.
Start by referring to the manufacturer’s manual for specific instructions on removing the battery from your leaf blower. Follow the recommended procedure to safely detach the battery from the equipment. This typically involves locating the battery compartment and disconnecting any connectors or securing mechanisms.
Once the battery is removed, inspect it for any signs of damage or wear. Check the battery terminals and clean them if necessary, using a soft cloth or brush. This will help ensure a good connection and proper performance when you reinstall the battery in the future.
If you choose to keep the battery in the leaf blower during storage, it is important to protect it from extreme temperatures, moisture, and potential damage. Consider using a battery maintainer or charger specifically designed for long-term storage. These devices will help maintain the battery’s charge and prevent it from deteriorating.
If you decide to remove the battery, store it in a cool and dry place away from direct sunlight and extreme temperatures. A temperature-controlled storage area, such as a basement or garage shelf, is ideal for preserving battery life.
Before storing the battery, ensure it is fully charged. A fully charged battery is less likely to suffer from self-discharge and will have a longer lifespan during storage. Follow the manufacturer’s guidelines for charging the battery, as different battery types may require different charging techniques.
Label the battery with the purchase date or note it down in a logbook. This will help you keep track of the battery’s age and determine when it may need to be replaced in the future.
Remember to periodically check the battery’s charge level throughout the storage period. If the battery starts to lose charge, consider recharging it to maintain its capacity.
By either removing or protecting the battery, you can ensure its longevity and optimal performance when you’re ready to use your leaf blower again.
Step 6: Clean the Leaf Blower Again
After preparing your leaf blower for storage, it’s important to give it one final cleaning before putting it away. This step helps remove any remaining dirt, debris, or moisture that may have accumulated during the previous steps.
Start by using a soft brush or cloth to gently clean the exterior of the leaf blower. Pay close attention to the air vents, intake ports, and fan blades. Remove any remaining dirt or debris to prevent clogs and ensure proper airflow.
If there are stubborn stains or buildup, you can use a mild detergent or cleaner specifically designed for outdoor equipment. Apply the cleaner and scrub gently with a brush or cloth. Be sure to rinse off any cleaning solution thoroughly afterward to prevent damage to the blower.
Next, inspect the spark plug and clean it if necessary. Use a spark plug cleaner tool or replace the spark plug if it shows signs of wear or damage. A clean and properly functioning spark plug contributes to efficient engine performance.
Check the air filter and clean or replace it if needed. A clean air filter prevents dirt and debris from entering the engine, ensuring optimal performance and extending the lifespan of the leaf blower.
Inspect the nozzles or attachments and clean them thoroughly as well. Ensure there are no clogs or obstructions that may affect the blower’s functionality. If any accessories are damaged or worn out, consider replacing them before storing the leaf blower.
Finally, wipe down the entire blower with a dry cloth to remove any moisture and ensure it is completely dry before storage. Moisture can lead to rust and corrosion, so it’s essential to eliminate any excess moisture that may have accumulated during the cleaning process.
By giving your leaf blower a thorough cleaning before storage, you not only maintain its appearance but also prolong its overall lifespan and performance. A clean leaf blower will be ready to tackle your outdoor tasks effectively when you bring it out again.
Step 7: Store in a Safe and Secure Manner
Now that you have prepared and cleaned your leaf blower, it’s time to store it in a safe and secure manner. Proper storage ensures that your equipment remains protected and ready for use when the next season arrives.
First, choose a designated storage area within your garage where the leaf blower will be kept. Ensure that it is away from any potential hazards such as chemicals, sharp tools, or heavy objects that could accidentally damage the blower.
Consider using a shelf, wall hooks, or a storage container specifically designed for leaf blowers to keep it off the ground. This not only helps prevent damage from accidental bumps or spills but also saves space in your garage.
If you are using a cover or storage bag for the leaf blower, make sure it fits properly and provides adequate protection against dust, moisture, and other potential damages. Secure the cover or bag tightly to keep out any debris or pests.
If your leaf blower has detachable parts or accessories, store them together with the blower to avoid misplacing them. Utilize storage compartments or small containers to keep all the parts organized and readily accessible when needed.
Label the storage area or container with the name of the leaf blower or any other identifying information. This will help you locate it quickly and easily when you need it, especially if you have multiple pieces of equipment stored in the same area.
Do not stack heavy objects or place other items on top of the leaf blower to avoid potential damage. Leave enough space around the blower for proper airflow and to prevent any accidental impacts that could dent or break the equipment.
Finally, make sure the storage area is dry, clean, and well-ventilated. Regularly inspect the storage area to ensure it remains free from moisture, pests, or any potential hazards that could harm the leaf blower.
By storing your leaf blower in a safe and secure manner, you can protect it from damage and ensure that it stays in excellent condition for future use. With proper storage, your leaf blower will be ready to tackle your outdoor tasks effectively when the time comes.
Step 8: Monitor and Maintain Throughout the Storage Period
Even though your leaf blower is safely stored away, it’s important to periodically monitor and maintain it throughout the storage period. By doing so, you can ensure its continued performance and address any issues that may arise.
Regularly check the storage area for any signs of moisture, pests, or other potential hazards. Inspect the area around the leaf blower and inside its storage container, if applicable, to ensure that no water has accumulated or pests have taken up residence.
Inspect the blower for any signs of damage or wear. Check for loose screws, cracked casings, or frayed cables. If you notice any issues, contact a professional or refer to the manufacturer’s manual for guidance on how to address them.
If you are using a storage bag or cover, periodically remove it to allow for air circulation and inspect the blower for any signs of rust, corrosion, or damage. Wipe down the blower with a clean cloth to remove any dust or debris that may have accumulated during storage.
Check the battery (if applicable) to ensure it is holding its charge. If the battery seems to be losing its charge rapidly, consider recharging it or contacting the manufacturer for guidance. Replace the battery if it is no longer performing adequately.
Consider running the blower briefly during the storage period, especially if it has been stored for an extended period of time. This can help prevent any internal components from seizing or becoming stuck due to prolonged inactivity.
Follow any additional maintenance instructions provided by the manufacturer. This may include lubricating certain parts or conducting specific maintenance tasks to keep the blower in optimal condition. Consult the manual or reach out to the manufacturer for guidance if necessary.
Keep an eye on the storage area temperature and humidity levels. Extreme temperatures and high humidity can damage the blower. If necessary, consider using a dehumidifier or other measures to maintain suitable environmental conditions.
By regularly monitoring and maintaining your leaf blower throughout the storage period, you can catch any issues early and prevent further damage. This ensures that your blower will be in good working condition when you’re ready to use it again.
Read more: How To Store Leaf Blower
Conclusion
Properly storing your leaf blower in the garage is essential for maintaining its performance and prolonging its lifespan. By following the step-by-step process outlined in this article, you can ensure that your leaf blower remains in top condition and ready for use when the next season arrives.
From cleaning and maintaining the leaf blower to choosing a suitable storage location, preparing the garage, disconnecting and draining fuel, removing or protecting the battery (if applicable), cleaning the blower again, and storing it in a safe and secure manner, every step plays a crucial role in keeping your leaf blower in optimal condition.
Throughout the storage period, it’s important to periodically monitor and maintain the leaf blower. Checking for any signs of damage or wear, maintaining proper environmental conditions, and following any additional maintenance instructions from the manufacturer will help keep your blower in excellent shape.
Remember to refer to the manufacturer’s manual for specific instructions and guidelines tailored to your leaf blower’s model. They may provide additional tips or recommendations for storing and maintaining your equipment.
By taking the time and effort to properly store your leaf blower, you can ensure that it remains a reliable and efficient tool for years to come. So follow these steps, give your leaf blower the care it deserves, and enjoy hassle-free operation when the next season arrives.
Frequently Asked Questions about How To Store Leaf Blower In Garage
Was this page helpful?
At Storables.com, we guarantee accurate and reliable information. Our content, validated by Expert Board Contributors, is crafted following stringent Editorial Policies. We're committed to providing you with well-researched, expert-backed insights for all your informational needs.


0 thoughts on “How To Store Leaf Blower In Garage”