Home>Articles>How To Replace A Lightbulb In A Microwave Oven

Articles
How To Replace A Lightbulb In A Microwave Oven
Modified: February 26, 2024
Learn the steps to replace a lightbulb in a microwave oven with our informative articles. Ensure proper lighting for your microwave oven.
(Many of the links in this article redirect to a specific reviewed product. Your purchase of these products through affiliate links helps to generate commission for Storables.com, at no extra cost. Learn more)
Introduction
Replacing a lightbulb in a microwave oven is a simple task that can be done by anyone with basic DIY skills. A well-lit microwave oven not only makes it easier to monitor your food while it’s cooking, but it also adds a touch of ambiance to your kitchen. Whether the lightbulb has burned out or you simply want to upgrade to a brighter one, this article will guide you through the step-by-step process of replacing a lightbulb in your microwave oven.
Before we dive into the instructions, it’s important to note that safety should always be a top priority when working with any electrical appliance. Make sure to follow the manufacturer’s instructions and take the necessary precautions to protect yourself and your microwave oven from any potential hazards. Let’s get started!
Key Takeaways:
- Safety is paramount when replacing a microwave oven lightbulb. Unplug the appliance, wear protective gloves, and follow the manufacturer’s instructions to ensure a smooth and risk-free process.
- From locating the access panel to installing the new lightbulb, each step is crucial. By following the instructions carefully, anyone with basic DIY skills can confidently replace the lightbulb and enjoy a well-lit cooking experience.
Read more: How To Replace Microwave Oven
Safety Precautions
Before attempting to replace the lightbulb in your microwave oven, it’s crucial to take the following safety precautions to prevent any accidents or injuries:
- Unplug the microwave oven from the power source to avoid the risk of electric shock while working on it.
- Allow the microwave oven to cool down completely before attempting any maintenance to avoid the risk of burns.
- Wear protective gloves to protect your hands from broken glass or sharp edges during the replacement process.
- Refer to the user manual or contact the manufacturer for specific instructions related to your microwave oven model.
- Avoid using tools or equipment that are not recommended or approved by the manufacturer, as they may cause damage to the microwave oven or pose a safety risk.
- If you encounter any difficulties or feel unsure about any step of the process, it’s best to seek professional assistance from a qualified technician.
By following these safety precautions, you can ensure a smooth and risk-free process when replacing the lightbulb in your microwave oven.
Step 1: Unplug the Microwave Oven
The first step in replacing a lightbulb in a microwave oven is to ensure that it is completely disconnected from the power source. This is crucial for your safety during the replacement process. Follow these steps:
- Locate the power cord of your microwave oven and trace it to the electrical outlet.
- Gently unplug the power cord from the outlet.
- Double-check that the microwave oven is no longer receiving any power by attempting to turn it on. If it doesn’t turn on, you can proceed to the next step.
Remember, unplugging the microwave oven is an essential safety measure to prevent any accidents or electric shocks while working on it. Make sure to keep the power cord disconnected throughout the entire process.
Step 2: Locate the Access Panel
Once the microwave oven is unplugged, the next step is to locate the access panel. The access panel provides you with access to the lightbulb compartment. Follow these instructions to find the access panel:
- Examine the exterior of the microwave oven to identify the location of the access panel. It is typically located on the back, side, or top of the microwave oven.
- Refer to the user manual or consult the manufacturer’s website if you are having trouble locating the access panel.
- Once you have identified the access panel, make sure there are no obstructions or screws blocking your way.
The access panel is the gateway to the lightbulb compartment, so it’s important to locate it before proceeding to the next steps. Take your time to familiarize yourself with the microwave oven’s design and find the access panel accordingly.
Step 3: Remove the Access Panel
With the access panel located, it’s time to remove it to gain access to the lightbulb compartment. Follow these steps to remove the access panel safely:
- Make sure the microwave oven is still unplugged to avoid any risk of electric shock.
- Inspect the access panel for any screws or fasteners that are holding it in place.
- Using a screwdriver or the appropriate tool, carefully remove the screws or fasteners securing the access panel.
- Set aside the screws or fasteners in a secure place to avoid misplacing them.
- Gently pull or slide the access panel off the microwave oven. Take care not to force it or damage any components.
By removing the access panel, you will expose the lightbulb compartment and be one step closer to replacing the lightbulb in your microwave oven. Remember to handle the access panel with care and store the screws or fasteners in a safe place for reassembly later.
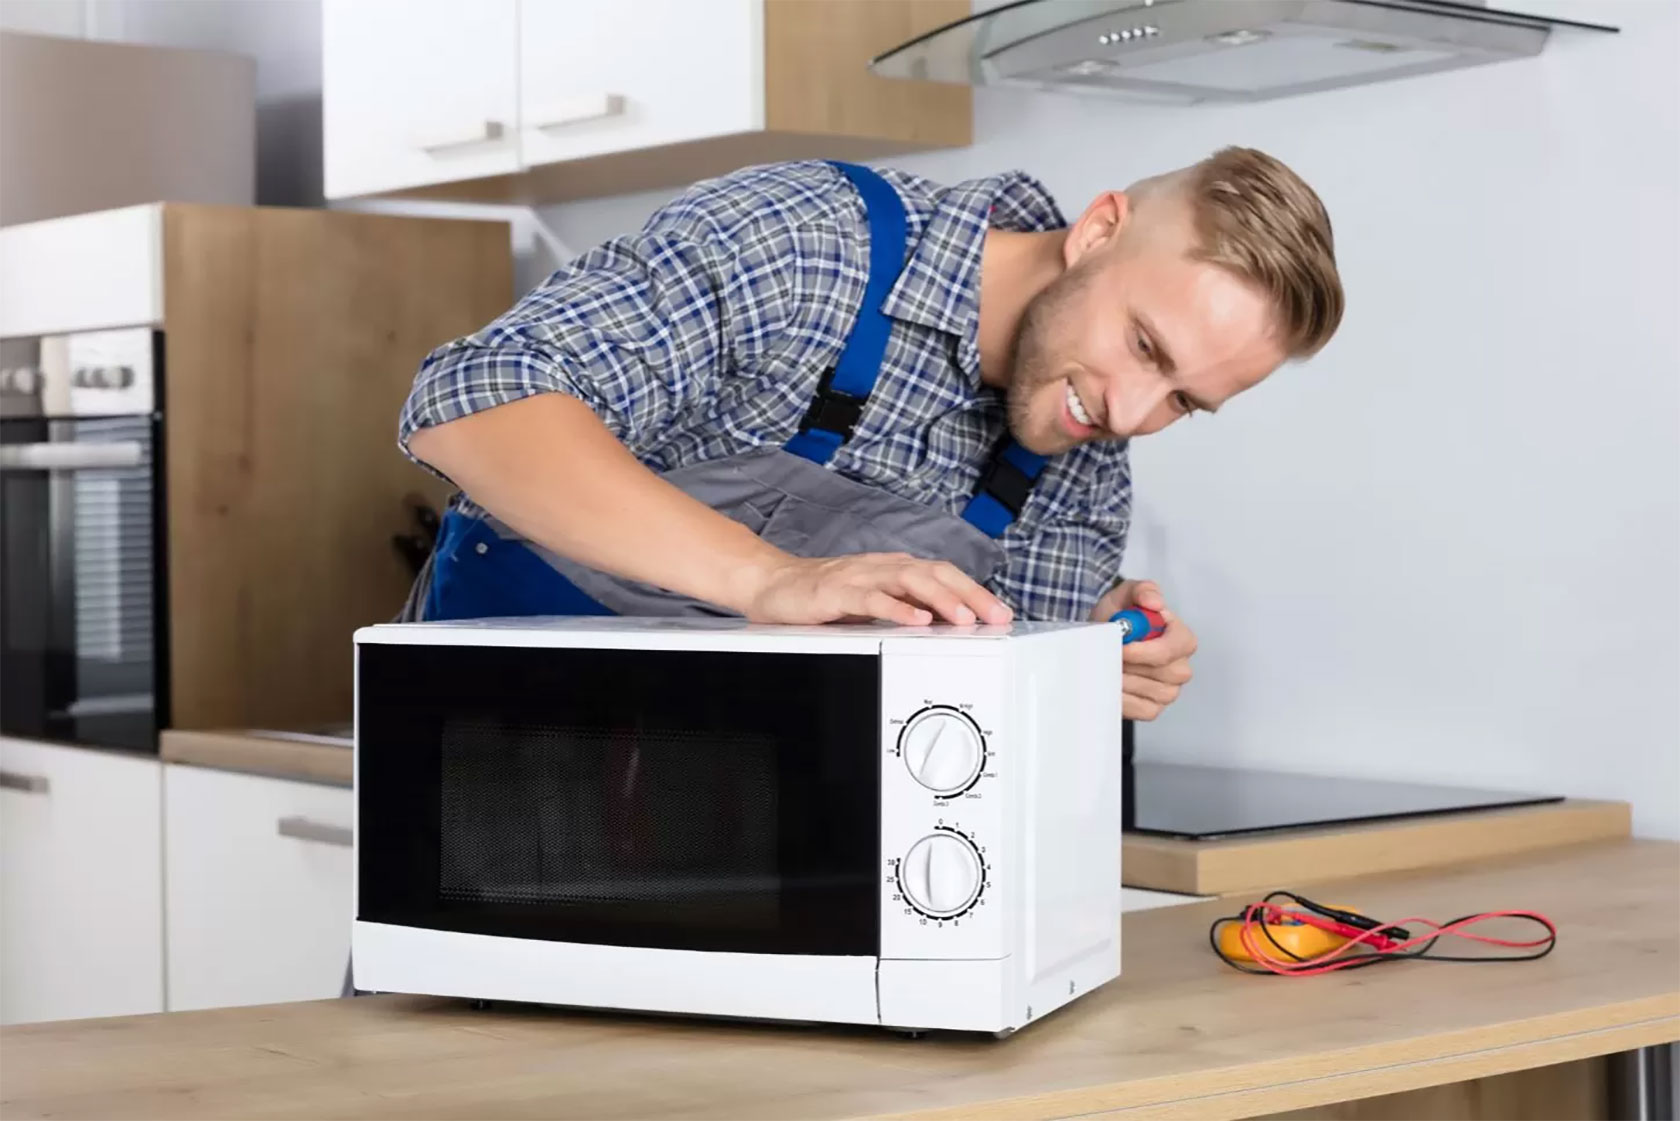
Before replacing the lightbulb in your microwave oven, make sure to unplug the appliance to avoid any electrical hazards. Use a screwdriver to remove the cover and carefully unscrew the old bulb, then replace it with a new one of the same wattage.
Read more: How To Replace Fuse In GE Microwave Oven
Step 4: Remove the Old Lightbulb
Now that you have successfully removed the access panel, it’s time to remove the old lightbulb from the microwave oven. Follow these steps to safely remove the old lightbulb:
- Before proceeding, make sure the microwave oven is still unplugged to eliminate any risk of electric shock.
- Inspect the lightbulb and its socket to determine the type of bulb used in your microwave oven.
- If the lightbulb is easily removable by hand, gently twist it counterclockwise to unscrew and remove it from the socket.
- If the lightbulb is not easily removable by hand, you may need to use a pair of pliers or a bulb removal tool to unscrew and detach it from the socket.
- Once the old lightbulb is removed, set it aside and dispose of it properly according to local regulations and guidelines for disposing of lightbulbs.
Removing the old lightbulb is an important step towards replacing it with a new one. Take your time and be cautious while handling the bulb, as it may be fragile or hot if it was recently in use. Make sure to clean the socket if necessary before installing the new lightbulb.
Step 5: Install the New Lightbulb
With the old lightbulb removed, it’s time to install the new one in your microwave oven. Follow these steps to safely install the new lightbulb:
- Ensure that the microwave oven is still unplugged to prevent any risk of electric shock.
- Take the new lightbulb that is compatible with your microwave oven’s specifications and carefully inspect it for any damage or defects.
- Align the base of the new lightbulb with the socket in the microwave oven.
- Gently push the new lightbulb into the socket and twist it clockwise to secure it. Make sure it is firmly in place.
- If necessary, refer to the user manual or contact the manufacturer for any specific instructions regarding the installation of the new lightbulb.
Installing the new lightbulb is a straightforward process, but it’s important to handle the new bulb with care to avoid any damage. Make sure to choose the right bulb based on your microwave oven’s specifications to ensure compatibility and optimal performance.
Step 6: Replace the Access Panel
Now that you have successfully installed the new lightbulb, it’s time to replace the access panel on your microwave oven. Follow these steps to securely reattach the access panel:
- Ensure that the microwave oven is still unplugged to prevent any risk of electric shock.
- Take the access panel that you removed earlier and align it with the designated area on the microwave oven.
- Gently slide or push the access panel into place, making sure it fits snugly.
- Retrieve the screws or fasteners that you set aside earlier and use a screwdriver or the appropriate tool to secure the access panel back onto the microwave oven. Tighten the screws or fasteners firmly, but be careful not to over-tighten to avoid damaging the panel or the oven itself.
By following these steps, you will successfully replace and secure the access panel, ensuring that the lightbulb compartment is properly enclosed. This step completes the physical installation process.
Step 7: Plug in the Microwave Oven
The final step in replacing a lightbulb in your microwave oven is to plug it back into the power source. Here’s how to do it:
- Ensure that you have completed all the previous steps correctly and that the access panel is securely in place.
- Locate the power cord and plug it into a nearby electrical outlet.
- Make sure the microwave oven is positioned properly and that the power cord is not twisted or tangled.
- Once the power cord is plugged in, confirm that the microwave oven is receiving power by checking the control panel or attempting to turn it on.
- If the microwave oven powers on without any issues, it indicates that the lightbulb replacement was successful.
With the microwave oven plugged in and functioning properly, you can now enjoy a well-lit interior when using your appliance. If you notice any problems after plugging it back in, double-check the previous steps to ensure everything was done correctly, or consult a professional technician for assistance.
Conclusion
Replacing a lightbulb in a microwave oven may seem like a daunting task, but with the right guidance and safety precautions, it can be easily accomplished. By following the step-by-step instructions outlined in this article, you can successfully replace the lightbulb in your microwave oven and restore its illumination.
Remember to always prioritize safety by unplugging the microwave oven before starting any maintenance work. Take the necessary precautions, such as wearing protective gloves and using the appropriate tools, to ensure a smooth and risk-free process.
From locating the access panel to removing the old lightbulb, installing the new one, and reattaching the access panel, each step plays an important role in the overall process. By following these steps carefully, you can confidently replace the lightbulb in your microwave oven and enjoy a well-lit cooking experience once again.
If you encounter any difficulties or have any concerns during the process, it’s best to consult the user manual or seek professional assistance to ensure the job is done correctly.
With a new lightbulb in place, you can now enjoy a brightly illuminated microwave oven that enhances your cooking experience and adds a touch of ambiance to your kitchen. Happy cooking!
Frequently Asked Questions about How To Replace A Lightbulb In A Microwave Oven
Was this page helpful?
At Storables.com, we guarantee accurate and reliable information. Our content, validated by Expert Board Contributors, is crafted following stringent Editorial Policies. We're committed to providing you with well-researched, expert-backed insights for all your informational needs.


0 thoughts on “How To Replace A Lightbulb In A Microwave Oven”