Articles
How To Replace Microwave Oven
Modified: February 27, 2024
Looking for articles on how to replace your microwave oven? Find helpful tips and step-by-step instructions in our comprehensive guide.
(Many of the links in this article redirect to a specific reviewed product. Your purchase of these products through affiliate links helps to generate commission for Storables.com, at no extra cost. Learn more)
Introduction
Replacing a microwave oven may seem like a daunting task, but with the right knowledge and preparation, it can be a straightforward process. Whether you’re upgrading to a newer model, improving the functionality of your kitchen, or simply replacing a faulty microwave, this article will guide you through the steps to successfully replace your microwave oven.
With the advancements in technology, microwaves have become an essential appliance in most households. They offer convenience and efficiency in heating and cooking food quickly, making them a staple in modern kitchens. However, over time, microwaves can wear out or become outdated, prompting the need for a replacement.
Before diving into the actual replacement process, it’s important to assess the condition and requirements of your new microwave. Consider factors such as the size and dimensions of the new oven, as well as its power capacity and features. This information will help you choose the right replacement and ensure a smooth transition.
Key Takeaways:
- Prioritize safety by disconnecting power, removing the old microwave with caution, and securely mounting the new one to ensure a smooth and accident-free replacement process.
- Thoroughly test the new microwave oven’s functions, heating performance, display, and safety features to ensure proper functioning and enjoy a hassle-free cooking experience.
Safety Precautions
Before embarking on the task of replacing your microwave oven, it is crucial to prioritize safety. The following precautions should be observed throughout the entire replacement process:
- Disconnect the power: Before doing anything, ensure that the power to your microwave oven is completely disconnected. Unplugging it from the power outlet is typically sufficient, but if you’re unsure, turn off the circuit breaker that controls the microwave’s electrical supply.
- Protective gear: Wear appropriate protective gear, such as gloves and safety goggles, to safeguard yourself from any potential hazards that may arise during the replacement process.
- Clear the workspace: Clear the area around your microwave oven to ensure there is no clutter or obstruction. This will provide you with a safe and spacious working environment.
- Read the manual: Before beginning the replacement, thoroughly read the user manual provided by the manufacturer. Familiarize yourself with the specific instructions and safety guidelines for your particular model.
- Work with a partner: If possible, enlist the help of another person when removing and installing the microwave oven. This will not only make the process easier but also minimize the risk of accidents or injuries.
- Avoid contact with electrical components: Do not touch any electrical components or wiring of the microwave without proper knowledge or training. If you need to access internal parts, refer to the manual or consult a professional technician.
- Dispose of the old microwave responsibly: When removing the old microwave, handle it with care to prevent any damage or injury. If it is beyond repair, dispose of it responsibly by following local regulations and guidelines.
Following these safety precautions will help ensure that the replacement process proceeds smoothly and without any mishaps. It’s always better to prioritize safety first and take the necessary precautions to protect yourself and those around you.
Step 1: Disconnecting Power
Before you start replacing your microwave oven, it is crucial to disconnect the power to ensure your safety. Follow these simple steps to disconnect the power:
- Locate the power cord – The power cord is typically located at the back of the microwave oven, near the bottom. Check if it is connected to a dedicated power outlet or an extension cord.
- Unplug the power cord – Gently pull the power cord out of the outlet. Make sure to grip the plug itself and not the cord to avoid any damage. If there is an extension cord in use, unplug it from the wall socket as well.
- Turn off the circuit breaker – For an added layer of safety, locate the circuit breaker that supplies power to the microwave oven. Flip the switch to the “Off” position to completely cut off the electrical supply.
- Verify power disconnect – Once you have unplugged the power cord and turned off the circuit breaker, test the microwave oven by pressing a few buttons or turning the control dial. If the display remains off, it indicates that the power has been successfully disconnected.
It is essential to ensure that the power is disconnected before proceeding with any further steps to avoid any electrical shocks or accidents. Double-checking that the microwave oven is no longer receiving power will provide you with peace of mind and a safe working environment.
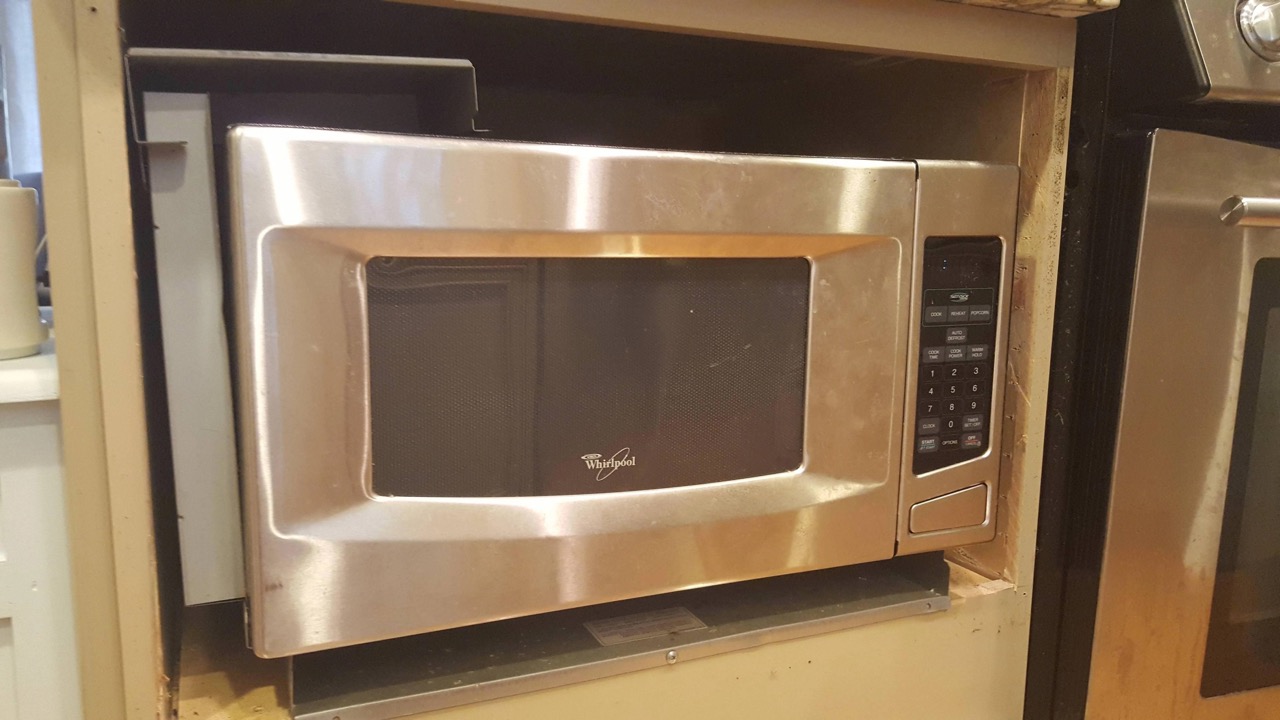
Step 2: Removing the Old Microwave Oven
Once you have disconnected the power, you can proceed to remove the old microwave oven. Follow these steps to safely remove the old appliance:
- Open the microwave door – Ensure that the microwave oven is empty and open the door fully.
- Locate the mounting brackets – Look for the mounting brackets that hold the microwave oven in place. These brackets are typically located at the top of the oven, inside the upper cabinet.
- Remove the screws or bolts – Using a screwdriver or a wrench, carefully remove the screws or bolts that secure the mounting brackets to the upper cabinet. Keep these screws or bolts in a safe place, as you may need them for installation of the new microwave oven.
- Support the microwave oven – With the help of a partner, hold the microwave oven securely while the mounting brackets are being removed. This will prevent the oven from falling or causing any unintentional damage.
- Disconnect any additional attachments – Check if there are any additional attachments, such as ventilation ducts or electrical wires, connected to the microwave oven. Carefully detach these attachments to separate the oven from the surrounding components.
- Slide out the microwave oven – Slowly slide the microwave oven out of the opening in the cabinet. Be cautious of any sharp edges or corners, and ensure a smooth and controlled movement.
- Place the old microwave oven safely – Once the microwave oven is completely removed, place it in a safe location away from foot traffic or any potential hazards. If the oven is to be disposed of, follow local regulations or consider recycling options.
By following these steps, you will safely remove the old microwave oven, making way for the installation of a new one. Remember to take your time and exercise caution throughout the process to prevent any accidents or damage to the surrounding area.
Step 3: Preparing the New Microwave Oven
After removing the old microwave oven, it’s time to prepare the new appliance for installation. Follow these steps to ensure a smooth and hassle-free preparation process:
- Measure the space – Carefully measure the space where the new microwave oven will be installed. Check the width, height, and depth to ensure that your new microwave will fit perfectly in the designated area. This step is crucial to avoid any issues during installation.
- Check the mounting requirements – Review the installation manual provided by the manufacturer to understand the specific mounting requirements for your new microwave oven. Ensure that you have the necessary tools and hardware to securely mount the new appliance.
- Inspect the new microwave oven – Before proceeding with the installation, thoroughly inspect the new microwave oven for any damage or defects. Check the control panel, door, and internal components to ensure that everything is in proper condition.
- Remove protective packaging – Remove any protective packaging materials, stickers, or films from the new microwave oven. These materials are usually placed to protect the appliance during transportation and should be removed to prevent any interference during installation.
- Prepare the mounting brackets – If the new microwave oven requires mounting brackets, make sure they are properly attached to the back of the appliance. Follow the manufacturer’s instructions for installing and securing the brackets.
- Gather necessary accessories – Gather any accessories or additional components that are needed for the installation. This may include power cords, mounting screws, ventilation ducts, and any other items specified in the installation manual.
- Read the installation manual – Carefully read the installation manual provided by the manufacturer. Familiarize yourself with the step-by-step instructions and any specific guidelines or precautions mentioned.
By following these steps, you will successfully prepare your new microwave oven for installation. It’s important to ensure that the oven is in good condition and that you have all the necessary tools and information before proceeding with the installation process.
When replacing a microwave oven, be sure to measure the space where the new one will go to ensure a proper fit. Also, check the power requirements and ventilation needs of the new microwave before purchasing.
Read more: How To Replace Fuse In GE Microwave Oven
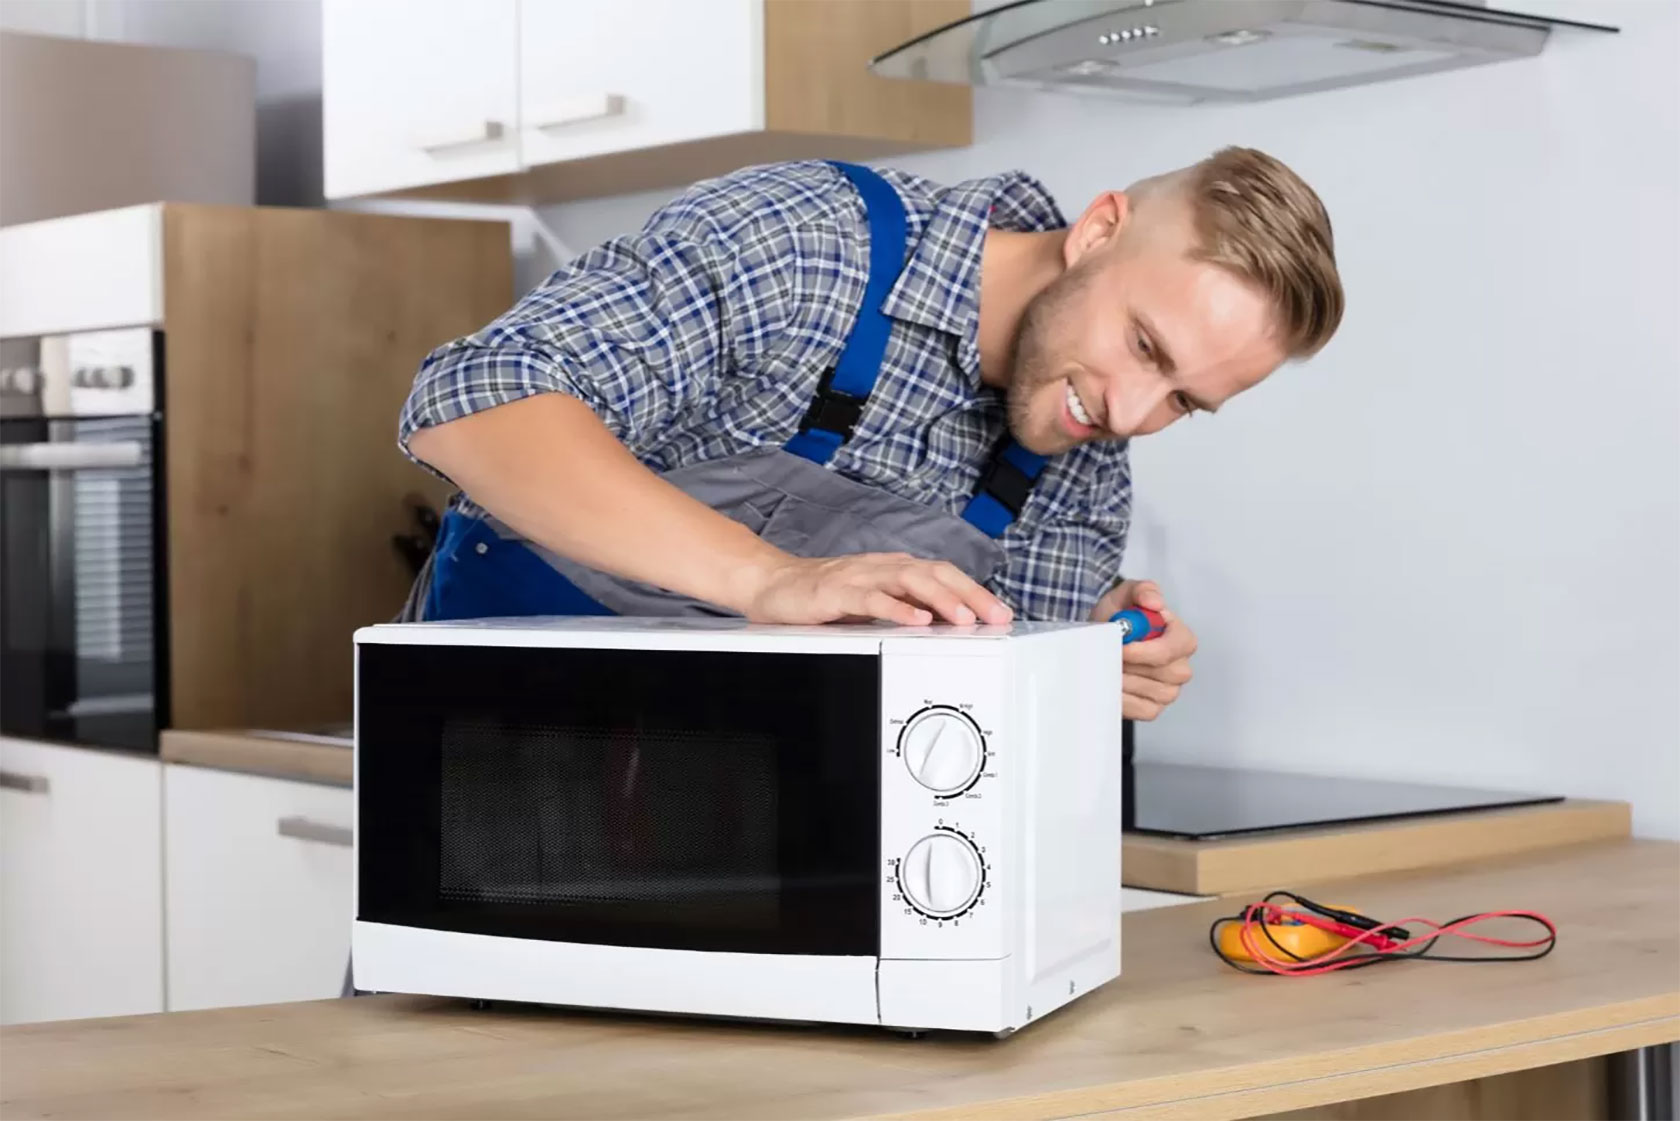
Step 4: Mounting the New Microwave Oven
Now that you have prepared the new microwave oven, it’s time to mount it in its designated location. Follow these steps to securely install the new appliance:
- Position the mounting plate – Attach the mounting plate to the wall or cabinet according to the manufacturer’s instructions. Make sure it is level and securely fastened using the appropriate screws or brackets.
- Place the microwave oven – With the help of a partner, carefully lift the new microwave oven and place it onto the mounting plate. Ensure that it is aligned with the mounting holes on the back of the oven.
- Secure the microwave oven – Use the provided screws or bolts to secure the microwave oven to the mounting plate. Tighten them just enough to ensure a stable and secure fit, but avoid overtightening to prevent damage to the appliance.
- Adjust the position – Check the alignment and levelness of the microwave oven. If necessary, make minor adjustments by loosening the screws or bolts, repositioning the oven, and then retightening the fasteners.
- Connect any attachments – If there are any additional attachments, such as ventilation ducts or electrical wires, follow the manufacturer’s instructions to connect them securely to the new microwave oven.
- Double-check the stability – Give the microwave oven a gentle shake to ensure that it is securely mounted and does not wobble or move. If there is any instability, recheck the mounting and make any necessary adjustments.
- Inspect the surrounding area – Take a moment to inspect the surrounding area for any potential hazards or obstructions. Ensure that there is proper clearance for the microwave oven to allow for proper ventilation and safe operation.
By following these steps, you will successfully mount the new microwave oven in its designated location. Take your time and double-check each step to ensure a secure and stable installation.
Step 5: Connecting Power
With the new microwave oven securely mounted, it’s time to connect the power to complete the installation. Follow these steps to safely connect the power:
- Position the power cord – Ensure that the power cord is easily accessible and can reach the power outlet without any tension. Avoid bending, twisting, or pinching the cord.
- Plug in the power cord – Align the prongs of the power cord with the corresponding slots in the power outlet and firmly plug it in. Ensure that the connection is secure.
- Turn on the circuit breaker – If you had previously turned off the circuit breaker, flip it back to the “On” position to restore power to the microwave oven.
- Verify power supply – Once the power is connected, verify that the microwave oven is receiving electricity by checking if the display or control panel lights up. This confirms that the power supply is successfully established.
- Set the clock and other settings – If necessary, follow the manufacturer’s instructions to set the clock and configure any other desired settings on the microwave oven.
- Test the microwave oven – Perform a test run by heating a small amount of water or using any other quick function on the microwave oven. This will help ensure that it is functioning properly after the power connection.
- Check for any issues – Monitor the microwave oven during operation to ensure that there are no unusual noises, sparks, or smells. If anything seems out of the ordinary, refer to the troubleshooting section in the user manual or contact customer support for assistance.
By following these steps, you will safely connect the power to your newly installed microwave oven. Take care to ensure that the power cord is properly positioned and that the power supply is established without any issues before proceeding further.
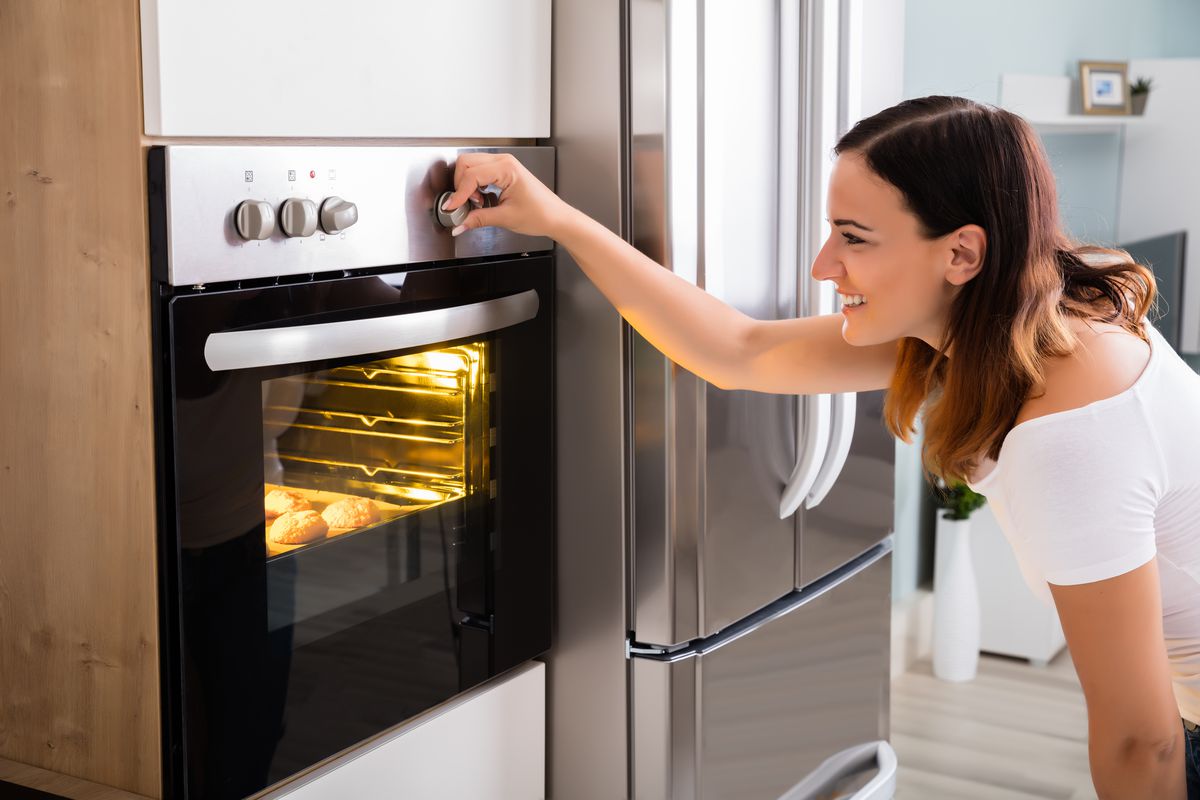
Step 6: Testing the Replacement
After completing the installation and connecting the power to your new microwave oven, it’s essential to perform a thorough test to ensure everything is functioning correctly. Follow these steps to test the replacement:
- Read the user manual – Before testing the microwave oven, take the time to read the user manual provided by the manufacturer. Familiarize yourself with the various features, settings, and functions of the appliance.
- Perform a basic function test – Start by testing the basic functions of the microwave oven, such as heating a cup of water or reheating a small portion of food. Follow the instructions in the user manual to set the time and power level accordingly.
- Observe the heating performance – Pay close attention to how the microwave oven heats the food or beverage. Ensure that it is heating evenly and thoroughly without any hot or cold spots. If you notice any issues, consult the troubleshooting section of the manual or contact customer support.
- Test different functions – Explore the various functions and settings of the microwave oven, such as defrosting, grilling, or auto-cooking. Try out different modes and experiment with different food items to fully utilize the features of your new appliance.
- Check the display and controls – Ensure that the display and control panel are functioning properly. Check for any issues with the buttons, knobs, or touchpad. Also, verify that the clock is displaying the correct time.
- Monitor the sound and ventilation – Pay attention to the noise levels generated by the microwave oven during operation. It should operate quietly without any excessive or unusual sounds. Also, verify that the ventilation system is working effectively to dissipate steam and odors.
- Review safety features – Familiarize yourself with the safety features of the microwave oven, such as child lock or automatic shut-off. Test these features to ensure they are working correctly and providing the desired level of safety.
- Document any issues or concerns – If you encounter any issues or concerns during the testing process, make a note of them. This will be helpful if you need to contact customer support or request any warranty or service-related assistance.
By following these steps, you will thoroughly test the replacement microwave oven to ensure its proper functioning and performance. If you encounter any unresolved issues or concerns, don’t hesitate to reach out to the manufacturer’s support team for further assistance.
Conclusion
Replacing a microwave oven may seem like a daunting task, but with the right knowledge and preparation, it can be a straightforward process. By following the steps outlined in this article, you can successfully replace your microwave oven and enjoy all the convenience and functionality it has to offer. Remember to prioritize safety throughout the entire process, from disconnecting the power to testing the replacement.
Start by disconnecting the power and taking necessary safety precautions. Safely remove the old microwave oven, ensuring you have a partner’s assistance if needed. Prepare the new microwave oven by measuring the space, checking the mounting requirements, and inspecting the appliance for any damage or defects.
Mount the new microwave oven securely, following the manufacturer’s instructions for attaching the mounting plate and aligning the oven. Connect the power by plugging in the power cord and turning on the circuit breaker. Finally, test the replacement by performing various functions, monitoring its performance, and checking for any issues or concerns.
Throughout the process, remember to consult the user manual provided by the manufacturer for specific instructions and guidelines. If you encounter any difficulties or have any questions, don’t hesitate to reach out to customer support for assistance.
Replacing your microwave oven can enhance the functionality and efficiency of your kitchen while providing you with a new and improved cooking experience. By following the steps outlined in this article, you can confidently complete the replacement process and enjoy the benefits of a new microwave oven for years to come.
Frequently Asked Questions about How To Replace Microwave Oven
Was this page helpful?
At Storables.com, we guarantee accurate and reliable information. Our content, validated by Expert Board Contributors, is crafted following stringent Editorial Policies. We're committed to providing you with well-researched, expert-backed insights for all your informational needs.


0 thoughts on “How To Replace Microwave Oven”