
Articles
How To BBQ With Charcoal
Modified: January 18, 2024
Learn how to BBQ with charcoal in these informative articles. Expert tips and step-by-step instructions for delicious grilling results.
(Many of the links in this article redirect to a specific reviewed product. Your purchase of these products through affiliate links helps to generate commission for Storables.com, at no extra cost. Learn more)
Introduction
There’s something magical about cooking food over an open flame. The smoky aroma, the sizzling sound, and the delicious charred flavors make barbecuing a favorite pastime for many. While there are various methods of grilling, using charcoal is a classic and time-tested technique that can elevate your BBQ experience to new heights.
In this article, we’ll walk you through the art of BBQing with charcoal, covering everything from choosing the right charcoal to preparing the food and ensuring safety. Whether you’re a seasoned BBQ enthusiast or a beginner looking to try something new, this guide will provide you with essential tips and techniques to make your charcoal grill sessions a roaring success.
So, grab your apron, fire up the grill, and let’s dive into the world of charcoal BBQing!
Key Takeaways:
- Elevate your BBQ game by choosing the right charcoal—briquettes for stable heat and lump charcoal for intense searing. Experiment with wood chips for smoky flavors and master various cooking techniques for mouthwatering results.
- Prioritize safety, proper food preparation, and grill maintenance for a smooth and enjoyable charcoal grilling experience. Clean your grill thoroughly and store it properly to extend its lifespan and be ready for your next BBQ adventure.
Read also: 12 Best Charcoal BBQ for 2024
Choosing the Right Charcoal
The first step in BBQing with charcoal is selecting the right charcoal for your grill. There are two main types to consider: briquettes and lump charcoal.
Briquettes: Briquettes are widely available and are made from compressed charcoal dust and other ingredients. They are often uniform in shape and size, which makes them easier to stack and control the temperature. Briquettes also tend to burn longer and at a more consistent heat, making them ideal for longer BBQ sessions.
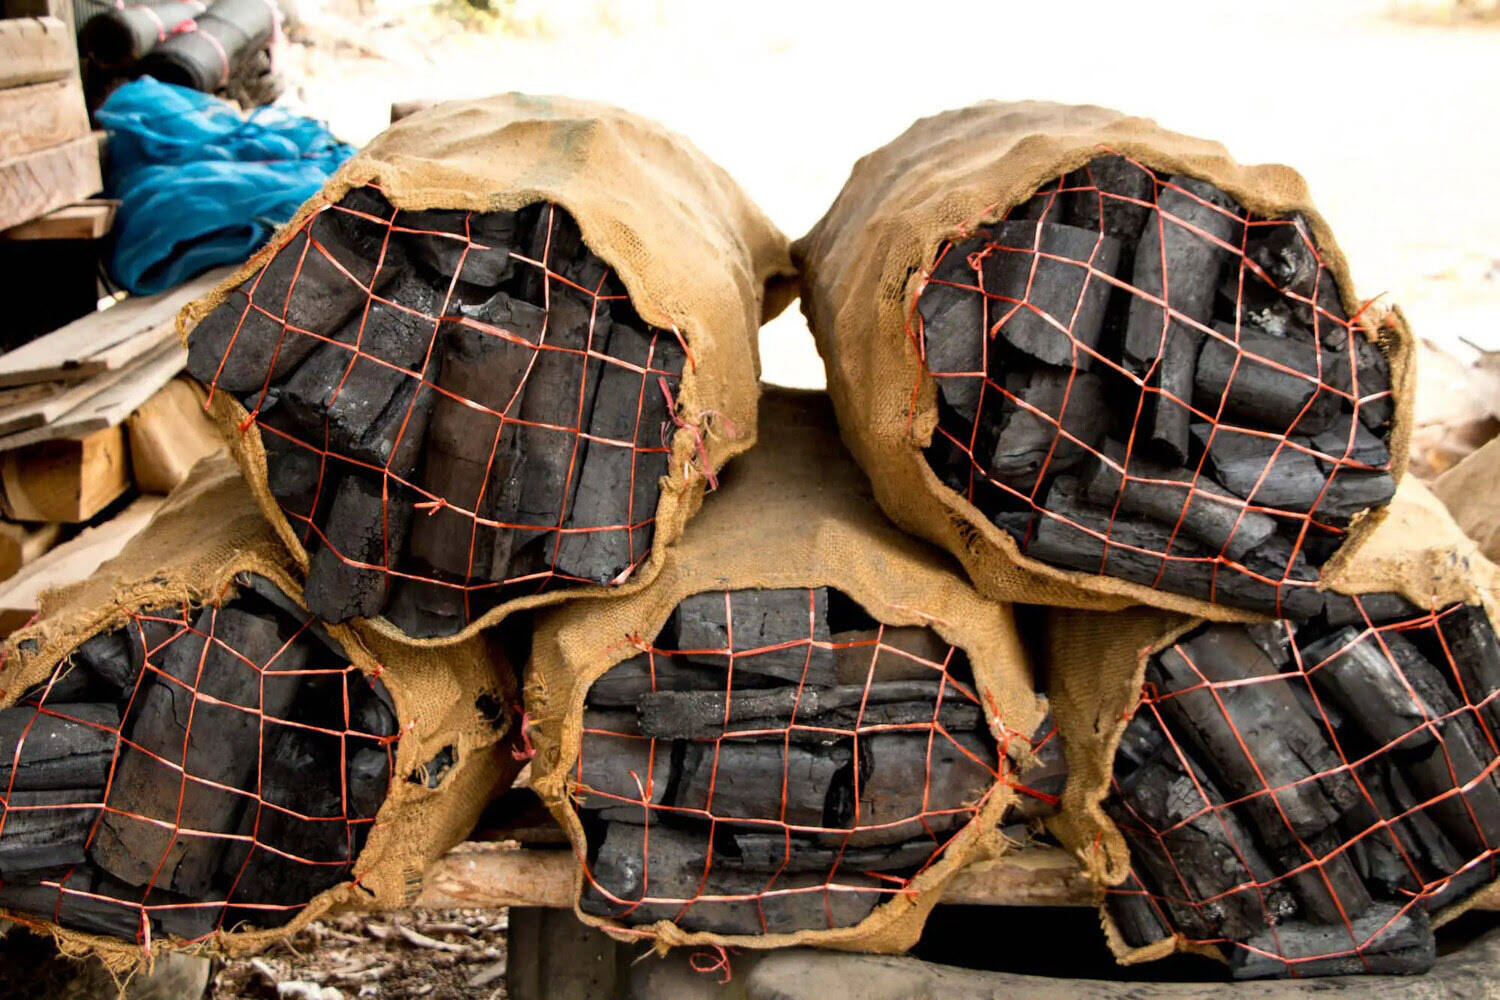
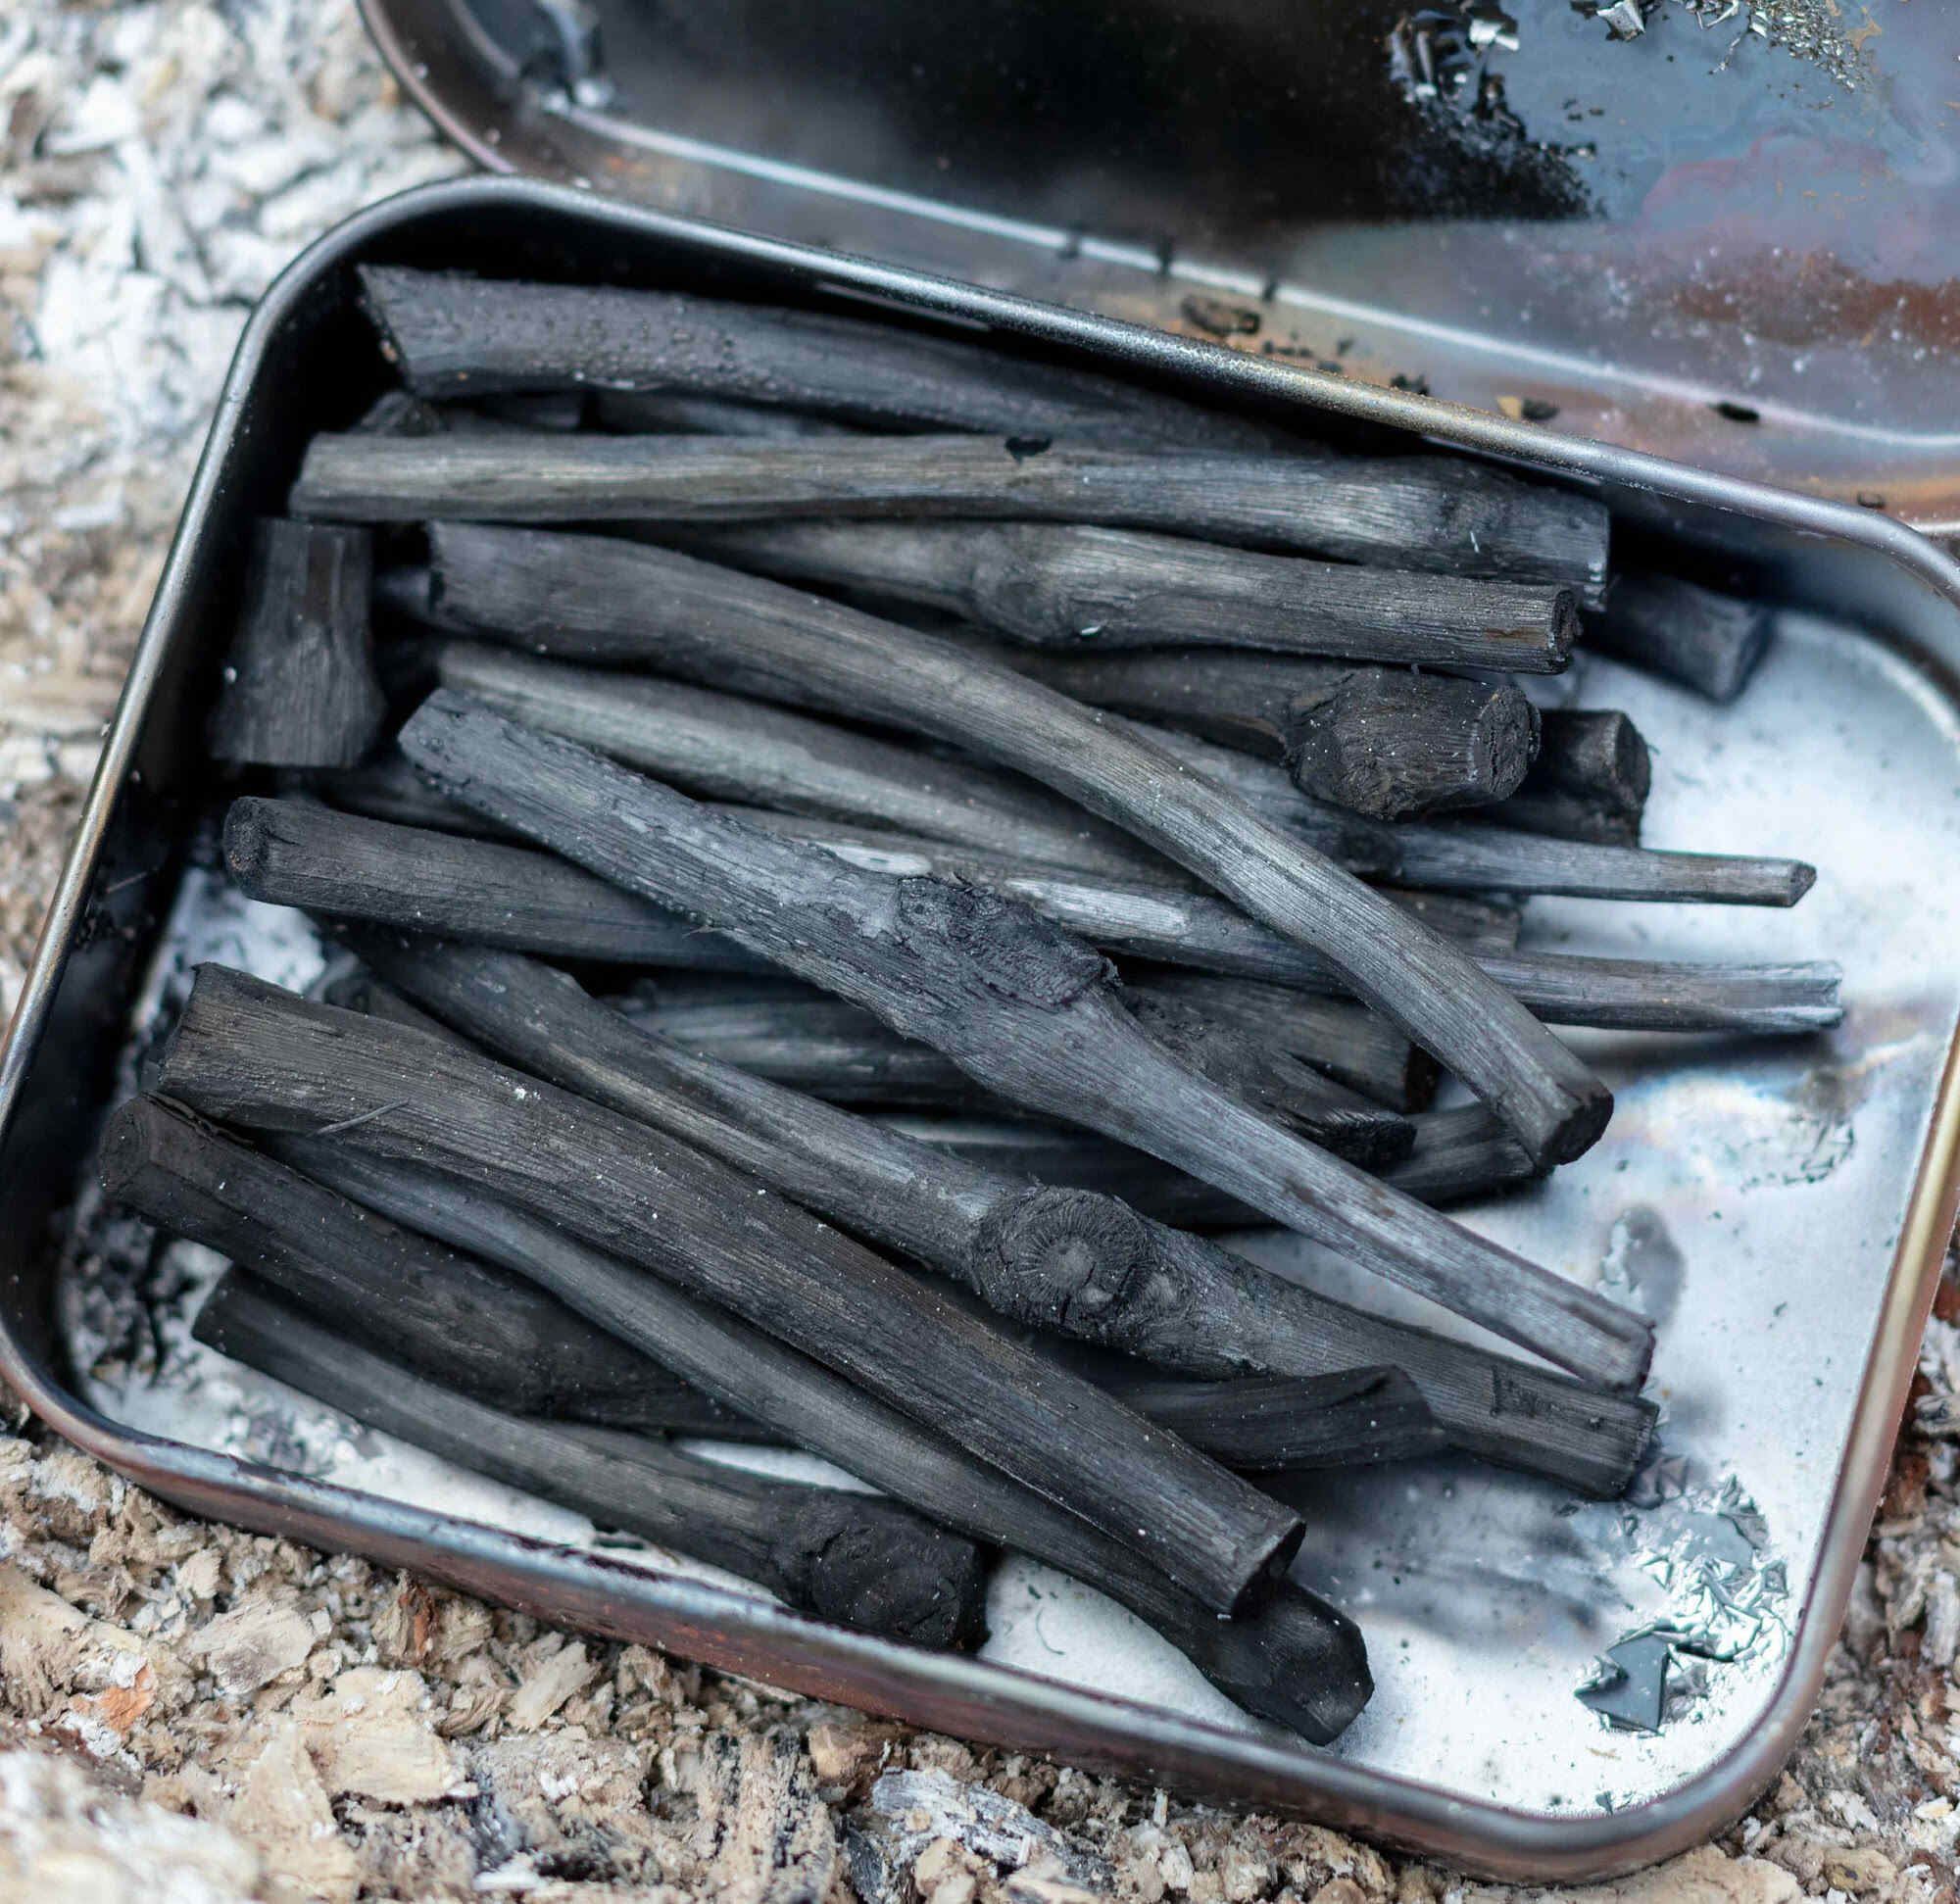
Lump Charcoal: Lump charcoal, on the other hand, consists of irregularly shaped pieces of charred wood. It is made by burning wood without oxygen, resulting in a higher carbon content. Lump charcoal generally burns hotter and faster than briquettes, allowing for a quick and intense sear on your food. It also generates less ash and imparts a distinct smoky flavor.
When choosing between briquettes and lump charcoal, consider the type of grilling you’ll be doing and the flavor profile you want to achieve. If you’re planning a low and slow cook, such as smoking ribs or brisket, briquettes provide a more stable and long-lasting heat. On the other hand, if you’re looking for intense heat for searing steaks or grilling burgers, lump charcoal is the way to go.
Additionally, it’s important to consider the quality of the charcoal. Look for brands that use natural, additive-free ingredients to ensure a clean burn and minimal chemical flavors. Read reviews, ask for recommendations, and experiment with different brands to find the charcoal that suits your preferences.
Remember, choosing the right charcoal is the foundation of a great BBQ session. It sets the stage for the flavors you’ll be imparting on your food, so take your time in selecting the best option for your grilling needs.
Preparing the Grill
Before you start grilling, it’s crucial to properly prepare your grill to ensure optimal cooking conditions and to avoid any safety hazards. Here are the steps to follow:
- Clean the grill: Start by thoroughly cleaning your grill grates and removing any leftover food debris or grease. Use a grill brush or a ball of aluminum foil to scrape away any stubborn residue. A clean grill will not only prevent unwanted flavors on your food but also promote even heat distribution.
- Check for gas leaks (if applicable): If you have a gas grill, inspect the hoses and connections for any signs of wear or damage. Apply a mixture of soapy water to the connections and turn on the gas. If you see bubbles forming, it indicates a leak. In this case, tighten the connections or replace any faulty parts before proceeding.
- Adjust airflow (for charcoal grill): Charcoal grills often have adjustable vents or dampers that control the airflow, which affects the temperature. Open the vents fully to allow for maximum airflow for higher heat cooking or partially close them for lower heat cooking. Adjusting the vents will help you regulate the temperature throughout the grilling process.
- Preheat the grill: Before adding the charcoal, preheat the grill by lighting it and letting it heat up for about 10-15 minutes. This step is essential to burn off any remaining residue and to ensure that the grill is at the desired temperature for cooking.
By following these steps, you will have a clean and properly heated grill ready to sear your delicious BBQ creations. Remember, proper preparation is key to achieving professional-level results on your charcoal grill.
Lighting the Charcoal
Now that your grill is prepped and ready, it’s time to light the charcoal. There are a few different methods you can use, depending on your preference and the equipment available:
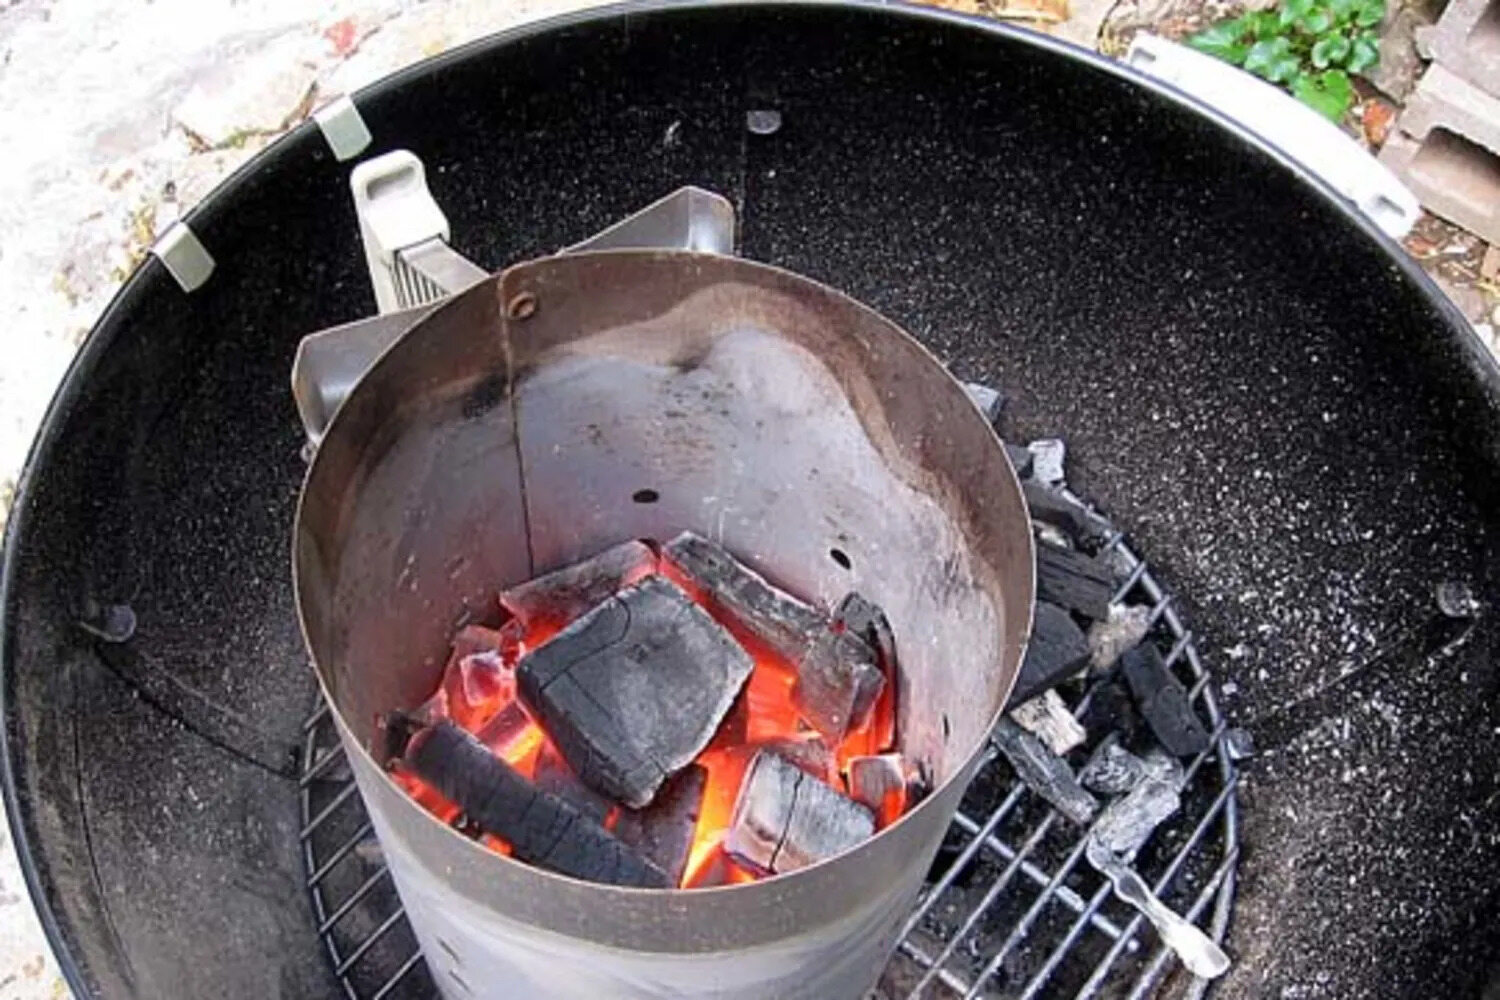
- Chimney Starter: Using a chimney starter is one of the most popular and efficient ways to light charcoal. Fill the chimney with the desired amount of charcoal, crumple up a few sheets of newspaper, and place them underneath the chimney. Light the newspaper from the bottom, and the flames will gradually ignite the charcoal. Once the coals are fully lit and covered in white ash, carefully pour them onto the grill grates.
- Charcoal Starter Cubes: Charcoal starter cubes are small, compact blocks that are designed to ignite charcoal quickly. Simply place a few cubes directly underneath the charcoal, light them, and wait until the coals are fully lit. This method is convenient and eliminates the need for newspaper or other lighting agents.
- Electric Charcoal Starter: If you have access to an electric outlet near your grill, an electric charcoal starter is a convenient and easy option. Place the device into the pile of charcoal and let it heat up. The electric starter will ignite the charcoal, and once the coals are fully lit, you can remove the starter and start grilling.
No matter which method you choose, it’s important to prioritize safety when lighting the charcoal. Always follow the manufacturer’s instructions for the lighting equipment and avoid using flammable liquids such as lighter fluid, which can impart unwanted flavors on your food.
Once the charcoal is lit, allow it to burn for a few minutes until it is covered in white ash. This indicates that the charcoal is hot and ready for cooking. Spread the coals evenly across the grill grates and adjust the vents as needed to control the temperature throughout the grilling process.
With the charcoal properly lit and ready, you’re now one step closer to creating mouth-watering BBQ dishes that are sure to impress your family and friends.
Controlling the Temperature
When grilling with charcoal, maintaining the right temperature is crucial for achieving perfectly cooked food. Here are some tips on how to control the temperature on your charcoal grill:
- Adjusting the vents: The vents on your charcoal grill play a significant role in regulating airflow and, consequently, the temperature. Opening the vents allows more oxygen into the grill, increasing the heat, while closing them restricts airflow and lowers the temperature. Adjust the vents as needed throughout the grilling process to maintain a consistent temperature.
- Using the 2-zone method: A common technique in charcoal grilling is the 2-zone method, which creates two distinct areas with different heat levels. On one side of the grill, heap the charcoal to create a hot, direct heat zone for searing. On the other side, have fewer coals or none at all to create an indirect heat zone for slower, more gentle cooking. This setup gives you more control over the cooking process and prevents flare-ups.
- Adding or removing coals: If the temperature is too high, you can remove some coals to lower the heat. Use long tongs or a heat-resistant glove to safely lift the hot charcoal and set it aside in a fireproof container. On the other hand, if the temperature is too low, you can add more lit coals to increase the heat. Remember to use caution and avoid overcrowding the grill, as that can make temperature control more challenging.
- Using a heat deflector: For even heat distribution and indirect grilling, you can use a heat deflector. This is a device or an accessory placed between the charcoal and the food, which helps diffuse and distribute the heat evenly. It acts as a barrier to prevent direct exposure to the flames and allows for more controlled cooking, particularly when preparing larger cuts of meat or delicate foods.
Remember that temperature control is a skill that comes with practice. Experiment with different methods, take notes, and learn how your grill responds to adjustments. With time, you’ll become more comfortable fine-tuning the temperature to achieve beautiful, evenly cooked results every time.
Now that you have a good grasp of temperature control, it’s time to move on to another aspect of charcoal grilling—adding flavor with wood chips!
Read more: How Hot Do Charcoal Grills Get
Adding Flavor with Wood Chips
One of the joys of charcoal grilling is the opportunity to infuse your food with delicious smoky flavors. Adding wood chips to your charcoal is an excellent way to achieve that distinct barbecue taste. Here’s how you can enhance the flavor of your dishes with wood chips:
- Soaking the wood chips: Before using wood chips, soak them in water for about 30 minutes to an hour. This prevents them from burning too quickly and helps release a steady stream of fragrant smoke during the grilling process. You can experiment with different liquids, such as beer or apple juice, to add additional flavor to the wood chips.
- Creating a wood chip packet: To ensure that the wood chips smolder and produce smoke rather than burn up quickly, create a wood chip packet. Place a handful of soaked wood chips in the center of a piece of aluminum foil and fold it up to seal the chips inside. Poke a few small holes in the foil to allow the smoke to escape.
- Placing the wood chip packet: Once your charcoal is lit and ready, place the wood chip packet directly on top of the hot coals or on the grate near the heat source. As the packet heats up, it will begin to smolder and release aromatic smoke, flavoring the food as it cooks.
- Choosing the right wood chips: Different types of wood chips impart different flavors to your food. Some popular options include mesquite, hickory, apple, cherry, and oak. Each wood variety offers a unique aroma and taste, so feel free to experiment and find your favorite combinations.
Remember to use wood chips in moderation, as too much smoke can overpower the flavors of your food. Start with a small amount, observe the intensity of the smoke, and adjust as needed. It’s all about finding the right balance to enhance the taste without overpowering the natural flavors of your ingredients.
Adding wood chips to your charcoal grill not only enhances the flavor of your BBQ dishes but also creates an authentic and tantalizing barbecue experience. So, get creative with your wood chip choices and take your charcoal grilling to the next level!
When lighting charcoal for a BBQ, use a chimney starter to evenly distribute the heat and avoid the use of lighter fluid, which can leave a chemical taste on the food.
Preparing the Food
Now that you have your charcoal grill set up and ready, it’s time to prepare the food that will be cooked to perfection over the open flame. Here are some essential tips for preparing your food for charcoal grilling:
- Marinating and seasoning: Marinating your meats, poultry, or vegetables before grilling adds flavor and helps tenderize the food. Create your marinade using a combination of oil, acid (such as lemon juice or vinegar), herbs, spices, and seasonings. Allow the food to marinate in the refrigerator for at least 30 minutes, or up to overnight for more intense flavors. Don’t forget to season with salt and pepper just before grilling.
- Brining (for poultry): Brining chicken, turkey, or other poultry before grilling can result in moist and flavorful meat. Combine water, salt, sugar, and any desired herbs or spices in a large container. Submerge the poultry in the brine and refrigerate for several hours. Rinse the poultry thoroughly before grilling to remove excess salt.
- Vegetable prep: Grilled vegetables are a delicious addition to any BBQ feast. To prepare vegetables for grilling, wash and cut them into even-sized pieces. Brush them with olive oil and season with salt and pepper. This will help prevent sticking and enhance the natural flavors of the vegetables.
- Getting meat to room temperature: Before grilling meat, especially thicker cuts like steak or pork chops, it’s recommended to let them come to room temperature. Remove the meat from the refrigerator about 30-60 minutes before grilling. This allows for more even cooking and reduces the risk of the meat being overcooked on the outside and undercooked on the inside.
- Patting dry: Before placing the food on the grill, make sure to pat it dry with a paper towel. Excess moisture on the surface of the food can prevent proper searing and result in steaming rather than grilling. Dry meat or vegetables will develop a desirable char and enhance the flavors.
- Skewering (for kebabs): If you’re planning to make kebabs, soak wooden skewers in water for about 30 minutes before using them. This prevents the skewers from burning up during grilling. Thread the marinated meat and vegetables onto the skewers, alternating between different ingredients for a visually appealing presentation.
By following these preparation tips, you’ll ensure that your food is ready to be grilled to perfection. Whether you’re cooking meat, poultry, or vegetables, the right prep work will help enhance the flavors and create a memorable BBQ experience for everyone.
Now that the food is ready, let’s move on to the cooking techniques you can utilize on your charcoal grill!
Cooking Techniques
When it comes to charcoal grilling, there are various cooking techniques you can employ to achieve different results and flavors. Here are some popular techniques to try on your charcoal grill:
- Direct grilling: This is the most straightforward and commonly used cooking technique. Place the food directly over the hot coals and cook it with the grill lid open. Direct grilling is ideal for thin cuts of meat, such as steaks, burgers, and fish fillets, as well as vegetables that cook quickly. Keep a close eye on the food as it cooks, flipping it as needed to promote even cooking on both sides.
- Indirect grilling: Indirect grilling involves cooking the food next to, rather than directly over, the hot coals. For this method, create a 2-zone setup by placing the charcoal on one side of the grill and leaving the other side empty. This technique is suitable for larger cuts of meat, such as whole chickens, pork roasts, and ribs. The indirect heat allows for slower, more even cooking, resulting in juicy and tender results. Keep the lid closed as much as possible to maintain a consistent temperature.
- Smoking: Smoking is a technique that involves cooking the food slowly over low heat and infusing it with delicious smoky flavors. To smoke on a charcoal grill, add soaked wood chips or chunks directly onto the hot coals. Then, place the food on the grate away from the direct heat source. Keep the temperature low and steady by adjusting the airflow with the vents. Smoking is perfect for items like brisket, ribs, and whole fish, as well as items you want to add a smoky touch to, like cheese or vegetables.
- Searing: Searing is a high-heat cooking technique that creates a delicious crust on the exterior of the food. Start by heating your charcoal grill to its hottest temperature. Once the grill is hot, place your steaks, chops, or other thick cuts of meat directly over the hot coals and sear them for a short period on each side. This technique locks in the juices and enhances the flavors. After searing, move the food to a cooler part of the grill to finish cooking to the desired doneness.
- Reverse searing: Reverse searing involves cooking the food using indirect heat first, followed by a final sear over high heat. This approach is excellent for thick cuts of meat, such as prime rib or pork chops. Start by cooking the food on the cooler side of the grill, away from the direct heat, until it reaches an internal temperature close to the desired doneness. Then, move the food to the hot side of the grill to sear and create a flavorful crust.
These cooking techniques give you a range of options to bring out the best flavors in your food. Experiment with different techniques to find what works best for your preferences and the specific dishes you’re grilling.
Now that you’re familiar with the various cooking techniques, it’s time to consider some important safety precautions to keep in mind while charcoal grilling.
Safety Precautions
While charcoal grilling can be a fun and rewarding experience, it’s essential to prioritize safety to ensure a smooth and accident-free BBQ session. Here are some important safety precautions to keep in mind:
- Grill placement: Always set up your grill in a well-ventilated outdoor area, away from flammable materials such as trees, shrubs, and buildings. Ensure that the grill is on a stable and level surface to prevent any tipping accidents.
- Charcoal handling: When handling charcoal, use heat-resistant gloves or tongs to protect your hands from burns. Avoid using flammable liquids, such as lighter fluid, to ignite the coals, as they can lead to uncontrolled fires and dangerous flare-ups. Instead, opt for safer lighting methods like chimney starters or electric charcoal starters.
- Fire safety: Keep a fire extinguisher or a bucket of sand nearby in case of emergencies. Familiarize yourself with the proper use of these fire safety tools before you start grilling. Never leave the grill unattended while it’s lit, and have a designated adult present at all times during the grilling process.
- Food safety: Proper food handling and hygiene are crucial to prevent foodborne illnesses. Wash your hands thoroughly before and after handling raw meat, poultry, or seafood. Use separate cutting boards and utensils for raw and cooked food to avoid cross-contamination. Cook meats to their recommended internal temperatures to ensure they are safe to eat.
- Grill maintenance: Regularly clean your grill to prevent the buildup of grease, which can lead to flare-ups. Allow the grill to cool completely before cleaning, and use a grill brush or aluminum foil to remove any leftover food debris. Empty the ash catcher regularly to maintain proper airflow.
- Proper ventilation: Ensure that your grill has adequate ventilation by keeping the vents open during the grilling process. This allows for proper airflow and helps control the temperature. Never grill in enclosed spaces, as the buildup of carbon monoxide can be dangerous.
By adhering to these safety precautions, you can enjoy your charcoal grilling experience with peace of mind, knowing that you have taken necessary steps to protect yourself, your loved ones, and your property.
Now that you’re equipped with safety knowledge, let’s move on to the final section—cleaning up after your charcoal grilling session.
Read more: How To Store Charcoal
Cleaning Up
After a delicious BBQ session with your charcoal grill, it’s important to properly clean and maintain your grill for future use. Here are some steps to follow when cleaning up:
- Allow the grill to cool: Before attempting to clean your grill, make sure that it has cooled down completely. Hot surfaces can cause burns, so it’s important to exercise caution and give it enough time to cool off.
- Remove the ashes: Once the grill is cool, remove the ashes from the charcoal chamber or ash catcher. Use a heat-resistant glove or tongs to handle the ash and dispose of it in a metal container. Be sure to check that the ashes are completely extinguished before discarding them.
- Clean the grates: Use a grill brush or aluminum foil to scrub the grates and remove any remaining food debris. For stubborn residue, you can heat the grill for a few minutes to loosen it, then scrub again. Alternatively, you can soak the grates in warm soapy water to help remove the buildup. Rinse thoroughly and dry the grates before storing them away.
- Wash the exterior: Wipe down the exterior of the grill with a mixture of mild dish soap and warm water. Use a sponge or a cloth to gently clean the surfaces. Avoid using abrasive cleaners that can damage the finish. Rinse off the soap residue and dry the exterior thoroughly.
- Inspect and maintain: While cleaning, take the opportunity to inspect the grill for any signs of wear or damage. Check the burners, venting system, and any gas connections if applicable. Replace any worn parts or make necessary repairs before using the grill again.
- Store properly: Once the grill is clean and dry, store it in a dry and secure location. If possible, use a grill cover to protect it from the elements. Proper storage will extend the life of your grill and ensure that it’s ready for your next BBQ adventure.
Regular cleaning and maintenance of your charcoal grill will not only keep it looking good but also help prevent rust and prolong its lifespan. It’s worth the effort to maintain your grill properly so that it continues to serve you well in producing mouthwatering grilled creations.
With that, you’ve completed the journey of BBQing with charcoal, from choosing the right charcoal to cleaning up. Armed with this knowledge, you’re ready to take your grilling skills to new heights and amaze your family and friends with delicious BBQ dishes. Happy grilling!
Conclusion
Barbecuing with charcoal is not just a cooking method; it’s an experience. The smoky aroma, the sizzling sounds, and the mouthwatering flavors make it a favorite pastime for many grill enthusiasts. By following the tips and techniques outlined in this guide, you’re now equipped with the knowledge to elevate your charcoal grilling game.
From choosing the right charcoal to preparing the grill, lighting the coals, and controlling the temperature, each step plays a crucial role in achieving delicious and perfectly cooked BBQ dishes. Adding wood chips for smoky flavor and utilizing different cooking techniques allow you to create unique and mouthwatering meals for your family and friends.
However, it’s essential to prioritize safety throughout the grilling process. From grill placement and charcoal handling to proper food preparation and grill maintenance, taking precautions will ensure a safe and enjoyable grilling experience.
Lastly, don’t forget about the cleanup. Cleaning your charcoal grill thoroughly and storing it properly will not only extend its lifespan but also ensure that it’s ready for your next grilling adventure.
So, fire up your charcoal grill, gather your loved ones, and create delectable BBQ dishes that will leave everyone wanting more. Embrace the art of charcoal grilling, experiment with flavors, and let your culinary skills shine. With practice, you’ll become a master of the grill and create memories that last a lifetime.
Frequently Asked Questions about How To BBQ With Charcoal
Was this page helpful?
At Storables.com, we guarantee accurate and reliable information. Our content, validated by Expert Board Contributors, is crafted following stringent Editorial Policies. We're committed to providing you with well-researched, expert-backed insights for all your informational needs.

0 thoughts on “How To BBQ With Charcoal”