Articles
How To Start A Gas Grill
Modified: August 29, 2024
Learn the best techniques and tips for starting your gas grill with these helpful articles. Get expert advice on getting the perfect flame and cooking delicious meals.
(Many of the links in this article redirect to a specific reviewed product. Your purchase of these products through affiliate links helps to generate commission for Storables.com, at no extra cost. Learn more)
Introduction
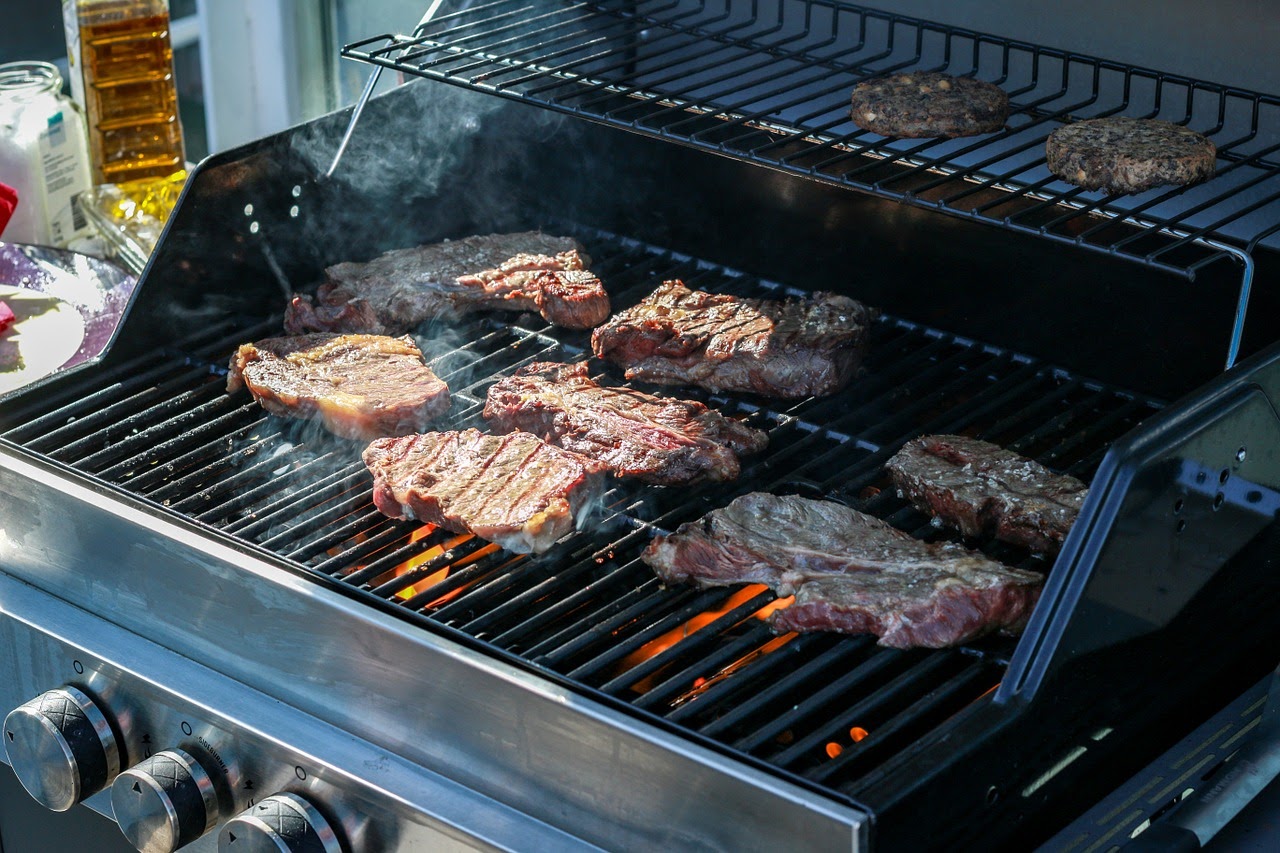
Welcome to the wonderful world of grilling! There’s nothing quite like the aroma of sizzling meat and vegetables, the satisfying sizzle of the grill, and the joy of sharing delicious meals with family and friends. If you’re a beginner looking to start grilling with a gas grill, you’ve come to the right place.
In this article, we’ll guide you through the step-by-step process of starting a gas grill, ensuring your safety and success as you embark on your grilling journey. We’ll cover everything from choosing the right location to assembling the grill, checking the gas supply, igniting the grill, and using it effectively. So let’s fire up the grill and get started!
Before we dive into the specifics, it’s important to note that safety should always be your top priority when grilling. Make sure to read and follow the manufacturer’s instructions, and take necessary precautions to prevent accidents or injuries.
Now that we’ve got the safety talk out of the way, let’s move on to the first step: choosing the right location for your gas grill.
Key Takeaways:
- Safety First
Prioritize safety when starting a gas grill by following the manufacturer’s instructions, choosing a suitable location, checking for gas leaks, ensuring proper ventilation, and using protective gear to prevent accidents and ensure an enjoyable grilling experience. - Mastering the Grill
Master the art of grilling by preheating the grill, adjusting the burner controls for optimal heat distribution, using different heat zones to your advantage, and following proper cleaning and maintenance practices to ensure long-lasting use and delicious grilled meals.
Read more: How To Cook On A Gas Grill
Safety Precautions
Grilling can be a fun and enjoyable experience, but it’s important to prioritize safety to prevent accidents and ensure a smooth grilling process. Here are some essential safety precautions to keep in mind when using a gas grill:
- Read the manual: Familiarize yourself with the manufacturer’s instructions and safety guidelines provided in the manual. Follow them carefully to avoid any potential hazards.
- Keep a safe distance: Position your gas grill at least 10 feet away from any flammable materials, such as buildings, trees, or overhanging structures. This will help prevent accidental fires.
- Check for gas leaks: Before you start the grill, inspect the gas connection and hoses for any signs of damage or leaks. You can do this by applying a solution of soapy water to the connections and looking for bubbles. If you notice any leaks, turn off the gas supply immediately and fix them before proceeding.
- Ensure proper ventilation: Grilling produces carbon monoxide, which can be dangerous if inhaled in large quantities. Always grill in a well-ventilated area, such as an open-air patio or backyard, to allow the gas emissions to dissipate.
- Use protective gear: When handling the grill or cooking utensils, use heat-resistant gloves to protect your hands and avoid burns. Additionally, keep a fire extinguisher or a bucket of sand nearby in case of emergency.
- Supervise the grill at all times: Never leave the grill unattended, especially when children or pets are nearby. Accidents can happen within seconds, so it’s essential to stay vigilant and focused on the grilling process.
By following these safety precautions, you can ensure a safe and enjoyable grilling experience. Now, let’s move on to choosing the right location for your gas grill.
Choosing the Right Location
The location where you set up your gas grill can greatly impact your grilling experience. Here are some factors to consider when choosing the right location:
- Adequate space: Ensure that you have enough space to comfortably maneuver around the grill. This will make it easier to check on the food, flip it, and add additional items if needed. As a general rule, leave at least three feet of clearance on all sides of the grill.
- Level ground: It’s crucial to place your gas grill on a level surface to prevent it from tipping over. Uneven ground can pose a safety hazard and affect the grilling performance.
- Wind direction: Consider the prevailing wind direction in your grilling area. You want to avoid placing the grill in a spot where the wind constantly blows the flames toward you or your guests. This will help prevent flare-ups and ensure even cooking.
- Proximity to flammable materials: Keep your gas grill away from combustible materials such as dry grass, leaves, or wooden structures. This reduces the risk of accidental fires and keeps everyone safe.
- Accessibility: Choose a location that is easily accessible for you to carry the necessary grilling tools, ingredients, and utensils. Convenience and efficiency are key when it comes to grilling success.
- Comfort: Consider the comfort of your guests when placing the grill. Make sure the seating area is in close proximity, allowing everyone to socialize and enjoy the grilling experience together.
By taking these factors into account, you can select the perfect spot for your gas grill. Once you’ve chosen the location, it’s time to assemble the grill.
Assembling the Gas Grill
Now that you’ve chosen the right location for your gas grill, it’s time to assemble it. Follow these steps to ensure a smooth and successful assembly process:
- Read the manual: Before you begin, carefully read the manufacturer’s instructions provided with your gas grill. The manual will guide you through the specific steps and ensure that you assemble the grill correctly.
- Organize the parts: Lay out all the parts and components of the gas grill and organize them according to the instructions. This will make the assembly process more efficient and prevent confusion.
- Attach the legs and wheels: Most gas grills come with detachable legs and wheels that need to be attached. Follow the instructions to securely fasten them to the base of the grill. Ensure that the legs are stable and the wheels are locked in place.
- Connect the gas line: If your gas grill requires a direct connection to a gas supply, carefully attach the gas line according to the manufacturer’s instructions. Make sure the connections are tight and not leaking.
- Install the cooking grates and burners: Place the cooking grates onto the designated area, ensuring they are level and properly aligned. Insert the burners according to the instructions, ensuring they are securely in place.
- Attach the side tables and other accessories: If your gas grill comes with side tables or additional accessories, attach them as instructed. These convenient features will provide you with extra workspace and storage options.
- Double-check the connections: Once you have assembled the gas grill, carefully inspect all the connections to ensure that they are secure. Test the stability of the grill by gently rocking it. If it feels unstable, double-check the assembly and make any necessary adjustments.
By following these steps, you can assemble your gas grill with ease. With the grill fully assembled, it’s time to move on to the next step: checking the gas supply.
Checking Gas Supply
Before you start grilling, it’s essential to ensure that you have a proper gas supply for your grill. Here’s how you can check the gas supply:
- Inspect the gas tank: If you’re using a propane gas grill, check the propane tank to ensure it is not expired or damaged. Look for any visible signs of wear and tear, such as dents or rust. If the tank appears to be damaged, do not use it as it can be hazardous.
- Check the gas level: To determine the amount of gas left in the tank, lift it and gauge its weight. You can also use a gas level indicator or a gauge specifically designed for propane tanks to get an accurate reading.
- Have a spare tank: It’s always a good idea to have an extra propane tank on hand, especially if you’re planning a long grilling session. This ensures that you won’t run out of gas in the middle of cooking.
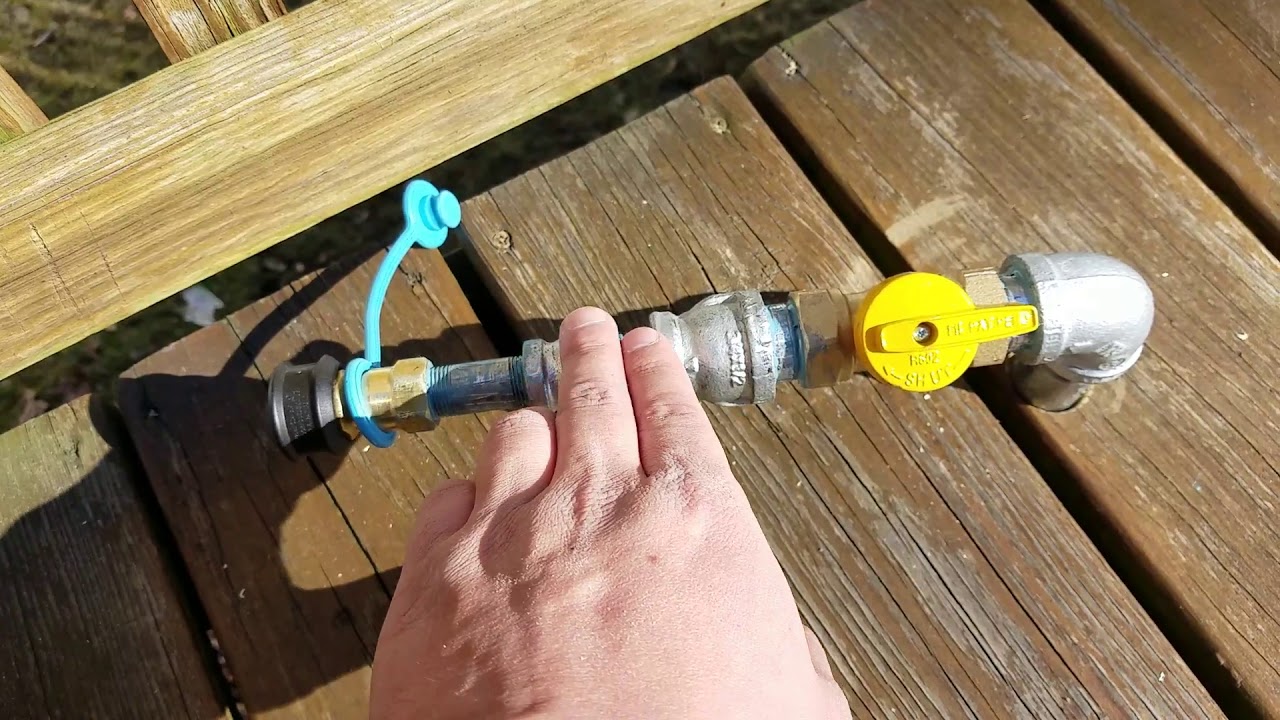
- Inspect gas lines and connections: Carefully examine the gas lines and connections for any signs of damage, cracks, or leaks. Listen for any hissing sounds or the smell of gas, which can indicate a leak. If you suspect a gas leak, turn off the gas supply and address the issue before proceeding.
- Ensure proper gas pressure: Make sure that the gas pressure is adequate for your grill. Many gas grills have a built-in pressure regulator, but if not, you may need to install one to regulate the gas flow and maintain a steady flame.
- Follow safety guidelines: Always follow the manufacturer’s instructions and safety guidelines when it comes to connecting or disconnecting the gas supply. This will help prevent accidents and ensure the proper functioning of your gas grill.
By checking the gas supply before you start grilling, you can ensure a continuous and uninterrupted grilling experience. Once you’ve verified the gas supply, it’s time to move on to the next step: igniting the grill.
Read more: How To Start Propane Grill
Igniting the Grill
Now that you’ve checked the gas supply and ensured everything is in order, it’s time to ignite your gas grill and get the heat flowing. Follow these steps to safely and effectively light your grill:
- Open the lid: Before igniting the grill, make sure the lid is open to allow for proper ventilation and prevent the buildup of gas.
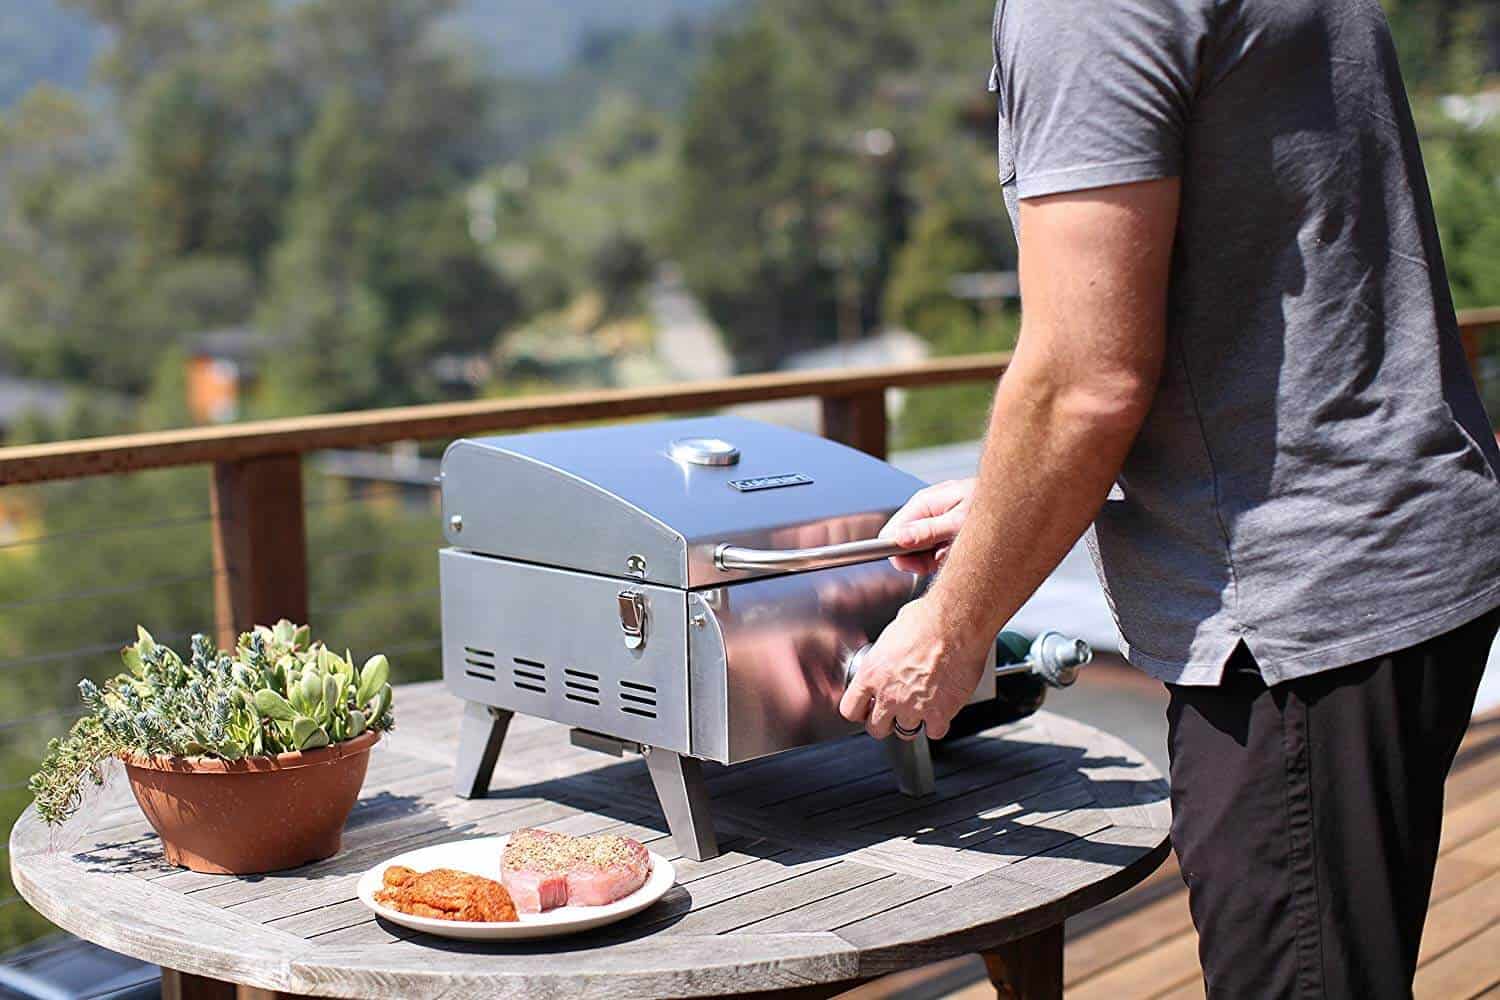
- Turn on the gas: Locate the gas valve on your grill and slowly turn it to the “on” or “start” position. This will allow the gas to flow to the burners.
- Ignite the burners: Depending on your grill model, you can either use an electronic ignition system by pushing a button or use a long-reach lighter or match to ignite the burners. Follow the manufacturer’s instructions for your specific grill.
- Monitor the flame: Once the burners are ignited, observe the flame. It should be blue and steady. If the flame is yellow or flickering, there may be an issue with the gas flow or a clogged burner. In such cases, turn off the gas and address the problem before proceeding.
- Close the lid: Once the burners are lit and the flame is stable, close the lid of the grill. This will help trap the heat inside and ensure even cooking.
- Allow the grill to preheat: Give your grill some time to preheat before placing the food on the grates. This can take anywhere from 10 to 15 minutes, depending on your grill’s size and temperature settings.
By following these steps, you can safely and effectively ignite your gas grill. Preheating the grill before cooking helps ensure that the grates are hot and ready for optimal searing and cooking. Now that your grill is preheated, let’s move on to the next step: adjusting the burner controls.
Before starting a gas grill, always make sure the lid is open to prevent gas buildup. Then, turn on the gas at the tank and ignite the grill using the ignition button or a long lighter.
Preheating the Grill
Preheating your gas grill is a crucial step to ensure optimal cooking results. Preheating helps to create a hot cooking surface, allowing for proper searing and even cooking of your food. Follow these steps to preheat your grill:
- Close the lid: Before you start preheating, close the lid of your grill. This helps to trap the heat inside, allowing the grill to reach the desired temperature more quickly.
- Turn on all burners: Turn on all the burners to their highest setting. This will allow for maximum heat and will help the grill reach the desired temperature faster.
- Set the temperature: If your grill has a temperature gauge, set it to the desired temperature. This will help you monitor and maintain the heat level throughout the grilling process.
- Give it time: Allow the grill to preheat for about 10 to 15 minutes. This will ensure that the grates are thoroughly heated and ready for cooking. Keep the lid closed during this time to maintain the heat.
- Check the temperature: After the preheating time has elapsed, check the temperature of the grill by using an oven thermometer or a grill surface thermometer. This will give you an accurate reading of the cooking surface temperature.
- Adjust as needed: If the temperature is too low, adjust the burner controls accordingly to increase the heat. If it’s too high, lower the burner controls or partially close the lid to regulate the temperature.
By preheating the grill, you ensure that the cooking surface is hot and ready for your food. This helps to create those beautiful grill marks, enhance flavors, and ensure even cooking. With a preheated grill, you’re now ready to adjust the burner controls and start grilling!
Adjusting the Burner Controls
Properly adjusting the burner controls on your gas grill is essential for achieving the desired cooking temperature and controlling the heat distribution. By understanding how to adjust the burner controls, you can have greater control over your grilling process. Here’s what you need to do:
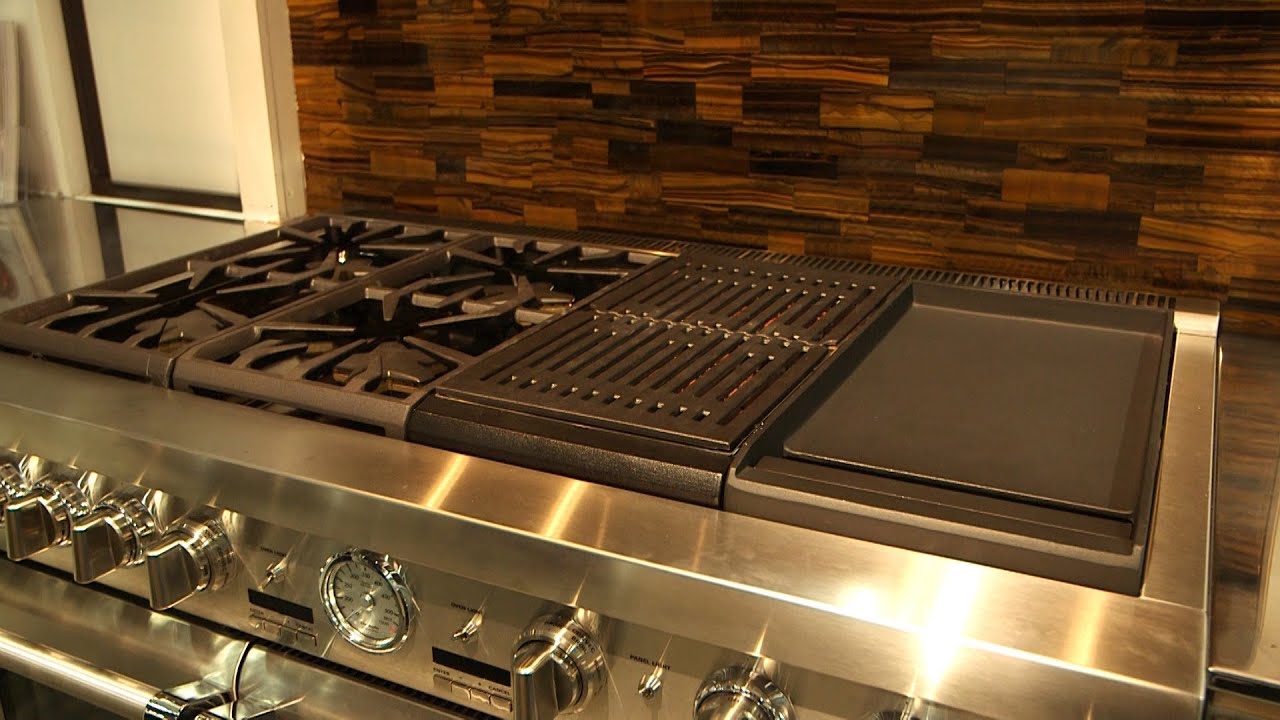
- Determine heat zones: Before you start adjusting the burner controls, it’s important to understand the heat zones on your grill. Most gas grills have multiple burners, allowing you to create different heat zones—typically a high heat zone and a low heat zone.
- High heat zone: Turn the burner controls to their maximum setting to create a high heat zone. This is where you’ll sear your meat and achieve a nice crust on the surface.
- Low heat zone: Turn off one or more burners to create a low heat zone. This area will have indirect heat and is perfect for cooking delicate foods or for keeping already cooked foods warm.
- Adjusting temperature: To control the temperature on your grill, you can adjust the burner controls accordingly. If you want to decrease the temperature, lower the burner controls. If you want to increase the temperature, raise the burner controls. This will allow you to fine-tune the heat to your desired level.
- Balancing heat: You may find that the heat distribution is not even across the grill surface. To achieve a balanced heat, you can partially open or close the burner controls on different burners. This will help equalize the heat and ensure even cooking.
- Monitor and adjust as needed: Throughout the grilling process, keep an eye on the temperature and adjust the burner controls as needed. This will help you maintain the desired heat for consistent and perfectly cooked food.
- Take advantage of multiple zones: When cooking different types of food, you can utilize the different heat zones to your advantage. For example, you can sear your steaks in the high heat zone and then move them to the indirect heat zone to finish cooking.
By mastering the art of adjusting the burner controls, you have better control over the temperature and can achieve perfectly grilled food. Now that you’re familiar with adjusting the burner controls, let’s dive into using the grill for cooking!
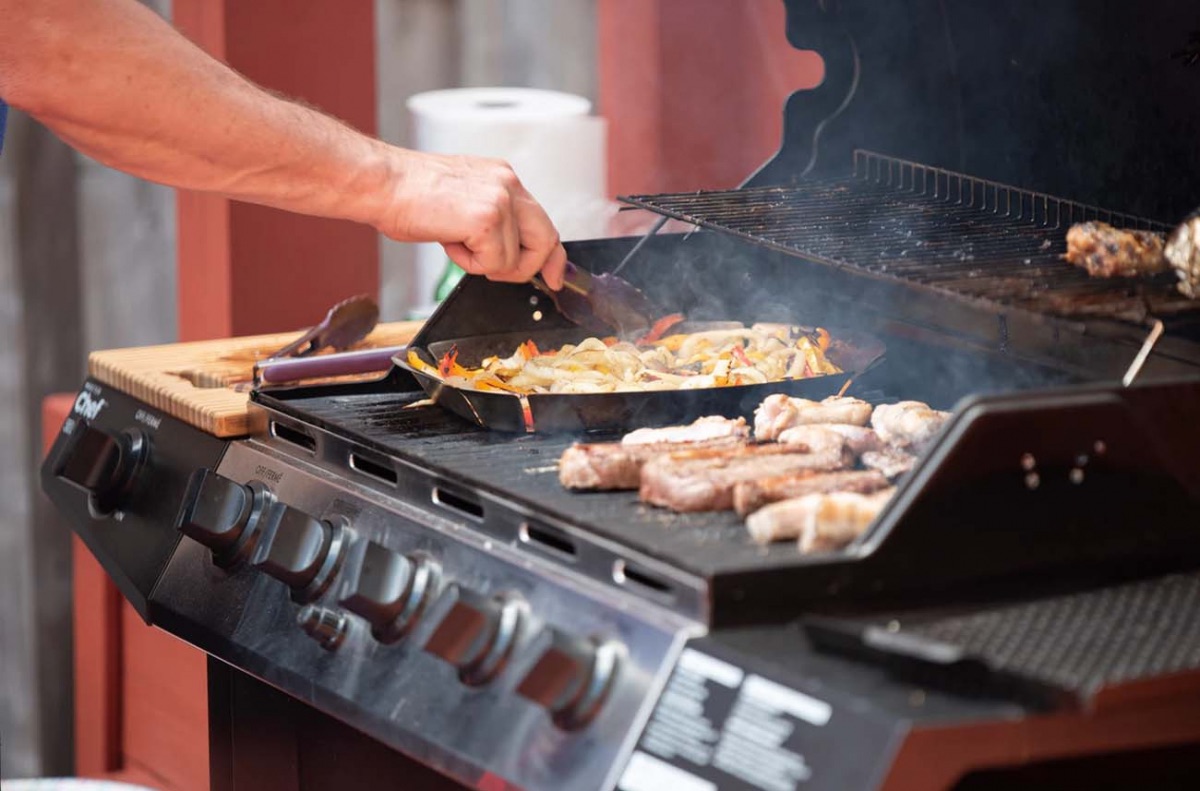
Using the Grill
Now that your gas grill is preheated and the burner controls are properly adjusted, it’s time to start using the grill for cooking delicious meals. Here are some tips to help you make the most of your grilling experience:
- Oil the grates: Before placing any food on the grill, lightly oil the grates to prevent sticking. Use a brush or a paper towel dipped in oil to coat the grates.
- Prep your food: Make sure your food is properly marinated or seasoned according to your recipe. This will enhance the flavors and contribute to a delicious outcome.
- Place the food on the grill: Carefully place your food on the preheated grill, using tongs or a spatula. Arrange the food in an organized manner, allowing enough space between each item for even cooking.
- Close the lid: Closing the lid helps to retain heat, provide consistent cooking, and infuse smoky flavors into your food. However, leave the lid slightly ajar if you’re cooking something that requires constant attention, such as delicate fish or thin cuts of meat.
- Flip and rotate: Halfway through the cooking time, use tongs or a spatula to flip the food to ensure even cooking on both sides. If you notice any hot spots, rotate the food to different areas of the grill.
- Monitor the temperature: Keep an eye on the temperature of the grill, adjusting the burner controls as needed to maintain the desired heat level. This will ensure that your food cooks evenly and reaches the desired level of doneness.
- Use a meat thermometer: For accurate cooking, use a meat thermometer to check the internal temperature of thick cuts of meat. This will help you achieve the desired level of doneness, whether it’s rare, medium, or well-done.
- Baste and add sauces: If your recipe calls for basting or adding sauces, do so during the last few minutes of cooking. This will prevent burning and allow the flavors to meld with the food.
- Rest before serving: Once your food is cooked to perfection, remove it from the grill and let it rest for a few minutes before serving. This allows the juices to redistribute and ensures a juicy and delicious outcome.
By following these tips, you’ll be able to make the most of your gas grill and create mouthwatering grilled dishes. Remember to keep a close eye on the cooking process and make adjustments as needed. Now, let’s move on to cleaning and maintaining your gas grill for long-lasting use.
Read more: What Are The Best Gas Grills
Cleaning and Maintenance
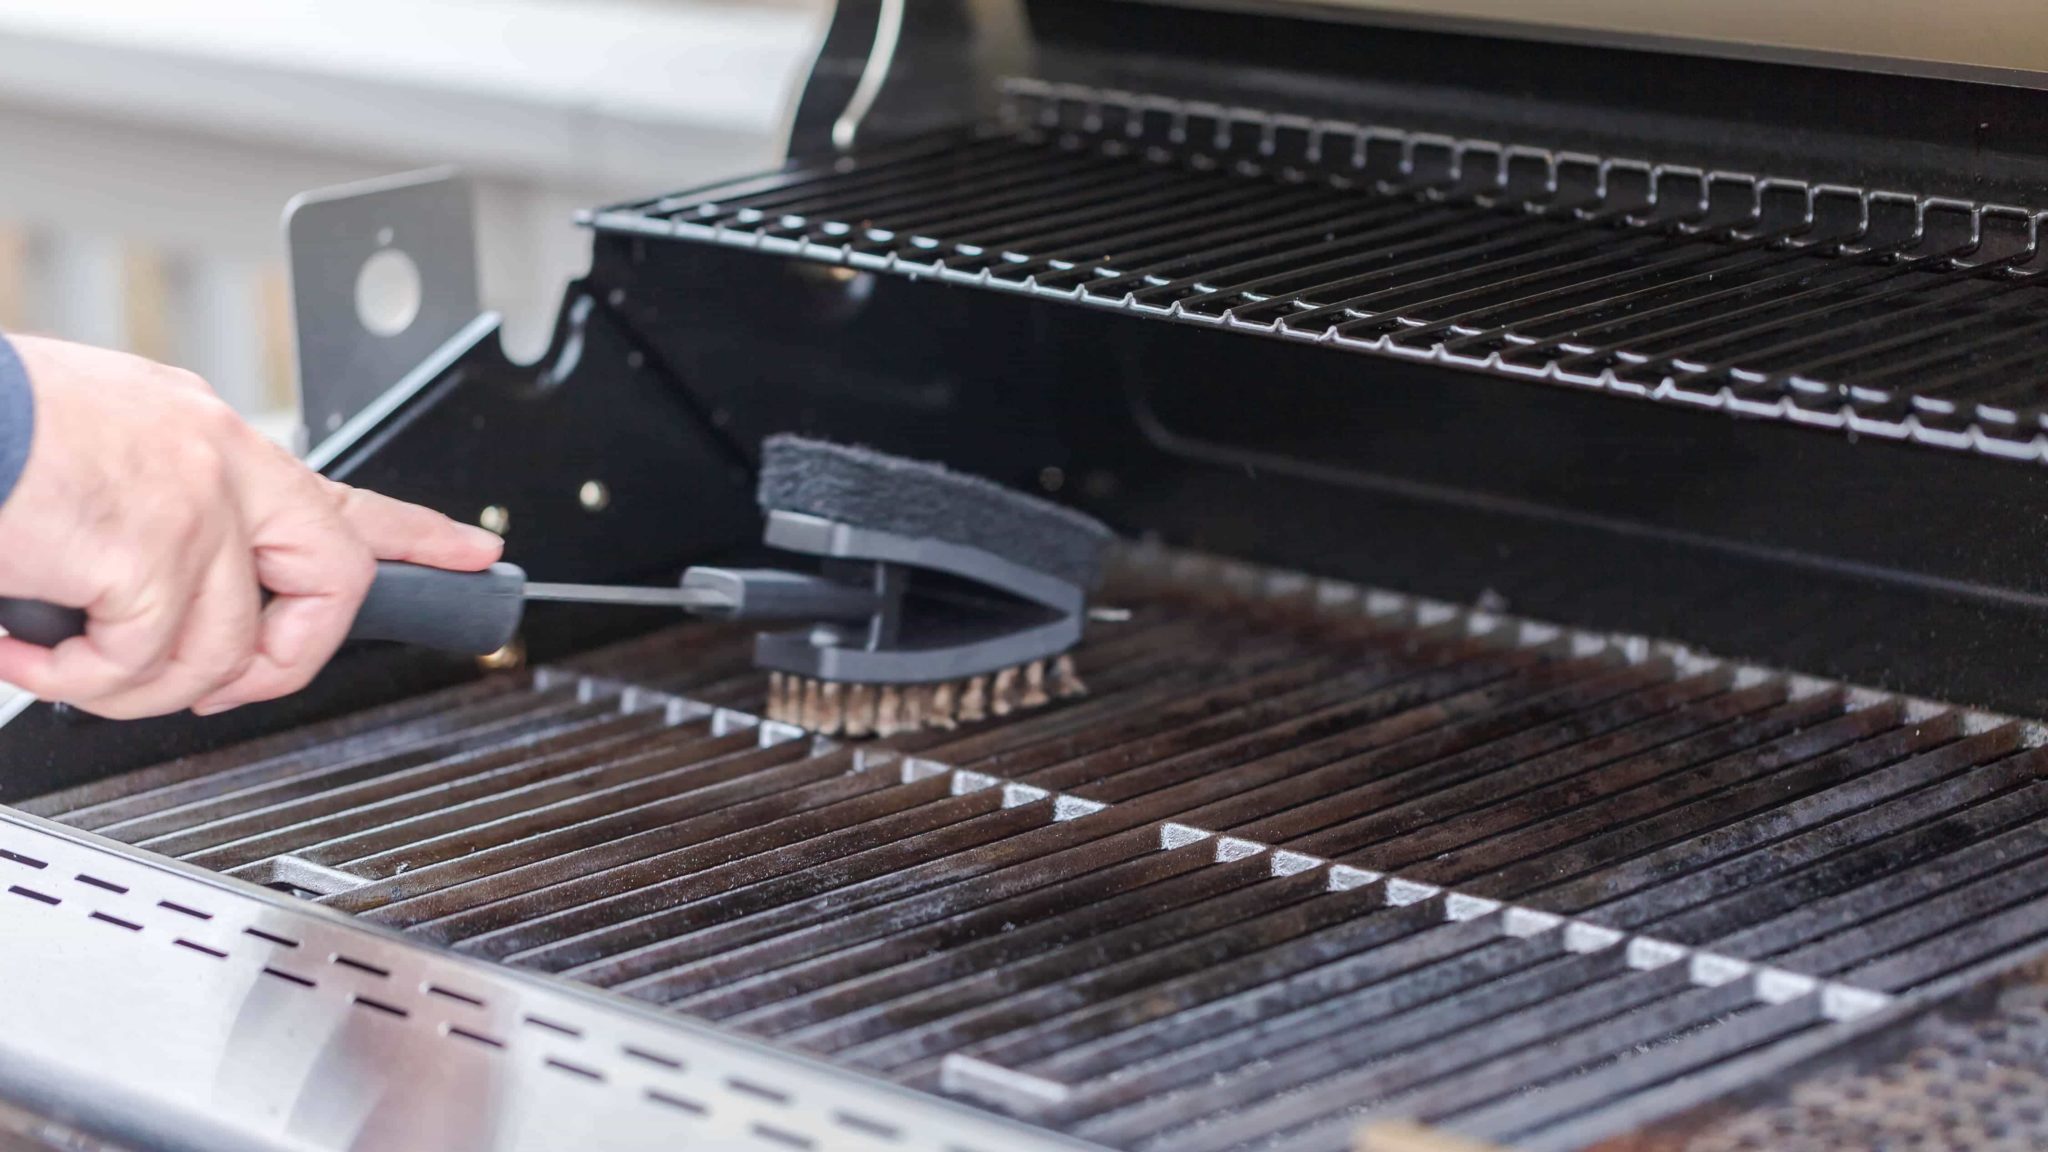
Proper cleaning and maintenance are essential for the longevity and performance of your gas grill. Regular maintenance ensures that your grill remains in top shape and continues to provide you with delicious grilled meals. Here are some tips for cleaning and maintaining your gas grill:
- Clean the grates after each use: After each grilling session, clean the cooking grates thoroughly. Use a grill brush to remove any food particles or residue. For a deeper clean, you can soak the grates in warm soapy water and scrub them with a sponge or brush.
- Remove grease and debris: Clean the grease tray and other removable parts of your grill to remove any accumulated grease and debris. This will prevent flare-ups and maintain the performance of your grill.
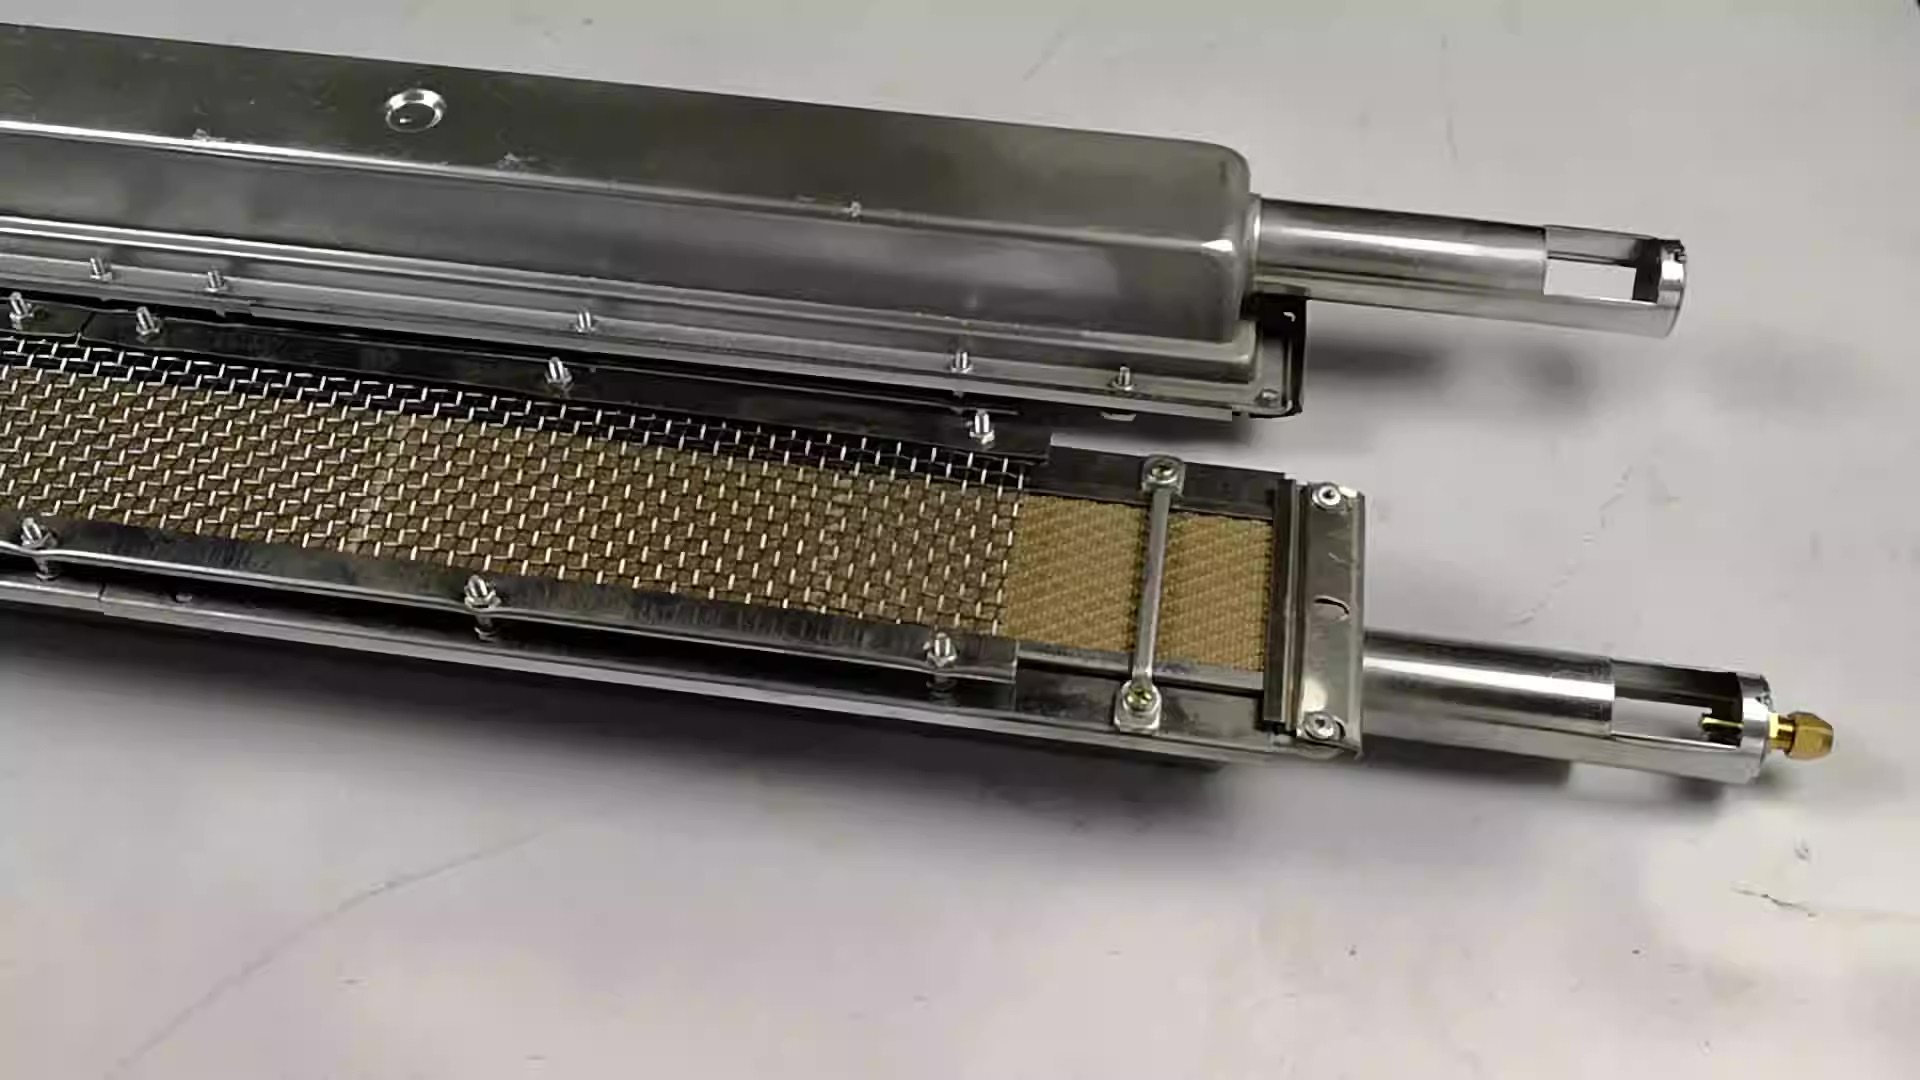
- Check and clean the burner tubes: Periodically inspect the burner tubes for any blockages or clogs. Clear any obstructions with a brush or a pipe cleaner to ensure proper gas flow and even heat distribution.
- Inspect and clean the gas lines: Regularly check the gas lines for any signs of wear or damage. If you notice any issues, replace the gas line to avoid potential leaks and ensure safety during operations.
- Keep the exterior clean: Wipe down the exterior surfaces of the grill with a mild soap solution and a soft cloth. This will help remove dirt, grime, and fingerprints, keeping your grill looking pristine.
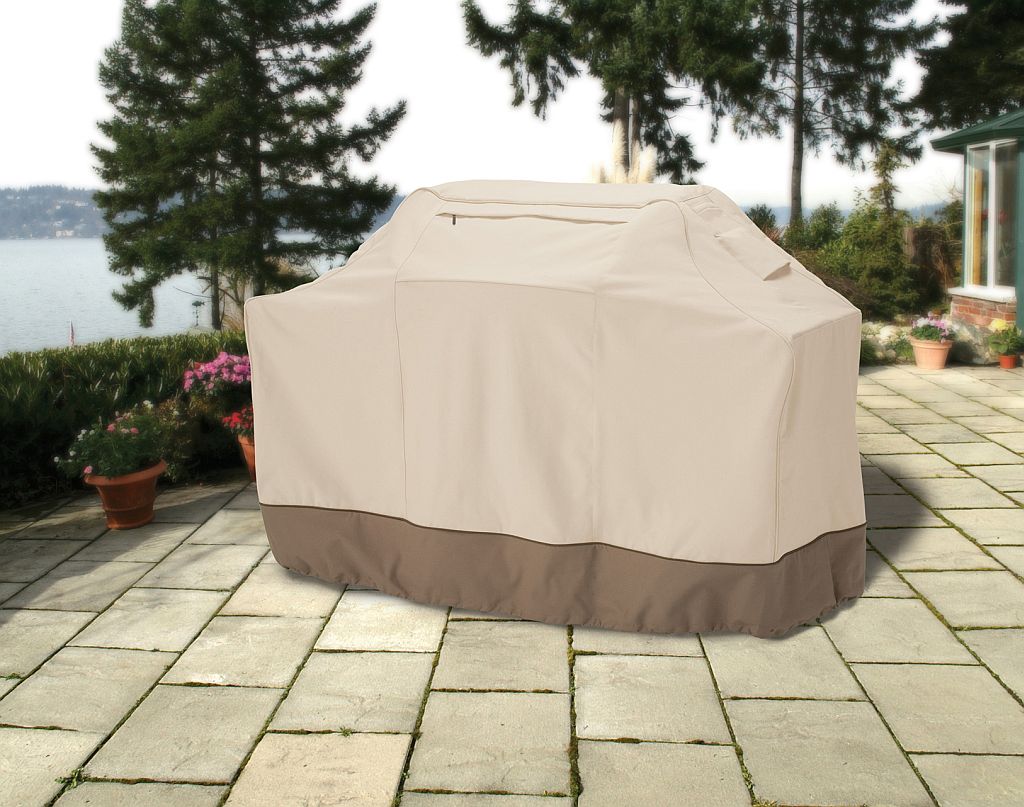
- Protect your grill: When your grill is not in use, cover it with a grill cover to protect it from harsh weather conditions, dust, and pests. This will extend the lifespan of your grill and keep it in optimal working condition.
- Check for rust: Inspect the grill’s body and components for any signs of rust. If you find any rust spots, you can use a wire brush or sandpaper to remove the rust and then apply a heat-resistant paint or spray to prevent further rusting.
- Keep a regular maintenance schedule: Set a regular maintenance schedule to ensure that you clean and inspect your grill on a consistent basis. This will help prevent major issues and keep your grill ready for the next grilling session.
By following these cleaning and maintenance tips, you’ll keep your gas grill in excellent condition and ensure its longevity. A well-maintained grill will provide you with years of delicious outdoor cooking. Now, let’s address some common troubleshooting issues that you may encounter while using your gas grill.
Troubleshooting Common Issues
While gas grills are generally reliable and easy to use, it’s not uncommon to encounter a few issues along the way. Here are some common troubleshooting tips for resolving common problems:
- Problems with ignition: If your grill is having trouble igniting, check the ignition system for any blockages or debris. Clean the ignition components with a brush or cloth, and ensure that the electrode is properly aligned with the burner.
- Uneven heat distribution: If you notice that your grill is not heating evenly, it may be due to clogged burner ports or an unevenly placed heat deflector. Clean the burner ports and adjust the heat deflector to ensure proper heat distribution.
- Flare-ups: Flare-ups occur when fat or grease drips onto the flames, causing sudden bursts of high heat. To prevent flare-ups, trim excess fat from meat, keep a spray bottle of water nearby to quickly extinguish flames, and adjust the burner controls to lower the heat.
- Low heat: If your grill is not reaching the desired temperature, check for any blockages in the gas lines or burner ports. Clean them out and make sure that the gas tank is not low or expired.
- Excessive smoke: Excessive smoke can be caused by dripping fat or by using low-quality or wet charcoal. To reduce smoke, trim excess fat from meat, use high-quality charcoal, and allow it to burn until it’s covered with white ash before cooking.
- Gas smell: If you detect a strong gas smell, turn off the gas supply immediately. Check all connections and hoses for any leaks using a solution of soapy water. If you detect any bubbles or hissing sounds, tighten the connections or replace any faulty components.
- Uneven or slow cooking: If your food is cooking unevenly or taking longer than expected, it may be due to improper heat distribution. Make sure the burners are clean and positioned correctly, and consider using indirect heat for slower cooking.
- Excessive rust: If you notice excessive rust on your grill, clean it off using a wire brush or sandpaper. Once the rust is removed, apply a heat-resistant paint or spray to protect the grill from further rusting.
By implementing these troubleshooting tips, you can overcome common issues and get back to enjoying the grilling experience. If the problem persists or if you’re unsure how to resolve it, consult the manufacturer’s manual or seek assistance from a professional.
Now that you’re equipped with troubleshooting knowledge, it’s time to put your skills to the test and enjoy the delicious meals you’ll create on your gas grill.
Conclusion
Congratulations on becoming familiar with starting, using, and maintaining a gas grill! With the knowledge and tips provided in this article, you are well-equipped to embark on your grilling journey and create mouthwatering meals for yourself, family, and friends.
Remember to always prioritize safety by following the manufacturer’s instructions and taking necessary precautions. Choose a suitable location, assemble the grill correctly, and check the gas supply before igniting the grill. Preheating the grill and adjusting the burner controls will help you achieve the desired cooking temperature and heat distribution.
When using the grill, oil the grates, monitor the temperature, and utilize different heat zones to cook various foods to perfection. After each use, clean the grill to maintain its performance and longevity. Regular maintenance and keeping a vigilant eye for common issues will help troubleshoot any problems that may arise.
Grilling is not just about cooking food; it’s an experience that brings people together. So go ahead, fire up the grill, and enjoy the sizzling aromas and delicious flavors that grilling has to offer.
Whether you’re grilling steaks, burgers, vegetables, or even desserts, the possibilities are endless. So gather your loved ones, embrace the grilling adventure, and savor the moments shared around the grill.
Happy grilling!
Frequently Asked Questions about How To Start A Gas Grill
Was this page helpful?
At Storables.com, we guarantee accurate and reliable information. Our content, validated by Expert Board Contributors, is crafted following stringent Editorial Policies. We're committed to providing you with well-researched, expert-backed insights for all your informational needs.


0 thoughts on “How To Start A Gas Grill”