Articles
How To Bleach A White Duvet Cover
Modified: October 18, 2024
Learn how to effectively bleach a white duvet cover with our comprehensive articles. Transform your bedding with our expert tips and techniques.
(Many of the links in this article redirect to a specific reviewed product. Your purchase of these products through affiliate links helps to generate commission for Storables.com, at no extra cost. Learn more)
Introduction
Having a white duvet cover can add a touch of elegance and sophistication to your bedroom decor. However, over time, it is inevitable that your pristine white duvet cover may start to lose its brightness and develop unsightly stains. This is where bleaching comes in handy. Bleaching a white duvet cover can help restore its original brightness and whiteness, giving it a fresh and clean look once again.
In this article, we will guide you through the step-by-step process of bleaching a white duvet cover. We will provide you with essential tips and tricks to ensure optimal results without damaging the fabric. So, if you’re ready to say goodbye to those stubborn stains and revive your white duvet cover, let’s dive right into the process!
Key Takeaways:
- Revive your white duvet cover by following a step-by-step bleaching process, ensuring optimal results without damaging the fabric. Say goodbye to stubborn stains and welcome back the brightness!
- Choose the right bleach, check the care label, and prepare, dilute, bleach, rinse, and dry your duvet cover to restore its pristine appearance. Optional ironing for a polished finish.
Read also: 15 Amazing White Duvet Cover for 2025
Step 1: Preparation
Before you begin the bleaching process, it’s important to gather all the necessary materials and prepare your workspace. Here’s what you’ll need:
- White duvet cover: Ensure that the duvet cover is suitable for bleaching. Check the care label to ensure that it can withstand the bleaching process. If the care label advises against bleaching or indicates specific instructions, follow them accordingly.
- Bleach: Use a regular chlorine-based bleach for white fabrics. Avoid using color-safe bleach or bleach alternatives as they may not provide the desired results.
- Protective clothing: Wear rubber gloves and old clothing to protect your skin and prevent any bleach spills from damaging your clothes.
- Washing machine or basin: You can use either a washing machine or a large basin to soak and bleach the duvet cover. Ensure that the washing machine or basin is clean and free from any residue or detergent.
- Water: You’ll need enough water to fully submerge the duvet cover during the bleaching process.
- Timer: Set a timer to keep track of the soaking time and avoid over-bleaching.
Once you have gathered all the necessary materials, find a well-ventilated area to carry out the bleaching process. It’s important to work in a space with good airflow to minimize the inhalation of bleach fumes. If possible, open windows or use fans to ensure proper ventilation.
Now that you’re prepared with all the materials and have created a suitable workspace, it’s time to move on to the next step: choosing the right bleach.
Step 2: Choosing the Right Bleach
Choosing the right bleach is crucial to achieve optimal results while preserving the integrity of your white duvet cover. Here are a few factors to consider when selecting the right bleach:
- Chlorine-based bleach: Opt for a regular chlorine-based bleach specifically designed for white fabrics. This type of bleach is highly effective in removing tough stains and brightening white textiles.
- Concentration level: Different brands offer bleach with varying concentration levels. It’s recommended to use a bleach with a concentration of 5% to 6% for most fabric types. However, if your duvet cover is heavily soiled or stained, you can consider using a slightly higher concentration. Always read the label and follow the manufacturer’s instructions for the appropriate dilution ratio.
- Color-safe bleach alternatives: While color-safe bleach alternatives are suitable for colored fabrics, they may not provide the desired whitening effect on white duvet covers. It’s best to avoid using these types of bleach alternatives for bleaching purposes.
- Bleach additives: Some bleach brands offer additives like fabric-friendly scents or whitening boosters. These additives can enhance the bleaching process and leave your duvet cover smelling fresh. However, make sure to read the labels and avoid using any additives that may cause damage to the fabric.
- Bleach alternatives for delicate fabrics: If you have a delicate or vintage duvet cover, consider using oxygen bleach or hydrogen peroxide as an alternative to chlorine bleach. These types of bleach are gentler on fabrics and can be effective in whitening without causing damage.
When choosing the right bleach, always refer to the care label on your duvet cover. If the care label advises against bleaching or specifies any limitations, it’s best to follow those instructions to protect the fabric.
Now that you’ve selected the right bleach, let’s move on to the next step: checking the care label of the duvet cover.
Step 3: Checking the Care Label
Before proceeding with the bleaching process, it’s essential to check the care label of your duvet cover. The care label provides valuable instructions on how to properly care for the fabric and any specific limitations or precautions to follow. Here’s what to look for on the care label:
- Bleaching instructions: The care label will indicate whether bleaching is allowed for the duvet cover. It may include specific instructions on the type of bleach to use or warn against bleaching altogether. Follow the instructions provided to avoid damaging the fabric.
- Water temperature: The care label may provide recommendations on the appropriate water temperature for washing and bleaching the duvet cover. It’s essential to adhere to these guidelines to prevent shrinkage or color fading.
- Drying instructions: Check the care label for instructions on how to dry the duvet cover after bleaching. It may recommend air-drying, tumble-drying, or laying flat. Following these instructions will help maintain the fabric’s integrity and prevent any damage during the drying process.
- Additional precautions: The care label might include additional precautions specific to the duvet cover’s fabric type or construction. It could provide information on potential risks, such as color bleeding or fabric distortion, and offer guidance on how to minimize these risks.
If the care label advises against bleaching or indicates any specific limitations, it’s crucial to respect those instructions. Ignoring the care label’s guidelines can result in damage to the fabric, loss of color, or alteration of the duvet cover’s texture.
Once you’ve familiarized yourself with the care label’s instructions, you can move on to the next step: preparing the duvet cover for the bleaching process.
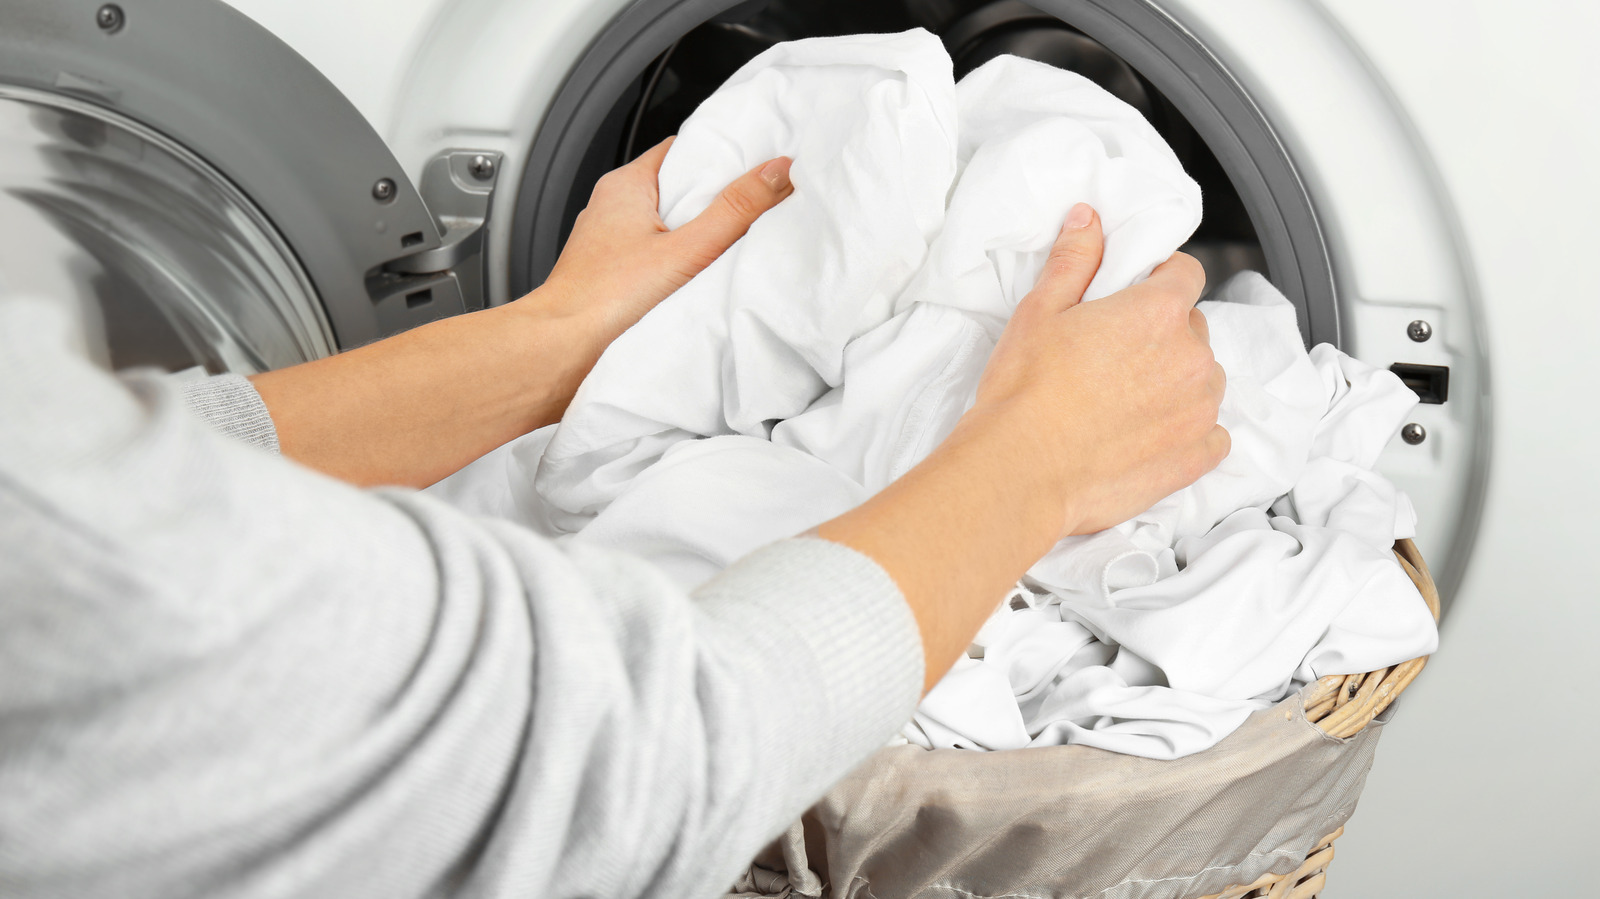
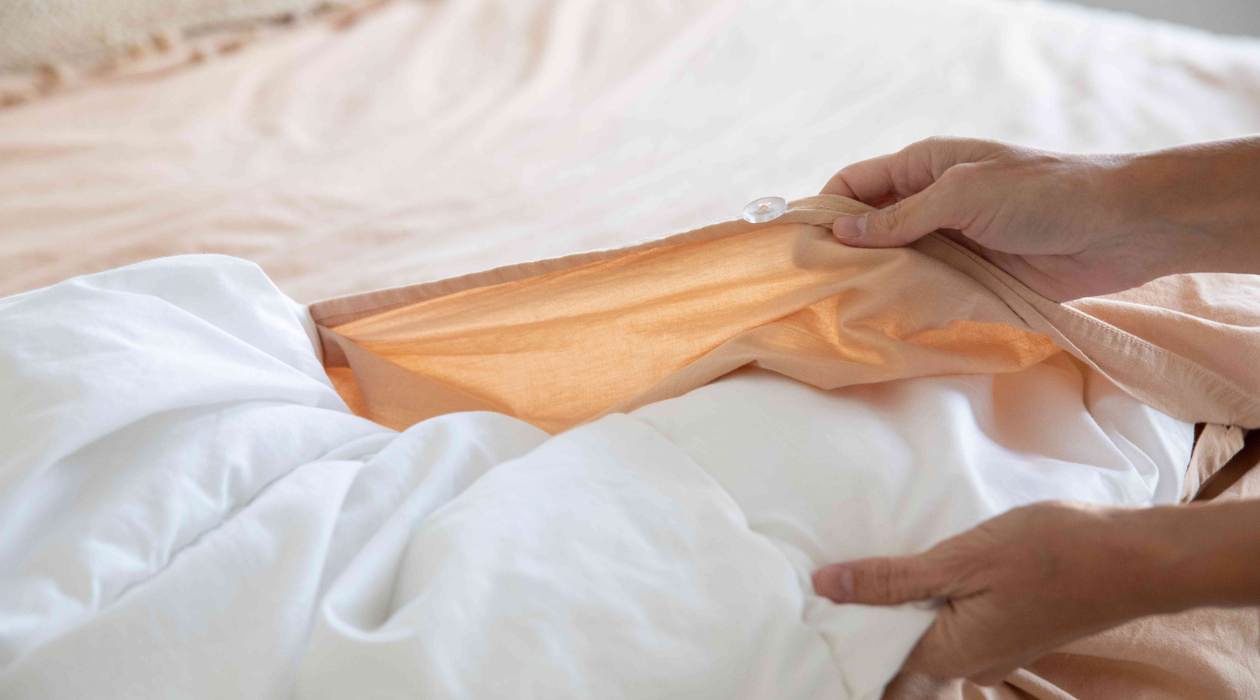
Step 4: Preparing the Duvet Cover
Before you begin the bleaching process, it’s important to properly prepare the duvet cover to ensure the best results. Here’s how to prepare the duvet cover for bleaching:
- Remove any duvet or pillow inserts: Take out any duvet or pillow inserts from the duvet cover. This will allow you to focus on treating the cover itself and prevent any potential damage to the inserts.
- Inspect the duvet cover: Thoroughly inspect the duvet cover for any stains or heavily soiled areas. Pre-treat these areas before proceeding with the bleaching process to increase the chances of complete stain removal.
- Spot clean stains: If you come across stubborn stains, use a mild stain remover or detergent to spot clean the affected areas. Gently rub the stain remover into the fabric using a soft brush or cloth. Allow it to sit for a few minutes, then rinse with cold water.
- Pre-soak the duvet cover: Fill a basin or sink with cold water and add a small amount of mild detergent. Submerge the duvet cover in the soapy water and gently agitate it to ensure even distribution of the detergent. Allow it to soak for about 15 to 30 minutes to loosen any dirt or grime.
- Rinse the duvet cover: After the pre-soaking process, drain the soapy water and rinse the duvet cover thoroughly with cold water. This will help remove any leftover detergent and prepare the fabric for the bleaching process.
- Squeeze out excess water: Gently squeeze the duvet cover to remove excess water. Avoid wringing or twisting the fabric, as this can cause damage or wrinkle the material.
By properly preparing the duvet cover, you ensure that the bleach can target the stains and discoloration more effectively. Pre-treating the stains and pre-soaking the duvet cover help to loosen dirt and debris, allowing the bleach to work its magic.
Now that the duvet cover is prepared, it’s time to move on to the next step: diluting the bleach.
Read more: How To Bleach White Curtains
Step 5: Diluting the Bleach
Now that your duvet cover is prepared, it’s time to dilute the bleach before applying it to the fabric. Diluting the bleach ensures that it is not too strong, reducing the risk of damage to the duvet cover. Follow these steps to dilute the bleach properly:
- Read the bleach label: Before diluting the bleach, carefully read the instructions on the bleach bottle. Different brands may have different guidelines for dilution ratios and application methods. Follow the instructions provided by the manufacturer for the best results.
- Choose your dilution method: There are a few different ways to dilute bleach. You can dilute it in a basin or sink filled with water, following the recommended dilution ratio. Alternatively, you can dilute the bleach directly in a washing machine if it has a bleach dispenser. Again, be sure to refer to the bleach bottle for specific instructions.
- Measure the bleach: Use a measuring cup or a designated bleach dispenser to accurately measure the bleach. Follow the dilution ratio recommended on the bleach bottle. Typically, a 1:10 ratio of bleach to water is a common starting point.
- Mix the bleach and water: Slowly pour the measured bleach into the water while stirring gently. Make sure the bleach is evenly distributed in the water. Avoid splashing or spilling the bleach on yourself or surrounding surfaces.
- Double-check the dilution ratio: Before proceeding with bleaching the duvet cover, double-check the dilution ratio to ensure it is correct. Using an incorrect dilution ratio can lead to ineffective bleaching or fabric damage.
Remember, safety is paramount when working with bleach. Always wear rubber gloves to protect your skin and handle bleach in a well-ventilated area. Avoid inhaling the fumes and be cautious not to spill or splash bleach on yourself or nearby objects.
With the bleach properly diluted, you’re ready to move on to the next step: bleaching the duvet cover.
When bleaching a white duvet cover, use a gentle bleach solution and follow the instructions on the bleach bottle. Avoid using too much bleach, as it can weaken the fabric. Always wash the duvet cover immediately after bleaching to remove any residue.
Step 6: Bleaching the Duvet Cover
With the diluted bleach prepared, it’s time to start the bleaching process on your duvet cover. Follow these steps to effectively bleach your duvet cover:
- Submerge the duvet cover: Gently place the duvet cover into the basin or washing machine filled with the diluted bleach solution. Ensure that the entire duvet cover is fully submerged in the bleach solution.
- Agitate gently: If using a basin, gently agitate the duvet cover in the bleach solution using a wooden spoon or your hands. This will help distribute the bleach evenly and ensure all parts of the fabric are treated.
- Soak for recommended time: Refer to the bleach bottle instructions for the recommended soaking time. Typically, 5 to 15 minutes is sufficient for most fabric types. Set a timer to ensure you do not exceed the recommended time, as overexposure to bleach can damage the fabric.
- Check for desired whiteness: After the recommended soaking time, check the duvet cover to see if it has achieved the desired level of whiteness. If not, you may choose to continue soaking for a few additional minutes. However, be cautious not to over-bleach, as it can weaken the fabric fibers.
- Remove and rinse: Once the duvet cover has reached the desired whiteness, carefully remove it from the bleach solution. Rinse it thoroughly with cold water to remove any residual bleach. Make sure to rinse until the water runs clear.
During the bleaching process, periodically check on the duvet cover to ensure that it is not becoming overly bleached or damaged. If you notice any signs of excessive bleaching or weakening of the fabric, immediately remove the duvet cover from the bleach solution and rinse it.
Remember, the bleaching process can vary depending on the fabric type and the amount of staining. Always refer to the care label instructions and use your judgment to determine the appropriate soaking time for your specific duvet cover.
Now that the duvet cover is bleached and rinsed, it’s time to move on to the next step: rinse and neutralize.
Step 7: Rinse and Neutralize
After bleaching your duvet cover, it is crucial to thoroughly rinse and neutralize the fabric to remove any traces of bleach and prevent any potential damage. Follow these steps to rinse and neutralize your duvet cover:
- Fill the basin or sink with cold water: Fill a basin or sink with cold water, ensuring there is enough water to fully submerge the duvet cover.
- Submerge the duvet cover: Gently place the duvet cover into the water, making sure it is fully submerged. This step will help remove any residual bleach.
- Agitate the duvet cover: Carefully agitate the duvet cover in the water, swishing it around gently. This motion will help dislodge any lingering bleach from the fabric fibers.
- Rinse multiple times: Drain the water and refill the basin or sink with fresh cold water. Repeat the rinsing process two to three times to ensure thorough removal of bleach and detergent residue.
- Neutralize the bleach: To neutralize any remaining bleach in the fabric, you can add a small amount of hydrogen peroxide to the final rinse. Hydrogen peroxide acts as a bleach neutralizer and helps ensure that all traces of bleach are removed.
- Final rinse: After neutralizing the bleach, give the duvet cover a final rinse in clean cold water. Ensure that the water runs clear and free of any bleach or detergent.
It is crucial to remove all traces of bleach to prevent any potential damage or discoloration of the duvet cover. Failing to rinse and neutralize properly can lead to weakened fabric fibers or yellowing over time.
Once the duvet cover has been thoroughly rinsed and neutralized, it’s time to move on to the next step: drying the duvet cover.
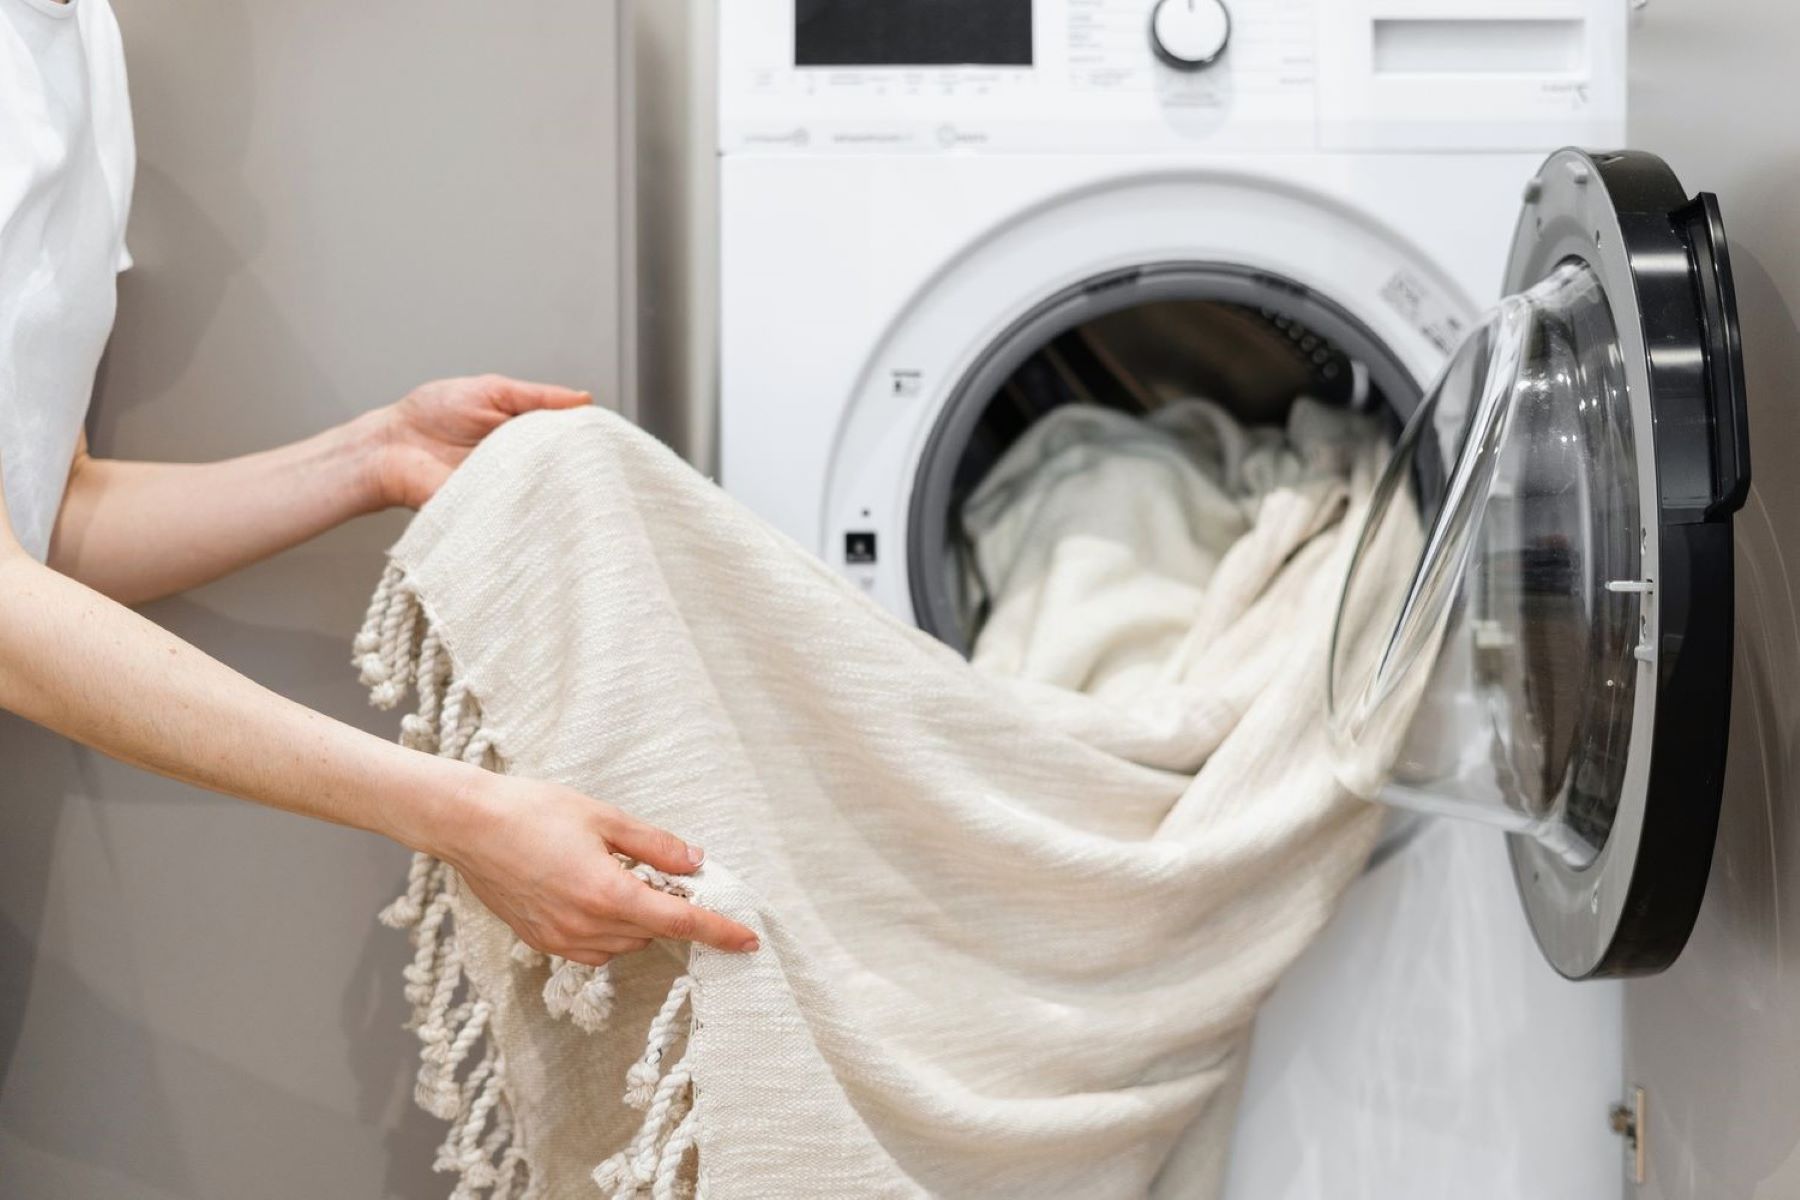
Step 8: Drying the Duvet Cover
Properly drying your duvet cover after bleaching is essential to prevent damage and maintain its shape and quality. Here’s how to effectively dry your duvet cover:
- Option 1: Air-drying
- If you prefer air-drying, gently squeeze out excess water from the duvet cover. Avoid wringing or twisting the fabric as it can cause wrinkles or distort the shape.
- Hang the duvet cover on a clothesline or lay it flat on a clean, dry surface. Ensure proper air circulation to aid in the drying process.
- Turn the duvet cover occasionally to promote even drying. This will help prevent moisture buildup and potential mildew formation.
- Allow the duvet cover to air-dry completely. Depending on the humidity and airflow, this may take a few hours to a full day.
- Once dry, gently shake the duvet cover to fluff it up and remove any residual moisture.
- Option 2: Tumble-drying
- If you prefer using a dryer, place the duvet cover into the dryer along with a few clean, dry towels.
- Set the dryer to a low or delicate setting to avoid excessive heat, which can damage the fabric. Add a fabric softener sheet if desired for a fresh scent.
- Allow the duvet cover to tumble dry until it is damp but not completely dry. This will help minimize wrinkles and make ironing, if necessary, easier.
- Remove the duvet cover from the dryer and immediately shake it out gently. Smooth out any wrinkles by hand.
- Lay the duvet cover flat on a clean, dry surface or hang it on a clothesline to air-dry completely. This will help remove any remaining dampness and ensure the duvet cover is completely dry.
It’s important to follow the care label instructions regarding drying methods and temperature for your specific duvet cover. Some fabrics may shrink or become damaged if exposed to high heat in the dryer.
Once the duvet cover is completely dry, you can move on to the optional step of ironing it, which we will discuss next.
Read more: What Is A Duvet Cover
Step 9: Ironing (Optional)
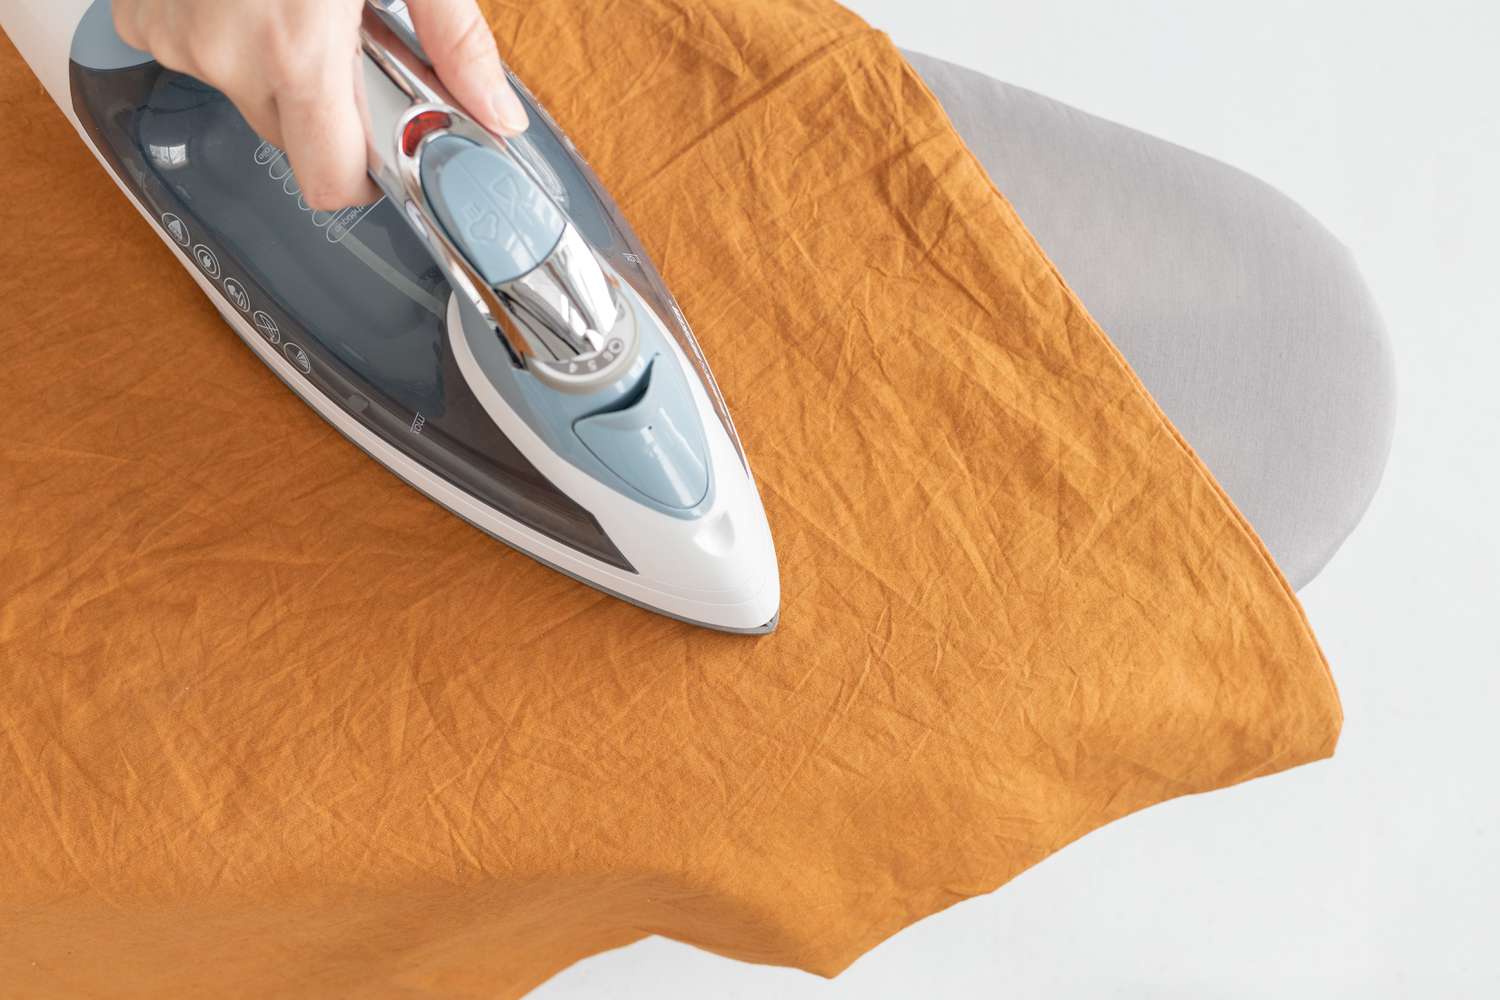
If you prefer to have a perfectly crisp and wrinkle-free duvet cover, ironing is the final step to achieve that polished look. Ironing is optional and depends on personal preference and the fabric type of your duvet cover. Here’s how to iron your duvet cover, if desired:
- Check fabric suitability: Before ironing, check the care label to ensure that ironing is suitable for your duvet cover’s fabric. Some delicate fabrics may not withstand the heat of an iron, and ironing may cause damage.
- Adjust the iron setting: Set your iron to the appropriate heat setting based on the fabric type. Some irons have pre-set fabric settings for ease of use. If unsure, start with a low temperature setting and gradually increase if needed.
- Prepare the duvet cover: Lay the duvet cover on a clean and flat ironing board. Smooth out any wrinkles or creases by hand, or use a fabric steamer to help relax the fabric before ironing.
- Iron the duvet cover: Starting from one end, gently glide the iron across the duvet cover in smooth, even strokes. Follow the natural grain of the fabric to avoid stretching or distorting the material. If there are intricate designs or embroidery, iron carefully around them.
- Pay attention to details: On areas with stubborn wrinkles, apply a bit more pressure or use the steam function on your iron to help release the creases. Be careful not to over-steam or apply too much heat, as it can damage the fabric.
- Continue ironing: Work your way across the duvet cover, section by section, until the entire surface is smooth. Take breaks when necessary to readjust the duvet cover and ensure all areas are ironed evenly.
- Allow cooling and folding: After ironing, allow the duvet cover to cool completely on a flat surface. This will help set the fabric and prevent new wrinkles from forming. Once cooled, fold the duvet cover neatly and store it in a clean, dry place until ready to use.
Remember to exercise caution when ironing, especially with delicate fabrics. If you are uncertain about ironing your duvet cover, it’s best to leave it unironed or consult a professional cleaner for assistance.
By following these optional ironing steps, you can achieve a smooth and beautifully presented duvet cover.
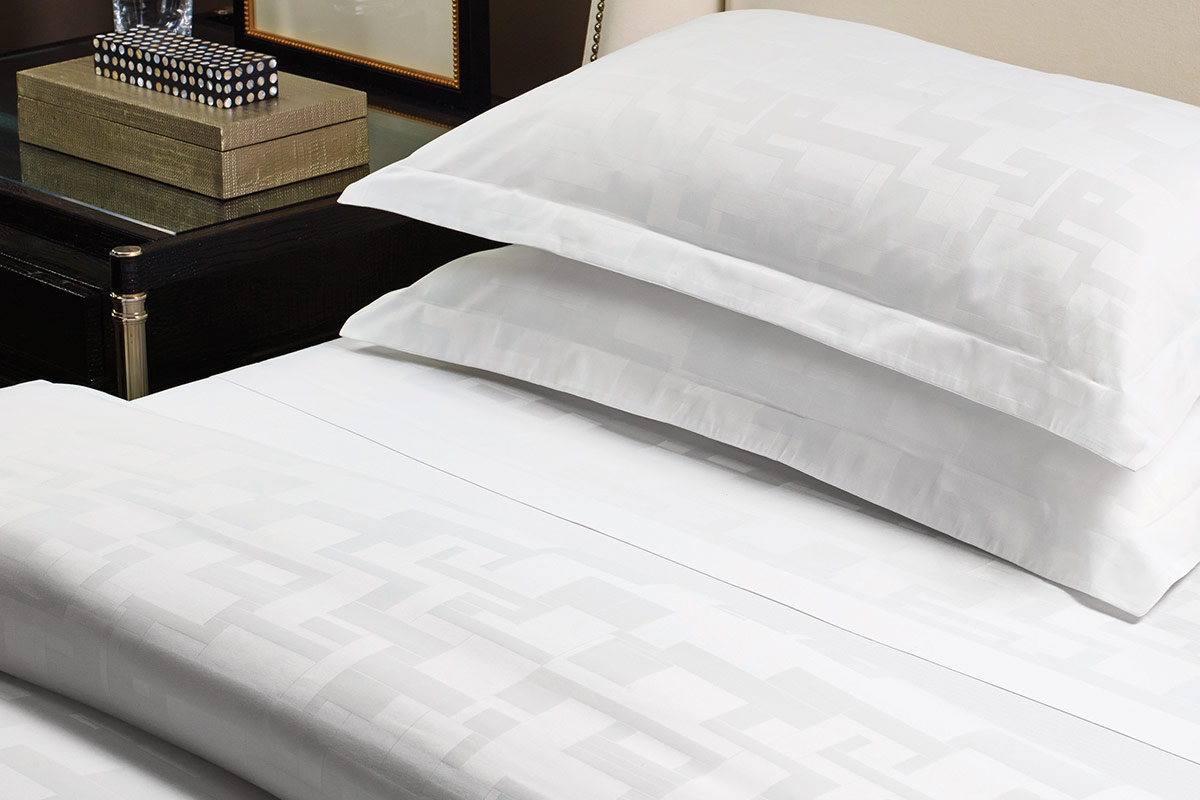
With that, you have successfully completed the entire process of bleaching, rinsing, drying, and potentially ironing your duvet cover. Your white duvet cover should now be revived and ready to adorn your bed with its renewed brightness.
Congratulations on your successful duvet cover transformation!
Conclusion
Bleaching a white duvet cover is a fantastic way to restore its brightness and remove stubborn stains. By following the step-by-step process outlined in this article, you can achieve impressive results while ensuring the longevity of your duvet cover.
Remember to start by preparing your workspace and gathering all the necessary materials. Choose the right bleach based on the fabric type and concentration level. Always check the care label of your duvet cover for specific instructions and limitations regarding bleaching.
After preparing the duvet cover, dilute the bleach to the appropriate concentration and proceed with the bleaching process. Ensure the duvet cover is fully submerged and agitate gently as needed. Rinse the duvet cover thoroughly after the desired whiteness is achieved to remove any residual bleach.
Next, rinse and neutralize the duvet cover to remove any traces of bleach. Properly drying the duvet cover is essential to avoid damage. Whether you choose to air-dry or tumble-dry, follow the recommended instructions for your specific fabric type.
Finally, ironing the duvet cover is optional but can provide a polished and wrinkle-free look. Remember to adjust the iron setting and be cautious when ironing delicate fabrics. Allow the duvet cover to cool before folding and storing it.
By following these steps and exercising caution, you can transform your white duvet cover, restoring its vibrancy and reviving its pristine appearance. Enjoy your refreshed duvet cover and the renewed beauty it brings to your bedroom!
Frequently Asked Questions about How To Bleach A White Duvet Cover
Was this page helpful?
At Storables.com, we guarantee accurate and reliable information. Our content, validated by Expert Board Contributors, is crafted following stringent Editorial Policies. We're committed to providing you with well-researched, expert-backed insights for all your informational needs.


0 thoughts on “How To Bleach A White Duvet Cover”