Articles
How To Cut Sink Hole In Granite
Modified: October 28, 2024
Learn how to cut a sink hole in granite with our informative articles.
(Many of the links in this article redirect to a specific reviewed product. Your purchase of these products through affiliate links helps to generate commission for Storables.com, at no extra cost. Learn more)
Introduction
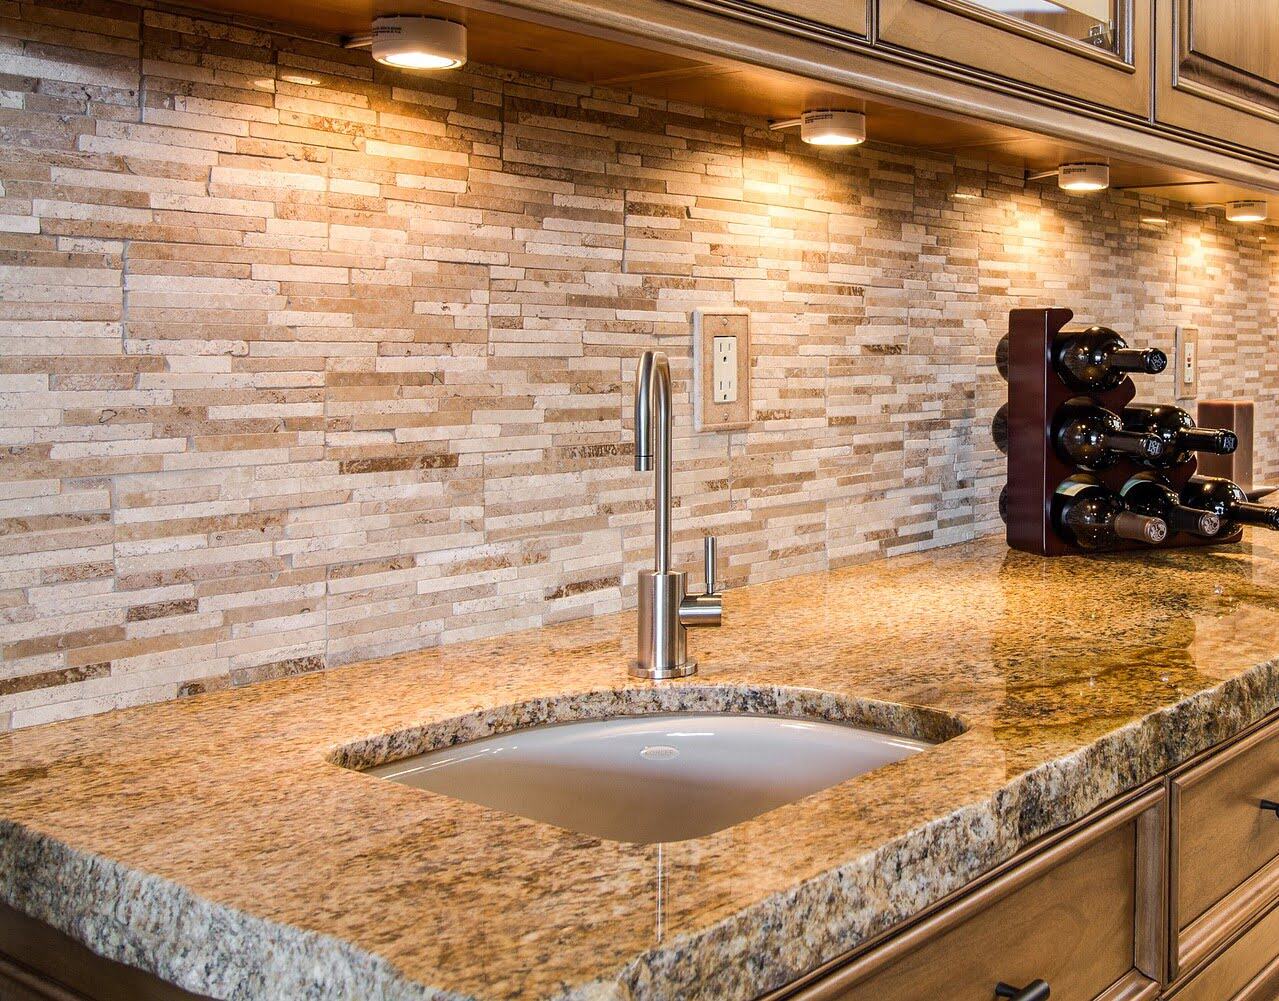
Welcome to our comprehensive guide on how to cut a sink hole in granite. If you’re planning a kitchen renovation or installing a new sink, you may find yourself needing to cut a sink hole in a granite countertop. While it may seem like a daunting task, with the right tools and techniques, you can achieve professional-looking results.
Granite is a popular choice for countertops due to its durability, heat resistance, and timeless beauty. However, working with granite requires precision and care to avoid damaging the surface. By following the steps outlined in this article, you’ll be able to confidently cut a sink hole in your granite countertop without compromising its integrity.
Before we dive into the details, it’s important to note that cutting a sink hole in granite requires specialized tools and equipment. If you’re not comfortable performing the task yourself or don’t have access to the necessary tools, it’s advisable to hire a professional to ensure the job is done correctly.
Throughout this guide, we’ll provide step-by-step instructions, accompanied by helpful tips and suggestions, to make the process as smooth as possible. We’ll also discuss the tools and materials you’ll need, from measuring and marking the sink hole to cutting and smoothing the edges.
Remember, cutting a sink hole in granite is a delicate and precise process, so take your time and proceed with caution. With patience and attention to detail, you’ll be able to create a sink hole that seamlessly integrates with your granite countertop, enhancing the overall aesthetics and functionality of your kitchen.
Key Takeaways:
- Cutting a sink hole in granite requires precision and patience. By following the step-by-step process and using the right tools, you can achieve a professional-looking result that seamlessly integrates with your countertop, enhancing both aesthetics and functionality.
- After cutting the sink hole, smoothing the edges and properly cleaning and finishing the area are crucial for achieving a polished and professional look. This final touch ensures a flawless installation and maintains the longevity of your granite countertop.
Read more: How To Cut A Sink Hole In A Countertop
Tools and Materials Needed
Before you begin cutting a sink hole in granite, it’s essential to gather all the necessary tools and materials. Having everything prepared beforehand will save you time and ensure a smoother workflow. Here’s a list of items you’ll need for this project:
- Measuring tape
- Marker or pencil
- Diamond blade
- Angle grinder
- Masking tape
- Ruler or straight edge
- Drill
- Diamond core bit
- Water source (such as a bucket or hose)
- Safety goggles
- Face mask
- Gloves
- Clamps or supports
It’s crucial to choose the right type and size of tools to ensure clean and precise cuts. When selecting a diamond blade for your angle grinder, opt for one specifically designed for cutting granite. Additionally, the diameter of the diamond core bit should match the size of your sink.
Ensure you have a stable work surface and adequate support for your granite countertop. This can include clamps or supports to prevent the material from shifting during the cutting process.
Don’t forget to prioritize safety during the project. Wear safety goggles to protect your eyes from debris and a face mask to avoid inhaling dust particles. Gloves will provide additional protection while handling the tools and materials.
Now that you have all the necessary tools and materials gathered, let’s move on to the step-by-step process of cutting a sink hole in your granite countertop. With the right tools and careful execution, you’ll achieve professional results that will enhance the beauty and functionality of your kitchen space.
Step 1: Measure and Mark the Sink Hole
Before you start cutting the sink hole in your granite countertop, it’s crucial to accurately measure and mark the area. This will ensure that the hole aligns perfectly with the dimensions of your sink. Here’s what you need to do:
1. Measure the sink’s dimensions: Begin by measuring the width, length, and depth of your sink. These measurements will determine the size of the sink hole you need to cut in the granite. Be sure to add an extra half-inch to the width and length to allow for the sink’s mounting hardware.
2. Place the sink upside down: Carefully turn your sink over and place it on the desired location on the granite countertop. This will help you visualize the sink hole and ensure it aligns properly with other elements, such as faucets or backsplashes.
3. Outline the sink: Use a marker or pencil to trace the outline of the sink onto the granite countertop. Make sure to trace along the outer edge of the sink, following its exact shape and dimensions. It’s helpful to use a straight edge or ruler for straight sections.
4. Mark the mounting holes: Take note of the location of the mounting holes on the sink. These holes will be used to secure the sink to the granite countertop. Use a marker or pencil to mark these holes on the traced outline.
5. Double-check the measurements: Once you have marked the outline and mounting holes, double-check your measurements to ensure accuracy. Use the measuring tape to verify that the marked dimensions match those of the sink.
6. Remove the sink: Carefully lift the sink off the granite countertop, ensuring not to disturb the marked outline. Set the sink aside in a safe location.
By measuring and marking the sink hole accurately, you set the foundation for a precise and well-fitted cut. Taking your time in this step will help avoid errors and ensure that the sink hole aligns perfectly with the dimensions of your sink. In the next step, we’ll prepare the work area to facilitate the cutting process.
Step 2: Prepare the Work Area
Once you have accurately measured and marked the sink hole on the granite countertop, it’s important to prepare the work area before proceeding with the cutting process. This step involves ensuring a safe and stable environment and protecting the surrounding surfaces. Here’s what you need to do:
1. Clear the workspace: Remove any objects or items that may obstruct your workspace. This includes cookware, small appliances, and other items from the kitchen countertop. Make sure you have enough space to move freely and safely.
2. Protect the surrounding surfaces: Cover the surrounding areas, including cabinets, walls, and other nearby surfaces, with drop cloths or plastic sheeting. This will protect them from potential damage during the cutting process. Secure the coverings in place using tape to ensure they don’t shift during the project.
3. Secure the granite countertop: If possible, secure the granite countertop using clamps or supports to prevent it from shifting or vibrating while you cut. This will provide stability and improve the accuracy of the cutting process. Ensure the clamps or supports are properly positioned and don’t interfere with the marked sink hole.
4. Set up a water source: Cutting granite generates a significant amount of dust and heat. To minimize dust and prevent the diamond blade from overheating, it’s essential to use water as a coolant during the cutting process. Set up a water source nearby, such as a bucket filled with clean water or a hose with a gentle, constant flow. The water will help keep the blade cool and lubricate the cutting surface.
5. Put on protective gear: Before you begin cutting, put on your safety goggles, face mask, and gloves. These protective gears will shield your eyes, respiratory system, and hands from potential hazards, including dust, debris, and sharp edges.
By thoroughly preparing the work area, you create a safe and controlled environment for the cutting process. Clearing the workspace and protecting the surrounding surfaces minimize the risk of damage, while securing the granite countertop and setting up a water source contribute to a smoother and more precise cut. With the work area prepared, you’re now ready to move on to the next step: creating a pilot hole.
When cutting a sink hole in granite, use a diamond-tipped hole saw and plenty of water to keep the blade cool and prevent the granite from cracking. Take your time and work slowly to ensure a clean and precise cut.
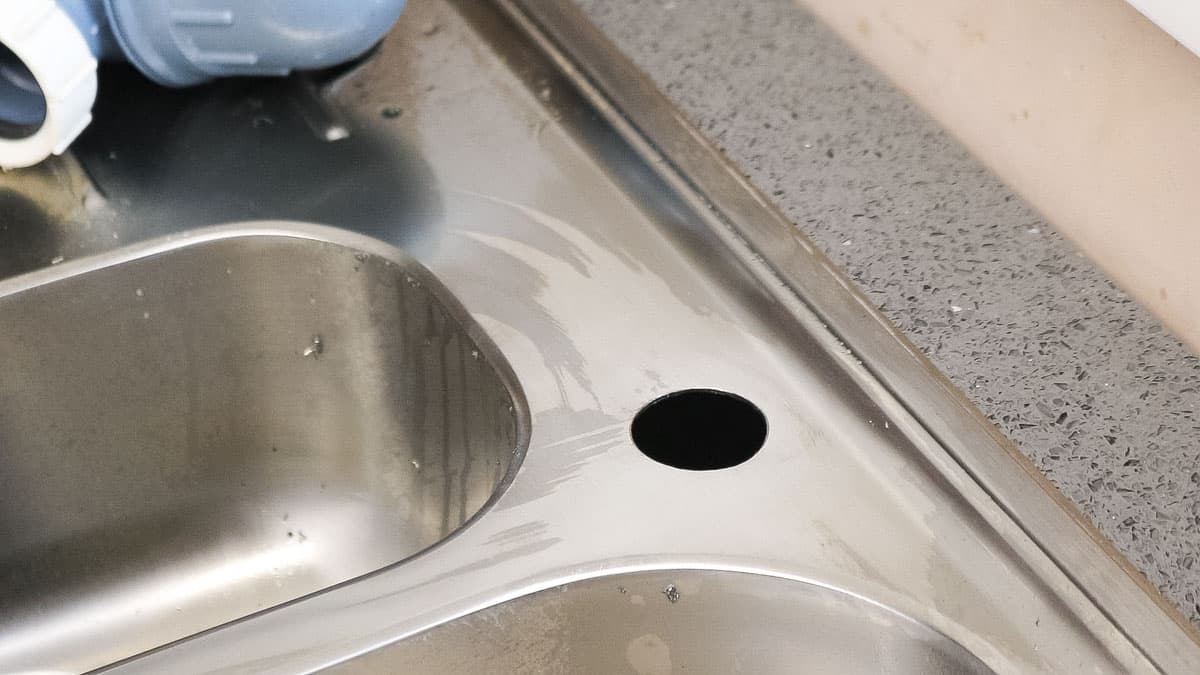
Step 3: Create a Pilot Hole
After measuring, marking, and preparing the work area, it’s time to create a pilot hole in the granite countertop. The pilot hole will serve as a starting point for cutting the sink hole. This step requires careful precision to ensure a clean and accurate cut. Here’s what you need to do:
1. Select the right drill and diamond core bit: Ensure you have a drill with variable speed control and a diamond core bit specifically designed for cutting through granite. The diameter of the diamond core bit should be slightly smaller than the size of the sink’s drain hole.
2. Attach the diamond core bit to the drill: Follow the manufacturer’s instructions to securely attach the diamond core bit to the drill. Tighten it firmly to ensure stability during the drilling process.
3. Position the drill over the marked mounting hole: Align the drill with one of the marked mounting holes on the granite countertop. Hold the drill perpendicular to the surface to ensure a straight and accurate pilot hole.
4. Start drilling: Begin drilling slowly and steadily. Apply gentle pressure while allowing the drill bit to do the work. Avoid applying excessive force, as it may cause the bit to overheat or damage the granite. The goal is to create a clean and precise pilot hole.
5. Continue drilling: Maintain a steady pace as you drill through the granite countertop. Periodically withdraw the drill to remove accumulated debris and prevent overheating. Keep the diamond core bit and the pilot hole lubricated by continuously applying water from your water source.
6. Check the progress: As you approach the bottom of the granite countertop, reduce the pressure on the drill and slow down to prevent breakthrough damage. Check the pilot hole’s depth and adjust if necessary to ensure it reaches the desired depth for installing the sink.
7. Repeat the process: Repeat this drilling process for each of the marked mounting holes. Ensure that all pilot holes are aligned and at the same depth.
By creating a pilot hole, you establish a precise starting point for cutting the sink hole. This step allows you to test the drilling process and ensure accurate placement of the sink. With the pilot holes in place, you’re now ready to move on to the next step: cutting the sink hole in the granite countertop.
Read more: How To Attach An Undermount Sink To Granite
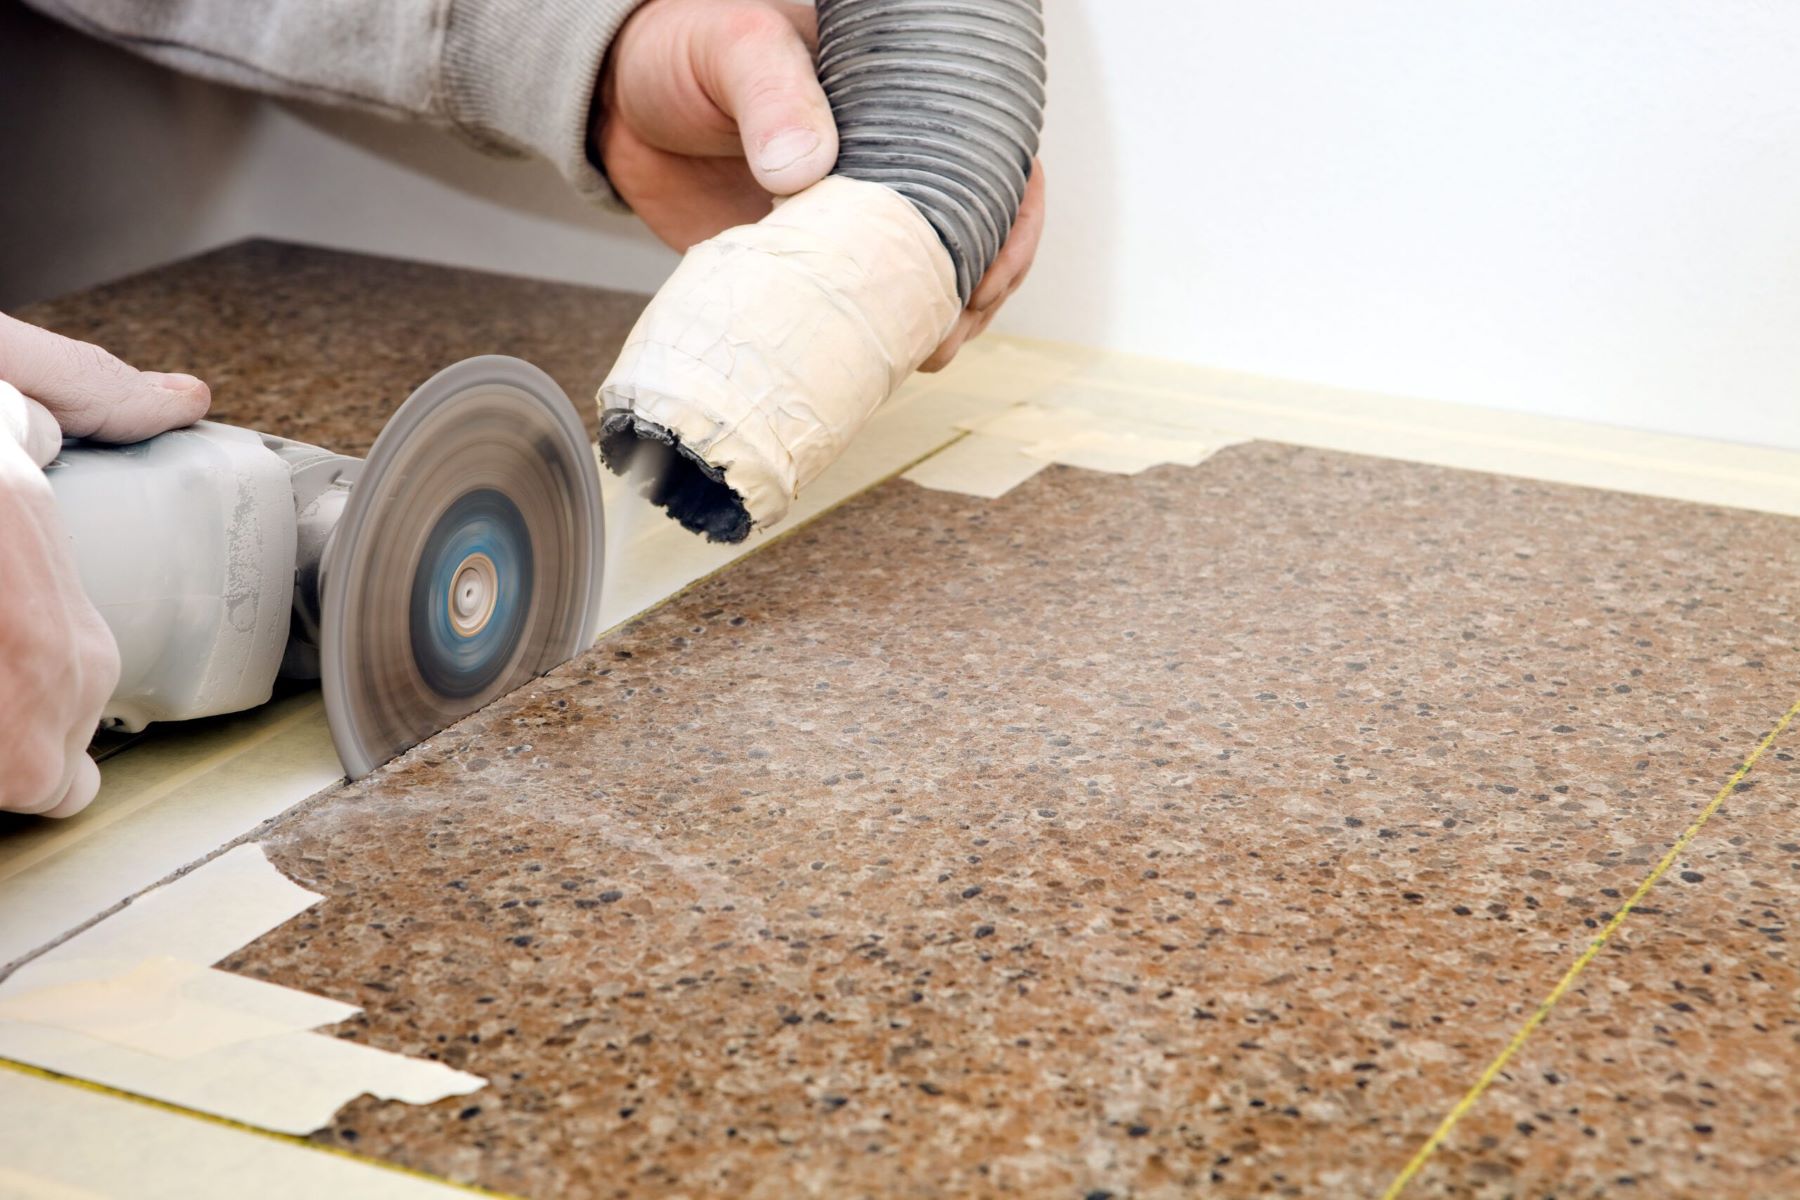
Step 4: Cut the Sink Hole
Now that you have created pilot holes in the granite countertop, it’s time to cut the sink hole itself. This step requires careful attention and precise execution to ensure a clean and accurate cut that perfectly fits your sink. Here’s what you need to do:
1. Prepare the angle grinder: Attach a diamond blade to your angle grinder. Ensure that the blade is secure and properly aligned.
2. Position the angle grinder: Position the angle grinder over one of the pilot holes. Hold the angle grinder firmly with both hands. Keep a firm grip and maintain control throughout the cutting process.
3. Start cutting: Slowly lower the rotating diamond blade into the pilot hole. Begin cutting along the marked outline of the sink. Take your time and maintain a steady speed. Avoid applying excessive pressure, as the blade should do the work. Allow the cutting tool to guide you along the traced line.
4. Make full cuts: Continue cutting along the entire outline of the sink. Ensure that the blade is cutting through the granite evenly and smoothly. Be cautious of any curves or corners, and adjust your cutting technique as necessary to maintain accuracy.
5. Check the depth: Periodically check the depth of the cut to ensure it reaches the desired level. Make adjustments if needed to achieve the proper depth for your sink. Remember to maintain a consistent depth throughout the cutting process.
6. Remove excess material: Once you have completed the full cut along the outline of the sink, you may have excess material in the center. Use the angle grinder to carefully remove this excess material, being mindful not to damage the surrounding edges or accidentally widen the sink hole.
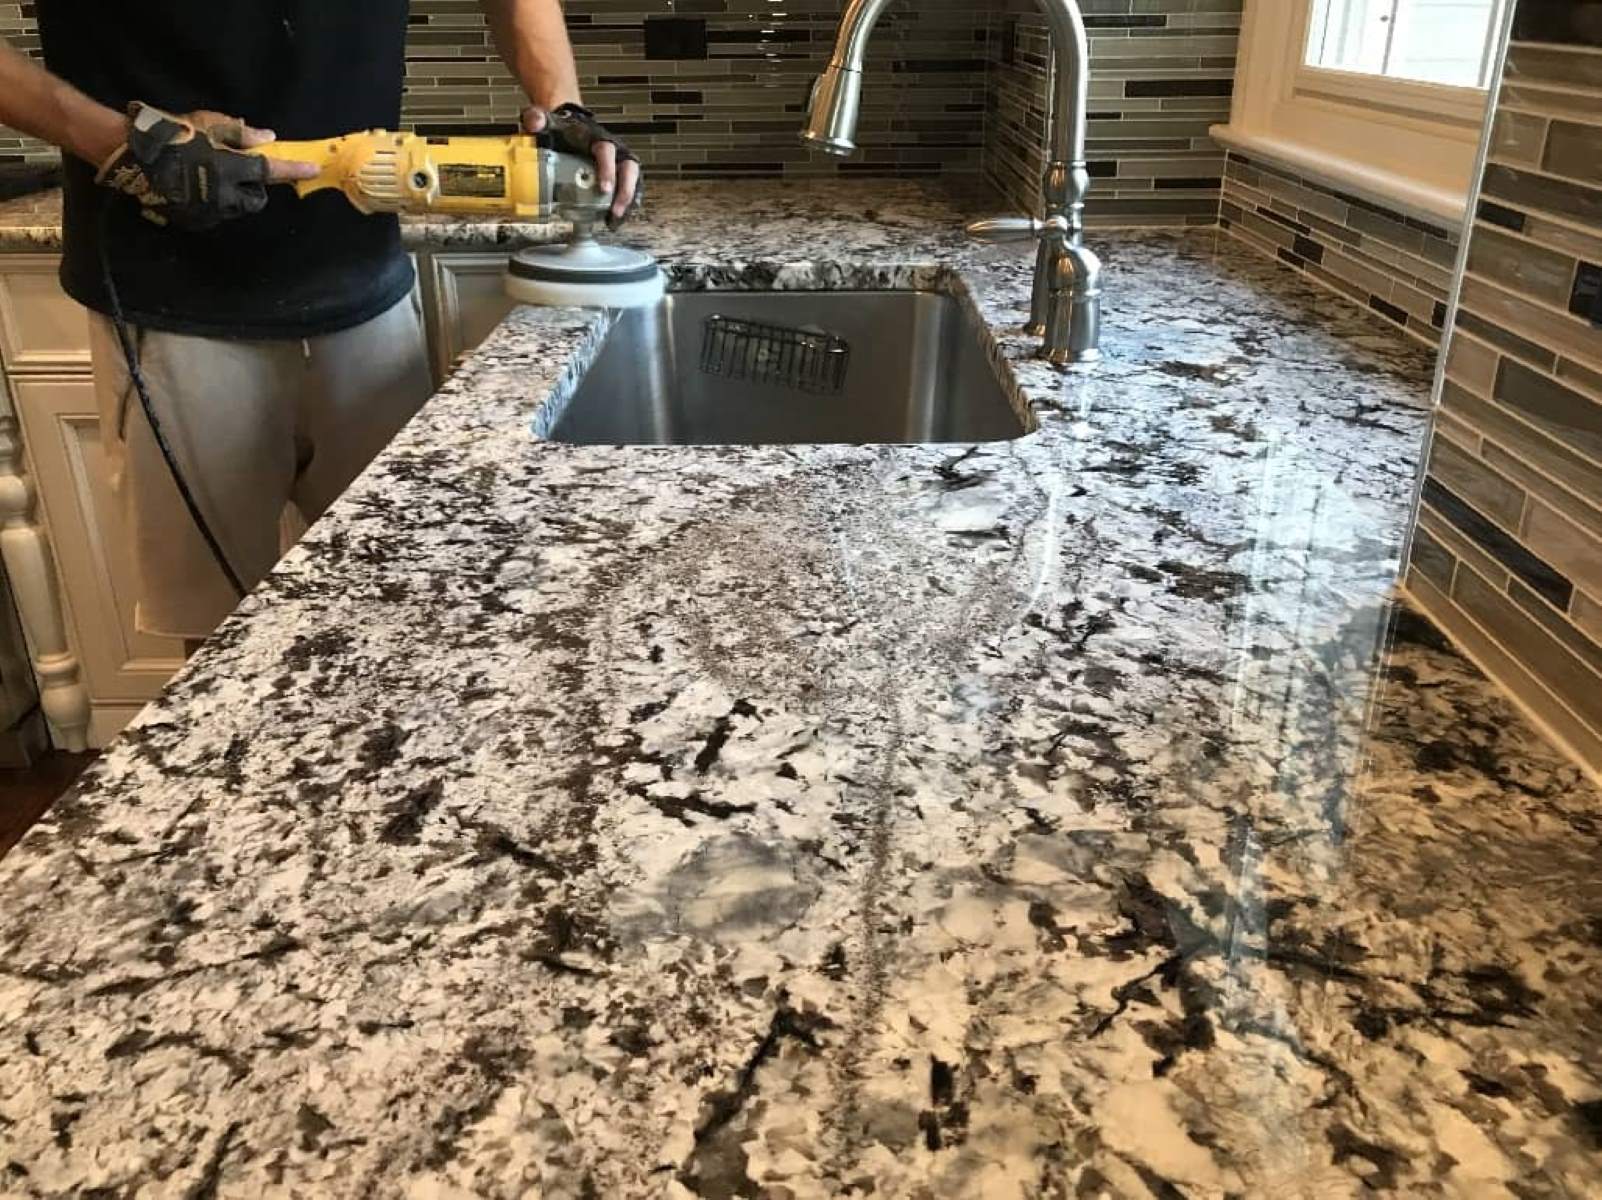
7. Smooth the edges: After cutting the sink hole, use a polishing pad or sandpaper to smooth the edges of the cut. This will help create a clean, finished look and prevent any sharp edges.
Remember to maintain a steady hand and take frequent breaks to avoid overheating the diamond blade. Always keep the cutting area lubricated with water to reduce dust and prevent the blade from overheating. Cutting a sink hole in granite requires patience and precision, so take your time and ensure accuracy in each pass.
With the sink hole cut, you have successfully completed a major step in the process. The next step will focus on smoothing the edges to achieve a polished finish.
Step 5: Smooth the Edges
After cutting the sink hole in your granite countertop, it’s important to smooth the edges to create a polished and finished look. Smooth edges not only enhance the aesthetics of the sink hole but also make it safer to handle. Here’s how you can achieve smooth edges:
1. Inspect the edges: Carefully examine the edges of the sink hole to assess their condition. Look for any rough or jagged areas that need to be smoothed out.
2. Select the right tools: Depending on the severity of the rough edges, you can use sandpaper, a polishing pad, or a diamond hand pad. Choose the appropriate tool to achieve the desired level of smoothness.
3. Start with a coarse grit: If the edges are significantly rough, start with a coarse grit sandpaper or diamond hand pad. Hold the sandpaper or pad at a 45-degree angle to the edge and apply gentle pressure as you move it back and forth. Gradually work your way around the entire perimeter of the sink hole.
4. Transition to finer grits: As the edges become smoother, switch to a finer grit sandpaper or polishing pad. Repeat the same back-and-forth motion along the edges, gradually reducing the angle of the sandpaper or pad. This will help achieve a more polished and refined finish.
5. Check for smoothness: Frequently check the edges with your fingertips to assess the smoothness. If you detect any remaining rough spots, continue working on those areas until they are smooth and even.
6. Wipe away debris: Throughout the smoothing process, wipe away any debris or particles that accumulate on the surface of the sink hole. This will help you maintain visibility and ensure a consistent finish.
7. Complete the polishing process: For a truly polished finish, you can further enhance the smoothness of the edges by using a granite-specific polishing compound. Apply the compound according to the manufacturer’s instructions and buff the edges with a soft cloth or pad.
By carefully smoothing the edges of the sink hole, you’ll create a seamless transition between the granite countertop and the sink. Smooth edges not only improve the aesthetics but also make the sink easier to clean and maintain. With the edges smoothed, you’re now ready for the final step: cleaning and finishing the sink hole and countertop.
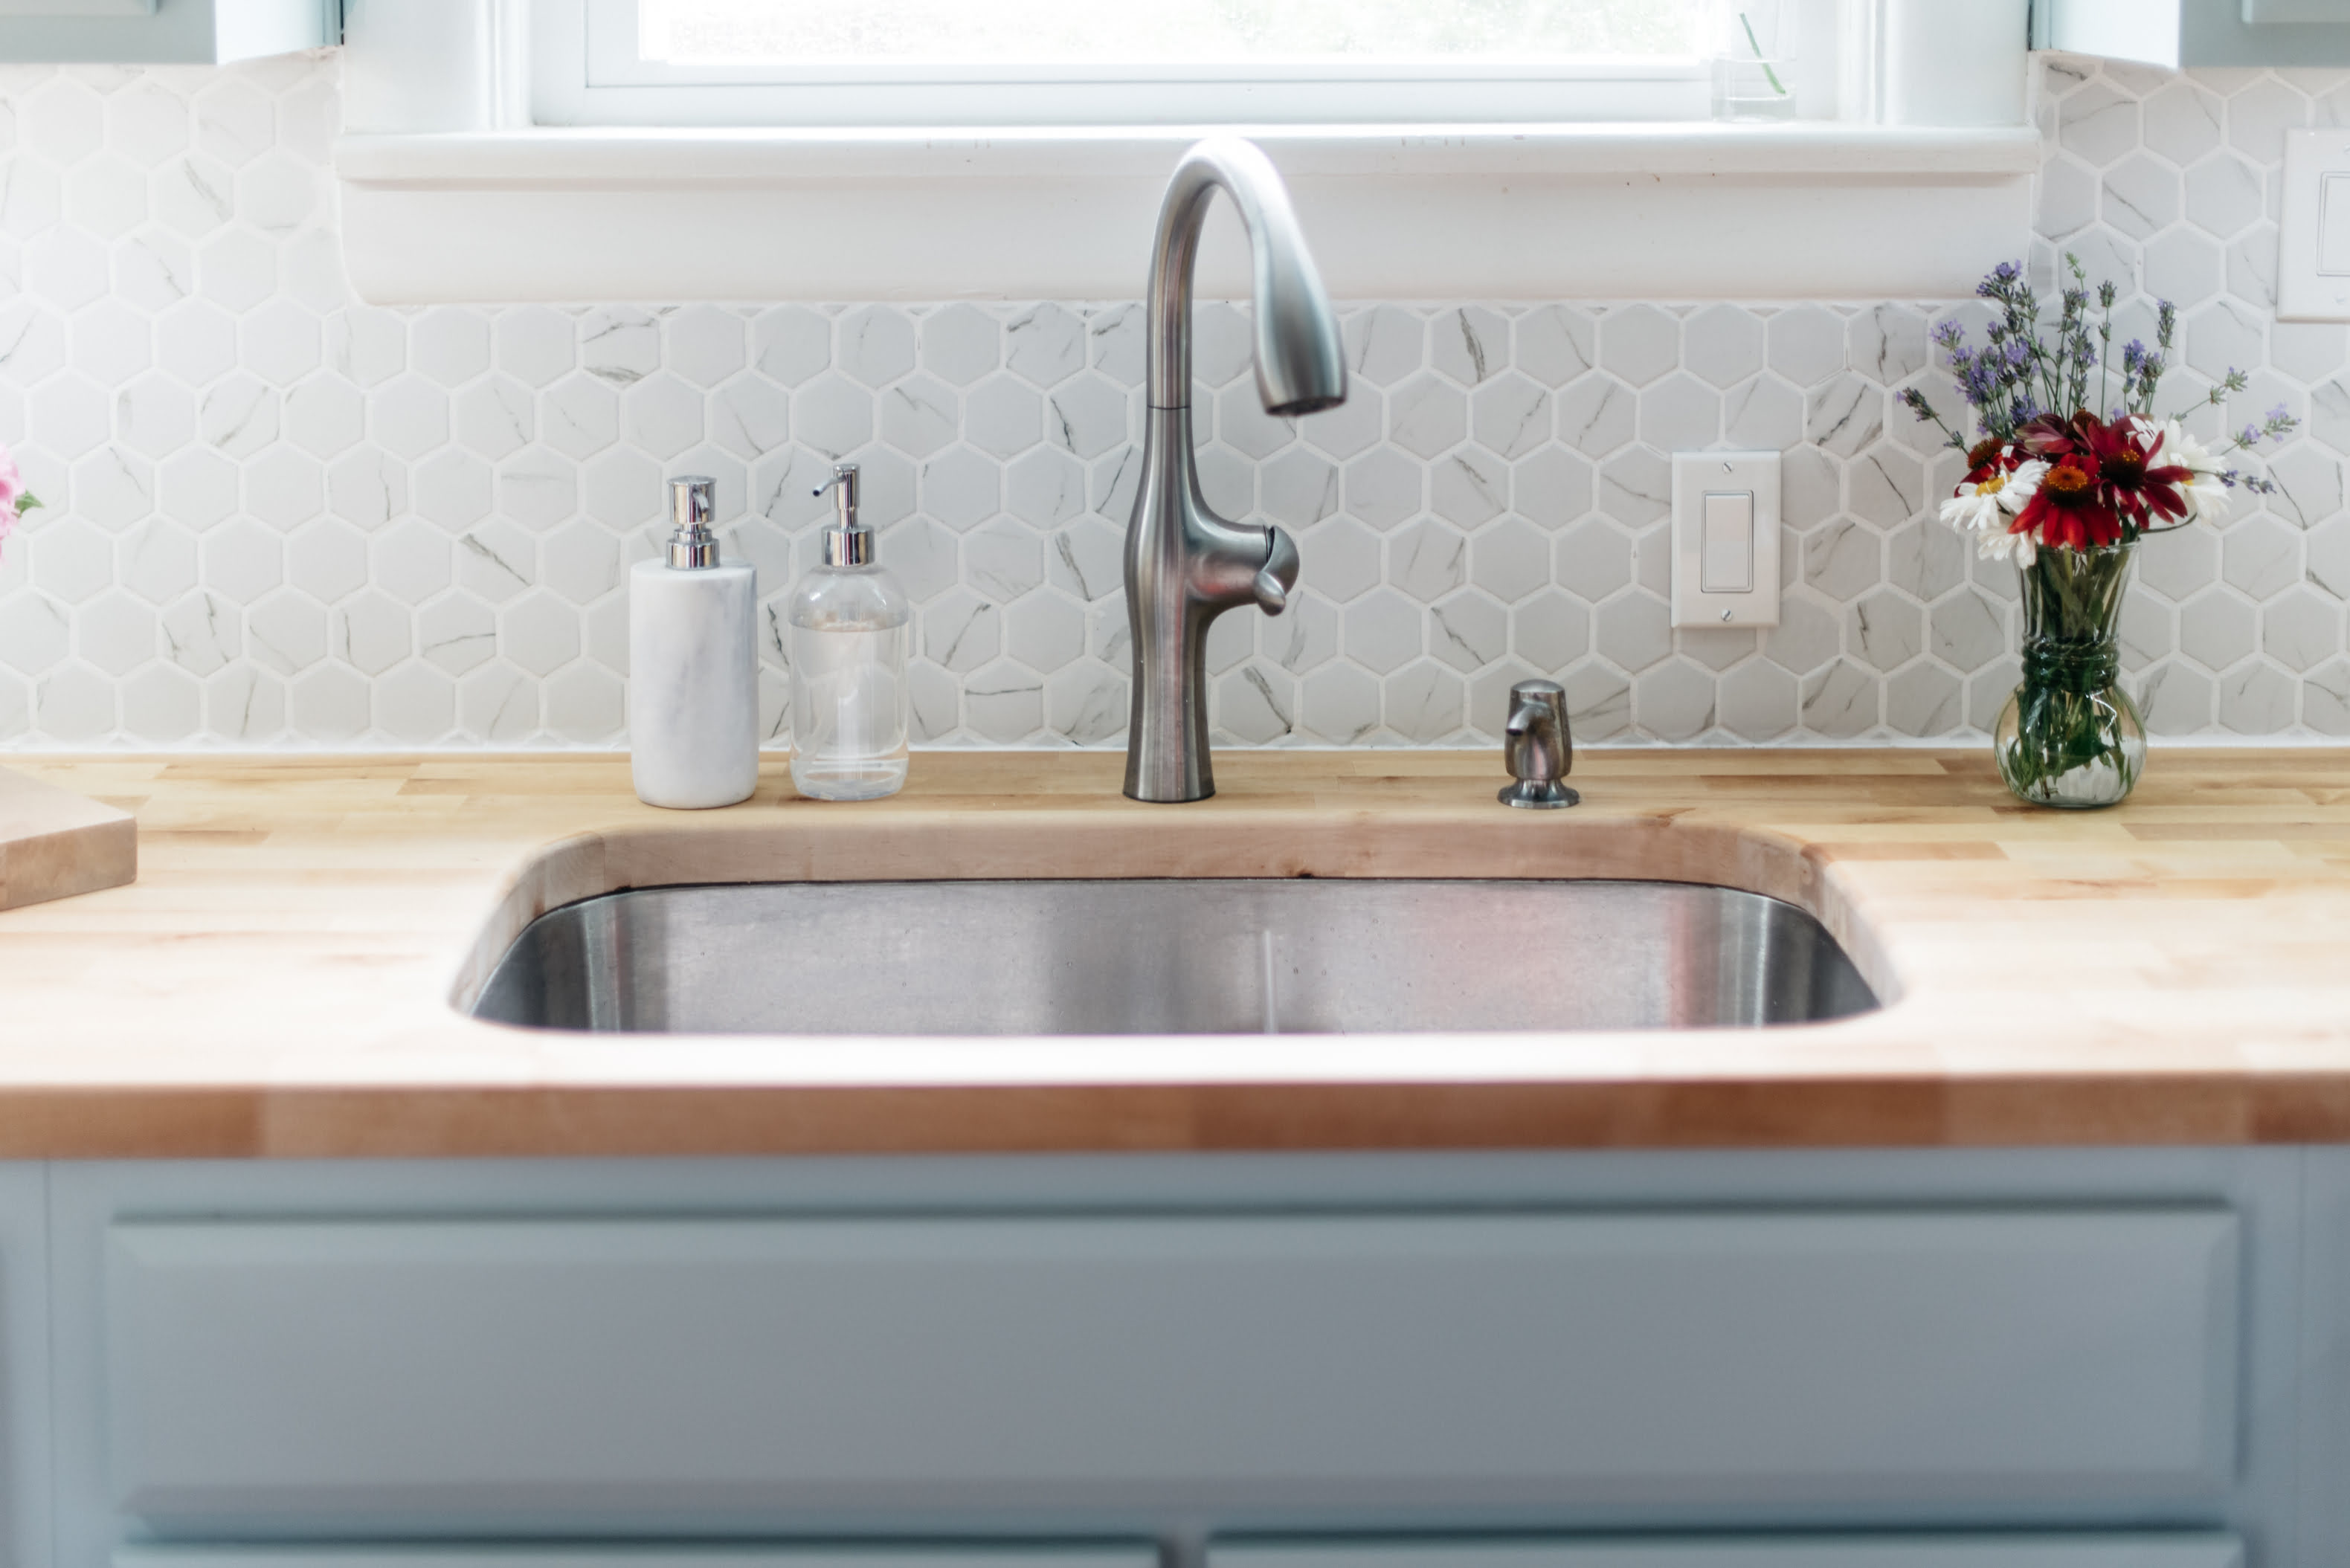
Step 6: Clean and Finish
After cutting and smoothing the sink hole in your granite countertop, it’s important to properly clean and finish the area to achieve a polished and professional look. This final step will ensure that your sink is ready for installation and that your countertop looks flawless. Here’s what you need to do:
1. Remove any debris: Use a soft brush or cloth to gently remove any dust or debris that may have accumulated during the cutting and smoothing process. Be thorough and pay attention to the edges of the sink hole and the surrounding countertop.
2. Clean with a mild detergent: Fill a bucket with warm water and add a small amount of mild dish soap or granite cleaner. Dip a clean cloth or sponge into the soapy water and gently wipe down the entire countertop surface, focusing on the sink hole area. Rinse the cloth or sponge regularly and continue to wipe until the surface is clean.
3. Dry the countertop: Use a clean, dry cloth to thoroughly dry the countertop. This step is crucial to prevent any water spots or streaks from forming on the polished granite surface.
4. Inspect the sink hole: Take a close look at the sink hole and make sure there are no visible rough spots or imperfections. If you notice any, you can use a fine-grit sandpaper or a polishing compound to further refine the edges.
5. Apply a granite sealer: Optional but recommended, applying a granite sealer can help protect your countertop from stains and enhance its longevity. Follow the manufacturer’s instructions carefully when applying the sealer, and allow ample time for it to dry before proceeding with the installation of the sink.
6. Apply a finish: Depending on the type of granite and your personal preference, you may choose to apply a granite polish or enhancer to further enhance the shine and luster of the countertop. Again, follow the manufacturer’s instructions to ensure proper application.
7. Proceed with sink installation: With the sink hole clean and finished, you’re now ready to proceed with installing your sink. Follow the manufacturer’s instructions for your specific sink model, ensuring a secure and watertight connection.
By thoroughly cleaning and finishing the sink hole and countertop, you’ll achieve a beautiful and polished result that enhances the overall appearance of your kitchen. Taking the time to properly clean and finish the area not only ensures a visually appealing sink installation but also helps maintain the longevity and quality of your granite countertop.
Frequently Asked Questions about How To Cut Sink Hole In Granite
Was this page helpful?
At Storables.com, we guarantee accurate and reliable information. Our content, validated by Expert Board Contributors, is crafted following stringent Editorial Policies. We're committed to providing you with well-researched, expert-backed insights for all your informational needs.


0 thoughts on “How To Cut Sink Hole In Granite”