Articles
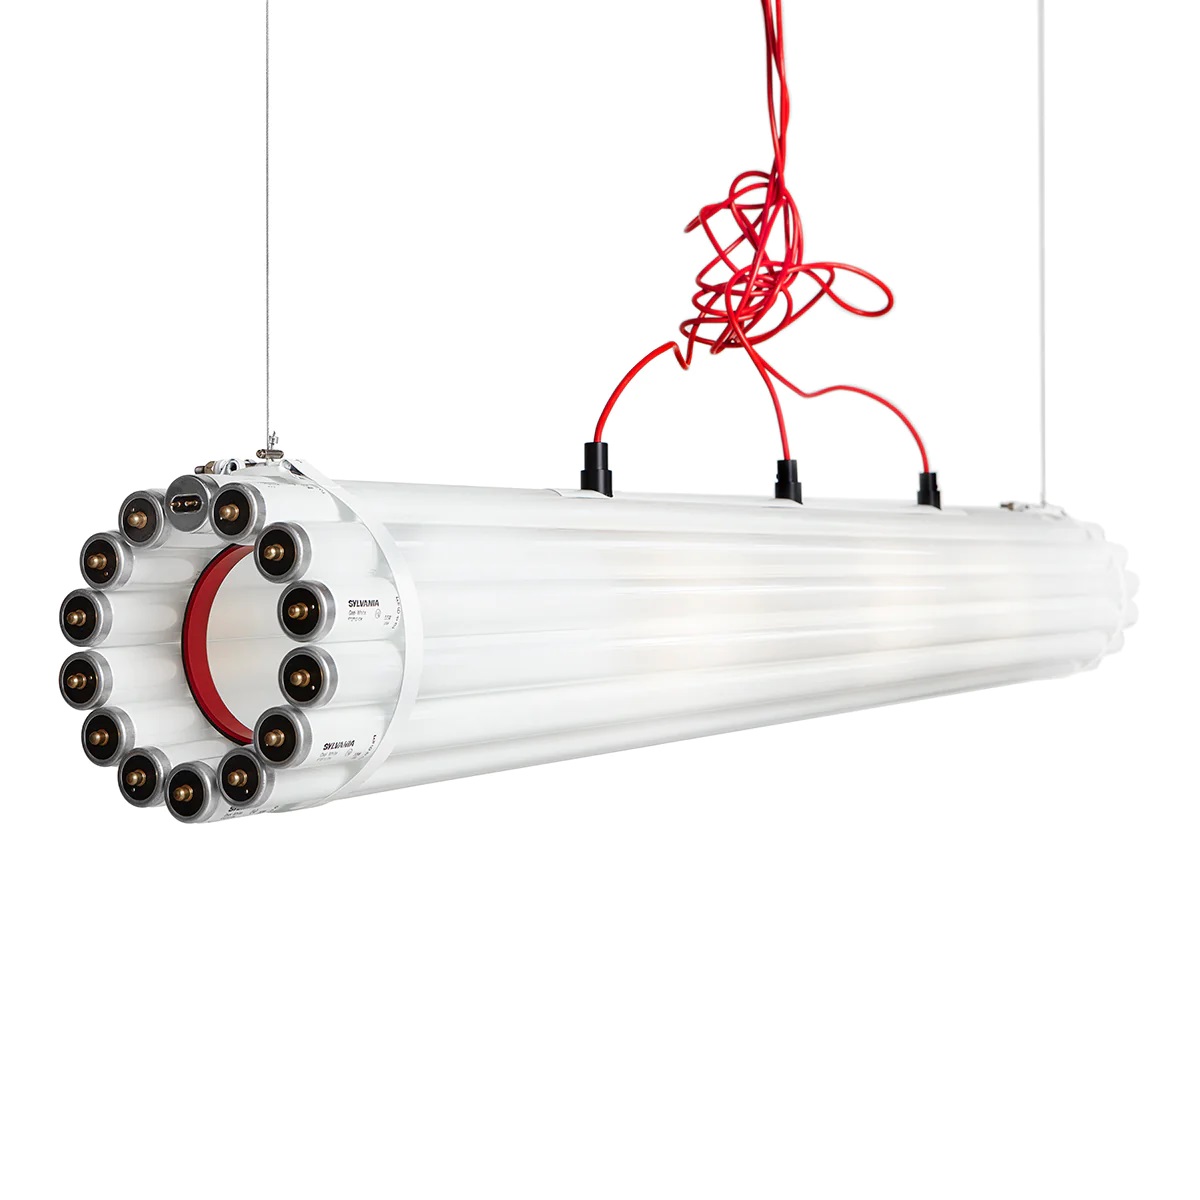
How To Break Fluorescent Tubes
Modified: February 4, 2024
Learn how to safely break and dispose of fluorescent tubes in this informative article. Discover the proper steps and precautions to take.
(Many of the links in this article redirect to a specific reviewed product. Your purchase of these products through affiliate links helps to generate commission for Storables.com, at no extra cost. Learn more)
Introduction
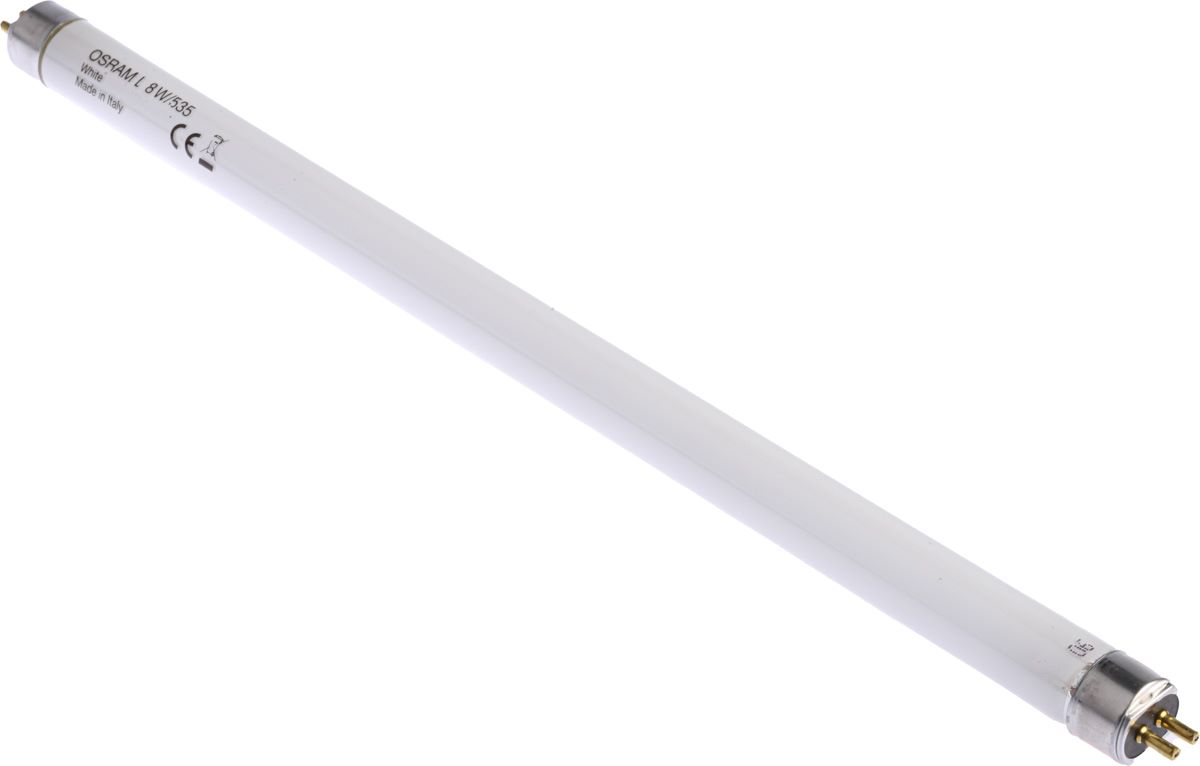
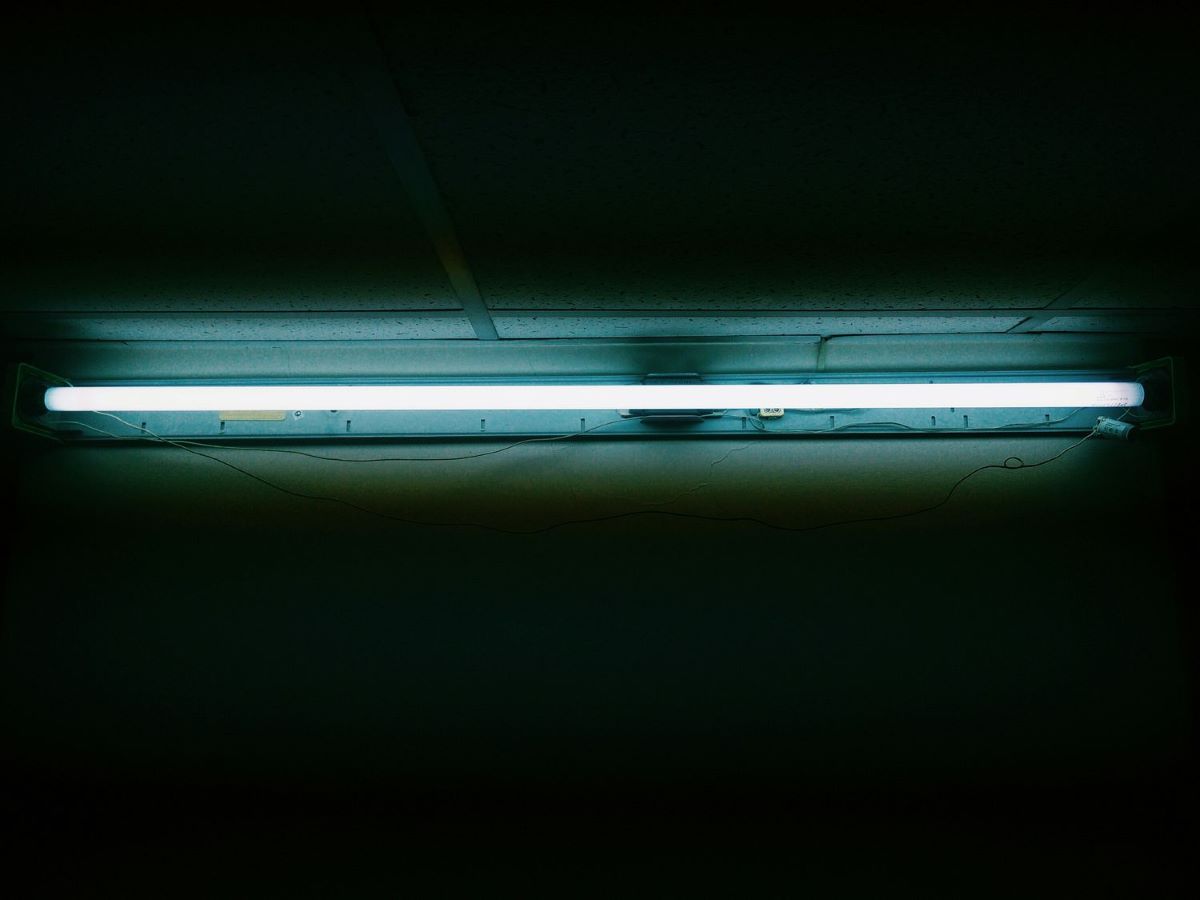
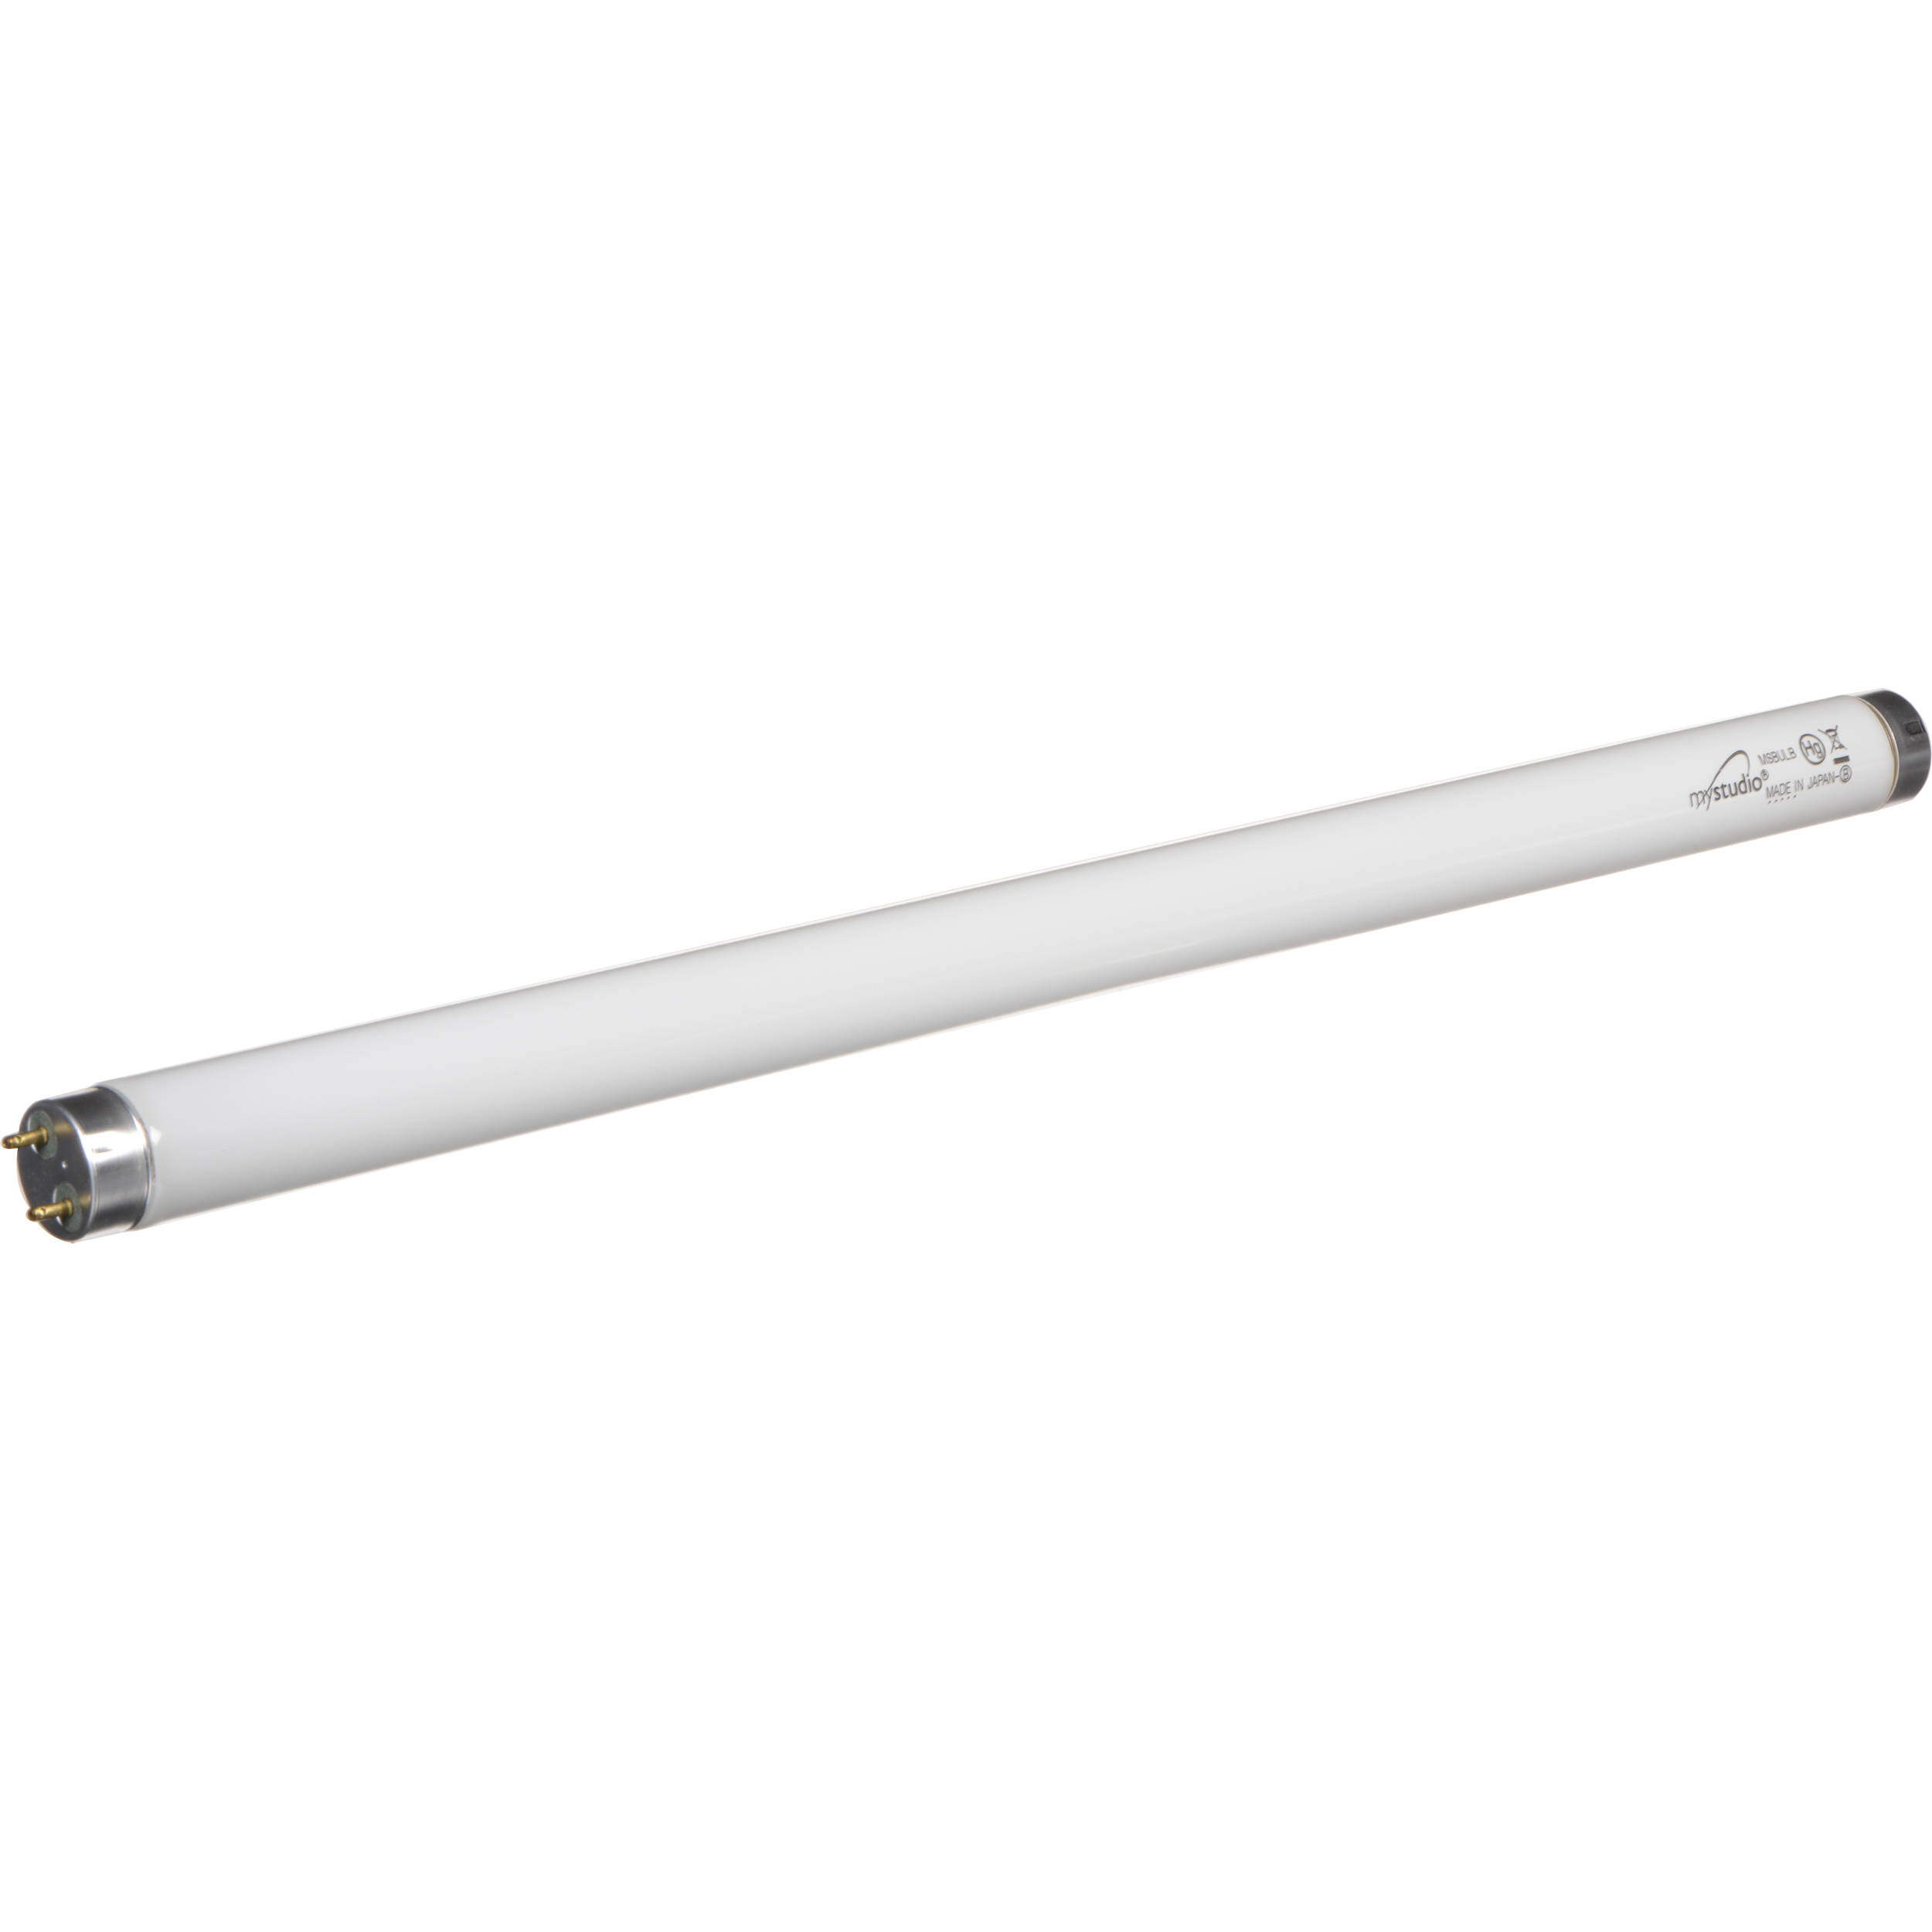
Fluorescent tubes are commonly used in many residential and commercial settings due to their energy efficiency and long lifespan. However, there may come a time when you need to replace a fluorescent tube, either because it has burnt out or you want to upgrade to a more energy-efficient option. Knowing how to safely break fluorescent tubes is essential to prevent injuries and properly dispose of the hazardous materials they contain.
This article will guide you step by step through the process of breaking fluorescent tubes, emphasizing safety precautions and appropriate disposal methods. By following these guidelines, you can confidently tackle this task without risking harm to yourself or the environment.
Key Takeaways:
- Safely breaking fluorescent tubes involves wearing protective gear, working in a well-ventilated area, and following proper disposal methods to minimize risks to yourself and the environment.
- Prioritize safety, gather necessary materials, and follow step-by-step procedures to safely break and dispose of fluorescent tubes, contributing to a cleaner and healthier environment.
Read more: How To Change Fluorescent Tubes
Safety Precautions
Before attempting to break fluorescent tubes, it is crucial to prioritize safety. Fluorescent tubes contain mercury, a toxic substance that can be harmful when exposed to humans and the environment. To protect yourself and others, follow these safety precautions:
- Wear Protective Gear: Always wear safety goggles, gloves, and a long-sleeved shirt to shield yourself from broken glass and potential exposure to mercury.
- Work in a Well-Ventilated Area: Ensure that the area where you will be working has proper ventilation. Open windows and doors or use fans to promote airflow and reduce the concentration of mercury vapor.
- Avoid Direct Contact: Never touch broken fluorescent tubes with bare hands, as this can lead to cuts and exposure to mercury. Use tools or a broom and dustpan to handle and clean up the broken glass.
- Disconnect the Power: Before handling the fluorescent tubes, make sure to turn off the power to the lighting fixture. This minimizes the risk of electric shock.
- Use Adequate Lighting: Ensure that the work area is well-lit to help you see any potential hazards, such as broken glass or mercury spills.
- Properly Dispose of Broken Tubes: Never throw broken fluorescent tubes in regular trash bins. Contact your local waste management facility for information on how to dispose of them properly. Many areas have designated recycling programs for fluorescent tubes.
- Clean Up Spills Carefully: In the event of a mercury spill, avoid touching it directly. Instead, use a mercury spill kit or contact a professional hazardous waste disposal service to safely clean up the spill.
By following these safety precautions, you can minimize the risks associated with breaking fluorescent tubes and ensure the protection of yourself and the environment.
Materials Needed
Before you begin the process of breaking fluorescent tubes, gather the following materials to ensure a smooth and safe operation:
- Safety goggles: Protect your eyes from flying glass shards and potential exposure to mercury vapor with a pair of safety goggles.
- Gloves: Wear gloves made of a durable material, such as nitrile or latex, to shield your hands from broken glass and potential contact with mercury.
- Long-sleeved shirt or coveralls: Opt for long sleeves to provide extra protection against glass cuts and possible exposure to mercury.
- Appropriate containers: Have designated containers ready for the broken glass and mercury-containing parts. These can include sealable plastic bags or hazardous waste containers.
- Brook and dustpan: Use a broom and dustpan specifically designated for handling broken glass to carefully collect any shattered pieces.
- Sealable plastic bags: These bags will be used to store the broken glass and any other contaminated materials until you can dispose of them properly.
- Mercury spill kit: In case of a mercury spill, have a mercury spill kit on hand to safely contain and clean up the spill. These kits typically include absorbent pads, gloves, and a disposal bag.
- Trash bags: Use trash bags to dispose of any non-contaminated materials, such as cardboard packaging or paper towels used for cleaning.
- Cleaning supplies: Have cleaning supplies readily available, including paper towels, a mild detergent, and water, for wiping down surfaces after the process is complete.
- Labels or markers: You may need to label containers or bags to ensure proper handling and disposal of broken fluorescent tubes and other hazardous materials.
By gathering these materials before starting the process, you will be well-prepared to handle broken fluorescent tubes safely and efficiently.
Step 1: Prepare the Work Area
Before you begin breaking fluorescent tubes, it is essential to prepare a proper work area to ensure the process goes smoothly and safely. Follow these steps to set up the work area:
- Select a well-ventilated space: Choose a room or an outdoor area with adequate ventilation to minimize exposure to mercury vapor. Open windows and doors to promote airflow.
- Clear the area: Remove any objects or obstacles from the immediate vicinity of the work area to create a clear and safe space.
- Lay down a protective covering: Place a plastic sheet or drop cloth on the floor or work surface to catch any broken glass shards and prevent them from spreading.
- Secure containers for broken glass: Set up sealable plastic bags or designated containers nearby to collect the broken glass pieces. Ensure they are sturdy and clearly marked for hazardous material.
- Position a broom and dustpan: Have a broom and dustpan readily available to sweep up any broken glass. Use a broom specifically designated for handling glass to minimize the risk of cuts.
- Keep cleaning supplies nearby: Have cleaning supplies such as paper towels, a mild detergent, and water accessible for wiping down surfaces after the process is complete.
- Place a trash bag: Set up a trash bag to dispose of any non-contaminated materials used during the process, such as cardboard packaging or paper towels.
- Secure a mercury spill kit: In case of a mercury spill, make sure you have a mercury spill kit on hand to safely contain and clean up the spill according to the instructions provided.
By following these steps to prepare the work area, you ensure a safe and organized environment for handling broken fluorescent tubes. This step is crucial to minimize the risk of accidents and to properly contain any hazardous materials.
Step 2: Gather the Tools
Before you begin the process of breaking fluorescent tubes, gather the necessary tools to assist you in safely and efficiently completing the task. These tools will help you handle the tubes and safely dispose of any broken pieces. Here are the essential tools you will need:
- Safety goggles: Protect your eyes from flying glass shards by wearing a pair of safety goggles. This is an essential safety precaution to prevent eye injuries during the process.
- Gloves: Wear gloves made of a durable material, such as nitrile or latex, to protect your hands from broken glass. These gloves will also provide a barrier between your skin and any potential exposure to mercury.
- Tape: Keep some tape, such as duct tape or packing tape, on hand. You may need it to secure plastic bags or containers for the broken glass and other hazardous materials.
- Broom and dustpan: Have a broom and dustpan specifically designated for handling broken glass. These tools will assist in cleaning up any shattered pieces safely and efficiently.
- Sealable plastic bags or hazardous waste containers: Prepare sealable plastic bags or designated containers for storing the broken glass and any other hazardous materials until you can properly dispose of them.
- Mercury spill kit: In the event of a mercury spill, ensure you have a mercury spill kit on hand. These kits typically include absorbent pads, gloves, and a disposal bag to safely contain and clean up the spill.
- Labels or markers: You may need to label containers or bags to indicate that they contain broken fluorescent tubes or other hazardous waste. This will ensure proper handling and disposal.
Gathering these tools before you begin the process will save you time and ensure that you have everything you need to safely handle and dispose of broken fluorescent tubes. Having the right tools at hand will make the entire process more efficient and reduce the risk of accidents or exposure to hazardous materials.
Read more: How To Convert Fluorescent Tubes To LED
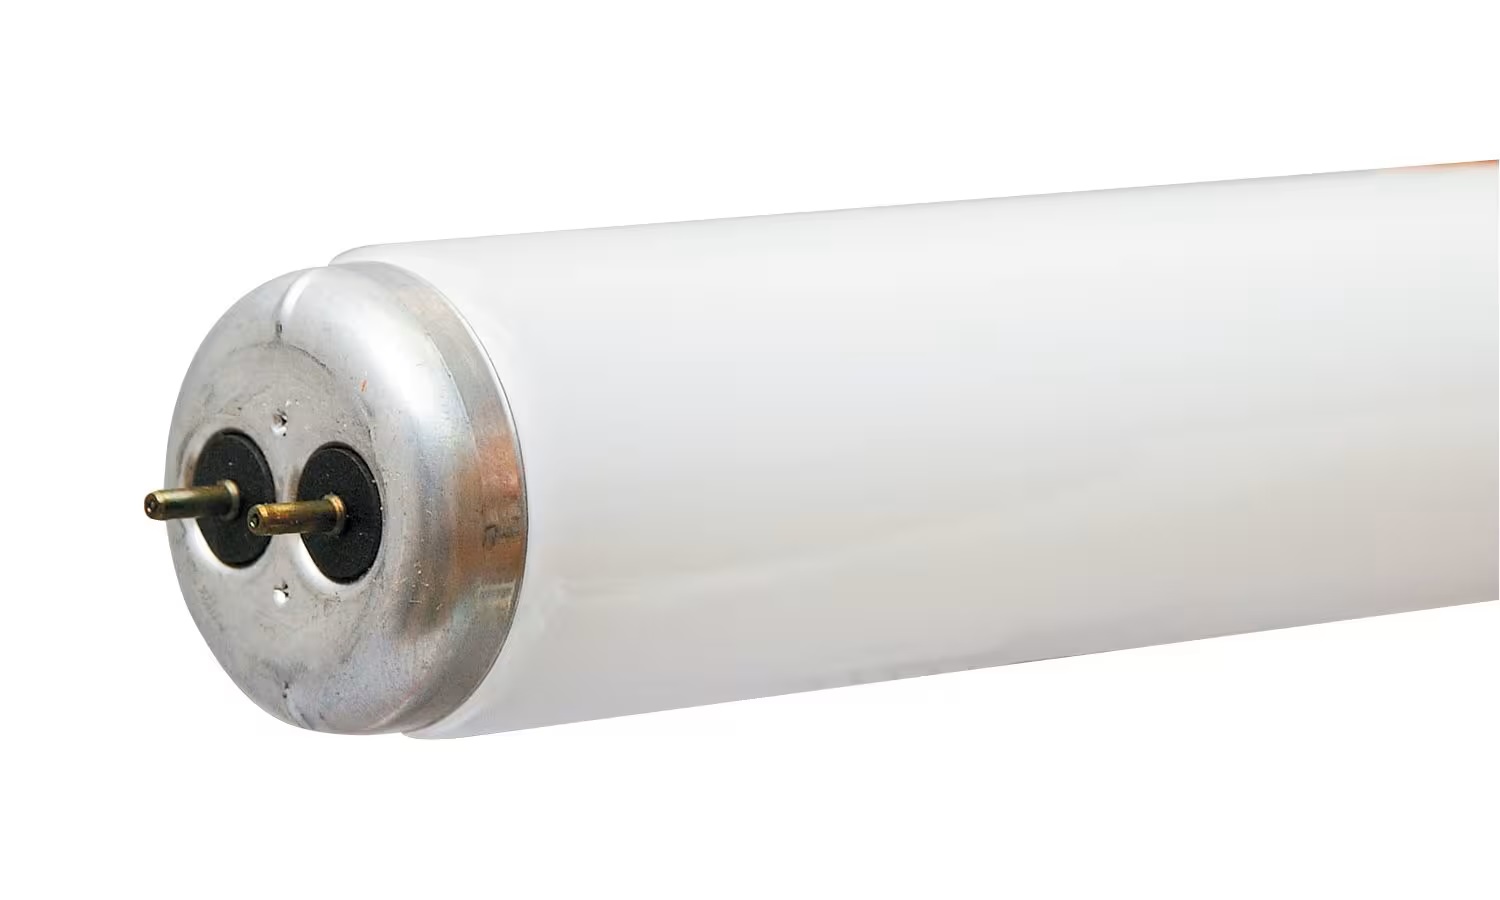
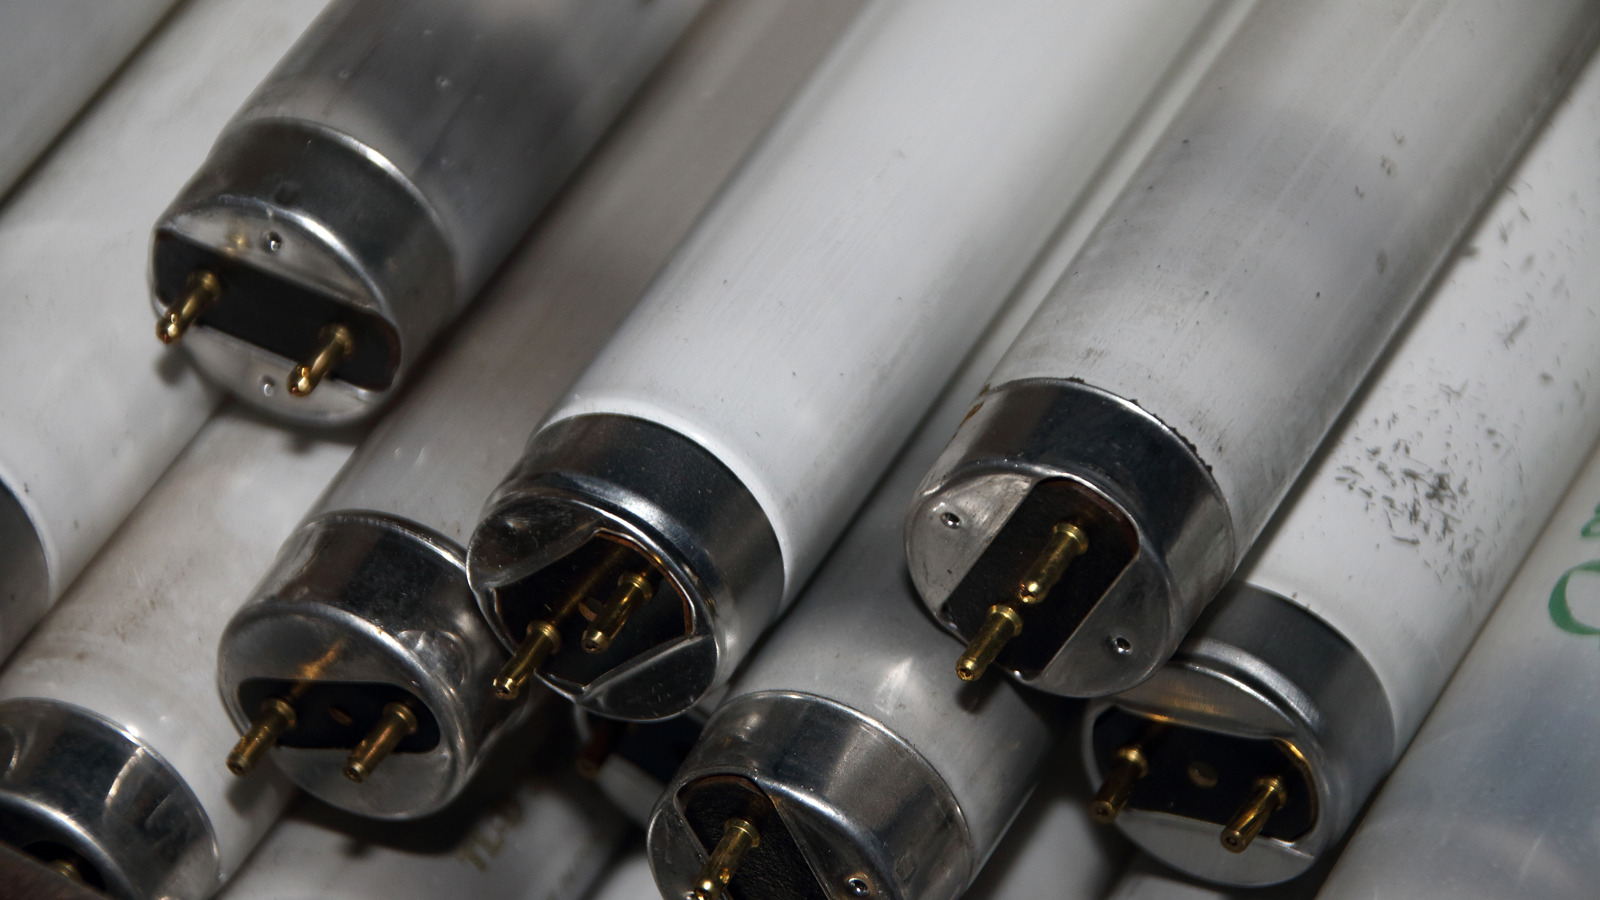
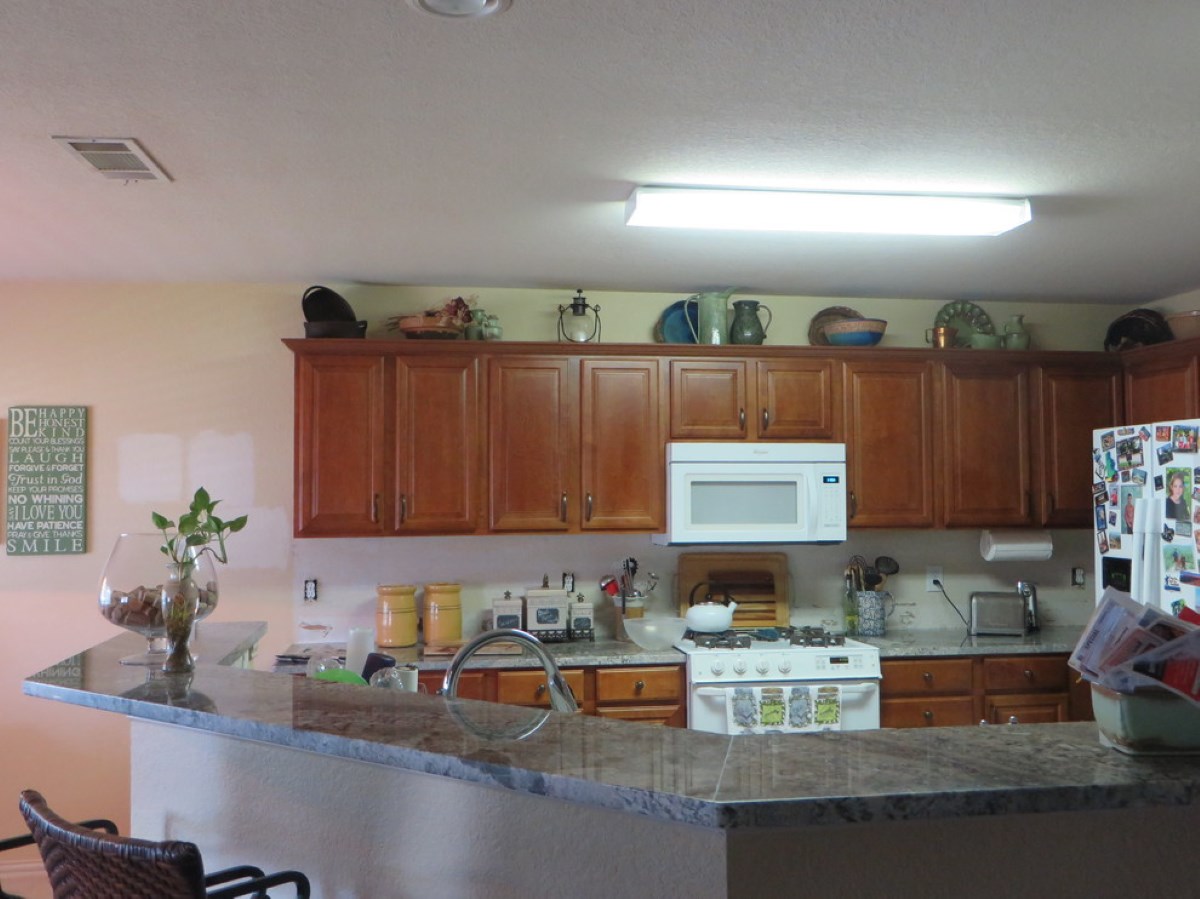
Step 3: Locate the Starter
Before you can break a fluorescent tube, you need to locate the starter, as it needs to be removed first. The starter is a small cylindrical component that helps initiate the flow of electricity to the tube. Here’s how you can locate the starter:
- Turn off the power: Before you begin, make sure to turn off the power to the lighting fixture. This will prevent any accidental electric shock while working on the fluorescent tube.
- Allow the tubes to cool: Fluorescent tubes can become hot during use. It’s essential to allow them some time to cool down before attempting to remove the starter.
- Locate the starter: The starter is typically located in the vicinity of the fluorescent tube. It may be housed inside a small plastic housing or attached directly to the lighting fixture. Look for a small cylindrical or round component within the fixture.
- Identify the starter: Look for any labeling or markings that indicate the starter. It may be labeled as a “starter” or have a specific brand or model name. This will help ensure that you are targeting the correct component.
- If necessary, consult the manufacturer’s manual: If you’re having trouble locating the starter or need further guidance, refer to the manufacturer’s manual or documentation for your specific lighting fixture model. This can provide specific instructions on the starter’s location.
Once you have successfully located the starter, you can proceed to the next step, which involves removing the starter. Remember to exercise caution and follow all safety precautions throughout the process to ensure your safety.
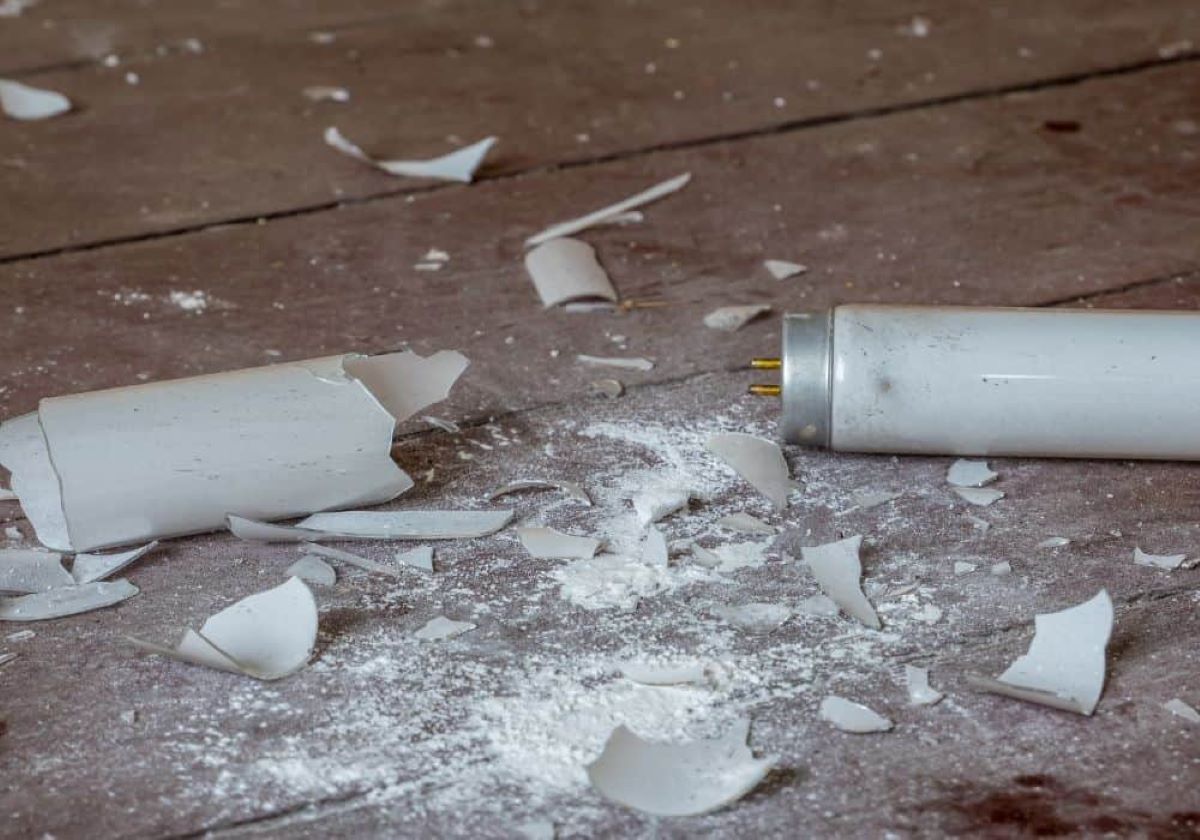
When breaking fluorescent tubes, always wear protective gloves and eyewear to prevent injury from glass shards. Dispose of the broken tubes properly at a recycling center to prevent environmental contamination.
Step 4: Remove the Starter
Now that you have located the starter, it’s time to remove it from the lighting fixture. The starter needs to be taken out before you can proceed with breaking the fluorescent tube. Follow these steps to remove the starter:
- Confirm the power is off: Before working on the starter, double-check that you have turned off the power to the lighting fixture. This step is crucial to prevent any risk of electric shock.
- Examine the starter housing: Take a closer look at the starter housing. It may have a twist-to-release mechanism or require a gentle push and twist for removal. Some fixtures may have a separate starter cover that needs to be removed first.
- Twist and release: If the starter has a twist-to-release mechanism, grasp the starter firmly and gently twist it counterclockwise. This will loosen it from its socket. Apply steady pressure while twisting until the starter pops out.
- Push and twist: If the starter requires a push and twist action, press the starter inward slightly and then rotate it counterclockwise. This motion will disengage it from the socket, allowing you to remove it.
- Inspect the removed starter: After removing the starter, examine it for any signs of damage or wear. If it appears worn out or damaged, consider replacing it with a new starter before installing a new fluorescent tube.
Always handle the starter with care, ensuring your hands are clean and dry. If you encounter any difficulties during the removal process or are unsure about how to proceed, consult the manufacturer’s manual or seek guidance from a professional electrician.
With the starter successfully removed, you can now move on to the next step, which involves turning off the power to the lighting fixture.
Step 5: Turn Off the Power
Before you proceed with breaking the fluorescent tube, it is crucial to turn off the power to the lighting fixture. This step ensures your safety and prevents any potential electric shock. Follow these steps to turn off the power:
- Double-check the power switch: Locate the power switch for the lighting fixture and ensure it is in the “off” position. This switch is usually located near the fixture or on a nearby wall.
- Toggle the breaker switch: If you are unable to locate a specific power switch for the fixture, you can turn off the power by toggling the breaker switch in your electrical panel. Identify the circuit breaker that controls the lighting fixture and switch it to the “off” position.
- Test the light: After you believe the power is turned off, double-check that the fluorescent tube is no longer illuminated. This step verifies that the power has been successfully disconnected.
- Use a voltage tester: For added safety, you can use a voltage tester to ensure there is no electrical current running to the lighting fixture. If the tester indicates any voltage, do not proceed with breaking the fluorescent tube. Consult a professional electrician to address the issue.
Once you have confirmed that the power is turned off and there is no electrical current flowing to the fixture, you can move on to the next step, which involves twisting and releasing the fluorescent tube.
Remember, working with electricity can be dangerous if not done properly. If you are unsure about any electrical work, it is always recommended to seek assistance from a qualified professional.
Step 6: Twist and Release
After turning off the power and ensuring your safety, it’s time to twist and release the fluorescent tube from its socket. This step allows you to detach the tube, making it easier to break and dispose of. Follow these steps to twist and release the fluorescent tube:
- Position yourself properly: Stand in a comfortable position, with one hand grasping the tube near the end, and the other hand supporting the opposite end.
- Apply gentle pressure: Hold the tube firmly but gently, and rotate it counterclockwise. This twisting motion will release the tube from the socket. Apply steady pressure while twisting until the tube is loose.
- Disconnect the tube: Once the tube is loosened, carefully slide it out of the socket. You may need to gently wiggle it to release any remaining resistance.
- Set aside the removed tube: Place the removed fluorescent tube in a designated, secure location, away from where you will be working to avoid accidental breakage or harm.
Remember that fluorescent tubes are fragile, so handle them with care to prevent breakage and potential injury. If the tube is stubborn and doesn’t twist and release easily, double-check that the power is turned off and seek professional assistance if necessary.
With the fluorescent tube successfully removed, you are ready to proceed to the next step, which involves properly disposing of the tubes.
Read more: How To Safely Dispose Fluorescent Tubes
Step 7: Dispose of the Tubes Properly
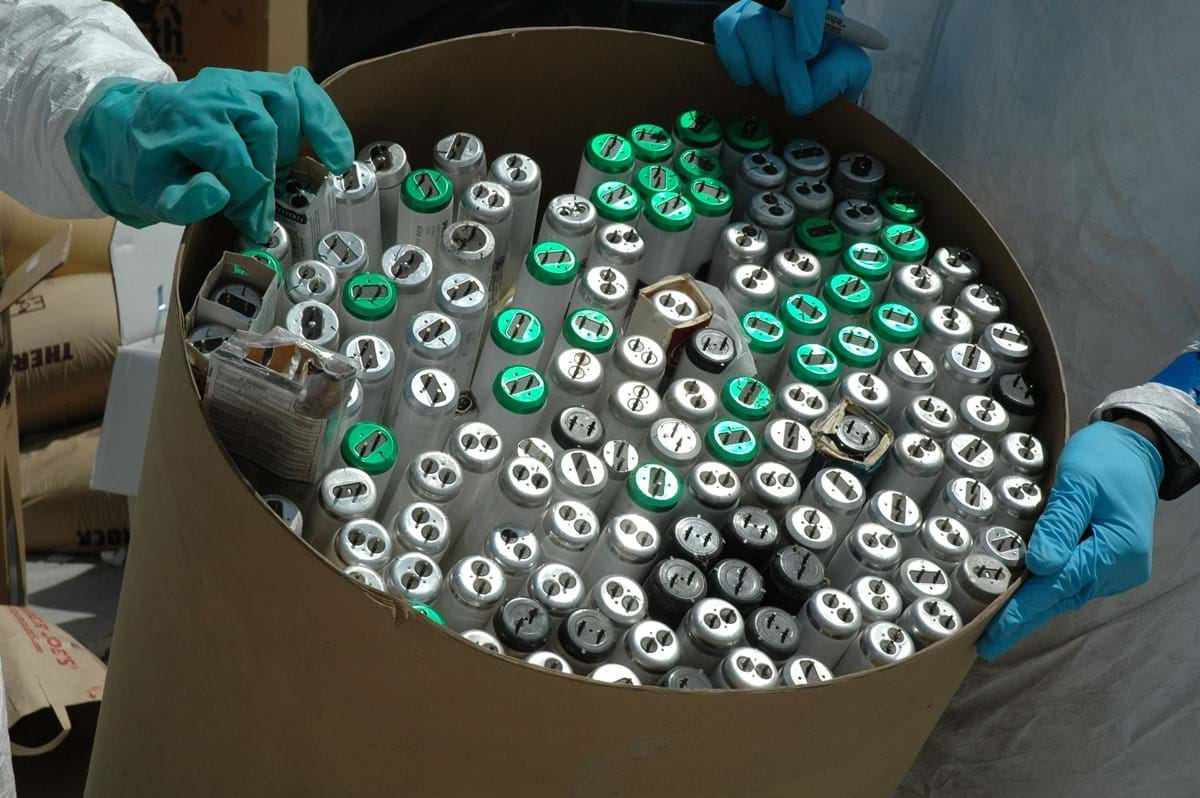
After removing the fluorescent tubes, it is essential to dispose of them properly to ensure environmental safety. Fluorescent tubes contain mercury, a hazardous substance that can have harmful effects on human health and the ecosystem if released into the environment. Follow these steps to dispose of the tubes properly:
- Check local regulations: Research local regulations and guidelines regarding the disposal of fluorescent tubes. Different areas may have specific rules and recycling programs in place.
- Handle the tubes with care: Place the removed fluorescent tubes in a sealable plastic bag or a designated hazardous waste container. This will prevent any potential leakage of mercury and protect against breakage.
- Avoid throwing in regular trash: Never throw fluorescent tubes in regular trash bins. They should be handled as hazardous waste due to the presence of mercury. Improper disposal can harm waste collectors and contaminate the environment.
- Recycling options: Look for local recycling programs or facilities that accept fluorescent tubes. Many communities offer scheduled or drop-off recycling programs specifically for these types of lamps. Contact your local waste management or recycling center for guidance.
- Take to a recycling center: If there are no local recycling programs, you can take the fluorescent tubes to a recycling center that accepts hazardous waste materials. These centers specialize in the proper disposal and recycling of such items.
- Special collection events: Keep an eye out for special events in your area where hazardous materials, including fluorescent tubes, are collected for safe disposal. These events are typically organized by local authorities or environmental agencies.
- Label the containers: Clearly label the container or bags holding the fluorescent tubes as “hazardous waste” or “mercury-containing lamps” to ensure proper handling and prevent accidental exposure.
By following these steps, you can ensure that fluorescent tubes are disposed of safely and responsibly, preventing harm to the environment and minimizing the risk of mercury exposure.
Remember, it is crucial to follow the specific guidelines and regulations provided in your area for proper disposal. This will ensure compliance with local laws and contribute to a cleaner and healthier environment.
Conclusion
Breaking fluorescent tubes may seem like a daunting task, but with the proper knowledge and precautions, it can be done safely and responsibly. By following the steps outlined in this guide, you can ensure your safety and the proper disposal of these mercury-containing lights.
Throughout the process, it is crucial to prioritize safety by wearing protective gear, working in a well-ventilated area, and avoiding direct contact with broken tubes. Always turn off the power before starting and handle the tubes with care to prevent breakage and potential exposure to mercury.
When it comes to disposal, it’s essential to follow local regulations and recycling programs. Never throw fluorescent tubes in regular trash bins as they should be treated as hazardous waste. Instead, place them in designated containers or recycle them at specialized centers.
By responsibly disposing of fluorescent tubes, we can reduce the environmental impact of mercury and protect our health and the well-being of future generations. Remember, working with electricity and hazardous materials carries risks, so if you are unsure or uncomfortable with any aspect of the process, it is always best to seek assistance from a qualified professional.
With proper precautions and adherence to the steps outlined in this guide, you can confidently and safely handle the process of breaking fluorescent tubes, ensuring a cleaner and safer environment for all.
Frequently Asked Questions about How To Break Fluorescent Tubes
Was this page helpful?
At Storables.com, we guarantee accurate and reliable information. Our content, validated by Expert Board Contributors, is crafted following stringent Editorial Policies. We're committed to providing you with well-researched, expert-backed insights for all your informational needs.

0 thoughts on “How To Break Fluorescent Tubes”