Articles
How To Change Fluorescent Tubes
Modified: August 27, 2024
Looking for articles on how to change fluorescent tubes? Find step-by-step guides and tips to successfully replace your fluorescent lights.
(Many of the links in this article redirect to a specific reviewed product. Your purchase of these products through affiliate links helps to generate commission for Storables.com, at no extra cost. Learn more)
Introduction
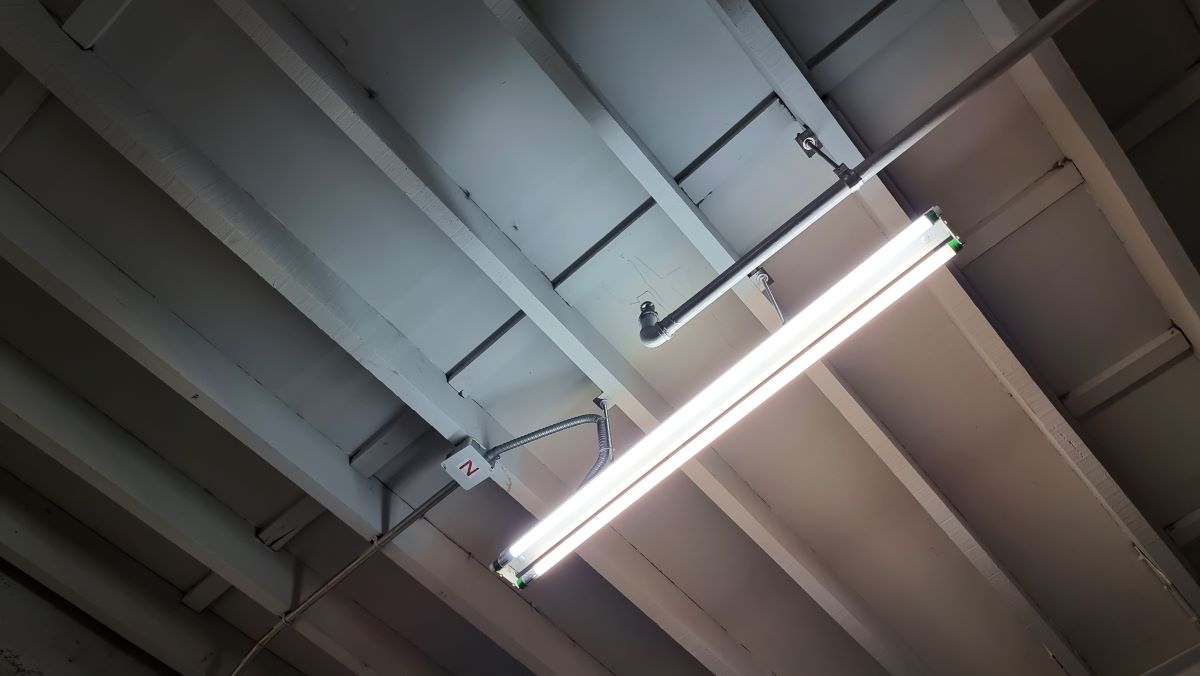
Fluorescent tubes are a common type of lighting fixture used in various settings, including residential, commercial, and industrial spaces. These tubes offer bright and efficient illumination, making them an ideal choice for large spaces such as offices, warehouses, and retail stores.
While fluorescent tubes have a longer lifespan compared to traditional incandescent bulbs, they eventually need to be replaced when they start to flicker, dim, or fail to turn on. Changing fluorescent tubes may seem daunting for those who are unfamiliar with the process, but with a little guidance and the right tools, it can be a straightforward task.
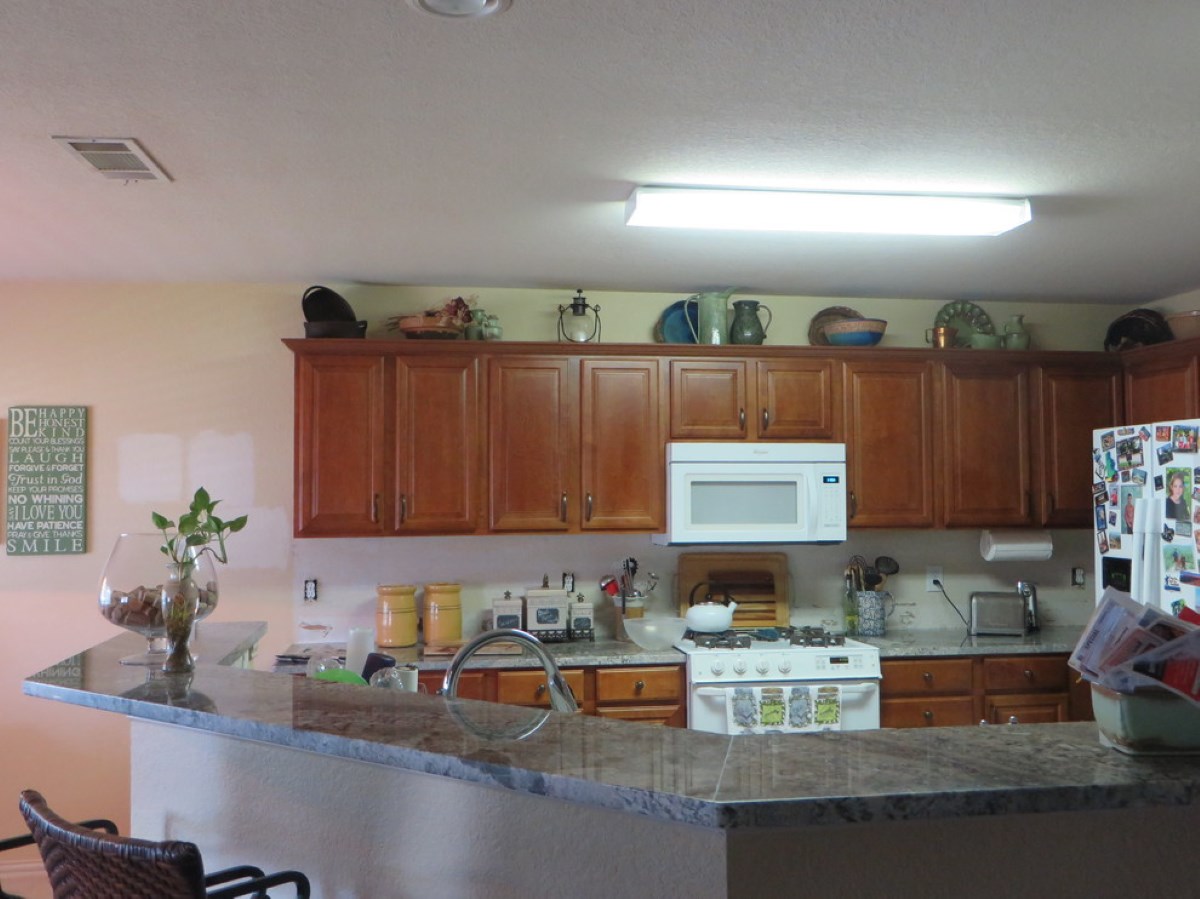
In this article, we will provide a step-by-step guide on how to change fluorescent tubes, along with the necessary tools and safety precautions to follow. Whether you are a homeowner looking to replace a tube in your kitchen or a maintenance worker responsible for maintaining the lighting in a commercial building, this article will equip you with the knowledge to handle the task efficiently and safely.
Key Takeaways:
- Safety first! When changing fluorescent tubes, always prioritize safety by turning off the power, wearing protective gear, and handling the tubes with care. This ensures a safe and efficient replacement process.
- Understanding the basics of fluorescent tubes, such as size, color temperature, and functionality, is crucial for selecting the right replacements. Testing the new tubes and troubleshooting any issues will guarantee optimal lighting performance.
Read more: How To Break Fluorescent Tubes
Understanding Fluorescent Tubes
Before diving into the process of changing fluorescent tubes, it’s essential to have a basic understanding of how these tubes work and their components. This knowledge will help you navigate the replacement process more effectively.
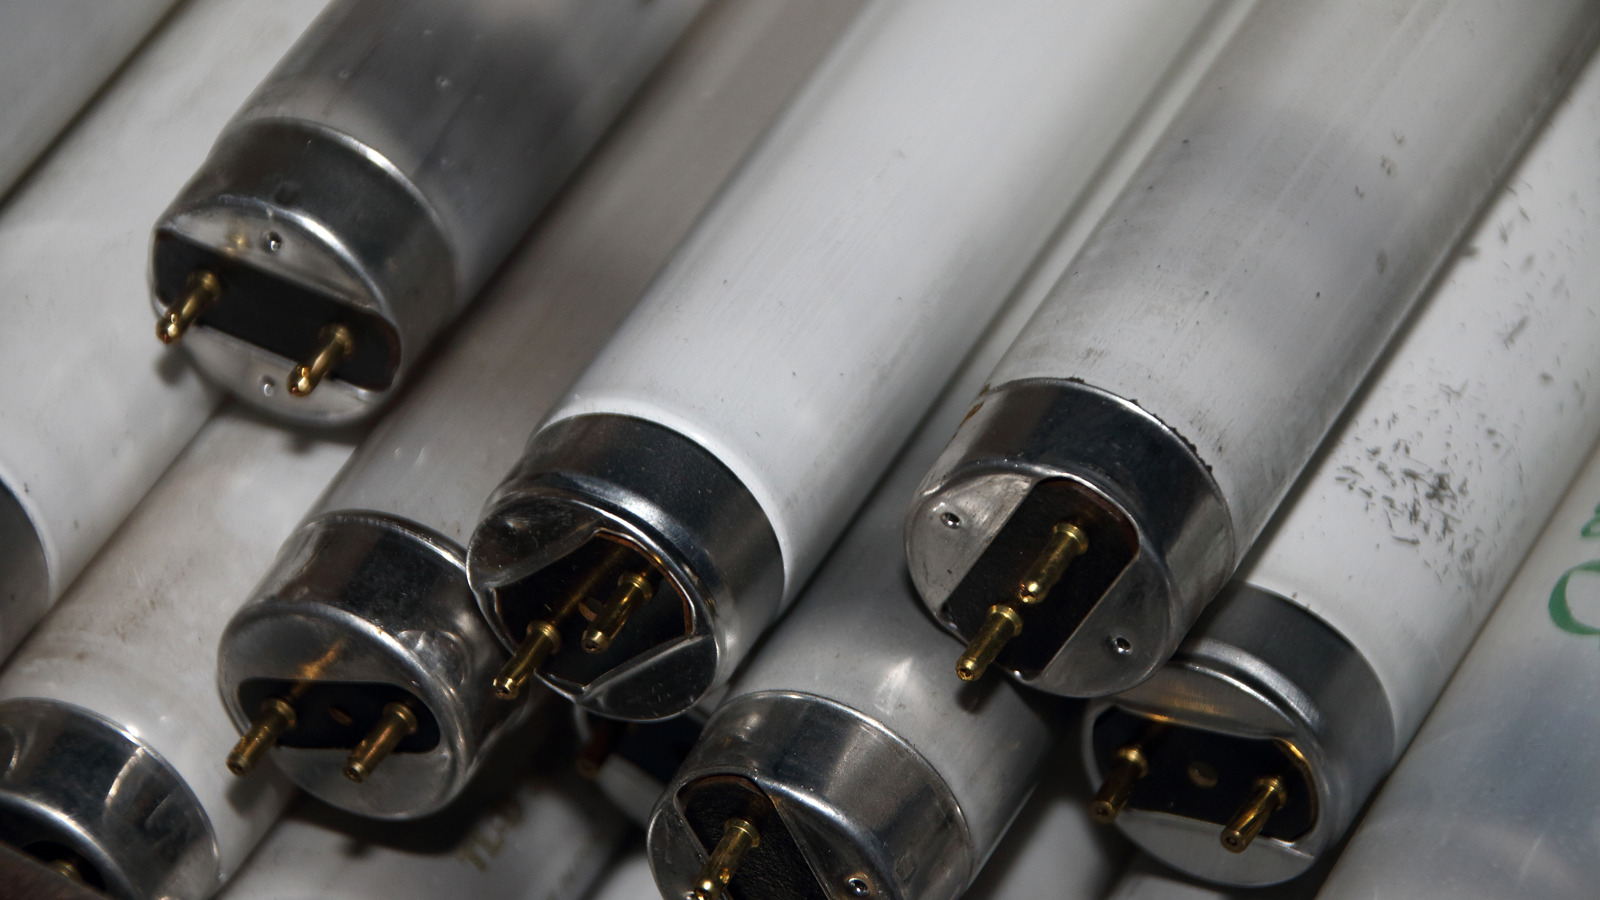
Fluorescent tubes consist of a long glass tube filled with low-pressure mercury vapor and coated on the inside with phosphor. When an electrical current passes through the tube, it excites the mercury vapor, causing it to emit ultraviolet (UV) light. The phosphor coating then converts the UV light into visible light, providing the illumination.
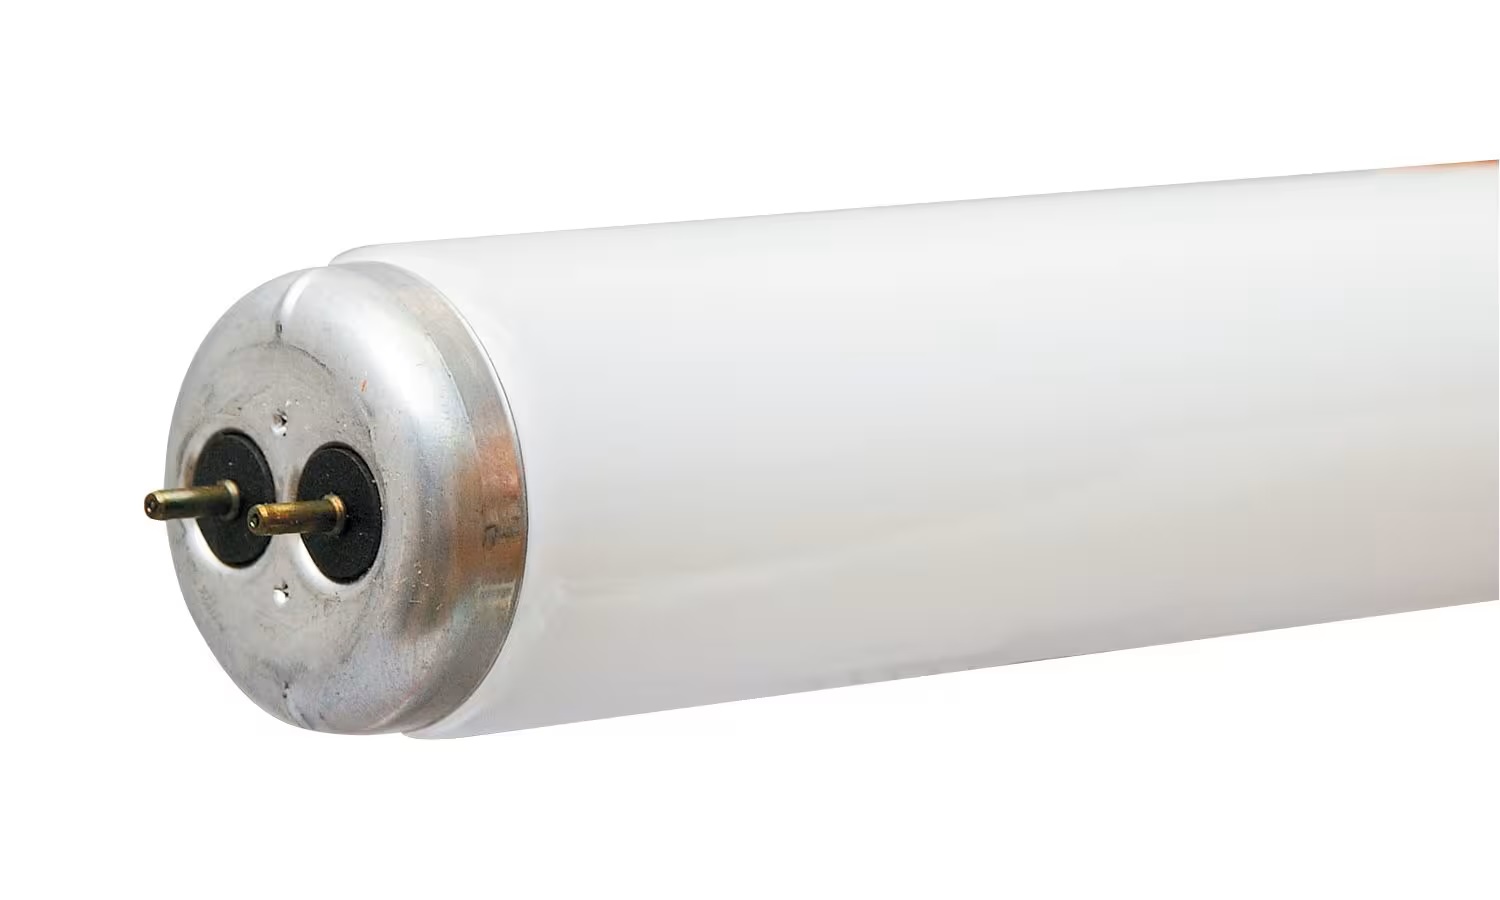
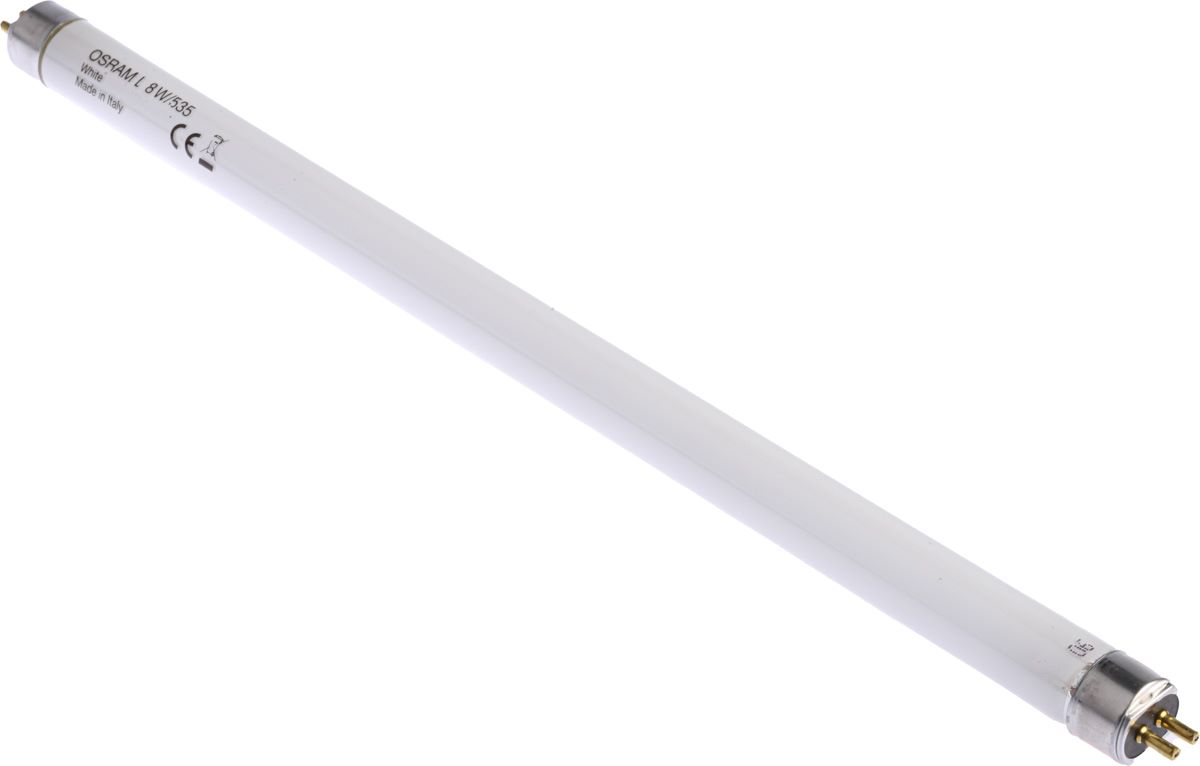
Fluorescent tubes come in various lengths and diameters, such as T12, T8, and T5, which refer to the diameter of the tube in eighths of an inch. The most commonly used tubes are T8 and T12. It’s crucial to identify the correct tube size before purchasing a replacement.
Additionally, fluorescent tubes have different color temperatures, measured in Kelvin (K). The color temperature determines the appearance of the light, ranging from warm yellowish tones to cool bluish-white tones. Common color temperature options include warm white (3000K), cool white (4100K), and daylight (6500K). Selecting the appropriate color temperature is important to ensure the desired lighting ambiance.
Understanding the basics of fluorescent tubes will help you make informed decisions when it comes to purchasing replacements and ensure that the new tubes are compatible with your existing lighting system.
Tools and Materials Needed
Before you begin changing fluorescent tubes, it’s important to gather the necessary tools and materials. Having everything prepared before starting the process will save you time and prevent any interruptions. Here are the tools and materials you’ll need:
- Safety Glasses: Protect your eyes by wearing safety glasses throughout the process.
- Gloves: Wear gloves to protect your hands from any broken glass or sharp edges.
- Step Ladder or Stepladder: Depending on the height of the fixture, a step ladder or stepladder will be necessary to reach the tubes.
- Screwdriver: A flathead or Phillips screwdriver may be needed to remove any screws or clips securing the fixture.
- Tube Puller: If your fixture doesn’t have twist and lock sockets, a tube puller will help remove the old tube from the fixture safely.
- Replacement Tubes: Purchase the correct size and color temperature of fluorescent tubes to replace the old ones. Ensure they are compatible with your existing lighting system.
- Cleaning Materials: Have a rag or paper towels handy to clean any accumulated dust or debris inside the fixture.
- Pen and Paper: It’s a good idea to jot down any notes or observations during the process for future reference.
Having these tools and materials readily available will streamline the process and ensure that you have everything you need to complete the task efficiently.
Safety Precautions
When changing fluorescent tubes, it’s crucial to prioritize safety to prevent any accidents or injuries. Here are some important safety precautions to keep in mind:
- Turn off the Power: Before working on any electrical fixture, ensure the power to the area is turned off at the circuit breaker. This will prevent any risk of electric shock.
- Wear Safety Gear: Always wear safety glasses to protect your eyes from any debris or glass fragments. Additionally, wearing gloves will protect your hands from sharp edges or broken glass.
- Allow the Tubes to Cool: Fluorescent tubes can become hot after extended use. Wait for the tubes to cool down before attempting to replace them to avoid burns.
- Use a Stable Ladder: If you need to use a step ladder or stepladder to reach the fixture, ensure it is stable and placed on level ground. Avoid overreaching and maintain your balance while on the ladder.
- Handle Tubes with Care: Fluorescent tubes are fragile and can break easily. Always handle them with care, avoiding excessive force or pressure.
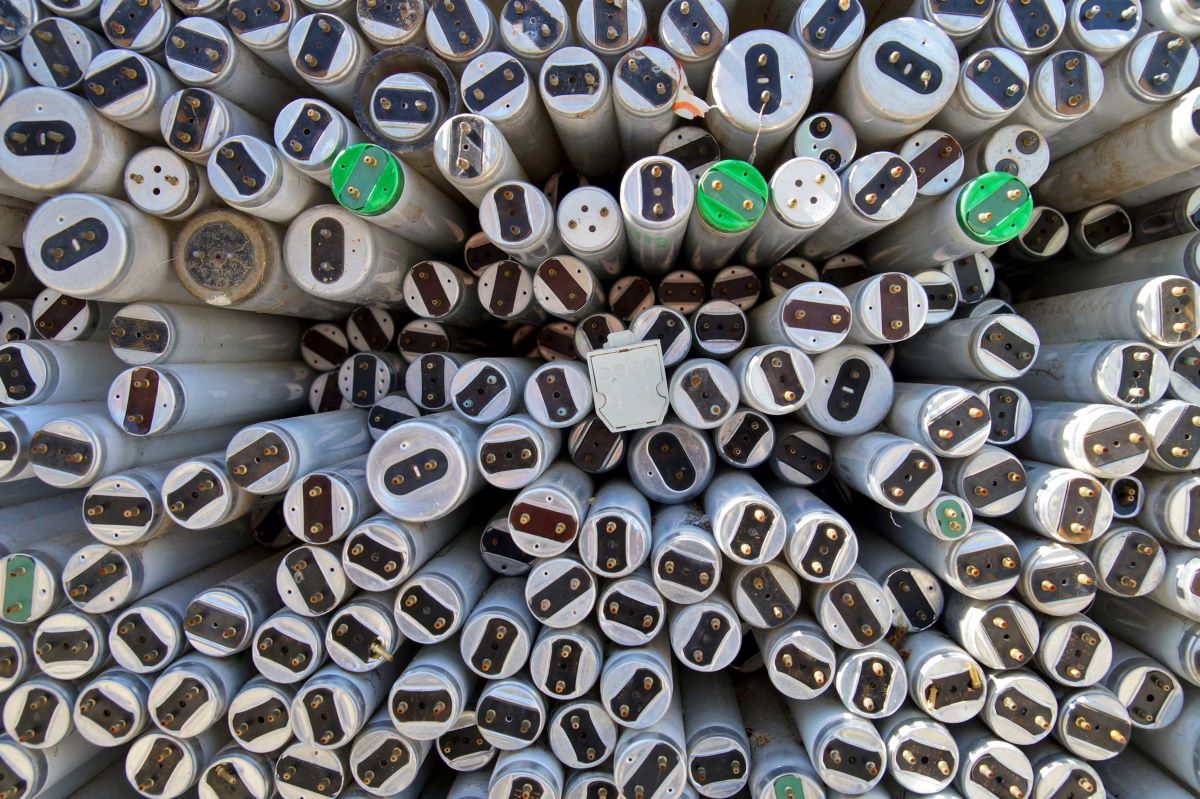
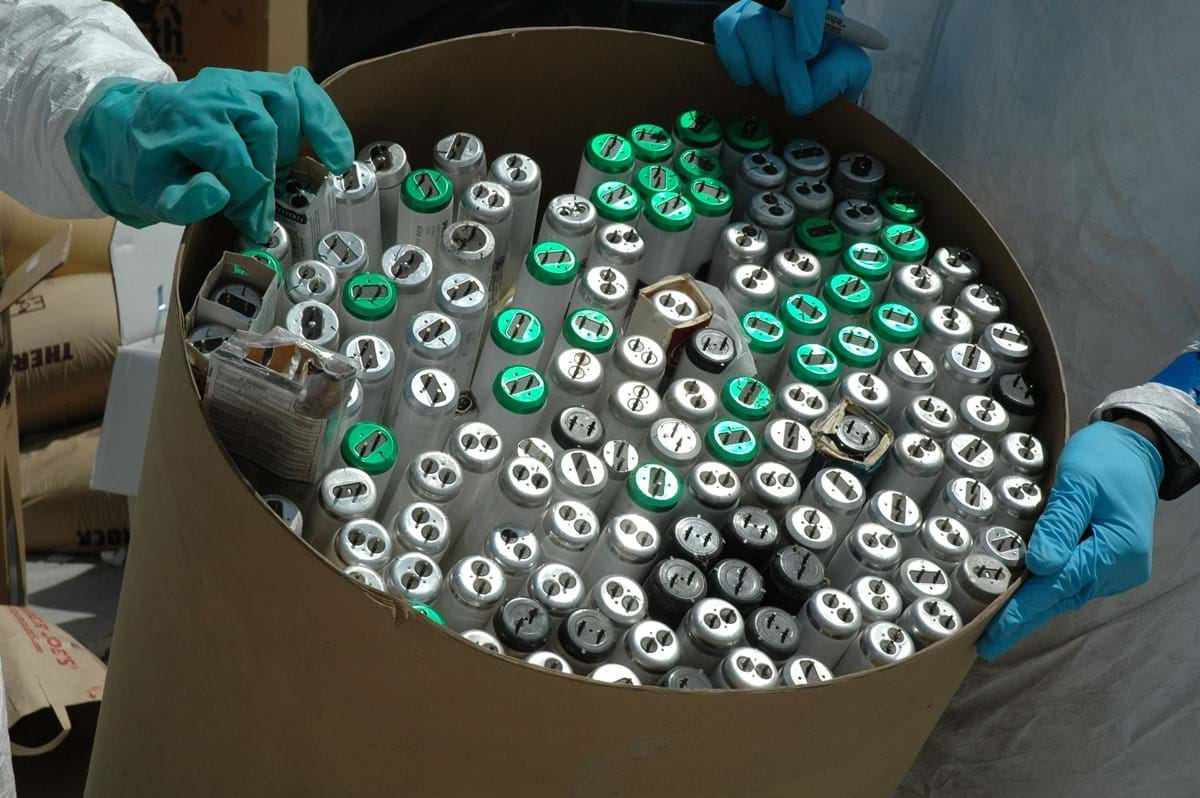
- Properly Dispose of Old Tubes: Fluorescent tubes contain small amounts of mercury, making them hazardous if not disposed of correctly. Check with your local recycling center for proper disposal methods.
- Follow Manufacturer’s Instructions: If you are unsure about any aspect of changing the tubes, consult the manufacturer’s instructions or seek professional assistance.
By following these safety precautions, you can minimize the risks associated with changing fluorescent tubes and ensure a safe working environment for yourself and others.
When changing fluorescent tubes, make sure to turn off the power to the fixture before starting. Use a ladder if needed and wear gloves to protect your hands from any broken glass.
Step-by-Step Guide to Changing Fluorescent Tubes
Now that you have gathered the necessary tools and taken the required safety precautions, it’s time to proceed with changing the fluorescent tubes. Follow this step-by-step guide:
- Turn off the Power: Start by turning off the power to the area at the circuit breaker. This will ensure there is no electric current flowing to the fixture.
- Put on Safety Gear: Wear safety glasses and gloves to protect your eyes and hands throughout the process.
- Access the Fixture: Depending on the type of fixture, you may need to remove a cover or access panel to reach the tubes. Use a screwdriver to remove any screws or clips securing the cover.
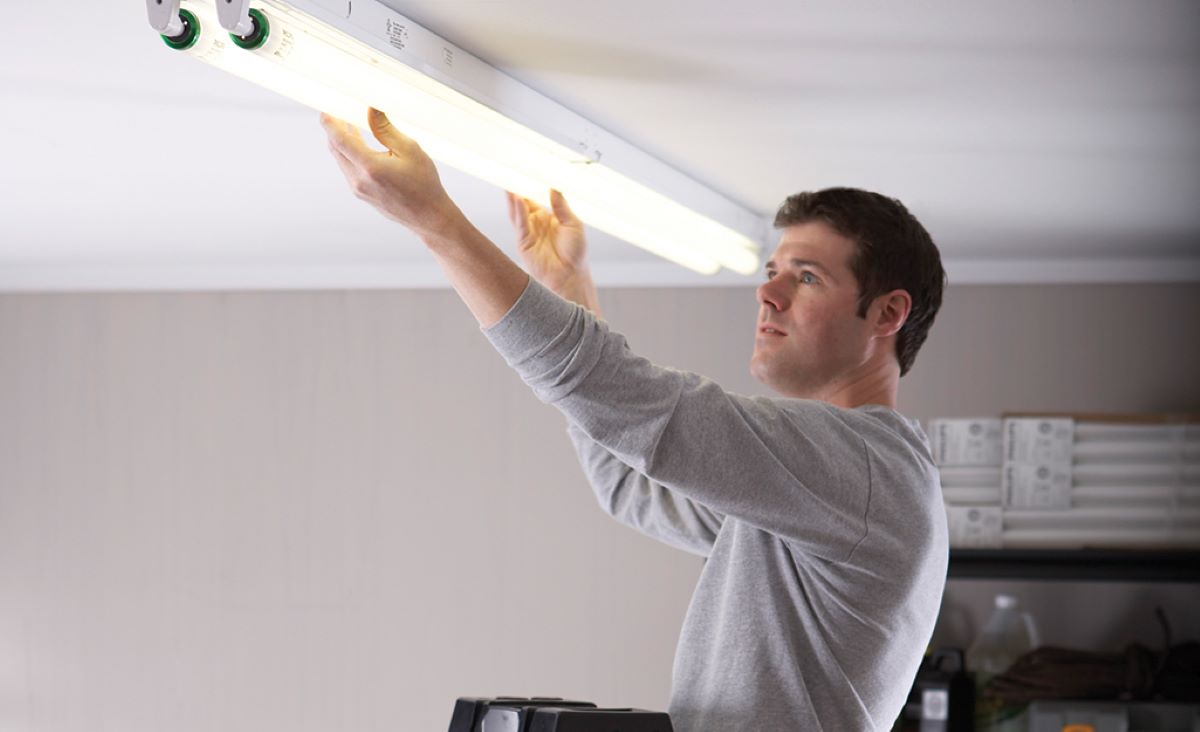
- Remove the Old Tubes: Twist the old tubes counterclockwise or press the release tabs (if applicable) to remove them from the fixture. If your fixture doesn’t have twist and lock sockets, you can use a tube puller to safely extract the tubes.
- Clean the Fixture: Wipe away any dust or debris inside the fixture using a rag or paper towels. This will ensure optimal lighting performance and prevent blockages that may cause the new tubes to overheat.
- Insert the Replacement Tubes: Take the new tubes and align them with the sockets in the fixture. Gently twist them clockwise or press them in until they fit securely. Ensure the tubes are properly seated and make contact with the pins inside the sockets.
- Replace the Cover: Once the tubes are securely in place, put the cover or access panel back on and secure it with screws or clips.
- Turn on the Power: Finally, restore power to the area at the circuit breaker and switch on the light switch. Check that the new tubes illuminate correctly.
It’s always a good idea to test the functionality and longevity of the new tubes to ensure they are working correctly. If any issues persist, refer to the troubleshooting tips section or consult a professional.
By following these step-by-step instructions, you can confidently change the fluorescent tubes in your fixture and enjoy bright, efficient lighting once again.
Read more: How To Convert Fluorescent Tubes To LED
Testing the New Tube
After successfully installing the new fluorescent tubes, it’s important to test their functionality to ensure they are working correctly. Here are some steps to test the new tubes:
- Turn on the Power: Ensure the power to the area is turned on at the circuit breaker.
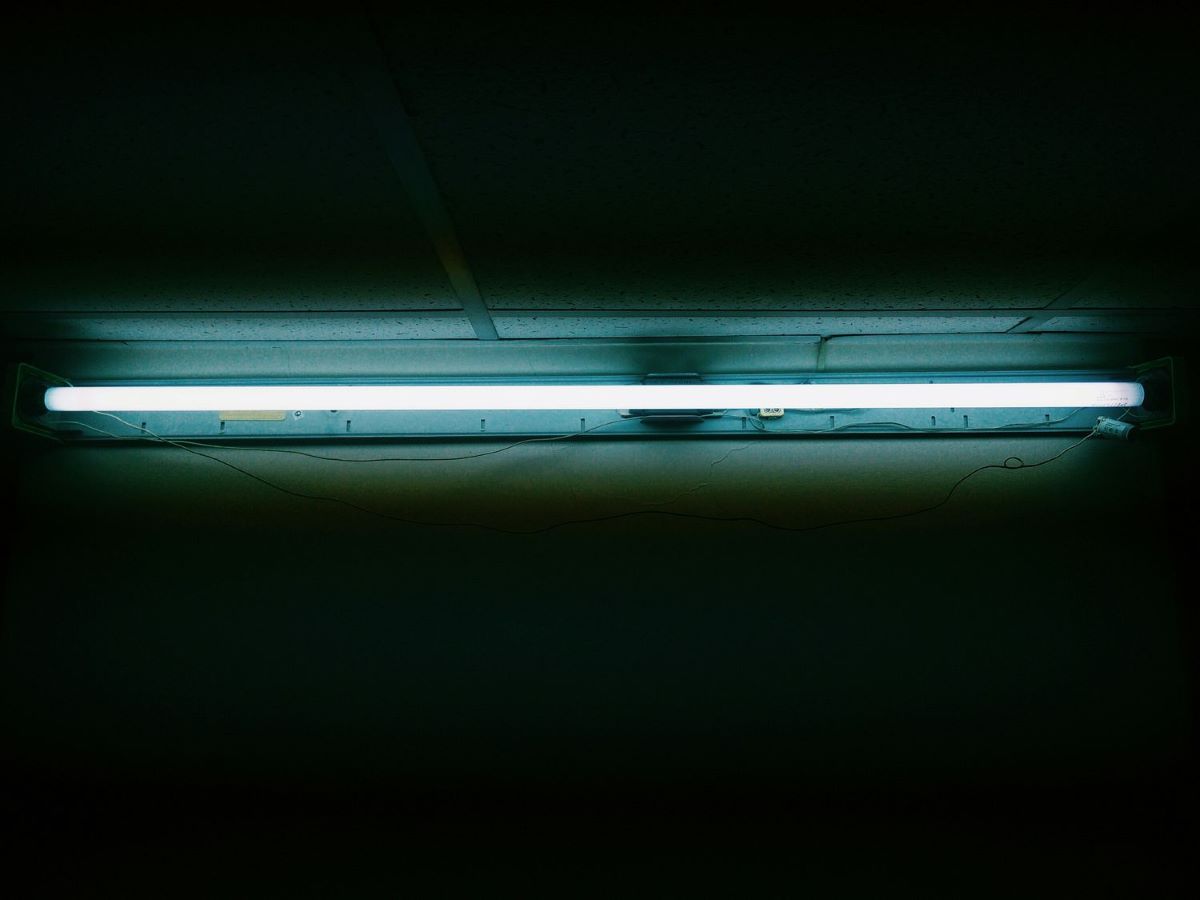
- Observe the Tubes: Look at the newly installed tubes and observe if they emit a steady and consistent light. Check for any flickering, dimming, or unusual color shifts.
- Compare the Illumination: Compare the brightness and color temperature of the new tubes with the existing ones in the same fixture. They should provide a uniform and balanced illumination.
- Check for Compatibility: If the new tubes are not functioning properly or are incompatible with your existing lighting system, double-check that you have installed the correct size and type of tubes. Consult the manufacturer’s specifications for guidance.
- Make Adjustments if Needed: If you notice any issues with the new tubes, such as flickering or dimming, ensure they are properly seated in the sockets. If the problems persist, consult the troubleshooting tips section or seek professional assistance.
Testing the new fluorescent tubes is crucial to ensure they are providing the desired lighting quality and performance. By taking the time to observe and verify their functionality, you can address any potential issues early on and make any necessary adjustments for optimal lighting conditions.
Troubleshooting Tips
While changing fluorescent tubes is a straightforward process, occasional issues may arise. Here are some troubleshooting tips to help you address common problems:
- Flickering Tubes: If the new tubes are flickering, ensure they are securely seated in the sockets. Flickering can also be caused by a faulty ballast. Consider replacing the ballast or consult a professional electrician for assistance.
- Dim Tubes: If the new tubes appear dim, check if they are the correct size and wattage for the fixture. Ensure they are properly seated in the sockets and clean any dust or debris that may be blocking the light output.
- Uneven Illumination: If the new tubes provide uneven illumination, check the balance of the tubes in the fixture. Adjust the positioning of the tubes to distribute the light more evenly. Additionally, ensure the sockets are clean and making proper contact with the pins of the tubes.
- Incompatible Color Temperature: If the new tubes have a different color temperature than the existing ones, the lighting may appear mismatched. Consider replacing all the tubes in the fixture with ones of the same color temperature for a uniform lighting effect.
- Intermittent Operation: If the tubes intermittently turn on or off, it may indicate a loose connection. Make sure the tubes are securely seated in the sockets and that the electrical connections are tight. If the problem persists, consult a professional electrician for assistance.
These troubleshooting tips should help you address common issues that may occur after changing fluorescent tubes. However, if you are unsure about any aspect of troubleshooting or unable to resolve the problem, it is always recommended to consult a professional electrician for further assistance.
Conclusion
Changing fluorescent tubes may seem like a daunting task, but with the right knowledge and tools, it can be a straightforward process. By following the step-by-step guide and taking the necessary safety precautions, you can replace old and faulty tubes, restoring efficient and bright lighting to your space.
A solid understanding of how fluorescent tubes work, along with the different sizes and color temperatures available, will guide you in selecting the right replacement tubes for your specific needs. Remember to test the new tubes after installation to ensure they are working properly and providing the desired lighting quality.
If any issues arise during or after the installation, refer to the troubleshooting tips provided in this article. However, if you are unsure or unable to resolve the problem, it’s always best to seek assistance from a professional electrician.
By successfully changing fluorescent tubes, you not only improve the functionality and aesthetics of your space but also contribute to energy efficiency. Fluorescent tubes offer bright illumination while consuming less energy compared to traditional incandescent bulbs.
So, whether you are a homeowner looking to brighten up your kitchen or a business owner responsible for maintaining the lighting in your office, you now have the knowledge and confidence to tackle the task of changing fluorescent tubes. Enjoy the benefits of efficient and reliable lighting in your space!
Frequently Asked Questions about How To Change Fluorescent Tubes
Was this page helpful?
At Storables.com, we guarantee accurate and reliable information. Our content, validated by Expert Board Contributors, is crafted following stringent Editorial Policies. We're committed to providing you with well-researched, expert-backed insights for all your informational needs.


0 thoughts on “How To Change Fluorescent Tubes”