Home>Articles>How Far Down Do You Have To Bury Electrical Wire
Articles
How Far Down Do You Have To Bury Electrical Wire
Modified: October 21, 2024
Looking for articles on how far down you need to bury electrical wire? Discover the best practices and guidelines for burying electrical wire safely and effectively.
(Many of the links in this article redirect to a specific reviewed product. Your purchase of these products through affiliate links helps to generate commission for Storables.com, at no extra cost. Learn more)
Introduction
When installing electrical wire for outdoor applications, one important consideration is the depth at which it needs to be buried. Proper burial depth ensures the safety and longevity of the electrical system, while also complying with regulations set forth by the National Electrical Code (NEC). Whether you’re installing electrical wire for landscape lighting, an underground power line, or any other outdoor electrical project, understanding the burial depth requirements is crucial.
In this article, we will explore the factors to consider when burying electrical wire, the NEC requirements, the differences between direct burial and conduit installations, the influence of soil conditions, and the specific depth requirements for different types of electrical wire. Additionally, we will discuss some additional safety precautions to keep in mind during the installation process.
By the end of this article, you will have a clear understanding of how far down electrical wire needs to be buried to ensure a safe and code-compliant installation.
Key Takeaways:
- Proper burial depth for outdoor electrical wire is crucial for safety and compliance with NEC regulations. Factors such as soil conditions and wire type must be considered to ensure a successful and long-lasting installation.
- Prioritize safety by following additional precautions, such as calling utility locators before digging and using proper tools and protective gear. Regular inspection and maintenance are essential for the reliability of the outdoor electrical system.
Factors to Consider
Before determining the exact depth at which to bury electrical wire, there are several factors that need to be taken into consideration:
- NEC Requirements: The National Electrical Code sets guidelines for electrical installations, including burial depth requirements. Ensure that your installation adheres to these regulations to avoid any safety or compliance issues.
- Types of Electrical Wire: Different types of electrical wire have specific requirements for burial depth. Consider the type of wire you are using and consult manufacturer specifications to ensure proper burial.
- Projected Use: The purpose for which you are installing the electrical wire is also crucial. Landscape lighting may require a different burial depth than a underground power line, for example.
- Soil Conditions: The composition and moisture level of the soil in your area can have an impact on the burial depth. Soils with high moisture content may necessitate deeper burial depths to prevent damage from water exposure.
- Climate and Weather Conditions: Regions with extreme weather conditions, such as freezing temperatures or high winds, may require deeper burial depths to protect the electrical wire from damage.
- Local Building Codes: Always check with your local building codes and regulations, as they may have additional requirements or specifications for electrical wire burial depths in your area.
By considering these factors, you can make informed decisions about the appropriate burial depth for your specific electrical installation. It is essential to prioritize safety and compliance in order to ensure the longevity and effectiveness of your outdoor electrical system.
National Electrical Code (NEC) Requirements
The National Electrical Code (NEC) provides guidelines and regulations for electrical installations in the United States. These requirements are designed to promote safety and standardization across all electrical systems, including the burial of electrical wire.
According to the NEC, the burial depth of electrical wire depends on several factors, including the type of wire, the purpose of the installation, and the location of the wire. Here are some key NEC requirements to keep in mind:
- Type of Wire: Different types of electrical wire have specific burial depth requirements outlined by the NEC. For example, UF (underground feeder) cable must generally be buried at least 24 inches deep, while PVC conduit can be buried at a minimum depth of 18 inches.
- Outdoor vs Indoor Installations: Outdoor installations typically have deeper burial depth requirements than indoor installations. This is because outdoor electrical wire is exposed to various weather conditions, moisture, and potential hazards.
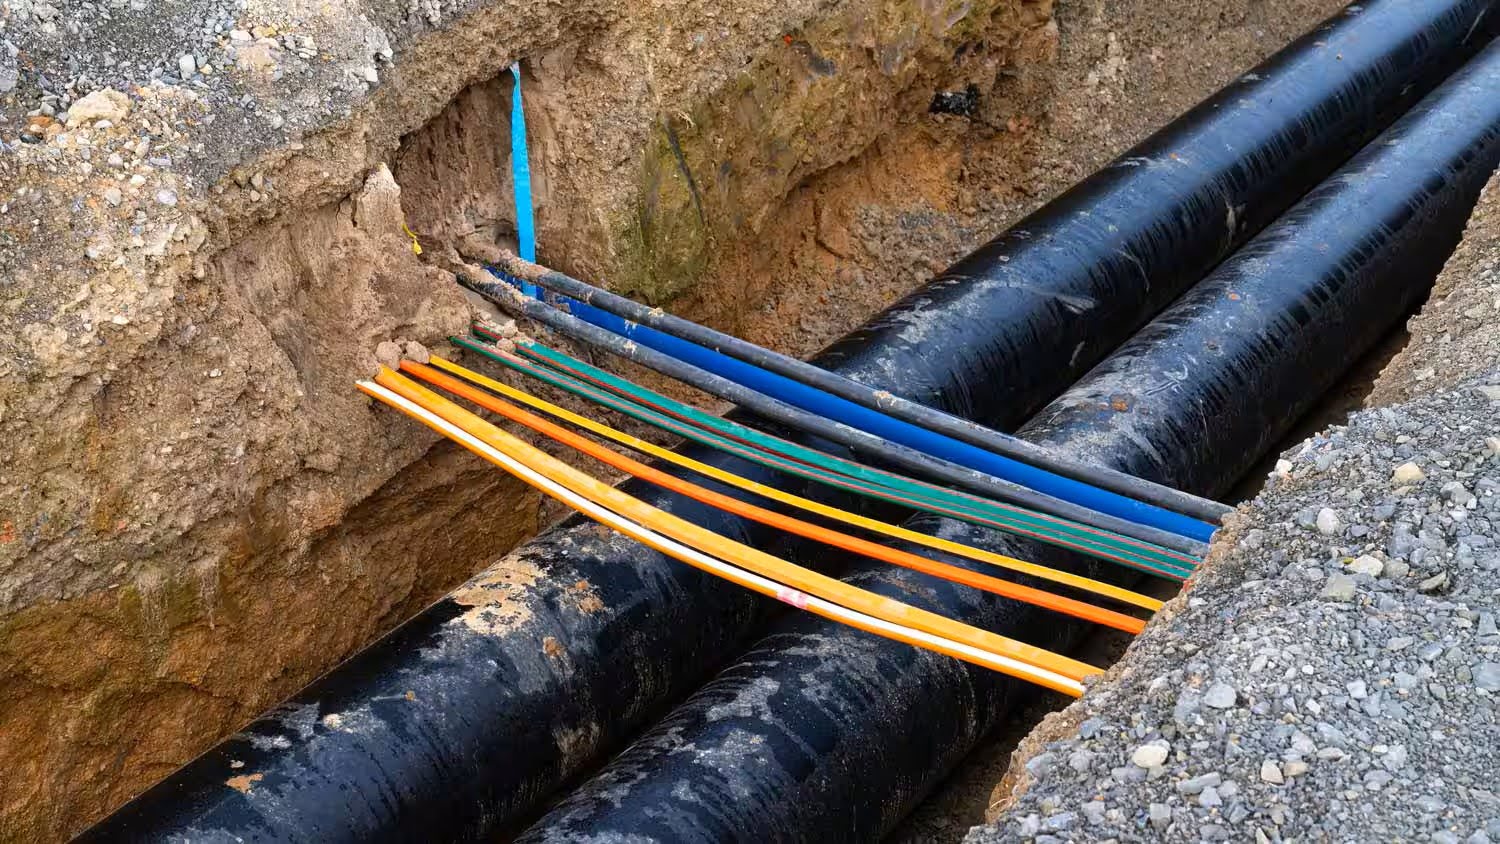
- Separation from Other Utilities: The NEC also specifies the minimum distance that electrical wire must be buried from other utilities, such as gas pipes or water lines. This is to prevent damage to both the electrical system and the other utilities.
- Ground Fault Circuit Interrupter (GFCI) Protection: The NEC requires GFCI protection for certain outdoor electrical installations, such as those in wet locations or near swimming pools. This additional layer of protection helps prevent electrical shock in these potentially hazardous environments.
It is important to note that the NEC requirements are minimum standards. Local jurisdictions may have additional or more stringent regulations, so it is crucial to consult with your local building department or an electrical professional to ensure compliance with all applicable codes.
By following the NEC requirements for burial depth, you can ensure the safety, reliability, and longevity of your outdoor electrical system. These regulations are in place to protect both individuals and property from electrical hazards and ensure a consistent approach to electrical installations across the country.
Direct Burial vs Conduit
When burying electrical wire for outdoor applications, you have two primary options: direct burial or using conduit. Understanding the differences between these methods can help you make the right decision for your specific installation.
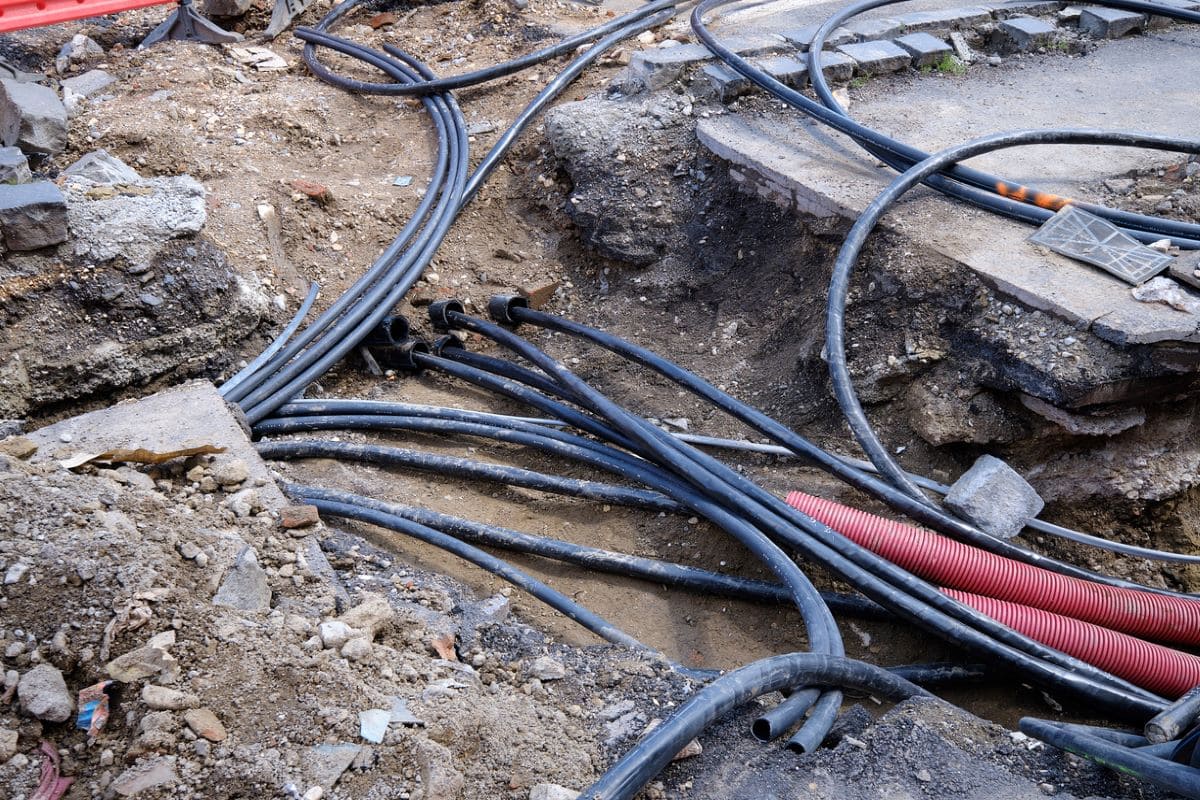
Direct Burial:
Direct burial involves burying the electrical wire directly into the ground without the use of conduit. This method is commonly used for low-voltage applications, such as landscape lighting or underground sprinkler systems. Direct burial offers the advantage of simplicity and cost-effectiveness, as it eliminates the need for conduit installation.
However, direct burial does have some drawbacks. The wire is more susceptible to damage from moisture, rodents, or accidental digging. It can also be more challenging to locate or repair the wire if any issues arise. Therefore, when choosing direct burial, it is important to use specifically designed underground electrical wire (such as UF cable) that is rated for direct burial and can withstand exposure to moisture and other environmental factors.
Conduit:
Conduit is a protective pipe or tubing that houses the electrical wire and is buried underground. Installing conduit provides an added layer of protection, shielding the wire from moisture, physical damage, and pests. Additionally, conduit makes it easier to replace or upgrade the wire in the future.
The type of conduit used depends on the specific application and local codes. Common types of conduit include PVC, rigid metal, and flexible metal. Each has its own benefits and considerations, such as flexibility, durability, and ease of installation.
While conduit installation requires more effort and materials, it offers more flexibility in terms of wire choice and easier maintenance. It is commonly used for higher voltage applications or when the wire needs to be protected from harsh environments or potential damage.
Ultimately, the choice between direct burial and conduit depends on the specific requirements and conditions of your outdoor electrical project. Consulting with a licensed electrician or following local building codes can help determine which method is most suitable for your installation.
When burying electrical wire, it should be buried at least 18 inches deep for direct burial cable and 24 inches deep for non-metallic conduit. Always check local building codes for specific requirements.
Soil Conditions
The soil conditions in your area play a significant role in determining the burial depth of electrical wire. The composition, moisture content, and drainage capacity of the soil can affect the longevity and safety of your outdoor electrical system. Here are some important factors to consider:
- Moisture Content: Soils with high moisture content, such as clay or loamy soils, retain water for longer periods. This can increase the risk of corrosion and damage to the electrical wire. In these types of soil, it is generally recommended to bury the wire at a greater depth to limit exposure to excessive moisture.
- Drainage Capacity: The soil’s ability to drain water can also impact the burial depth. Well-drained soils, such as sandy or gravelly soils, allow water to pass through more easily, reducing the risk of water accumulation around the electrical wire. In these cases, a slightly shallower burial depth may be sufficient.
- Freezing and Thawing: In regions with cold climates, freezing and thawing cycles can put stress on buried electrical wire. The depth at which the wire is buried should be below the frost line to prevent movement or damage caused by freezing ground.
- Soil Composition: Some soils, such as rocky or compacted soils, can make it more difficult to excavate and bury the electrical wire. In these cases, additional care might be needed during the installation process to ensure proper burial depth is achieved.
- Soil pH: The pH level of the soil can also impact the corrosion potential of the wire. Highly acidic or alkaline soils can accelerate the degradation of the wire. If your soil has extreme pH levels, measures may need to be taken to protect the wire, such as using conduit or selecting wire with appropriate corrosion resistance.
It is important to conduct a soil analysis and assess the specific conditions in your area before burying the electrical wire. Additionally, consulting with local experts or organizations can provide valuable insights regarding soil conditions and the recommended burial depth for your specific location.
By considering and addressing the soil conditions, you can ensure the longevity and effectiveness of your outdoor electrical system, minimizing the risk of damage and ensuring optimal safety.
Read also: 9 Best Direct Bury Electrical Wire for 2025
Depth Requirements for Different Types of Electrical Wire
Each type of electrical wire has specific burial depth requirements to ensure proper installation and to comply with safety regulations. The depth at which the wire needs to be buried depends on factors such as voltage, insulation type, and the specific application. It is essential to follow these depth requirements to maintain the integrity and safety of your outdoor electrical system. Here are the general depth requirements for different types of electrical wire:
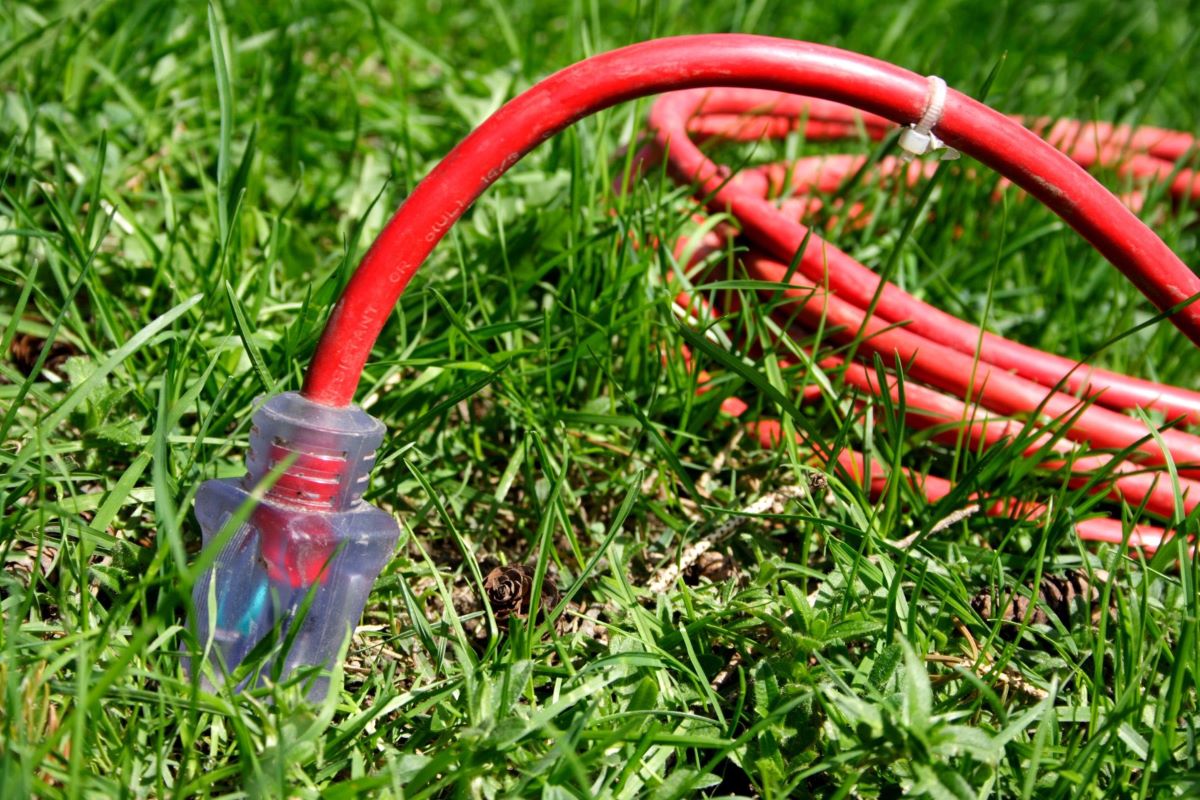
- Low-Voltage Wiring: Low-voltage wiring, typically used for landscape lighting or low-power outdoor applications, usually requires a burial depth of 6 to 12 inches. This shallow depth is sufficient to protect the wire from accidental damage while still ensuring its functionality.
- UF (Underground Feeder) Cable: UF cable is commonly used for outdoor electrical applications, such as supplying power to exterior outlets or lighting systems. The NEC generally requires UF cable to be buried at a minimum depth of 18 inches. However, if the cable is protected by a concrete slab or a layer of concrete at least 2 inches thick, the burial depth can be reduced to 12 inches.
- PVC Conduit: When using PVC conduit for burying electrical wire, the burial depth requirements vary based on the type and size of the conduit. Generally, a minimum depth of 18 inches is required. However, if the conduit is located under a driveway or parking lot, it should be buried at a depth of at least 24 inches to withstand heavier loads.
- Metal Conduit: Metal conduit, such as rigid metal conduit (RMC), provides additional protection and is typically used for higher voltage applications or when greater durability is needed. The burial depth for metal conduit ranges from 6 to 24 inches, depending on the diameter of the conduit and the specific application.
It is important to note that these are general guidelines, and specific local regulations, manufacturer instructions, and project requirements may differ. Always consult the NEC and local building codes, as well as the manufacturer’s specifications for the specific type of wire you are using, to ensure compliance with the correct burial depth requirements.
By understanding and adhering to the depth requirements for different types of electrical wire, you can ensure a safe and reliable outdoor electrical installation that complies with regulations and minimizes the risk of accidents or damage.
Additional Safety Precautions
When burying electrical wire for outdoor installations, it is essential to prioritize safety to protect yourself, others, and the longevity of the electrical system. In addition to following the burial depth requirements and complying with regulations, here are some additional safety precautions to consider:
- Call Before You Dig: Before beginning any excavation work, contact your local utility locator service to identify the location of underground utilities. This will help you avoid damaging existing electrical, gas, water, or communication lines during the installation process.
- Use Proper Tools and Equipment: Ensure that you have the right tools and equipment for the job. This includes appropriate digging tools, wire cutters, PVC cement, and wire connectors. Using proper equipment will make the installation process safer and more efficient.
- Protective Gear: Wear protective gloves, safety glasses, and appropriate footwear when burying electrical wire. This will help prevent injuries while handling tools or coming into contact with sharp objects in the ground.
- Secure and Ground the Wire: Properly secure the wire to prevent it from shifting or being damaged by external forces. Additionally, ensure that the electrical system is properly grounded to minimize the risk of electrical shock in case of a fault or surge.
- Follow Manufacturer Instructions: Always follow the manufacturer’s instructions for the specific type of wire and equipment you are using. These instructions will provide guidance on proper installation techniques, recommended burial depths, and any additional safety precautions that need to be considered.
- Regular Inspection and Maintenance: Periodically inspect the buried electrical system to check for any signs of damage, deterioration, or moisture infiltration. Repair or replace any damaged wires or connections promptly to prevent further issues.
- Label and Document: Keep track of the location, depth, and route of the buried electrical wire. Documenting this information will be helpful for future maintenance, repairs, or additions to the electrical system.
Remember, electrical work can be hazardous if not done correctly. If you are unsure about any aspect of the installation process, it is recommended to consult with a licensed electrician or professional who can provide guidance and ensure the work is done safely and in compliance with regulations.
By following these additional safety precautions, you can minimize the risk of accidents, ensure the long-term functionality of your outdoor electrical system, and enjoy peace of mind knowing that you have taken the necessary steps to protect yourself and others.
Conclusion
When burying electrical wire for outdoor applications, understanding the proper burial depth is crucial for safety, compliance with regulations, and the longevity of your electrical system. By considering factors such as the National Electrical Code (NEC) requirements, using the appropriate burial method (direct burial or conduit), assessing soil conditions, and following depth requirements for different types of wire, you can ensure a successful installation.
It is important to remember that safety should always be a top priority. Taking additional precautions, such as calling utility locators before digging, using proper tools and protective gear, securing and grounding the wire, and regularly inspecting and maintaining the system, will further enhance the safety and reliability of your outdoor electrical installation.
Always consult the NEC guidelines, local building codes, and manufacturer instructions to ensure compliance and safety. If you are unsure about any aspect of the installation process, seek the assistance of a licensed electrician or professional who can provide expertise and guidance.
By following these guidelines and best practices, you can bury electrical wire at the appropriate depth and create a safe and durable outdoor electrical system. Remember, investing time and effort into proper installation and maintenance will pay off in the long run, ensuring the reliable and efficient performance of your outdoor electrical system for years to come.
Curious about safely laying down electrical lines? Our upcoming articles will guide you through choosing proper underground wiring and mastering conduit installation behind walls. Whether you're digging your garden or renovating your home, knowing which wires work best underground is key. Similarly, learning to install conduit effectively can save you from many headaches later. Both guides are packed with practical tips, ensuring your electrical projects are up to standard.
Frequently Asked Questions about How Far Down Do You Have To Bury Electrical Wire
Was this page helpful?
At Storables.com, we guarantee accurate and reliable information. Our content, validated by Expert Board Contributors, is crafted following stringent Editorial Policies. We're committed to providing you with well-researched, expert-backed insights for all your informational needs.


0 thoughts on “How Far Down Do You Have To Bury Electrical Wire”