Home>Articles>How To Run Electrical Wire Under Concrete Driveway

Articles
How To Run Electrical Wire Under Concrete Driveway
Modified: October 20, 2024
Learn how to run electrical wire under a concrete driveway with our step-by-step guide. Find helpful articles and tips for successful installation.
(Many of the links in this article redirect to a specific reviewed product. Your purchase of these products through affiliate links helps to generate commission for Storables.com, at no extra cost. Learn more)
Introduction
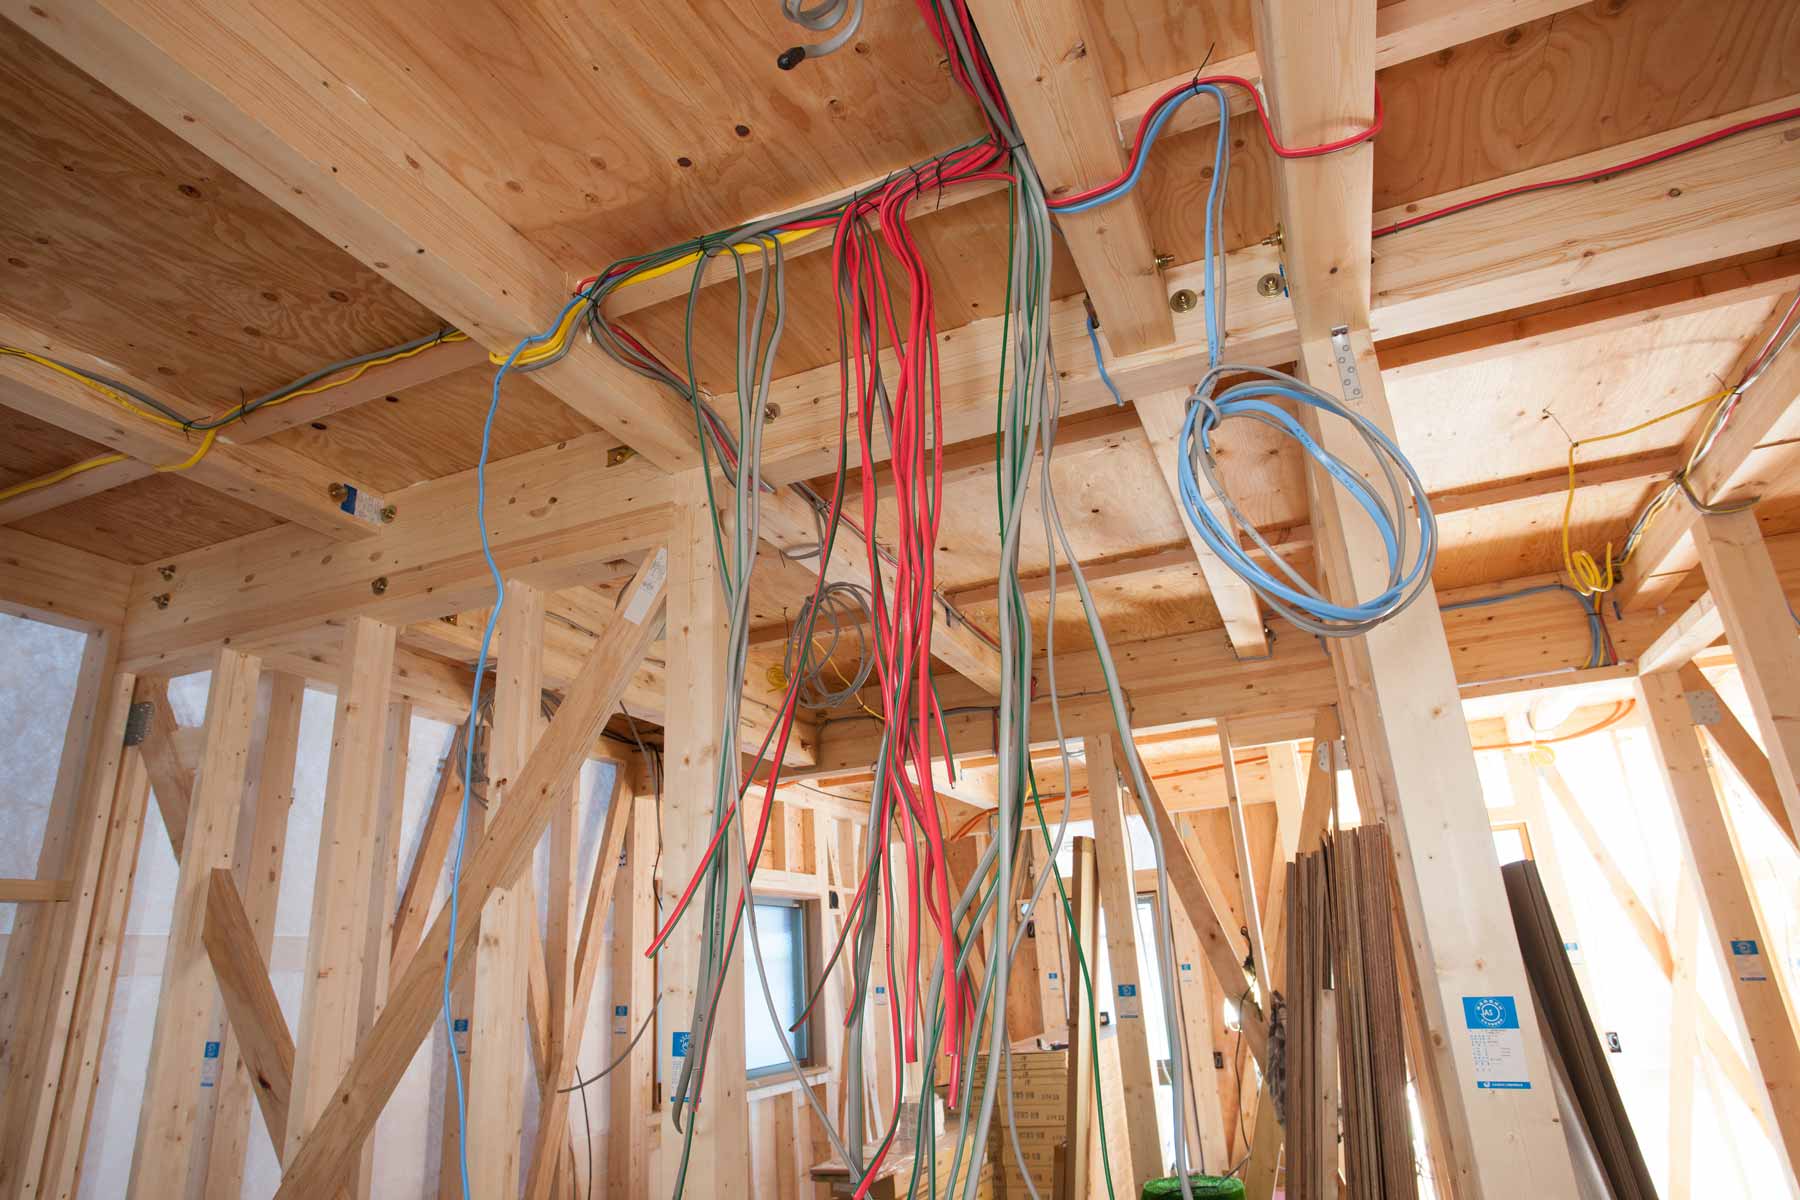
Running electrical wire under a concrete driveway can be a challenging task, but it can be accomplished with the right tools and techniques. Whether you are installing outdoor lighting, a security system, or any other electrical component that requires wiring, it’s important to ensure a safe and seamless installation. In this article, we will guide you through the steps necessary to run electrical wire under a concrete driveway.
Before you begin the process, it’s important to determine the correct route for the wire. This involves careful planning and consideration of the location of the electrical source and the destination of the wire. Additionally, you will need to gather the necessary tools and materials to complete the job effectively and efficiently.
In the following sections, we will outline the required tools and materials and provide step-by-step instructions on how to run electrical wire under a concrete driveway. By following these guidelines, you will be able to complete the task safely and successfully.
Key Takeaways:
- Proper planning and precise execution are essential for running electrical wire under a concrete driveway. From determining the route to testing the electrical connection, attention to detail is crucial for a successful and safe installation.
- Prioritize safety, gather the necessary tools and materials, and follow the step-by-step instructions provided to successfully run electrical wire under a concrete driveway. With diligence and careful execution, you can enhance the functionality and aesthetics of your outdoor spaces.
Read more: How To Run Electrical Wire On Concrete Wall
Tools and Materials Needed
Before you begin running electrical wire under a concrete driveway, it’s essential to gather the necessary tools and materials. Here’s a list of what you’ll need:
- Shovel or pickaxe: These tools will be used to dig the trenches.
- Tape measure: You’ll need to measure the length and depth of the trenches accurately.
- Conduit or cable: Choose the appropriate conduit or cable based on the electrical wire you’re installing.
- Conduit bender or cable pulling tools: These tools will help you shape the conduit or guide the cable through the trench.
- Wire cutters and strippers: These tools are needed to cut and strip the electrical wire.
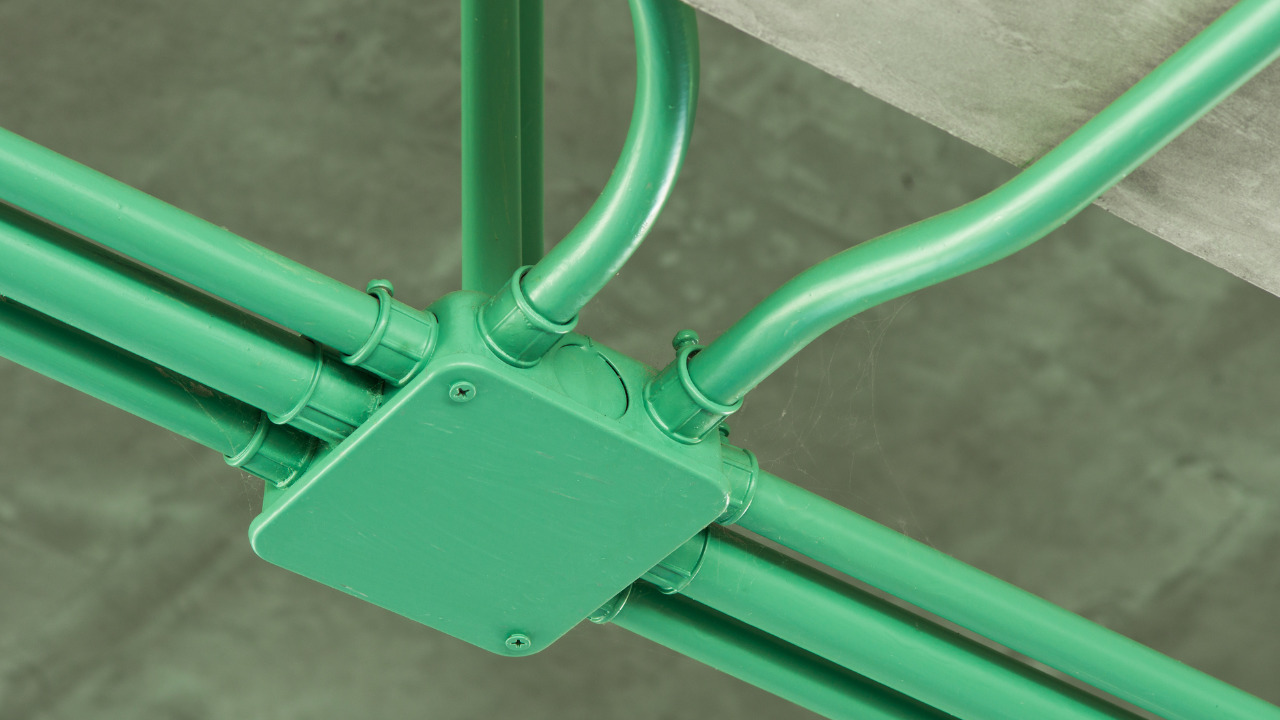
- Junction box: A junction box will provide a safe and secure connection for the wires.
- Concrete saw or jackhammer: These tools are necessary to cut or break the concrete for creating the trench.
- Wire connectors: You’ll need wire connectors to join the wires together.
- Concrete or asphalt sealer: This will help protect the wire and prevent moisture damage.
It’s important to have all the tools and materials prepared before starting the project. This will ensure a smooth and efficient installation process.
Steps for Running Electrical Wire Under a Concrete Driveway
Running electrical wire under a concrete driveway requires careful planning and precise execution. Follow these steps to successfully complete the task:
- Determine the Route: Start by determining the route for the electrical wire. This involves identifying the source of electricity and the location where the wire needs to be connected. Measure the distance and plan the path accordingly.
- Prepare the Driveway: Before you start digging trenches, make sure to mark the area where the driveway will be cut. Use a chalk or a marker to create clear boundaries.
- Dig Trenches: Use a shovel or pickaxe to dig trenches along the planned path. The trench should be deep enough to accommodate the conduit or cable and provide sufficient clearance under the driveway.
- Lay Conduit or Cable: Depending on the type of wire you’re installing, choose either a conduit or a cable. Lay the conduit or cable into the trench, ensuring it follows the planned route.
- Secure the Conduit or Cable: Use conduit straps or cable ties to secure the conduit or cable to the bottom of the trench. This will prevent it from moving or shifting during the backfilling process.
- Backfill the Trenches: Fill the trenches with soil or sand, ensuring that the conduit or cable is protected and covered adequately. Compact the soil gently to provide stability.
- Test the Electrical Connection: Once the wire is in place and the trench is backfilled, conduct a thorough test to ensure that the electrical connection is working correctly. Use a multimeter to check for continuity and proper voltage.
By following these steps, you can run electrical wire under a concrete driveway successfully. However, it’s important to consult with a licensed electrician or follow local building codes and regulations to ensure the job is done safely and correctly.
Step 1: Determine the Route
The first step in running electrical wire under a concrete driveway is to determine the route for the wire. This involves careful planning and consideration of several factors.
Start by identifying the source of electricity and the destination where the wire needs to be connected. Measure the distance between these two points to determine the length of wire required.
Consider any obstacles that may be present along the planned path, such as trees, existing structures, or underground utilities. You’ll want to avoid these obstacles to ensure a smooth and uninterrupted installation.
Additionally, think about the depth at which the wire needs to run. This will depend on the type of wire being installed and any local building codes or regulations. Be sure to adhere to any depth requirements to ensure safety and compliance.
Once you have mapped out the route, mark it on the ground using chalk or a marker. This will serve as a visual guide throughout the installation process and help you stay on track.
During the planning stage, it’s also crucial to consider the future accessibility of the wire. If there is a possibility of needing to access or repair the wire in the future, plan the route accordingly and ensure there are access points or junction boxes placed strategically.
Take your time during this planning phase to ensure accuracy and efficiency. By carefully determining the route, you’ll set the foundation for a successful installation of electrical wire under the concrete driveway.
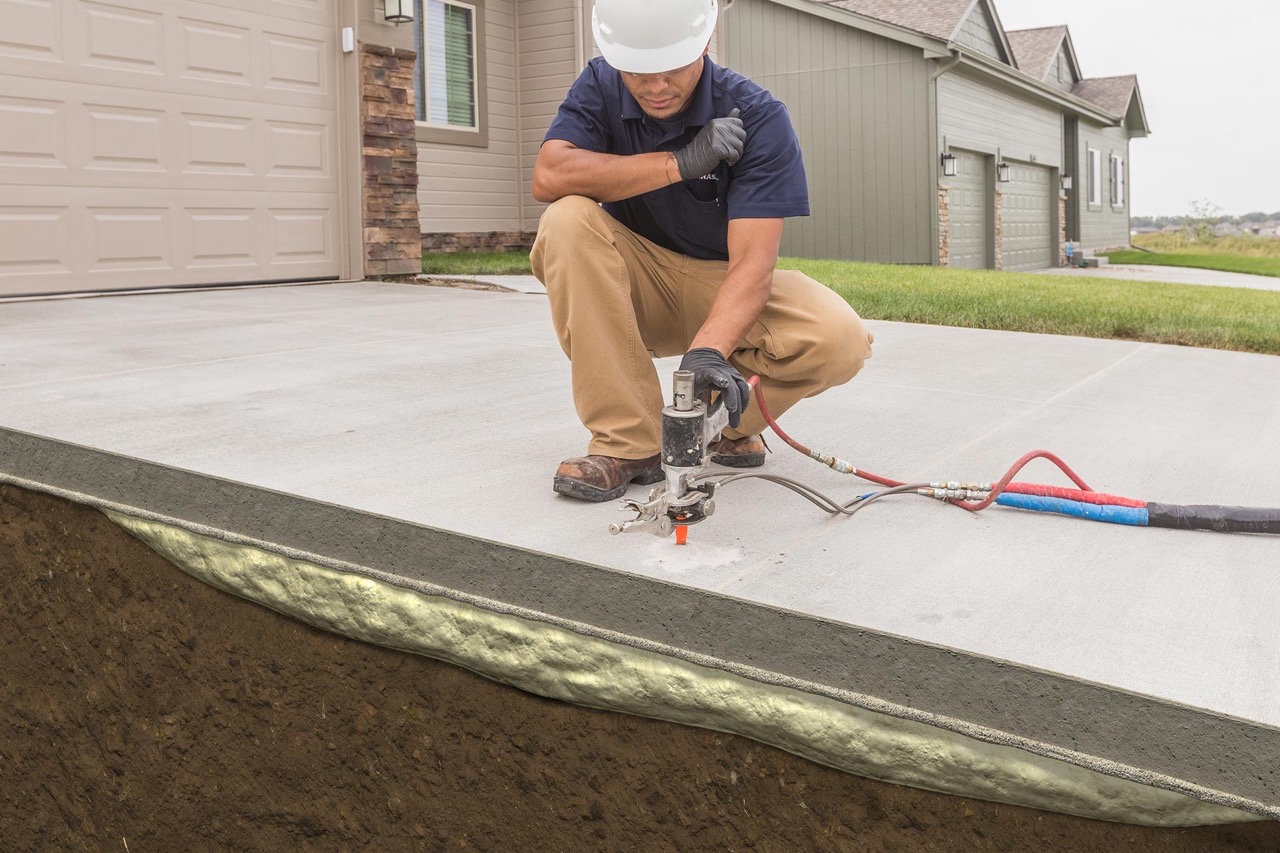
Step 2: Prepare the Driveway
Before you can begin running electrical wire under a concrete driveway, it’s crucial to prepare the driveway itself. Proper preparation will ensure a smooth and efficient installation process. Here’s what you need to do:
1. Clear the area: Remove any obstructions or debris from the driveway. This includes vehicles, plants, or any other items that may hinder your access to the area.
2. Mark the boundaries: Use a chalk or a marker to clearly mark the area where the driveway will be cut. This will help you visualize the boundaries and ensure accurate trench placement.
3. Check for underground utilities: Before proceeding with any digging, contact your local utility companies to ensure there are no underground utilities in the area. This step is vital to prevent accidental damage to gas, water, or electrical lines.
4. Reinforce the driveway: If you are using a concrete saw or a jackhammer to create the trench, it’s essential to reinforce the surrounding pavement to prevent cracking or crumbling. Place wooden planks or metal plates on both sides of the cutting path to provide stability and support.
5. Wear protective gear: When preparing the driveway, and throughout the entire installation process, make sure to wear appropriate safety gear. This includes safety glasses, gloves, and sturdy footwear to protect yourself from potential hazards.
6. Follow manufacturer guidelines: If you are using a concrete saw or jackhammer, carefully read and follow the manufacturer’s instructions for safe and effective use. Take necessary precautions to ensure your safety and the proper operation of the equipment.
By adequately preparing the driveway, you will create a solid foundation for running electrical wire and minimize any potential risks or complications during the installation process.
Read more: How To Run Drainage Pipe Under A Driveway
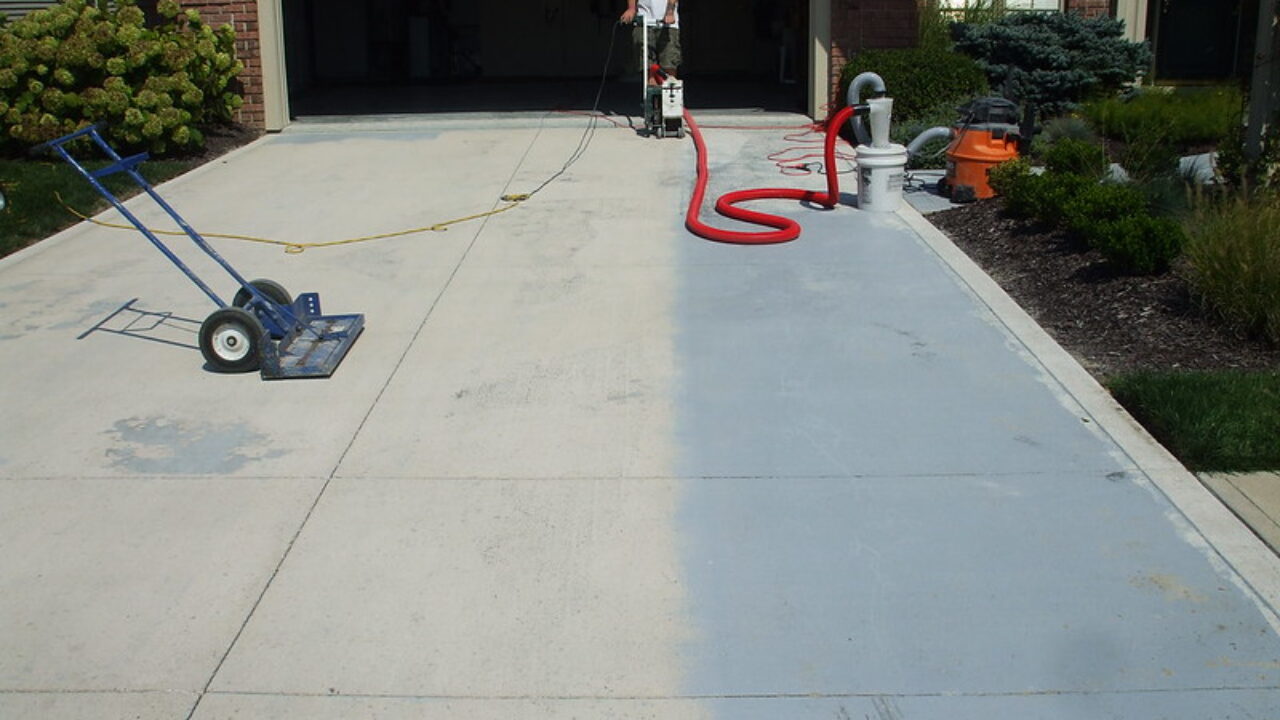
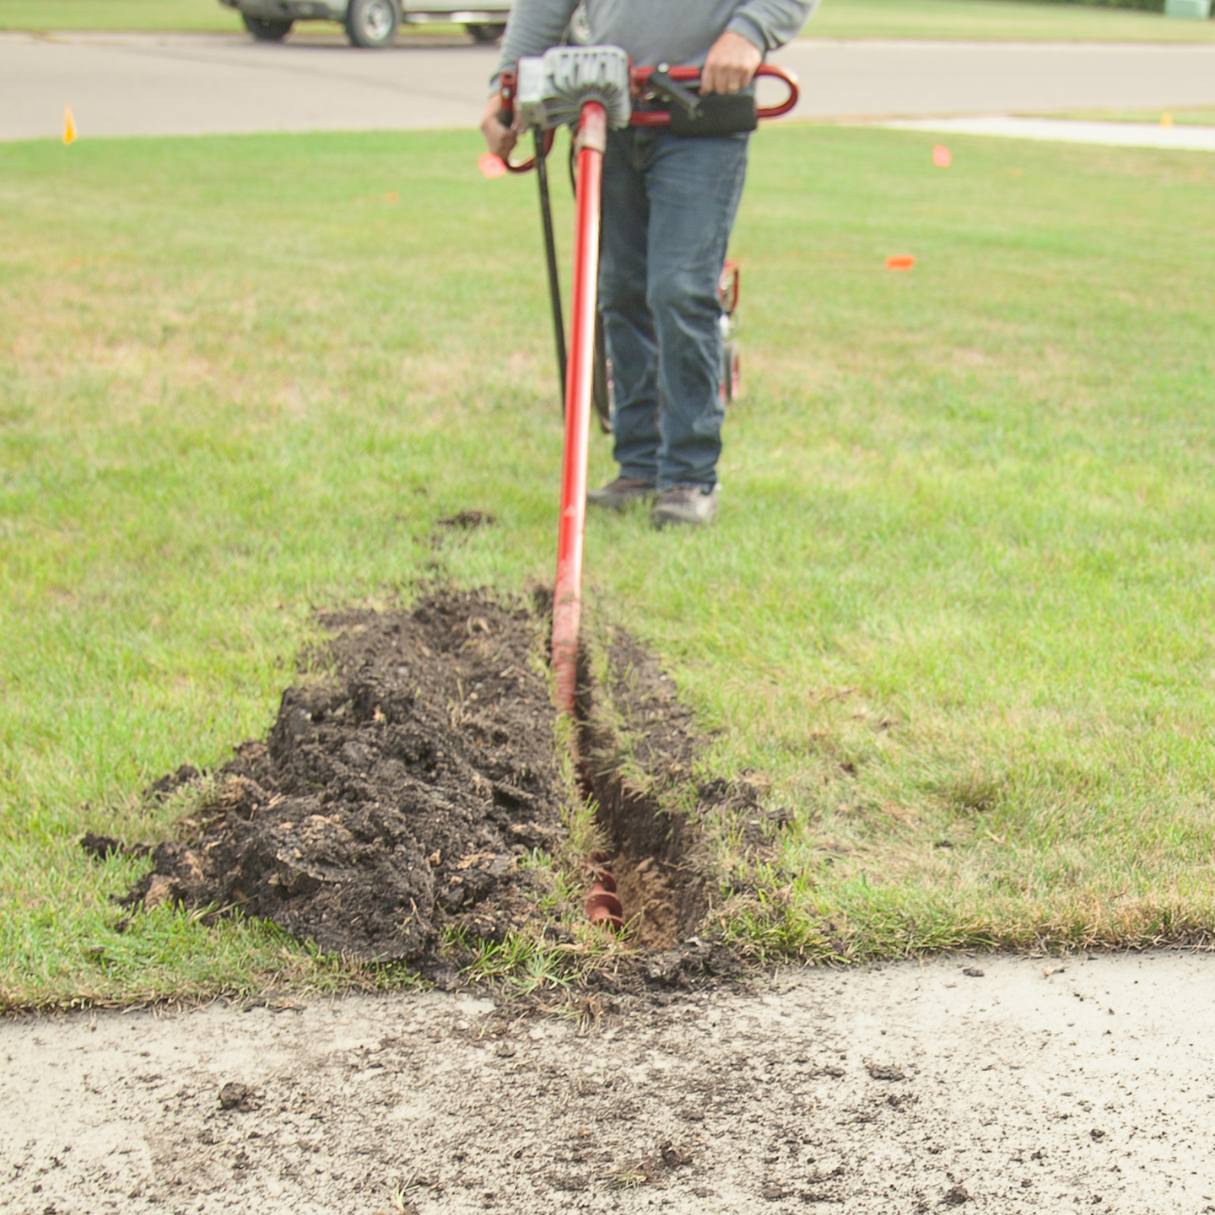
Step 3: Dig Trenches
With the driveway prepared, it’s time to dig the trenches for running the electrical wire. Digging the trenches accurately and to the correct depth is crucial for a successful installation. Here’s how to do it:
1. Start at the marked boundaries: Begin digging at the marked boundaries of the driveway. Use a shovel or pickaxe to break through the surface and create a starting point for the trench.
2. Determine the trench depth: The depth of the trench will depend on the type of wire being installed and any local building codes or regulations. Measure and mark the desired depth of the trench along the entire path.
3. Dig along the planned route: Dig the trench along the planned route, ensuring it follows a straight line or any curves as required. Remove any excess soil or rocks from the trench to create a clean and even path.
4. Check the trench depth: Regularly check the depth of the trench as you dig to ensure it remains consistent. Adjust the depth as needed to match the desired specifications.
5. Smooth the bottom of the trench: Use a rake or shovel to smooth the bottom of the trench, removing any bumps or uneven areas. This will provide a stable base for laying the conduit or cable.
6. Maintain proper width: The width of the trench should be wide enough to accommodate the conduit or cable. Refer to the manufacturer’s guidelines for the precise width required, and ensure the trench is wide enough to provide sufficient clearance.
7. Dispose of excess soil: Dispose of the excess soil properly, either by relocating it to another area or disposing of it in accordance with local regulations.
Remember to proceed with caution while digging the trenches, especially when using tools like pickaxes or shovels. Take breaks when needed and stay hydrated throughout the process.
By carefully digging trenches to the correct depth and width, you’ll set the stage for the next steps of the installation process.
Before running electrical wire under a concrete driveway, make sure to dig a trench at least 18 inches deep, use PVC conduit for protection, and consider hiring a professional to ensure safety and compliance with local codes.
Step 4: Lay Conduit or Cable
Once the trenches are dug, the next step in running electrical wire under a concrete driveway is to lay the conduit or cable. The decision on whether to use conduit or cable will depend on the specific requirements of your project. Here’s how to proceed:
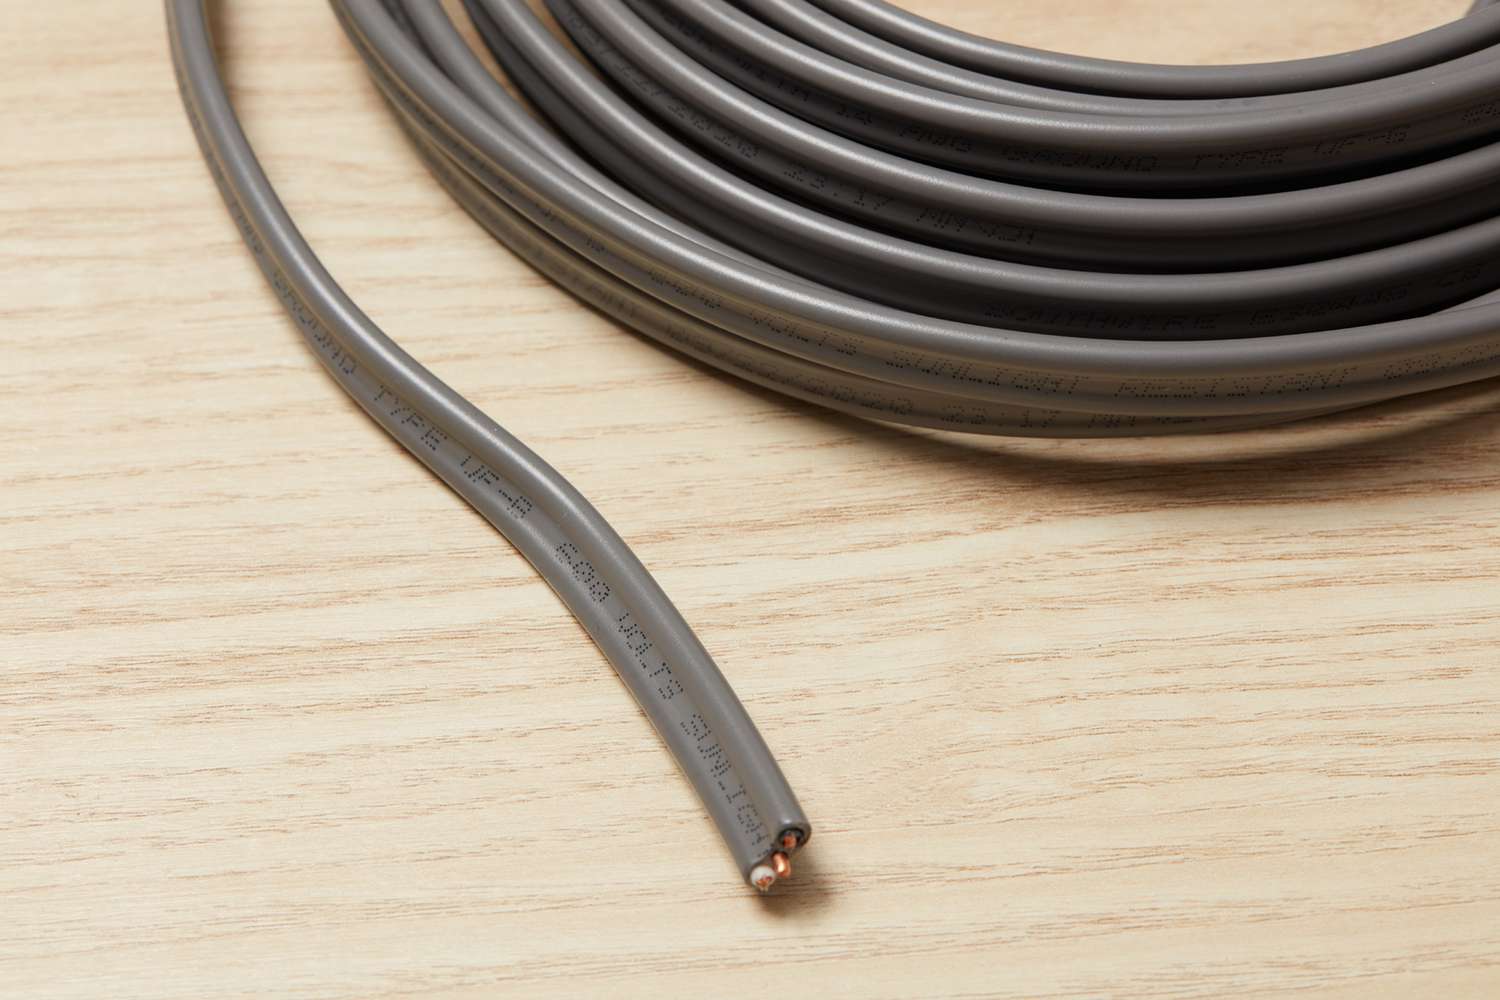
1. Choose the appropriate conduit or cable: Determine whether conduit or cable is the best option for your installation. Conduit provides better protection for the wires and allows for easier maintenance and upgrades in the future. Cable, on the other hand, is more flexible and easier to install.
2. Measure and cut the conduit or cable: Using a tape measure, measure the length of conduit or cable needed to span the entire length of the trench. Add a few extra inches to allow for any necessary adjustments or connections. Use a conduit cutter or wire cutters to cut the conduit or cable to the correct length.
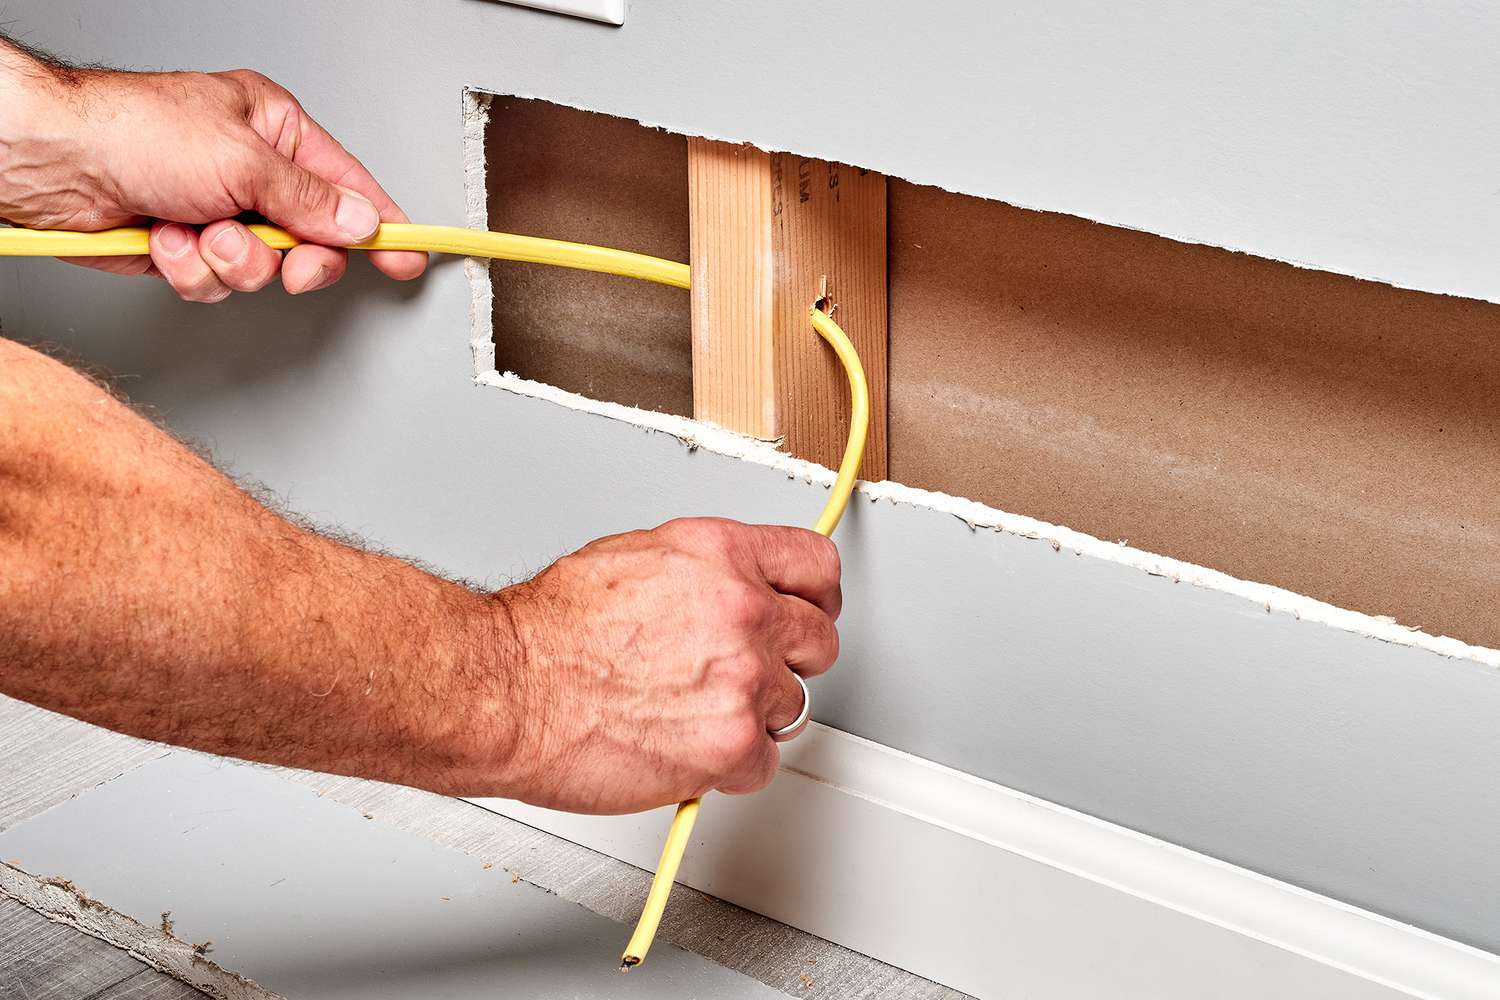
3. Place the conduit or cable in the trench: Carefully lay the conduit or cable into the trench, ensuring it follows the path you have marked out. Make sure it is positioned at the correct depth and that there is sufficient clearance between the conduit or cable and the surrounding soil or rocks.
4. Connect multiple sections: If you need to use multiple sections of conduit or cable to span the entire length of the trench, connect them securely using appropriate connectors or couplings. Follow the manufacturer’s instructions for proper connection methods.
5. Straighten and align the conduit or cable: Ensure that the conduit or cable is straight and properly aligned along the entire length of the trench. This will prevent any kinks or bends that could potentially damage the wires.
6. Secure the conduit or cable: Use conduit straps or cable ties to secure the conduit or cable to the bottom of the trench. This will prevent it from shifting or moving during the backfilling process.
Be mindful of any obstacles, such as tree roots or rocks, that may impede the proper placement of the conduit or cable. Adjust the position as needed to ensure a smooth and unobstructed installation.
By carefully laying the conduit or cable in the trench, you’ll create the pathway for the electrical wire and ensure a secure and reliable electrical connection under the concrete driveway.
Step 5: Secure the Conduit or Cable
Once the conduit or cable is laid in the trench, the next step is to secure it to ensure stability and prevent movement. Properly securing the conduit or cable is essential to maintain the integrity of the electrical installation. Follow these steps to secure the conduit or cable:
1. Use conduit straps or cable ties: Depending on the type of conduit or cable you are using, use appropriate conduit straps or cable ties to secure it at regular intervals along the length of the trench. These straps or ties will help keep the conduit or cable in place and prevent it from shifting or moving.
2. Position the straps or ties correctly: When placing the straps or ties, ensure they are positioned securely around the conduit or cable and tightened adequately. This will provide the necessary support while allowing for some flexibility in case of ground movement.
3. Avoid over-tightening: While it’s important to secure the conduit or cable, avoid over-tightening the straps or ties. This can cause damage to the conduit or cable and potentially affect its functionality. Find the right balance between firmness and flexibility.
4. Maintain proper spacing: Maintain consistent spacing between the straps or ties along the length of the trench. The recommended spacing will depend on the type and weight of the conduit or cable. Refer to the manufacturer’s guidelines for the specific spacing requirements.
5. Inspect for any loose connections: After securing the conduit or cable, inspect the entire installation for any loose connections or areas that may require additional support. Address any issues promptly to ensure a stable and reliable installation.
By properly securing the conduit or cable, you’ll minimize the risk of damage, ensure the longevity of the electrical installation, and maintain the desired pathway for the wires under the concrete driveway.
Step 6: Backfill the Trenches
After securing the conduit or cable, the next step in running electrical wire under a concrete driveway is to backfill the trenches. Backfilling involves filling the trenches with soil or sand, providing support and protection for the installed conduit or cable. Follow these steps to properly backfill the trenches:
1. Use clean and compactable material: Choose clean soil or sand that is free from debris or rocks. This will ensure a stable and secure backfill. Avoid using organic materials such as wood chips or mulch, as these can decompose over time and may cause the soil to settle unevenly.
2. Begin backfilling from the bottom: Start the backfilling process from the bottom of the trench, gradually filling it as you work your way up. Use a shovel or hand tamper to gently compact the soil or sand as you go. This will provide stability and prevent settling.
3. Avoid damaging the conduit or cable: Take caution while backfilling to avoid damaging the conduit or cable. Be mindful of how you handle the soil or sand and ensure it is not forcefully pressed against the installed components.
4. Fill the trench evenly: Distribute the soil or sand evenly along the length of the trench. This will help maintain a consistent level and minimize any uneven settling. Aim to fill the trench to the same level as the surrounding ground.
5. Compact the backfill: Once the trench is filled, use a hand tamper or compactor to lightly compact the backfill. This will further ensure stability and a secure installation. Avoid excessive compaction as it can exert unnecessary pressure on the conduit or cable.
6. Assess for settling: After backfilling, monitor the trench area over time to check for any settling. If settling occurs, add additional backfill material and gently compact it to restore the levelness.
Remember, proper backfilling is crucial to protect the conduit or cable and maintain its integrity under the concrete driveway. Take your time during this step to ensure a solid and reliable installation.
Read more: How To Run Electrical Wire In A House
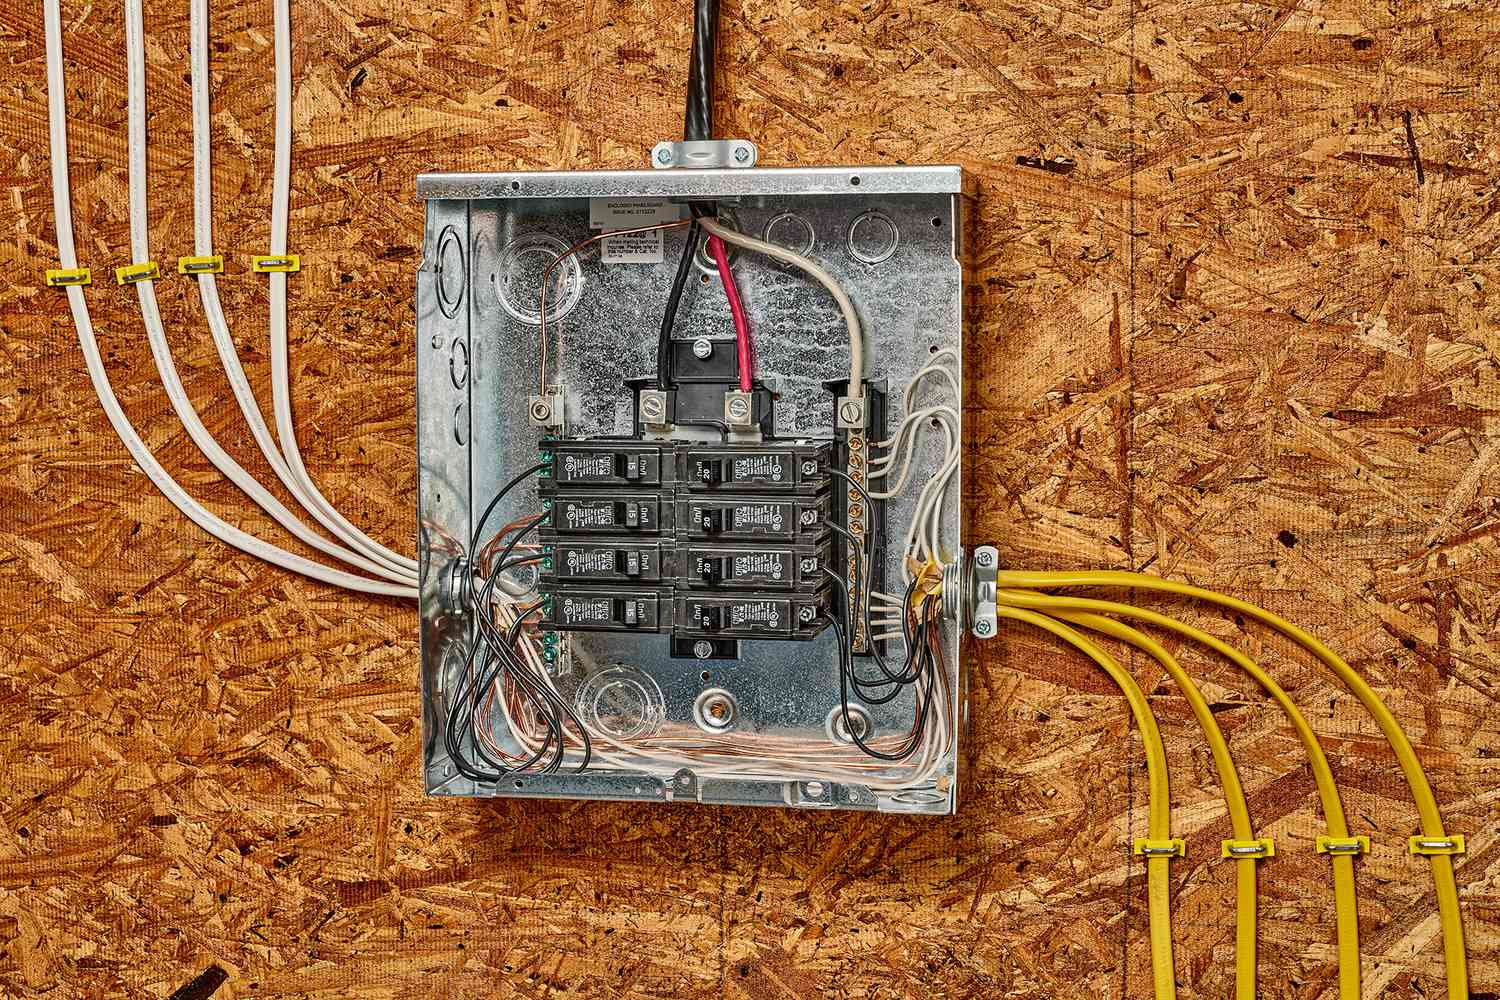
Step 7: Test the Electrical Connection
The final step in running electrical wire under a concrete driveway is to test the electrical connection to ensure everything is working properly. Testing the electrical connection is crucial for safety and functionality. Follow these steps to test the electrical connection:
1. Disconnect the power: Before conducting any testing, make sure the power to the electrical circuit is turned off. This will prevent any potential electrical shocks or accidents.
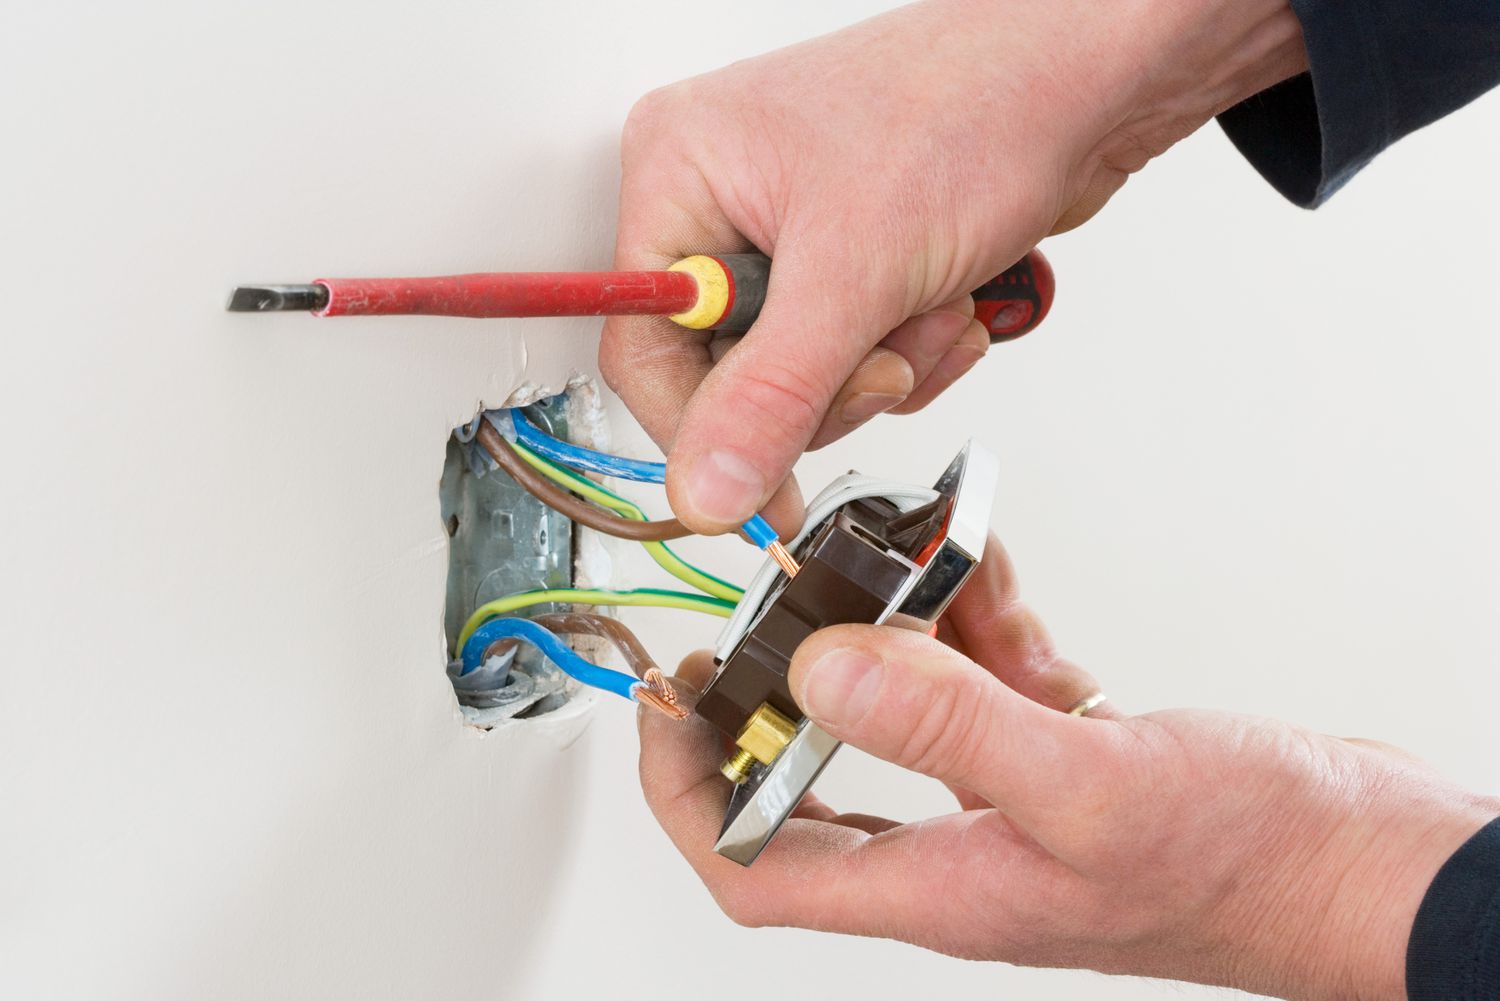
2. Inspect the connections: Examine all the connections, including junction boxes, wire connectors, and any splices or terminations, for proper installation and secure connections. Ensure that all connections are tight and properly insulated.
3. Use a multimeter: Use a multimeter to test for continuity and verify proper voltage. Set the multimeter to the appropriate setting, typically the continuity or voltage mode, and follow the manufacturer’s instructions for testing electrical connections.
4. Test for continuity: With the power turned off, touch the multimeter probes to each end of the wire or the terminals of the connectors to check for continuity. A reading of zero or a low resistance value indicates a good electrical connection.
5. Test for voltage: If necessary, turn the power back on and use the multimeter to test for voltage. Carefully touch the probes to the appropriate terminals or wires to measure the voltage. Ensure that the measured voltage matches the expected voltage for the circuit.
6. Address any issues: If you encounter any issues during testing, such as a lack of continuity or improper voltage, carefully double-check all the connections and make necessary adjustments or repairs. Consult a licensed electrician if you are unsure or if more complex electrical troubleshooting is needed.
7. Document and label connections: Once the electrical connection is tested and verified, carefully document and label the connections for future reference. This will make it easier to troubleshoot or make any modifications in the future.
By thoroughly testing the electrical connection, you can ensure that your wire installation is functioning safely and properly. Taking the time to conduct this final step will provide peace of mind and ensure the longevity and reliability of the electrical system.
Conclusion
Running electrical wire under a concrete driveway may seem like a daunting task, but with careful planning and the right techniques, it can be accomplished successfully. By following the steps outlined in this guide, you can ensure a safe and efficient installation process.
From determining the route and preparing the driveway to digging trenches, laying conduit or cable, securing the components, backfilling, and testing the electrical connection, each step is crucial for a successful installation. It is important to pay attention to detail, follow local building codes, and consult a licensed electrician when necessary.
Remember to prioritize safety throughout the entire process. Wear appropriate protective gear, turn off the power before working with electrical connections, and use caution when using tools or equipment. If you are unsure about any step or encounter any difficulties, seek guidance from professionals.
By properly running electrical wire under a concrete driveway, you can enhance the functionality and aesthetics of your outdoor spaces. Whether you are installing outdoor lighting, a security system, or any other electrical component, a seamless and well-planned installation under the driveway can provide convenience and peace of mind.
Take the time to plan the route, gather the necessary tools and materials, and follow the step-by-step instructions provided. With diligence and attention to detail, you can successfully run electrical wire under a concrete driveway and enjoy the benefits of a well-connected outdoor electrical system.
Ready to spruce up your living space? Delve into our guide on choosing home renovation essentials with a look at the top hardwood floors. If DIY projects excite you, don't miss our insights on DIY home improvement techniques that can transform your home without breaking the bank. For those tackling outdoor upgrades, our detailed advice on underground wiring options ensures your landscape lighting and outdoor power needs are met safely and effectively. Let these articles guide your next home project, ensuring success every step of the way!
Frequently Asked Questions about How To Run Electrical Wire Under Concrete Driveway
Was this page helpful?
At Storables.com, we guarantee accurate and reliable information. Our content, validated by Expert Board Contributors, is crafted following stringent Editorial Policies. We're committed to providing you with well-researched, expert-backed insights for all your informational needs.


0 thoughts on “How To Run Electrical Wire Under Concrete Driveway”