Home>Articles>How To Water Bath Can In An Electric Pressure Cooker
Articles
How To Water Bath Can In An Electric Pressure Cooker
Modified: August 17, 2024
Learn how to water bath can articles in an electric pressure cooker with our step-by-step guide. Preserve your favorite pieces with ease and efficiency.
(Many of the links in this article redirect to a specific reviewed product. Your purchase of these products through affiliate links helps to generate commission for Storables.com, at no extra cost. Learn more)
Introduction
Water bath canning is a popular preservation method that allows you to safely store and enjoy your favorite fruits, vegetables, and other foods for months or even years to come. Traditionally, this method involves heating jars of food in a large pot of boiling water for a specified period of time. However, with the rising popularity of electric pressure cookers, you can now use this versatile kitchen appliance for water bath canning as well.
In this article, we will explore the process of water bath canning in an electric pressure cooker, highlighting the benefits and providing step-by-step instructions to help you get started.
Water bath canning offers many advantages, including:
- Preservation: Water bath canning creates a vacuum seal that prevents the growth of bacteria, molds, and yeasts, ensuring the long-term preservation of your canned food.
- Accessibility: With an electric pressure cooker, you can easily regulate the temperature and maintain consistent heat during the canning process.
- Efficiency: Using an electric pressure cooker cuts down on the time needed for water bath canning, allowing you to process larger quantities of food in a shorter period of time.
- Versatility: An electric pressure cooker can be used for a variety of cooking methods, making it a versatile tool in the kitchen.
Before we dive into the details of water bath canning in an electric pressure cooker, let’s take a look at the equipment and supplies you’ll need to get started.
Key Takeaways:
- Water bath canning in an electric pressure cooker offers convenience, efficiency, and precise temperature control, making it an accessible method for preserving high-acid foods with ease and confidence.
- Following reliable recipes, proper sterilization, and adherence to recommended processing times are essential for successful water bath canning, ensuring the safety and quality of preserved foods for long-term enjoyment.
What is water bath canning?
Water bath canning is a method of preserving food by submerging jars filled with food in boiling water for a specific period of time. This process creates a vacuum seal that helps to prevent the growth of bacteria and spoilage, allowing you to safely store your homemade jams, pickles, and other preserves.
This method is typically used for high-acid foods, such as fruits, tomatoes, and pickles, as the acidity helps to inhibit the growth of bacteria. It is not suitable for low-acid foods, such as meat or vegetables with a pH level higher than 4.6, as these require pressure canning to reach the necessary temperature for safe preservation.
The water bath canning process involves several key steps:
- Preparing the jars: Before starting the canning process, it’s important to thoroughly clean the jars and lids. Inspect them for any cracks or imperfections that could prevent a proper seal.
- Filling the jars: Once the jars are prepared, you can fill them with your chosen food. It’s important to leave the appropriate amount of headspace to allow for expansion during processing.
- Processing the jars: The filled jars are then placed in a large pot of boiling water and processed for a specific period of time, depending on the recipe and the altitude at which you are canning.
- Removing the jars: After the processing time is complete, the jars are carefully removed from the boiling water and placed on a towel or cooling rack to cool down.
- Cooling and storing the jars: As the jars cool, a vacuum seal is formed, indicated by a popping sound as the lids depress. The jars can then be stored in a cool, dark place for long-term preservation.
Water bath canning is a tried and true method for preserving fruits, vegetables, and other high-acid foods. It allows you to enjoy the flavors of the season all year round, while also reducing food waste by extending the shelf life of perishable produce.
In the next section, we will explore why using an electric pressure cooker for water bath canning can be beneficial.
Why use an electric pressure cooker for water bath canning?
Electric pressure cookers have become increasingly popular in kitchens around the world for their versatility and convenience. While they are primarily known for their ability to cook food quickly under high pressure, they can also be used for water bath canning. Here are a few reasons why using an electric pressure cooker for water bath canning may be beneficial:
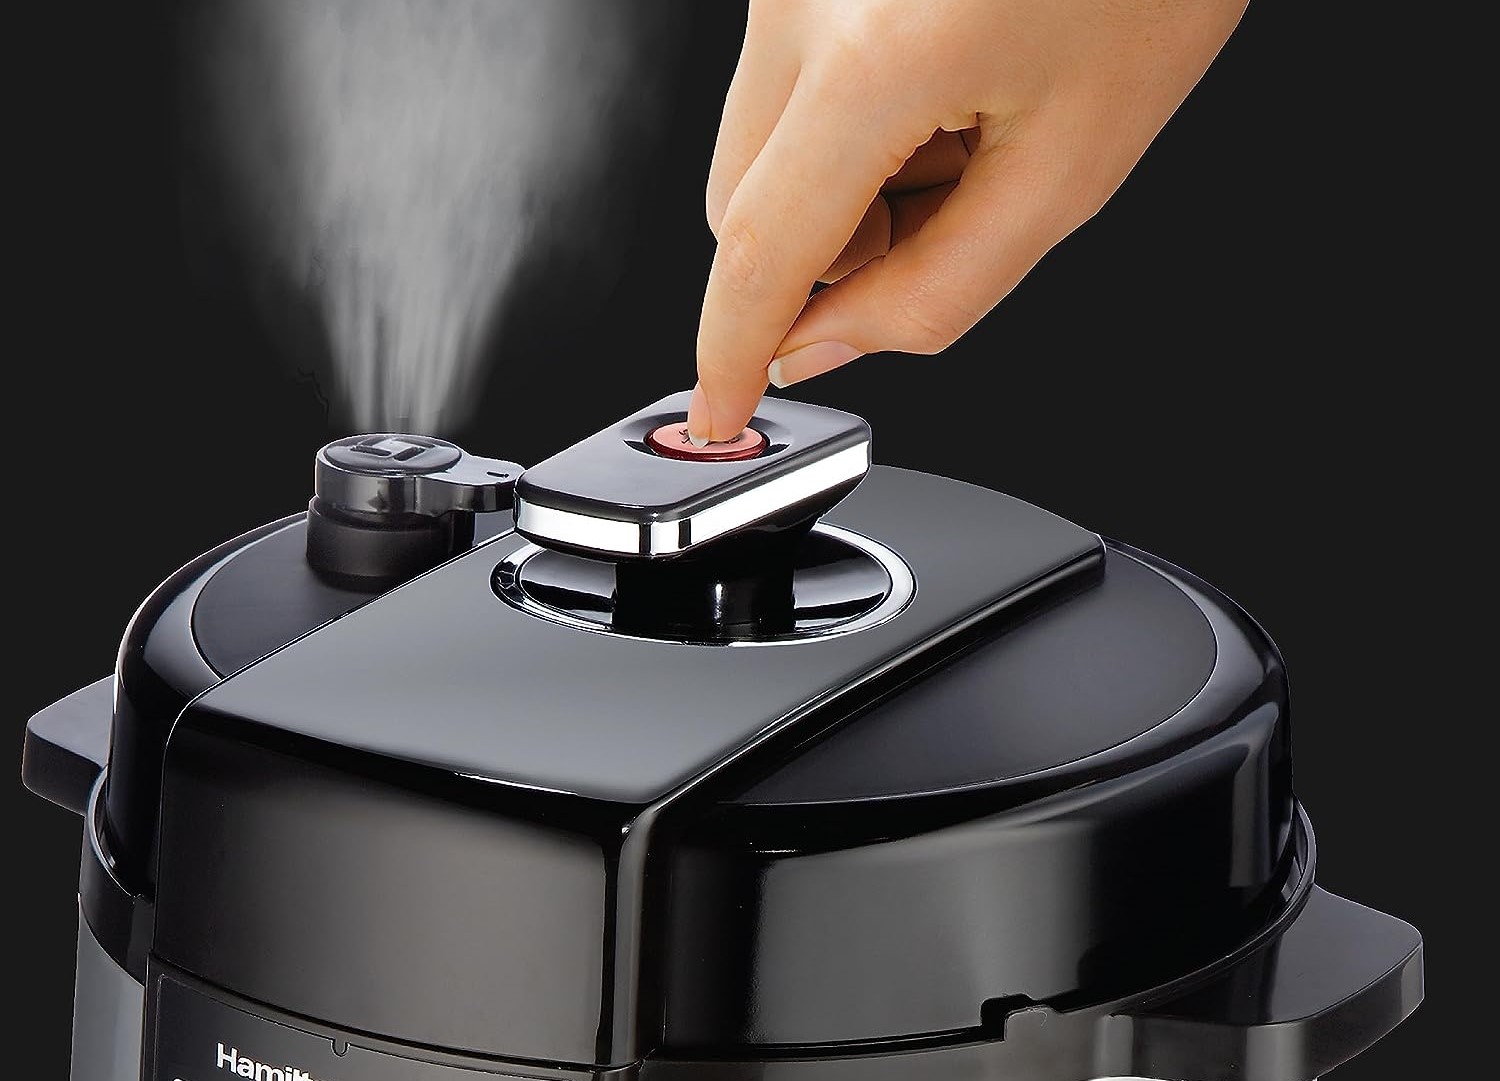
1. Temperature control: Electric pressure cookers have precise temperature controls that allow you to maintain a consistent and accurate temperature during the canning process. This is crucial for successful water bath canning, as the food needs to reach a specific temperature for a designated amount of time to ensure proper preservation and safety.
2. Time efficiency: Electric pressure cookers are designed to cook food faster than traditional stovetop methods. This means that the water bath canning process can be completed in less time compared to using a regular pot on the stove. This is particularly beneficial when canning large batches of food or if you have limited time available.
3. Ease of use: Electric pressure cookers are designed with user-friendly interfaces and preset programs that make water bath canning a breeze. Many models have pre-programmed canning functions that take the guesswork out of determining the correct processing time and temperature for various types of food.
4. Versatility: In addition to water bath canning, electric pressure cookers offer a wide range of cooking functions. You can use them for pressure canning, slow cooking, sautéing, steaming, and more. This versatility means you can make use of your electric pressure cooker for various cooking and preserving needs, making it a versatile and cost-effective kitchen appliance.
5. Safety features: Electric pressure cookers come equipped with advanced safety features, such as pressure sensors, locking lids, and automatic shut-off functions. These features ensure that the canning process is carried out safely, minimizing the risks associated with traditional stovetop canning methods.
While using an electric pressure cooker for water bath canning offers several advantages, it’s important to note that not all electric pressure cookers are suitable for this purpose. Before attempting water bath canning in your electric pressure cooker, check the manufacturer’s guidelines and ensure that your specific model is approved for canning.
In the next section, we will discuss the equipment and supplies you will need to successfully perform water bath canning in an electric pressure cooker.
Equipment and supplies needed
Before you begin water bath canning in an electric pressure cooker, it’s important to gather the necessary equipment and supplies. Here are the essential items you’ll need:
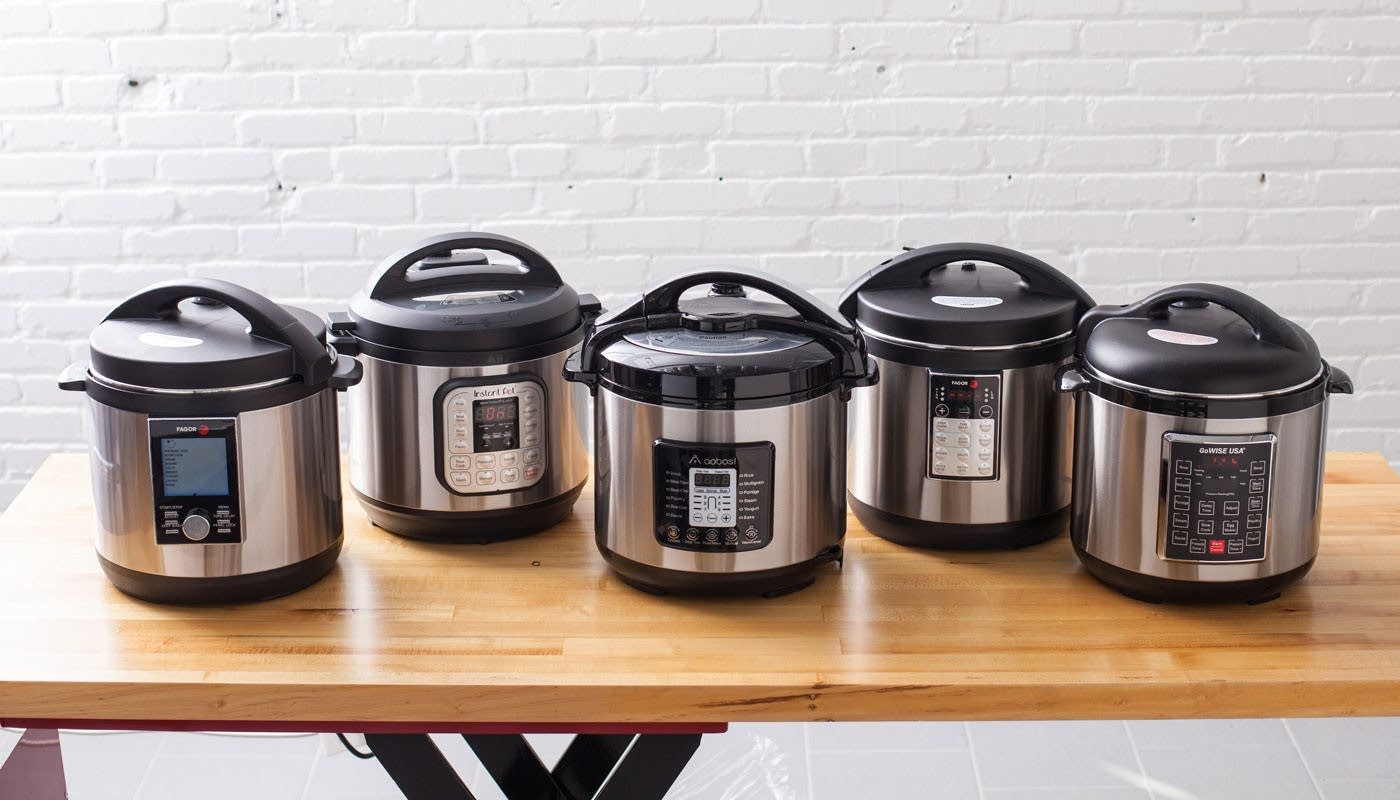
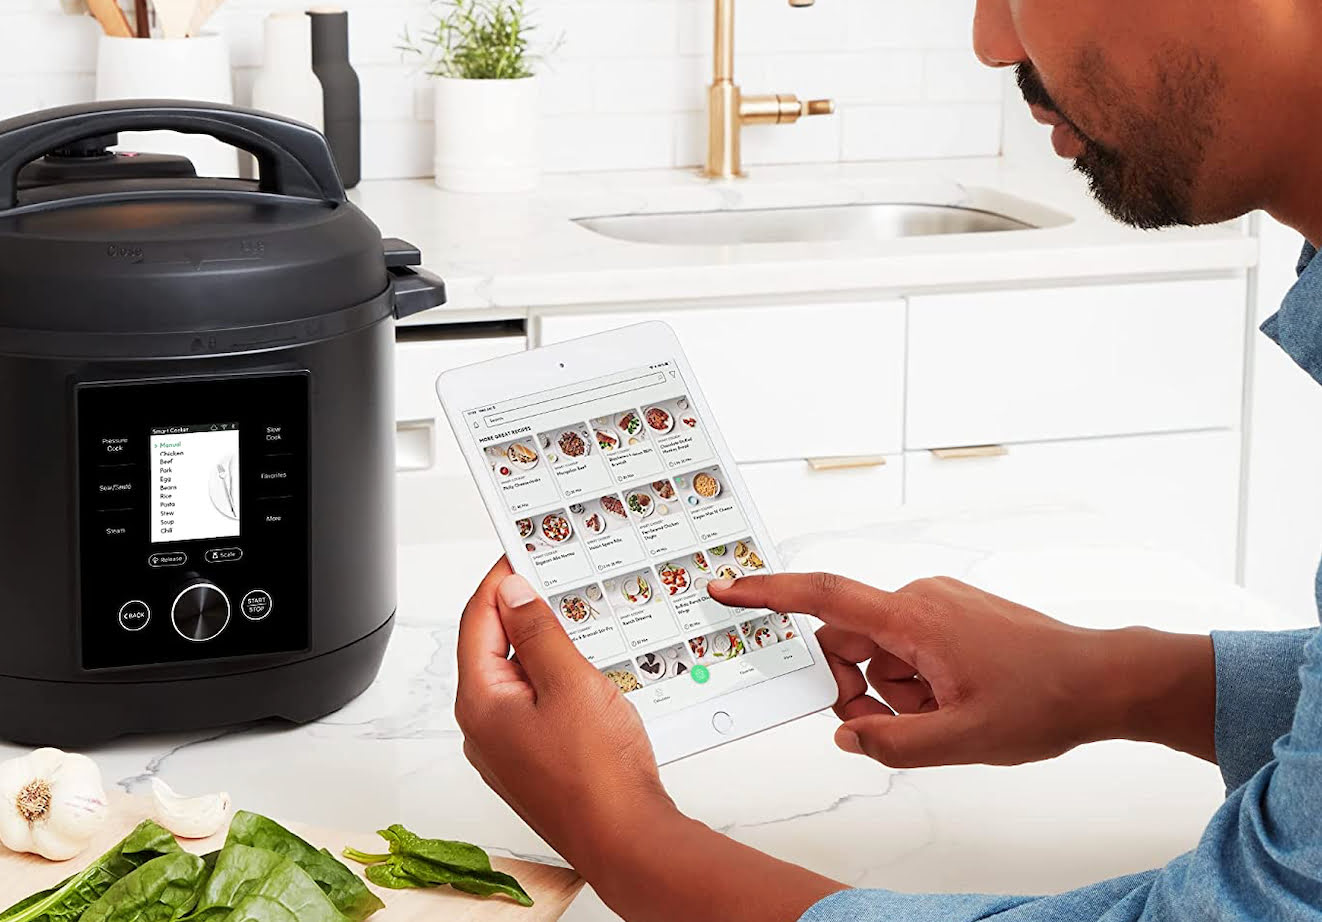
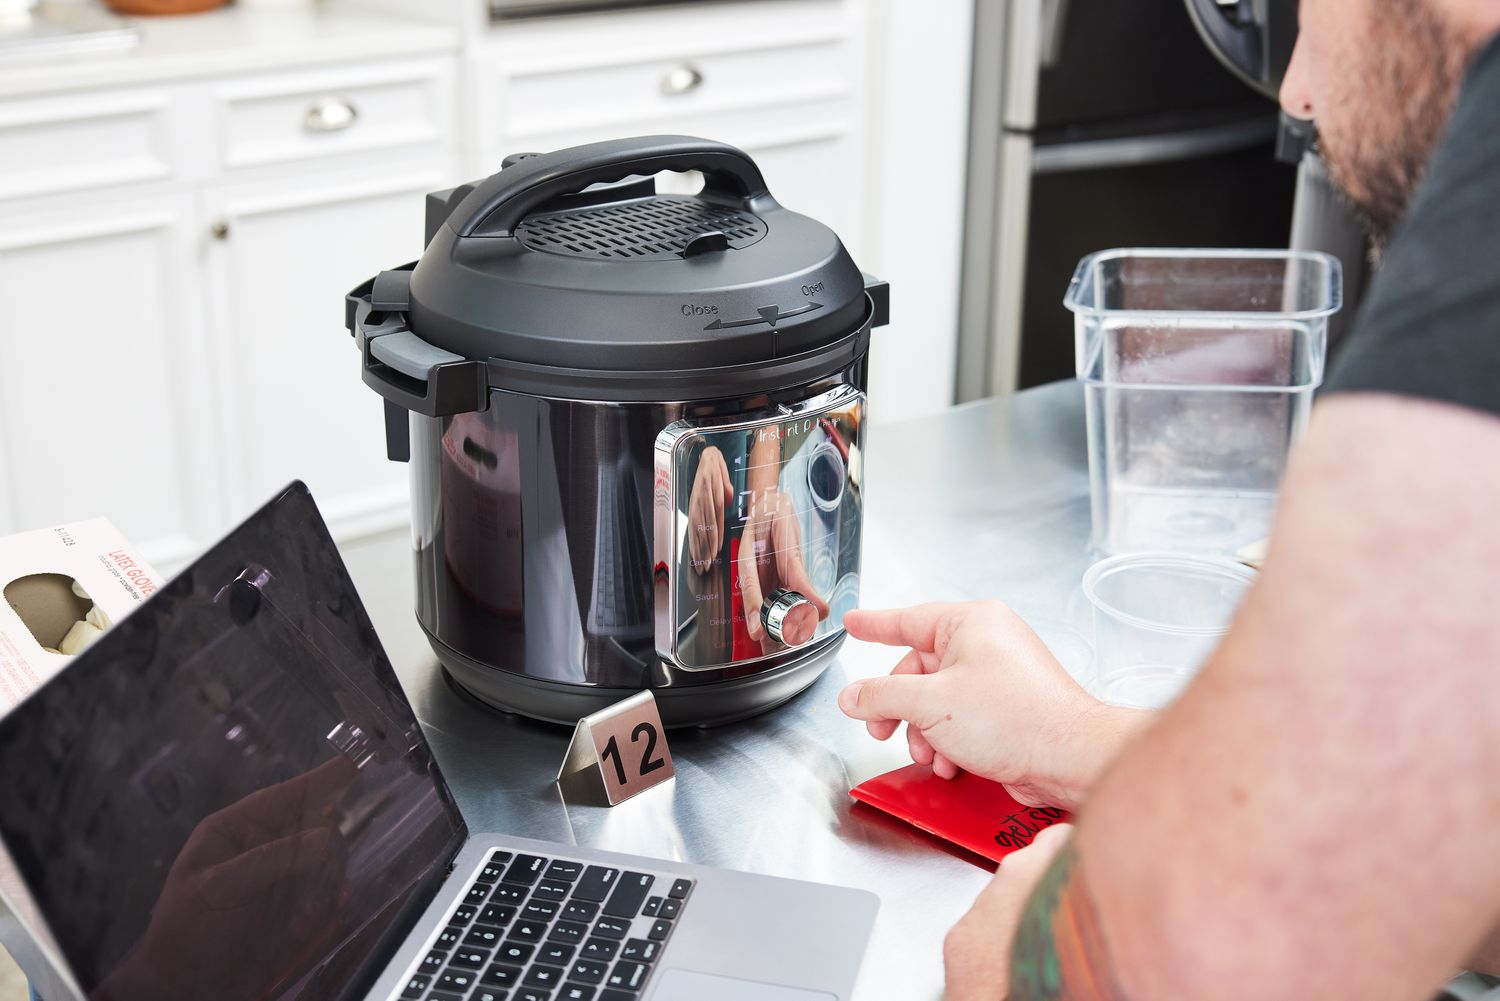
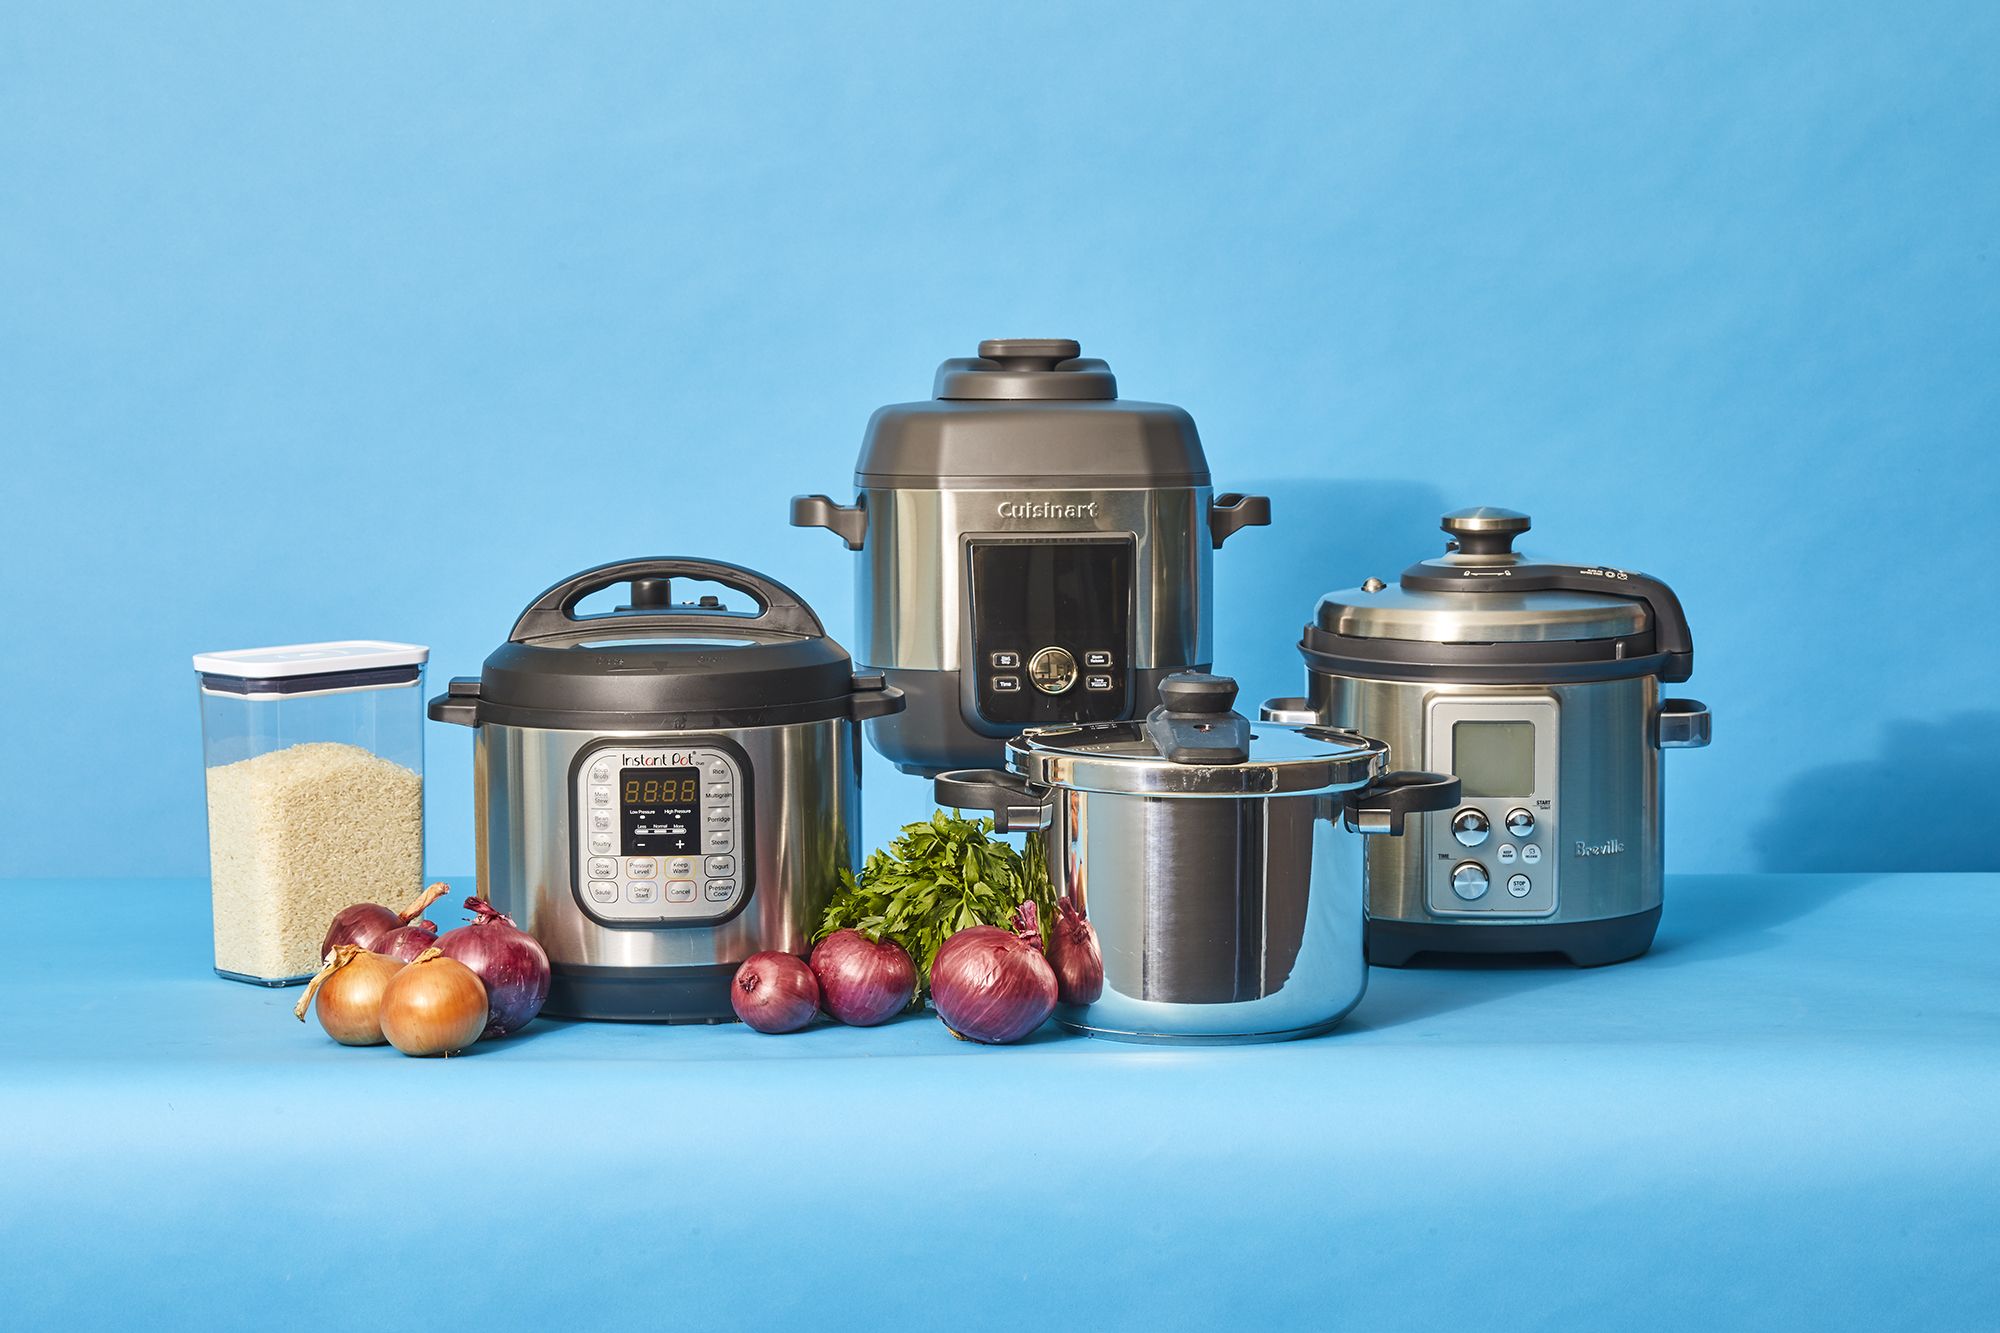
- Electric pressure cooker: Choose an electric pressure cooker that is approved for canning. Look for models that specifically mention water bath canning as one of their functions. Ensure that the pressure cooker has a wide enough diameter to accommodate your canning jars.
- Canning jars: Select jars made specifically for canning, such as Mason jars or Ball jars. These jars are designed to withstand the high temperatures and pressure changes during the canning process. Choose jars with appropriate sizes for your intended recipes.
- Lids and bands: For each jar, you will need a corresponding lid and band. Lids should be new or in excellent condition to ensure a proper seal. Bands can be reused as long as they are still in good condition.
- Canning rack: A canning rack is used to elevate the jars off the bottom of the pressure cooker and prevent them from direct contact with the heat source. This helps to promote even heat distribution and minimize the risk of jars breaking during processing.
- Jar lifter: A jar lifter is a special tool designed to safely lift hot jars in and out of the electric pressure cooker. It has gripping tongs that securely hold the jars without causing damage or risking burns.
- Funnel: A canning funnel is helpful for filling the jars with hot food and avoiding spills or contamination. Look for a funnel that fits the mouth of your canning jars to ensure a smooth and precise pouring process.
- Measuring tools: Accurate measurements are essential for successful canning. Have measuring cups and spoons on hand to measure ingredients, such as sugar or vinegar, in your recipes.
- Clean kitchen towels: Have a stash of clean kitchen towels ready for various purposes during the canning process, such as wiping jar rims and ensuring a tight seal.
- Other miscellaneous items: Depending on your specific recipes, you may also require additional items like a bubble remover, a non-metallic spatula for removing air bubbles, a magnetic lid lifter for lifting and placing lids, and a kitchen timer or smartphone timer to keep track of processing times.
Before you start water bath canning, make sure to thoroughly read the instruction manual provided with your electric pressure cooker as well as any additional guidelines for canning in it. Now that you have all the necessary equipment and supplies ready, let’s move on to the step-by-step instructions for water bath canning in an electric pressure cooker.
Step-by-step instructions for water bath canning in an electric pressure cooker
Water bath canning in an electric pressure cooker is a straightforward process once you have the necessary equipment and supplies ready. Follow these step-by-step instructions to successfully preserve your favorite foods:
- Prepare the jars and lids: Wash the canning jars, lids, and bands in hot, soapy water and rinse them well. Inspect each jar for any cracks or chips. Place the jars, lids, and bands in a large pot and cover them with water. Bring the water to a gentle boil and let them simmer for about 10 minutes to sterilize them. Keep them in hot water until ready for use.
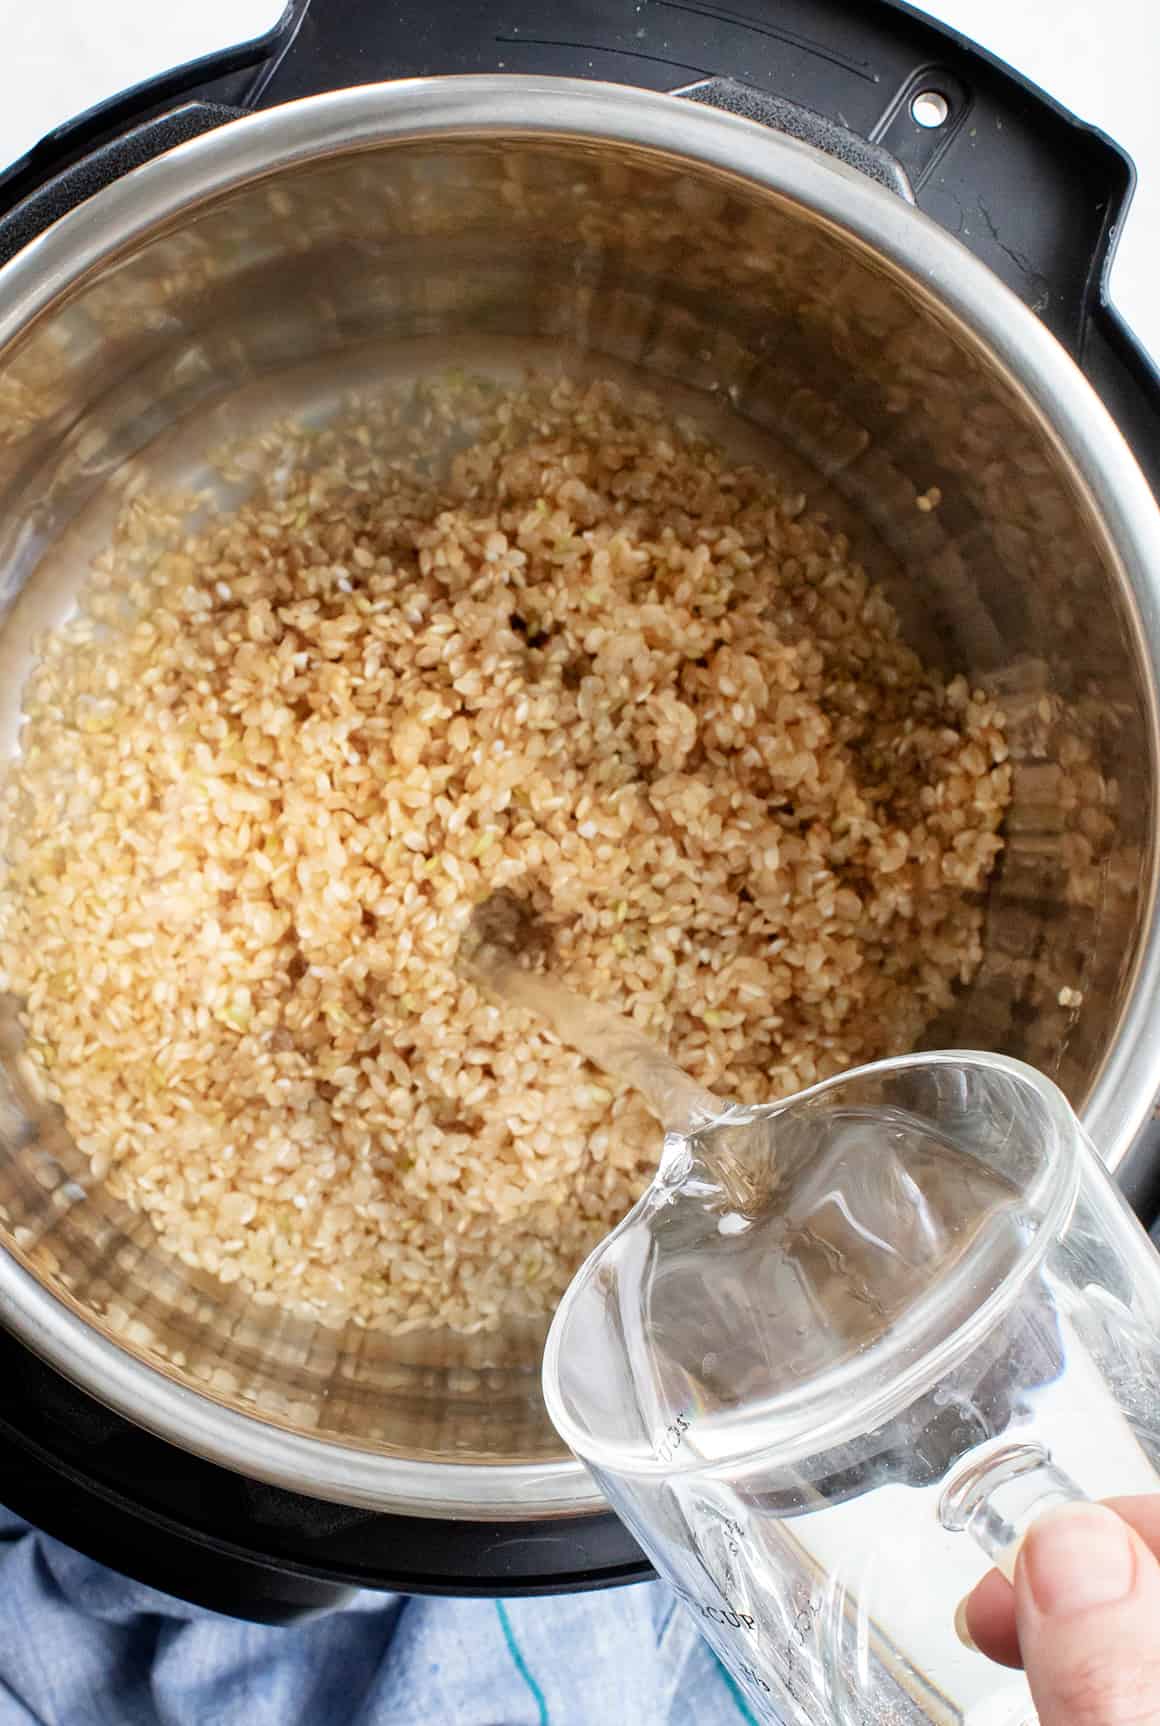
- Prepare the electric pressure cooker: Fill the electric pressure cooker with enough water to cover the jars by at least one inch. Place the canning rack on the bottom of the pressure cooker. Set the lid aside for now.
- Fill the jars with your chosen food: Carefully remove the hot jars from the pot of water and place them on a heat-resistant surface. Use a funnel to fill each jar with your prepared food, leaving the recommended headspace according to your recipe. Remove any air bubbles by sliding a non-metallic spatula or bubble remover along the inside edge of the jar. Wipe the rim of each jar with a clean, damp cloth to remove any food residue.
- Place the filled jars in the electric pressure cooker: Using a jar lifter, carefully lower the filled jars onto the canning rack inside the pressure cooker. Make sure the jars are not touching each other or the sides of the pressure cooker.
- Process the jars in the electric pressure cooker: Securely place the lid on the pressure cooker and set it to the manual/pressure cook setting. Adjust the time and temperature according to your recipe. The processing time may vary depending on the recipe, altitude, and type of food you are canning. Follow the specific guidelines provided in your recipe or canning guide.
- Release the pressure and remove the jars: When the processing time is complete, carefully release the pressure from the electric pressure cooker according to the manufacturer’s instructions. Once the pressure has been fully released, carefully remove the lid. Lift the jars out of the pressure cooker using the jar lifter and place them on a towel or cooling rack.
- Cool and store the jars: Allow the jars to cool undisturbed for 12 to 24 hours. During this time, you may hear a popping sound as the lids depress, indicating a proper seal. After the cooling period, check the seals by pressing down on the center of each lid. If it stays down and does not flex or move, the jar is properly sealed. Label the sealed jars with the date and store them in a cool, dark place for long-term storage.
Following these step-by-step instructions will help you successfully water bath can your favorite foods in an electric pressure cooker. Remember to consult a reliable canning resource or recipe for specific processing times and guidelines based on the type of food you are canning.
In the next section, we will discuss how to properly prepare the jars and lids for water bath canning.
Read more: How To Can With An Electric Pressure Cooker
Preparing the jars and lids
Properly preparing the jars and lids is an essential step in water bath canning to ensure the safety and longevity of your preserved foods. Follow these steps to prepare your jars and lids:
- Wash the jars: Thoroughly wash the canning jars, lids, and bands in hot, soapy water. Pay close attention to the rims of the jars and ensure they are free of any residue or debris. Rinse the jars and lids well to remove all soap residue.
- Inspect the jars: Inspect each jar for any cracks, chips, or imperfections. A damaged jar can compromise the seal and safety of your canned food. If you find any defective jars, set them aside and replace them with new ones.
- Sterilize the jars and lids: To sterilize the jars and lids, there are a few methods you can use:
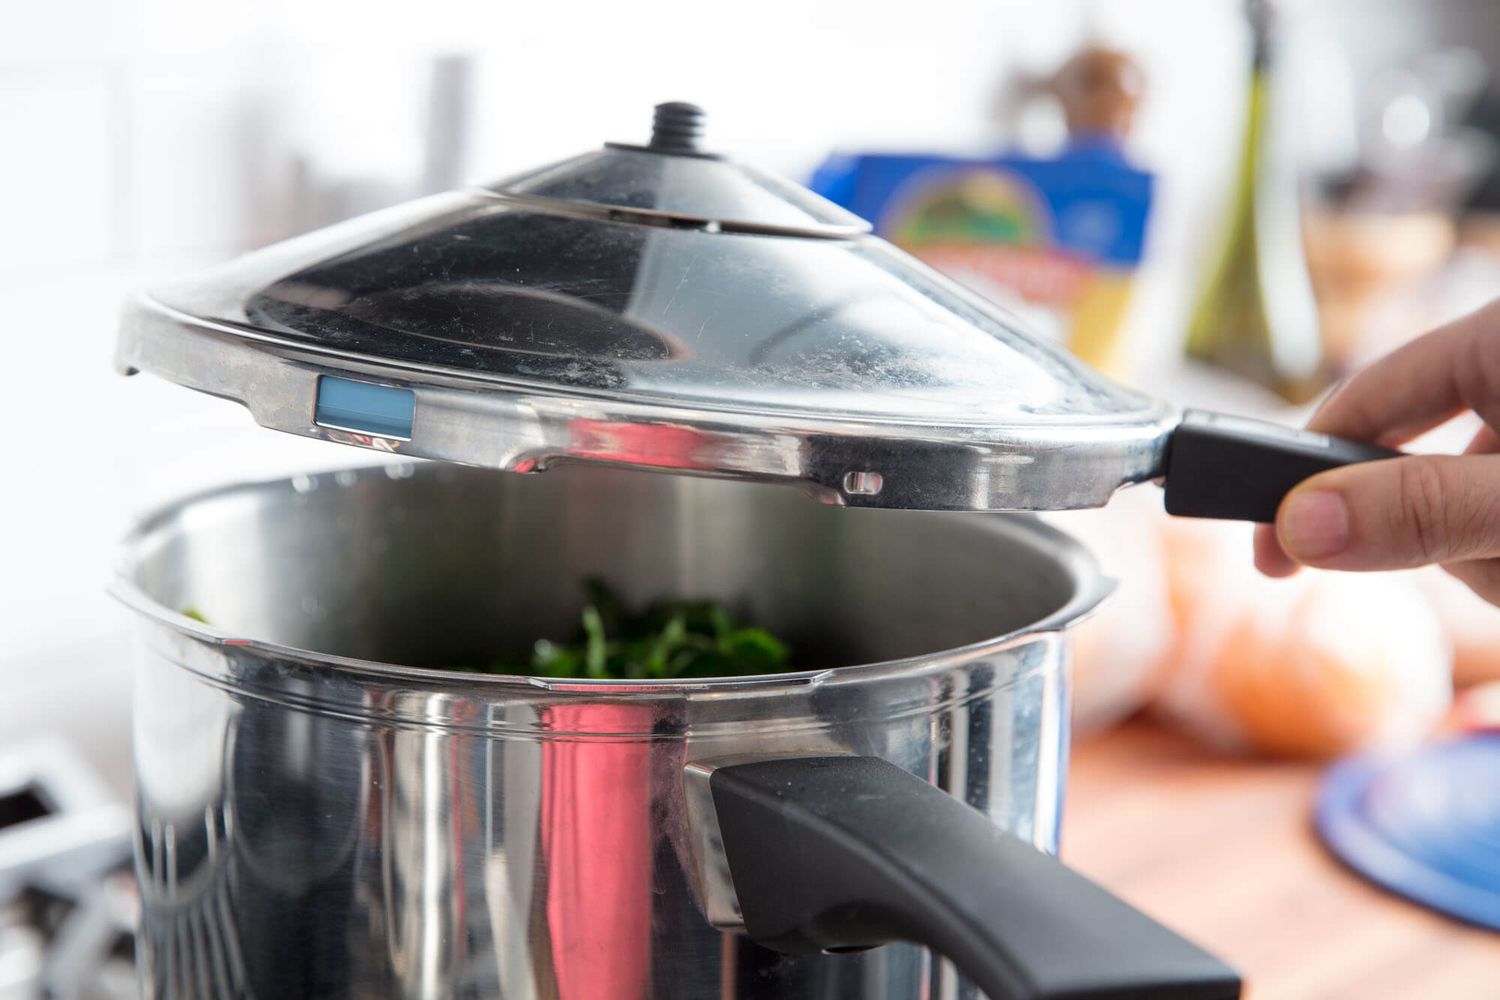
- Boiling water method: Place the jars, lids, and bands in a large pot and cover them with water. Bring the water to a gentle boil and let them simmer for about 10 minutes. Keep them in hot water until you are ready to use them. Be mindful of the material of the lids—if using metal lids with rubber gaskets, keep them separate from the boiling water and sanitize them by pouring boiling water over them.
- Dishwasher method: If your dishwasher has a sanitizing or high-temperature setting, you can use it to sterilize the jars and lids. Check the manufacturer’s guidelines for your specific dishwasher model, as temperatures may vary. Place the jars and lids in the dishwasher and run a sanitizing or high-temperature cycle.
- Oven method: Preheat your oven to 225°F (107°C). Place the jars, lids, and bands on a baking sheet and place them in the oven for about 15 minutes to sterilize. Be cautious when handling hot glass jars.
- Keep the jars and lids hot: While you prepare the food for canning, keep the sterilized jars, lids, and bands in hot water or leave them in the sterilizing cycle of your dishwasher. This helps maintain their temperature and prevents thermal shock when you add the hot food to the jars.
- Inspect the lids and bands: Before using the lids and bands, check the rubber gaskets on the lids for any cracks or damage. Ensure the bands are free of rust and in good condition. If you notice any issues, replace them with new lids and bands.
- Use the jars promptly: It is important to use the sterilized jars and lids promptly after they have been prepared. If the jars and lids become cold or cool down significantly, they may not form a proper seal when processed, jeopardizing the safety and quality of your canned food.
By following these steps to properly prepare your jars and lids, you can ensure a clean and sanitized environment for your water bath canning process. This step is crucial in preventing contamination and ensuring the longevity of your preserved foods.
In the next section, we will discuss the proper filling process for the jars during water bath canning.
Filling the jars with your chosen food
Once you have your jars and lids prepared, it’s time to fill them with your chosen food for water bath canning. Follow these steps to ensure proper filling and maximize the quality of your preserved goods:
- Prepare the food: Wash, peel, and chop or slice the produce according to your recipe. Follow any specific instructions for blanching, cooking, or preparing the food before canning.
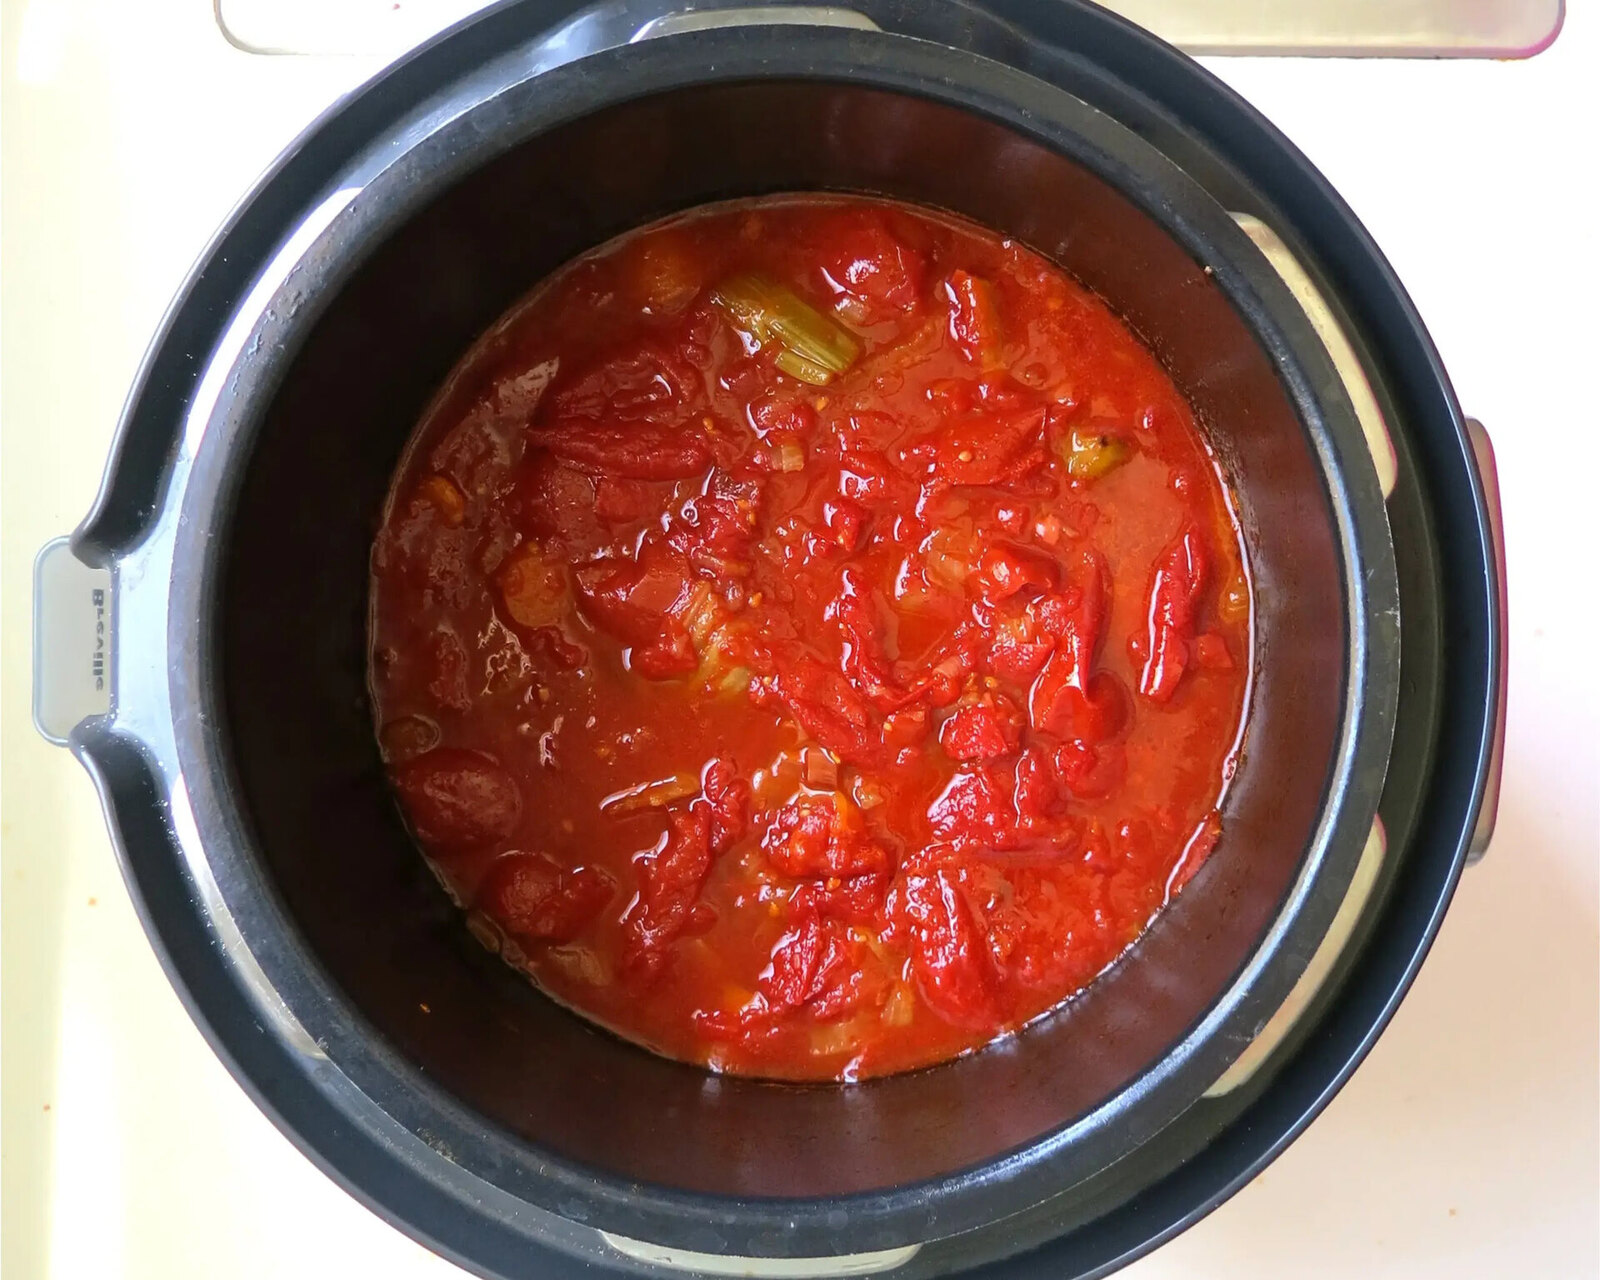
- Heat the food: In a separate pot, heat the food you’ll be canning. This can be done by simmering or gently cooking the ingredients until they are heated through. Ensure that the food is hot or boiling when it’s time to fill the jars.
- Ensure proper headspace: Each recipe may have different guidelines for headspace, which is the space between the top of the food and the rim of the jar. Follow the specific recipe instructions to determine the correct headspace needed for your particular food. Generally, most recipes require leaving around ½-inch to 1-inch of headspace to allow for expansion during processing.
- Fill the jars: Using a canning funnel, carefully ladle or pour the hot food into the sterilized jars, leaving the recommended headspace. Avoid filling the jars too full, as this can hinder the sealing process. Gently tap the jars on a towel or solid surface to remove any trapped air bubbles.
- Wipe the jar rims: Take a clean, damp cloth or paper towel and wipe the rims of the jars to remove any food residue or liquid. This step ensures a clean surface for proper sealing.
- Apply the lids and bands: Remove a lid from the hot water and place it on top of the jar, ensuring that the rubber gasket is facing down and in contact with the jar rim. Secure the lid in place with a band, tightening it just until fingertip tight. Avoid overtightening, as this can impede the sealing process.
- Label the jars: Before placing the filled jars into the pressure cooker, it’s helpful to label them with the contents and the date of canning. This will make it easier to identify the jars later on and ensure that you use them in a timely manner.
By following these steps, you can properly fill your jars with your chosen food and prepare them for the water bath canning process. Remember to carefully follow the headspace recommendations and wipe the jar rims to ensure a clean and secure seal for your canned goods.
In the next section, we will discuss the process of processing the jars in the electric pressure cooker.
Processing the jars in the electric pressure cooker
Once you have filled the jars with your chosen food, it’s time to process them in the electric pressure cooker. Follow these steps to safely and effectively process your jars:
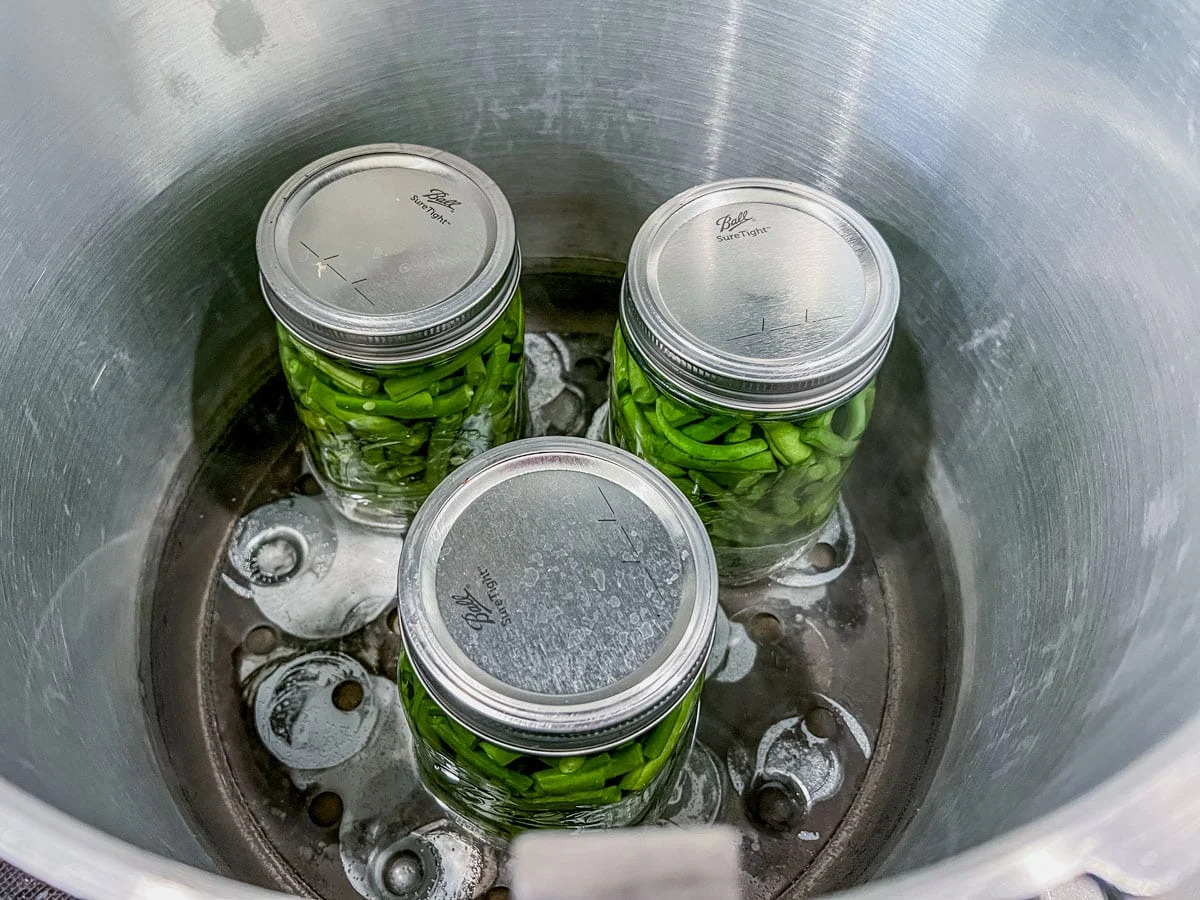
- Prepare the electric pressure cooker: Ensure that the pressure cooker is clean and in good working condition. Pour enough water into the pressure cooker to cover the jars by at least one inch. Be mindful not to exceed the maximum fill line indicated by the manufacturer. Place the canning rack inside the pressure cooker to elevate the jars and prevent direct contact with the heat source.
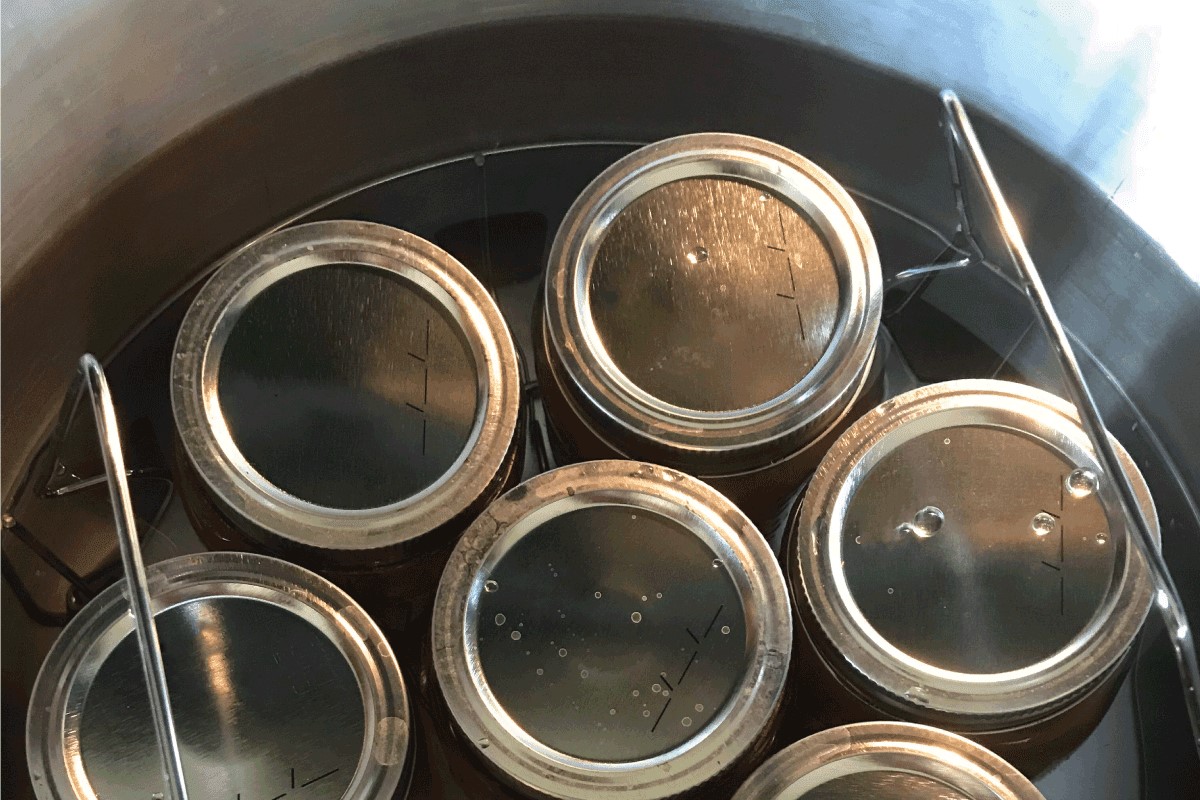
- Arrange the jars in the pressure cooker: Using a jar lifter, carefully lower the filled jars onto the canning rack inside the pressure cooker. Ensure that the jars are upright and not touching each other or the sides of the pressure cooker. Close the lid of the pressure cooker securely.
- Select the appropriate pressure setting: Check your recipe or canning guide for the recommended pressure setting for the specific food you are canning. Most water bath canning recipes require processing at 5 to 10 psi (pounds per square inch). Adjust the pressure according to the recipe instructions.
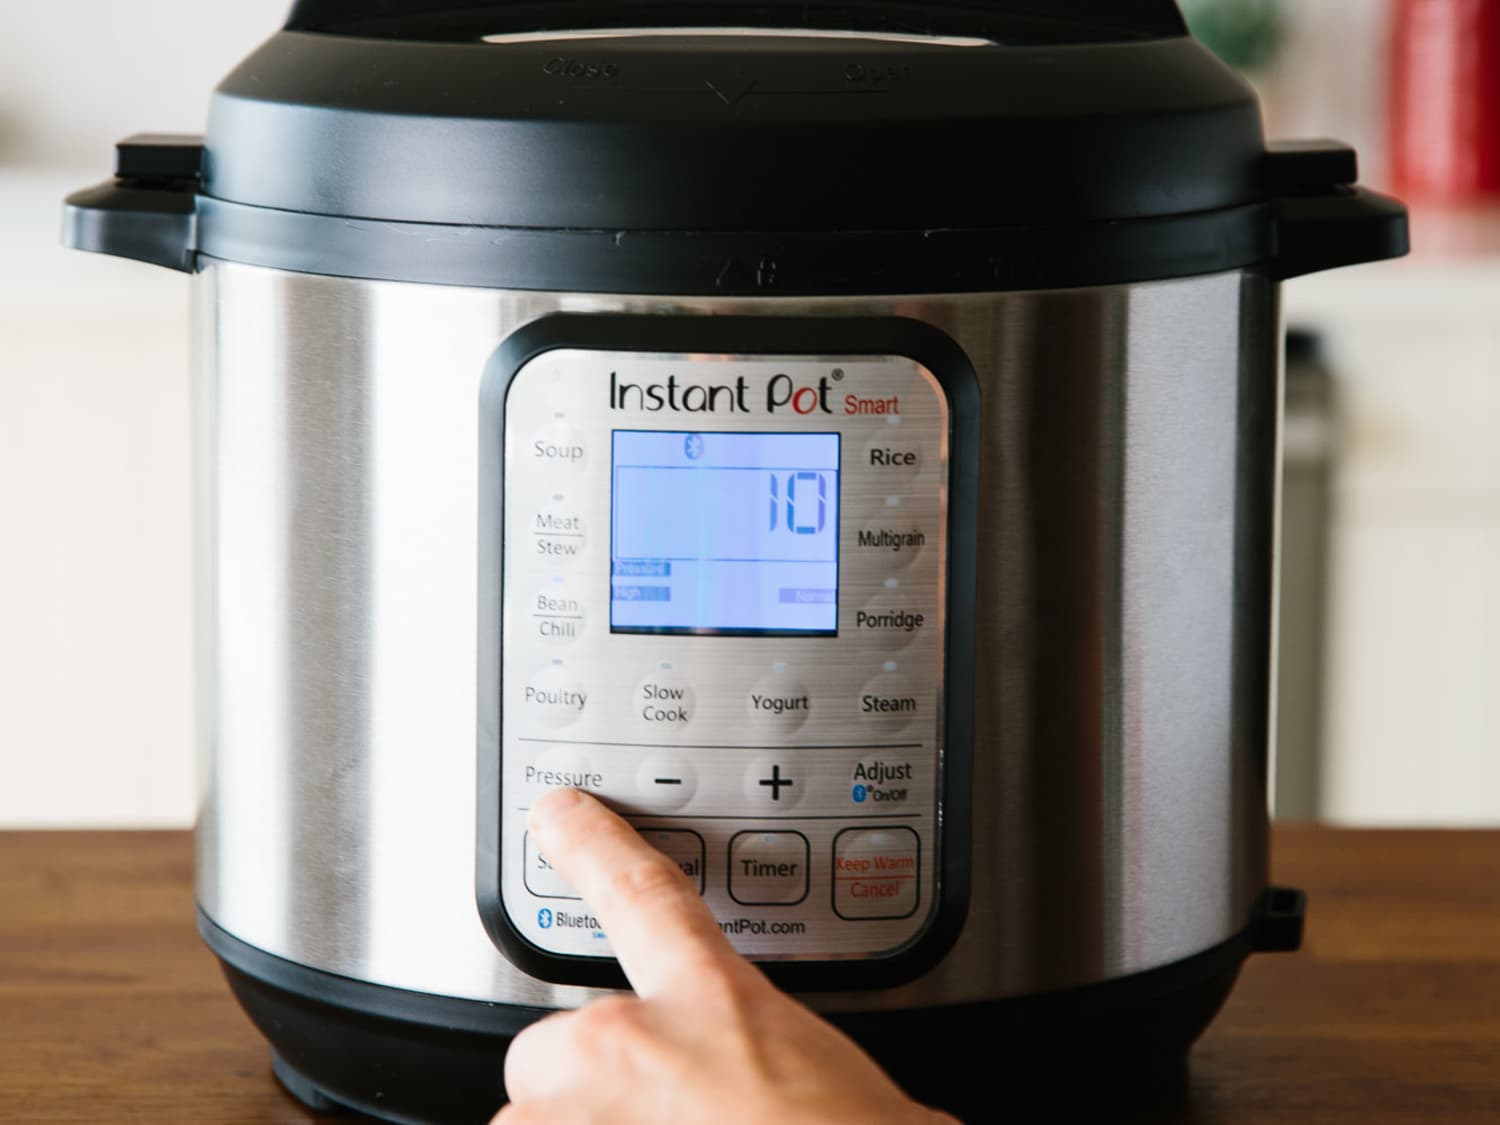
- Start the processing time: Set the electric pressure cooker to the manual/pressure cook setting and adjust the timer according to the recipe guidelines. The processing time will vary depending on the type of food and your altitude. Always refer to a reliable recipe or canning guide to ensure accurate processing times.
- Monitor the pressure cooker: Once the pressure cooker reaches the desired pressure, the processing time begins. It’s important to closely monitor the pressure and temperature during the entire process. Ensure that the pressure is maintained throughout the recommended processing time.
- Release the pressure: When the processing time is complete, carefully release the pressure from the electric pressure cooker according to the manufacturer’s instructions. This may involve a natural release, where you allow the pressure to release on its own, or a quick release, where you manually release the pressure by turning the pressure release valve.
- Open the pressure cooker: Once the pressure has been fully released, carefully open the lid of the electric pressure cooker, taking caution to avoid any escaping steam. Use a jar lifter to remove the hot jars from the pressure cooker and place them on a towel or cooling rack.
It’s important to note that the processing time and pressure may vary depending on the recipe and your specific electric pressure cooker model. Always refer to reliable canning resources or trusted recipes to determine the appropriate processing parameters for your particular food.
In the next section, we will discuss how to properly remove the jars from the electric pressure cooker after processing.
When water bath canning in an electric pressure cooker, make sure to use a rack to elevate the jars off the bottom and always follow a tested recipe for proper processing times.
Removing the jars from the electric pressure cooker
Once the processing time is complete and the pressure has been released, it’s time to carefully remove the jars from the electric pressure cooker. Follow these steps to safely handle the hot jars:
- Turn off the heat: Ensure that the heat source of the electric pressure cooker is turned off or unplugged to avoid any accidental burns.
- Use a jar lifter: Using a jar lifter, carefully lift each jar out of the electric pressure cooker one at a time. Be mindful of hot steam that may escape when removing the jars, and avoid tilting the jars excessively to prevent any spills or burns.
- Place the jars on a towel or cooling rack: Set the hot jars on a clean kitchen towel or a cooling rack. Avoid placing the jars directly on a cold or wet surface, as this may cause thermal shock and lead to jar breakage.
- Avoid touching the lids: It’s important to resist the urge to touch or press down on the lids at this stage. Let the jars sit undisturbed as they cool down gradually.
- Leave the jars undisturbed: Allow the jars to completely cool for 12 to 24 hours. During this time, you may hear popping sounds as the lids depress, indicating the formation of a proper seal. Avoid moving or tilting the jars during this cooling period to prevent any disruption of the sealing process.
- Check the seal: After the cooling period, carefully check the seals on the lids by pressing down on the center of each lid. If the lid is firm and does not flex or move, the jar is properly sealed. Any unsealed jars should be refrigerated immediately and consumed within a few days.
- Label and store the jars: Once you have confirmed that all the jars are properly sealed, label them with the type of food and the date of canning. Store the jars in a cool, dark place away from direct sunlight. Properly sealed jars can be stored for up to a year or as recommended in specific recipes.
Removing the jars from the electric pressure cooker safely and allowing them to cool undisturbed is important for the proper sealing and preservation of your canned foods. Remember to thoroughly check the seals before storing the jars, and discard any unsealed jars or those with signs of spoilage.
In the next section, we will discuss the importance of cooling and storing the jars after water bath canning.
Read more: How To Can Salsa In Electric Pressure Cooker
Cooling and storing the jars
After water bath canning and successfully removing the jars from the electric pressure cooker, it’s crucial to properly cool and store them. Follow these steps to ensure the safety and longevity of your preserved foods:
- Allow the jars to cool undisturbed: Once you have removed the jars from the pressure cooker, place them on a towel or cooling rack and let them cool undisturbed for 12 to 24 hours. During this time, you may hear popping sounds as the lids depress, indicating a proper seal. Avoid moving or tilting the jars during the cooling process to allow for proper sealing.
- Check the seals: After the cooling period, check the seals on the lids by pressing down on the center of each lid. If the lid is firmly sealed and does not flex or move, the jar is properly sealed. Any unsealed jars should be refrigerated immediately and consumed within a few days.
- Remove the bands: Once the jars have cooled and the seals have been confirmed, it is recommended to remove the bands from the jars. This prevents rusting and allows you to easily identify any jars that may have not sealed properly. However, it’s important to note that the bands can be left on if desired, as they do not affect the sealing process.
- Label the jars: Using adhesive labels or a permanent marker, label each jar with the type of food and the date it was canned. This makes it easier to identify and use the jars in the future, ensuring that you consume them within the recommended timeframe.
- Store the jars: Find a cool, dark, and dry place in your home to store the jars. Ideally, the temperature should remain relatively constant, avoiding extreme heat or temperature fluctuations. A cellar, pantry, or cupboard away from direct sunlight are ideal storage locations.
- Avoid unnecessary movement: Once the jars are properly sealed and stored, avoid unnecessary movement or jostling. Excessive movement can disrupt the seal or cause the food to spoil. Handle the jars with care when retrieving them from storage and use caution when moving them.
- Monitor the stored jars: Regularly check the stored jars for any signs of spoilage, such as bulging lids, mold growth, or off-putting odors. If you notice any abnormalities, immediately discard the contents and thoroughly clean the jar.
Properly cooling and storing your water bath canned jars is essential for maintaining the quality and safety of your preserved foods. By following these steps, you can enjoy your homemade preserves for months or even years to come.
In the next section, we will discuss important safety precautions and provide additional tips for water bath canning in an electric pressure cooker.
Safety precautions and tips
Water bath canning in an electric pressure cooker requires careful attention to ensure the safety and quality of your preserved foods. Here are some important safety precautions and additional tips to keep in mind:
- Follow reliable recipes and guidelines: Always use trusted recipes and follow reputable canning guidelines from reliable sources, such as the National Center for Home Food Preservation or respected canning books. These resources provide tested recipes and safe canning methods to prevent foodborne illnesses.
- Use suitable jars and lids: Use canning jars specifically designed for water bath canning. Ensure that the jars and lids are in good condition, without cracks or chips. Use new lids for each batch of canning to ensure proper sealing.
- Measure accurately: Follow the recipe instructions and measure ingredients accurately to maintain the correct balance of acidity and other components necessary for safe canning. Inaccurate measurements can affect the pH levels and lead to spoilage or bacterial growth.
- Properly sterilize jars and lids: Thoroughly sterilize the jars and lids before filling them with food. This prevents harmful bacteria from contaminating your preserved goods. Use boiling water, the dishwasher sanitizing setting, or the oven method to sterilize the jars and lids.
- Ensure adequate processing time and pressure: Follow the recommended processing time and pressure specified in your recipe. This ensures that the food is heated to the appropriate temperature for safe preservation. Adjust the processing time for your altitude if necessary.
- Allow for proper headspace: Leave the recommended headspace in each jar to allow for expansion of the food during processing. This helps to prevent liquid overflow and promotes a strong seal.
- Do not over-tighten the lids: Tighten the lids fingertip tight—just enough to hold them in place. Over-tightening can prevent air from escaping during processing and may lead to failed seals.
- Do not disturb the cooling jars: After processing, let the jars cool undisturbed for the recommended time. Moving or tilting the jars can disrupt the sealing process and compromise the safety of your preserved foods.
- Regularly check the seals: Once the jars have cooled, check the seals by pressing down on the center of the lids. A properly sealed jar will not flex or move. Any unsealed jars should be refrigerated and consumed promptly.
- Discard spoiled or unsealed jars: Dispose of any jars with bulging lids, signs of mold growth, or off-putting odors. These are indications of food spoilage, and consuming the contents can be hazardous to your health.
- Label and date your jars: Properly label each jar with the contents and the date it was canned. This helps you keep track of the freshness and rotation of your preserved foods.
By following these safety precautions and tips, you can ensure the success and safety of your water bath canning in an electric pressure cooker. Always prioritize food safety and refer to reputable sources for up-to-date guidelines and advice.
Now that you are equipped with comprehensive knowledge, you can confidently embark on water bath canning in your electric pressure cooker. Happy preserving!
Please note that water bath canning is only suitable for high-acid foods. Low-acid foods, such as meats and some vegetables, require pressure canning for safe preservation.
HTML Encoding Validation
Troubleshooting common issues
While water bath canning in an electric pressure cooker is a straightforward process, some common issues may arise. Here are a few troubleshooting tips to help you navigate these challenges:
- Failed seals: If you notice that the lids on your jars do not properly seal after processing, there may be a few reasons. Ensure that the jar rims are clean and free of any food debris. Insufficient headspace or over-tightening the lids can also prevent a proper seal. Refrigerate any unsealed jars and consume them within a few days.
- Cloudy or discolored liquid: Cloudiness or discoloration in the liquid inside the jars can occur due to several factors. It could be a result of minerals in the water used for canning or natural compounds in the food itself. While it may not affect the safety of the food, it’s always recommended to use fresh, high-quality ingredients and to follow proper canning practices.
- Floating food: Certain foods may float to the top of the jar during processing. This can happen if air bubbles are not adequately removed before sealing the jars. To minimize floating, use a non-metallic spatula or bubble remover to release any trapped air bubbles before sealing the jars.
- Insufficient acidity: Water bath canning is only suitable for high-acid foods. If you find that your preserved food is developing signs of spoilage or you are concerned about its acidity level, consider adding lemon juice or vinegar to increase acidity. Follow the recommended guidelines for acidity adjustments in your specific recipes or consult a reliable canning resource.
- Cracked jars: Cracked jars can occur due to high temperatures or rapid changes in temperature. To prevent cracked jars, always use canning jars specifically designed for water bath canning, and handle the jars with care. Avoid placing hot jars directly on cold surfaces, and do not subject them to extreme temperature changes.
Remember, if you encounter any issues or have concerns about the safety or quality of your canned foods, it’s best to err on the side of caution and discard any potentially compromised jars. Prioritizing food safety is essential in water bath canning.
By troubleshooting and addressing these common issues, you can enhance your water bath canning experience and achieve optimal results.
Now that you’re equipped with troubleshooting knowledge, you’re ready to embark on your water bath canning journey. Happy preserving!
HTML Encoding Validation
Conclusion
Water bath canning in an electric pressure cooker is a convenient and efficient method for preserving your favorite fruits, vegetables, and high-acid foods. With precise temperature control and a shorter processing time, an electric pressure cooker can make the canning process easier and more accessible.
In this article, we discussed the steps involved in water bath canning in an electric pressure cooker, including preparing the jars and lids, filling the jars with food, processing the jars, and properly cooling and storing the finished products. We also highlighted important safety precautions and troubleshooting tips to ensure a successful canning experience.
By following reliable recipes, accurately measuring ingredients, properly sterilizing jars and lids, and adhering to recommended processing times, you can confidently preserve your favorite foods for long-term enjoyment. Paying attention to proper headspace, avoiding over-tightening the lids, and conducting regular checks on the seals will help ensure the safety and quality of your canned goods.
Remember, if you encounter any issues or have concerns about the safety or quality of your canned foods, it’s important to prioritize food safety and discard any potentially compromised jars. Always refer to reputable canning resources for guidance and follow best practices.
Water bath canning allows you to extend the shelf life of seasonal produce, capture the flavors of the harvest, and reduce food waste. With an electric pressure cooker, you can now enjoy the benefits of efficient processing times and precise temperature control in your canning kitchen adventures.
So, gather your equipment, select your favorite recipes, and embark on the journey of water bath canning in your electric pressure cooker. Preserve the taste of the season and savor the joy of homemade, shelf-stable goodness all year round!
HTML Encoding Validation
Frequently Asked Questions about How To Water Bath Can In An Electric Pressure Cooker
Was this page helpful?
At Storables.com, we guarantee accurate and reliable information. Our content, validated by Expert Board Contributors, is crafted following stringent Editorial Policies. We're committed to providing you with well-researched, expert-backed insights for all your informational needs.


0 thoughts on “How To Water Bath Can In An Electric Pressure Cooker”