Home>Articles>How To Water Bath Can In My Mueller 6 Qt Electric Pressure Cooker
Articles
How To Water Bath Can In My Mueller 6 Qt Electric Pressure Cooker
Modified: February 28, 2024
Learn how to water bath can in your Mueller 6 Qt electric pressure cooker with these informative articles. Discover helpful tips and step-by-step instructions for successful canning.
(Many of the links in this article redirect to a specific reviewed product. Your purchase of these products through affiliate links helps to generate commission for Storables.com, at no extra cost. Learn more)
Introduction
Water bath canning is a popular method of preserving food and extending its shelf life. It is a simple and effective technique that involves submerging jars of food in boiling water to create a vacuum seal. This process helps to kill bacteria, yeast, and molds that can cause spoilage, ensuring that your canned goods remain safe to eat for an extended period of time.
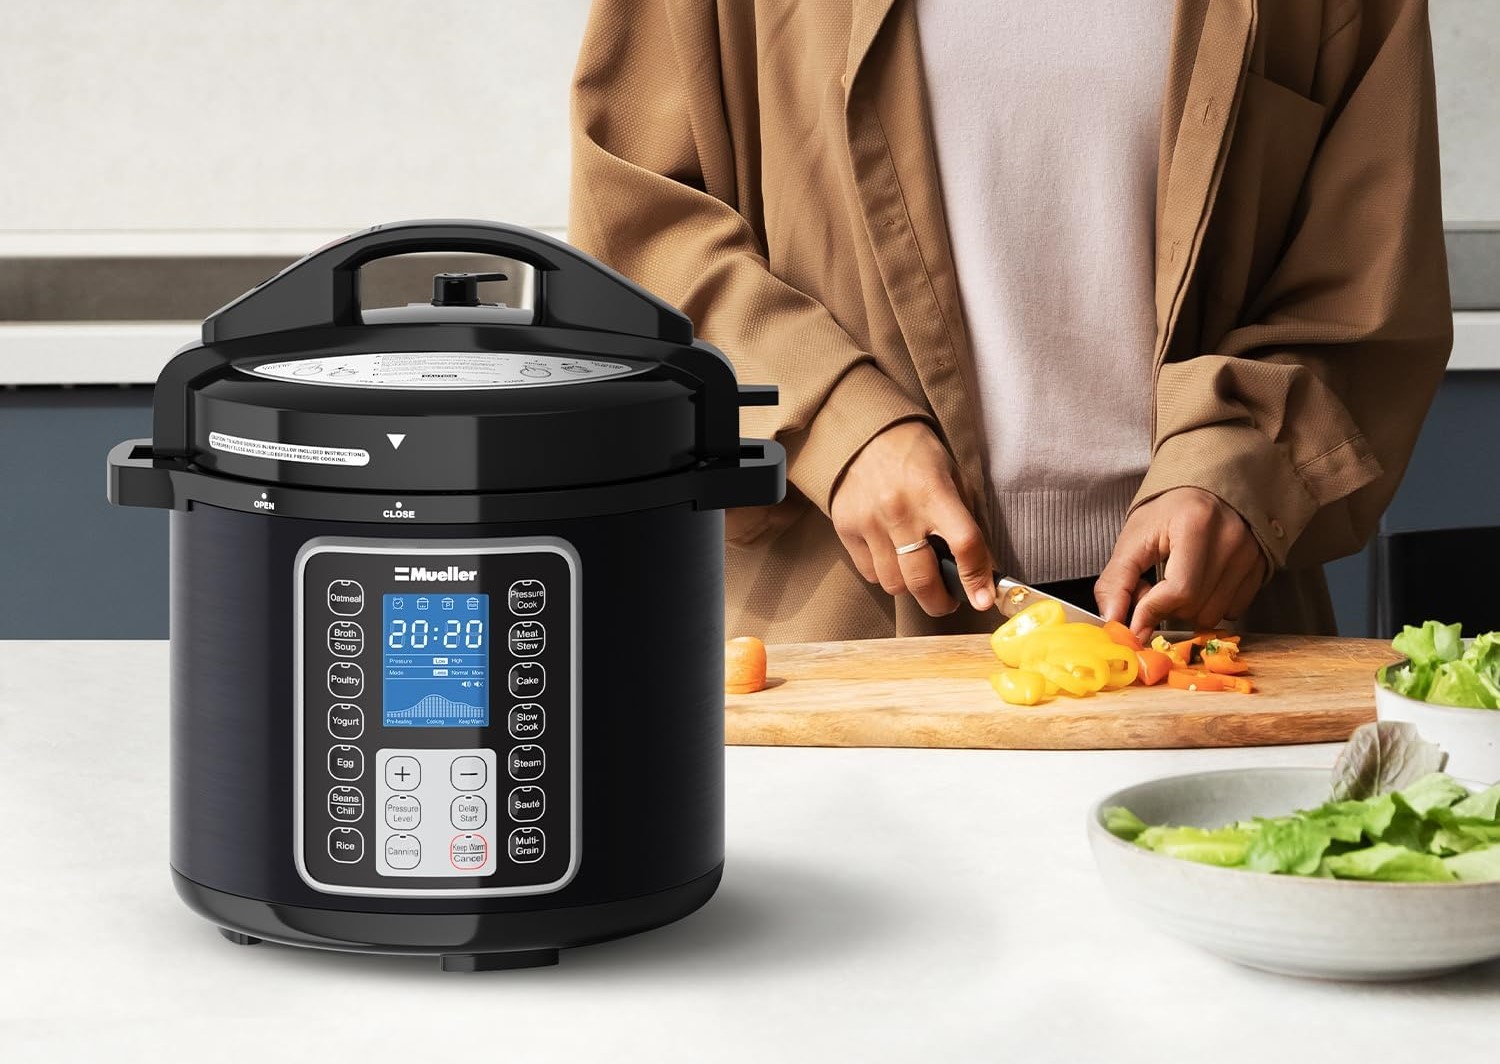
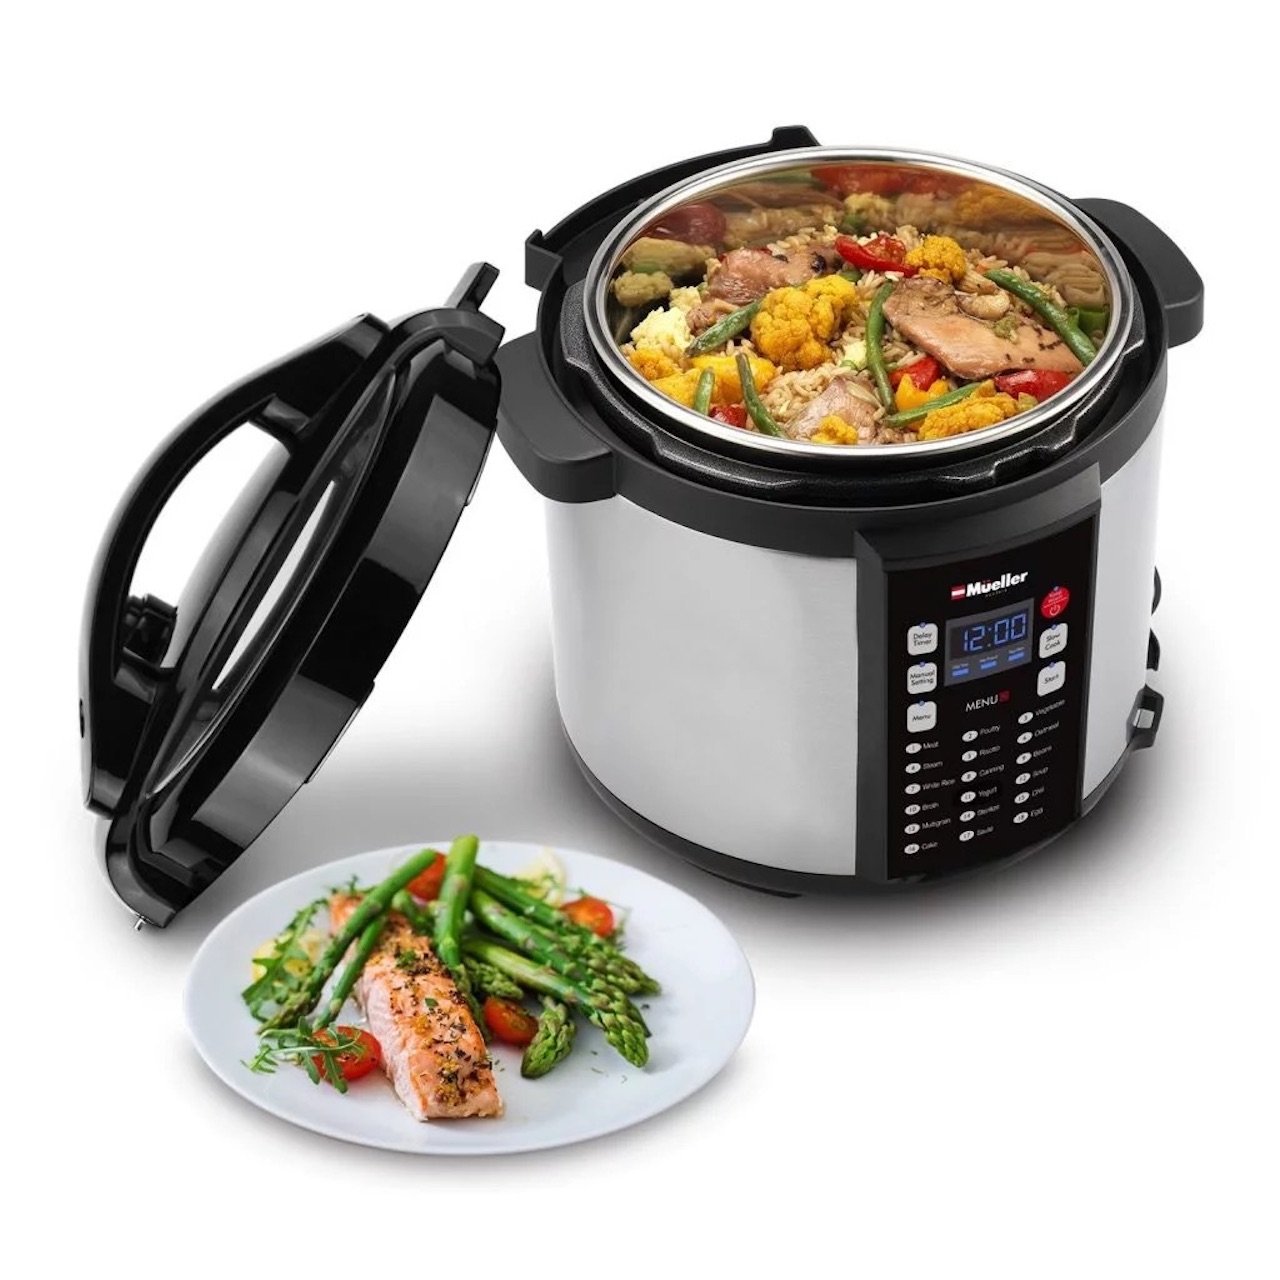
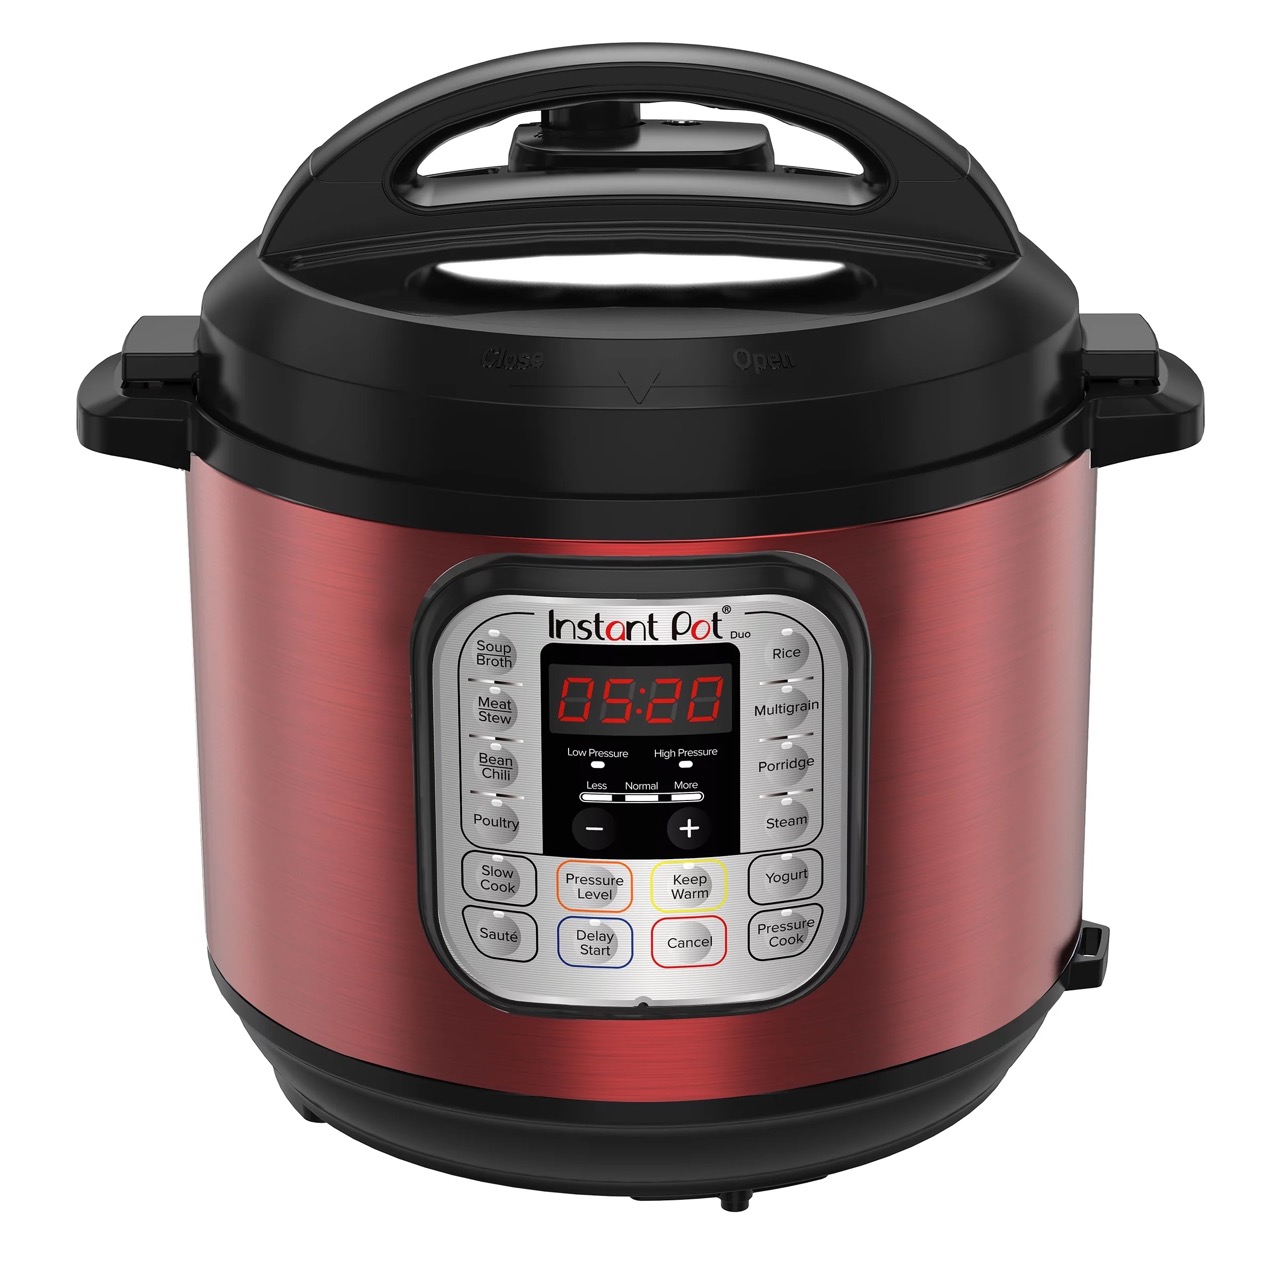
If you own a Mueller 6 Qt electric pressure cooker, you might be wondering if you can use it for water bath canning. The good news is that the Mueller 6 Qt electric pressure cooker is indeed suitable for water bath canning, making it a versatile appliance for both cooking and preserving.
In this article, we will guide you through the process of water bath canning using the Mueller 6 Qt electric pressure cooker. We will provide step-by-step instructions on how to safely and effectively preserve your favorite fruits, vegetables, and other delicious homemade recipes.
Before we dive into the canning process, it is important to understand some essential safety precautions to ensure that your canning experience is successful and hazard-free.
Key Takeaways:
- Preserve your favorite fruits and vegetables with confidence using your Mueller 6 Qt electric pressure cooker for water bath canning. Prioritize safety, follow tested recipes, and enjoy the delicious taste of homemade canned goods all year round.
- Embrace the art of water bath canning with your Mueller 6 Qt electric pressure cooker to savor the flavors of the harvest and create lasting memories in the kitchen. Prioritize safety, use high-quality ingredients, and enjoy the taste of homemade goodness with every jar you open.
Safety Precautions
When it comes to water bath canning, safety should always be the top priority. Follow these important safety precautions to avoid any accidents or health risks:
- Choose the right jars: Use only jars specifically designed for canning. Regular glass jars might not be able to withstand the heat and pressure of the canning process.
- Inspect the jars: Before using them, carefully inspect the jars for any cracks, chips, or defects. Damaged jars should not be used for canning, as they can break under the high heat and pressure.
- Properly clean and sterilize jars: Thoroughly wash the jars with hot, soapy water and rinse them well. Sterilize the jars by boiling them in water for 10 minutes or by running them through a dishwasher cycle.
- Use new lids and rings: Always use new canning lids and rings for each canning session. Reusing old lids can result in a faulty seal, increasing the risk of spoilage.
- Follow approved recipes: Use tested and approved recipes for canning to ensure the proper balance of acidity and processing times. These recipes have been scientifically developed to minimize the risk of bacterial growth and spoilage.
- Adjust processing time for altitude: If you are canning at a high altitude, you may need to adjust the processing time to ensure that the food is properly cooked and preserved. Check a reliable source for altitude adjustments.
- Do not overcrowd the pressure cooker: Make sure to leave enough space between the jars to allow for proper heat distribution. Overcrowding can lead to uneven processing and increase the risk of jar breakage.
- Use protective equipment: Wear heat-resistant oven mitts or gloves when handling hot jars or the pressure cooker. This will protect you from burns and ensure a safe canning experience.
- Follow manufacturer’s instructions: Read and follow the manufacturer’s instructions for your Mueller 6 Qt electric pressure cooker. Each model may have specific guidelines for water bath canning.
- Allow proper cooling: After processing, allow the jars to cool naturally. Do not force-cool or move the jars while they are still hot, as this can cause the seals to break.
By following these safety precautions, you can minimize the risks associated with water bath canning and ensure that your preserved goods are safe and delicious to consume.
Understanding Water Bath Canning
Water bath canning is a technique used to safely preserve high-acid foods such as fruits, pickles, and jams. The process involves submerging jars filled with food in boiling water for a specific amount of time. This high heat kills bacteria and other microorganisms, preventing spoilage and allowing the food to be stored for long periods without refrigeration.
Water bath canning is suitable for high-acid foods because the acidity inhibits the growth of harmful bacteria such as Clostridium botulinum, which can lead to botulism poisoning. Low-acid foods, such as vegetables, meats, and fish, require the use of a pressure canner to achieve the higher temperatures needed to kill bacteria.
To begin the water bath canning process, you will need a few essential items:
- Jars: Choose jars specifically designed for canning, with lids and bands.
- Canning rack: A rack or trivet is used to keep the jars elevated and prevent them from directly touching the bottom of the pot.
- Jar lifter: A jar lifter is a tool used to safely handle hot jars, allowing you to lift them in and out of the boiling water.
- Canning recipes: Use tested and approved recipes to ensure the correct balance of acidity and processing times.
The water bath canning process involves several important steps:
- Preparing the pressure cooker: Before starting, make sure your Mueller 6 Qt electric pressure cooker is clean and in good working condition. Check that the rubber gasket is in place and properly sealed.
- Cleaning and sterilizing jars: Wash the jars with hot, soapy water and inspect them for any cracks or defects. Sterilize the jars by boiling them in water or running them through a dishwasher cycle.
- Preparing the canning recipe: Follow a tested recipe to ensure the proper balance of acidity and to determine the correct processing time and temperature.
- Filling the jars: Carefully fill the sterilized jars with the prepared food, leaving the recommended headspace at the top.
- Creating the water bath: Fill the pressure cooker with enough water to cover the jars by at least one inch. Place the canning rack in the bottom of the pot to elevate the jars.
- Processing the jars: Lower the filled jars into the water bath using a jar lifter. Make sure the jars are fully submerged and that there is enough water to cover them. Bring the water to a rolling boil, and then start the processing time according to the recipe.
- Cooling and storing the jars: Once the processing time is complete, carefully remove the jars from the water bath using the jar lifter. Place them on a towel or cooling rack, allowing them to cool undisturbed. As the jars cool, you will hear a “ping” sound, indicating that the lids have sealed. Allow the jars to cool completely before checking the seals and storing them in a cool, dark place.
Water bath canning is a rewarding way to preserve your favorite fruits, pickles, and jams. By understanding the process and following tested recipes and safety guidelines, you can enjoy the delicious taste of homemade canned goods all year round.
Step 1: Preparing the Pressure Cooker
Before you can begin the water bath canning process with your Mueller 6 Qt electric pressure cooker, it is important to properly prepare the appliance. Follow these steps to ensure that your pressure cooker is clean and ready to use:
- Inspect the pressure cooker: Check the condition of your Mueller 6 Qt electric pressure cooker. Ensure that all the parts, including the lid, sealing ring, and pressure release valve, are clean and free from any debris or damage. If you notice any issues or defects, address them before proceeding.
- Wash the pressure cooker: Wash the pressure cooker thoroughly with warm, soapy water. Use a sponge or cloth to clean the interior and exterior, paying close attention to any hard-to-reach areas. Rinse it well to remove any soap residue.
- Check the rubber gasket: The sealing ring, or rubber gasket, is an important component of the pressure cooker. Inspect it to make sure there are no cracks or tears. If necessary, replace the sealing ring with a new one to ensure a proper seal during the canning process.
- Reassemble the pressure cooker: Once the pressure cooker and rubber gasket are clean and in good condition, reassemble the appliance. Make sure the sealing ring is correctly in place and that the lid locks securely onto the pot.
- Perform a test run: Before using the pressure cooker for canning, it’s a good idea to perform a test run to familiarize yourself with the settings and ensure that everything is functioning properly. Fill the pressure cooker with water and run it through a short cooking cycle according to the manufacturer’s instructions.
- Allow the pressure cooker to cool: Once the test run is complete, turn off the pressure cooker and allow it to cool down. This will give you an idea of how long it takes for the pressure cooker to cool before you can safely open it after the canning process.
By following these steps, you can ensure that your Mueller 6 Qt electric pressure cooker is clean and prepared for water bath canning. It’s essential to start with a well-maintained appliance to achieve safe and successful canning results.
Step 2: Cleaning and Sterilizing Jars
Properly cleaning and sterilizing the jars is a crucial step in the water bath canning process. Follow these steps to ensure that your jars are thoroughly cleaned and ready for use:
- Inspect the jars: Before using them, carefully inspect the jars for any cracks, chips, or defects. Damaged jars should not be used for canning, as they can break under the high heat and pressure.
- Wash the jars: Wash the jars in hot, soapy water, using a scrub brush or sponge to remove any residue or dirt. Pay close attention to the rims and bottoms of the jars, ensuring that they are thoroughly cleaned.
- Rinse the jars: Rinse the jars well under warm water to remove any soap residue. Make sure to rinse the rims and bottoms thoroughly to ensure a proper seal during the canning process.
- Sterilize the jars: There are two common methods for sterilizing jars: boiling and using a dishwasher. For boiling, place the jars in a large pot, making sure they are fully submerged in water. Bring the water to a boil and let the jars boil for 10 minutes. For the dishwasher method, place the jars in the dishwasher and run them through a hot water cycle.
- Keep the jars hot: Once the jars are sterilized, it is important to keep them hot until you are ready to fill them with your canning recipe. You can do this by placing them in a warm oven set to a low temperature or by keeping them in the hot water bath until needed.
It is important to note that the lids and bands used for canning should also be cleaned. Wash them in hot, soapy water and rinse them well. It is not necessary to sterilize the lids, as the heat of the canning process will sanitize them.
By cleaning and sterilizing your jars properly, you ensure that there are no bacteria or foreign substances that could compromise the safety and shelf life of your canned goods. Take the time to complete this step diligently to achieve the best results in your water bath canning process.
Read also: 10 Amazing Pressure Cooker 6 Qt For 2025
Step 3: Preparing the Canning Recipe
Once you have your jars cleaned and ready to go, it’s time to prepare the canning recipe. Follow these steps to ensure that your recipe is properly prepared for water bath canning:
- Choose a tested recipe: Select a canning recipe that has been tested and approved for water bath canning. This ensures that the recipe has the correct acidity level and processing time to prevent spoilage and bacterial growth. Recipes from reputable sources such as the USDA or trusted canning cookbooks are recommended.
- Gather your ingredients: Collect all the necessary ingredients for your recipe. This may include fruits, vegetables, herbs, spices, and any other ingredients specified in the recipe.
- Prepare the recipe: Follow the recipe instructions carefully to prepare the ingredients. This may involve peeling, slicing, chopping, or cooking the ingredients as necessary. Pay attention to measurements and cooking times to ensure the best results.
- Ensure proper acidity: For water bath canning, it is crucial to maintain the correct acidity level in the recipe. Acidic foods such as fruits and pickles naturally have a lower pH level, which helps prevent bacterial growth. If your recipe includes low-acid ingredients, such as onions or garlic, it may require the addition of lemon juice or vinegar to increase the acidity level. Follow the recipe instructions for the correct amount of acidifier to add.
- Adjust seasonings (optional): If desired, you can adjust the seasonings in the recipe to suit your taste preferences. This may involve increasing or decreasing the amounts of herbs, spices, or sweeteners used.
It’s important to note that when canning recipes, you should follow them precisely. Altering ingredient quantities or omitting essential ingredients can affect the acidity levels and processing times, compromising the safety and quality of your canned goods.
By properly preparing your canning recipe, you can ensure that the flavors are balanced, the acidity levels are appropriate, and the final product is safe and delicious.
When water bath canning in your Mueller 6 Qt Electric Pressure Cooker, make sure to use a rack or trivet to elevate the jars off the bottom and ensure they are fully submerged in water. Follow a tested recipe and process for the correct amount of time.
Step 4: Filling Jars with the Recipe
Now that you have your canning recipe prepared, it’s time to fill the sterilized jars with the delicious concoction you’ve created. Follow these steps to ensure that your jars are filled correctly:
- Remove a jar from the hot water bath: Carefully remove one sterilized jar from the hot water bath, using a jar lifter to avoid burns.
- Fill the jar: Use a ladle or canning funnel to carefully fill the jar with your prepared recipe, leaving the recommended headspace. The headspace is the space between the food and the rim of the jar, which allows for proper expansion during processing and helps create a vacuum seal.
- Check for air bubbles: Once the jar is filled, use a plastic or wooden utensil to remove any air bubbles trapped inside. Gently stir the contents of the jar to release any air pockets. This step helps prevent siphoning and ensures a better seal.
- Wipe the rim: Using a clean, damp cloth or paper towel, wipe the rim of the jar to remove any food debris or liquid. This ensures a clean surface for the lid to make proper contact and creates a secure seal.
- Apply the lid and band: Place a new, clean canning lid on the jar’s rim. Secure it in place by screwing on the band until it is fingertip tight. Avoid overtightening the band, as this can prevent air from escaping during processing.
- Repeat with the remaining jars: Repeat the process with the remaining sterilized jars, filling each one with the prepared recipe and properly applying the lids and bands. Make sure to work efficiently to keep the jars hot, as warm jars promote better sealing.
It’s important to note that each recipe may have specific instructions for headspace and filling techniques, so always refer to your recipe for precise guidance.
By properly filling the jars with your recipe and sealing them tightly, you ensure that the contents are protected during the water bath canning process and can be safely stored for an extended period of time.
Step 5: Creating Water Bath in the Pressure Cooker
Creating a water bath in your Mueller 6 Qt electric pressure cooker is a crucial step for successful water bath canning. Follow these steps to ensure that you create the ideal environment for processing your jars:
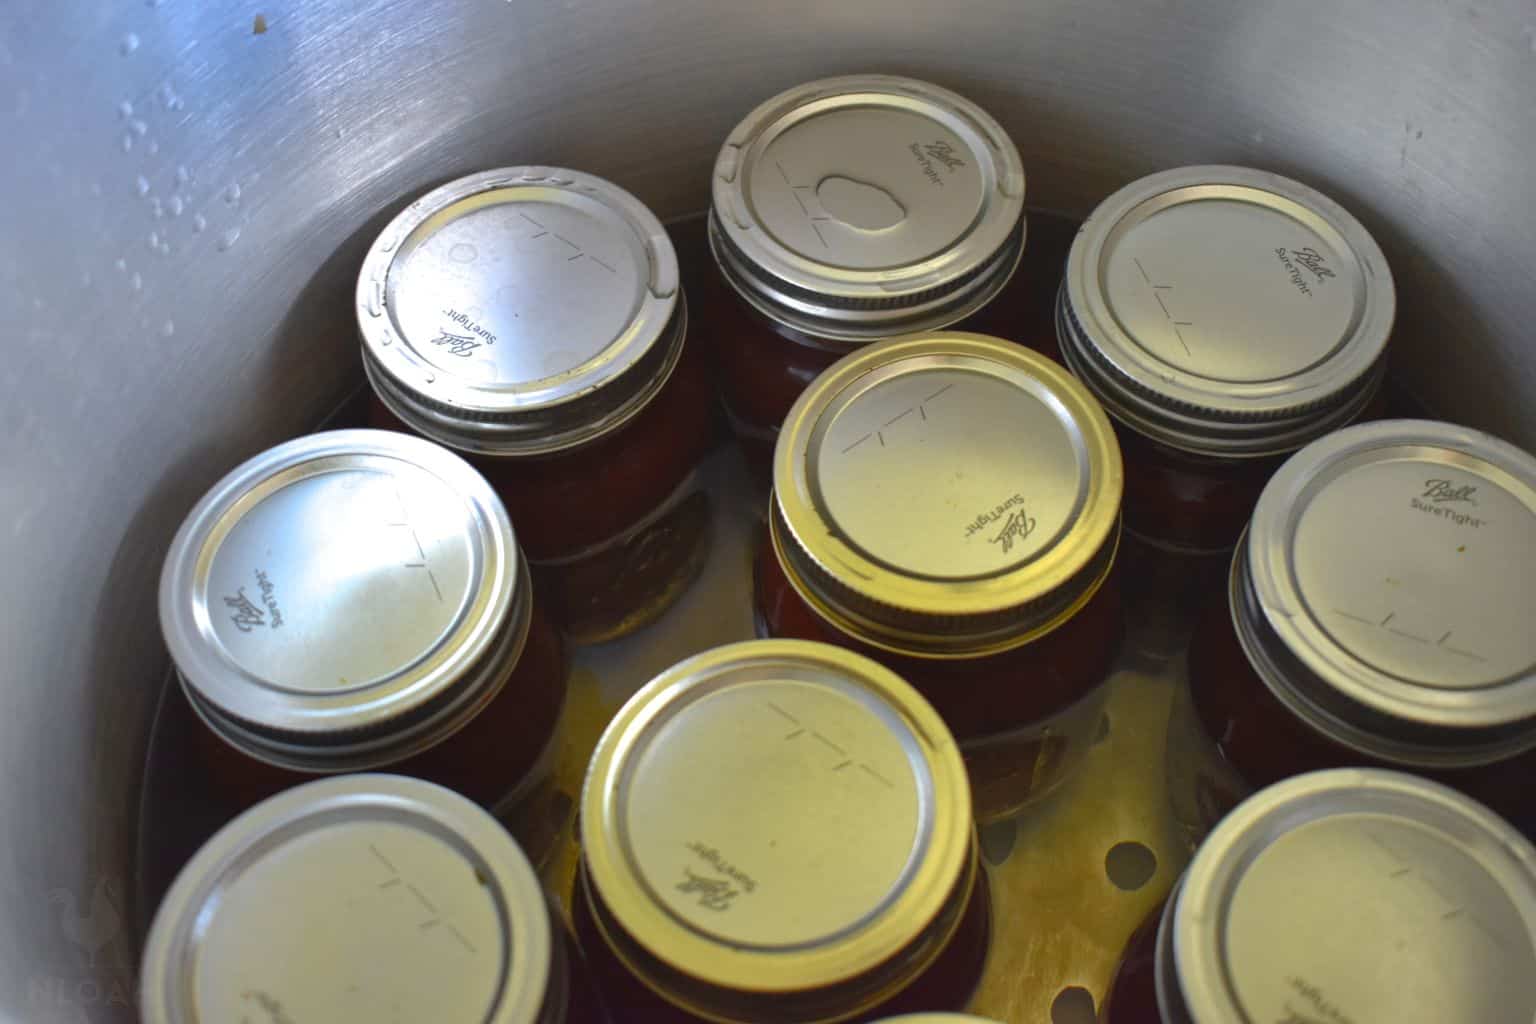
- Add water to the pressure cooker: Begin by adding enough water to the pressure cooker to cover the jars by at least one inch. The exact amount of water will vary depending on the size of your pressure cooker and the number of jars you are processing, so refer to your pressure cooker’s user manual for specific instructions.
- Place a canning rack or trivet: To prevent direct contact between the jars and the bottom of the pressure cooker, place a canning rack or trivet in the bottom of the pot. This elevates the jars and allows for better heat circulation during processing.
- Arrange the jars in the pressure cooker: Carefully lower the filled and sealed jars onto the canning rack or trivet in the pressure cooker. Arrange them in a way that allows for sufficient space between each jar to ensure proper heat distribution.
- Add more water if needed: If the water level is not high enough to cover the jars by at least one inch, add additional hot water to reach the desired level. Avoid pouring water directly onto the jars, as this can disturb the filled jars and compromise their seal.
It’s important to note that the water used in the water bath should be hot or at least warm to start. This will help reduce the time it takes to reach a rolling boil, minimizing the processing time for your canning recipe.
By creating a proper water bath in your pressure cooker, you provide the necessary heat and steam for processing the jars, ensuring that the contents are properly cooked, sealed, and preserved.
Step 6: Processing Jars in the Pressure Cooker
Now that you have created a water bath in your Mueller 6 Qt electric pressure cooker, it’s time to process the jars. Follow these steps to ensure that the jars are properly processed for safe preservation:
- Close and lock the lid: Once all the jars are in the pressure cooker and the water bath is ready, close and lock the lid securely. Make sure that the pressure release valve is set to the sealed position to allow pressure to build up inside the cooker.
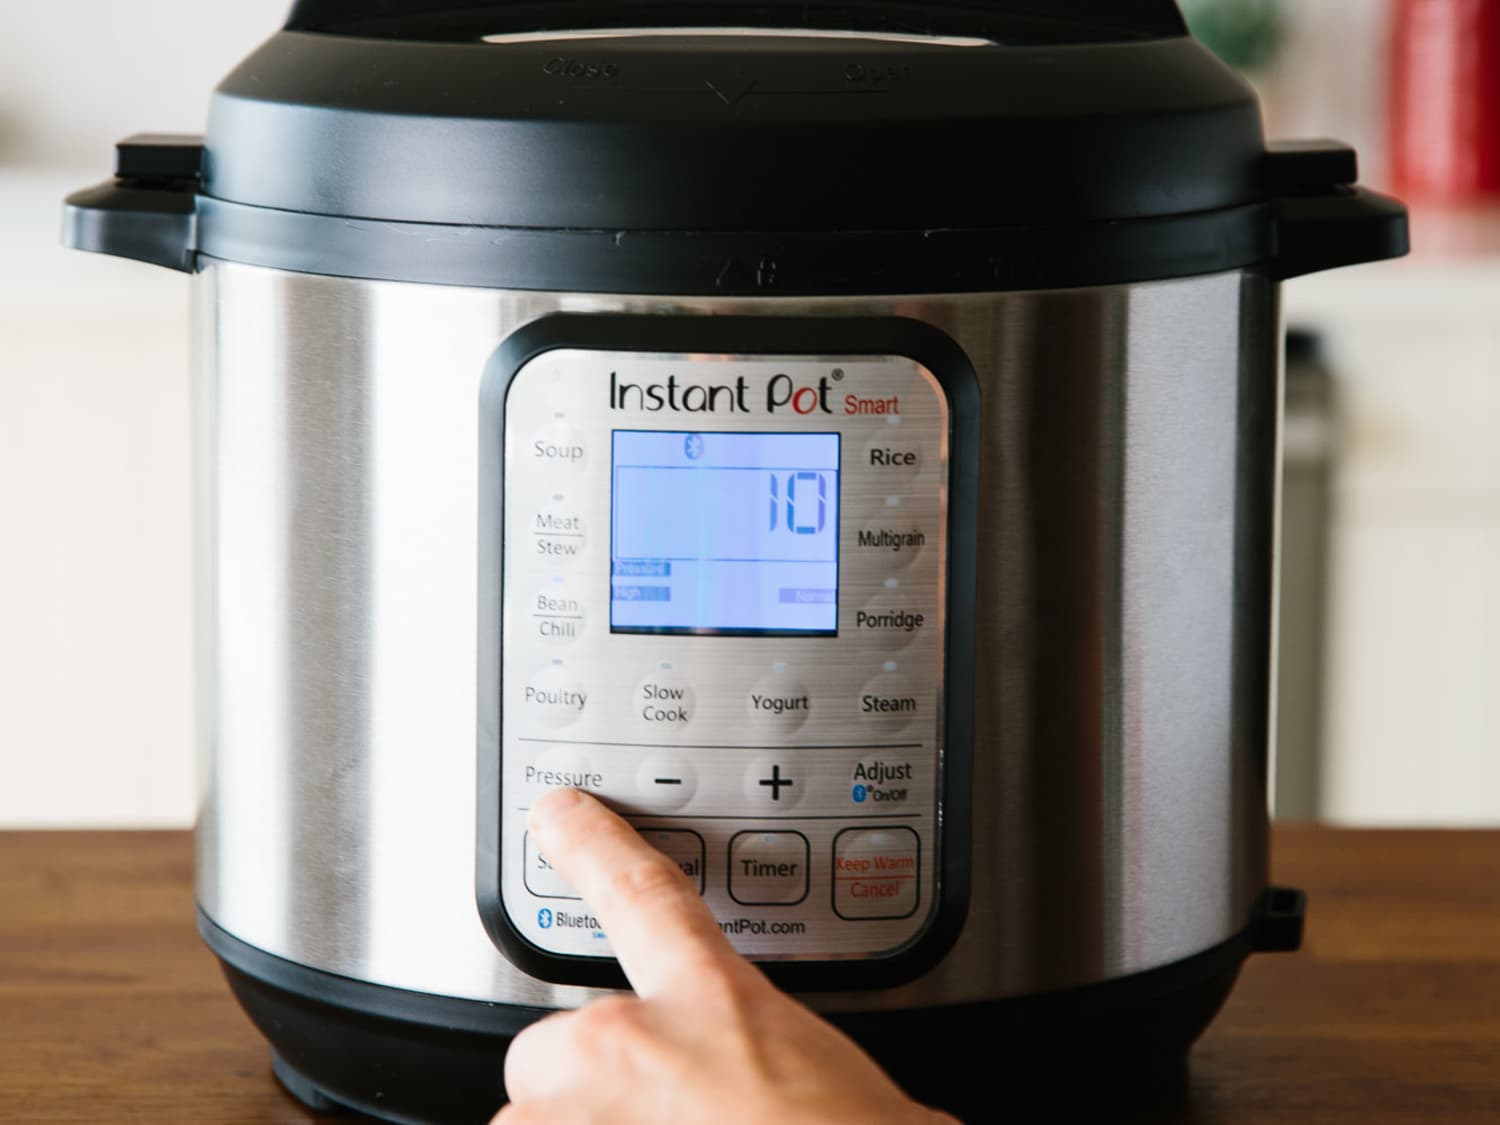
- Start the canning process: Set the pressure cooker to the appropriate canning or high-pressure setting, as specified in your pressure cooker’s user manual. The processing time will depend on the recipe you are using, so refer to the recommended processing time in your canning recipe.
- Wait for the pressure cooker to reach pressure: Allow the pressure cooker to heat up and build pressure until it reaches the recommended operating pressure. This may take several minutes, so be patient and monitor the pressure indicator on your pressure cooker.
- Start the timer: Once the pressure cooker has reached the desired operating pressure, start the timer for the recommended processing time. This ensures that the jars are heated at the correct temperature for the appropriate duration to destroy any bacteria and microorganisms.
- Maintain the pressure: During the processing time, it is important to keep the pressure cooker at a consistent and steady pressure. This may require adjusting the heat periodically to maintain the recommended pressure level. Refer to your pressure cooker’s instructions for maintaining pressure.
- Monitor the pressure: Throughout the processing time, keep an eye on the pressure gauge or indicator to ensure that it remains within the recommended range. If the pressure drops below the designated level, adjust the heat to bring it back up to the desired pressure.
Following these steps will ensure that the jars are processed at the correct temperature and pressure, effectively eliminating any harmful microorganisms and creating a vacuum seal within the jars.
It’s important to note that different recipes may have different processing times and pressure requirements. Always refer to your specific canning recipe to determine the appropriate processing time for the best results.
Read more: How To Can With An Electric Pressure Cooker
Step 7: Cooling and Storing the Canned Goods
After the jars have been processed in the pressure cooker, it’s time to allow them to cool and prepare them for long-term storage. Follow these steps to ensure that your canned goods are properly cooled and stored:
- Turn off the heat: Once the processing time is complete, turn off the heat and allow the pressure cooker to cool down naturally. Do not force-cool or remove the jars immediately, as this can disrupt the sealing process.
- Wait for the pressure to release: Give the pressure cooker adequate time to release the pressure naturally. This can take anywhere from 10 to 30 minutes depending on the pressure cooker model and the quantity of jars being processed.
- Remove the jars from the pressure cooker: Carefully lift out the jars from the pressure cooker, using a jar lifter to avoid burns. Place the hot jars on a towel or cooling rack, leaving space between them to allow for air circulation.
- Allow the jars to cool: Let the jars cool completely at room temperature. As the jars cool, you may hear a “ping” sound, indicating that the lids have formed a vacuum seal. Avoid touching or testing the lids at this stage, as they need time to fully set.
- Check the seals: Once the jars are completely cooled, check the seals by pressing down on the center of each lid. If the lid is firm and does not move or make a popping sound, the seal is secure. If a lid flexes or pops up and down, the jar did not seal properly. Refrigerate any unsealed jars and consume their contents within a few days.
- Label and store the jars: Once the seals are confirmed, label the jars with the contents and the date of canning. Store the jars in a cool, dark place away from direct sunlight and extreme temperature fluctuations. Properly sealed and stored canned goods can typically be stored for up to one year.
It is crucial to wait for the jars to cool completely before checking the seals and storing them. Premature handling or moving of the jars can disrupt the sealing process and lead to spoilage.
By properly cooling and storing your canned goods, you can ensure their longevity and enjoy the fruits of your labor throughout the year.
Conclusion
Congratulations! You have successfully learned how to water bath can in your Mueller 6 Qt electric pressure cooker. By following the steps outlined in this guide, you can now confidently preserve your favorite fruits, vegetables, and homemade recipes to enjoy long after their season has passed.
Water bath canning is not only a method of food preservation but also a way to savor the flavors of freshly harvested produce all year round. With the Mueller 6 Qt electric pressure cooker, you have a versatile appliance that allows you to cook and preserve with ease.
Remember to prioritize safety throughout the canning process. Follow the recommended safety precautions, use tested recipes, and ensure that your equipment is in good condition. By doing so, you can minimize the risk of spoilage and enjoy the fruits of your labor without any health concerns.
Whether you’re canning jams, pickles, or fruits, always start with high-quality ingredients and fresh produce for the best results. Take the time to properly clean and sterilize your jars, as well as prepare the canning recipe with precision.
Creating a water bath in your Mueller 6 Qt electric pressure cooker and processing the jars at the appropriate pressure and time is crucial for sealing in flavors and preserving your canned goods. Allow the jars to cool naturally and check the seals to ensure a successful canning process.
With your beautifully preserved jars stored in a cool, dark place, you can enjoy the taste of summer all year long. From fruity jams on your breakfast toast to tangy pickles as a savory snack, your homemade canned goods will surely bring joy to your family and friends.
So, roll up your sleeves, gather your ingredients, and embrace the art of water bath canning with your Mueller 6 Qt electric pressure cooker. Preserve the flavors of the harvest, create memories in the kitchen, and savor the taste of homemade goodness with every jar you open.
Frequently Asked Questions about How To Water Bath Can In My Mueller 6 Qt Electric Pressure Cooker
Was this page helpful?
At Storables.com, we guarantee accurate and reliable information. Our content, validated by Expert Board Contributors, is crafted following stringent Editorial Policies. We're committed to providing you with well-researched, expert-backed insights for all your informational needs.


0 thoughts on “How To Water Bath Can In My Mueller 6 Qt Electric Pressure Cooker”