
Articles
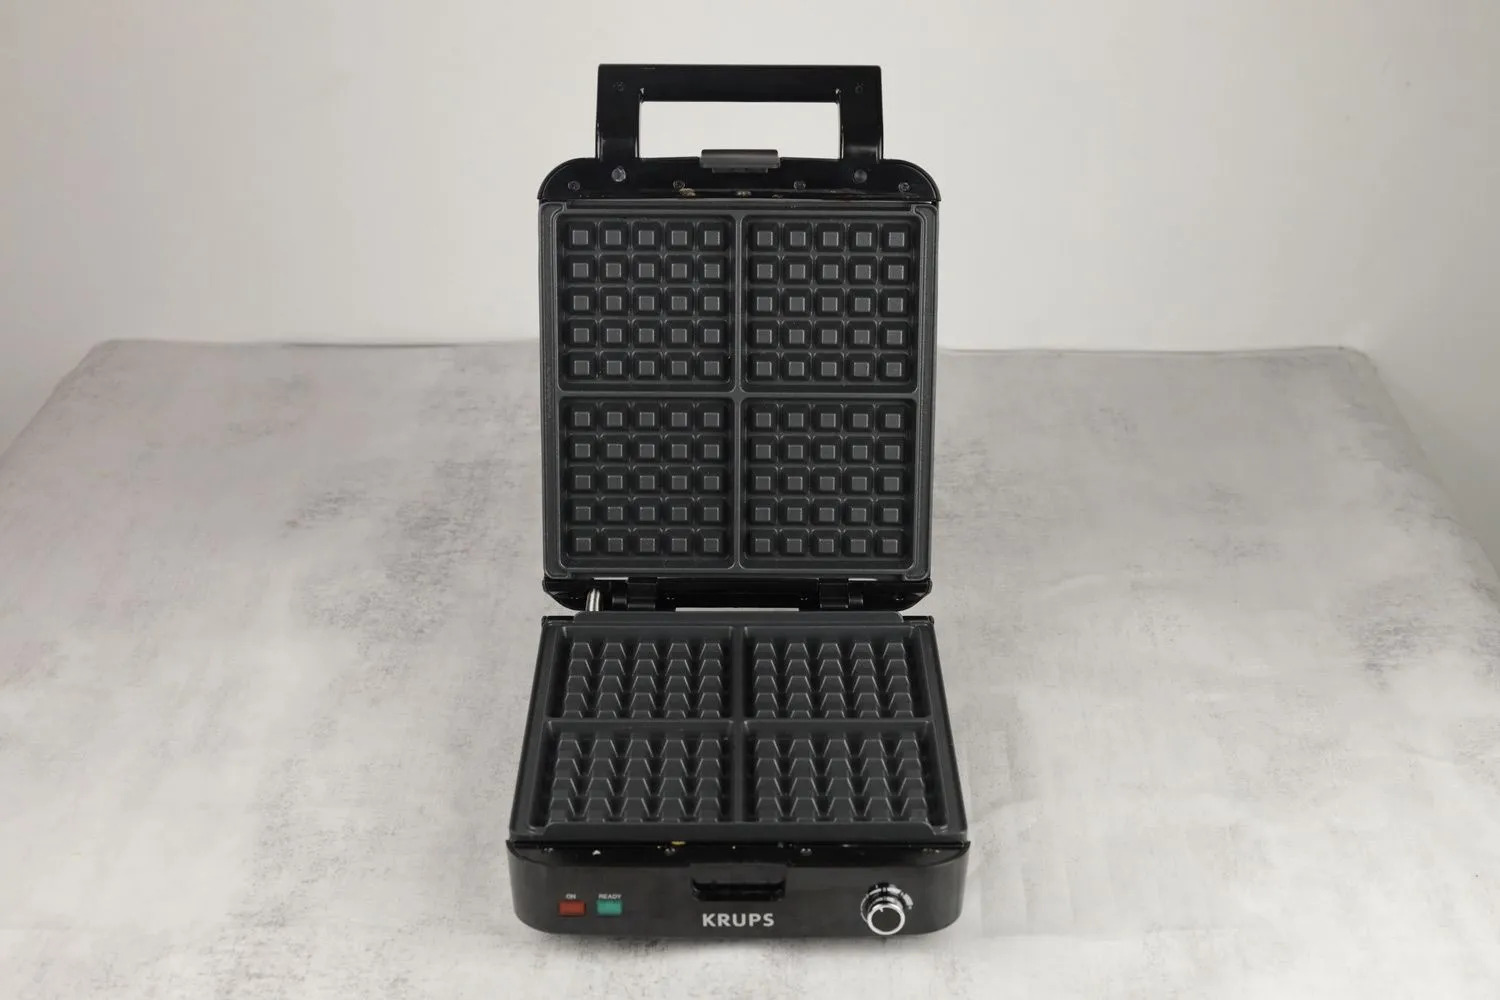
How To Clean A Krups Waffle Iron
Modified: August 27, 2024
Learn the best techniques and tips for cleaning your Krups waffle iron in this informative article. Keep your appliance in top condition for delicious waffles every time.
(Many of the links in this article redirect to a specific reviewed product. Your purchase of these products through affiliate links helps to generate commission for Storables.com, at no extra cost. Learn more)
Introduction
Welcome to the world of delicious waffles! If you’re the proud owner of a Krups waffle iron, you know just how mouthwatering the results can be. But to keep enjoying those fluffy, golden-brown waffles, it’s important to keep your Krups waffle iron clean and well-maintained.
In this article, we will guide you through the process of cleaning your Krups waffle iron to ensure it’s in pristine condition for your next breakfast feast. From safety precautions to storing the appliance, we’ll cover all the essential steps to maintain your waffle iron’s performance and longevity.
So, roll up your sleeves, put on your apron, and let’s dive into the world of cleaning a Krups waffle iron!
Key Takeaways:
- Safety first! Unplug, cool down, and protect your hands when cleaning your Krups waffle iron. Following these precautions ensures a safe and enjoyable waffle-making experience.
- From plates to exterior surfaces, thorough cleaning and proper storage will keep your Krups waffle iron in top condition for years of delicious waffle-making adventures.
Read also: 11 Unbelievable Krups Waffle Iron For 2025
Safety Precautions
Before you start cleaning your Krups waffle iron, it’s crucial to prioritize safety. Here are some important precautions to keep in mind:
- Unplug the Waffle Iron: Make sure the waffle iron is completely unplugged from the power source before you begin cleaning. This will minimize the risk of electrical shocks and accidents.
- Cool Down the Appliance: Allow the waffle iron to cool down completely. Attempting to clean it while it’s still hot can lead to burns and injuries.
- Avoid Water Contact with Electrical Parts: Take care not to let water come into contact with the electrical components of the waffle iron. This can damage the appliance and pose a safety hazard.
- Use Heat-Resistant Gloves or Mitts: To protect your hands from potential burns, wear heat-resistant gloves or mitts when handling the hot plates of the waffle iron.
- Read the Manufacturer’s Instructions: Familiarize yourself with the manufacturer’s instructions and guidelines for cleaning the Krups waffle iron. This will ensure you follow the proper cleaning methods and don’t accidentally void the warranty.
By following these safety precautions, you can clean your Krups waffle iron without any mishaps and ensure a safe and enjoyable waffle-making experience.
Preparing the Waffle Iron
Before you begin the cleaning process, it’s important to properly prepare your Krups waffle iron. Here are some steps to follow:
- Unplug the Waffle Iron: Ensure that the waffle iron is unplugged from the power source before you start preparing it. This step is crucial for your safety.
- Allow the Waffle Iron to Cool: Give the waffle iron enough time to cool down completely. Cleaning a hot appliance can be dangerous and may lead to burns.
- Remove Excess Batter: If there is any leftover batter in the waffle iron, carefully remove it with a rubber spatula. Be gentle to avoid scratching the plates.
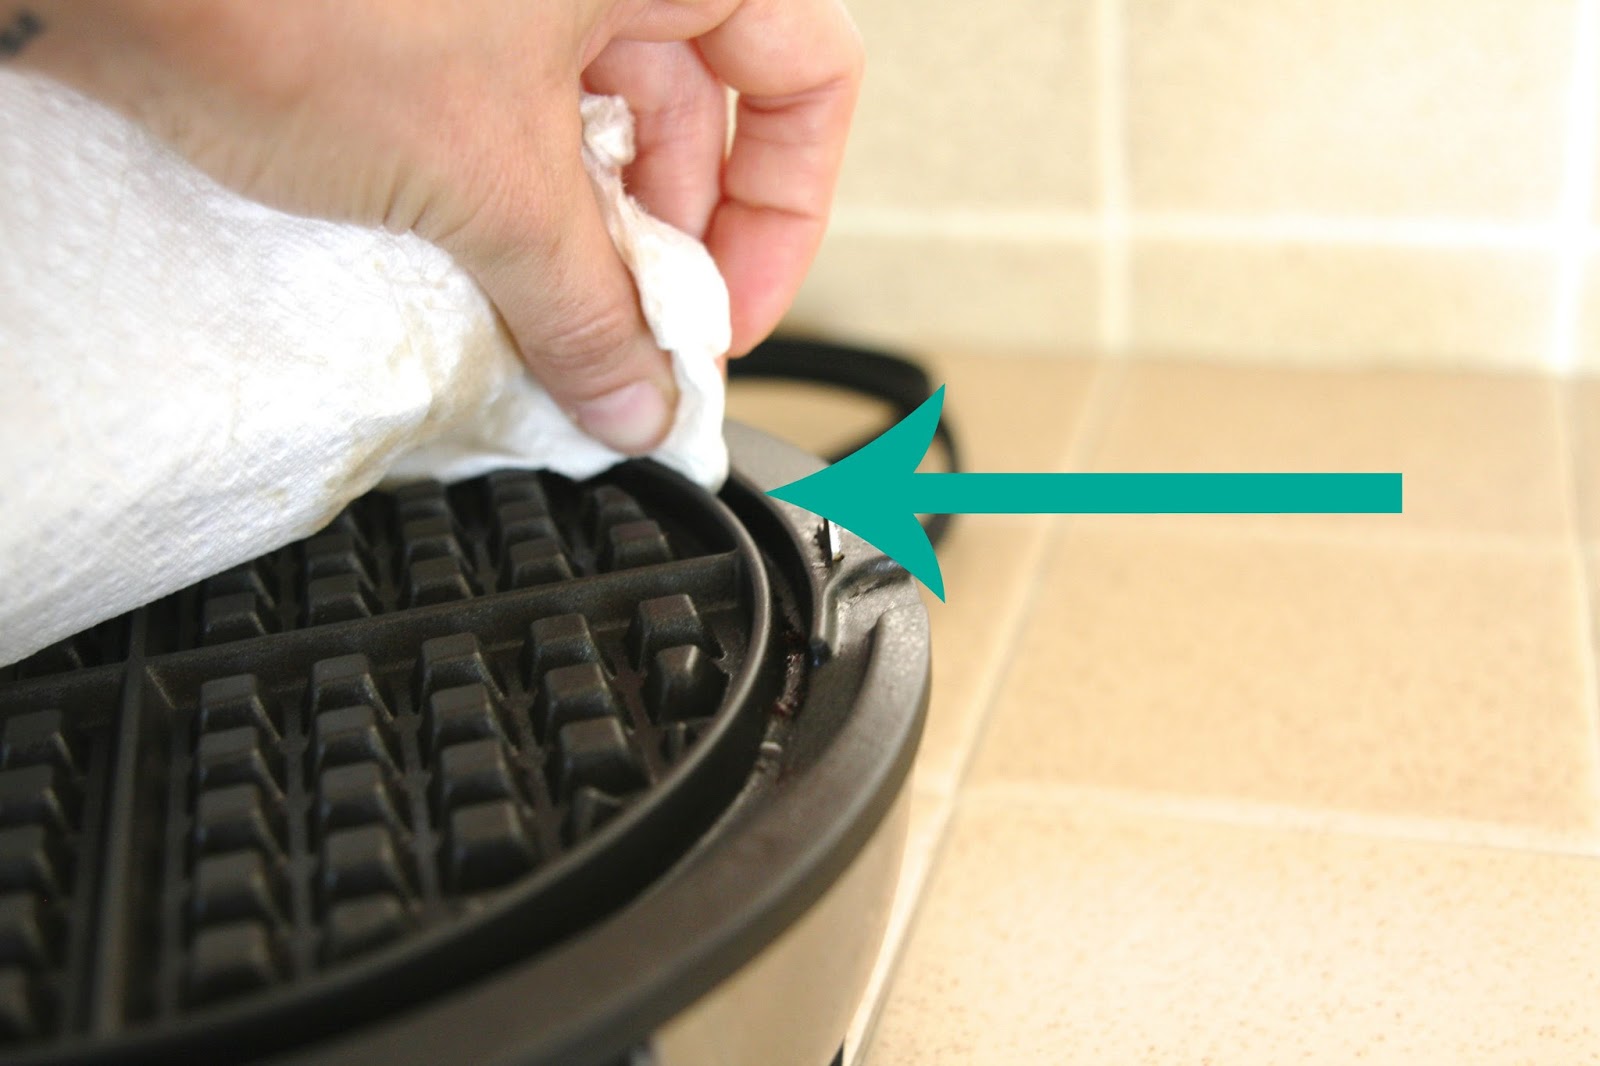
- Wipe Off Any Surface Debris: Use a clean, damp cloth to wipe off any crumbs or debris from the surface of the waffle iron. This will help remove loose particles before diving into a deep clean.
By taking these simple yet important steps to prepare your Krups waffle iron, you’ll ensure that the cleaning process is more effective and efficient. With a clean and properly prepped waffle iron, you’ll be ready to tackle the next steps in maintaining its pristine condition.
Cleaning the Plates
One of the most essential parts of cleaning a Krups waffle iron is taking care of the plates – the heart of your waffle-making experience. Follow these steps to ensure they are thoroughly cleaned:
- Allow the Waffle Iron to Cool: Before cleaning the plates, make sure the waffle iron has cooled down completely. Safety should always be a priority.
- Remove the Plates (if applicable): Check if your Krups waffle iron has removable plates. If yes, carefully detach them as per the manufacturer’s instructions.
- Wipe off Excess Grease and Oil: Gently wipe off any excess grease or oil from the plates using a paper towel or a soft cloth. This will help in the initial cleaning process.
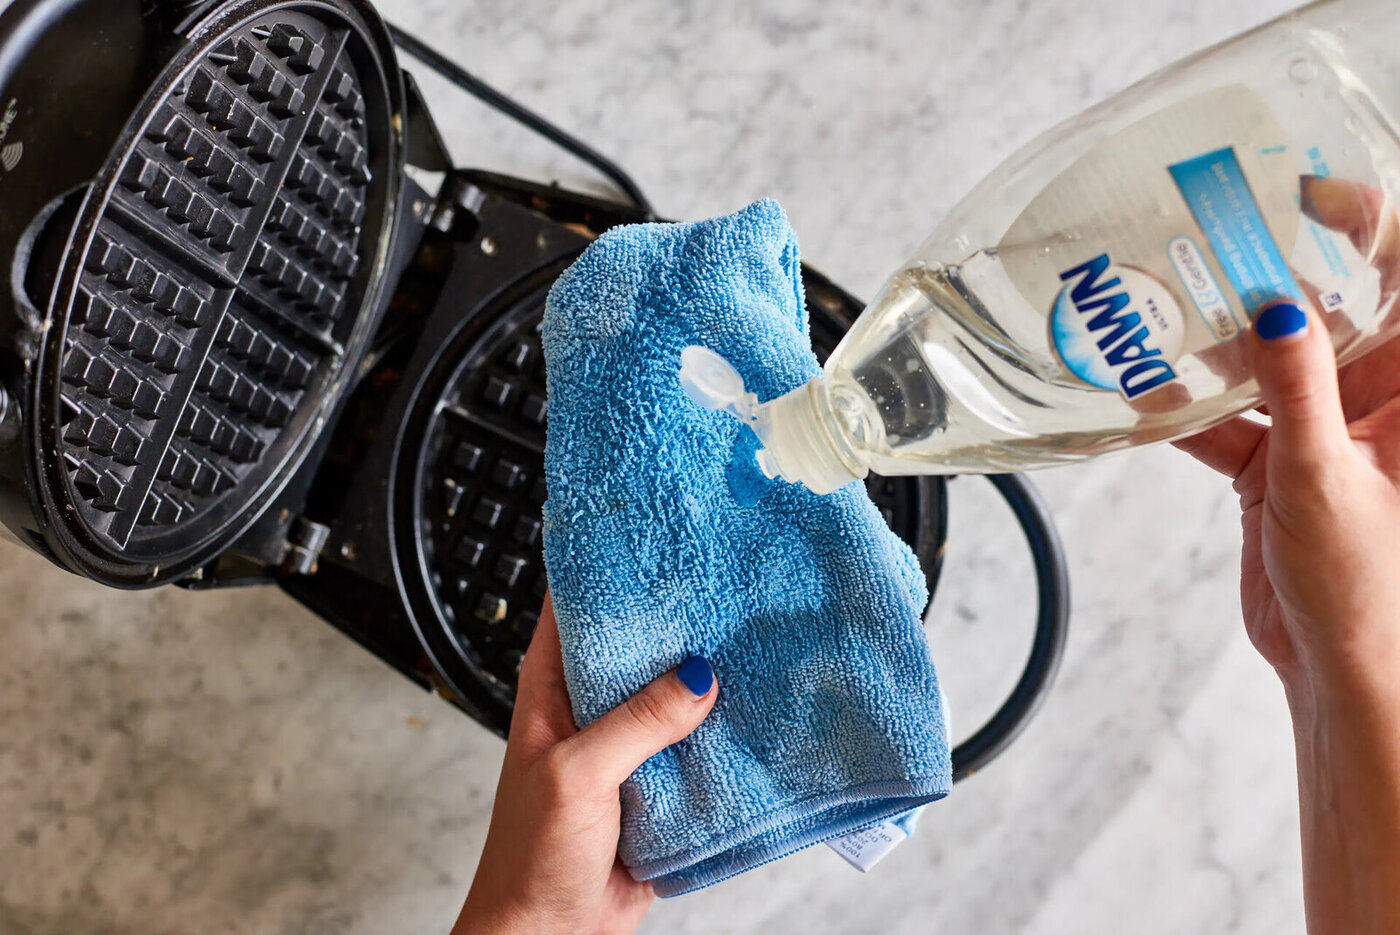
- Mix a Cleaning Solution: Prepare a solution of warm water and mild dish soap. The ratio should be approximately one part dish soap to four parts water.
- Apply the Cleaning Solution: Dip a soft cloth or sponge into the cleaning solution, ensuring it is not too wet. Lightly scrub the plates, focusing on any areas with stubborn residue.
- Rinse the Plates: After scrubbing, rinse the plates with warm water to remove any leftover cleaning solution or debris.
- Dry the Plates: Pat the plates dry using a clean cloth or allow them to air dry completely before reassembling or using the waffle iron again.
- Reattach the Plates (if applicable): If you removed the plates earlier, follow the manufacturer’s instructions to reattach them securely.
By following these steps, you’ll be able to keep the plates of your Krups waffle iron clean and ready for your next batch of scrumptious waffles. Remember to handle the plates with care to prevent any damage while cleaning or reattaching them.
Removing Stubborn Residue
Despite our best efforts, sometimes stubborn residue can build up on the plates of our Krups waffle iron. If regular cleaning methods aren’t enough to remove it, don’t worry. Here are some additional steps you can take to tackle stubborn residue:
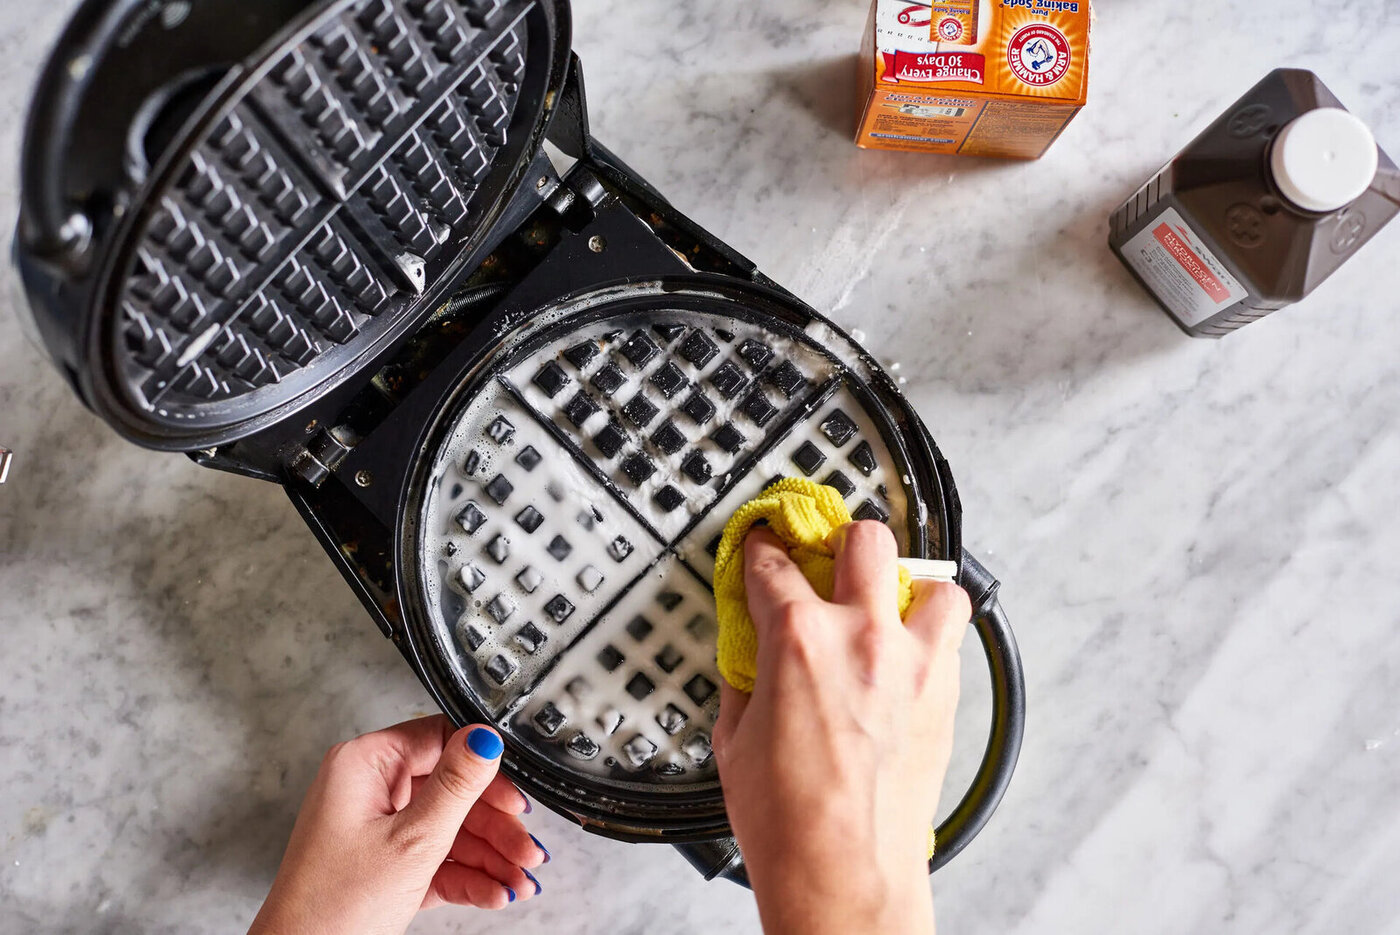
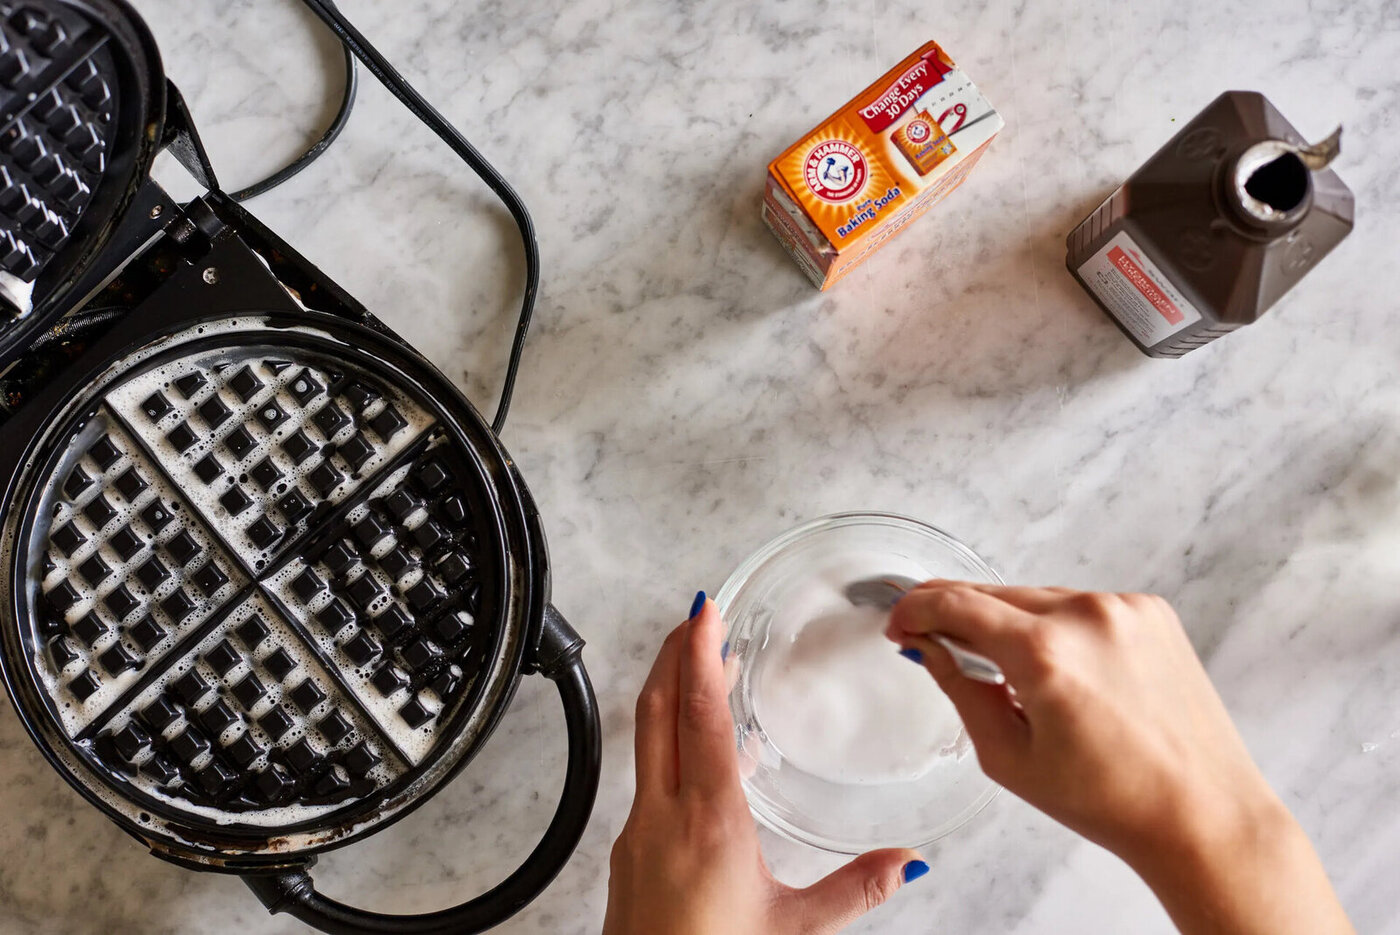
- Apply Baking Soda Paste: Make a thick paste using baking soda and water. Apply this paste to the stubborn residue on the plates and let it sit for about 15-20 minutes. The alkaline properties of baking soda will help break down the residue.
- Gently Scrub with a Non-abrasive Brush: After the baking soda paste has had time to work its magic, use a non-abrasive brush, such as a soft toothbrush or a nylon sponge, to gently scrub the residue. Be careful not to use excessive force, as it may damage the plates.
- Repeat the Process if Necessary: If the residue is particularly stubborn, you may need to repeat the baking soda paste application and scrubbing process to fully remove it. Patience and persistence are key.
- Rinse and Dry: Once you have successfully removed the stubborn residue, thoroughly rinse the plates with warm water. Ensure that all traces of the baking soda paste are washed away. Finally, dry the plates completely before reusing or storing the waffle iron.
- Use Vinegar Solution (optional): If baking soda doesn’t do the trick, you can try using a vinegar solution. Mix equal parts water and white vinegar, and gently scrub the plates with this solution. Rinse and dry thoroughly afterwards.
Remember, it’s important to avoid using harsh chemicals, abrasive cleaners, or metal brushes on the plates, as these can damage the non-stick coating and affect the performance of your waffle iron.
By following these steps and being patient, you’ll be able to remove stubborn residue from your Krups waffle iron, restoring it to its former glory and ensuring it continues to produce perfect waffles every time.
To clean a Krups waffle iron, unplug it and let it cool. Wipe the plates with a damp cloth, then use a soft brush to remove any stuck-on batter. Never immerse the iron in water.
Read more: How To Clean Cuisinart Waffle Iron
Cleaning the Exterior
While it’s important to focus on cleaning the plates of your Krups waffle iron, don’t forget about the exterior surfaces. Here’s how you can effectively clean the exterior of your waffle iron:
- Unplug the Waffle Iron: As always, make sure the waffle iron is unplugged from the power source before starting the cleaning process.
- Prepare a Cleaning Solution: Mix a solution of warm water and mild dish soap in a bowl or container. The ratio should be approximately one part dish soap to four parts water.
- Dampen a Cloth or Sponge: Dip a soft cloth or sponge into the cleaning solution, ensuring it’s not too wet. Wring out any excess liquid to avoid dripping.
- Gently Wipe the Exterior: Use the damp cloth or sponge to gently wipe the exterior surfaces of the waffle iron. Pay attention to any areas with stains, spills, or residue.
- Remove Stubborn Stains: For stubborn stains, you can apply a paste made of baking soda and water. Rub the paste onto the stained areas and let it sit for a few minutes. Then, gently scrub the stains with a soft cloth or sponge.
- Rinse and Dry: After cleaning the exterior, rinse the cloth or sponge with clean water and wipe away any soap residue. Rinse the exterior of the waffle iron with a clean damp cloth to remove any remaining cleaning solution or residue. Finally, dry the exterior surfaces thoroughly with a clean towel.
By regularly cleaning the exterior of your Krups waffle iron, you not only maintain its appearance but also prevent any buildup of dirt or grime that could affect its performance over time.
Remember to always follow the manufacturer’s instructions for cleaning and avoid using abrasive materials or harsh chemicals that may damage the exterior surfaces of the waffle iron.
Cleaning the Drip Tray
The drip tray of your Krups waffle iron is designed to catch any excess batter or oil that may drip during the cooking process. Cleaning the drip tray is an important step in keeping your waffle iron clean and hygienic. Here’s how you can clean the drip tray effectively:
- Remove the Drip Tray: Check if your Krups waffle iron has a removable drip tray. If it does, carefully detach it from the appliance as per the manufacturer’s instructions.
- Dispose of Excess Drippings: Empty the contents of the drip tray into the sink or trash. If there is solidified batter or residue, gently scrape it off using a non-abrasive utensil.
- Wash with Warm, Soapy Water: Fill a sink or basin with warm water and add a small amount of mild dish soap. Submerge the drip tray in the soapy water and use a sponge or cloth to scrub away any remaining residue or stains.
- Rinse Thoroughly: After scrubbing, rinse the drip tray with clean water to remove any soap residue. Check if there are any hard-to-reach areas and use a brush or toothbrush to clean them.
- Dry Completely: Pat the drip tray dry with a clean cloth or towel. Ensure that it is completely dry before reattaching it to the waffle iron or storing it to avoid any mold or mildew buildup.
If your Krups waffle iron doesn’t have a removable drip tray, you can wipe it clean using a damp cloth and mild dish soap. Be careful when cleaning around the heating elements and avoid getting the electrical parts wet.
Regularly cleaning the drip tray will prevent any buildup of residue or bacteria, ensuring that your waffle iron remains in optimal condition and ready to use for your next culinary adventure.
Storing the Waffle Iron
Properly storing your Krups waffle iron is essential to keep it in good condition and prolong its lifespan. Here are some tips to follow when storing your waffle iron:
- Cool Down Completely: Before storing the waffle iron, make sure it has cooled down completely. This ensures safety and prevents any damage to the appliance or surrounding items.
- Remove Removable Plates and Drip Tray (if applicable): If your Krups waffle iron has removable plates or a drip tray, detach them as per the manufacturer’s instructions. This allows for easier storage and cleaning when needed.
- Clean and Dry: Give the waffle iron a thorough cleaning, following the steps mentioned earlier. Make sure all plates, the drip tray, and the exterior surfaces are clean and dry before storing to prevent any mold or mildew growth.
- Wrap Power Cord Tightly: Carefully wrap the power cord around the waffle iron, making sure it is secure and won’t get tangled or damaged during storage. Avoid bending or kinking the cord, as this can lead to electrical issues.
- Find a Safe, Dry Location: Choose a cool, dry location for storing your waffle iron. Avoid areas with extreme temperatures or high humidity, as these conditions can affect the performance and longevity of the appliance.
- Protect From Dust and Debris: To keep your waffle iron clean during storage, cover it with a clean cloth or place it in a storage bag specifically designed for kitchen appliances. This will help prevent dust, dirt, and other debris from accumulating on the surfaces.
- Avoid Heavy Objects: When storing your waffle iron, avoid placing heavy objects on top of it. This can cause damage to the appliance or its components.
- Regularly Check and Inspect: Periodically check on your stored waffle iron to ensure that it remains in good condition. Look for any signs of damage, pests, or other issues that may require attention.
By following these storage tips, you can keep your Krups waffle iron safe and ready to use for your next breakfast or brunch gathering.
Remember to consult the manufacturer’s instructions for any specific storage recommendations or considerations that apply to your model of waffle iron.
Conclusion
Congratulations! You have now learned how to properly clean and maintain your Krups waffle iron. By following the steps outlined in this article, you can ensure that your waffle iron remains in pristine condition, allowing you to enjoy delicious homemade waffles for years to come.
Starting with the necessary safety precautions, you can ensure that the cleaning process is carried out without any accidents or mishaps. Preparing the waffle iron beforehand helps in achieving a more effective clean, while cleaning the plates thoroughly removes any residue or stuck-on batter.
If you encounter stubborn residue, don’t worry! The steps provided for removing stubborn residue will help you tackle even the most resistant stains. Additionally, taking care of the exterior surfaces and the drip tray will ensure that your waffle iron is hygienic and free from any buildup.
When it’s time to store your waffle iron, remember to clean it thoroughly, detach any removable parts, and choose a suitable location that is cool and dry. Taking these steps will help maintain the quality and performance of your waffle iron during storage.
Always refer to the manufacturer’s instructions and guidelines for your specific Krups waffle iron model. These instructions will provide any additional information or considerations for cleaning and maintenance.
Now that you have all the tools and knowledge, it’s time to embark on your waffle-making adventures with a clean and well-maintained Krups waffle iron. So, get ready to delight your family and friends with mouthwatering waffles that are sure to impress!
Frequently Asked Questions about How To Clean A Krups Waffle Iron
Was this page helpful?
At Storables.com, we guarantee accurate and reliable information. Our content, validated by Expert Board Contributors, is crafted following stringent Editorial Policies. We're committed to providing you with well-researched, expert-backed insights for all your informational needs.

0 thoughts on “How To Clean A Krups Waffle Iron”