Articles
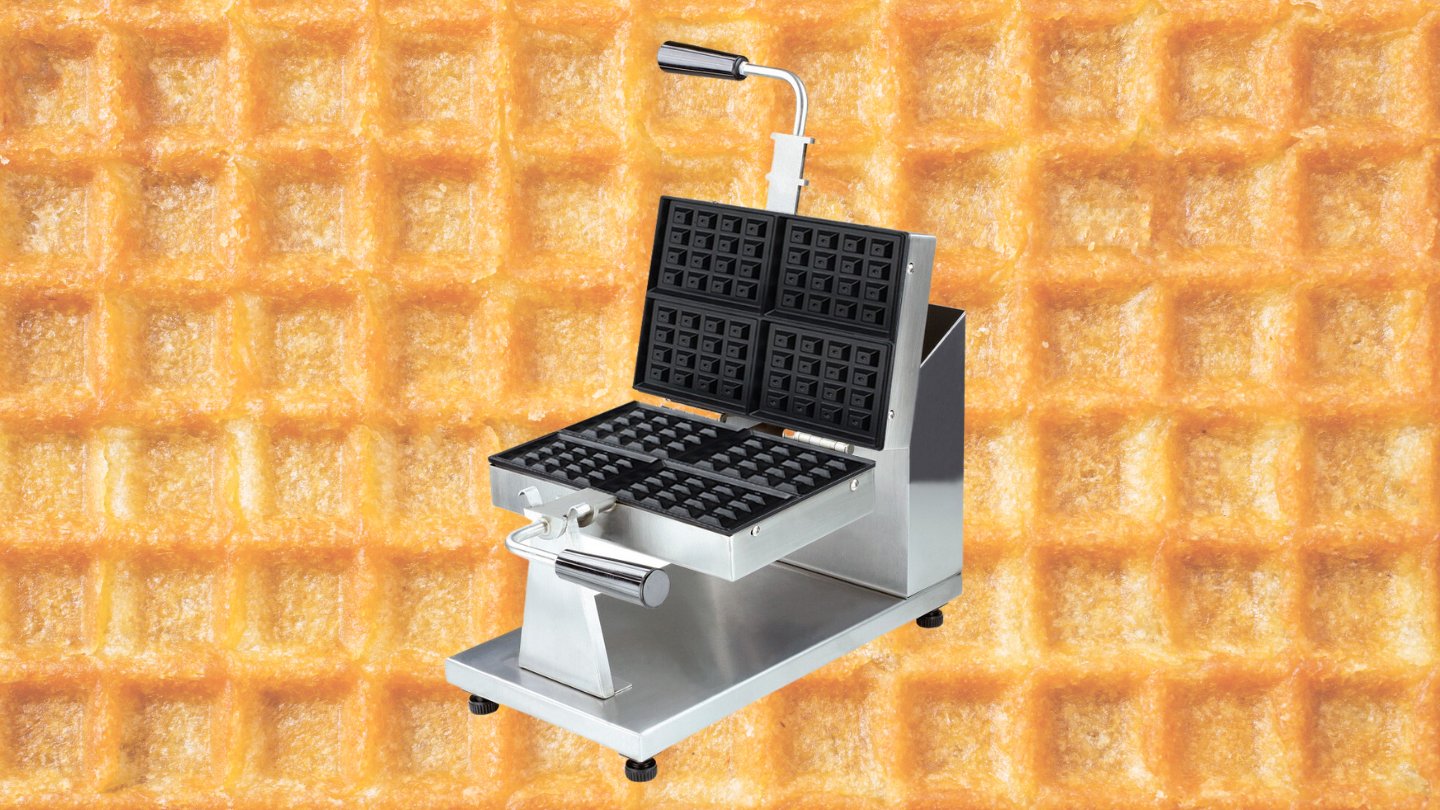
How To Clean A Sticky Waffle Iron
Modified: February 29, 2024
Looking for articles on how to clean a sticky waffle iron? Check out our helpful guide for quick and easy tips to keep your waffle iron sparkling clean!
(Many of the links in this article redirect to a specific reviewed product. Your purchase of these products through affiliate links helps to generate commission for Storables.com, at no extra cost. Learn more)
Introduction
Are you tired of struggling with a sticky waffle iron every time you want to enjoy a delicious homemade waffle breakfast? A sticky waffle iron can be frustrating to deal with, but fear not, because we have the solution for you! In this article, we will guide you through the steps to effectively clean a sticky waffle iron and restore it to its pristine condition.
Over time, the residue from waffle batter can build up on the surface of the waffle iron, making it difficult to remove and leaving a sticky mess behind. Not only does this affect the appearance of your waffle iron, but it can also impact the taste and texture of your waffles. It’s important to regularly clean your waffle iron to ensure that it functions properly and produces perfect waffles every time.
To clean a sticky waffle iron, you don’t need any fancy or expensive cleaning products. With just a few simple materials that you probably already have at home, you can have your waffle iron looking and performing like new in no time. So gather your supplies and let’s get started!
Key Takeaways:
- Say goodbye to sticky waffle iron woes! With just a few household items and simple steps, you can easily restore your waffle iron to its pristine condition and enjoy perfect waffles every time.
- Regular cleaning is key to maintaining a non-sticky waffle iron. Follow the gentle cleaning techniques outlined to ensure optimal performance and delectable waffle creations.
Read more: How To Clean Cuisinart Waffle Iron
Materials Needed
Before you embark on your waffle iron cleaning adventure, make sure you have the following materials on hand:
- A soft cloth
- Dish soap
- A soft brush (such as a toothbrush)
- A dry towel
These materials are readily available in most households, making this waffle iron cleaning process convenient and hassle-free.
It’s important to note that you should never use abrasive materials, such as steel wool or abrasive cleaners, on your waffle iron. These can damage the surface and interfere with its non-stick properties. Stick to gentle and non-abrasive materials to ensure the longevity of your waffle iron.
Step 1: Preparing the Waffle Iron
Before you begin cleaning your sticky waffle iron, it’s essential to take some precautions to protect both yourself and the appliance. Follow these steps to prepare the waffle iron for cleaning:
- Unplug the waffle iron: Ensure that the waffle iron is not connected to a power source to prevent any accidents or electric shocks.
- Allow the waffle iron to cool: It’s important to let the waffle iron cool completely to avoid burns. Never attempt to clean a hot waffle iron.
- Remove the plates or detachable parts (if applicable): If your waffle iron has removable plates or parts, carefully detach them according to the manufacturer’s instructions. This will make the cleaning process easier and more thorough.
By following these preparation steps, you ensure that the cleaning process is safe, efficient, and effective. Now that you have prepared your waffle iron, you’re ready to move on to the next step!
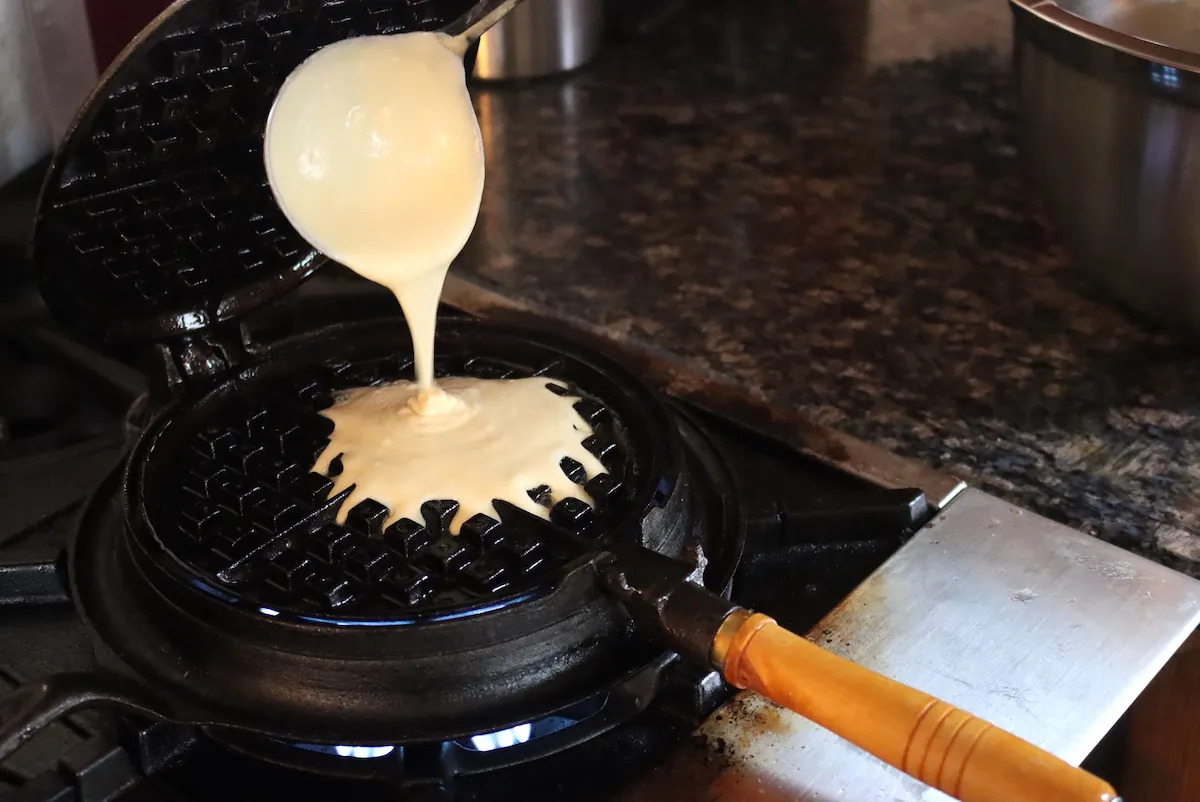
Step 2: Removing Excess Batter
After preparing your waffle iron, it’s time to tackle the first step in the cleaning process: removing excess batter.
- Use a plastic or silicone spatula: Gently scrape off any excess batter from the surface of the waffle iron. Be careful not to scratch or damage the non-stick coating while doing so.
- Dispose of the batter: Place the scraped off batter into a garbage bin or compost pile. Avoid rinsing the batter down the sink, as it can clog the drain.
Removing the excess batter will prevent it from hardening or becoming even stickier, making the cleaning process more challenging. By taking the time to remove the batter before proceeding, you set yourself up for a more effective cleaning experience.
If there are any stubborn or dried-on batter spots that are difficult to remove, don’t worry. We will address those in the subsequent steps. Now that you have eliminated the majority of the excess batter, let’s move on to the next step!
Step 3: Using a Damp Cloth
Now that you’ve removed the excess batter, it’s time to start cleaning the sticky residue on your waffle iron. In this step, we’ll use a damp cloth to begin loosening and removing the stickiness.
- Dampen a soft cloth: Take a clean, soft cloth and dampen it with warm water. Make sure the cloth is not dripping wet, as excessive water can seep into the electrical components of the waffle iron.
- Gently wipe the surface: Carefully wipe the damp cloth over the surface of the waffle iron. Pay extra attention to the areas where the batter has left a sticky residue.
- Repeat as necessary: If the initial wipe isn’t sufficient to remove all the stickiness, repeat the process with a clean section of the damp cloth. Continue wiping until the sticky residue is significantly reduced or removed completely.
Using a damp cloth is a gentle yet effective way to start breaking down the stickiness on the waffle iron’s surface. It helps to soften the residue, making it easier to remove in the subsequent steps. Let’s move on to the next step to further enhance the cleaning process.
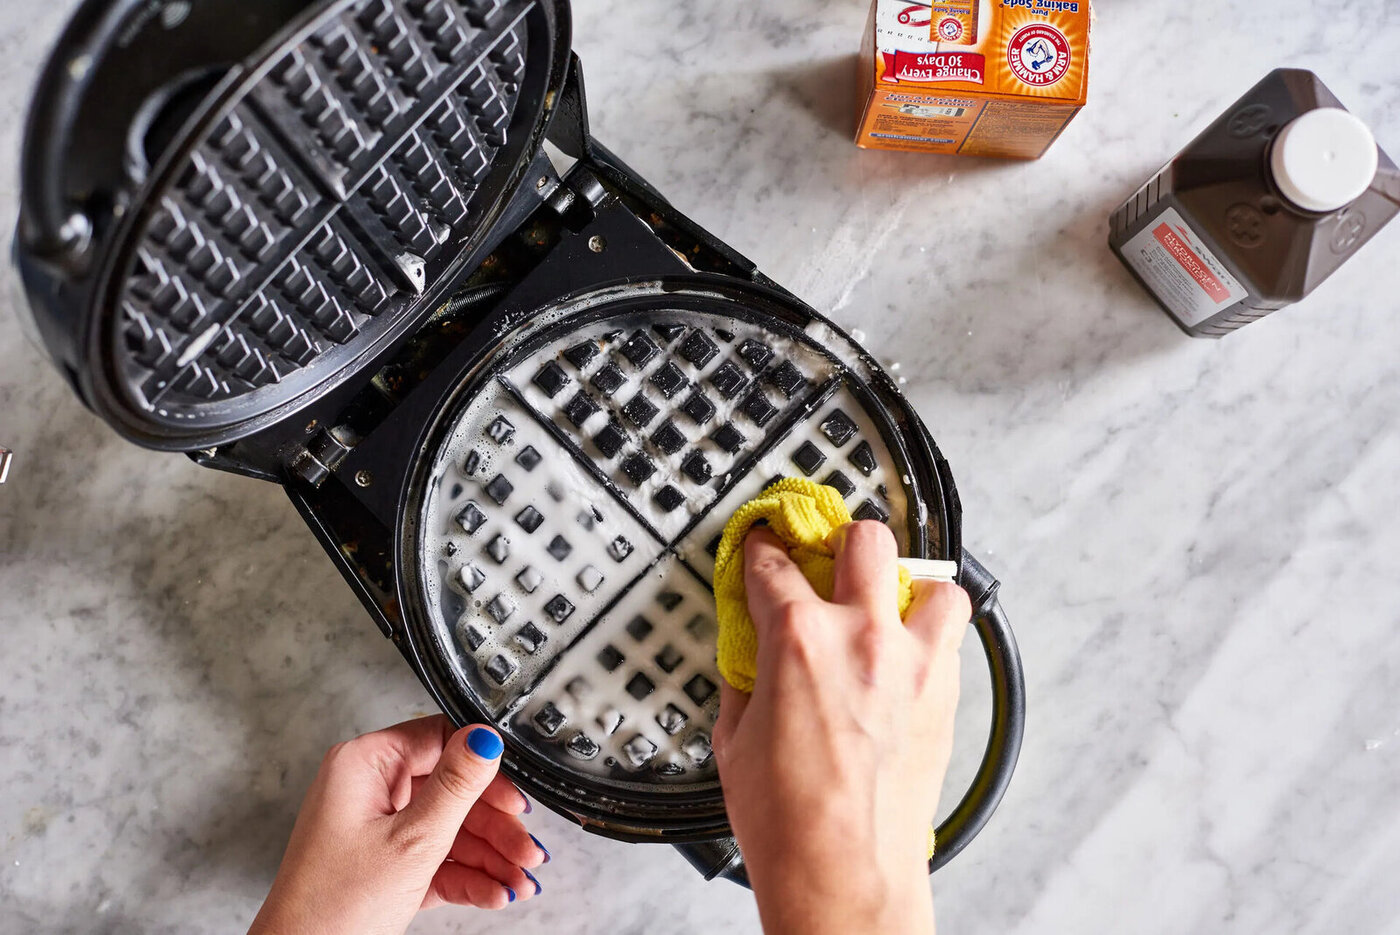
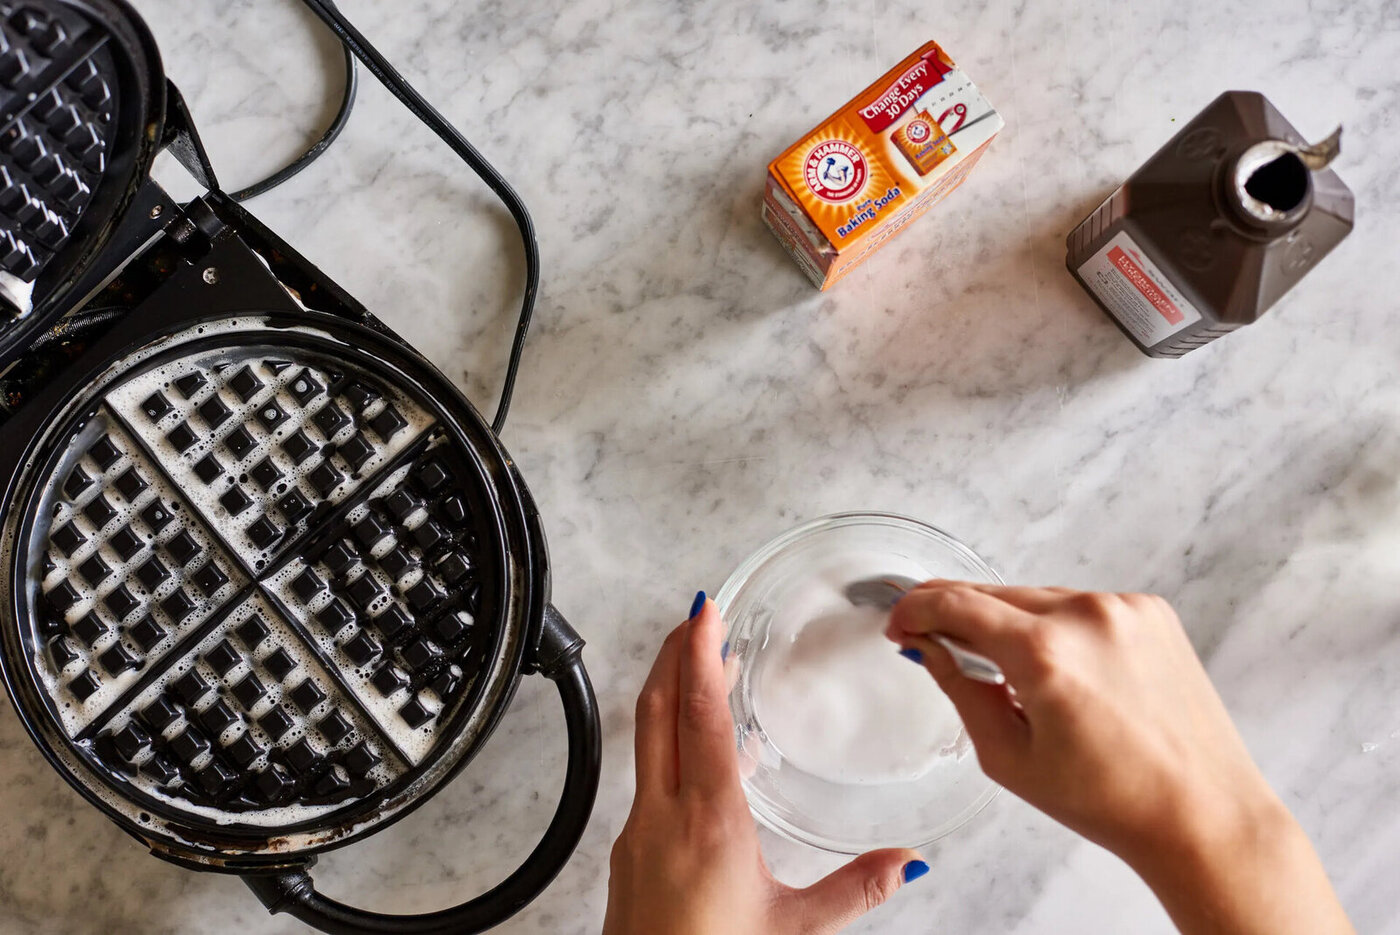
To clean a sticky waffle iron, unplug it and let it cool. Wipe off excess batter with a damp cloth, then use a soft brush to remove any remaining residue. For stubborn spots, use a mixture of water and baking soda to gently scrub the surface. Wipe dry and store properly.
Read more: How To Clean Waffle Iron Stuck
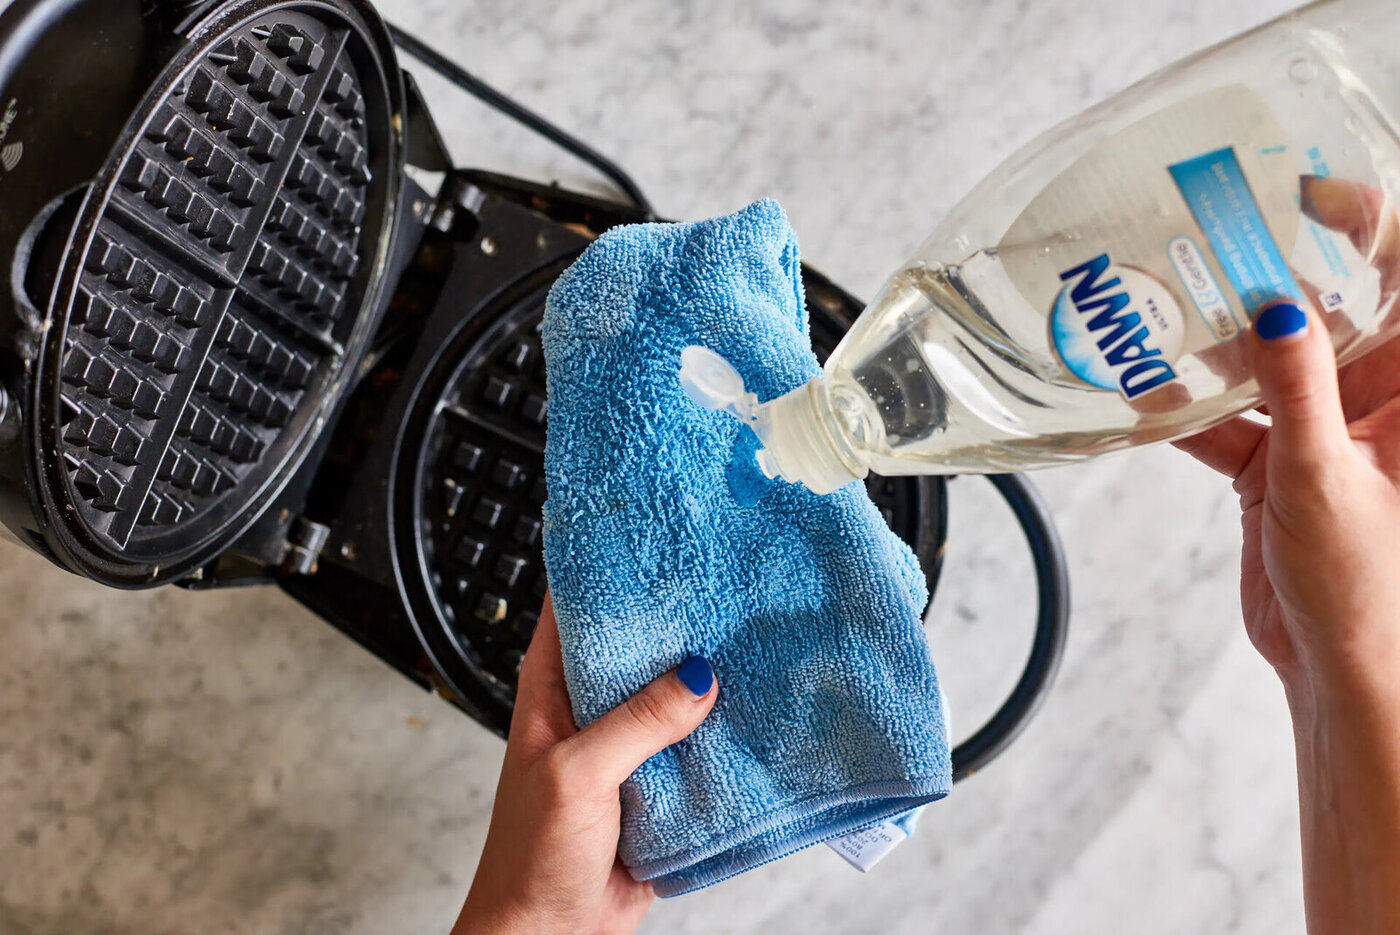
Step 4: Applying Dish Soap
Now that the stickiness has been loosened with the damp cloth, it’s time to tackle the next step in the cleaning process: applying dish soap.
- Squeeze a small amount of dish soap onto the damp cloth: Take a few drops of dish soap and apply it directly onto the cloth. Make sure not to use an excessive amount, as this can create excessive suds and make it difficult to clean.
- Gently scrub the surface: Using the soapy cloth, gently scrub the surface of the waffle iron in a circular motion. Pay attention to the areas with stubborn or dried-on residue.
- Focus on the ridges and crevices: Use your fingers or a soft brush to reach into the ridges and crevices of the waffle iron. Scrub gently to ensure that the soap gets into all the nooks and crannies.
The dish soap helps to break down the sticky residue further, making it easier to remove. It also helps to eliminate any lingering odors from previous use. After scrubbing with dish soap, you should notice a significant improvement in the stickiness of the waffle iron. Let’s move on to the next step to ensure a thorough cleaning.
Step 5: Scrubbing with a Soft Brush
Now that you have applied dish soap to the waffle iron, it’s time to give it a more thorough scrubbing using a soft brush.
- Select a soft brush: Choose a soft brush that is appropriate for cleaning delicate surfaces. A toothbrush or a small, soft-bristle brush will work well for this step.
- Dip the brush in warm soapy water: Dip the brush into warm soapy water to moisten the bristles and ensure effective cleaning.
- Gently scrub the surface: Starting from one end of the waffle iron, use the brush to scrub the surface in circular motions. Pay extra attention to areas that still have stubborn residue.
- Continue scrubbing: Continue scrubbing the entire surface of the waffle iron, working your way around and covering all the ridges, grooves, and corners.
The soft brush allows you to apply more pressure and effectively remove any remaining stickiness or residue. Take your time and be thorough in your scrubbing, ensuring that all areas of the waffle iron are clean and free of stickiness.
After scrubbing with the soft brush, rinse the waffle iron under warm water to remove any remaining soap residue. This will leave your waffle iron clean and ready for the final steps of the cleaning process.
Step 6: Cleaning the Exterior
Cleaning the exterior of the waffle iron is just as important as cleaning the interior. In this step, we’ll focus on ensuring that the outside of the waffle iron is also free from dirt, grease, and any other build-up.
- Unplug the waffle iron (if not already done): Ensure that the waffle iron is not connected to a power source for safety reasons.
- Dampen a clean cloth: Take a clean cloth and dampen it with warm water. Make sure the cloth is not dripping wet.
- Gently wipe the exterior: Wipe the damp cloth over the exterior surface of the waffle iron to remove any dust, grease, or other residue that may have accumulated.
- Pay attention to buttons and knobs: Use a damp cotton swab or toothpick to gently clean any crevices or hard-to-reach areas, such as buttons and knobs.
By cleaning the exterior of the waffle iron, you not only improve its appearance but also prevent any dirt or grime from transferring onto your waffles during the cooking process.
Once you have thoroughly wiped and cleaned the exterior, use a dry towel to gently dry the waffle iron. Ensure that it is completely dry before moving on to the final step.
Step 7: Drying the Waffle Iron
The final step in the waffle iron cleaning process is to ensure that it is properly dried before storing or using it again.
- Use a dry towel: Take a dry towel and gently wipe the waffle iron to remove any moisture.
- Air drying: Allow the waffle iron to air dry for a few minutes to ensure that all parts are completely dry.
- Reassemble (if applicable): If you had detached any removable plates or parts, reattach them according to the manufacturer’s instructions.
It’s crucial to ensure that the waffle iron is completely dry before using or storing it. Moisture left on the surface can promote the growth of bacteria or cause corrosion over time, which can affect the performance of the waffle iron.
Once the waffle iron is dry, you can store it in a clean, dry place, ready for the next time you want to whip up some delicious homemade waffles!
By following these seven steps, you can effectively clean a sticky waffle iron and restore it to its optimal condition. Remember to clean your waffle iron regularly to prevent excessive build-up or stickiness.
Enjoy your perfectly clean waffle iron and indulge in some delectable waffle creations!
Read more: How To Safely Clean A Waffle Iron
Conclusion
Cleaning a sticky waffle iron doesn’t have to be a daunting task. With a few simple materials and a step-by-step process, you can effectively remove the stickiness and residue, restoring your waffle iron to its original shine.
Regular cleaning of your waffle iron is essential to ensure that it functions properly and produces delicious waffles every time. Neglecting to clean a sticky waffle iron can lead to uneven cooking, sticking, and an unpleasant taste in your waffles.
Remember to take the necessary precautions, such as unplugging the waffle iron and allowing it to cool before cleaning. Use a combination of gentle techniques, such as wiping with a damp cloth and scrubbing with a soft brush, to remove the stickiness and residue.
By following the step-by-step process outlined in this article, you can easily clean your waffle iron and enjoy perfect waffles every time. Don’t forget to also clean the exterior of the waffle iron to maintain its overall cleanliness and appearance.
Now that you know how to clean a sticky waffle iron, it’s time to put this knowledge into action. Gather your materials, follow the steps, and enjoy the satisfaction of cooking on a clean and well-maintained waffle iron.
So go ahead, whip up some batter, pour it onto your clean and non-sticky waffle iron, and savor every bite of your freshly made waffles. Happy cooking!
Frequently Asked Questions about How To Clean A Sticky Waffle Iron
Was this page helpful?
At Storables.com, we guarantee accurate and reliable information. Our content, validated by Expert Board Contributors, is crafted following stringent Editorial Policies. We're committed to providing you with well-researched, expert-backed insights for all your informational needs.


0 thoughts on “How To Clean A Sticky Waffle Iron”