Home>Storage Ideas>Kitchen Storage>How To Clean A Waffle Iron So It Looks Like New
Kitchen Storage
How To Clean A Waffle Iron So It Looks Like New
Modified: August 28, 2024
Discover effective kitchen storage ideas for organizing your waffle iron and keeping it looking brand new. Streamline your kitchen with these helpful tips!
(Many of the links in this article redirect to a specific reviewed product. Your purchase of these products through affiliate links helps to generate commission for Storables.com, at no extra cost. Learn more)
Introduction
Welcome to the wonderful world of waffle making! There’s something truly magical about the smell of fresh waffles wafting through your home. However, after enjoying a delicious batch of waffles, it’s important to properly clean and maintain your waffle iron. By doing so, you can ensure that your appliance remains in good condition and continues to create perfect waffles for years to come.
Cleaning a waffle iron may seem like a daunting task, but fear not! With the right supplies and a little bit of know-how, you can easily restore your waffle iron to its pristine condition, making it look like new again. In this article, we will guide you through a step-by-step process to clean your waffle iron effectively.
Before we begin, let’s gather the supplies you’ll need:
- Mild dish soap or a gentle cleaning solution
- Soft-bristled brush or sponge
- Non-abrasive cloth or paper towels
- Water
Once you have these supplies ready, let’s jump right into the cleaning process and make your waffle iron sparkle!
Key Takeaways:
- Keep your waffle iron in top shape by following these simple cleaning steps. Gather the right supplies, remove excess batter, and tackle stubborn stains for a sparkling, like-new appliance.
- Regular cleaning and proper storage will prolong your waffle iron’s lifespan and ensure delicious waffles for years to come. Don’t forget to dry and store it in a cool, dry place for optimal performance.
Supplies Needed
Before you begin cleaning your waffle iron, gather the following supplies:
- Mild dish soap or a gentle cleaning solution: Choose a soap that is free from harsh chemicals and abrasives to avoid damaging the surface of your waffle iron.
- Soft-bristled brush or sponge: Look for a brush or sponge with soft bristles to ensure gentle yet effective cleaning of the waffle iron plates.
- Non-abrasive cloth or paper towels: These will come in handy for wiping down the exterior of the waffle iron.
- Water: You’ll need water for rinsing the plates and removing any cleaning solution residue.
By having these supplies ready, you’ll be well-equipped to tackle the task of cleaning your waffle iron.
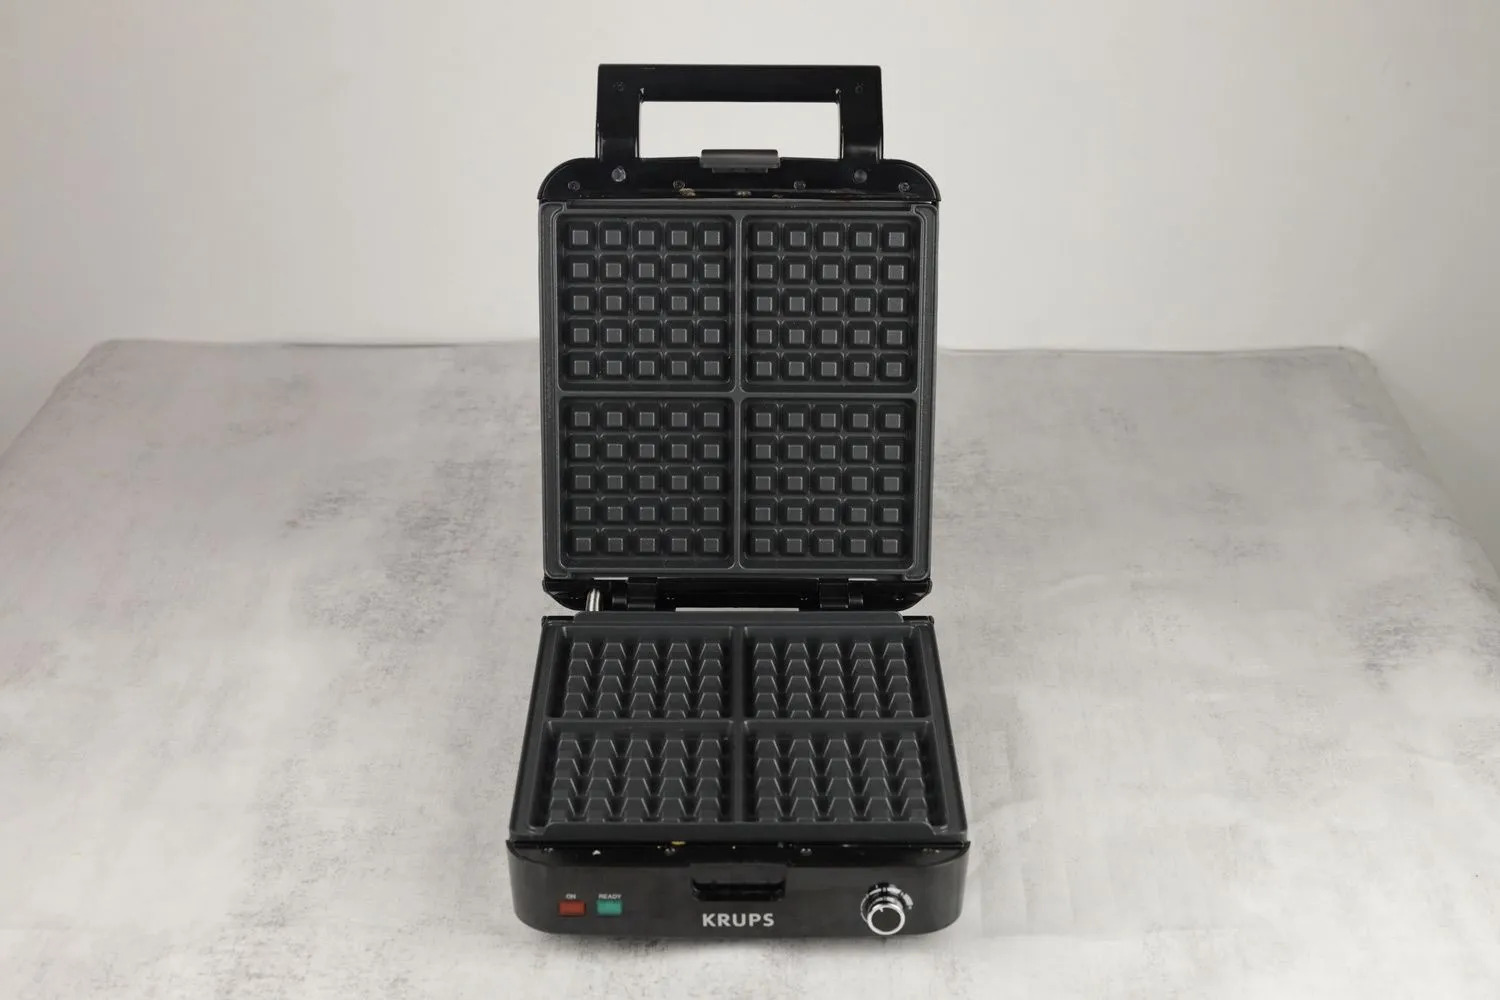
Step 1: Preparing the Waffle Iron
Before you start cleaning your waffle iron, it’s important to ensure that it is safe to handle and that there are no remnants of batter or oil on the plates. Follow these steps to prepare your waffle iron for cleaning:
- Unplug the waffle iron: Always begin by disconnecting the appliance from the power source to avoid any accidents.
- Allow it to cool down: Give your waffle iron some time to cool down completely before you begin the cleaning process. This will prevent any burns or injuries.
- Remove excess batter: If there is any leftover batter on the plates, use a spoon or a plastic spatula to gently scrape it off. Be careful not to scratch the non-stick coating!
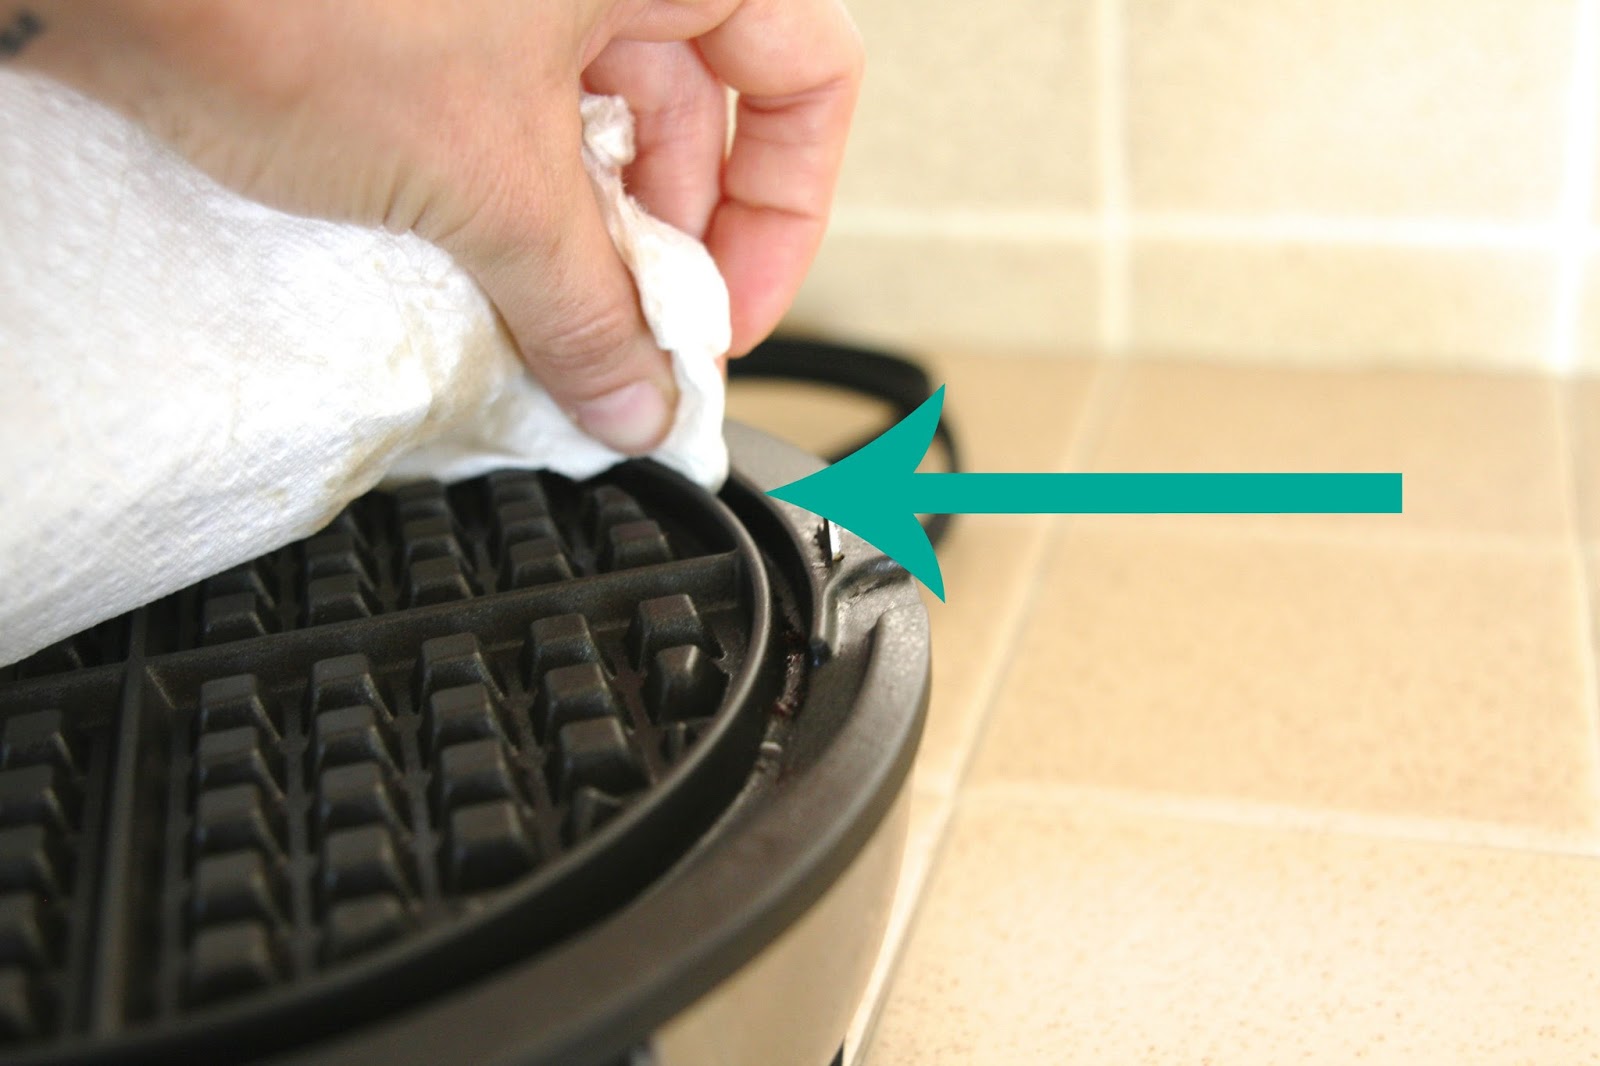
- Dispose of oil or grease: If there is any oil or excess grease accumulated on the plates, wipe it away with a paper towel. This will prevent smoke and unpleasant odors during the cleaning process.
By following these steps, you’ll ensure that your waffle iron is ready to be thoroughly cleaned without any obstructions.
Step 2: Removing Excess Batter
One of the common challenges when it comes to cleaning a waffle iron is dealing with leftover batter that has baked onto the plates. Here’s how to remove the excess batter:
- Heat the waffle iron slightly: Plug the waffle iron back in and turn it on for a minute or two. This will help loosen the dried batter.
- Gently scrape off the batter: Grab a plastic spatula or a non-metal utensil and carefully scrape off the loosened batter from the plates. Be gentle to avoid scratching or damaging the non-stick coating.
- Dispose of the batter: Wipe off the removed batter with a paper towel or dispose of it in the trash. Avoid rinsing the batter down the sink, as it can clog the pipes.
By following these steps, you’ll be able to remove the majority of the excess batter from your waffle iron, making the cleaning process much easier.
Step 3: Cleaning the Plates
Now that you’ve removed the excess batter from the waffle iron, it’s time to focus on cleaning the plates. Follow these steps to ensure a thorough and effective cleaning:
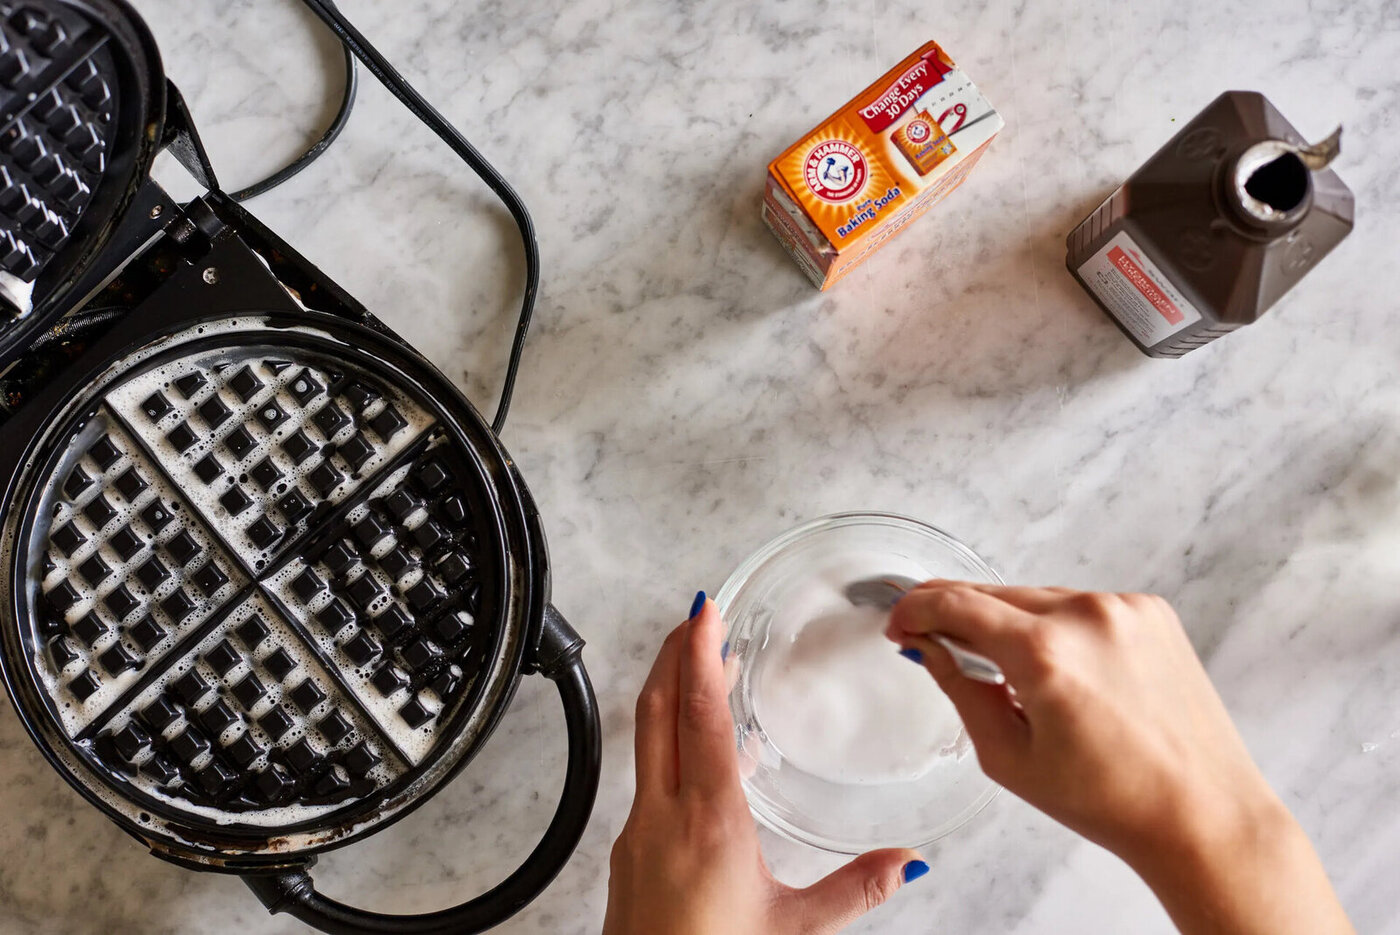
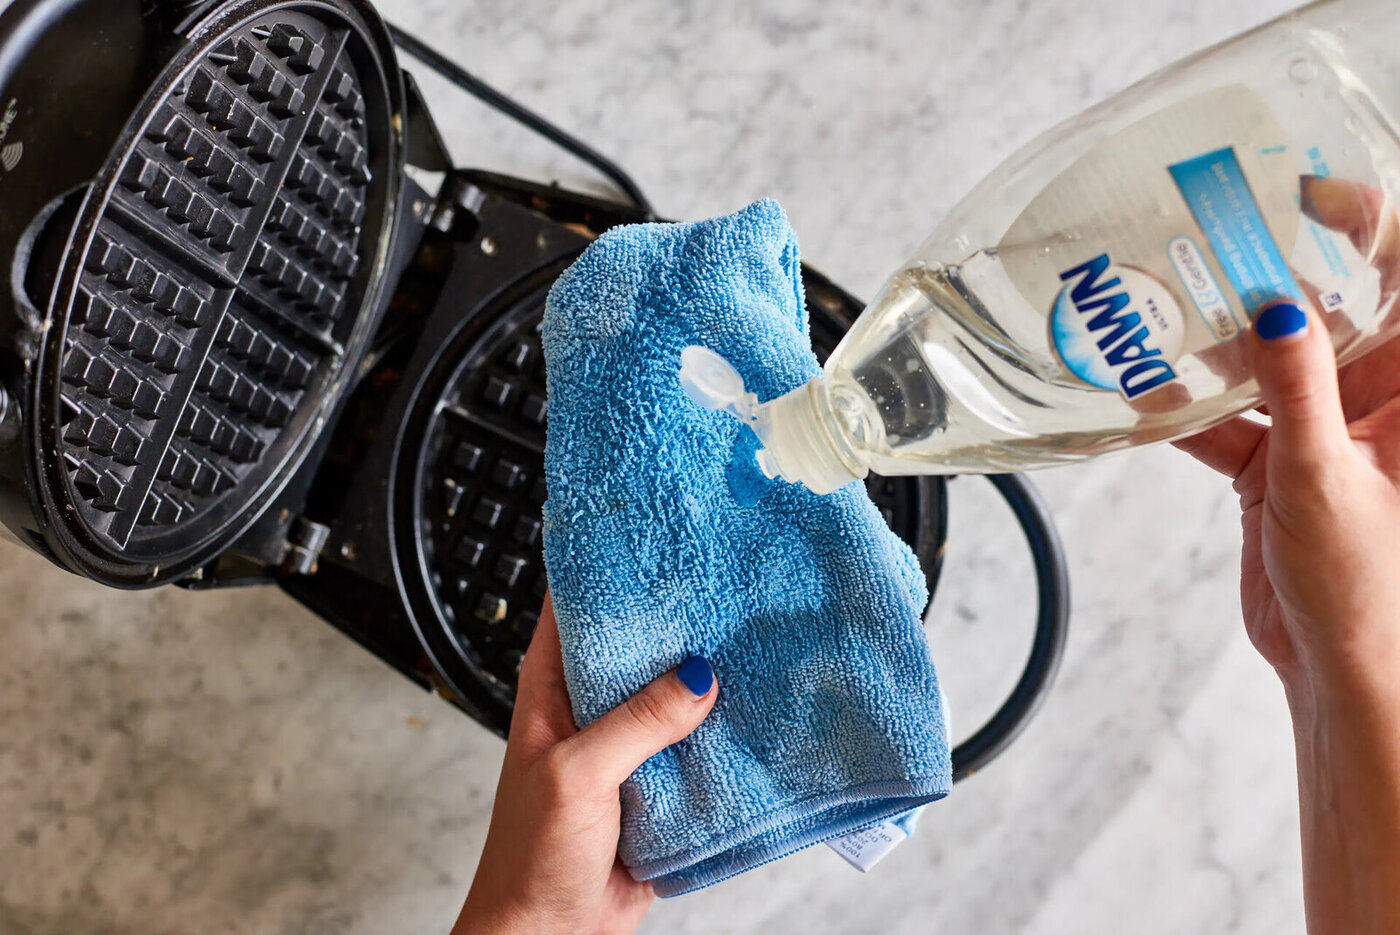
- Mix a cleaning solution: In a bowl, mix a small amount of mild dish soap or a gentle cleaning solution with warm water. Ensure that the solution is well-diluted to avoid any residue.
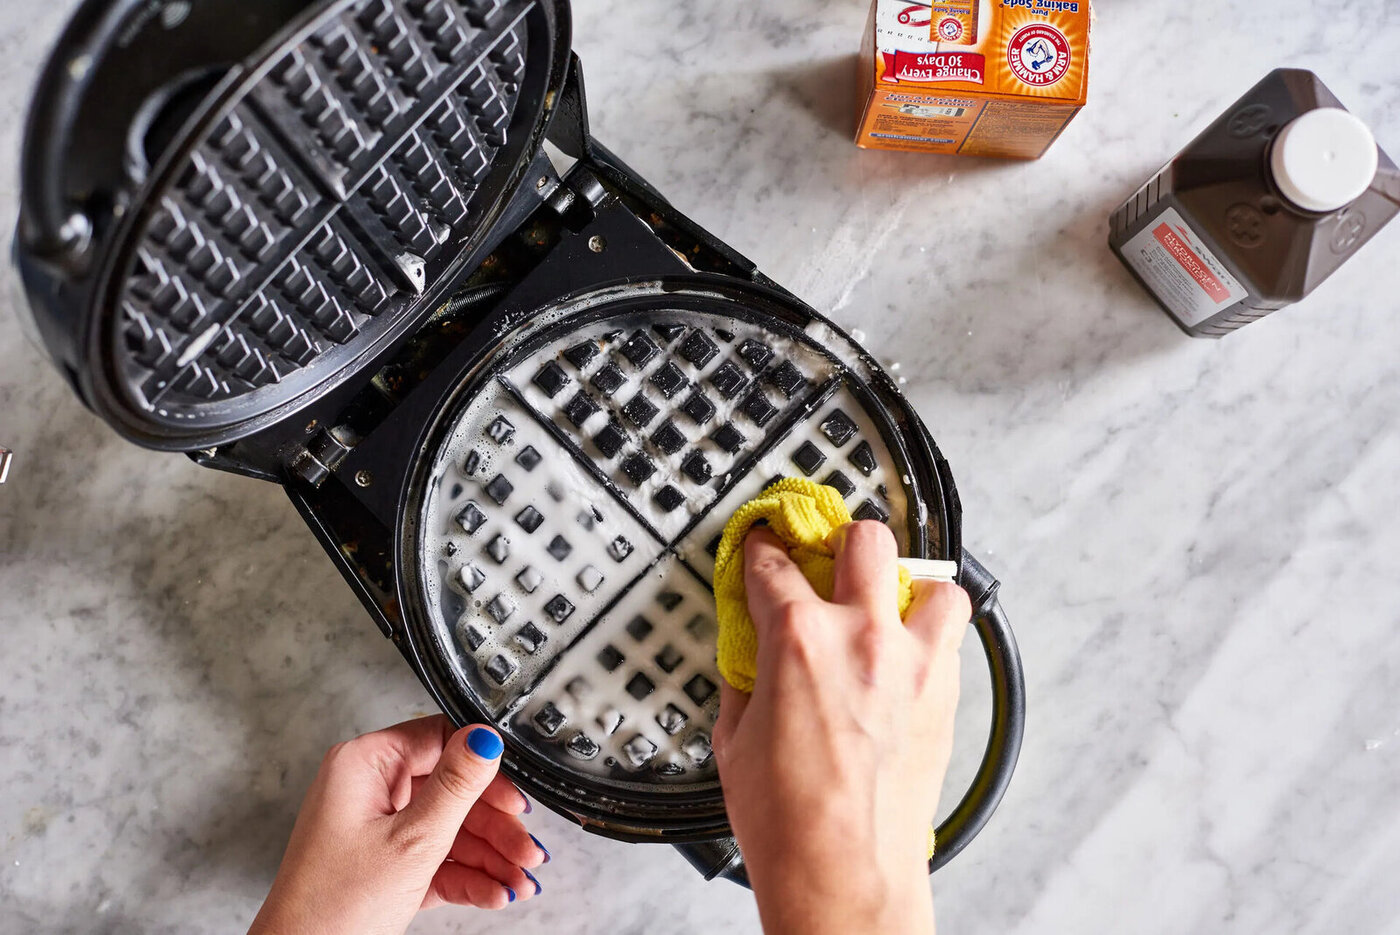
- Apply the cleaning solution: With a soft-bristled brush or sponge, apply the cleaning solution to the plates of the waffle iron. Gently scrub in circular motions, paying attention to any areas with stubborn residue.
- Rinse the plates: Using a damp cloth or paper towel, rinse off the cleaning solution from the plates. Make sure to remove all traces of soap to prevent it from sticking to the plates during future use.
- Dry the plates: Before storing or using the waffle iron again, ensure that the plates are completely dry. Use a dry cloth or allow them to air dry naturally.
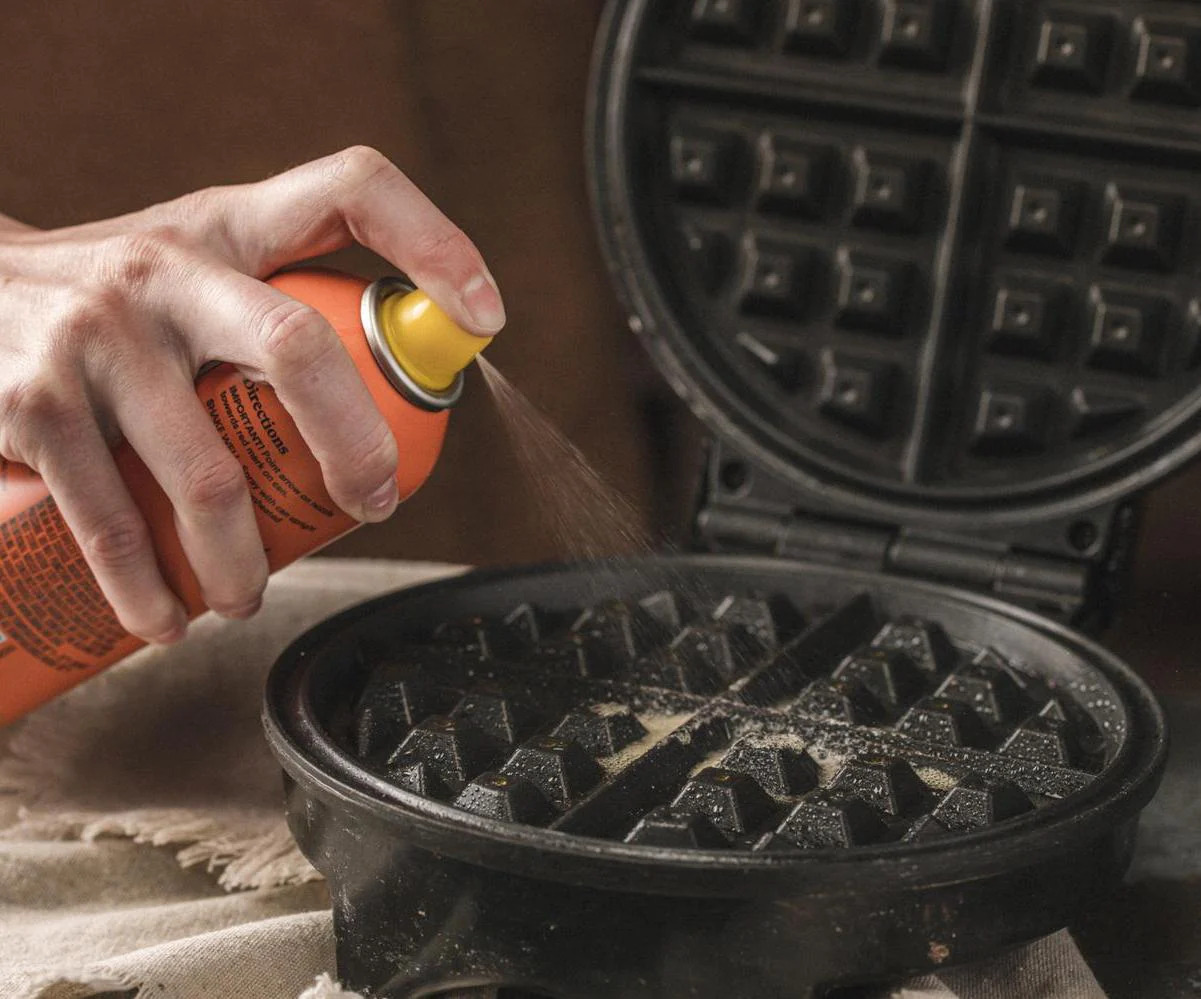
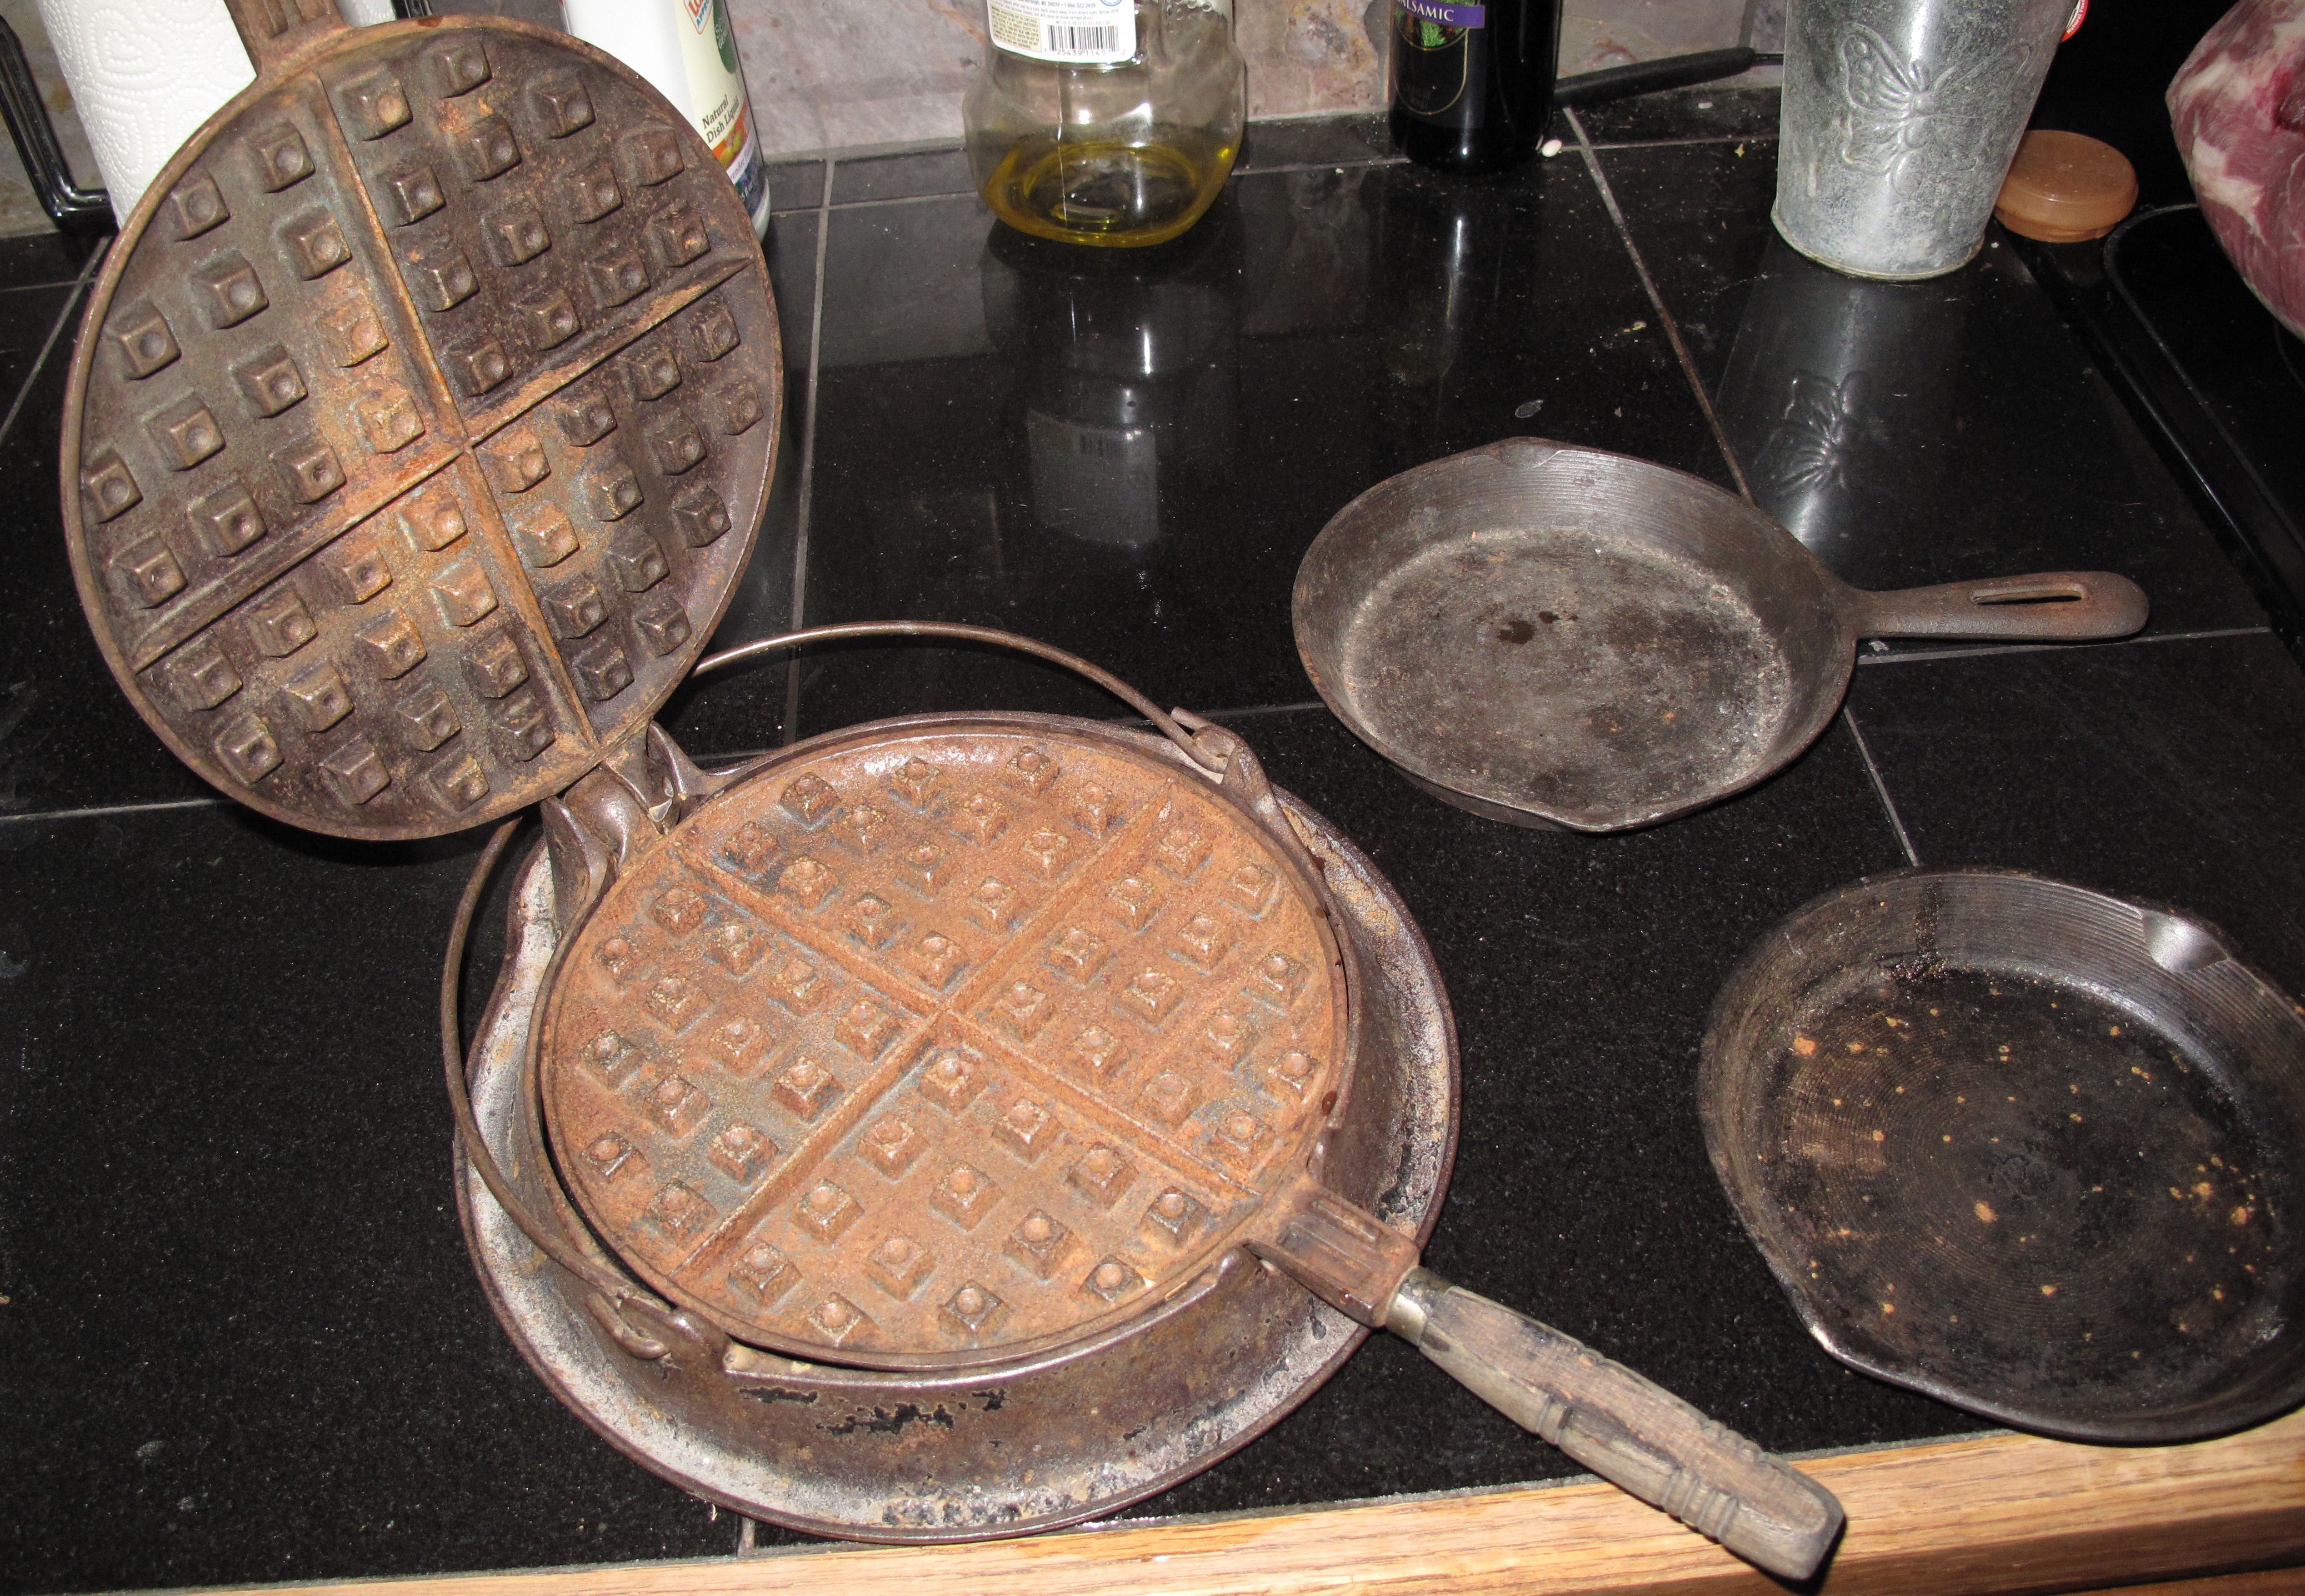
- Re-season the plates (if necessary): If your waffle iron has uncoated cast iron plates, you may need to season them after cleaning. Follow the manufacturer’s instructions or apply a thin layer of cooking oil to the plates and wipe off any excess.
Cleaning the plates of your waffle iron is crucial to maintaining its performance and preventing any buildup that can affect the quality of your waffles.
To clean a waffle iron, unplug it and let it cool. Wipe away excess crumbs with a dry cloth. For stuck-on batter, use a soft brush or cloth dampened with water and mild soap. Avoid using abrasive sponges or harsh chemicals to prevent damage.
Step 4: Dealing with Stubborn Stains
While cleaning the plates of your waffle iron, you may come across stubborn stains that are resistant to regular cleaning methods. Here are a few techniques you can try to tackle those tough stains:
- Vinegar solution: Create a mixture of equal parts white vinegar and water. Apply this solution to the stained areas and let it sit for a few minutes. Then, use a soft-bristled brush or sponge to scrub the stains gently. Rinse the plates thoroughly afterwards.
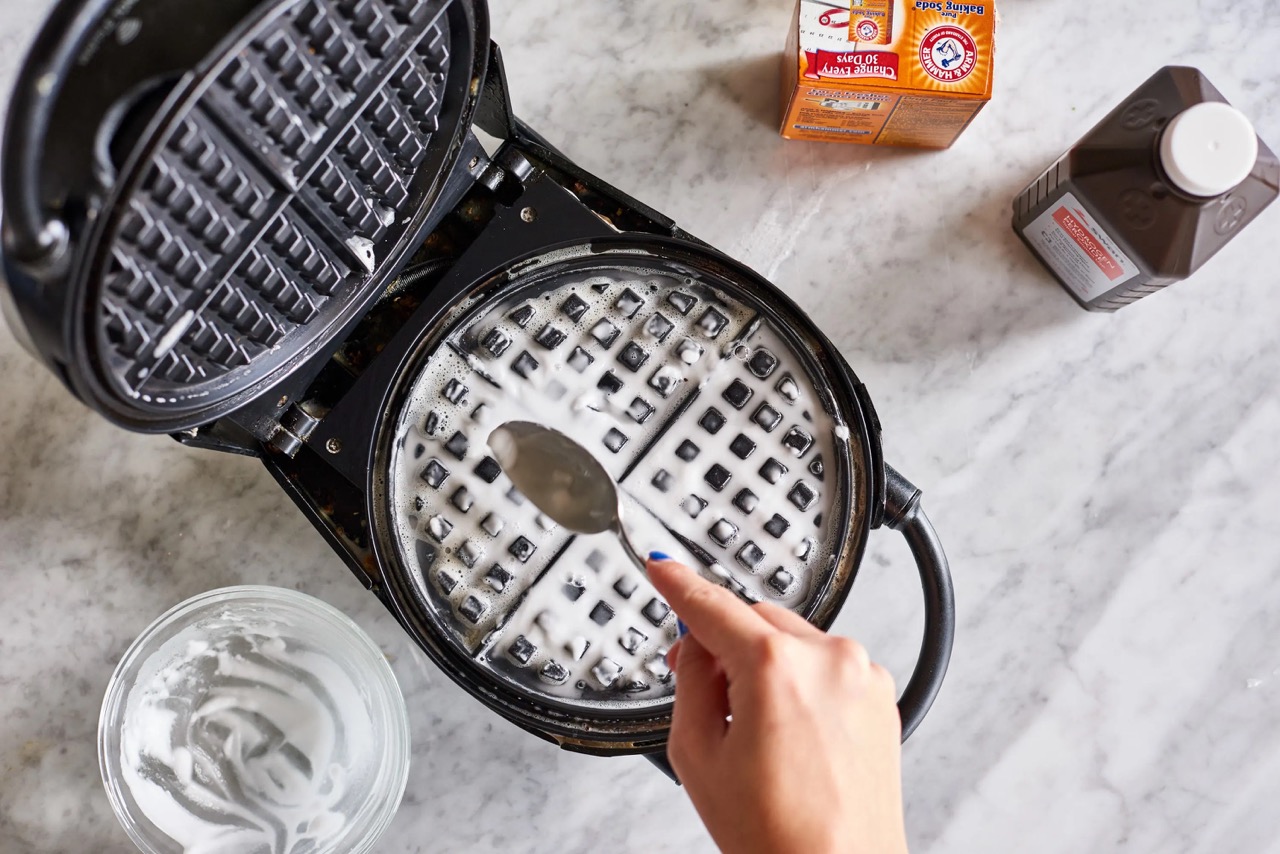
- Baking soda paste: Make a paste by mixing baking soda and water until it reaches a thick, spreadable consistency. Apply the paste to the affected areas and allow it to sit for a few minutes. Gently scrub the stains with a soft-bristled brush or sponge, then rinse the plates.
- Lemon juice: Squeeze fresh lemon juice onto the stained areas and let it sit for a few minutes. The acidity of the lemon juice can help break down the stains. Scrub the plates with a soft-bristled brush or sponge, then rinse thoroughly.
- Non-abrasive cleaning products: If the stains persist, you can try using a non-abrasive cleaner specifically designed for kitchen appliances. Follow the instructions on the product carefully, ensuring its compatibility with your waffle iron.
Remember to rinse the plates thoroughly after using any of these techniques and dry them completely before using or storing your waffle iron.
By utilizing these methods, you’ll be able to remove stubborn stains and restore the appearance of your waffle iron.
Step 5: Cleaning the Exterior
While cleaning the plates of your waffle iron is essential, don’t forget to give some attention to the exterior as well. Follow these steps to clean the outside of your waffle iron:
- Unplug the waffle iron: Before cleaning the exterior, always ensure that the appliance is disconnected from the power source.
- Wipe down with a damp cloth: Take a non-abrasive cloth or sponge and dampen it with water. Gently wipe down the entire exterior surface of the waffle iron to remove any dirt, grime, or fingerprints.
- For tough stains: If there are stubborn stains or sticky residue on the exterior, moisten the cloth with a mild dish soap or a gentle cleaning solution. Wipe the affected areas with the soapy cloth, then rinse the cloth thoroughly and use it to remove any soap residue.
- Dry the exterior: Once you’ve cleaned the exterior, use a dry cloth or allow it to air dry naturally. Make sure there is no excess moisture left on the surface of the waffle iron before storing it.
By regularly cleaning the exterior of your waffle iron, you can maintain its appearance and prevent any buildup that may affect its lifespan.
Step 6: Drying and Storing the Waffle Iron
After cleaning your waffle iron, it’s crucial to properly dry and store it to maintain its condition and prevent any damage. Follow these steps for drying and storing your waffle iron:
- Dry the plates: Ensure that the plates of the waffle iron are completely dry. Use a dry cloth or allow them to air dry naturally. Any moisture left on the plates can lead to rust or other issues.
- Clean the exterior: Double-check that the exterior of the waffle iron is dry and free from any moisture or cleaning solutions.
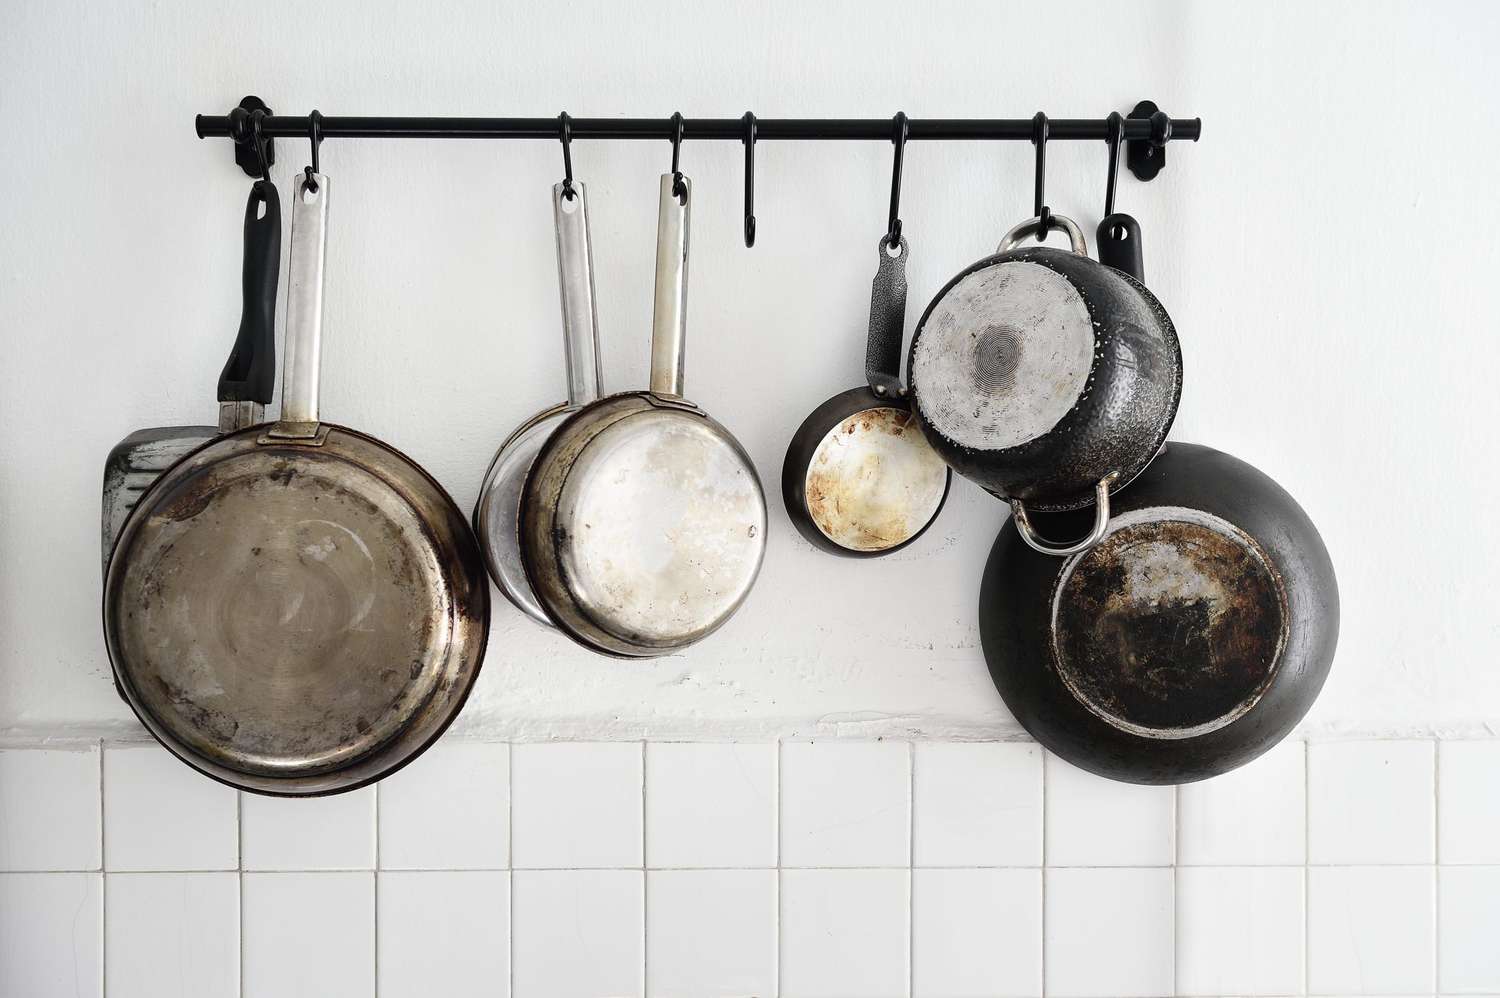
- Store in a cool, dry place: Find a suitable location in your kitchen to store the waffle iron. Choose a cool, dry area away from direct heat or sunlight to avoid any damage to the appliance.
- Wrap the cord (if applicable): If your waffle iron has a detachable cord, neatly wrap it around the appliance or secure it with a twist tie. This will keep the cord organized and prevent any tangling or damage.
- Protect the plates: If your waffle iron has removable plates, consider placing them back into the appliance for storage. This will prevent any dust or debris from settling on the plates.
- Cover or use a storage bag (optional): If you want to provide extra protection, you can opt to cover your waffle iron with a clean kitchen towel or use a storage bag designed for small kitchen appliances.
By following these steps, you will ensure that your waffle iron is properly dried, stored, and protected, prolonging its lifespan and keeping it in optimal working condition.
Conclusion
Cleaning and maintaining your waffle iron is essential for its longevity and optimal performance. By following the steps outlined in this article, you can easily keep your waffle iron looking like new and ready to create delicious waffles at a moment’s notice.
Remember to gather the necessary supplies before starting the cleaning process, including mild dish soap, a soft-bristled brush or sponge, non-abrasive cloth or paper towels, and water. Taking the time to properly prepare your waffle iron, remove excess batter, and clean the plates thoroughly will ensure that you’re starting with a clean slate.
If you encounter stubborn stains, don’t fret. Try using simple solutions like vinegar, baking soda paste, lemon juice, or non-abrasive cleaners to tackle those tough spots. And don’t forget to clean the exterior of the waffle iron, as well as drying and storing it properly, to keep it in pristine condition.
By maintaining your waffle iron, you’ll not only prolong its lifespan but also enhance the quality of your waffles. So, the next time you’re craving those golden, crispy delights, you can enjoy them without any worries.
With a little bit of care and regular cleaning, your waffle iron will continue to serve up delicious breakfasts, brunches, and desserts, making it a staple in your kitchen for years to come.
Frequently Asked Questions about How To Clean A Waffle Iron So It Looks Like New
Was this page helpful?
At Storables.com, we guarantee accurate and reliable information. Our content, validated by Expert Board Contributors, is crafted following stringent Editorial Policies. We're committed to providing you with well-researched, expert-backed insights for all your informational needs.


0 thoughts on “How To Clean A Waffle Iron So It Looks Like New”