Articles
How To Clean Burnt On Waffle Iron
Modified: August 28, 2024
Learn effective techniques and tips to effortlessly clean burnt-on residue from your waffle iron with these helpful articles. Transform your waffle iron back to its sparkling clean state!
(Many of the links in this article redirect to a specific reviewed product. Your purchase of these products through affiliate links helps to generate commission for Storables.com, at no extra cost. Learn more)
Introduction
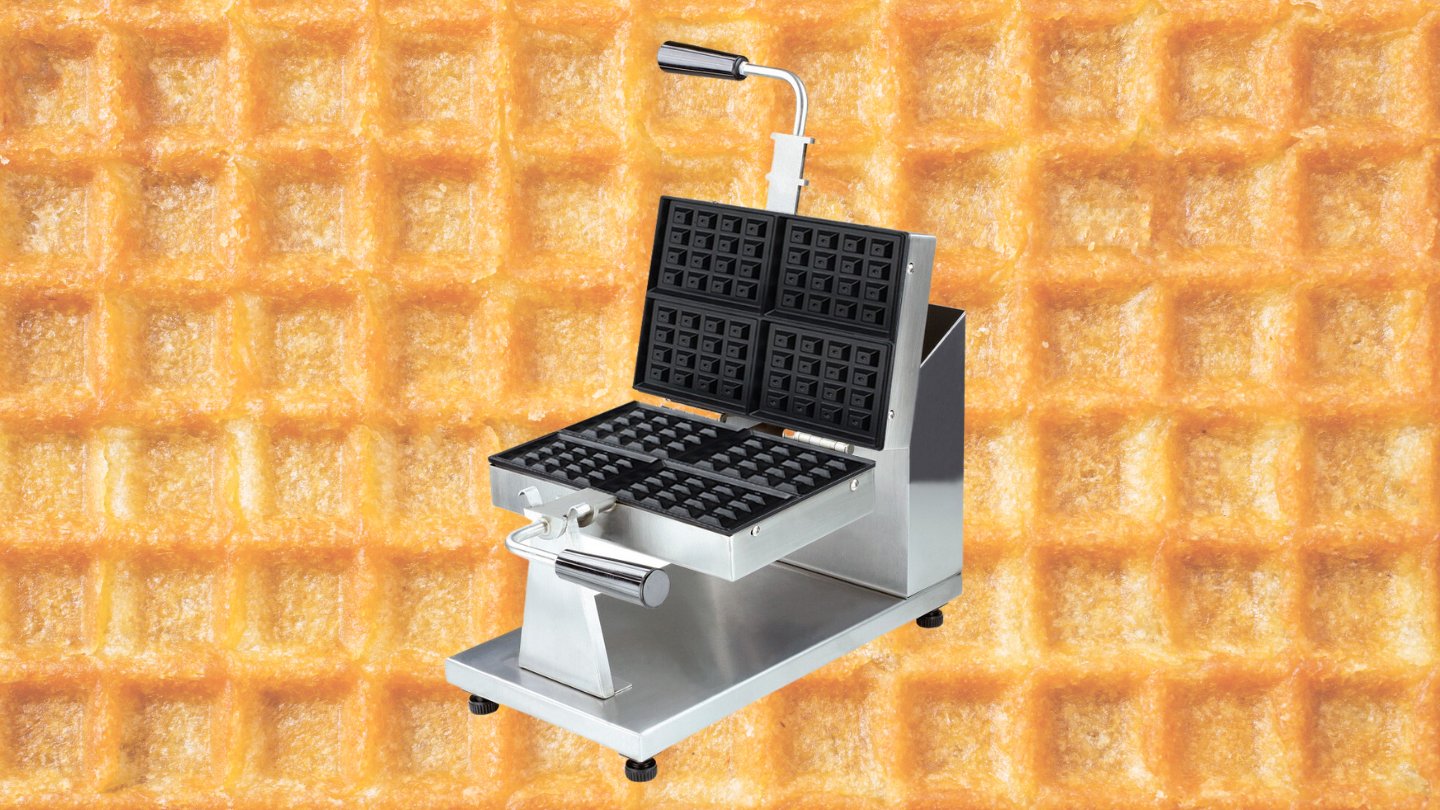
When it comes to breakfast, there’s nothing quite as satisfying as a crispy, golden waffle. But what happens when your waffle iron becomes caked with burnt-on residue? Don’t worry – with a few simple steps, you can easily clean your waffle iron and get back to making delicious waffles in no time.
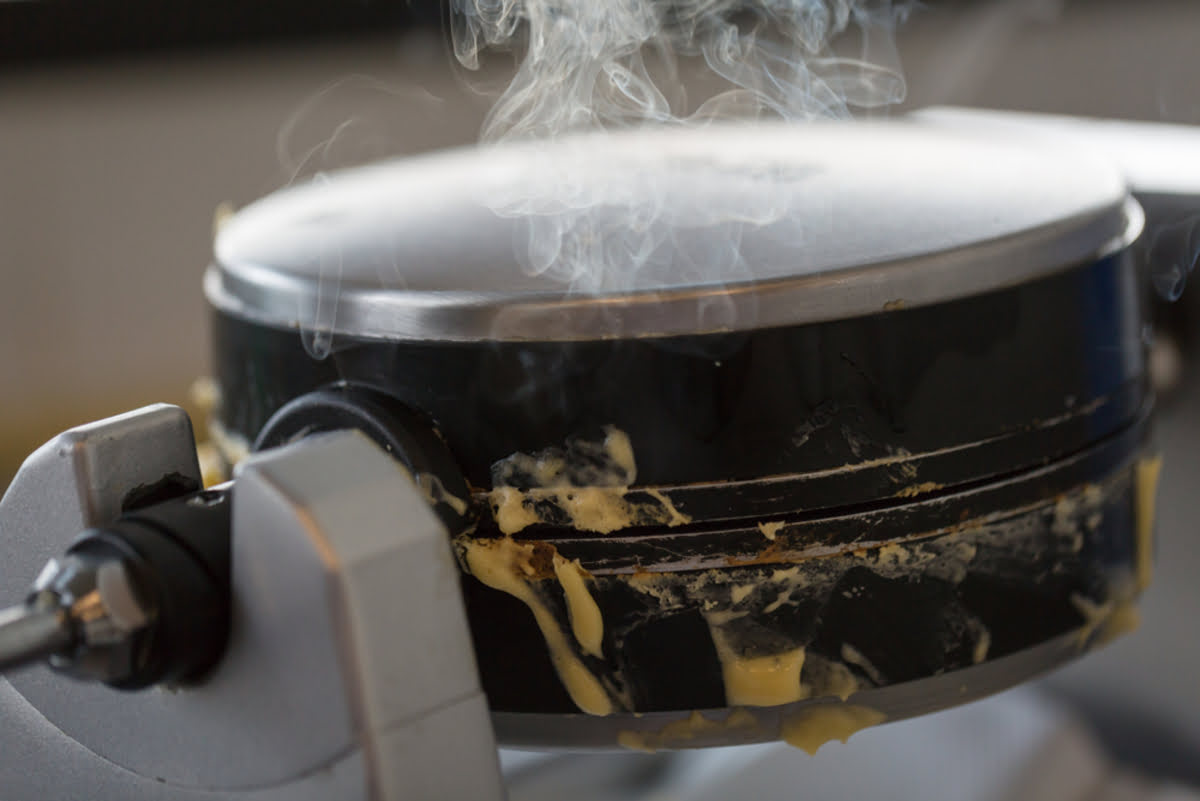
Over time, waffle irons can accumulate residue from batter, oils, and other cooking agents, which can lead to stubborn buildup and interfere with the cooking process. This buildup not only affects the appearance of your waffles but can also impact their taste and texture. Fortunately, cleaning a burnt-on waffle iron is a straightforward process that requires just a few supplies and a little bit of elbow grease.
In this article, we’ll walk you through the step-by-step process of cleaning a burnt-on waffle iron, ensuring that you can enjoy perfectly cooked waffles every time. So grab your cleaning supplies and let’s get started!
Key Takeaways:
- Say goodbye to burnt-on residue and enjoy delicious waffles by following these simple steps using household items like baking soda and vinegar.
- Keep your waffle iron in top shape by cleaning after each use, using non-stick spray, and following manufacturer’s instructions for optimal maintenance.
Read more: How To Clean Cuisinart Waffle Iron
Supplies Needed
Before embarking on your waffle iron cleaning journey, gather the necessary supplies to ensure a successful and efficient cleaning process. Here’s a list of items you’ll need:
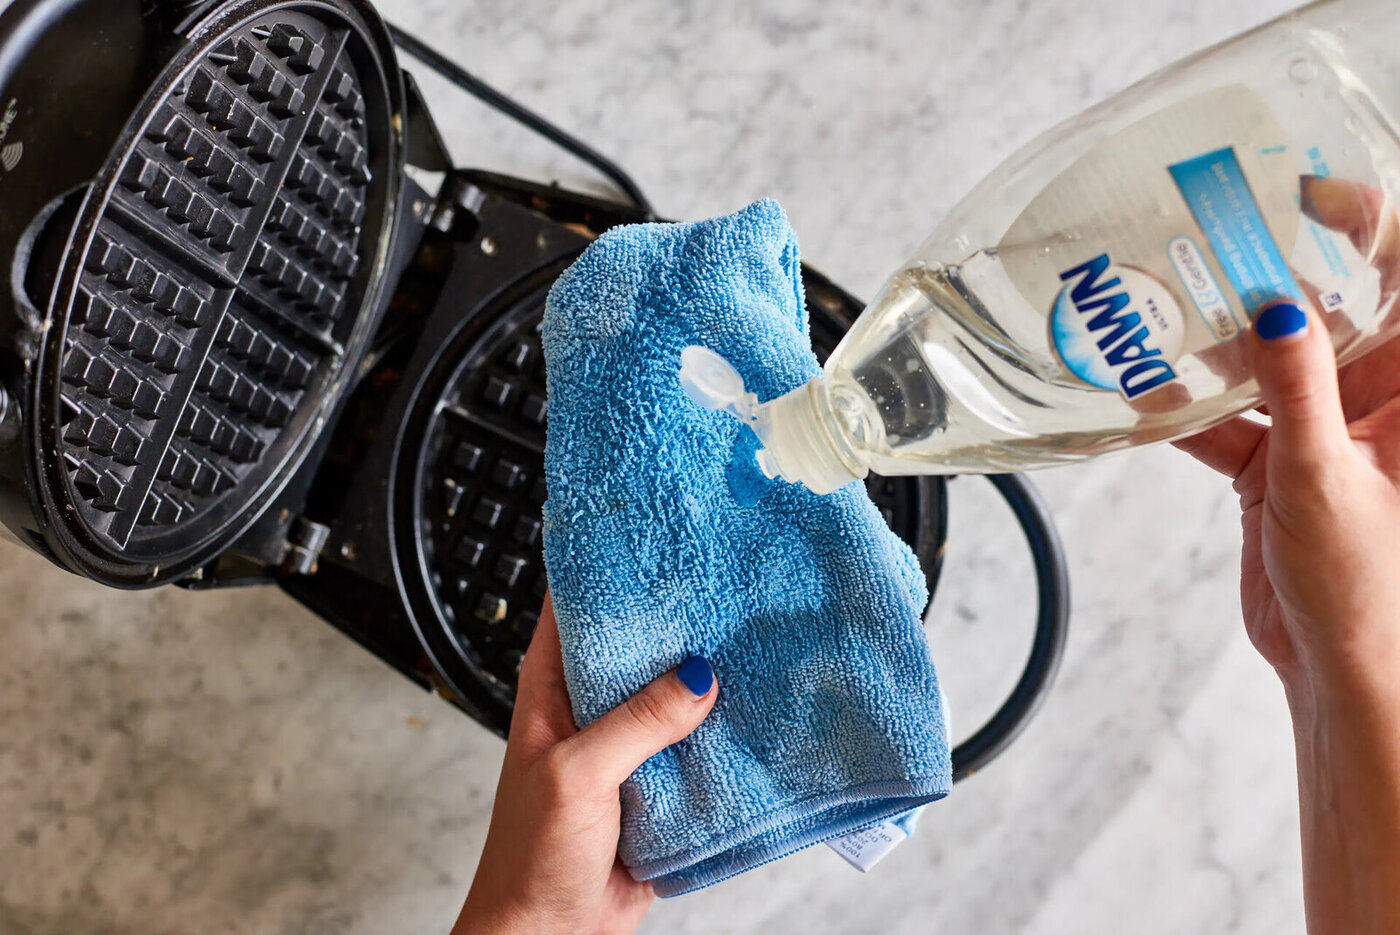
- Mild dish soap
- Soft-bristle brush or non-abrasive sponge
- Baking soda
- Vinegar
- Water
- Microfiber cloth or soft towel
These common household items are gentle yet effective enough to remove stubborn residues from your waffle iron without damaging its surface.
Additionally, it’s crucial to ensure the waffle iron is unplugged and cooled completely before starting the cleaning process. Safety should always be a top priority.
Now that you have your supplies ready, let’s dive into the step-by-step process of cleaning your burnt-on waffle iron.
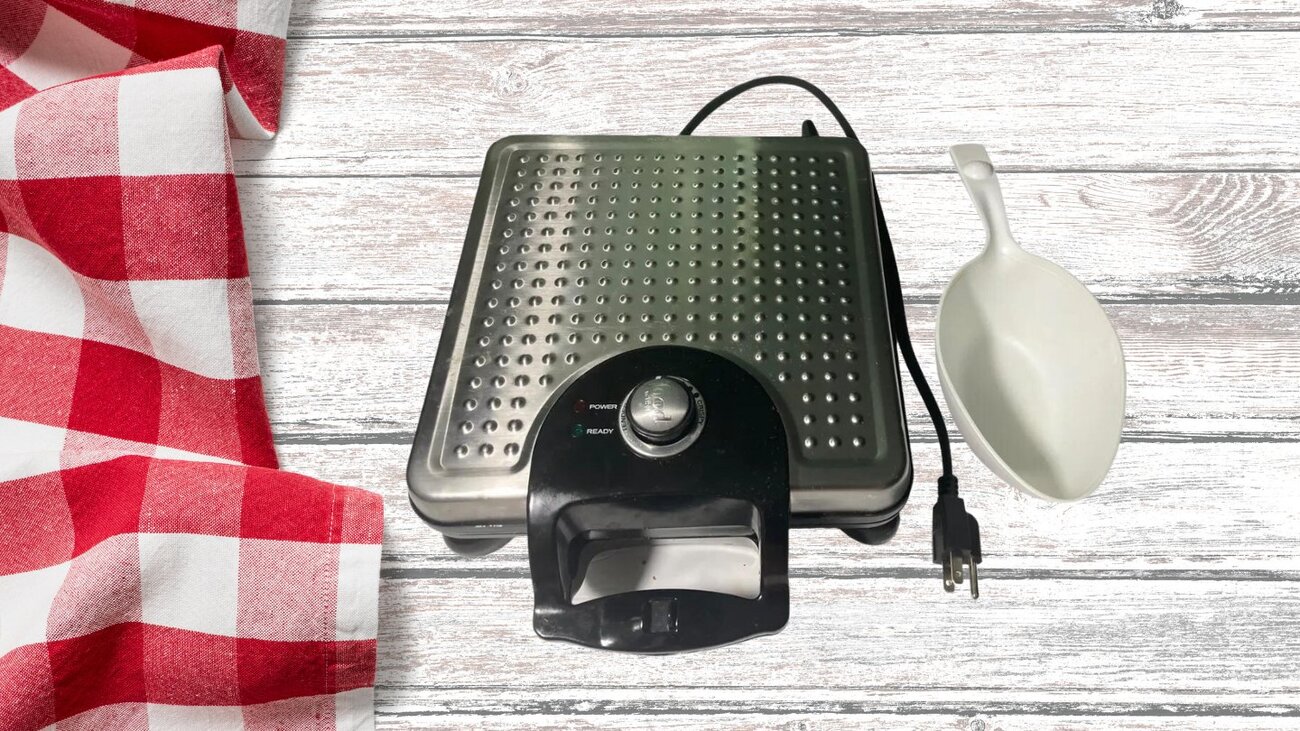
Step 1: Preparing the Waffle Iron
Before you begin cleaning your waffle iron, it’s essential to properly prepare the appliance to ensure a thorough and effective cleaning. Follow these steps:
- Unplug the waffle iron: Safety should always come first. Unplug the waffle iron from the electrical outlet to prevent any potential accidents.
- Let it cool down completely: Wait for the waffle iron to cool down completely before you start cleaning. Touching a hot surface can lead to burns.
- Remove any removable parts: If your waffle iron has removable plates or any other detachable parts, carefully remove them. This will make the cleaning process more accessible and more efficient.
By taking these precautions, you’ll ensure a safe and systematic approach to cleaning your waffle iron.
Now that your waffle iron is prepared and ready for cleaning, it’s time to move on to the next step: removing excess buildup.
Step 2: Removing Excess Buildup
After preparing your waffle iron, it’s time to tackle the excess buildup that may have accumulated over time. This step is essential for effective cleaning and preventing further damage to your appliance. Follow these steps:
- Use a soft-bristle brush or non-abrasive sponge: Gently scrub the surface of the waffle iron with a soft-bristle brush or non-abrasive sponge. This will help loosen any loose debris or residue.
- Be gentle: Avoid using excessive force or abrasive materials that could scratch or damage the surface of your waffle iron. Remember, gentle yet firm strokes are the key.
- Pay attention to corners and crevices: Make sure to clean all the nooks and crannies, including the corners and crevices where residue tends to accumulate. Use a toothbrush or cotton swab for hard-to-reach areas.
- Wipe away loose debris: After scrubbing, take a dry microfiber cloth or soft towel and wipe away any loose debris or residue that has been dislodged.
This step will help remove the initial layer of buildup and prepare your waffle iron for the next stage of the cleaning process. With the excess buildup cleared away, it’s time to move on to creating a cleaning solution.
Step 3: Creating a Cleaning Solution
Now that you have removed the excess buildup from your waffle iron, it’s time to create a cleaning solution that will help break down the stubborn burnt-on residue. Here’s how to make an effective cleaning solution:
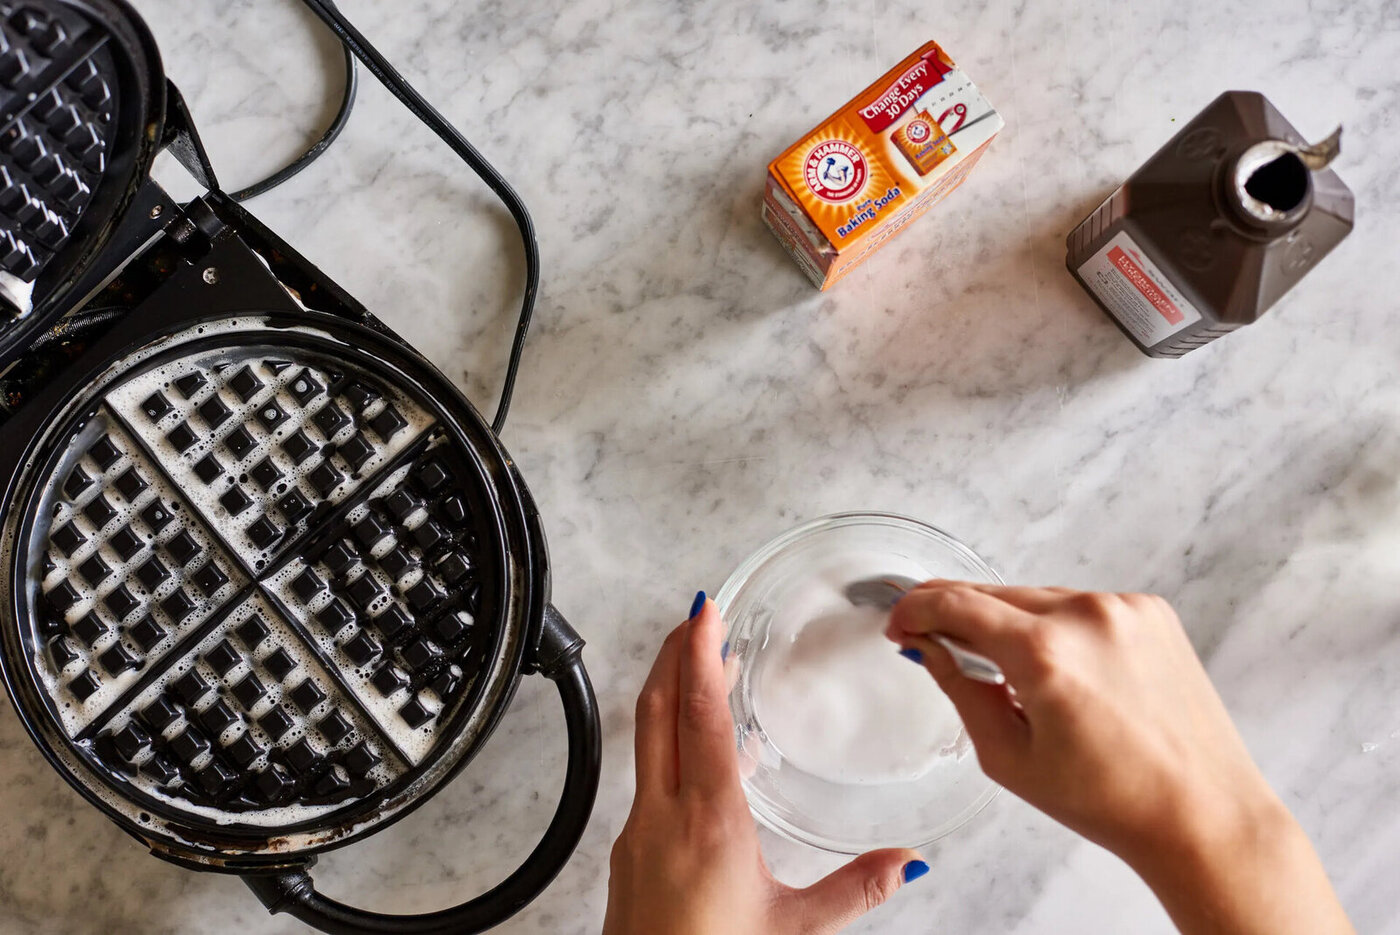
- Mix baking soda and water: In a small bowl, combine equal parts of baking soda and water to create a paste-like consistency. Baking soda is a natural cleaning agent that is gentle yet effective at removing tough stains.
- Add a splash of vinegar: Add a splash of vinegar to the mixture and give it a stir. Vinegar is a powerful ingredient that helps dissolve grease and grime.
- Stir until well combined: Mix the ingredients thoroughly until you have a smooth and well-combined cleaning solution.
That’s it! Your homemade cleaning solution is ready to tackle the stubborn burnt-on residue on your waffle iron.
Next, let’s move on to applying the cleaning solution to the affected areas of your waffle iron.
To clean burnt-on residue from a waffle iron, make a paste of baking soda and water, apply it to the affected areas, and scrub with a soft brush or cloth. Wipe clean with a damp cloth.
Read more: How To Clean Waffle Iron Stuck
Step 4: Applying the Cleaning Solution
Now that you have your homemade cleaning solution prepared, it’s time to apply it to the burnt-on areas of your waffle iron. Follow these steps for effective application:
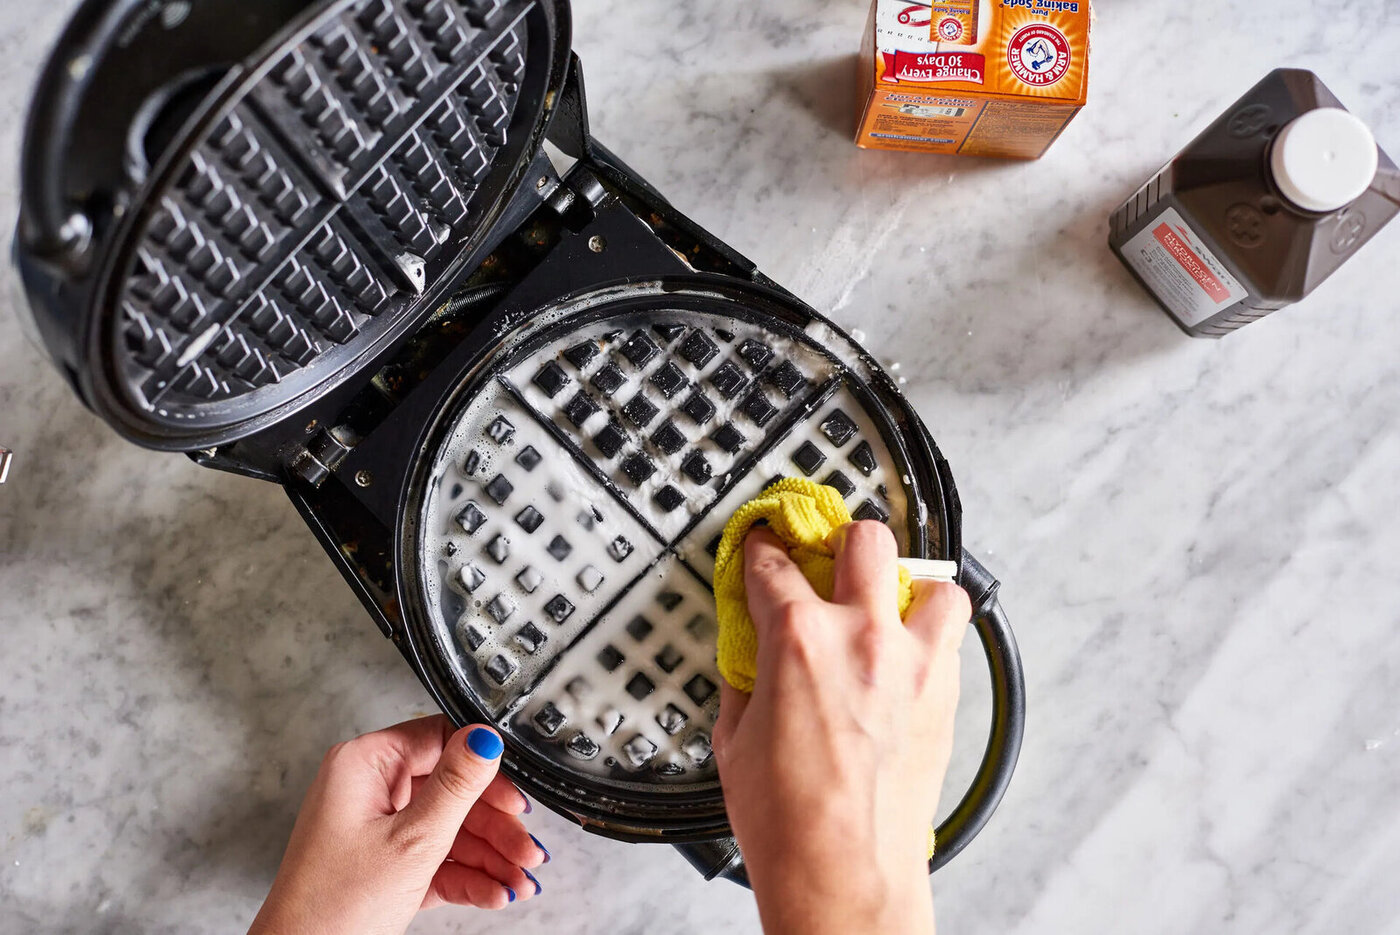
- Dip a soft-bristle brush or non-abrasive sponge into the cleaning solution: Take your soft-bristle brush or sponge and dip it into the cleaning solution you created earlier. Make sure it is well saturated but not dripping.
- Apply the solution to the burnt areas: Gently apply the cleaning solution to the burnt-on areas of the waffle iron. Focus specifically on the areas with the most stubborn residue.
- Let the solution sit: Allow the cleaning solution to sit on the burnt areas for about 10-15 minutes. This will give it time to break down the burnt-on residue.
During this waiting period, the baking soda and vinegar in the cleaning solution will work together to lift and dissolve the stubborn residue, making it easier to remove.
After the cleaning solution has had time to work its magic, it’s time to move on to the next step: scrubbing the burnt areas.
Step 5: Scrubbing the Burnt Areas
Now that the cleaning solution has had a chance to loosen the burnt-on residue, it’s time to scrub the waffle iron to remove the remaining buildup. Follow these steps for effective scrubbing:
- Take your soft-bristle brush or non-abrasive sponge: Using the same soft-bristle brush or sponge you used earlier, gently scrub the burnt areas of the waffle iron.
- Apply gentle pressure: Apply a gentle yet firm pressure while scrubbing to remove the residue. Be careful not to apply excessive force that could damage the surface of the waffle iron.
- Continue scrubbing until clean: Keep scrubbing the burnt areas until the residue is completely removed and the surface of the waffle iron appears clean and shiny.
If there are any stubborn spots that are difficult to remove, you can reapply the cleaning solution and let it sit for a few more minutes before scrubbing again. Persistence and patience are key to achieving a thoroughly clean waffle iron.
Once you are satisfied with the cleanliness of the burnt areas, it’s time to move on to the next step: rinsing and drying the waffle iron.
Step 6: Rinsing and Drying the Waffle Iron
After scrubbing the burnt areas of your waffle iron, it’s important to properly rinse and dry it to remove any remaining cleaning solution and prevent moisture buildup. Follow these steps to ensure a thorough rinse and dry:
- Rinse with warm water: Using warm water, rinse the surface of the waffle iron to remove any traces of the cleaning solution. Make sure to rinse it thoroughly to avoid leaving any residue behind.
- Wipe with a damp cloth: Take a damp microfiber cloth or soft towel and wipe down the entire surface of the waffle iron, ensuring it is completely free of cleaning solution.
- Dry with a dry cloth: Once the waffle iron is rinsed, use a dry microfiber cloth or soft towel to thoroughly dry the surface. Removing all moisture is essential to prevent rust or any other damage.
Make sure the waffle iron is completely dry before reassembling it or storing it away. Allow it to air dry for a few minutes if needed.
Now that your waffle iron is clean and dry, it’s time to move on to the final step: preventing future buildup.
Step 7: Preventing Future Buildup
Cleaning your waffle iron is not just about getting rid of the burnt-on residue, but also about preventing future buildup. To help keep your waffle iron in optimal condition and make future cleanings easier, follow these tips:
- Read the manufacturer’s instructions: Familiarize yourself with the specific cleaning and maintenance instructions provided by the manufacturer. This will ensure that you’re caring for your waffle iron properly.
- Use non-stick cooking spray: Before each use, lightly spray the cooking surfaces of the waffle iron with a non-stick cooking spray. This will help prevent batter and other ingredients from sticking and burning onto the surface.
- Do not overfill: When pouring batter, avoid overfilling the waffle iron. Excess batter can overflow, causing messy spills and potential burnt-on residue.
- Clean after each use: To prevent buildup, make it a habit to clean your waffle iron after each use. Wipe it with a damp cloth or sponge to remove leftover batter or oils.
- Avoid abrasive materials: When cleaning your waffle iron, use gentle cleaning tools like soft-bristle brushes or non-abrasive sponges to avoid scratching the surface.
- Store properly: Once your waffle iron is completely dry, store it in a clean and dry area. Avoid stacking other items on top of it to prevent any damage or warping.
By following these preventative measures, you can help prolong the life of your waffle iron and ensure that it remains in excellent working condition.
Congratulations! You have successfully cleaned your burnt-on waffle iron and learned how to prevent future buildup. Now you can enjoy delicious waffles without worrying about stubborn residue.
Remember, regular maintenance and cleaning are the keys to keeping your waffle iron in top shape and ensuring many more crispy, golden waffles in the future.
Happy waffle making!
Read more: How To Safely Clean A Waffle Iron
Conclusion
Cleaning a burnt-on waffle iron may seem like a daunting task, but with the right steps and supplies, it becomes a manageable and rewarding process. By following this comprehensive guide, you now have the knowledge and tools to restore your waffle iron to its former glory and prevent future buildup.
Remember, safety should always be a top priority when cleaning any appliance, so make sure to unplug your waffle iron and allow it to cool completely before starting the cleaning process. Additionally, take the time to read the manufacturer’s instructions for your specific waffle iron model, as they may provide additional guidance on proper care and maintenance.
Through the steps outlined in this article, you’ve learned how to prepare the waffle iron, remove excess buildup, create a homemade cleaning solution, apply it effectively to the burnt-on areas, scrub the residue, rinse and dry the waffle iron, and implement practices to prevent future buildup.
By incorporating these steps into your cleaning routine and maintaining a proactive approach, you can ensure that your waffle iron consistently produces delicious waffles without any burnt-on residue or buildup affecting their quality.
So, get ready to enjoy perfectly cooked, golden waffles again. Take the time to clean your waffle iron and savor the satisfaction of a job well done. Your taste buds will thank you!
Frequently Asked Questions about How To Clean Burnt On Waffle Iron
Was this page helpful?
At Storables.com, we guarantee accurate and reliable information. Our content, validated by Expert Board Contributors, is crafted following stringent Editorial Policies. We're committed to providing you with well-researched, expert-backed insights for all your informational needs.


0 thoughts on “How To Clean Burnt On Waffle Iron”