Home>Articles>How To Clean A Vacuum For Stronger Suction And Peak Performance
Articles
How To Clean A Vacuum For Stronger Suction And Peak Performance
Modified: December 7, 2023
Learn how to clean your vacuum properly for stronger suction and peak performance with our informative articles.
(Many of the links in this article redirect to a specific reviewed product. Your purchase of these products through affiliate links helps to generate commission for Storables.com, at no extra cost. Learn more)
Introduction
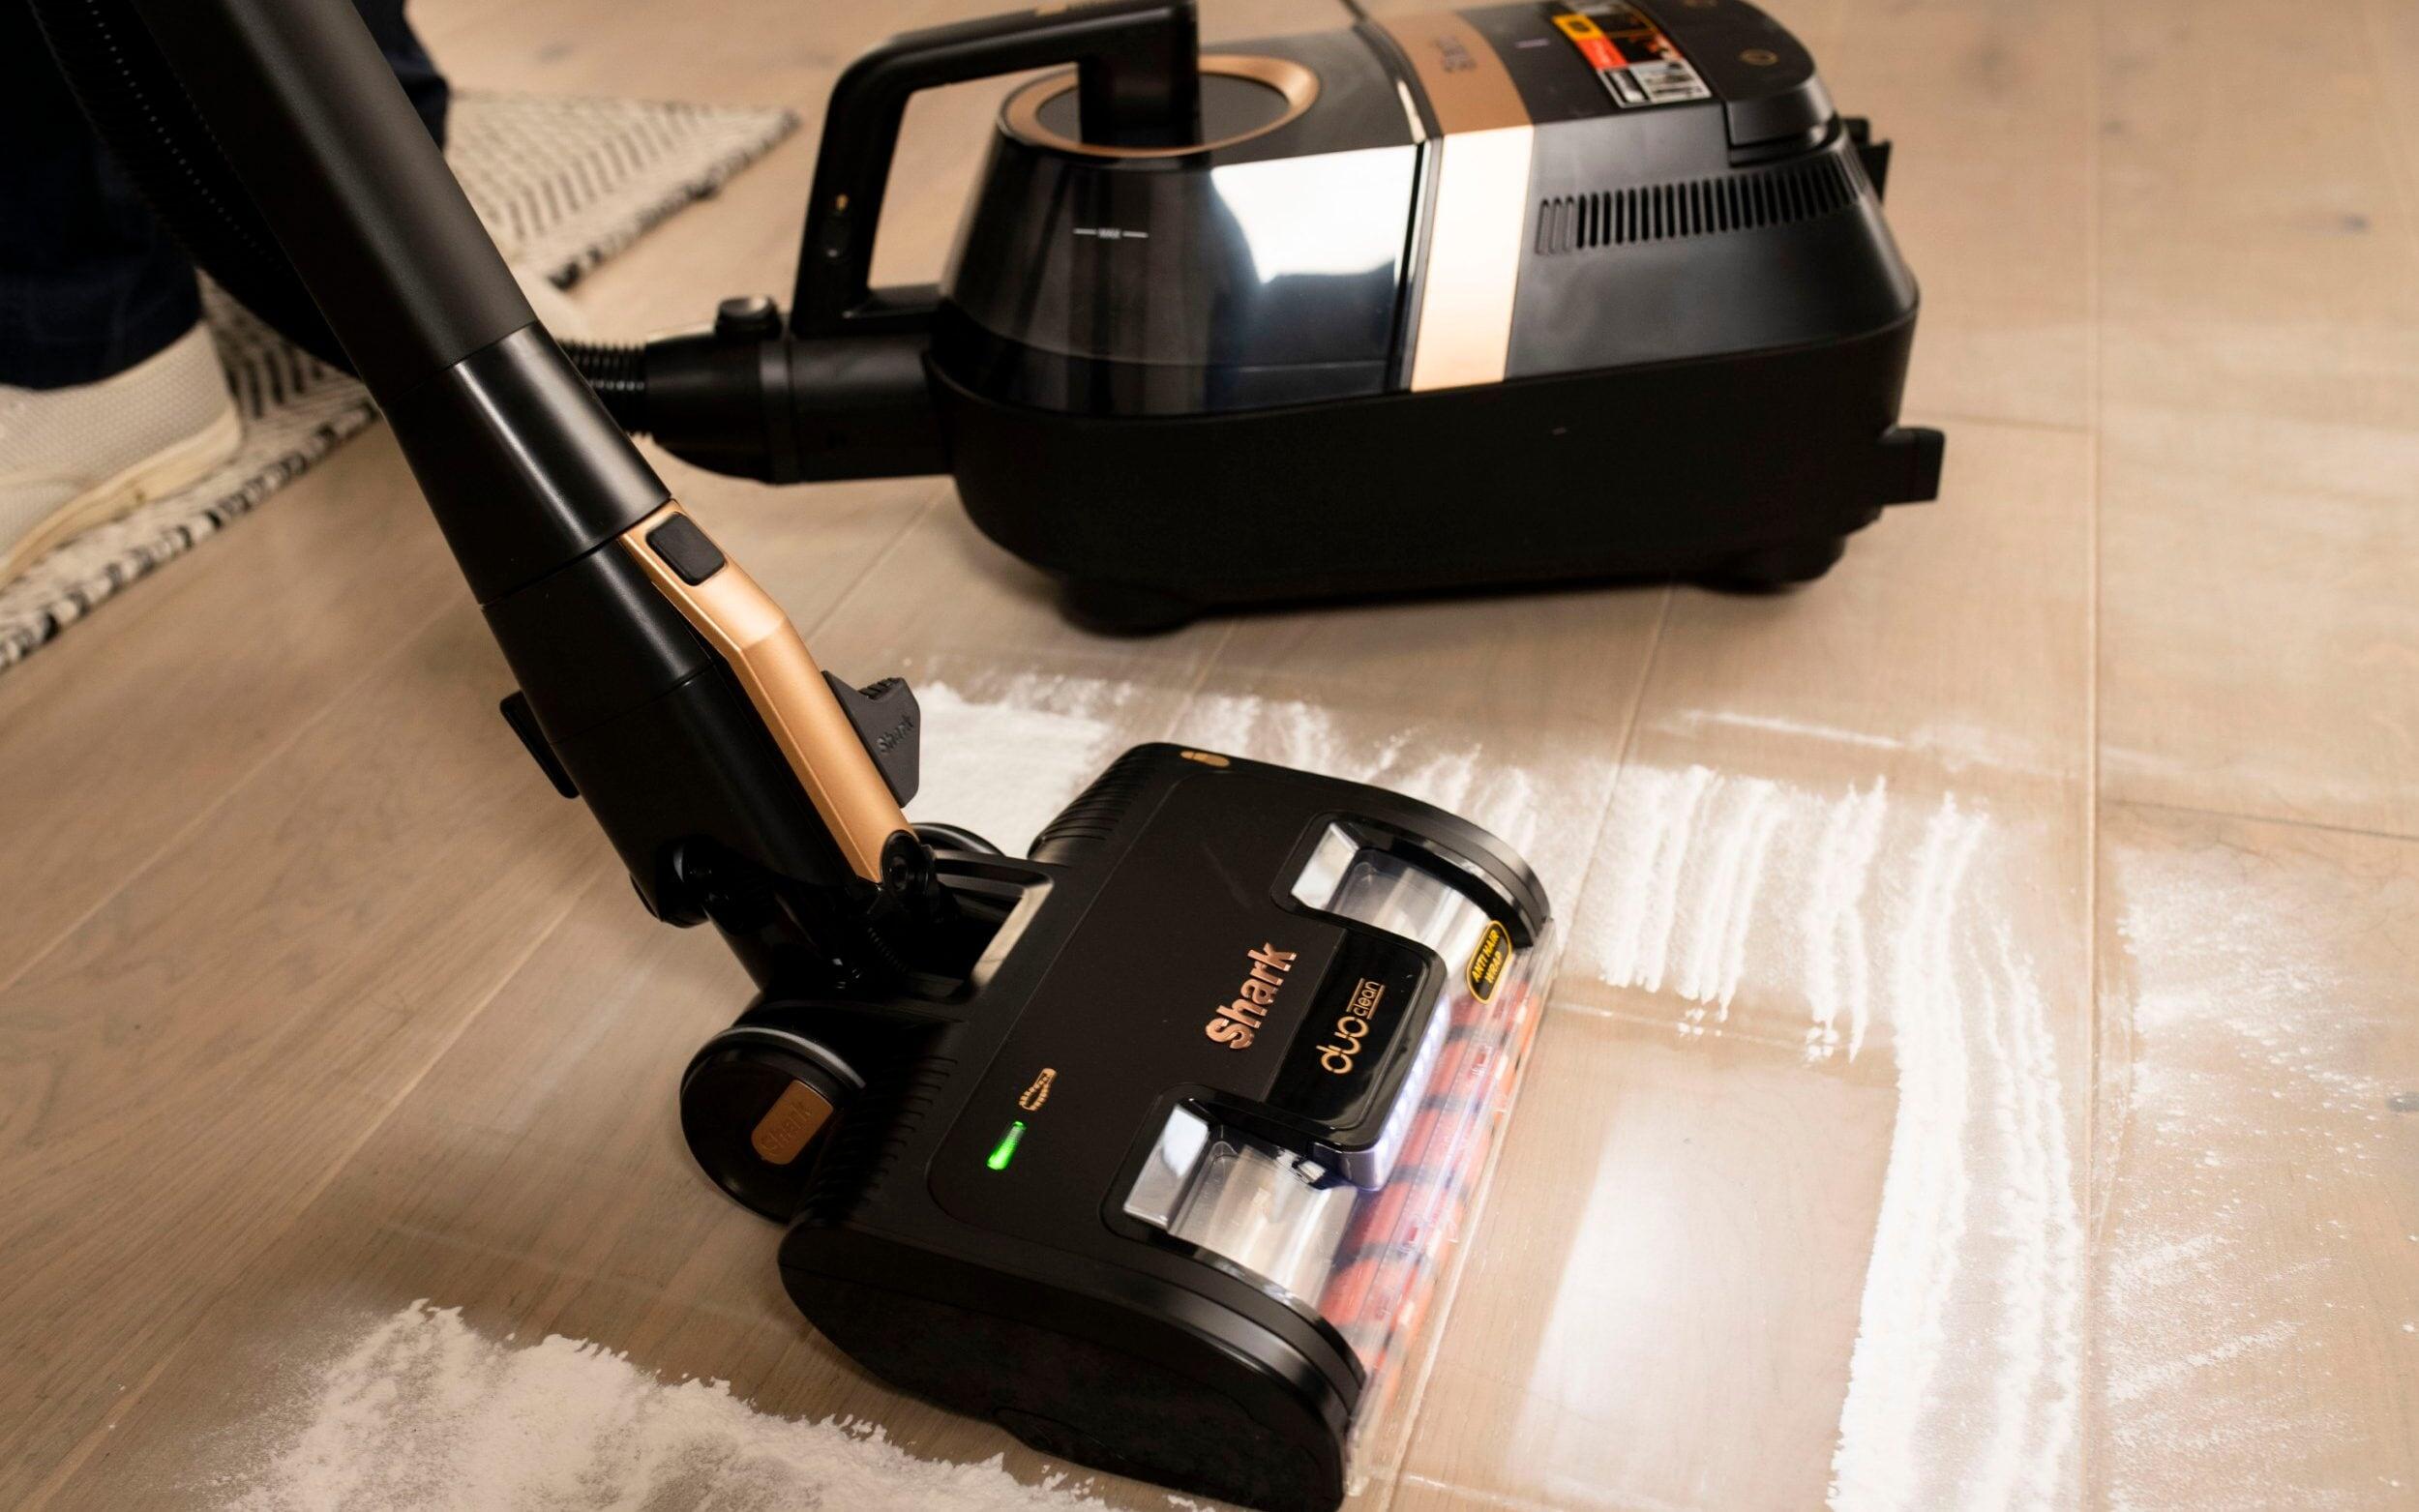
Keeping your vacuum cleaner in top shape is crucial for optimal performance and suction power. Over time, dust, dirt, and debris can accumulate within the vacuum, causing it to lose its effectiveness. Not only does a dirty vacuum fail to pick up dirt properly, but it can also lead to unpleasant odors and allergens being released back into the air. Therefore, regular cleaning and maintenance of your vacuum is essential to ensure stronger suction and peak performance.
Cleaning your vacuum not only improves its efficiency but also extends its lifespan. When debris clogs the filters, brushroll, or hose, it puts additional strain on the motor and other components, which can lead to wear and tear over time. By cleaning your vacuum regularly, you can prevent these issues and ensure it continues to operate at its best.
In this article, we will guide you through the process of cleaning your vacuum to ensure maximum suction power and peak performance. From emptying the canister to cleaning the filter and brushroll, we will cover all the necessary steps to get your vacuum cleaner in prime condition.
Before we dive into the cleaning process, let’s gather the tools and materials you will need for the task.
Key Takeaways:
- Regularly cleaning your vacuum is crucial for stronger suction, extended lifespan, and better allergen control. It also ensures efficient cleaning and eliminates odors, contributing to a healthier living environment.
- By following the step-by-step cleaning process, you can maintain optimal vacuum performance, prevent wear and tear, and enjoy a cleaner, fresher home. Regular maintenance leads to stronger suction and peak performance.
Importance of Cleaning a Vacuum for Stronger Suction and Peak Performance
Regularly cleaning your vacuum is not just a chore, but a vital maintenance task that directly impacts its performance and efficiency. Here are several reasons why cleaning your vacuum is of utmost importance:
- Improved Suction Power: Over time, dust, pet hair, and other debris can accumulate in the filters, brushroll, and hose of your vacuum. This build-up restricts airflow, reducing suction power. By cleaning these components, you can remove the clogs and ensure that your vacuum can efficiently pick up dirt and debris, providing stronger suction.
- Extended Lifespan: A dirty vacuum puts additional strain on the motor and other internal components. This increased workload can lead to premature wear and tear, potentially shortening the lifespan of your vacuum. Regularly cleaning your vacuum helps reduce this strain and extends its longevity, saving you money in the long run.
- Better Allergen Control: Vacuums are designed to capture allergens like dust mites, pollen, and pet dander. However, if the filters become clogged or the dust canister is full, these allergens can be released back into the air, worsening allergies and respiratory issues. Cleaning your vacuum ensures that it effectively captures and contains allergens, providing cleaner and healthier indoor air quality.
- Elimination of Odors: If your vacuum is not cleaned regularly, trapped dirt and debris can cause unpleasant odors to linger. These odors can transfer to the surfaces you vacuum, resulting in an unpleasant and unclean environment. Cleaning your vacuum helps eliminate these odors, keeping your home smelling fresh and clean.
- Efficient Cleaning: A properly maintained vacuum operates at its peak efficiency, allowing you to clean your home more quickly and effectively. By ensuring that all components are clean and in good condition, you can achieve optimal cleaning results in less time, making your overall cleaning routine more efficient and hassle-free.
By understanding the importance of cleaning your vacuum for stronger suction and peak performance, you can prioritize this essential maintenance task and enjoy the benefits of a well-functioning vacuum cleaner.
Tools and Materials Needed
Before you begin cleaning your vacuum, it’s important to gather the necessary tools and materials. Here’s a list of items you’ll need for the task:
- Microfiber Cloth: This soft cloth is ideal for wiping down the exterior surfaces of your vacuum and removing dust and grime.
- Bucket of Warm Water: Fill a bucket with warm water to soak and clean removable parts.
- Mild Detergent: Use a gentle, mild detergent to wash removable parts like filters and canisters.
- Soft-bristle Brush: A soft-bristle brush is handy for cleaning the brushroll and dislodging any debris stuck in the bristles.
- Scissors: You’ll need a pair of scissors to cut away tangled hair or fibers from the brushroll.
- Clean, dry cloth or paper towels: These will be used to dry washed parts and wipe down the exterior of the vacuum.
- Replacement Filters (if necessary): Check the manufacturer’s instructions for your specific vacuum model to determine if replacement filters are required.
Having these tools and materials on hand will make the cleaning process more efficient and effective. Now that you have everything ready, let’s move on to the step-by-step instructions for cleaning your vacuum cleaner.
Step 1: Unplug and Empty the Vacuum
Before you begin cleaning your vacuum, it’s essential to make sure it is unplugged from the power source. Safety should always be the top priority when working with electrical appliances. Once the vacuum is unplugged, follow these steps to empty it:
- Remove the Dust Canister or Bag: Depending on the type of vacuum you have, you may have either a dust canister or a disposable bag. Locate the release button or latch to remove the dust canister or bag from the vacuum.
- Empty the Contents: Take the dust canister or bag outside or over a garbage bin and empty its contents. Dispose of the debris in a proper trash receptacle. For canisters, you can usually open them from the bottom or top and tap them gently to remove any remaining dirt or dust.
- Clean the Dust Canister or Bag: If you have a dust canister, rinse it out with warm water and mild detergent. Be sure to dry it thoroughly before reassembling. If you have a disposable bag, replace it with a new one if necessary.
By unplugging the vacuum and emptying its contents, you ensure your safety and prevent any debris from being scattered during the cleaning process. With this step complete, you’re ready to move on to the next stage of the cleaning process.
Step 2: Remove and Clean the Filter
The filter is a crucial component of your vacuum cleaner as it helps trap dust, dirt, and allergens. Over time, however, the filter can become clogged and affect the suction power of your vacuum. Follow these steps to remove and clean the filter:
- Refer to the Manufacturer’s Instructions: Different vacuum models have different types of filters, such as foam, HEPA, or reusable filters. Consult the manufacturer’s instructions to locate the filter and understand the specific cleaning recommendations.
- Remove the Filter: Depending on your vacuum model, the filter may be located in different areas, such as the dust canister, the back of the vacuum head, or inside a designated filter compartment. Carefully detach the filter from its housing.
- Inspect the Filter: Take a close look at the filter to assess its condition. If it appears excessively damaged or worn out, consider replacing it with a new one.
- Clean the Filter: If the filter is reusable, gently tap it against a hard surface to dislodge loose debris. For more thorough cleaning, rinse the filter with warm water and mild detergent. Be sure to follow the manufacturer’s instructions to avoid damaging the filter. Allow the filter to air dry completely before reinserting it.
- Replace or Reinsert the Filter: Once the filter is dry, replace it back into its designated housing or reinsert it into the vacuum. Ensure that it is securely in place before moving on to the next step.
Cleaning the filter is an essential step in maintaining a well-functioning vacuum cleaner. Regularly cleaning or replacing the filter will not only improve suction power but also ensure the removal of allergens and maintain cleaner indoor air quality.
Now that you have cleaned the filter, it’s time to move on to the next step: cleaning the brushroll and removing any hair or debris.
Step 3: Clean the Brushroll and Remove any Hair or Debris
The brushroll is the rotating component of your vacuum cleaner that helps agitate and lift dirt and debris from carpets and floors. However, over time, the brushroll can become tangled with hair, fibers, and other debris, which can affect its performance. Follow these steps to clean the brushroll and remove any hair or debris:
- Flip over the Vacuum: Carefully turn your vacuum cleaner upside down so that the brushroll is facing upwards and easily accessible.
- Remove the Brushroll Cover: Depending on your vacuum model, there may be a cover or plate that needs to be unscrewed or unlatched to access the brushroll. Refer to the manufacturer’s instructions for specific details.
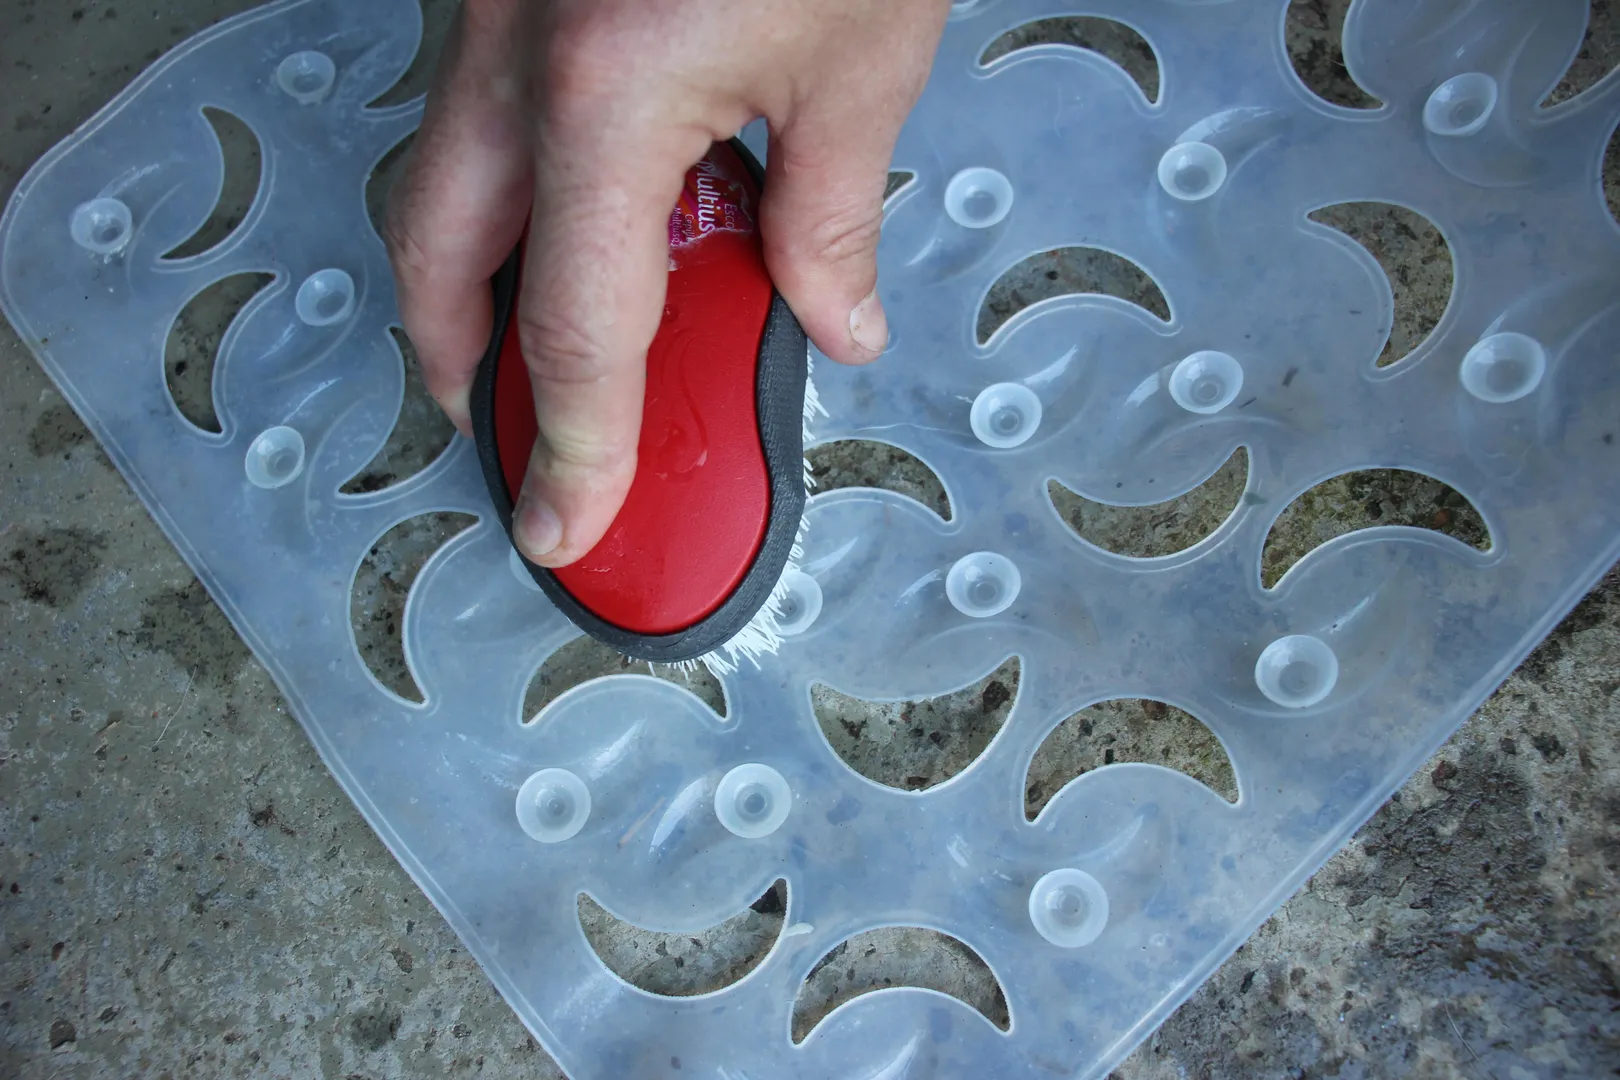
- Inspect the Brushroll: Take a close look at the brushroll to check for any tangled hair, fibers, or debris. Use a pair of scissors or your fingers to carefully remove any obstructions. Be cautious not to damage the bristles or the brushroll itself.
- Clean the Brushroll and Cover: Once the brushroll is clear of any hair or debris, use a soft-bristle brush or a cloth to wipe down the brushroll and the inside of the cover. Make sure to remove any dirt or residue that may have accumulated.
- Reassemble the Brushroll: Put the brushroll cover back into place and secure it according to the manufacturer’s instructions. Ensure that it is tightly fastened to prevent any loose parts during vacuum operation.
Cleaning the brushroll and removing hair and debris ensures that it can rotate freely and efficiently, allowing your vacuum cleaner to perform optimally on carpets and floors. This step is especially important if you have pets or if you frequently vacuum areas with long hair or fibers.
Now that the brushroll is clean, it’s time to move on to the next step: checking and cleaning the hose and attachments.
Regularly clean or replace the vacuum filter to maintain strong suction and peak performance. A clogged filter can reduce airflow and impact the vacuum’s effectiveness.
Step 4: Check and Clean the Hose and Attachments
The hose and attachments play a crucial role in allowing your vacuum cleaner to reach tight spaces, stairs, upholstery, and other surfaces. It’s important to regularly check and clean these components to ensure optimal performance. Follow these steps to check and clean the hose and attachments:
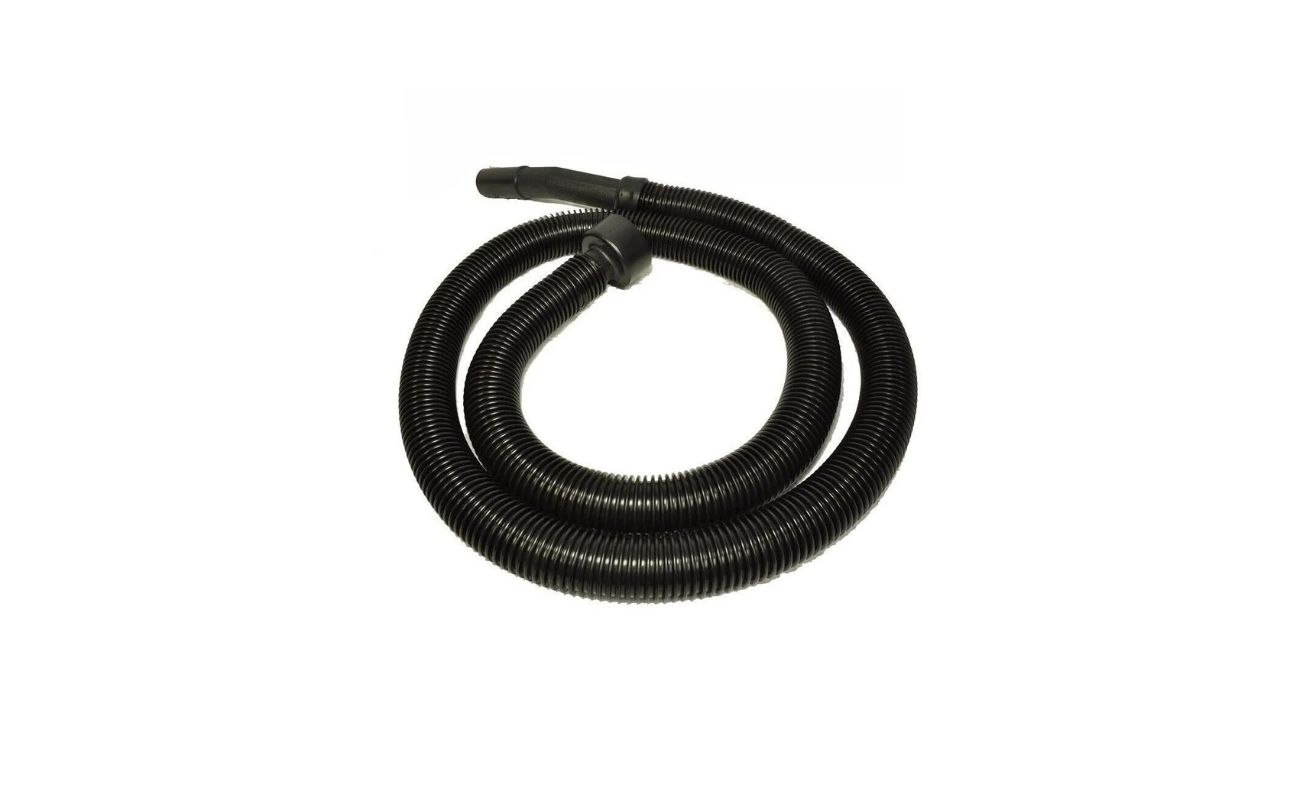
- Detach the Hose: Depending on your vacuum model, the hose may detach from the main body or have a quick-release button. Carefully remove the hose from its connection point.
- Inspect for Clogs: Visually inspect the inside of the hose for any visible clogs or blockages. Use a flashlight if necessary to get a better view. Look for any debris, hair, or dust that may be obstructing the airflow.
- Clean the Hose: If you spot any clogs, use a long, flexible tool like a pipe cleaner or a straightened wire hanger to gently remove the blockage. You can also use compressed air or a vacuum attachment with suction to dislodge any stubborn debris. Be careful not to damage the hose in the process.
- Examine the Attachments: Check each attachment or accessory that came with your vacuum cleaner. Dusting brushes, crevice tools, and upholstery brushes are common attachments. Inspect them for any signs of damage or debris accumulation.
- Clean the Attachments: Use a microfiber cloth or small brush to remove any dust, hair, or debris from the attachments. Pay special attention to bristles or nozzles that can easily trap dirt. You can also rinse attachments with warm water and mild detergent if necessary. Allow them to air dry completely before reattaching or storing.
- Reattach the Hose: Once the hose and attachments are clean and dry, reattach the hose securely to the main body of the vacuum. Ensure that it is firmly connected to prevent air leaks during operation.
Checking and cleaning the hose and attachments not only ensures proper airflow but also enhances the versatility and effectiveness of your vacuum cleaner. By removing any clogs or debris, you can ensure that the vacuum can reach all areas of your home and provide thorough cleaning.
With the hose and attachments cleaned, it’s time to move on to the next step: cleaning the dust canister or bag.
Step 5: Clean the Dust Canister or Bag
Cleaning the dust canister or bag is an important step in maintaining the cleanliness and efficiency of your vacuum cleaner. If not cleaned regularly, a dirty dust canister or bag can compromise the suction power and release unpleasant odors. Here’s how to clean the dust canister or bag:
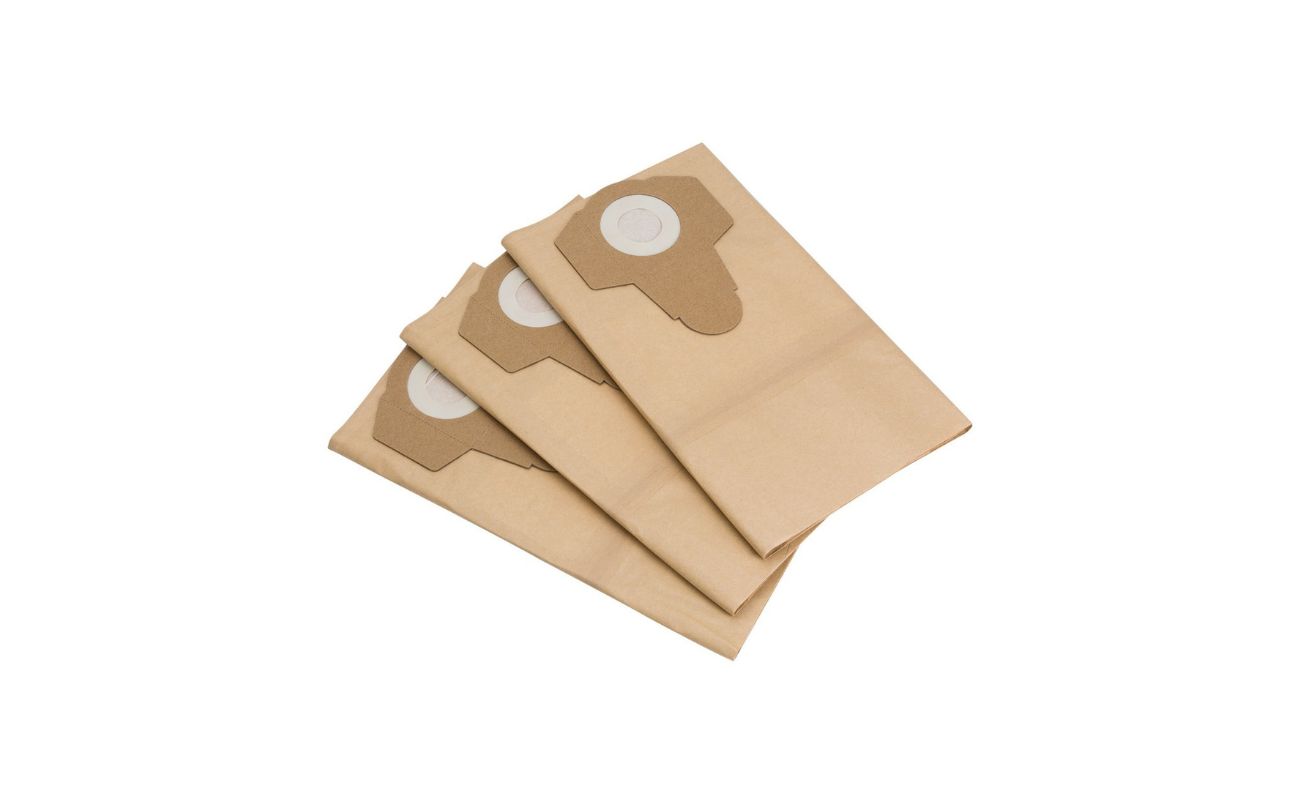
- Empty the Dust Canister or Replace the Bag: If your vacuum cleaner has a dust canister, remove it from the vacuum and empty the contents directly into a trash bin. If your vacuum uses a disposable bag, remove the full bag and replace it with a fresh one according to the manufacturer’s instructions.
- Wash the Dust Canister (If Applicable): If your vacuum cleaner has a washable dust canister, rinse it with warm water and mild detergent. Use a brush or cloth to gently clean any stuck-on dust or debris. Make sure to rinse away all soap residue and pat dry the canister before reassembling.
- Clean the Bagless Dust Canister (If Applicable): If your vacuum has a bagless dust canister, remove any remaining debris with a soft brush or cloth. Be sure to pay attention to the inside edges and corners, as dust can accumulate in these areas. Wipe down the canister with a clean, dry cloth before reattaching it to the vacuum.
- Dispose of the Bag (If Applicable): If your vacuum uses a disposable bag, seal the full bag tightly and dispose of it in a proper trash bin. Make sure to use the correct replacement bag size and follow the manufacturer’s instructions when inserting a new bag.
Cleaning the dust canister or replacing the bag ensures that your vacuum can function optimally and prevents the buildup of dirt, dust, and odors. Regular maintenance of the dust collection system will allow your vacuum cleaner to provide consistent suction power and maintain a fresh environment.
Now that the dust canister or bag is clean, it’s time to move on to the next step: cleaning the exterior of the vacuum.
Step 6: Clean the Exterior of the Vacuum
Cleaning the exterior of your vacuum is not only important for maintaining its aesthetics but also for ensuring its longevity and functionality. Dirt, dust, and grime can build up on the exterior surfaces, affecting the overall performance and appearance of your vacuum. Here’s how to clean the exterior of your vacuum:
- Unplug the Vacuum: Before cleaning the exterior, always ensure that the vacuum is unplugged and disconnected from the power source. Safety should always be the top priority.
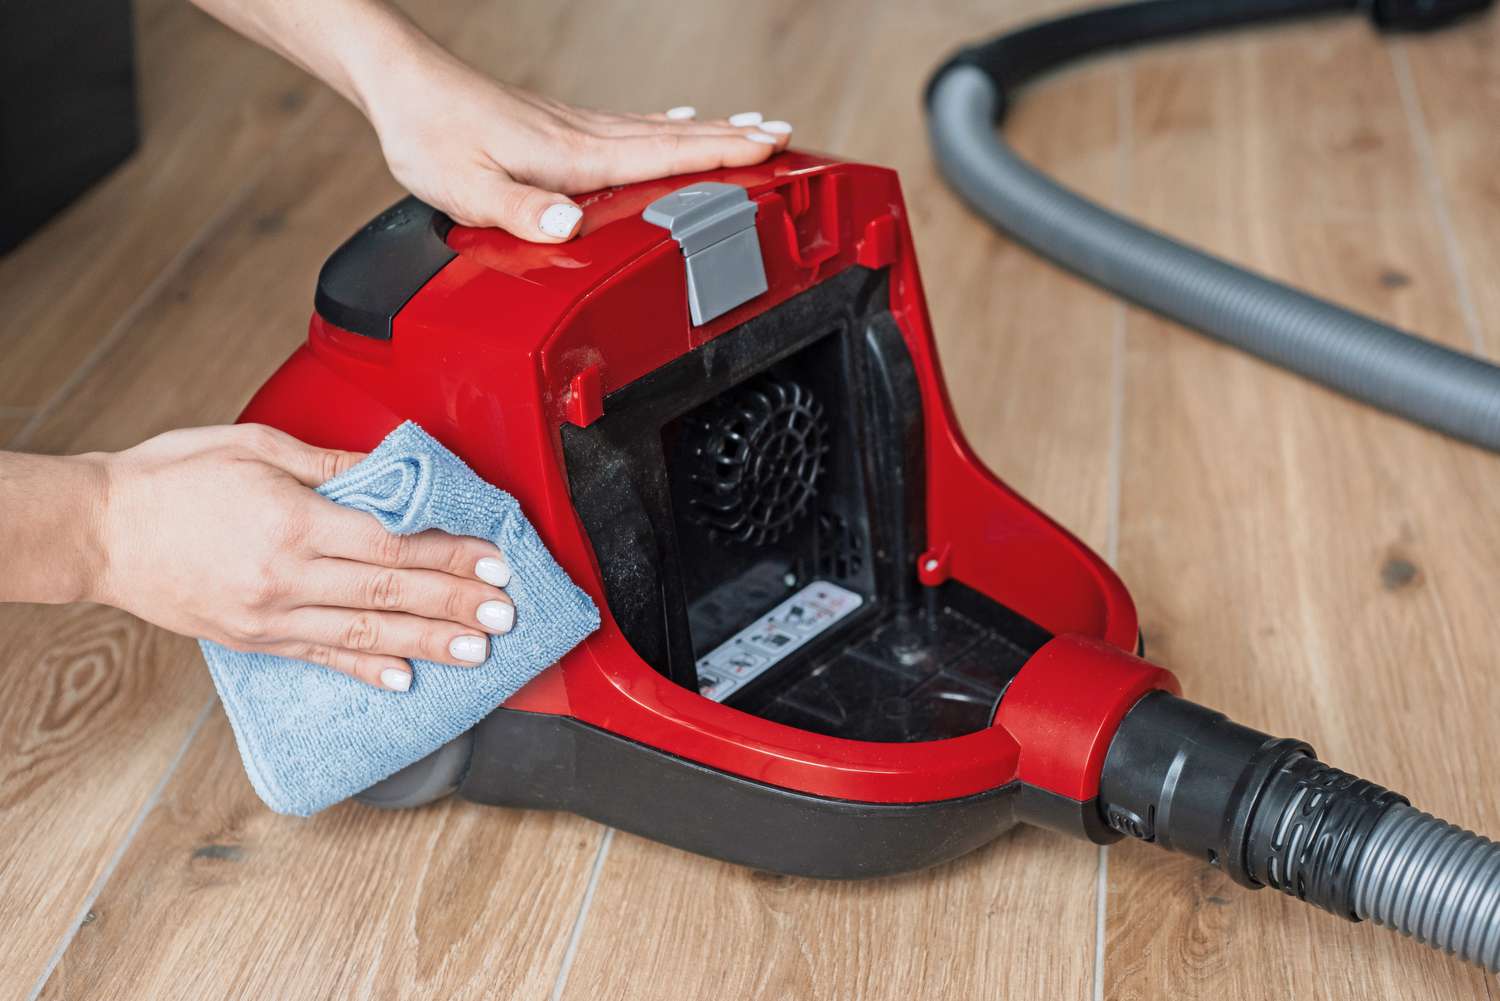
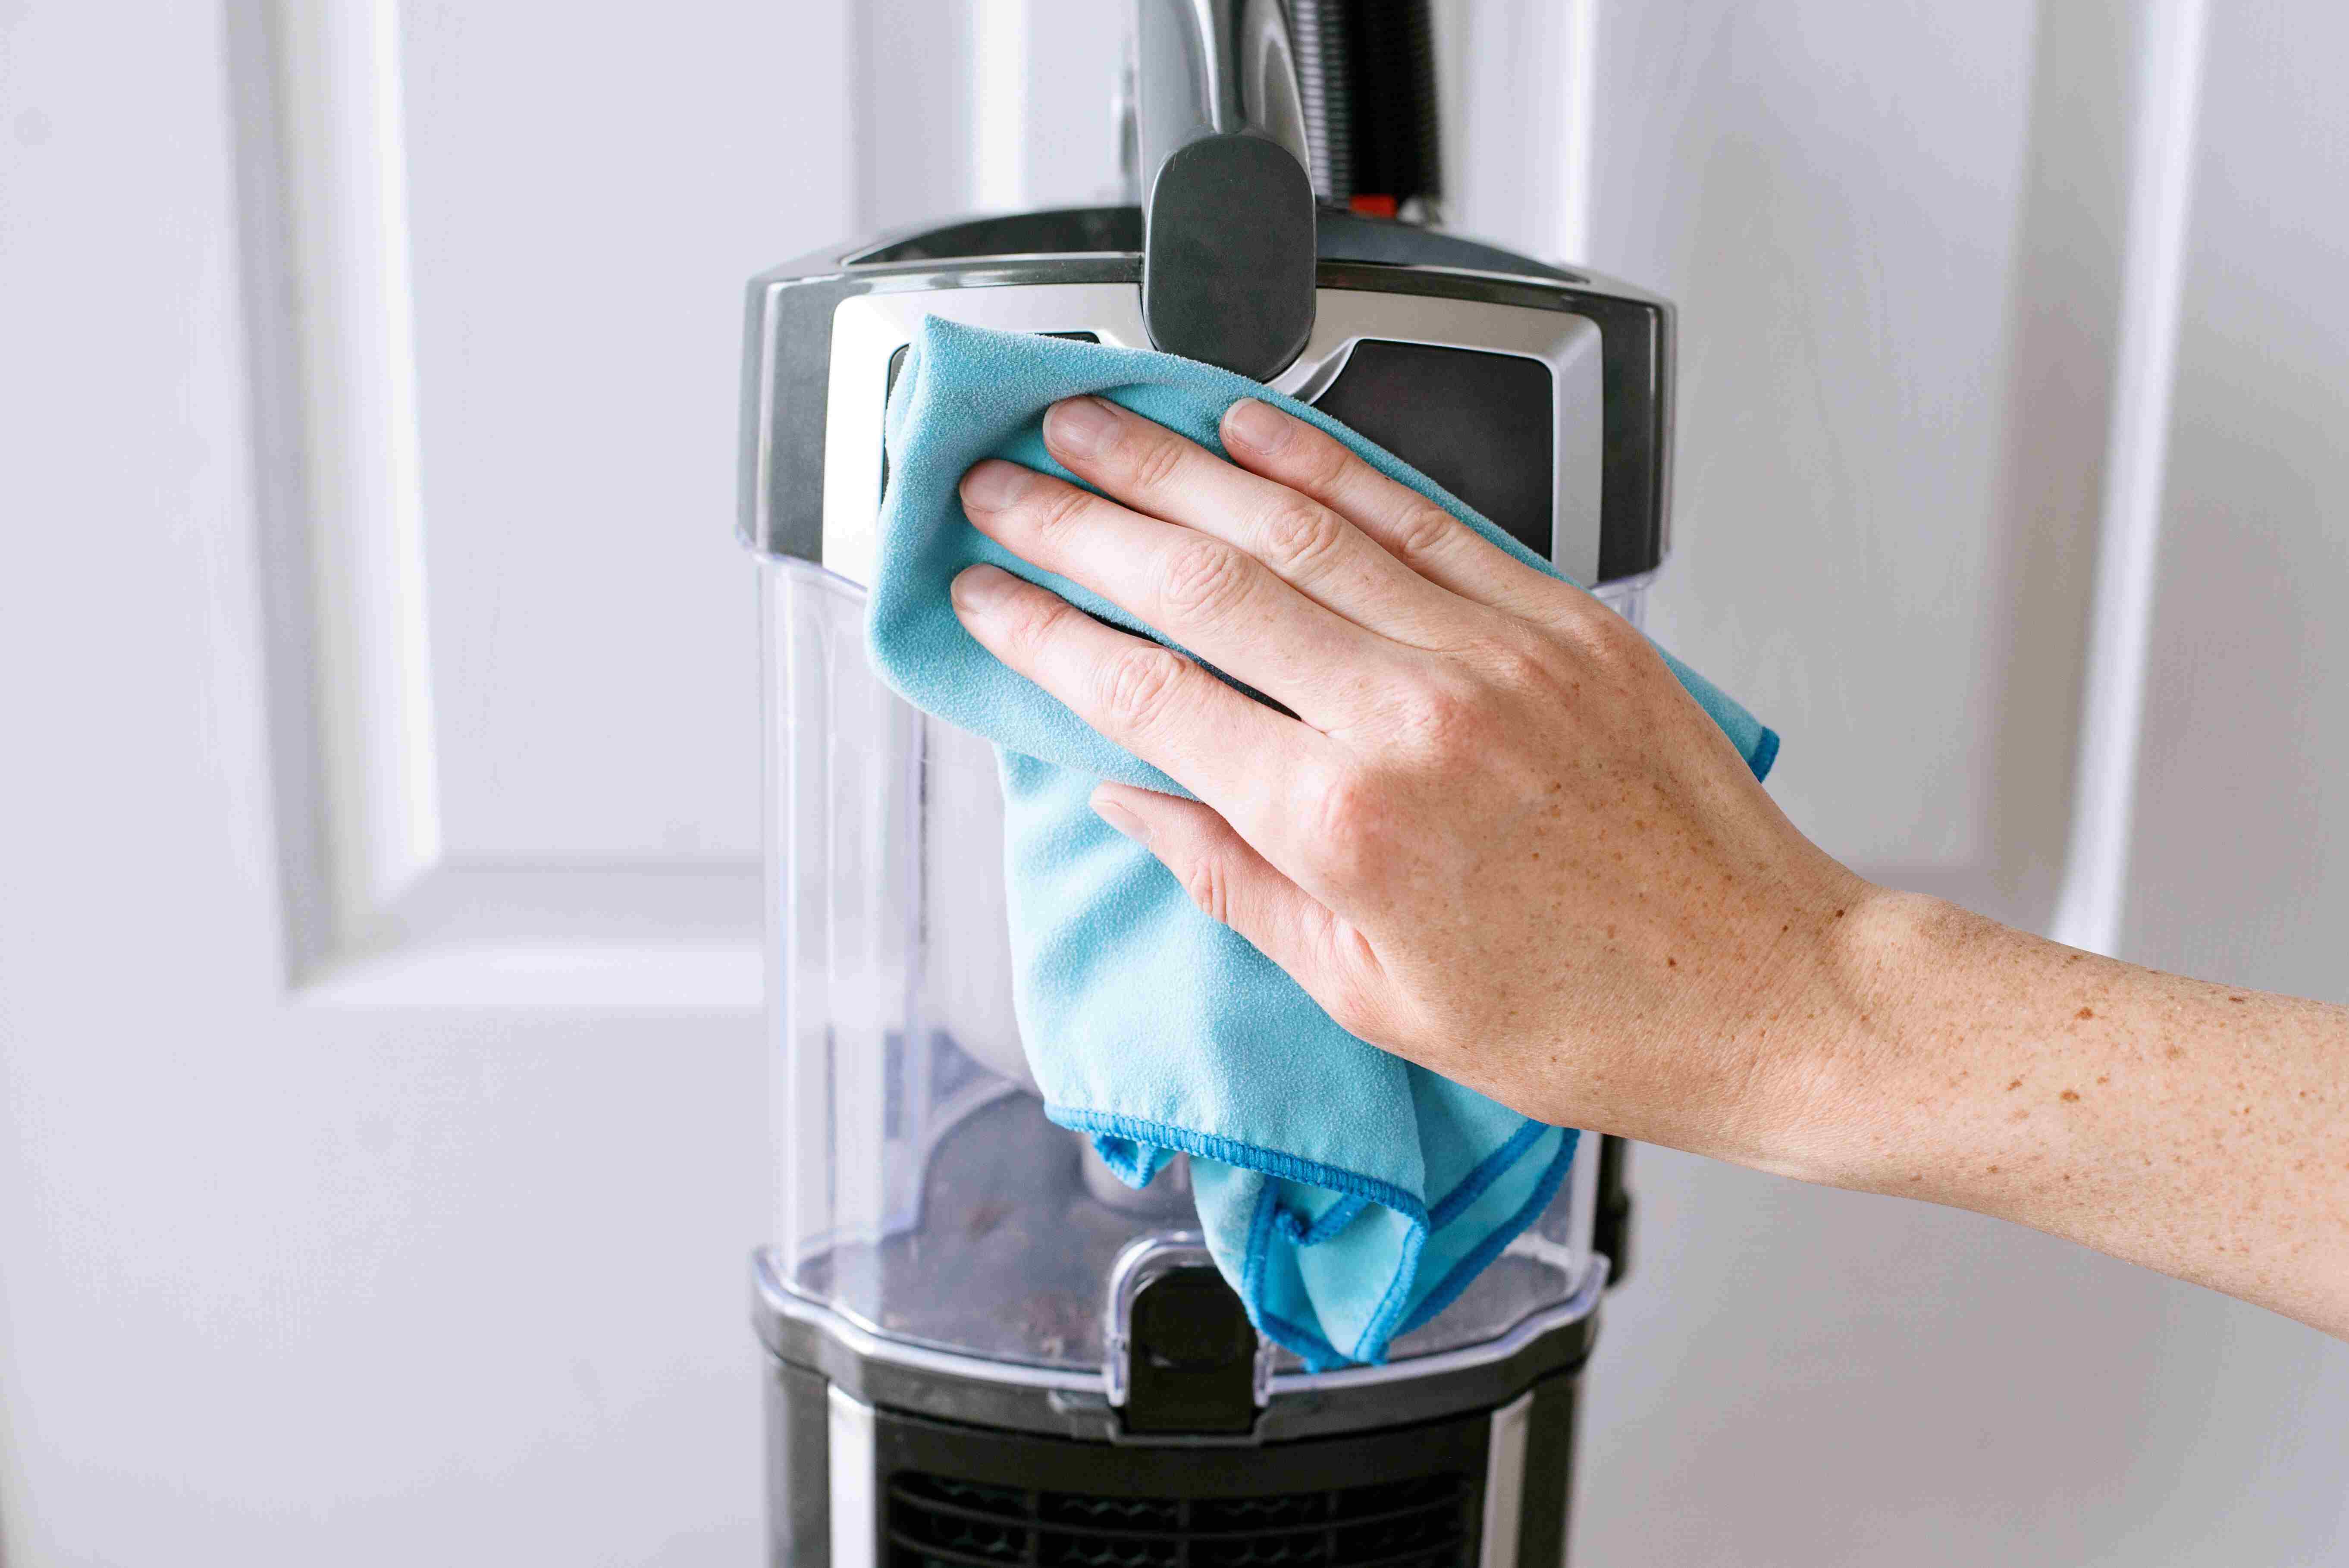
- Use a Microfiber Cloth: Grab a clean, dry microfiber cloth and gently wipe down the exterior surfaces of the vacuum. Pay attention to areas that are particularly dirty, such as the handle, buttons, and power cord.
- Remove Stubborn Stains: For any stubborn stains or marks, dampen the microfiber cloth with a small amount of water or mild detergent. Gently scrub the affected area until the stain is lifted. Avoid using harsh chemicals or abrasive cleaners, as they may damage the vacuum’s finish.
- Clean the Wheels and Caster: Check the wheels and caster for any dirt or debris that may have accumulated. Use a soft brush or cloth to remove any particles and ensure smooth movement during vacuuming.
- Pay Attention to Air Vents and Openings: Vacuum cleaners have air vents and openings that can become clogged with dust. Use a soft brush or a can of compressed air to gently remove any dirt or debris from these areas. This will help maintain proper airflow and prevent overheating.
- Dry Thoroughly: After cleaning the exterior, ensure that all surfaces are completely dry. Use a clean, dry microfiber cloth to remove any excess moisture. This will prevent water damage and keep your vacuum in optimal condition.
By regularly cleaning the exterior of your vacuum, you not only improve its appearance but also extend its lifespan. A clean exterior ensures that the vacuum operates efficiently and prevents dirt and grime from transferring to surfaces during use.
With the exterior of the vacuum now clean, it’s time to move on to the final step: reassembling and testing the vacuum.
Read more: What Causes A Vacuum Cleaner To Lose Suction
Step 7: Reassemble and Test the Vacuum
After completing all the necessary cleaning steps, it’s time to reassemble your vacuum and ensure that it’s in proper working condition. Here’s how to reassemble and test your vacuum:
- Refer to the Manufacturer’s Instructions: Consult the manufacturer’s instructions to ensure you correctly reassemble the vacuum. Each vacuum model may have specific instructions for reassembling the various components.
- Insert the Cleaned or New Filter: Place the cleaned or new filter back into its designated housing or reinsert it into the vacuum, following the manufacturer’s instructions. Ensure that it is securely in place.
- Reattach the Brushroll Cover: If you removed the brushroll cover, reattach it securely according to the manufacturer’s instructions. Make sure it fits snugly and that all screws or latches are properly fastened.
- Reinsert the Dust Canister or Bag: If you removed the dust canister, reinsert it into the vacuum, ensuring a secure fit. If your vacuum uses a disposable bag, replace it with a new one according to the manufacturer’s instructions.
- Plug in the Vacuum: Once everything is properly reassembled, plug in the vacuum to a power source. Ensure that the power cord is properly connected and not damaged.
- Test the Vacuum: Switch on the vacuum and test its functionality. Check if the suction power feels stronger and if all the attachments and settings are working properly. Take note of any unusual noises or issues that may require further attention.
By reassembling and testing your vacuum, you can ensure that all the components are in place and functioning correctly. This step provides you with the confidence that your vacuum is ready to tackle your cleaning tasks effectively.
With the cleaning process complete and your vacuum reassembled and tested, you can now enjoy stronger suction and optimal performance from your vacuum cleaner. Regular maintenance and cleaning will help extend its lifespan and ensure that it continues to keep your home clean and fresh.
Conclusion
Cleaning your vacuum regularly is essential for maintaining its performance, prolonging its lifespan, and ensuring a clean and healthy home. By following the steps outlined in this guide, you can effectively clean your vacuum and enjoy stronger suction and peak performance. Let’s recap the key points:
First, remember to unplug your vacuum and empty the dust canister or replace the bag. This eliminates debris and prevents any safety hazards. Next, remove and clean the filter to prevent clogs and maintain optimal airflow. Don’t forget to also clean the brushroll to remove hair and debris, enhancing its effectiveness on carpets and floors.
Checking and cleaning the hose and attachments allow your vacuum to reach all areas of your home and provide thorough cleaning. Additionally, cleaning the dust canister or bag prevents odor buildup and maintains proper suction.
Don’t neglect the exterior of your vacuum. Keeping it clean not only improves its appearance but also ensures its longevity. Lastly, reassembling and testing your vacuum ensures that all components are correctly in place and that it functions effectively.
By following these steps and incorporating regular maintenance into your cleaning routine, you can enjoy the benefits of a well-maintained vacuum cleaner. Remember, a clean vacuum not only helps keep your home tidy but also contributes to a healthier living environment.
So, take the time to clean your vacuum regularly and experience the difference in suction power and performance. Your floors will thank you, and you’ll enjoy a cleaner, fresher home.
Frequently Asked Questions about How To Clean A Vacuum For Stronger Suction And Peak Performance
Was this page helpful?
At Storables.com, we guarantee accurate and reliable information. Our content, validated by Expert Board Contributors, is crafted following stringent Editorial Policies. We're committed to providing you with well-researched, expert-backed insights for all your informational needs.


0 thoughts on “How To Clean A Vacuum For Stronger Suction And Peak Performance”