Home>Articles>How To Clean A Vintage Stainless Steel GE Waffle Iron

Articles
How To Clean A Vintage Stainless Steel GE Waffle Iron
Modified: August 28, 2024
Learn how to clean your vintage stainless steel GE waffle iron with these helpful articles. Keep your kitchen appliances looking pristine and functioning at their best.
(Many of the links in this article redirect to a specific reviewed product. Your purchase of these products through affiliate links helps to generate commission for Storables.com, at no extra cost. Learn more)
Introduction
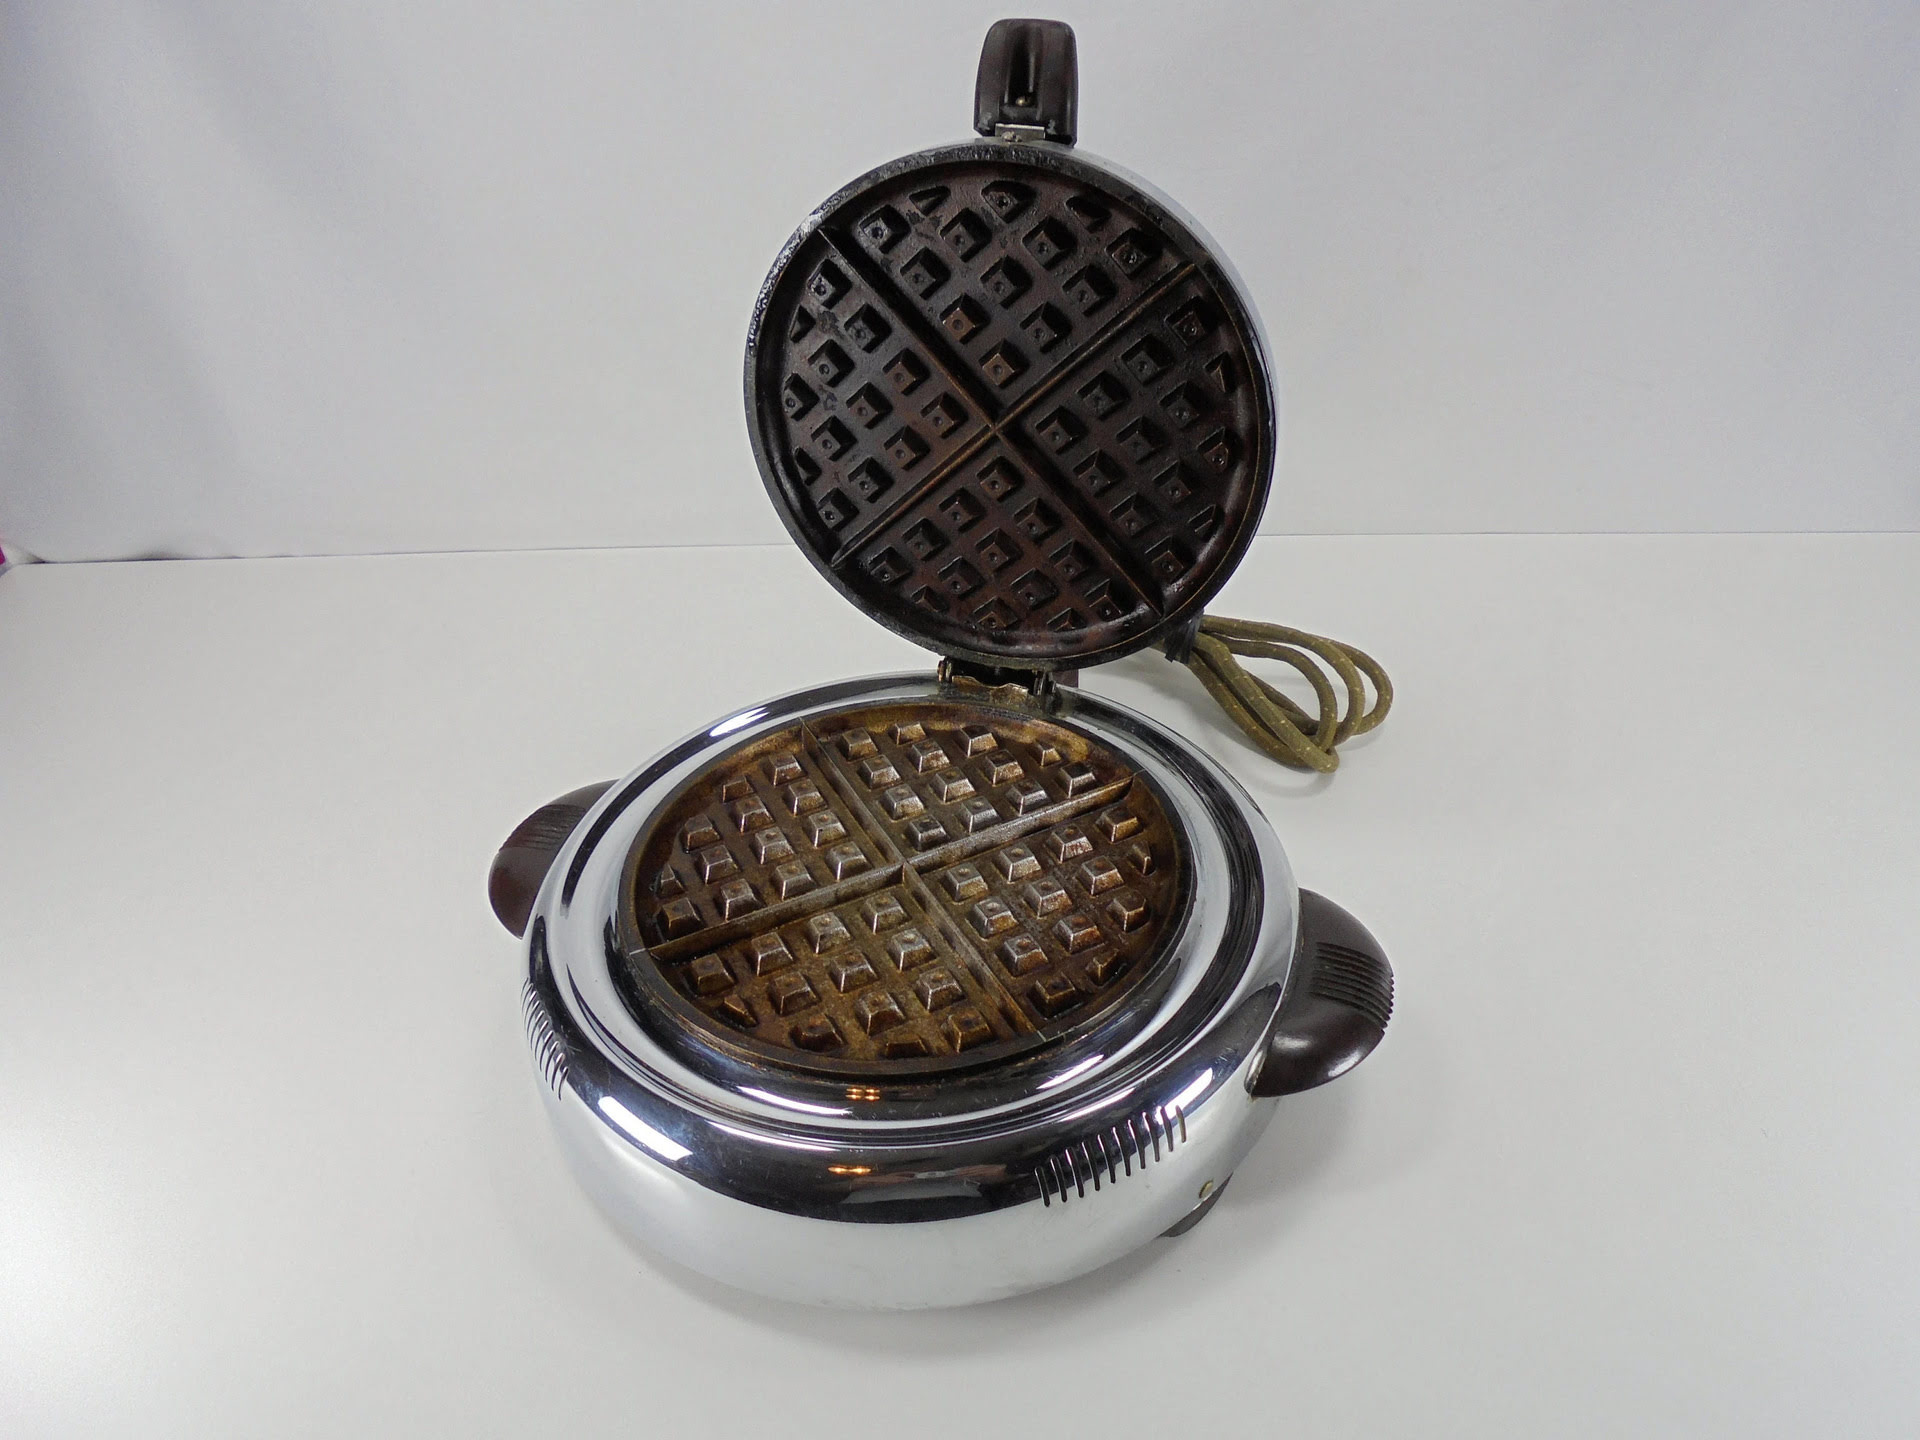
Welcome to the wonderful world of vintage kitchen appliances! If you’re the proud owner of a vintage stainless steel GE waffle iron, you know that it’s not just a functional tool for making delicious waffles, but also a piece of history that adds charm to your kitchen. However, over time, these old appliances can accumulate grime, food buildup, and tarnish that can affect their performance and appearance. That’s why it’s important to know how to properly clean and maintain your vintage stainless steel GE waffle iron.
Cleaning a vintage stainless steel GE waffle iron requires a gentle touch and the right materials to avoid damaging the delicate surfaces. With a step-by-step approach and a little bit of elbow grease, you can restore your waffle iron to its former glory and enjoy many more years of crispy, golden waffles.
In this article, we’ll guide you through the process of cleaning a vintage stainless steel GE waffle iron. We’ll cover the materials you’ll need, as well as each step to ensure a thorough cleaning. So, let’s get started and bring back the shine to your beloved waffle iron!
Key Takeaways:
- Properly cleaning a vintage stainless steel GE waffle iron requires a gentle touch and the right materials to avoid damaging the delicate surfaces. Following the step-by-step process outlined in the article will help restore the shine and efficiency of this beloved kitchen appliance.
- Regular maintenance not only keeps your vintage waffle iron looking its best but also ensures that it continues to produce delicious waffles for years to come. By taking the time to care for this piece of history, you can enjoy revitalizing it and creating lasting memories around the breakfast table.
Read more: How To Use Vintage Waffle Iron
Materials Needed
Before diving into the cleaning process, it’s important to gather the necessary materials. Here’s a list of items you’ll need to clean your vintage stainless steel GE waffle iron:
- Mild dish soap
- Warm water
- Baking soda
- Vinegar
- Cloth or sponge
- Soft-bristled brush
- Toothbrush
- Microfiber cloth or towel
- Soft cotton cloth
Make sure to have these materials on hand before you begin the cleaning process. Having everything ready will save you time and make the process more efficient.
Step 1: Preparing the Waffle Iron
Before you start cleaning your vintage stainless steel GE waffle iron, it’s important to ensure that it’s safe to work with. Follow these steps to prepare the waffle iron:
- Unplug the waffle iron: Safety is the top priority, so make sure the waffle iron is unplugged from the power source before you begin the cleaning process. This will prevent any accidents or electric shock.
- Allow it to cool down: Give the waffle iron some time to cool down completely. This will prevent any burns or injuries while handling it.
- Remove any removable parts: If your waffle iron has removable plates or other parts, such as a drip tray or crumb tray, carefully remove them. This will make the cleaning process easier and more thorough.
- Read the manufacturer’s instructions: If you still have the manual or any instructions that came with the waffle iron, take a moment to review them. Some vintage models may have specific cleaning instructions or warnings that you should be aware of.
Once you’ve completed these steps, you’re ready to move on to the next phase of the cleaning process. Preparing your waffle iron ensures that you can clean it effectively and safely.
Step 2: Removing Food Build-Up
Over time, your vintage stainless steel GE waffle iron can accumulate food build-up from previous cooking sessions. It’s important to remove this build-up before deep cleaning the waffle iron. Follow these steps to remove food residue:
- Scrape off any loose debris: Use a soft-bristled brush or a toothbrush to gently scrape off any loose food particles or debris from the waffle plates. Be careful not to scratch the surface.
- Create a cleaning solution: In a bowl, mix warm water with a few drops of mild dish soap. Stir the solution until it becomes soapy.
- Dampen a cloth or sponge: Dip a cloth or sponge into the soapy water mixture. Make sure it’s only damp, not dripping wet.
- Gently wipe the waffle plates: Wipe the waffle plates with the damp cloth or sponge, removing any remaining food residue. Pay extra attention to any stubborn or sticky spots.
- Rinse the waffle plates: Rinse the cloth or sponge and wring out any excess water. Wipe down the waffle plates again to remove any soap residue.
- Dry the waffle plates: Use a microfiber cloth or towel to thoroughly dry the waffle plates. Make sure they’re completely dry to prevent any water spots or corrosion.
By following these steps, you’ll effectively remove food build-up from your vintage stainless steel GE waffle iron. This will create a clean surface for the next phase of the cleaning process.
Step 3: Cleaning the Stainless Steel Surface
Now that you’ve removed the food build-up from the waffle plates, it’s time to focus on cleaning the stainless steel surface of your vintage GE waffle iron. Follow these steps to restore the shine to the stainless steel:
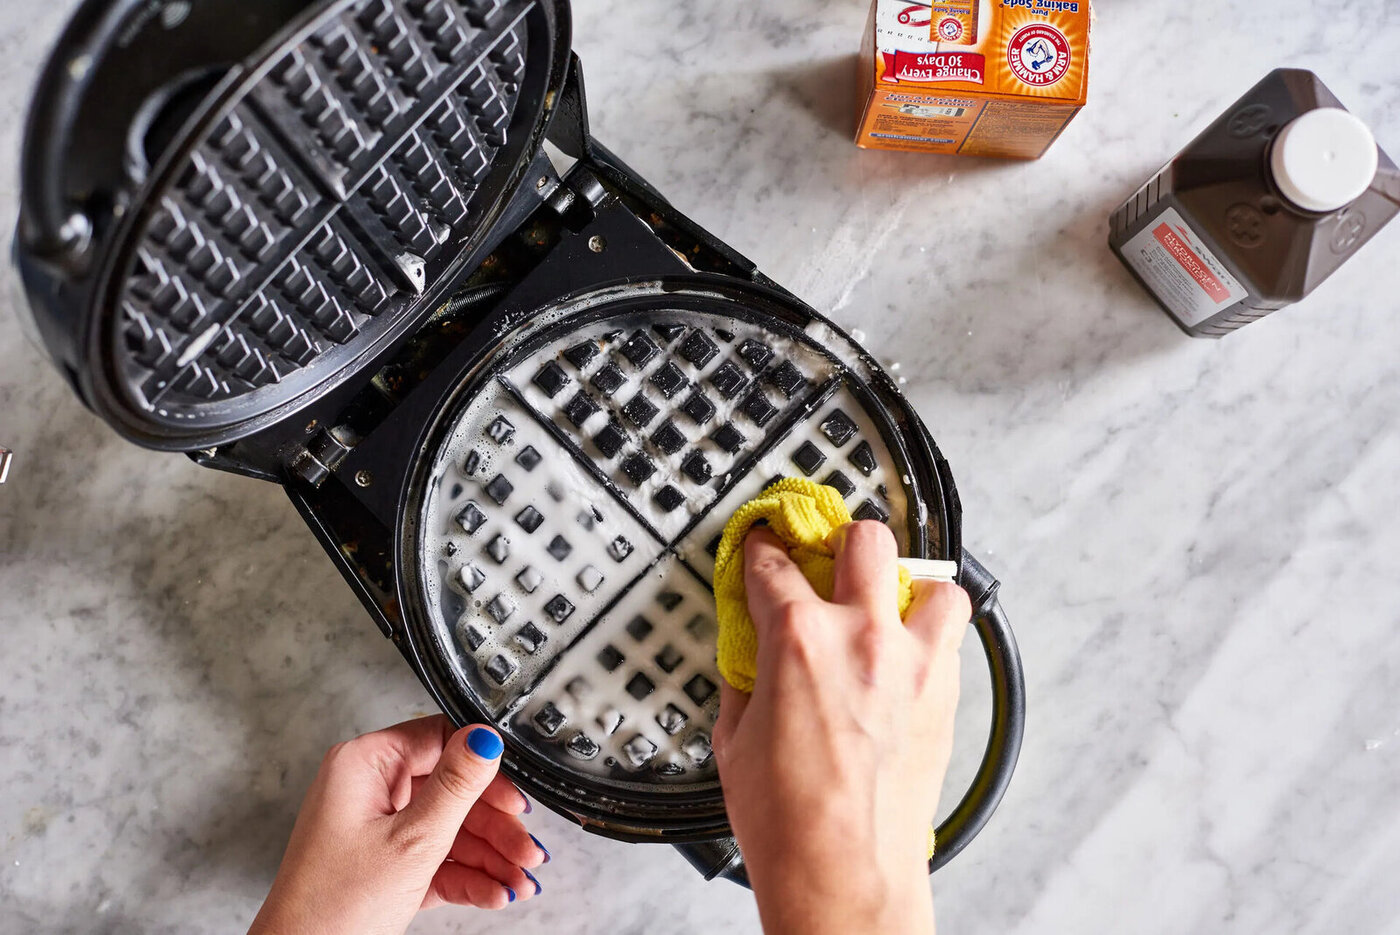
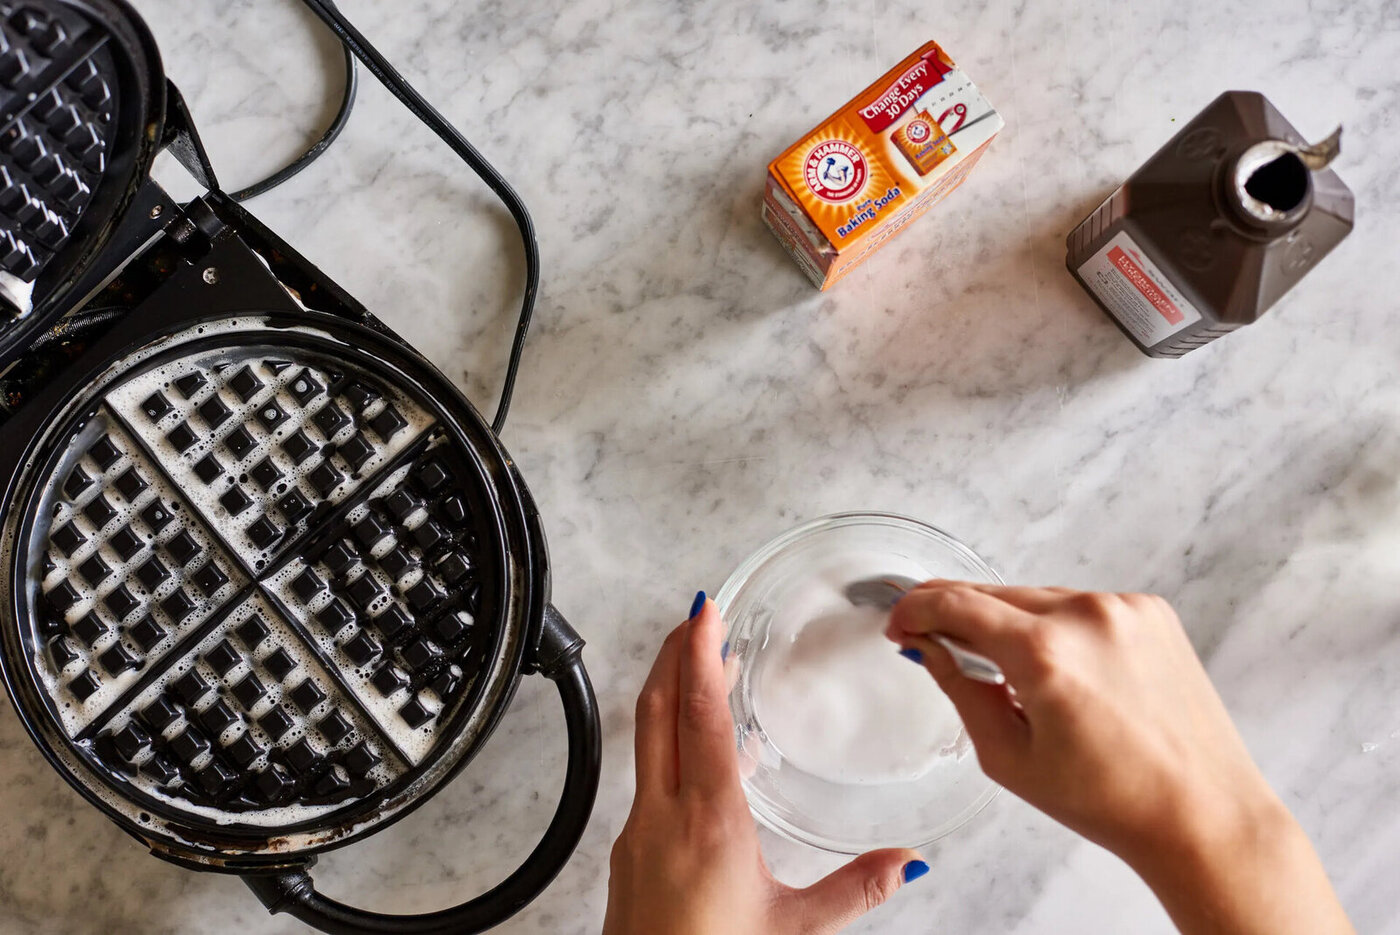
- Create a paste with baking soda and water: In a small bowl, mix baking soda with a small amount of water to create a paste. The paste should have a thick consistency.
- Apply the paste to the stainless steel surface: Use a cloth or sponge to apply the baking soda paste to the stainless steel parts of the waffle iron. Gently rub the paste onto the surface, focusing on any areas that have tarnish or discoloration. Allow the paste to sit for a few minutes.
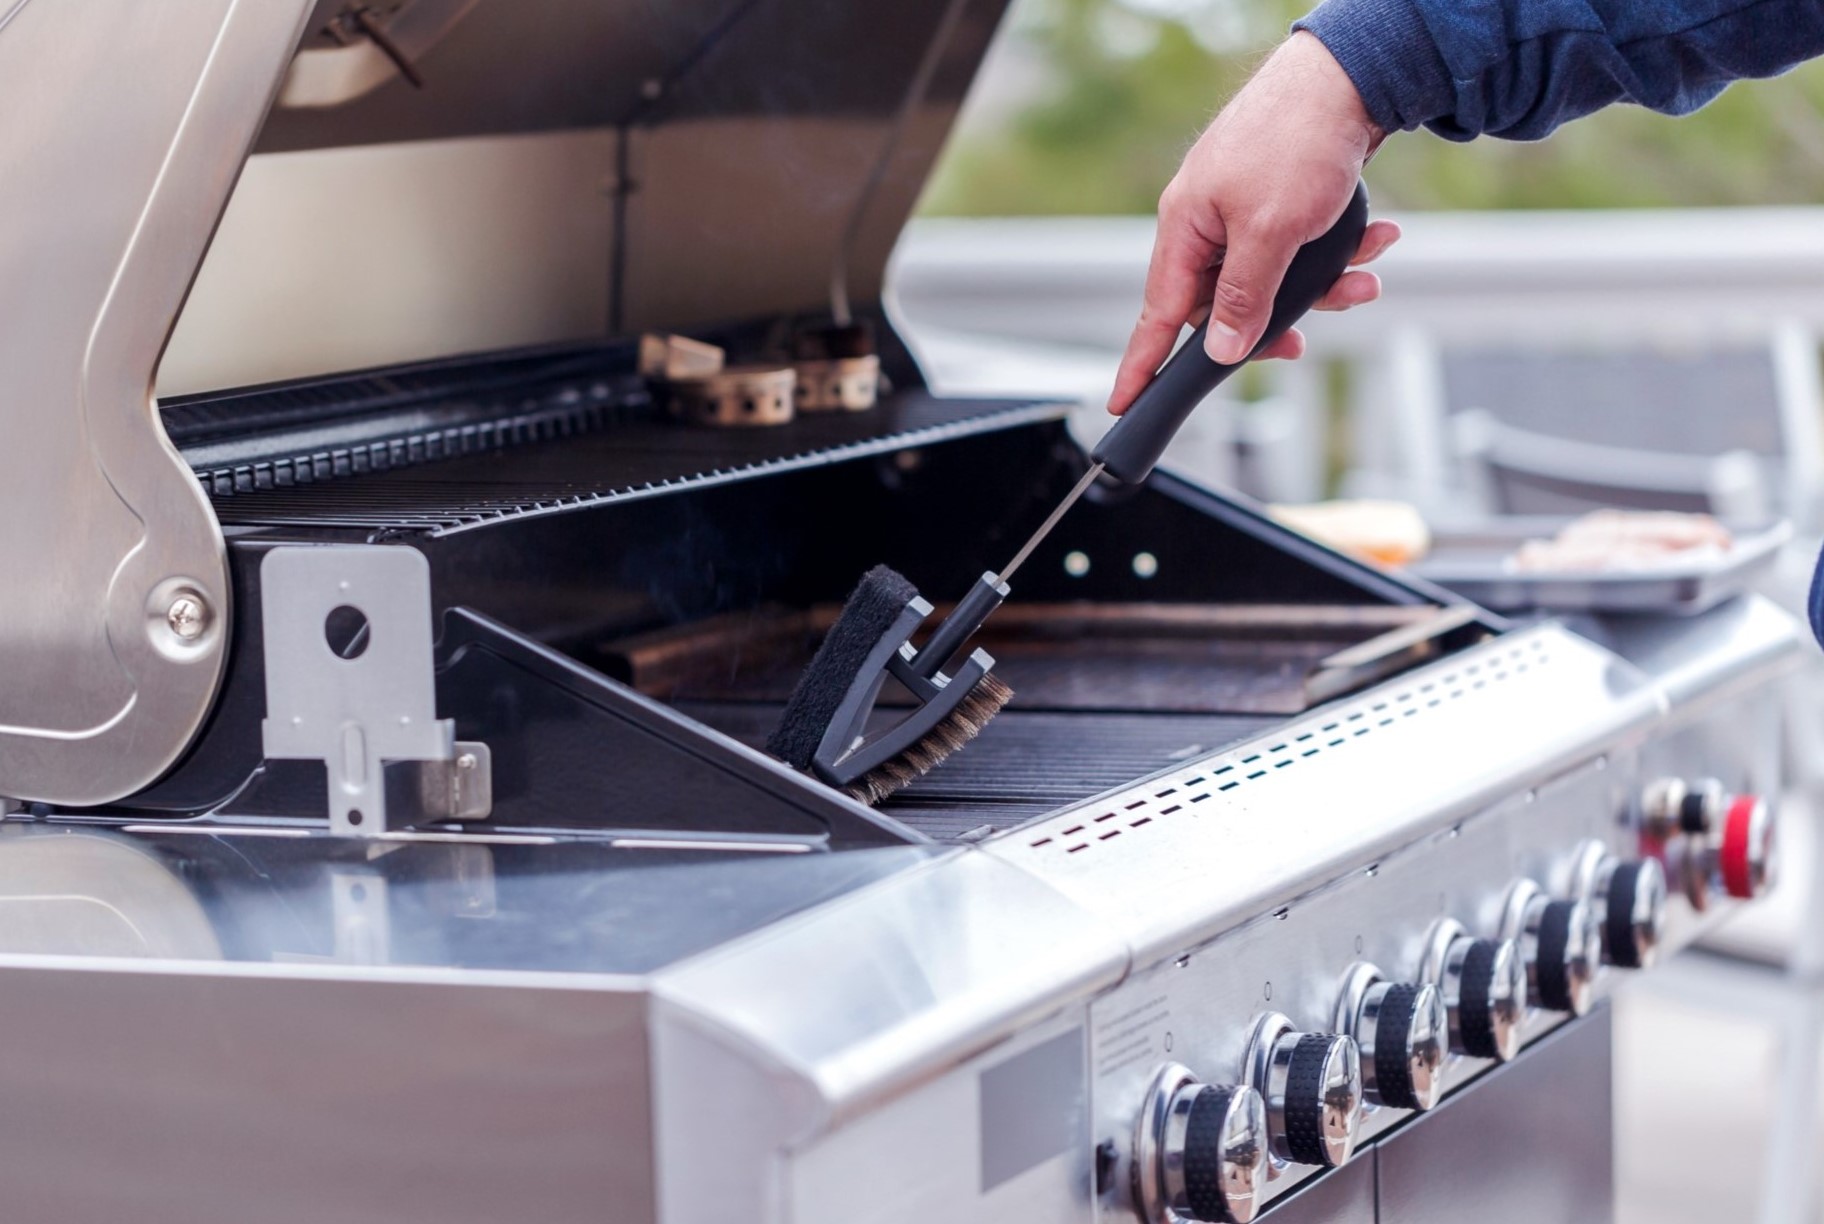
- Scrub the surface: After letting the paste sit, use a soft-bristled brush or a toothbrush to scrub the surface of the stainless steel. Make small circular motions to remove stubborn stains and tarnish. Be gentle to avoid scratching the stainless steel.
- Rinse the surface: Rinse the cloth or sponge and wring out any excess water. Wipe down the stainless steel surface to remove the baking soda paste. Rinse the waffle iron with clean water.
- Dry the waffle iron: Use a soft cotton cloth to thoroughly dry the stainless steel surface. Ensure there is no moisture left on the waffle iron to prevent water spots or corrosion.
- Buff to a shine: To give the stainless steel surface an extra shine, use a clean cotton cloth to buff the surface in small circular motions. This will bring back the luster and brilliance to your vintage waffle iron.
By following these steps, you’ll effectively remove tarnish and restore the shine to the stainless steel surface of your vintage GE waffle iron. It’s important to be gentle during the scrubbing process to avoid damaging the delicate surface.
To clean a vintage stainless steel GE waffle iron, mix baking soda and water to form a paste. Apply the paste to the iron, let it sit for 15 minutes, then scrub with a non-abrasive sponge. Wipe clean with a damp cloth.
Read more: How To Clean Stainless Steel Silverware
Step 4: Cleaning the Waffle Plates
The waffle plates are the heart of your vintage GE waffle iron, and they require special attention to ensure they’re clean and ready for the next batch of delicious waffles. Follow these steps to clean the waffle plates:
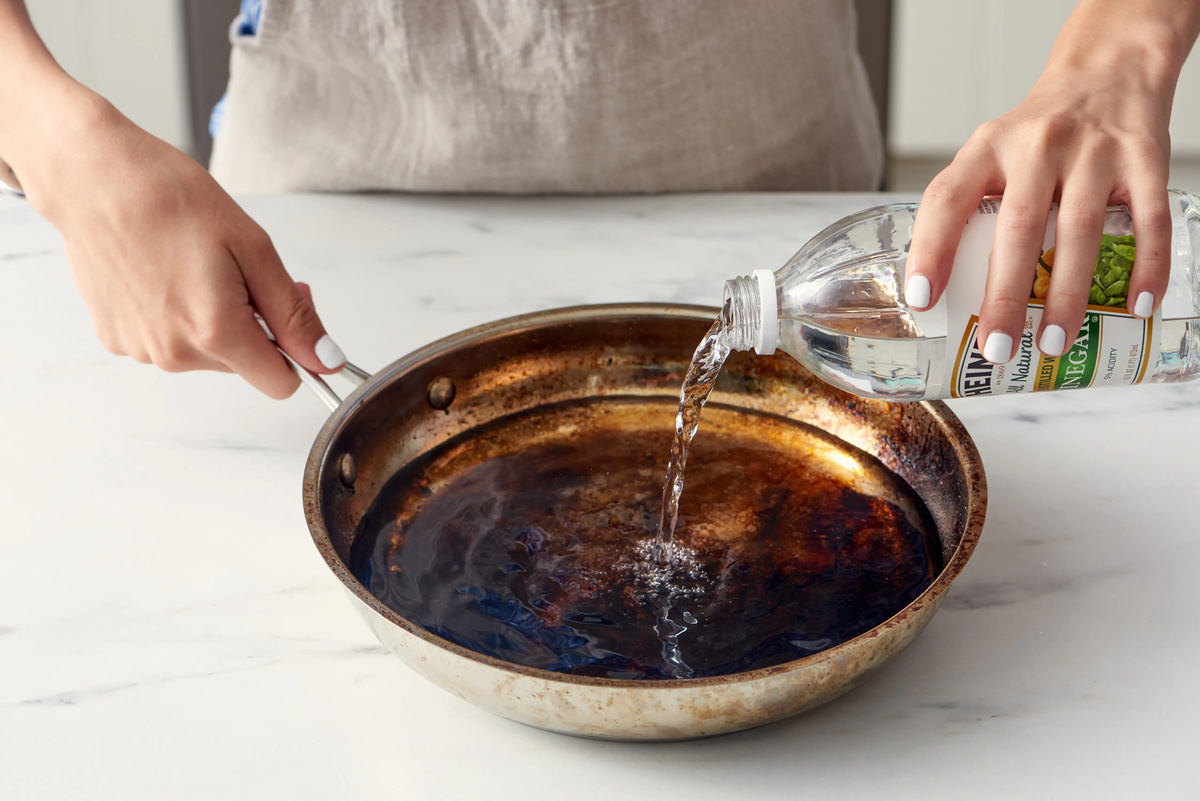
- Create a vinegar and water solution: In a small bowl, mix equal parts vinegar and warm water. This solution will help remove any residual grease or food particles.
- Dampen a cloth or sponge: Dip a cloth or sponge into the vinegar and water solution. Make sure it’s damp but not soaking wet.
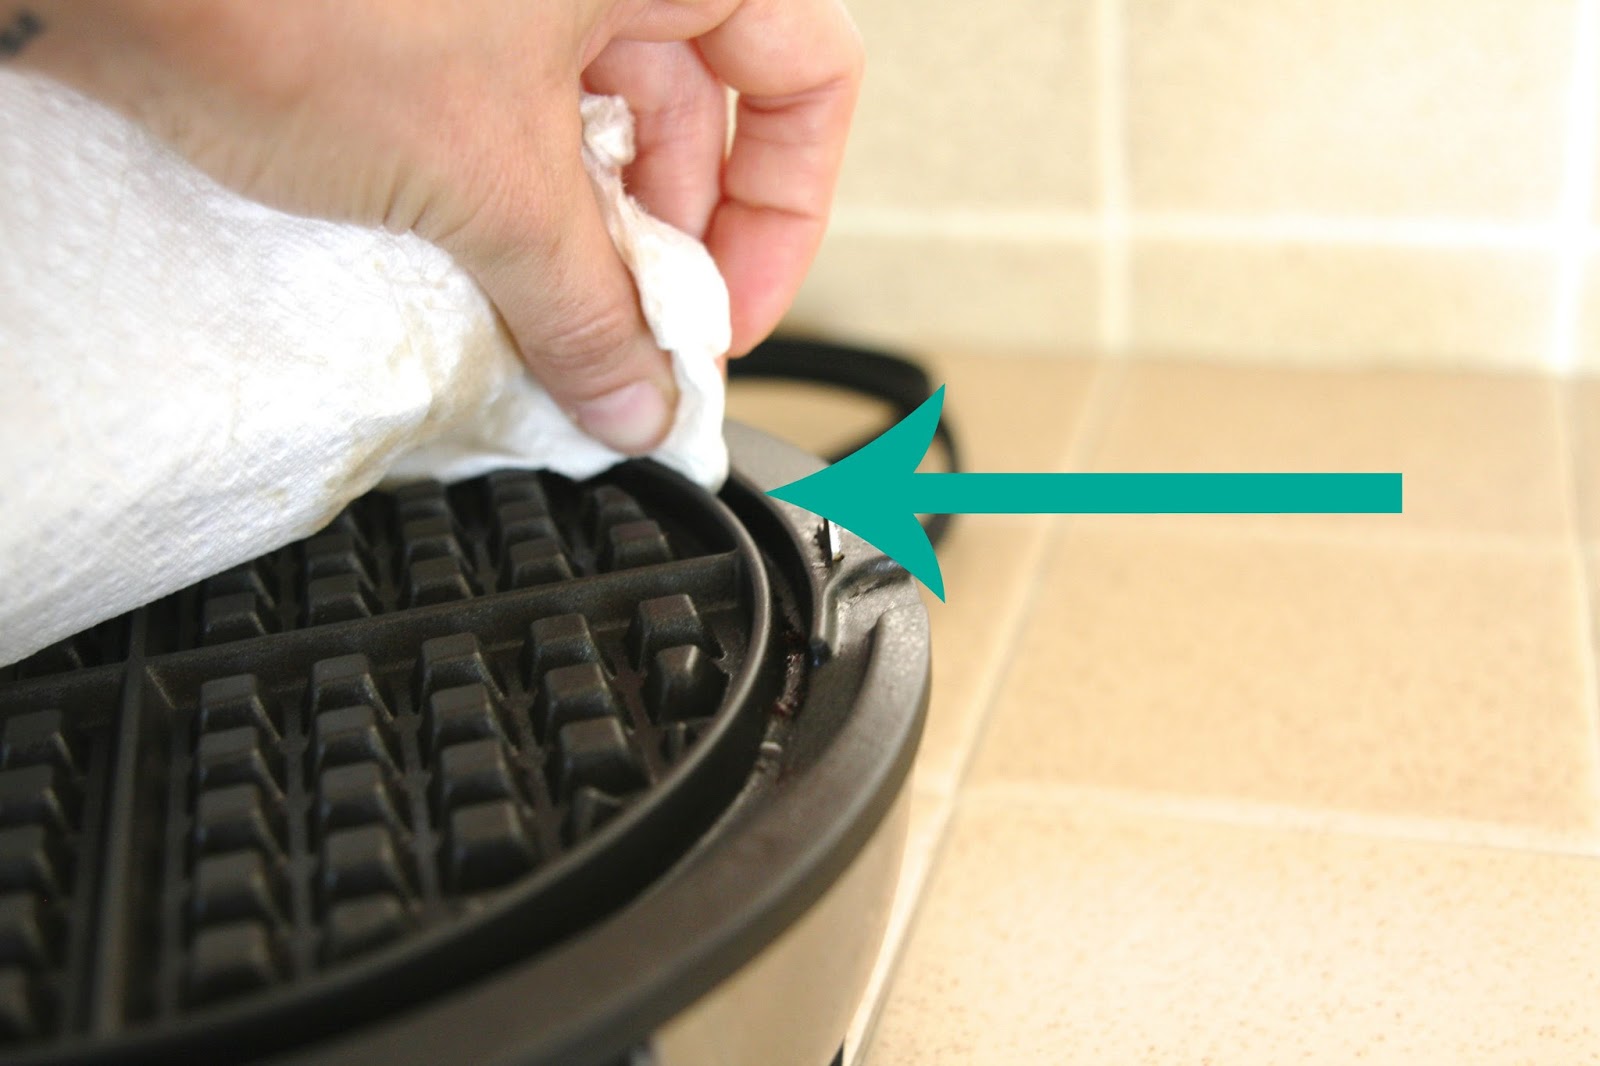
- Clean the waffle plates: Gently wipe the waffle plates with the damp cloth or sponge, focusing on any remaining food particles or grease. Use a toothbrush to reach into the crevices or hard-to-reach areas.
- Rinse the waffle plates: Rinse the cloth or sponge and wring out any excess water. Wipe down the waffle plates again to remove any vinegar residue.
- Dry the waffle plates: Use a microfiber cloth or towel to thoroughly dry the waffle plates. Make sure they’re completely dry to prevent any water spots or corrosion.
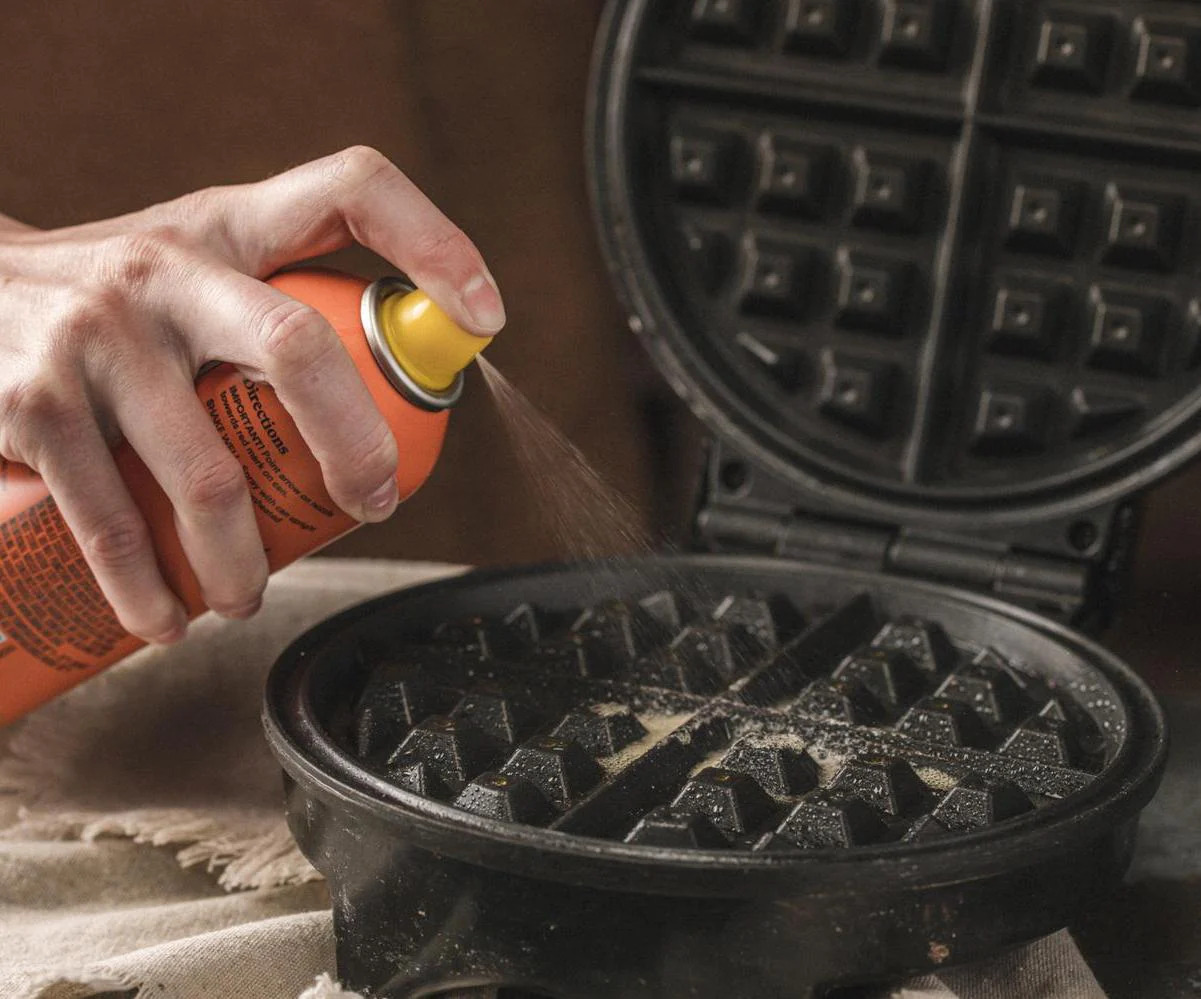
- Protect the waffle plates: To prevent the waffle plates from sticking, you can lightly coat them with a thin layer of cooking oil. This will help preserve their non-stick properties.
By following these steps, you’ll effectively clean the waffle plates of your vintage GE waffle iron. Ensuring the plates are clean and free from any residue will result in perfectly cooked waffles every time.
Step 5: Cleaning the Exterior
The exterior of your vintage GE waffle iron also deserves some attention to keep it looking its best. Follow these steps to clean the exterior of your waffle iron:
- Dampen a cloth or sponge: Dip a cloth or sponge into warm water and wring out any excess moisture. Make sure it’s only damp, not dripping wet.
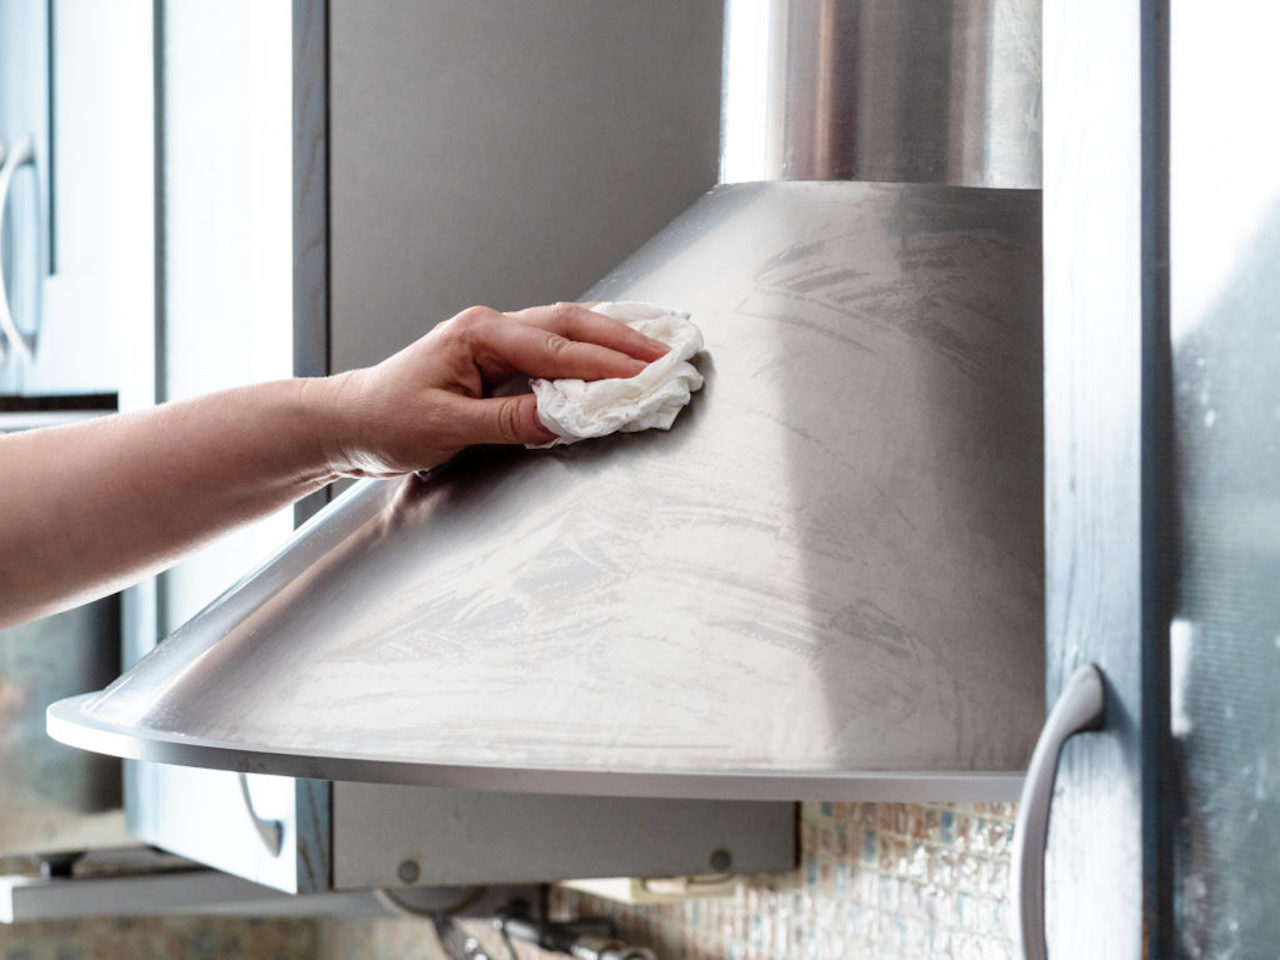
- Wipe down the exterior: Gently wipe the exterior surfaces of the waffle iron with the damp cloth or sponge. Pay attention to any areas with stains, grease, or fingerprints.
- For stubborn stains or grease: If there are stubborn stains or grease marks on the exterior, create a paste with baking soda and water. Apply the paste to the problem areas and gently scrub with a soft-bristled brush or toothbrush. Rinse with clean water and dry thoroughly.
- If the waffle iron has decorative accents: If your vintage GE waffle iron has decorative accents, such as chrome or brass details, use a metal cleaner or polish specifically designed for those materials. Follow the instructions on the product and be sure to test it on a small, inconspicuous area first.
- Rinse and dry: After wiping down or treating the exterior, rinse the cloth or sponge and wipe away any soap residue. Dry the exterior surfaces with a microfiber cloth or towel to prevent water spots.
By following these steps, you’ll effectively clean the exterior of your vintage GE waffle iron, removing any dirt, stains, or grease to keep it looking shiny and presentable.
Step 6: Cleaning the Cord and Plug
The cord and plug of your vintage GE waffle iron can accumulate dirt, crumbs, and grease over time. Cleaning these parts is essential not only for maintaining the appearance of your waffle iron but also for safety purposes. Follow these steps to clean the cord and plug:
- Unplug the waffle iron: Before cleaning the cord and plug, make sure the waffle iron is unplugged from the power source. This will prevent any accidents or electric shock.
- Inspect the cord and plug: Check the cord and plug for any visible dirt, crumbs, or grease. Pay attention to the areas near the plug and where the cord attaches to the waffle iron.
- Use a damp cloth or sponge: Dampen a cloth or sponge with warm water and wring out any excess moisture. Gently wipe down the cord and plug, removing any dirt or grime. Be careful not to wet the electrical components.
- If necessary, use a toothbrush: For stubborn dirt or grease, you can use a toothbrush to scrub the affected areas. Make sure the toothbrush is dry and use gentle motions to avoid damaging the cord or plug.
- Rinse and dry: Rinse the cloth or sponge and wipe away any soap residue from the cord and plug. Dry the cord and plug thoroughly with a towel or allow them to air dry completely.
By following these steps, you’ll effectively clean the cord and plug of your vintage GE waffle iron, ensuring a clean and safe appliance for future use.
Step 7: Drying and Storing the Waffle Iron
After completing the cleaning process for your vintage GE waffle iron, it’s important to ensure proper drying and storage to maintain its pristine condition. Follow these steps for drying and storing your waffle iron:
- Thoroughly dry the waffle iron: Use a soft cotton cloth or a microfiber towel to carefully dry all the components of the waffle iron. Pay special attention to the waffle plates, as any moisture left behind can lead to rust or corrosion.
- Air dry if necessary: If any parts of the waffle iron are difficult to dry completely, such as the nooks and crannies, you can leave it to air dry for a little while longer to ensure all moisture evaporates.
- Store in a clean, dry place: Find a clean and dry storage area for your vintage GE waffle iron. It’s best to store it in a cabinet or pantry where it will be protected from dust and potential damage.
- Avoid stacking heavy objects on top: To prevent any unnecessary pressure or damage to the waffle iron, make sure not to stack heavy objects on top of it while in storage. This can help preserve its shape and integrity.
- Consider covering it: If you feel the need, you can place a clean cloth or towel over the waffle iron to offer an extra layer of protection against dust or scratches. Just make sure the waffle iron is completely cooled down before covering it.
By following these steps, you’ll ensure that your vintage GE waffle iron is properly dried and stored, ready for its next use. Taking the time to care for your waffle iron will extend its lifespan and keep it in excellent condition for years to come.
Read more: How To Clean Cuisinart Waffle Iron
Conclusion
Congratulations! You’ve successfully learned how to clean and maintain your vintage stainless steel GE waffle iron. By following the step-by-step process outlined in this article, you can restore the shine and efficiency of your beloved kitchen appliance.
Remember to always take the necessary precautions, such as unplugging the waffle iron and allowing it to cool down before cleaning. Use gentle cleaning methods and the right materials to avoid damaging the delicate surfaces. Regular maintenance will not only keep your vintage waffle iron looking its best but also ensure that it continues to produce delicious waffles for years to come.
Now that you have the knowledge and skills to clean your vintage stainless steel GE waffle iron, you can enjoy the process of revitalizing this piece of history. Take pride in owning a kitchen appliance that not only serves its purpose but also adds charm and nostalgia to your home.
So, go ahead and gather the materials needed, follow the steps diligently, and let your vintage GE waffle iron shine once again. Get ready to make mouthwatering waffles and create lasting memories with loved ones around the breakfast table.
Remember, a well-cared-for vintage waffle iron will not only bring joy to your kitchen but also become an heirloom piece that can be passed down through generations. Enjoy the journey of maintaining and preserving this true culinary treasure!
Frequently Asked Questions about How To Clean A Vintage Stainless Steel GE Waffle Iron
Was this page helpful?
At Storables.com, we guarantee accurate and reliable information. Our content, validated by Expert Board Contributors, is crafted following stringent Editorial Policies. We're committed to providing you with well-researched, expert-backed insights for all your informational needs.

0 thoughts on “How To Clean A Vintage Stainless Steel GE Waffle Iron”