Articles
How To Clean Stainless Steel Sink Stains
Modified: February 23, 2024
Learn effective techniques and products for removing stubborn stains from your stainless steel sink with our informative articles. Find expert advice and achieve a sparkling clean sink today!
(Many of the links in this article redirect to a specific reviewed product. Your purchase of these products through affiliate links helps to generate commission for Storables.com, at no extra cost. Learn more)
Introduction
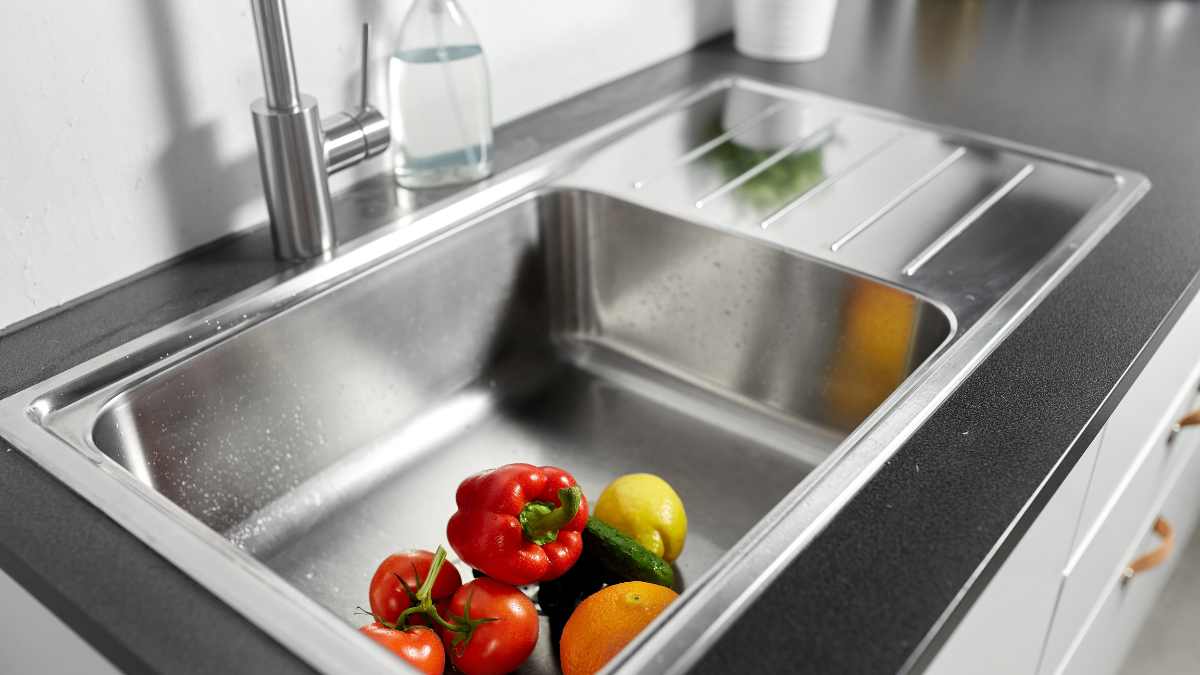
Welcome to this comprehensive guide on how to clean stainless steel sink stains! Stainless steel sinks are a popular choice for many homeowners due to their durability, sleek appearance, and resistance to corrosion. However, like any other surface, over time, stainless steel sinks can develop various stains and blemishes that can detract from their pristine look. But fear not! With the right techniques and tools, you can easily restore your stainless steel sink to its original glory.
In this article, we will delve into the different types of stains that can affect stainless steel sinks and provide you with step-by-step instructions on how to remove them effectively. We will also discuss the necessary tools and materials you will need for the cleaning process, as well as provide tips on how to maintain your sink and prevent future stains.
Whether you’re dealing with water stains, mineral deposits, grease and food stains, rust, soap scum, or hard water spots, this guide has you covered. By following our instructions, you’ll have your stainless steel sink looking brand new in no time.
Before we dive into the specific stain removal techniques, let’s first understand the different types of stains that can affect stainless steel sinks.
Key Takeaways:
- Say goodbye to stainless steel sink stains with natural remedies like vinegar, lemon juice, and baking soda. Regular maintenance and gentle cleaning will keep your sink looking pristine and free from unsightly blemishes.
- Prevent future stains on your stainless steel sink by using protective grids, wiping up spills promptly, and applying a protective layer of olive oil. With the right care, your sink will remain a shining centerpiece in your kitchen or bathroom.
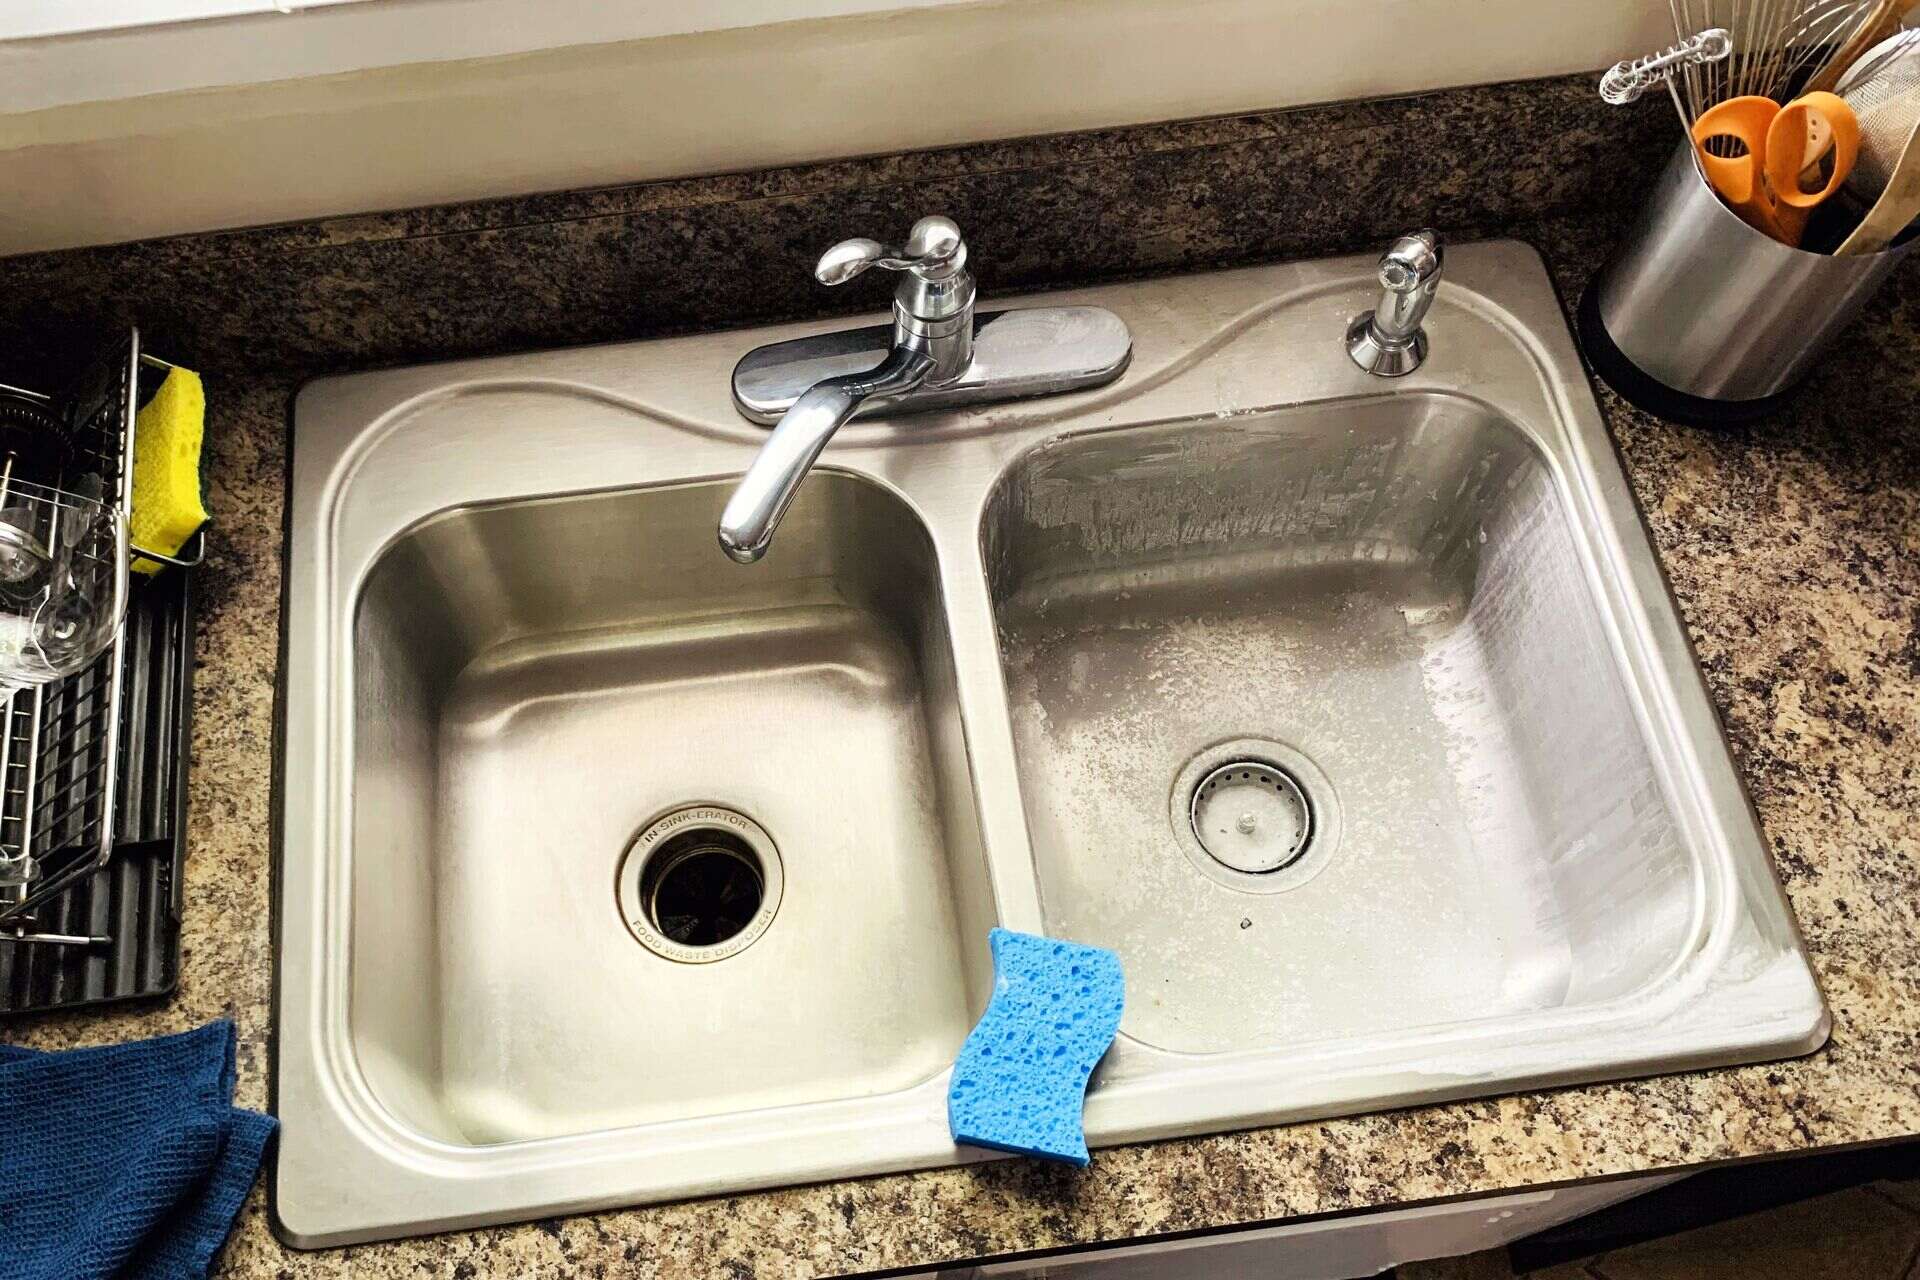
Understanding Stainless Steel Sink Stains
Stainless steel sinks can develop various types of stains, each requiring a different approach for effective removal. Understanding the nature of these stains is crucial to selecting the right cleaning method. Here are some common types of stains you may encounter:
- Water Stains: One of the most common types of stains found on stainless steel sinks is water stains. These stains are caused by the minerals present in hard water. When the water evaporates, it leaves behind mineral deposits that can create unsightly spots on your sink’s surface.
- Mineral Deposits: In addition to water stains, mineral deposits can also build up on stainless steel sinks over time. These deposits are a result of the minerals found in water, such as calcium and magnesium, that accumulate on the surface of the sink. This can give your sink a dull and discolored appearance.
- Grease and Food Stains: If you use your sink for washing dishes or food preparation, you may encounter grease and food stains. Grease can leave a sticky residue on the sink’s surface, while food particles can leave stubborn stains if not properly cleaned.
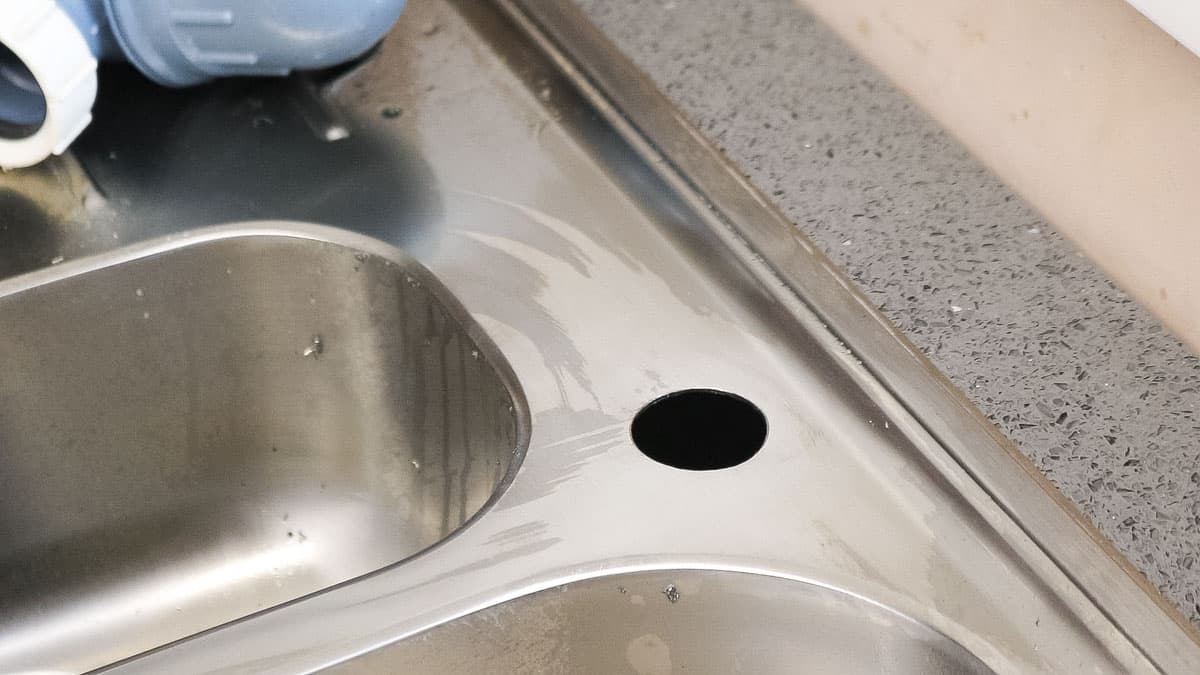
- Rust Stains: While stainless steel is resistant to rust, it can still develop rust stains if it comes into contact with other rusty objects or if the sink’s protective coating is damaged. Rust stains can be challenging to remove and may require special techniques.
- Soap Scum and Hard Water Spots: Soap scum is a common issue in sinks, especially in areas with hard water. This sticky residue can accumulate over time and give your sink a dull and dirty appearance. Hard water spots, similar to water stains, are caused by mineral deposits but are more concentrated and stubborn.
By identifying the specific type of stain you’re dealing with, you can choose the appropriate cleaning method and products to effectively remove it. In the next section, we will discuss the necessary tools and materials you will need for the cleaning process.
Necessary Tools and Materials
Before you begin cleaning your stainless steel sink, it’s important to gather the necessary tools and materials. Having the right supplies on hand will ensure that you can effectively remove stains and restore the shine to your sink. Here are the essential items you’ll need:
- Microfiber Cloth: Microfiber cloths are gentle on the stainless steel surface and ideal for cleaning without scratching or leaving lint behind. They are highly effective in removing stains and polishing the sink.
- Soft Bristle Brush: A soft bristle brush is useful for scrubbing away tough stains or residue that may have adhered to the sink’s surface. Opt for a brush with nylon or plastic bristles to avoid scratching the stainless steel.
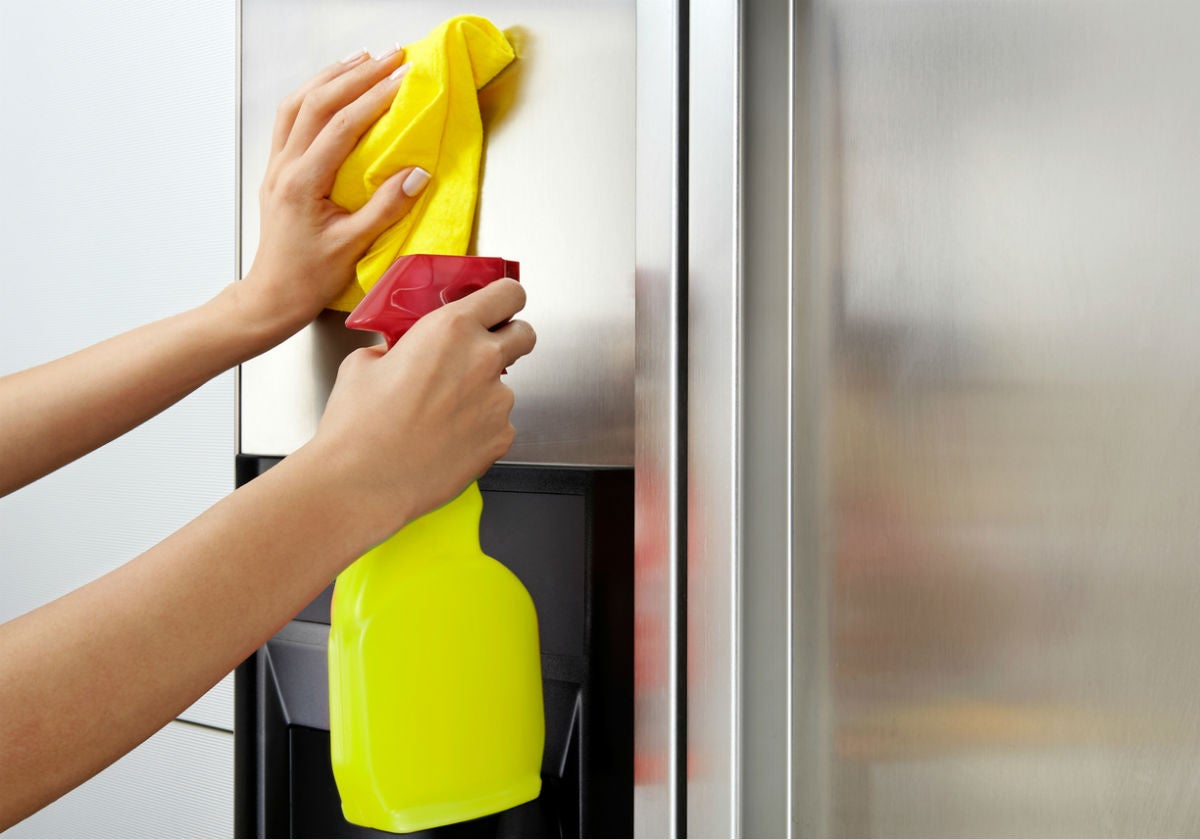
- Vinegar: Vinegar is a versatile and natural cleaning agent that can be used to remove mineral deposits, water stains, and soap scum. Its acidic properties help dissolve stubborn stains and leave your sink looking spotless.
- Baking Soda: Baking soda is a gentle yet effective abrasive that can be used to remove grease and food stains from stainless steel sinks. Its mild abrasive nature makes it safe to use without causing any damage to the sink’s surface.
- Lemon Juice: Lemon juice contains citric acid which can effectively cut through grease and remove stains. It also leaves a fresh and pleasant scent in your sink.
- Non-Abrasive Cleaner: There are various commercial non-abrasive cleaners specifically formulated for stainless steel sinks. These cleaners are designed to remove stains and restore the shine to your sink without scratching the surface.
- Olive Oil: Olive oil works wonders in adding shine to stainless steel sinks. It helps in restoring the luster and provides a protective layer to prevent future stains.
- Gloves: It’s always a good idea to protect your hands by wearing gloves, especially when working with cleaning agents or using a brush to scrub the sink’s surface.
By gathering these tools and materials, you will be well-equipped to tackle any type of stain that you encounter on your stainless steel sink. In the next section, we will guide you on how to prepare the sink for cleaning.
Preparing the Sink for Cleaning
Before you begin the process of removing stains from your stainless steel sink, it’s important to properly prepare the sink. This step will help make the cleaning process more effective and ensure a thorough result. Here’s how to prepare your sink for cleaning:
- Remove any dishes, utensils, or debris from the sink. Clearing the sink of any objects will allow you to have a clear and unobstructed surface to work on.
- Rinse the sink thoroughly with warm water. Use a clean sponge or cloth to wipe away any loose dirt or food particles. This step will help to remove any surface-level debris and make it easier to tackle the stains.
- If there are any stubborn residue or greasy areas, you can use dish soap to cut through the grease. Apply a small amount of dish soap to a sponge or cloth and scrub the affected areas. Rinse the sink thoroughly with warm water to remove the soap residue.
- For tough stains or buildup, you may need to apply a cleaning solution or paste. This will help to loosen and break down the stubborn stains before you start scrubbing. Use vinegar, baking soda, or a commercial stainless steel cleaner to pre-treat the stains. Follow the instructions on the product label for the appropriate amount to use and how long to let it sit.
- If you’re using a cleaning solution or paste, rinse the sink again with warm water after the pre-treatment. This will remove any excess product and prevent it from interfering with the effectiveness of your chosen stain removal method.
- Dry the sink with a clean microfiber cloth or towel. This step is important to prevent water spots from forming on the surface of your sink during the cleaning process. It will also help you to see the stains more clearly and monitor your progress.
By properly preparing your sink before cleaning, you’ll create the ideal environment for removing stains effectively. Now that your sink is ready, let’s move on to the specific techniques for removing different types of stains.
Removing Water Stains
Water stains are a common sight on stainless steel sinks, especially in areas with hard water. These stains can make your sink appear dull and unclean. Luckily, there are several methods you can try to remove water stains and restore the shine to your sink. Here’s how:
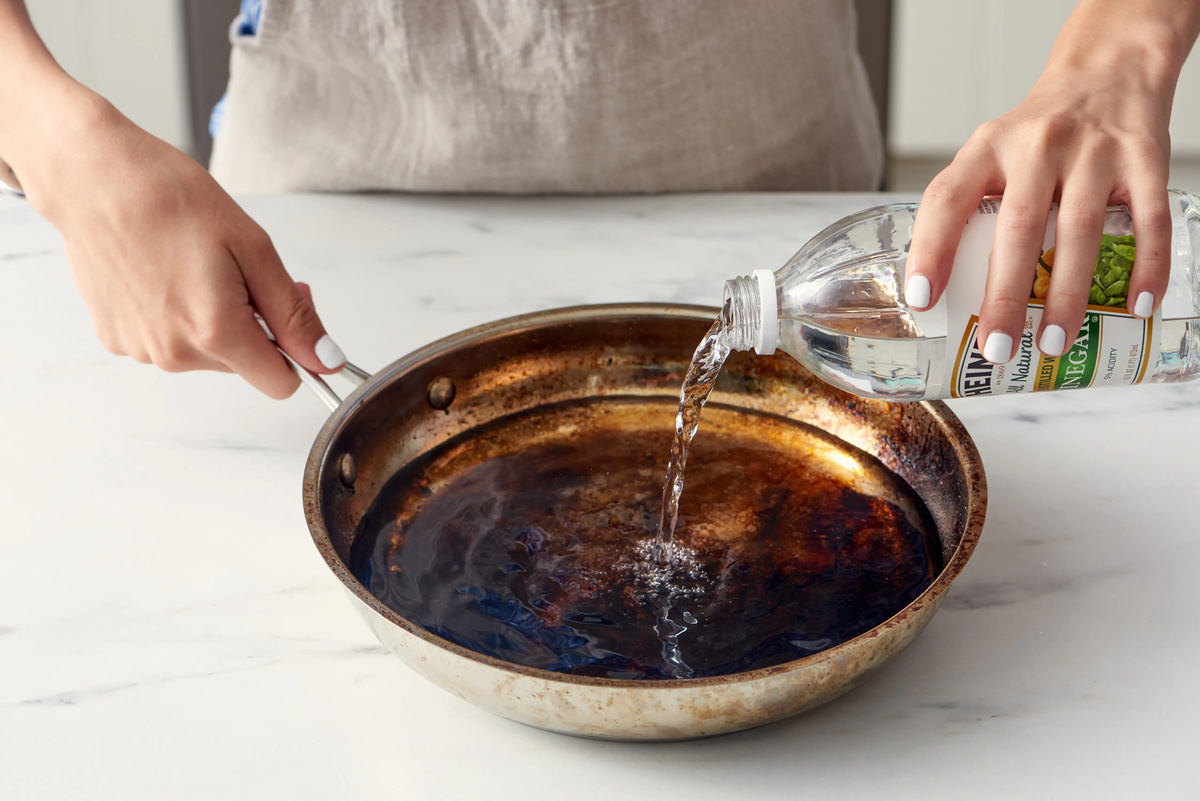
- Vinegar Method: Vinegar is a natural and effective solution for removing water stains from stainless steel sinks. Moisten a clean microfiber cloth with white vinegar and use it to wipe the stained areas. Let the vinegar sit on the stains for a few minutes to allow its acidic properties to dissolve the mineral deposits. Use a soft brush or sponge to gently scrub the stains if needed. Rinse the sink thoroughly with warm water and dry with a clean cloth.
- Lemon Juice Method: Lemon juice is another natural remedy for water stains. Cut a lemon in half and squeeze the juice onto the stained areas. Let it sit for a few minutes and then scrub with a soft brush or sponge. Rinse the sink with warm water and dry with a clean cloth.
- Baking Soda Paste Method: Baking soda is a mild abrasive that can help remove tough water stains. Create a paste by mixing baking soda with water until it forms a thick consistency. Apply the paste to the stained areas and let it sit for about 15 minutes. Scrub the stains gently with a soft brush or sponge, then rinse the sink with warm water and dry it thoroughly.
- Commercial Stainless Steel Cleaner: There are also commercial stainless steel cleaners available that are specifically formulated to remove water stains. Follow the instructions on the product label for the correct usage. Generally, you will apply the cleaner to a microfiber cloth or sponge and wipe it onto the stained areas. Rinse the sink with warm water and dry it with a clean cloth.
It’s important to note that when cleaning stainless steel sinks, always scrub in the direction of the grain to avoid scratching the surface. Additionally, if you’re using any acidic solutions like vinegar or lemon juice, be cautious and test it on a small, inconspicuous area first to ensure it doesn’t cause any damage.
By using these methods, you can effectively remove water stains from your stainless steel sink and restore its shine. Next, we’ll discuss how to eliminate mineral deposits that may have accumulated on your sink’s surface.
Read more: How To Paint A Stainless Steel Sink
Eliminating Mineral Deposits
Mineral deposits can build up on the surface of stainless steel sinks, leaving behind a dull and discolored appearance. These deposits are caused by the minerals present in water, such as calcium and magnesium, that accumulate over time. Fortunately, there are effective methods you can use to eliminate mineral deposits and restore the shine to your sink. Here’s how:
- Vinegar Solution: White vinegar is a natural and effective solution for removing mineral deposits. Mix equal parts of vinegar and water in a spray bottle. Spray the solution onto the areas with mineral deposits and let it sit for a few minutes. Use a soft brush or sponge to gently scrub the stains. Rinse the sink thoroughly with warm water and dry it with a clean cloth.
- Lemon Juice: Lemon juice, with its acidic properties, can also help dissolve mineral deposits. Cut a lemon in half and squeeze the juice onto the affected areas. Let it sit for a few minutes and then scrub gently with a soft brush or sponge. Rinse the sink with warm water and dry it with a clean cloth.
- Baking Soda Paste: Baking soda is a gentle abrasive that can help remove mineral deposits. Create a paste by mixing baking soda with water until a thick consistency is formed. Apply the paste to the areas with deposits and let it sit for about 15 minutes. Gently scrub the stains with a soft brush or sponge, then rinse the sink thoroughly with warm water and dry it with a clean cloth.
- Commercial Stainless Steel Cleaner: There are commercial stainless steel cleaners available that are specifically designed to eliminate mineral deposits. Follow the instructions on the product label for the correct usage. Generally, you will need to apply the cleaner to a microfiber cloth or sponge and wipe it onto the affected areas. Rinse the sink with warm water and dry it with a clean cloth.
Remember to always scrub gently to avoid scratching the stainless steel surface. It’s also important to rinse the sink thoroughly and dry it after cleaning to prevent any water spots from forming.
By using these methods, you can effectively eliminate mineral deposits from your stainless steel sink and restore its original shine. Next, let’s discuss how to handle grease and food stains that may have accumulated on your sink.
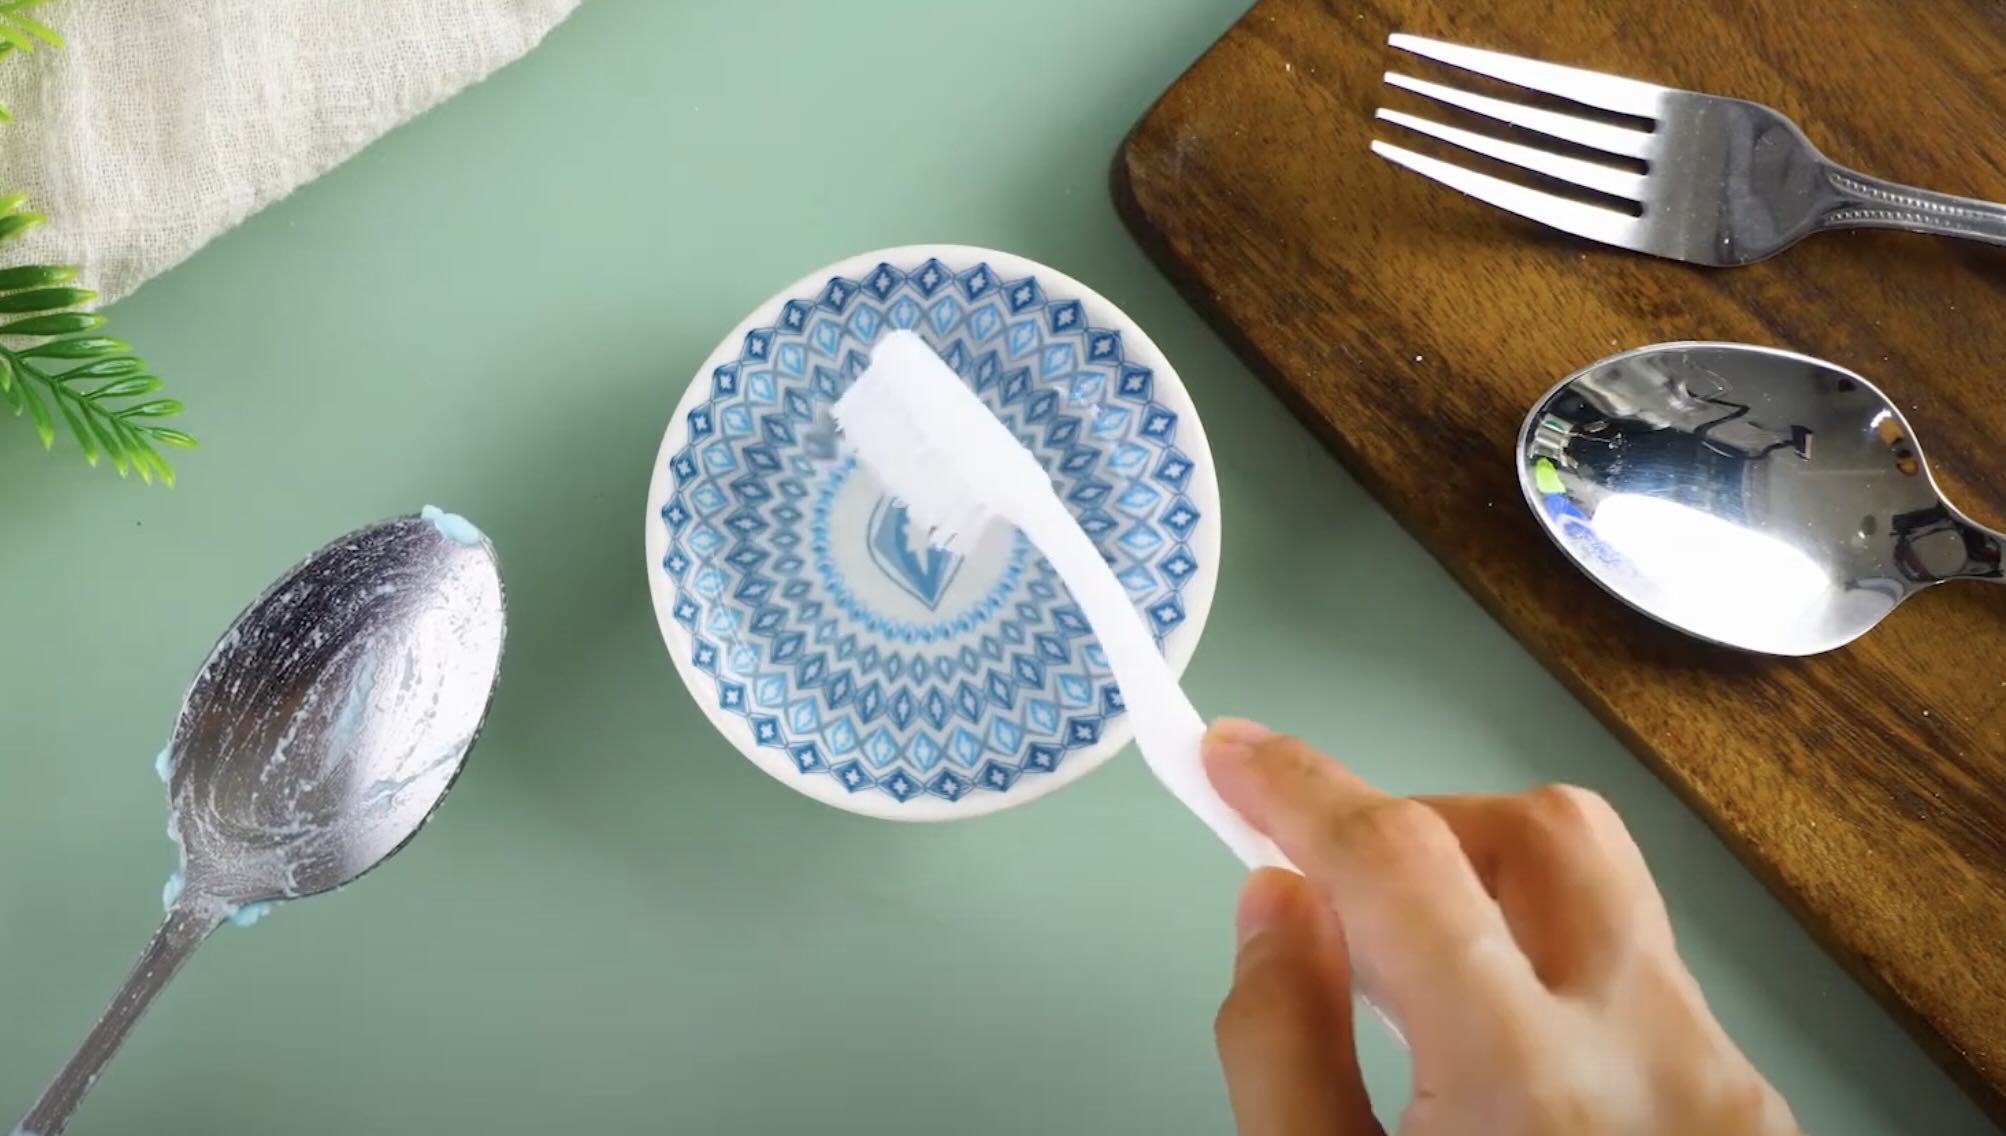
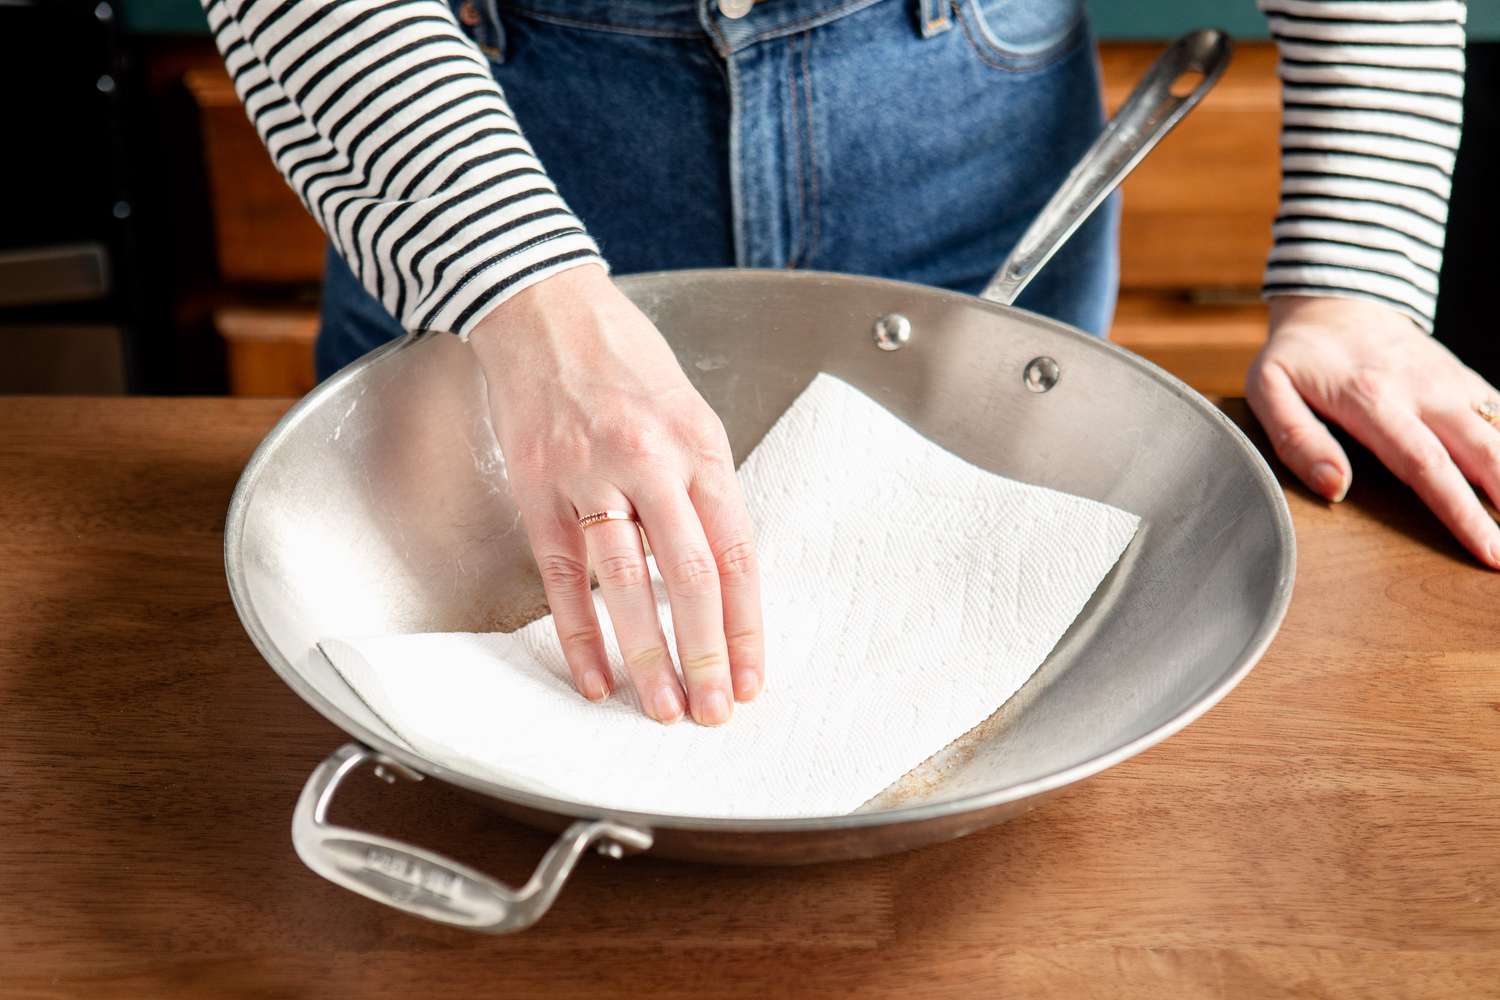
Use a paste of baking soda and water to scrub away stains on a stainless steel sink. Rinse with vinegar to remove any remaining residue and buff dry with a soft cloth for a shiny finish.
Handling Grease and Food Stains
Grease and food stains are common issues in stainless steel sinks, especially if they are used for washing dishes or food preparation. These stains can make your sink look dirty and unappealing. However, with the right techniques, you can effectively remove grease and food stains from your sink. Here’s how:
- Dish Soap and Warm Water: For mild grease and food stains, start by applying a few drops of dish soap to a damp sponge or cloth. Gently scrub the stained areas, focusing on the greasy spots. Rinse the sink thoroughly with warm water and dry it with a clean cloth.
- Baking Soda Paste: For tougher grease and food stains, create a paste by mixing baking soda with water until it forms a thick consistency. Apply the paste to the stained areas and let it sit for about 15 minutes. Scrub the stains gently with a soft brush or sponge, focusing on the greasy spots. Rinse the sink with warm water and dry it with a clean cloth.
- Vinegar Solution: In case of stubborn grease and food stains, you can use a vinegar solution. Mix equal parts of vinegar and water in a spray bottle. Spray the solution onto the stained areas and let it sit for a few minutes. Use a soft brush or sponge to gently scrub the stains. Rinse the sink thoroughly with warm water and dry it with a clean cloth.
- Commercial Stainless Steel Cleaner: If the grease and food stains persist, you can turn to a commercial stainless steel cleaner. Follow the instructions on the product label for the correct usage. Generally, you will need to apply the cleaner to a microfiber cloth or sponge and wipe it onto the stained areas. Rinse the sink with warm water and dry it with a clean cloth.
It’s important to note that grease and food stains are easier to remove if addressed as soon as possible. Regular maintenance and cleaning of your sink can help prevent these stains from becoming stubborn and difficult to remove.
By following these methods, you can effectively handle grease and food stains on your stainless steel sink and keep it looking clean and attractive. Next, let’s explore how to tackle rust stains that may have developed on the surface of your sink.
Tackling Rust Stains
Rust stains can be a frustrating sight on a stainless steel sink, as stainless steel is known for its resistance to rust. However, rust stains can occur if the sink’s protective coating is compromised or if it comes into contact with other rusty objects. Fortunately, there are several methods you can try to tackle rust stains and restore the pristine look of your sink. Here’s how:
- Baking Soda Paste: Baking soda is a versatile and gentle abrasive that can effectively remove rust stains from stainless steel sinks. Create a paste by mixing baking soda with water until it forms a thick consistency. Apply the paste to the rust-stained areas and let it sit for about 15 minutes. Gently scrub the stains with a soft brush or sponge, focusing on the rusty spots. Rinse the sink thoroughly with warm water and dry it with a clean cloth.
- Vinegar and Salt: Another effective method to tackle rust stains is by using a combination of vinegar and salt. Sprinkle a generous amount of salt directly onto the rust stains. Then, dampen a cloth or sponge with vinegar and rub it onto the salted areas. Let it sit for a few minutes, then gently scrub the stains. Rinse the sink thoroughly with warm water and dry it with a clean cloth.
- Commercial Rust Remover: If the rust stains are stubborn and persistent, you may need to resort to a commercial rust remover specifically designed for stainless steel surfaces. Follow the instructions on the product label for proper usage and safety precautions. Generally, you will need to apply the rust remover to the stained areas, let it sit for the recommended time, and then scrub the stains gently. Rinse the sink thoroughly with warm water and dry it with a clean cloth.
- Preventative Measures: Prevention is better than cure when it comes to rust stains on stainless steel sinks. To avoid future rusting and staining, ensure that your sink’s protective coating is intact and free from any scratches or damage. Additionally, avoid leaving any metallic objects, such as cans or cutlery, on the surface of the sink for extended periods, as they can cause rust to develop.
It’s important to note that rust stains can be stubborn and may require repeated attempts or the use of stronger solutions. Be patient and persistent in your efforts to remove the stains, and always follow proper safety precautions when using cleaning products.
By using these methods and taking preventative measures, you can effectively tackle rust stains on your stainless steel sink and help prevent future occurrences. Next, let’s discuss how to deal with soap scum and hard water spots that can mar the appearance of your sink.
Dealing with Soap Scum and Hard Water Spots
Soap scum and hard water spots are common issues that can affect the appearance of your stainless steel sink. Soap scum is a sticky residue that can accumulate over time, while hard water spots are caused by mineral deposits left behind by evaporated water. Fortunately, there are effective methods you can use to deal with soap scum and hard water spots and restore the shine to your sink. Here’s how:
- Vinegar Solution: Vinegar is a versatile and effective solution for removing soap scum and hard water spots. Mix equal parts of vinegar and water in a spray bottle. Spray the solution onto the affected areas and let it sit for a few minutes. Use a soft brush or sponge to gently scrub the stains, focusing on the areas with soap scum or spots. Rinse the sink thoroughly with warm water and dry it with a clean cloth. The acidic properties of vinegar help dissolve the soap scum and mineral deposits.
- Baking Soda Paste: Baking soda is a gentle abrasive that can help remove soap scum and hard water spots. Create a paste by mixing baking soda with water until it forms a thick consistency. Apply the paste to the affected areas and let it sit for about 15 minutes. Gently scrub the stains with a soft brush or sponge, focusing on the areas with soap scum or spots. Rinse the sink thoroughly with warm water and dry it with a clean cloth. The mild abrasive nature of baking soda helps lift the residue without scratching the stainless steel surface.
- Commercial Non-Abrasive Cleaner: There are various commercial non-abrasive cleaners available specifically formulated for stainless steel sinks. These cleaners are designed to remove soap scum, hard water spots, and other stains without scratching the surface. Follow the instructions on the product label for proper usage. Generally, you will need to apply the cleaner to a microfiber cloth or sponge and wipe it onto the affected areas. Rinse the sink with warm water and dry it with a clean cloth.
- Regular Cleaning Routine: To prevent soap scum and hard water spots from building up in your sink, it’s important to establish a regular cleaning routine. After each use, rinse the sink thoroughly with warm water and wipe it dry with a clean cloth. This will help prevent the accumulation of soap scum and mineral deposits, keeping your sink looking clean and shiny.
Consistency is key when dealing with soap scum and hard water spots. Regular cleaning and prompt removal of residue will make it easier to maintain the appearance of your stainless steel sink.
By using these methods and establishing a regular cleaning routine, you can effectively deal with soap scum and hard water spots in your stainless steel sink and keep it looking clean and spotless. Now, let’s explore how to maintain your sink and prevent future stains.
Read more: How To Refinish Stainless Steel Sink
Maintaining and Preventing Future Stains
Once you have successfully removed stains from your stainless steel sink, it’s important to maintain its pristine appearance and prevent future stains. By following these simple tips, you can keep your sink looking clean and shiny for years to come:
- Regular Cleaning: Make it a habit to clean your stainless steel sink regularly. After each use, rinse the sink with warm water and wipe it dry with a clean cloth. This will prevent the buildup of residue and minimize the chances of stains developing.
- Avoid Harsh Cleaners: Avoid using harsh cleaners, abrasive sponges, or steel wool on your stainless steel sink, as they can scratch the surface. Instead, opt for gentle cleaning solutions like vinegar, lemon juice, or baking soda to effectively clean and remove stains without causing damage.
- Use a Protective Grid: Consider using a protective sink grid or mat on the bottom of your sink. These accessories provide a barrier between the sink’s surface and items placed inside, reducing the risk of scratches and stains caused by direct contact.
- Wipe Up Spills Promptly: Accidental spills and stains can happen, especially in the kitchen. To prevent stains from setting in, wipe up spills promptly with a clean cloth or sponge. This will also help maintain the shine of your sink.
- Apply Olive Oil: To add an extra layer of protection and shine to your stainless steel sink, apply a small amount of olive oil to a cloth and rub it onto the sink’s surface. This will create a protective barrier and help prevent future stains.
- Prevent Rust: To prevent rust stains, avoid leaving metal objects, such as cans or cutlery, in contact with the sink’s surface for extended periods. Moisture and contact with other metals can lead to rust formation. Regularly check and repair any damaged protective coating on your sink.
- Choose Non-Abrasive Cleaners: When selecting cleaning products for your sink, opt for non-abrasive cleaners specifically formulated for stainless steel surfaces. These cleaners will effectively remove stains and protect the finish of your sink.
By following these maintenance practices and preventative measures, you can prolong the lifespan of your stainless steel sink and keep it looking pristine for years to come.
Now that you have the knowledge and techniques to clean, remove stains, and maintain your stainless steel sink, you can confidently tackle any type of stain that comes your way. With regular care and attention, your sink will continue to be a shining centerpiece of your kitchen or bathroom.
Remember, a clean and well-maintained sink not only enhances the aesthetic appeal of your space but also contributes to a hygienic and enjoyable experience. So roll up your sleeves and get ready to make your stainless steel sink gleam!
Conclusion
Cleaning and maintaining a stainless steel sink doesn’t have to be a daunting task. With the right techniques and tools, you can easily remove stains and restore the shine to your sink, making it a focal point of your kitchen or bathroom. By understanding the different types of stains, gathering the necessary tools and materials, and properly preparing the sink for cleaning, you can tackle water stains, mineral deposits, grease and food stains, rust stains, soap scum, and hard water spots with confidence.
The methods outlined in this comprehensive guide, such as using vinegar, lemon juice, baking soda, and commercial stainless steel cleaners, provide effective ways to remove stains without damaging the stainless steel surface. It’s important to always scrub gently, follow the grain of the sink, and rinse and dry the sink thoroughly to prevent water spots or residue from forming.
In addition to removing stains, maintaining your stainless steel sink is key to preventing future stains and preserving its pristine appearance. Regular cleaning, avoiding harsh cleaners, using protective grids, wiping up spills promptly, applying olive oil, preventing rust, and choosing non-abrasive cleaners are all valuable practices to embrace for long-lasting stain-free and shiny results.
By following the techniques and tips outlined in this guide, you can maintain a clean and beautiful stainless steel sink that enhances the overall aesthetic of your space. Remember, consistency and regular maintenance are essential to keep your sink looking its best.
So, go ahead and give your stainless steel sink the attention it deserves. With a little effort and dedication, your sink will continue to shine and impress for years to come.
Frequently Asked Questions about How To Clean Stainless Steel Sink Stains
Was this page helpful?
At Storables.com, we guarantee accurate and reliable information. Our content, validated by Expert Board Contributors, is crafted following stringent Editorial Policies. We're committed to providing you with well-researched, expert-backed insights for all your informational needs.
0 thoughts on “How To Clean Stainless Steel Sink Stains”