Articles
How To Make Ice Cream In Vitamix Blender
Modified: August 25, 2024
Discover how to make delicious homemade ice cream using a Vitamix blender with our step-by-step articles. Create your own frozen treats with ease and enjoy the creamy goodness any time!
(Many of the links in this article redirect to a specific reviewed product. Your purchase of these products through affiliate links helps to generate commission for Storables.com, at no extra cost. Learn more)
Introduction
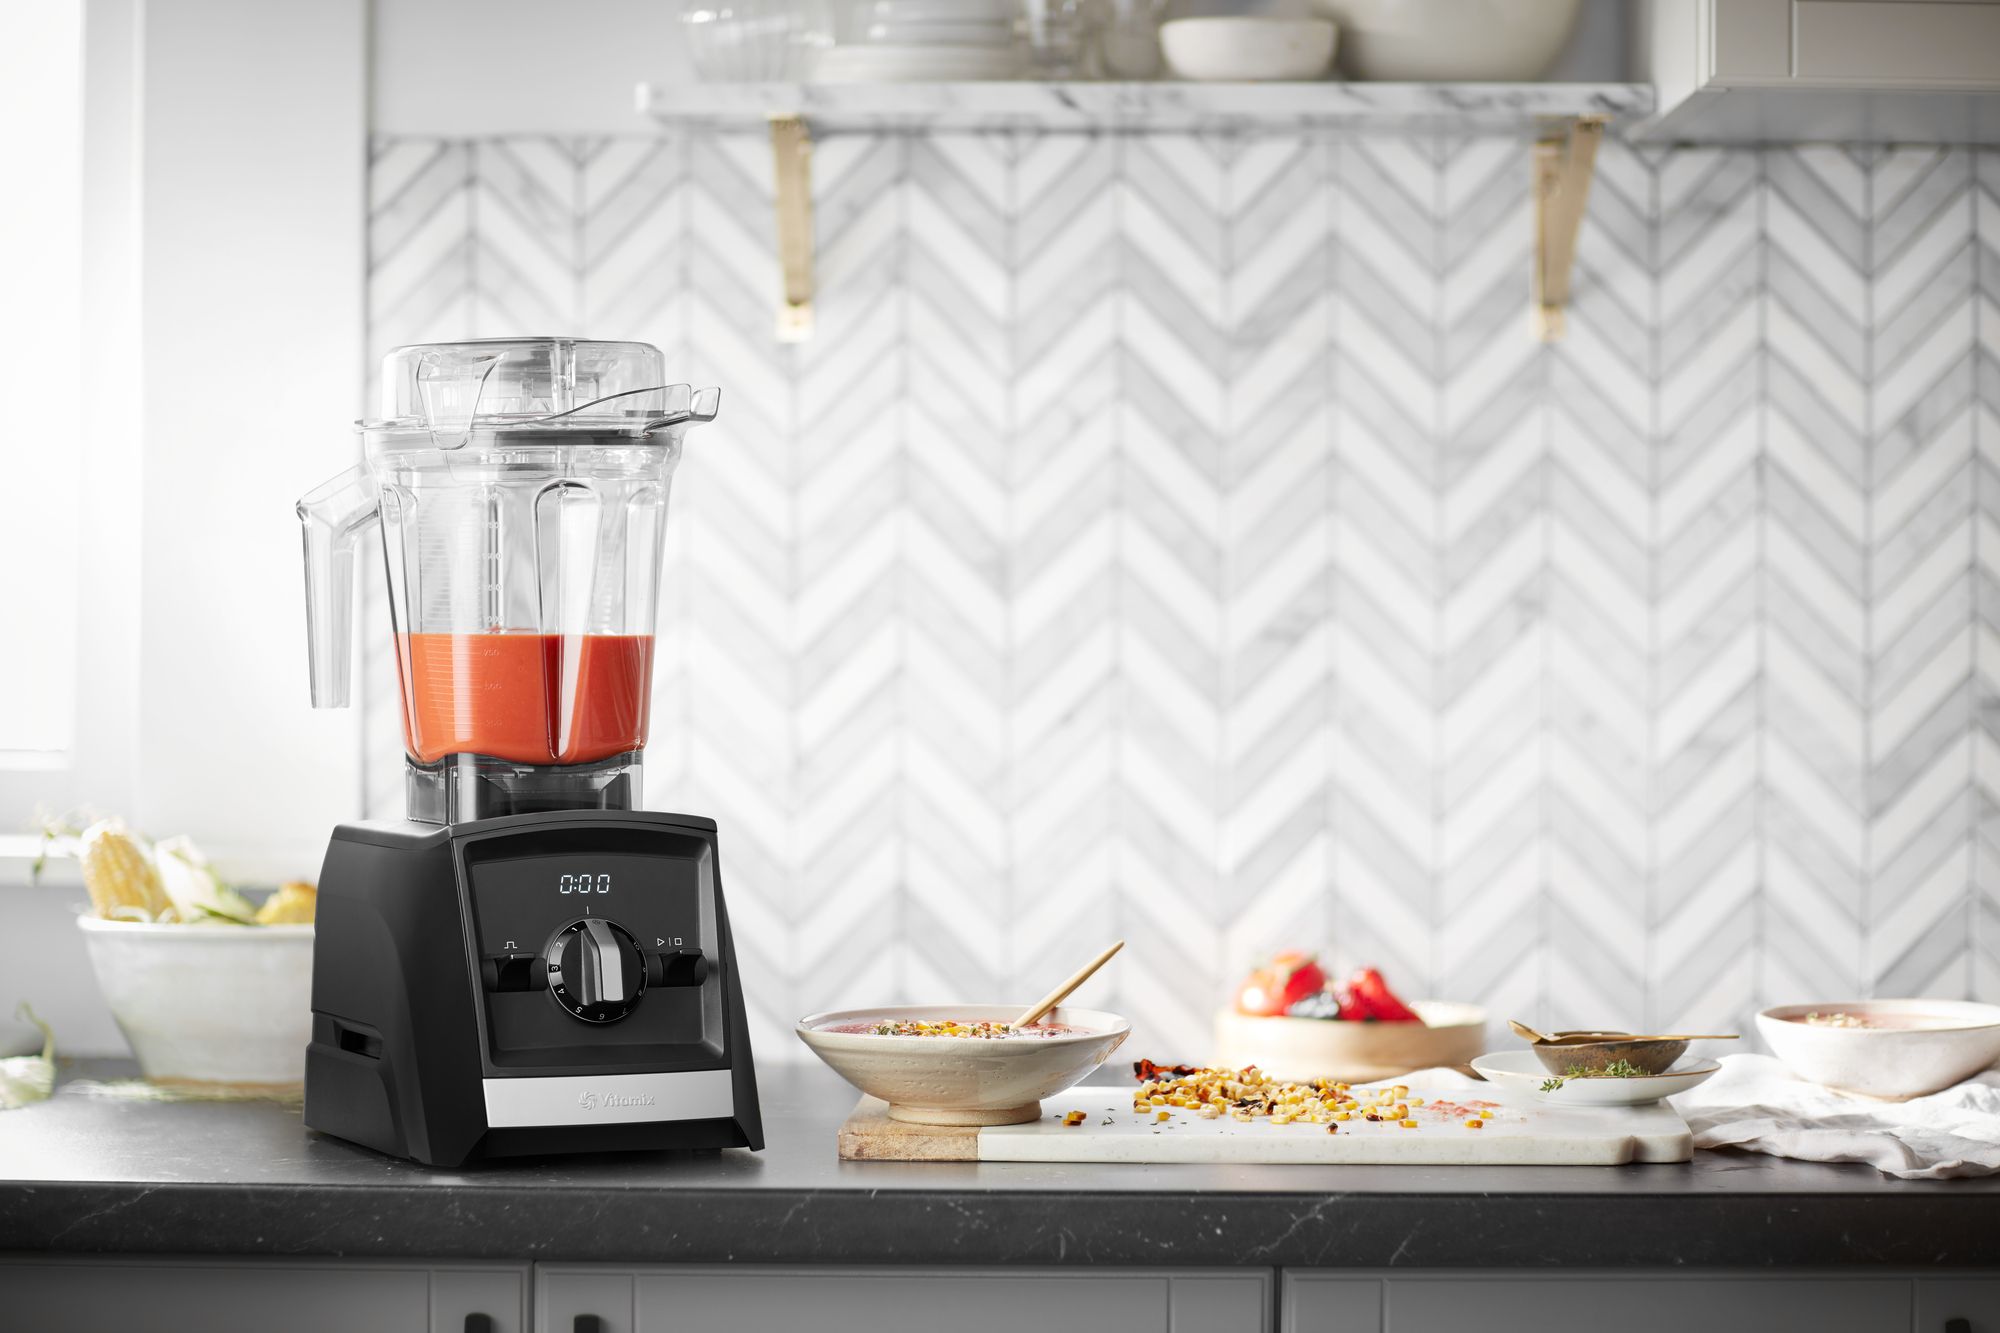
Have you ever dreamt of creating your own delicious homemade ice cream? With a Vitamix blender, this dream can become a reality. The Vitamix blender is a versatile kitchen appliance that can do much more than just blend smoothies and soups. It can also whip up creamy and decadent ice cream in a matter of minutes.
In this article, we will guide you through the process of making ice cream in a Vitamix blender. From choosing the right ingredients to achieving the perfect texture, we will cover all the essential steps to ensure a successful ice cream-making experience.
But why make ice cream at home when you can easily buy it from the store? Well, for starters, homemade ice cream gives you complete control over the ingredients. You can choose high-quality, natural ingredients and avoid any additives or preservatives commonly found in store-bought ice cream. Plus, making your own ice cream allows you to unleash your creativity by experimenting with different flavors and mix-ins.
So, if you’re ready to embark on a delicious ice cream adventure, let’s get started by exploring the key ingredients you’ll need to make your homemade ice cream truly amazing.
Key Takeaways:
- Create delicious, creamy homemade ice cream with a Vitamix blender by choosing high-quality ingredients, prepping the blender, and experimenting with flavors and mix-ins for a personalized frozen treat.
- Achieve the perfect texture in your homemade ice cream by blending thoroughly, monitoring freezing time, and following troubleshooting tips to overcome common challenges. Enjoy your unique creations with proper serving and storage techniques.
Read more: How To Make Ice Cream In A Blender
Choosing the Right Ingredients
When it comes to making ice cream in a Vitamix blender, selecting the right ingredients is crucial to achieve a rich and creamy texture. Here are the key components you’ll need:
- Dairy Base: The dairy base is the foundation of your ice cream. You can choose between whole milk, heavy cream, or a combination of both. The higher the fat content, the creamier and richer your ice cream will be. If you prefer a lighter option, you can opt for low-fat or non-dairy alternatives like almond milk or coconut milk.
- Sweetener: To add sweetness to your ice cream, you’ll need a sweetener of your choice. Common options include granulated sugar, honey, maple syrup, or agave syrup. Adjust the amount of sweetener based on your preference.
- Flavorings: This is where you can get creative and add your favorite flavors to the ice cream. Vanilla extract is a classic choice, but you can also experiment with other extracts like mint, almond, or coconut. For a burst of flavor, consider using pureed fruits, such as strawberries, peaches, or mangoes.
- Extras: If you want to take your ice cream to the next level, consider adding mix-ins like chocolate chips, nuts, or cookie dough pieces. These extra elements will provide added texture and flavor.
Remember, the quality of your ingredients will significantly impact the taste and texture of your ice cream. Opt for fresh, high-quality ingredients whenever possible to achieve the best results. Now that you have gathered your ingredients, let’s move on to prepping your Vitamix blender for the ice cream-making process.
Prepping Your Vitamix Blender
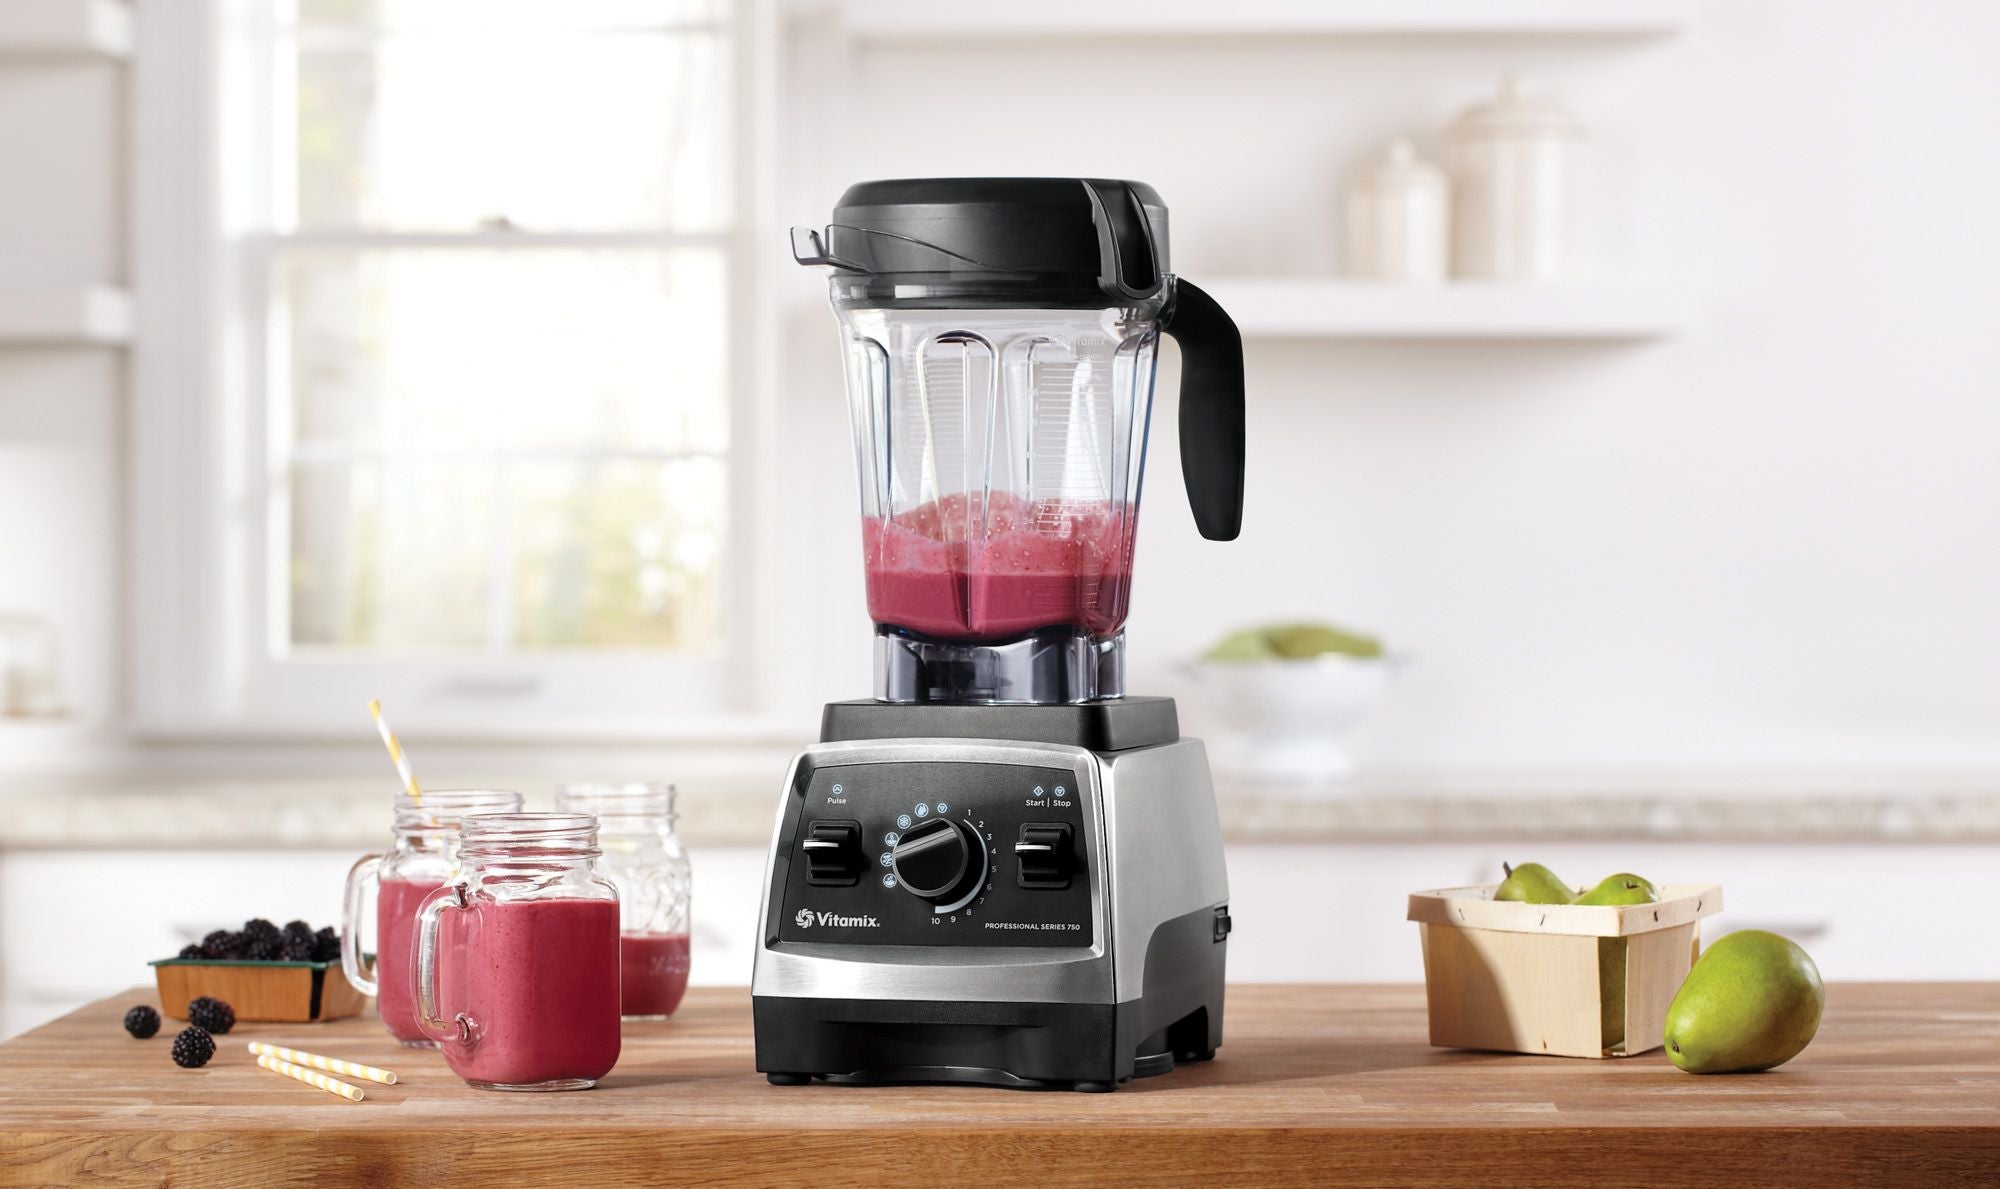
Before you start making ice cream in your Vitamix blender, it’s important to properly prep it to ensure a smooth and efficient blending process. Here are the steps to get your blender ready:
- Make sure your blender is clean: Begin by thoroughly cleaning your Vitamix blender, ensuring there are no residual odors or flavors from previous uses. Give the blender container, lid, and tamper a good wash with warm, soapy water. Rinse them well and allow them to air dry.
- Freeze the blender container: For optimal ice cream-making, freeze your Vitamix blender container for at least 12 hours before use. This helps to keep the ice cream mixture cold during blending, preventing it from melting too quickly.
- Chill the ingredients: It’s also a good idea to chill your ice cream ingredients in the refrigerator before blending. This will help to maintain a consistent temperature throughout the process, resulting in a smoother texture.
Once your Vitamix blender and ingredients are prepped and ready to go, it’s time to move on to the basic vanilla ice cream recipe, which serves as a great starting point for your homemade frozen treat.
Basic Vanilla Ice Cream Recipe
Now that your Vitamix blender is prepped, it’s time to dive into creating a delicious batch of homemade vanilla ice cream. Here’s a simple recipe to get you started:
- Ingredients:
- 2 cups of whole milk
- 1 cup of heavy cream
- 3/4 cup of granulated sugar
- 2 teaspoons of pure vanilla extract
- Instructions:
- Combine the whole milk, heavy cream, granulated sugar, and vanilla extract in the frozen Vitamix blender container.
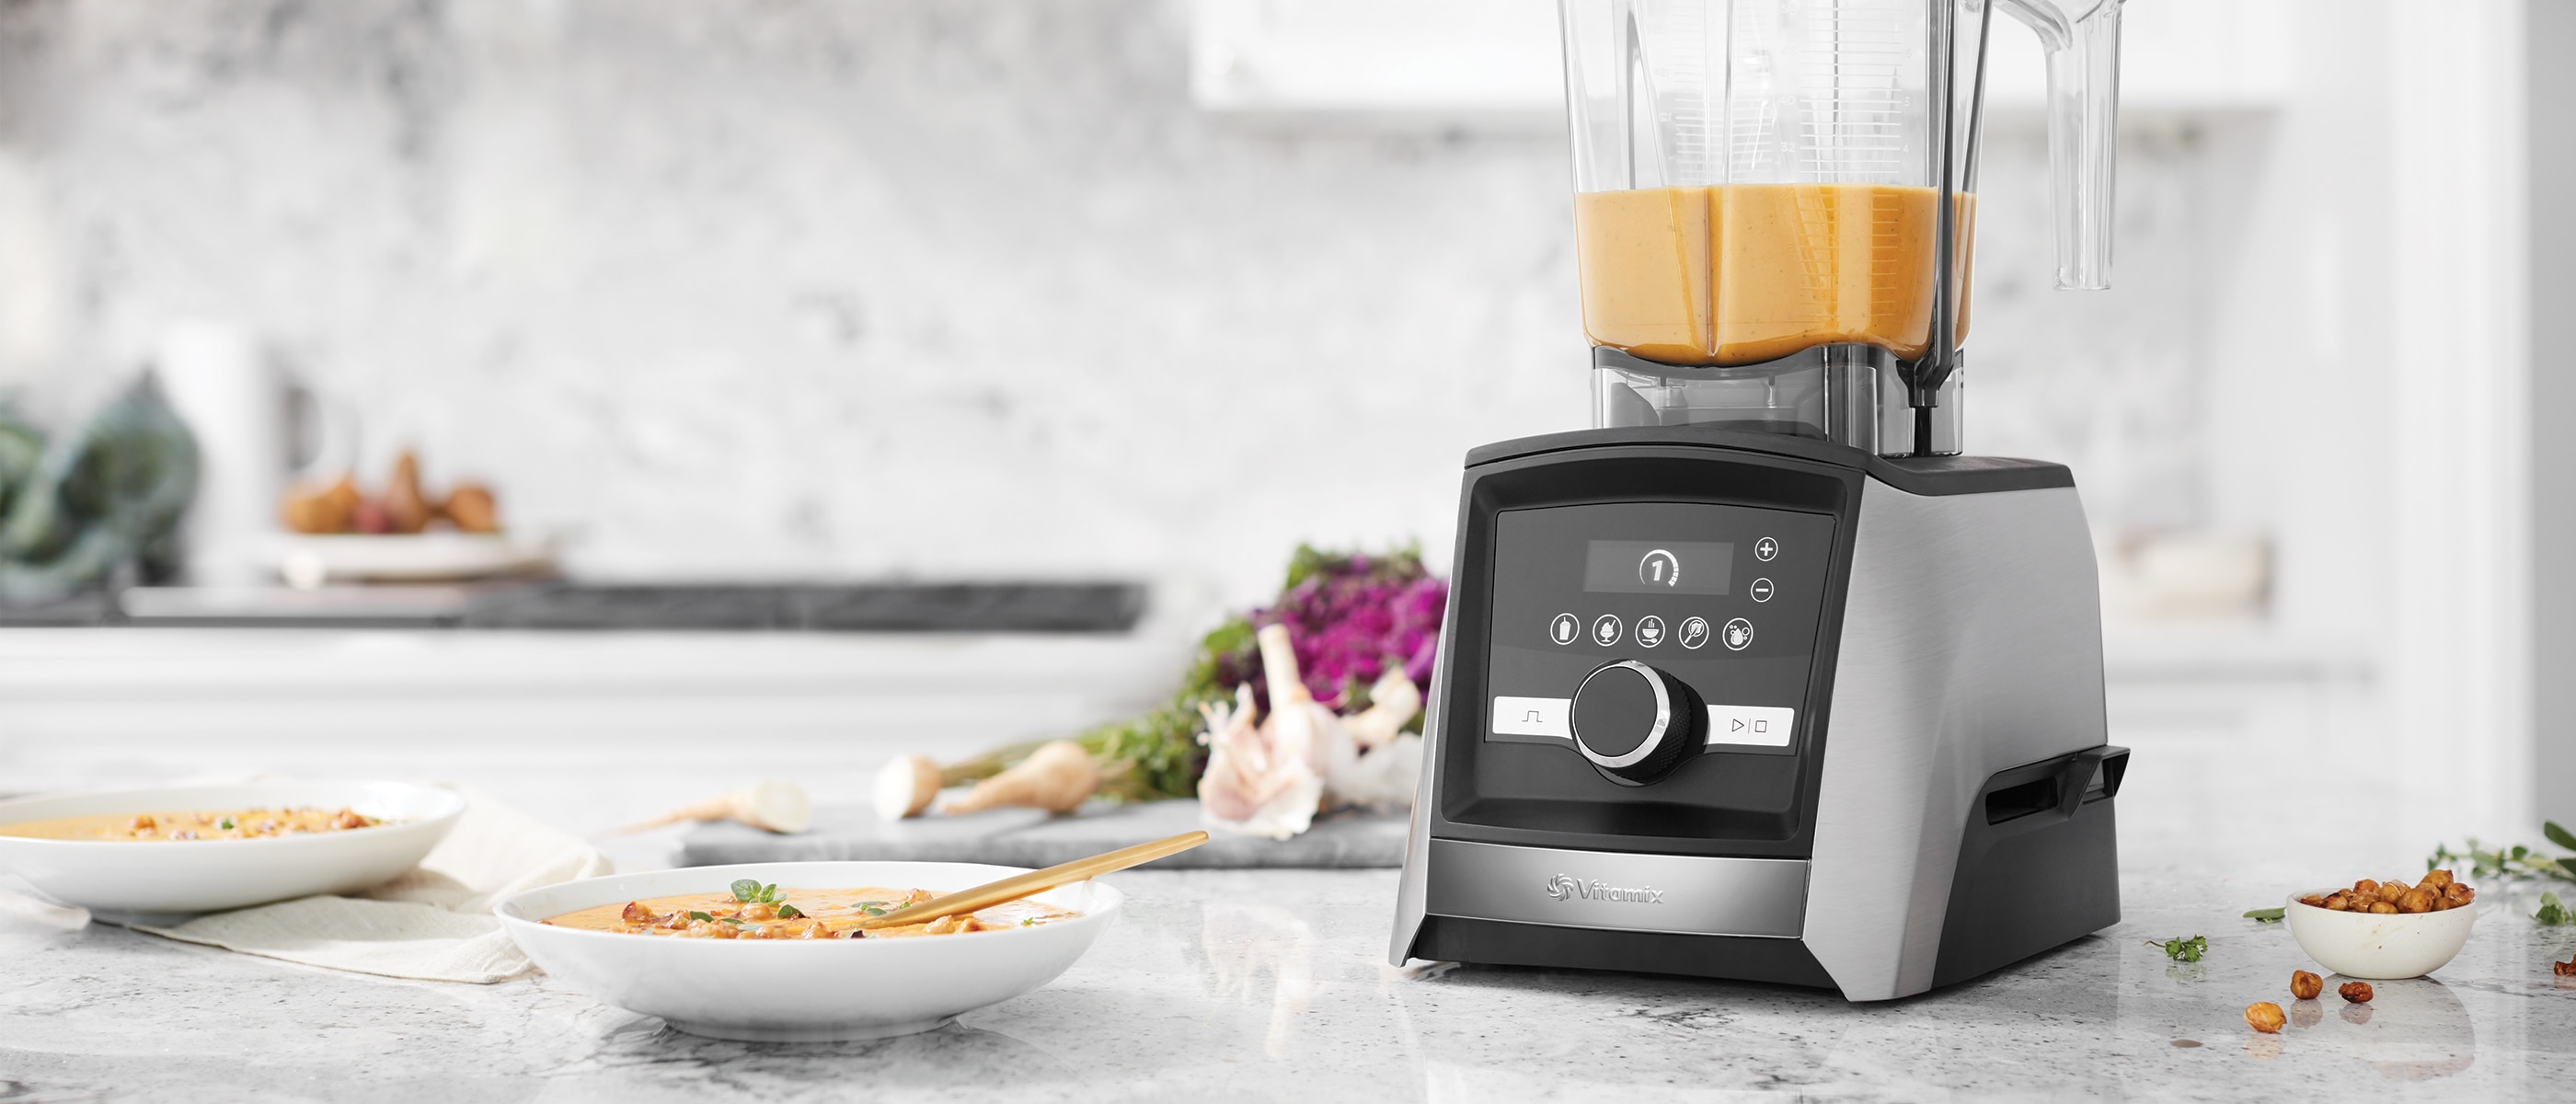
- Secure the lid and start the blender on the lowest setting. Gradually increase the speed to the highest setting.
- Blend the mixture for about 30-60 seconds or until it reaches a creamy and smooth consistency.
- Once the ice cream base is ready, transfer it to an airtight container and place it in the freezer for at least 4-6 hours, or until it solidifies.
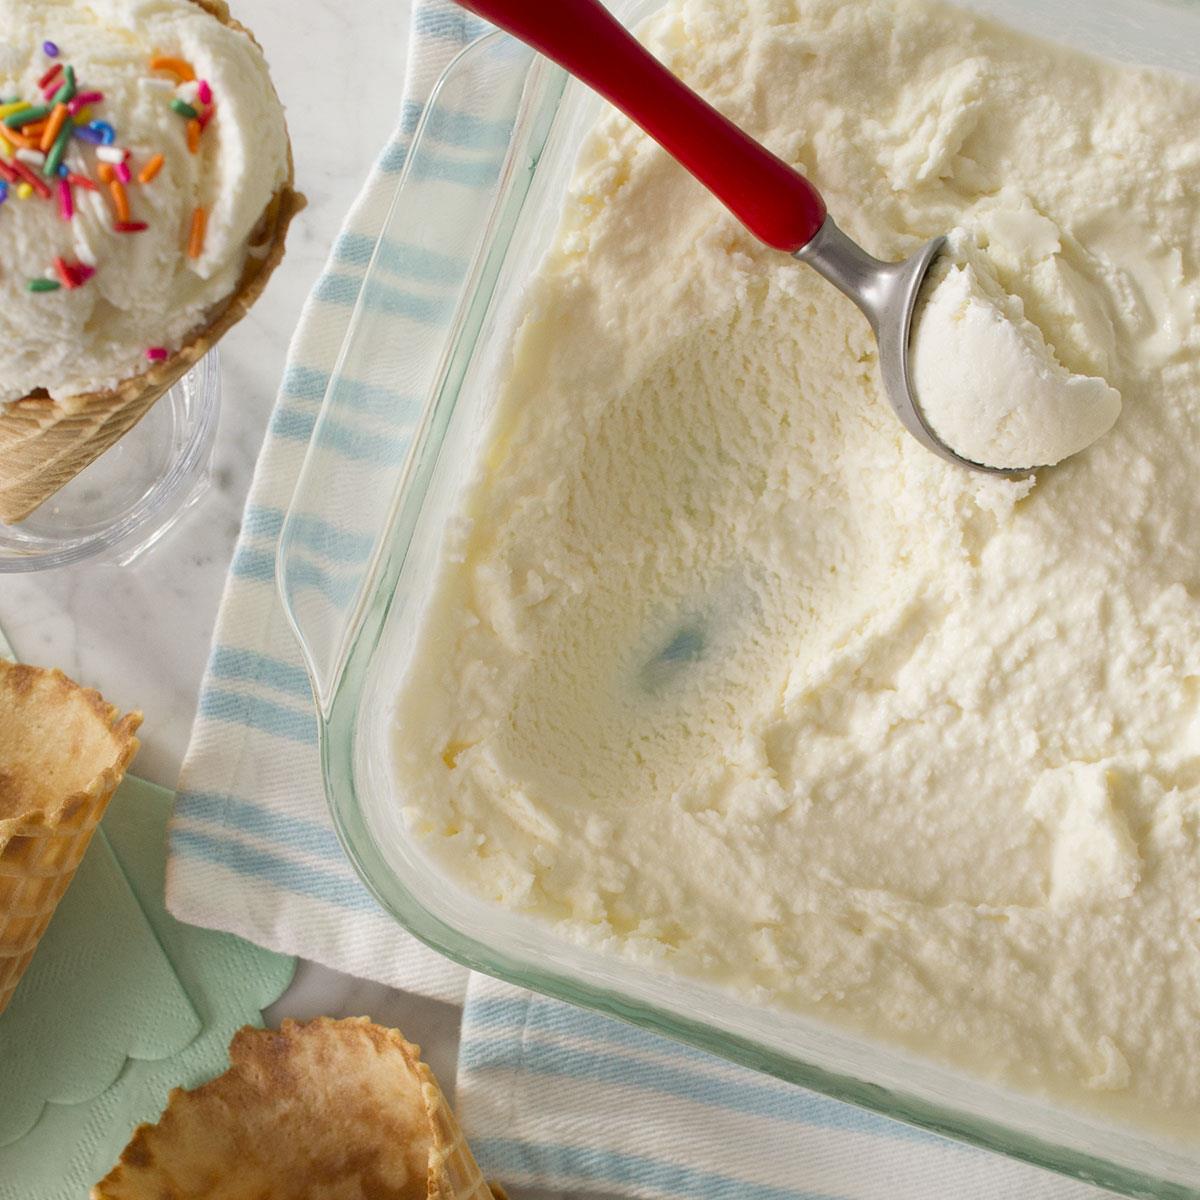
- When serving, allow the ice cream to sit at room temperature for a few minutes to soften before scooping into bowls or cones.
This basic vanilla ice cream recipe serves as a fantastic starting point for your frozen creations. However, don’t be afraid to experiment with additional flavors and mix-ins to customize your ice cream to your liking. Let’s explore some variations and flavor options to elevate your homemade ice cream game.
Variations and Flavor Options
While the basic vanilla ice cream recipe provides a classic and delicious base, you can unleash your creativity by exploring various flavor options and mix-ins to create unique and exciting ice cream flavors. Here are some variations to consider:
- Chocolate Lovers: Add 1/2 cup of cocoa powder to the basic vanilla ice cream recipe for a rich and decadent chocolate flavor. You can also throw in some chocolate chips or swirl in hot fudge sauce for extra indulgence.
- Fruit Blast: Experiment with your favorite fruits to create fruity ice cream flavors. Puree fresh berries, tropical fruits, or even roasted peaches and fold them into the ice cream base before freezing. You can also add some fruit chunks for added texture.
- Mint Chip: Add a few drops of mint extract and a handful of chocolate chips to the vanilla ice cream base for a refreshing and irresistible flavor combination.
- Nutty Delight: Incorporate your preferred nuts into the ice cream by adding them during the blending process. Walnuts, almonds, or pecans are all great choices to provide a crunchy texture.
- Cookies and Cream: Crush your favorite cookies, such as chocolate sandwich cookies or chocolate chip cookies, and fold them into the ice cream base. The combination of creamy ice cream and cookie crumbles is sure to be a crowd-pleaser.
Feel free to mix and match flavors and ingredients to create your own signature ice cream. The possibilities are endless, and you can let your imagination run wild. Now, let’s move on to some essential tips for achieving the perfect texture in your homemade ice cream.
To make ice cream in a Vitamix blender, use frozen fruit, a splash of liquid (such as milk or yogurt), and a sweetener if desired. Blend until smooth and creamy, then serve immediately for a soft-serve consistency or freeze for a firmer texture.
Read more: How To Make Ice Cream With Ninja Blender
Tips for Achieving the Perfect Texture
Creating homemade ice cream with the perfect texture requires some attention to detail and a few key tips. Here are some essential tips to help you achieve that creamy, velvety texture in your ice cream:
- Thoroughly blend the mixture: Make sure to blend the ice cream mixture in your Vitamix blender until it reaches a smooth and creamy consistency. This will help ensure there are no ice crystals or lumps in the final product.
- Chill the mixture before freezing: After blending, refrigerate the ice cream mixture for at least 2-4 hours before transferring it to the freezer. This allows the flavors to meld together and helps to achieve a smoother texture.
- Monitor the freezing time: Avoid over-freezing the ice cream, as it can result in a hard and icy texture. Aim to freeze it until firm but still scoopable.
- Stir during the freezing process: If you notice ice crystals forming, gently stir the ice cream every hour during the freezing process. This helps to minimize crystal formation and maintains a smoother texture.
- Use an airtight container: When transferring the ice cream to the freezer, make sure to use an airtight container to prevent any air from getting in. This helps to maintain the texture and prevent the ice cream from developing freezer burn.
- Allow for a brief thawing period: When serving the ice cream, give it a few minutes at room temperature to soften slightly. This makes scooping easier and ensures a velvety texture with each bite.
By following these tips, you’ll be able to achieve a smooth and creamy texture in your homemade ice cream that rivals your favorite store-bought brands. However, if you do encounter any issues along the way, don’t worry. Let’s address some common troubleshooting problems to help you overcome any challenges.
Troubleshooting Common Issues
While making ice cream in a Vitamix blender is a relatively straightforward process, you may encounter a couple of common issues. Here are some troubleshooting tips to help you overcome any challenges:
- Ice Cream is Too Firm: If your homemade ice cream turns out too hard and difficult to scoop, it may have been over-frozen. To remedy this, let the ice cream sit at room temperature for a few minutes to soften before serving. You can also try blending it in the Vitamix for a few seconds to break up any ice crystals.
- Ice Cream is Too Soft: On the other hand, if your ice cream is too soft and runny, it may not have been frozen long enough. Place it back in the freezer for an additional hour or two until it reaches a more scoopable consistency.
- Ice Crystals in Ice Cream: If you notice ice crystals in your ice cream, it may be due to a few factors, such as not blending the mixture enough or not stirring during the freezing process. To prevent ice crystals, blend the ice cream mixture until smooth, and stir it every hour during freezing to disrupt crystal formation.
- Separation of Ingredients: If you find that your ice cream mixture separates and doesn’t come together properly, it may be due to not blending the ingredients thoroughly enough. Make sure to blend the mixture until it is completely combined and smooth.
Remember, making ice cream is all about experimentation and learning from your experiences. Don’t be discouraged if you encounter these issues along the way. With practice and the right techniques, you’ll be able to overcome any challenges and create perfect batches of homemade ice cream.
Now that you’re well-equipped with troubleshooting tips, let’s move on to the final steps of serving and storing your delicious homemade ice cream.
Serving and Storing Your Homemade Ice Cream
After all the hard work of making your homemade ice cream, it’s time to enjoy the fruits of your labor. Here are some tips for serving and storing your delicious creation:
- Serving: To serve your homemade ice cream, allow it to sit at room temperature for a few minutes to soften slightly. This makes it easier to scoop and ensures a smooth and creamy texture.
- Storage Container: Transfer any leftover ice cream to an airtight container to maintain its freshness and prevent freezer burn. Choose a container that is just the right size to minimize excess air exposure.
- Proper Storage: Store your homemade ice cream in the coldest part of your freezer, preferably at the back. This helps to maintain a consistent temperature and prevents it from melting or developing ice crystals.
- Labeling: Don’t forget to label your ice cream container with the date and flavor. This will help you keep track of its freshness and prevent any mix-ups in your freezer.
- Storage Time: Homemade ice cream is best consumed within 1-2 months for optimal flavor and texture. While it may still be safe to eat beyond that time, the quality may be compromised.
By following these serving and storage guidelines, you can enjoy your homemade ice cream at its best for as long as possible.
Now that you have mastered the art of making ice cream in your Vitamix blender, you can unleash your creativity and experiment with different flavors, mix-ins, and toppings. Get ready to impress your friends and family with your homemade frozen treats.
So what are you waiting for? Grab your Vitamix blender and start creating your own delectable ice cream flavors. Happy blending!
Conclusion
Making homemade ice cream in a Vitamix blender is a delightful and rewarding experience. With just a few simple steps, you can create rich, creamy, and delicious ice cream right in the comfort of your own kitchen.
By choosing the right ingredients, prepping your Vitamix blender, and following a basic recipe, you can create a variety of flavors and customize your ice cream to suit your taste preferences. Whether you prefer classic vanilla, indulgent chocolate, or fruity creations, the possibilities are endless.
Throughout the process, it’s important to pay attention to achieving the perfect texture. By thoroughly blending the mixture, chilling it before freezing, and monitoring the freezing time, you can ensure a smooth and creamy consistency in your ice cream.
In case you encounter any issues, the troubleshooting tips provided can help you overcome common challenges such as firmness, ice crystals, or ingredient separation.
Once your ice cream is ready, remember to serve it at the right temperature and store any leftovers properly to maintain its quality and taste. With these steps, you can enjoy your homemade ice cream for weeks to come.
So, why settle for store-bought ice cream when you can create your own unique and delicious flavors? Get creative, experiment with different ingredients, and have fun as you embark on your ice cream-making journey with your Vitamix blender.
Now it’s time to dust off that blender, gather your ingredients, and let your imagination run wild as you indulge in the sweet, creamy goodness of homemade ice cream. So go ahead, embrace your inner ice cream chef, and enjoy the wonders of creating your own frozen delight.
Craving more frosty delights? If mastering ice cream in your Vitamix has sparked your interest, why not broaden your culinary horizons with other blenders too? Our next guide walks you through creating mouthwatering blender ice cream, perfect for any occasion. Whether you've got a basic model or something more advanced, this guide ensures you're never far from a refreshing treat. So, why wait? Whip up something cool and creamy today!
Frequently Asked Questions about How To Make Ice Cream In Vitamix Blender
Was this page helpful?
At Storables.com, we guarantee accurate and reliable information. Our content, validated by Expert Board Contributors, is crafted following stringent Editorial Policies. We're committed to providing you with well-researched, expert-backed insights for all your informational needs.


0 thoughts on “How To Make Ice Cream In Vitamix Blender”