Articles
How To Turn On A Vitamix Blender
Modified: August 16, 2024
Learn how to easily turn on your Vitamix blender with our step-by-step guide. Read our informative articles for helpful tips and tricks!
(Many of the links in this article redirect to a specific reviewed product. Your purchase of these products through affiliate links helps to generate commission for Storables.com, at no extra cost. Learn more)
Introduction
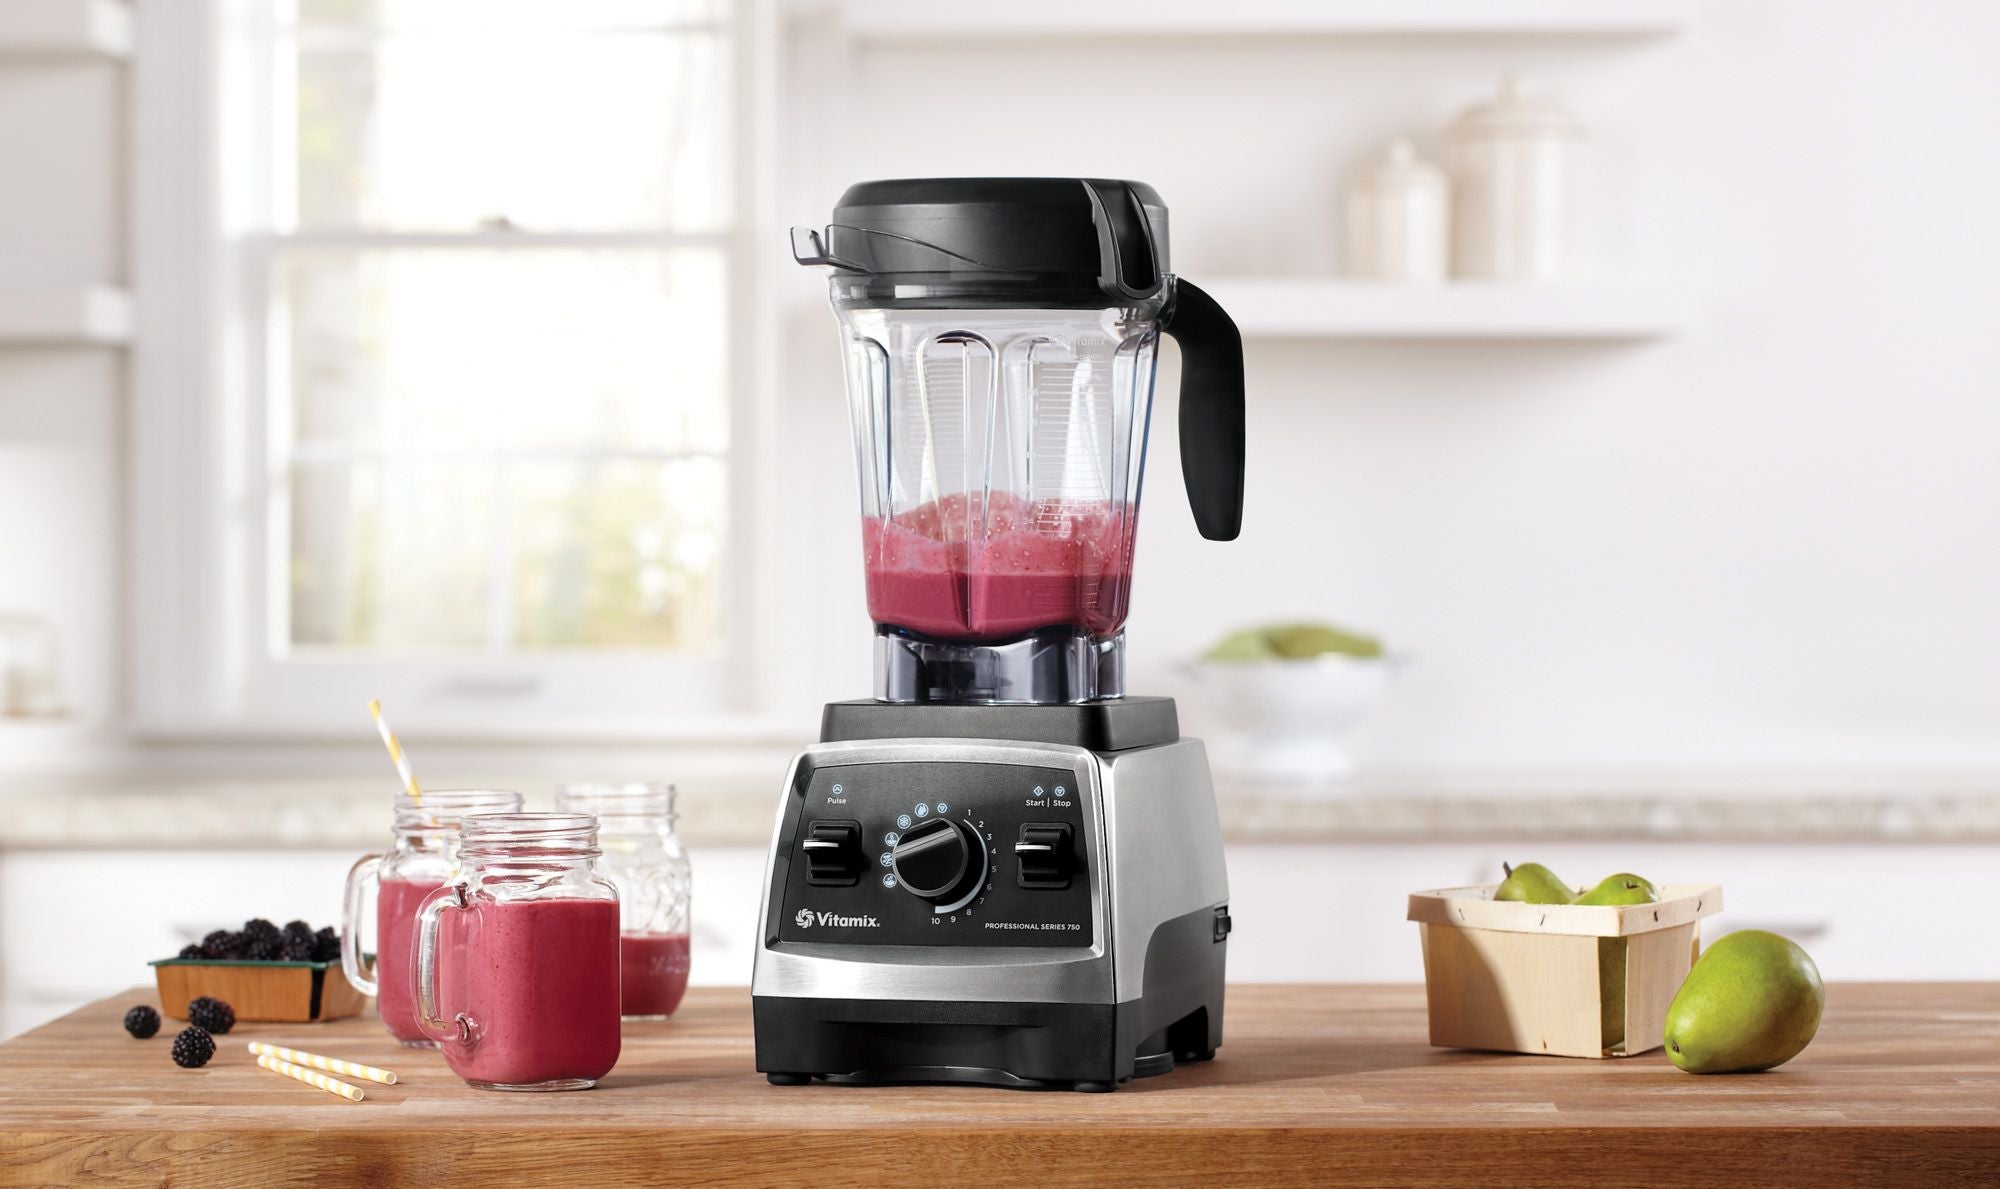
Welcome to this beginner’s guide on how to turn on a Vitamix Blender! Whether you’re a cooking enthusiast or simply looking to whip up some delicious smoothies, the Vitamix Blender is a powerful and versatile kitchen appliance that can help you achieve your culinary goals. While it may seem straightforward, there are a few steps you need to follow in order to properly turn on the blender and ensure its smooth operation. In this article, we will walk you through the process, step by step, so that you can confidently use your Vitamix Blender and start creating culinary masterpieces.
Key Takeaways:
- Master the art of using your Vitamix Blender by following simple steps to ensure smooth and hassle-free blending every time. From plugging in to selecting the right speed, create culinary masterpieces with confidence.
- Unleash your creativity and explore a wide variety of recipes with the powerful and versatile Vitamix Blender. From smoothies to soups, enjoy the benefits of exceptional blending capabilities in your own kitchen.
Read more: How To Use The Vitamix Blender
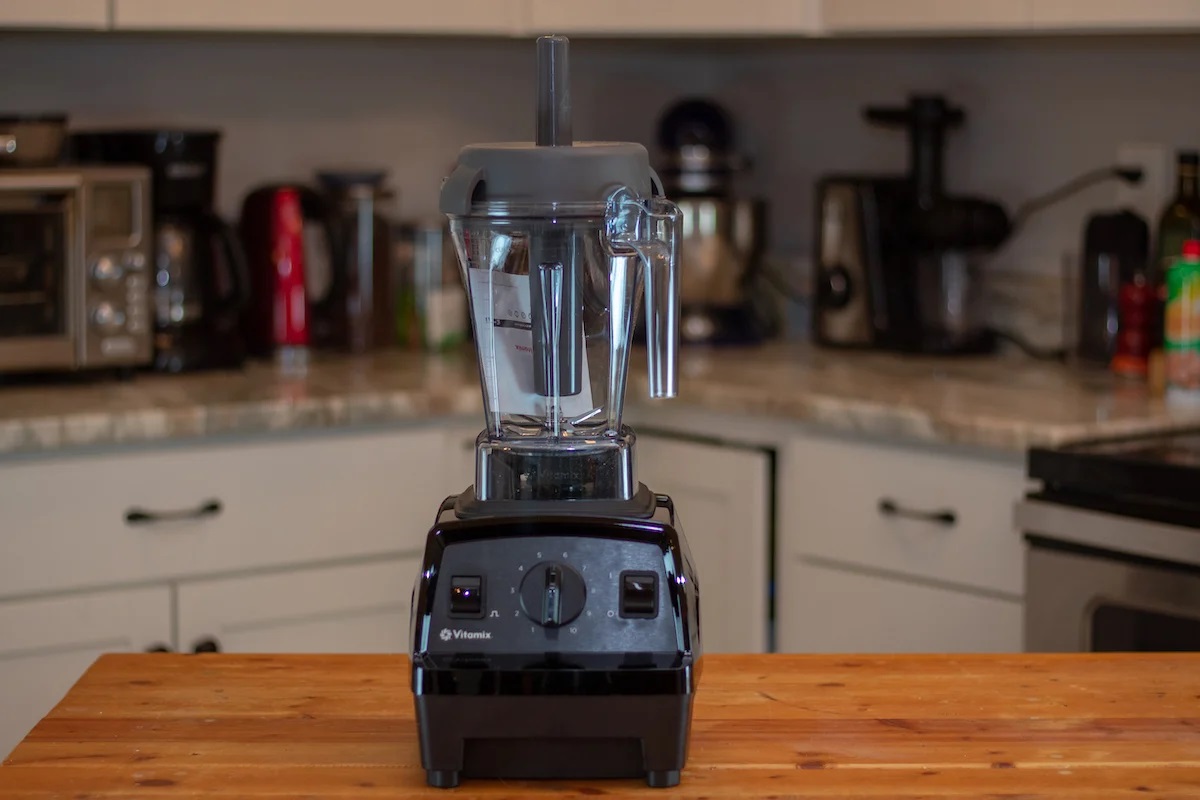
Step 1: Plug in the Vitamix Blender
The first step in turning on your Vitamix Blender is to ensure that it is properly plugged into a power source. Locate a suitable electrical outlet in your kitchen and insert the plug of the blender into the socket. Make sure that the plug is securely inserted and that there are no loose connections. This will provide the necessary power supply for the blender to function.
It is important to note that the Vitamix Blender should be the only appliance plugged into the electrical outlet to avoid overloading the circuit. This will prevent any potential electrical mishaps and ensure the safety of both you and the blender.
Once you have plugged in the Vitamix Blender, double-check that the power switch on the blender base is in the “Off” position. This will help prevent any accidental start-up when you are not ready to blend your ingredients.
Now that the blender is properly plugged in and the power switch is in the “Off” position, you are ready to move on to the next step of preparing the blender jar.
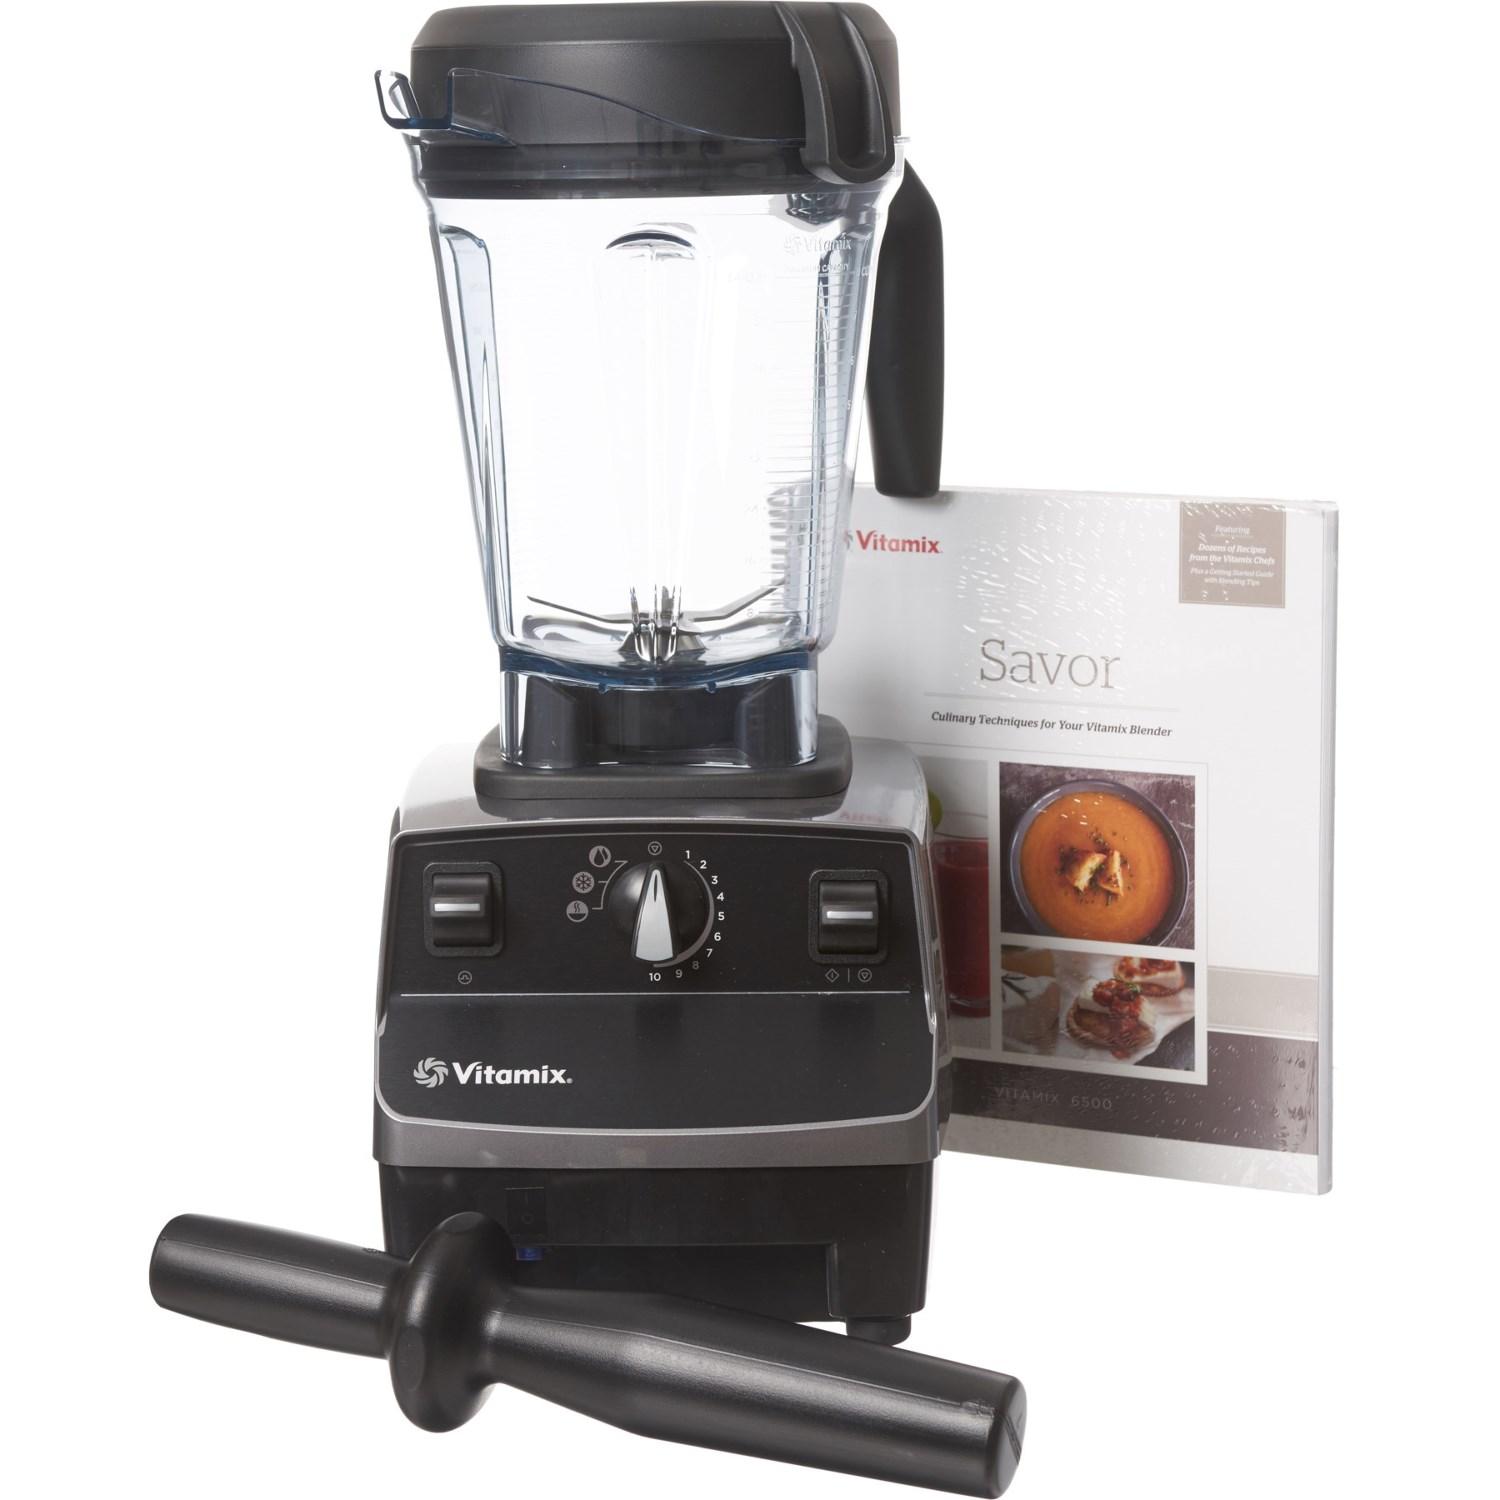
Step 2: Preparing the Blender Jar
Before you start utilizing your Vitamix Blender, it’s vital to properly prepare the blender jar. This will ensure that your ingredients blend smoothly and prevent any potential messes or accidents.
Begin by ensuring that the blender jar is clean and free from any debris or residue from previous use. Wash it with warm soapy water and rinse it thoroughly before using. Check for any cracks or damage in the jar, as it’s important to have a sturdy and intact jar for blending.
Next, place the blender jar on the blender base, ensuring that it is aligned properly. There are usually arrows or markings on both the blender base and the jar to guide you in aligning them correctly. Once the jar is in place, make sure it is secure by gently twisting it clockwise. This will ensure that the jar is securely locked onto the base and prevent any accidents or spills during blending.
Some Vitamix Blender models come with removable blades, while others have built-in blades. If your blender has removable blades, ensure they are properly secured in the bottom of the jar. You can do this by twisting them clockwise until they are snugly fitted. Be careful not to touch the sharp blades with your fingers while doing this.
Now that you have prepared the blender jar, you are ready to move on to the next step of selecting the blending speed.
Step 3: Selecting the Blending Speed
Choosing the appropriate blending speed is essential to achieve the desired consistency and texture for your recipes. The Vitamix Blender offers a wide range of speed settings that can be adjusted according to your specific blending needs.
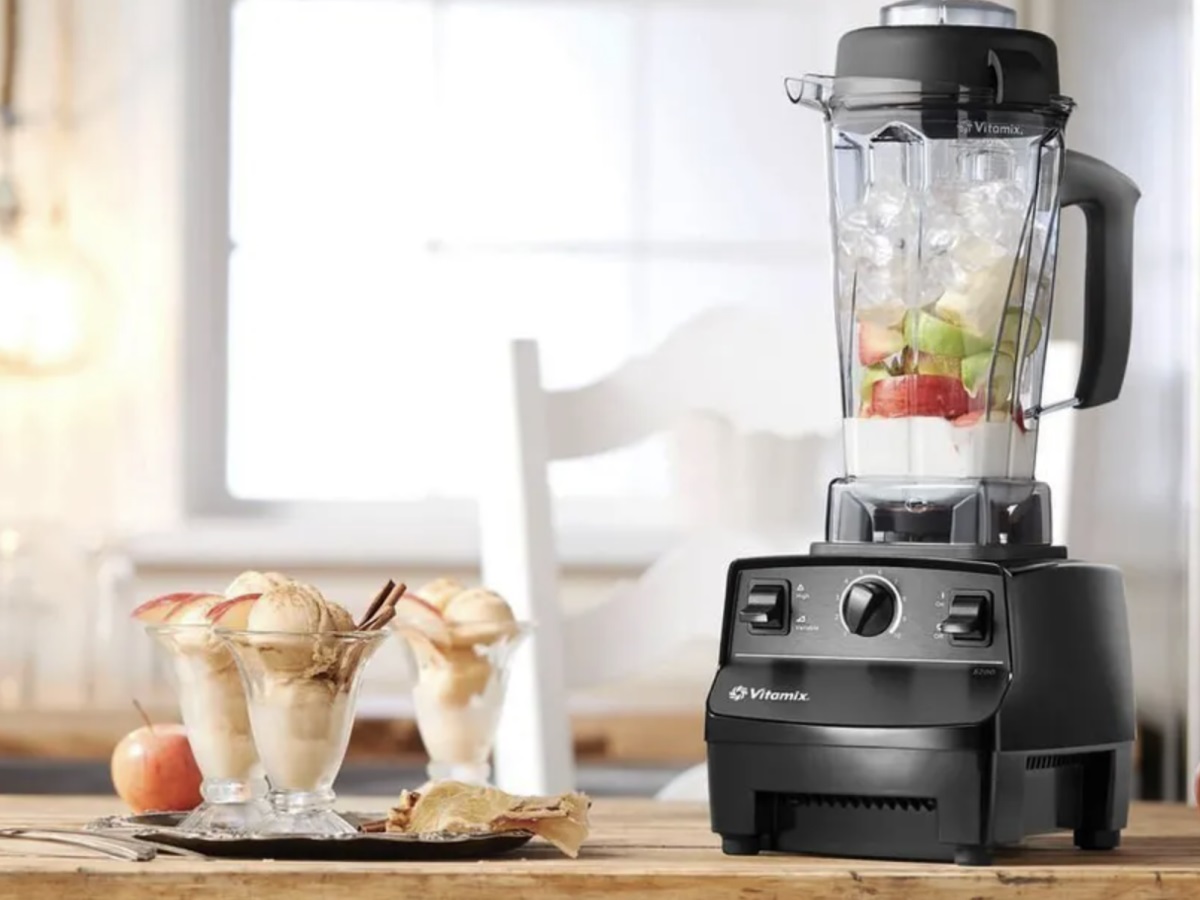
Start by familiarizing yourself with the speed dial on the blender base. This dial typically ranges from low to high speeds, with additional settings in between. The specific speed labels may vary depending on your blender model.
When selecting the blending speed, consider the type of ingredients you are blending and the desired outcome. For softer ingredients, such as fruits or leafy greens, start with a lower speed setting and gradually increase as needed. For harder ingredients, like ice or nuts, you may need to start at a higher speed setting to effectively break them down.
Additionally, some Vitamix Blender models have pre-programmed settings for specific purposes, such as smoothies, soups, or purees. These settings automatically adjust the blending speed and time to achieve optimal results for each type of recipe. If your blender has these pre-programmed settings, consult the user manual to understand how to use them.
Remember, it’s always better to start with a lower speed and gradually increase as needed. This allows you to maintain control over the blending process and prevent over-blending or over-processing your ingredients. It may take some trial and error to find the perfect speed setting for your specific recipes, but with time, you will become familiar with the ideal settings for each ingredient or recipe you prepare.
Now that you have selected the appropriate blending speed, it’s time to move on to the next step of adding ingredients to the blender.
Make sure the Vitamix blender is plugged in and the power switch is turned on. Then, select the desired speed setting and press the start/stop button to begin blending.
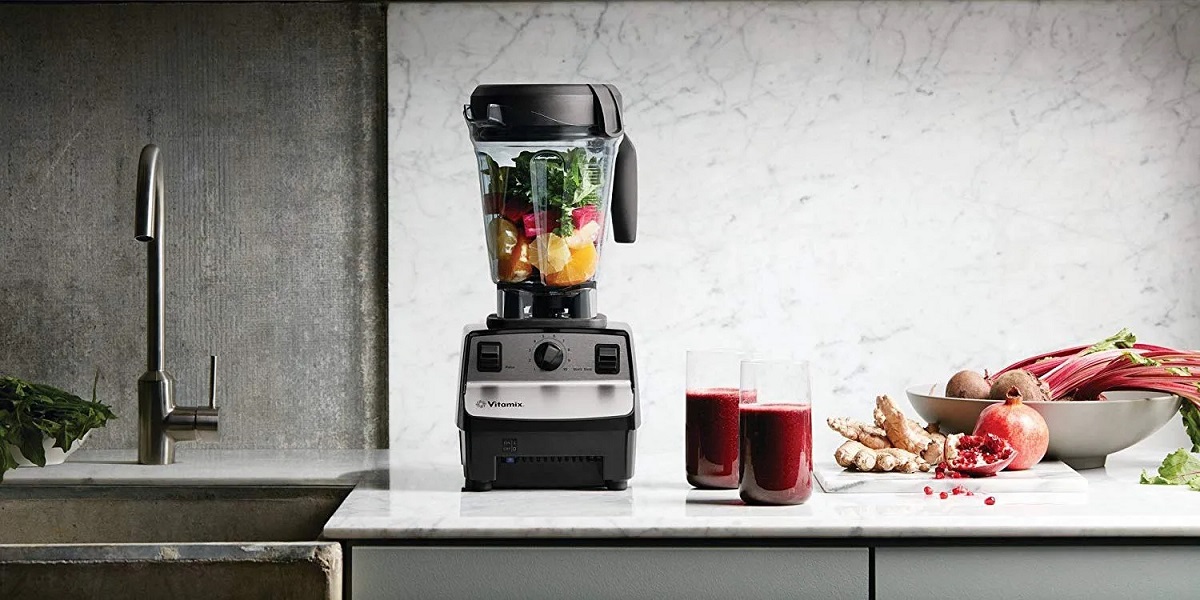
Step 4: Adding Ingredients to the Blender
Now that you have prepared the blender jar and selected the appropriate blending speed, it’s time to add your ingredients. The Vitamix Blender is known for its exceptional blending capabilities, whether you’re making smoothies, soups, sauces, or even nut butter.
First, gather all the ingredients you need for your recipe and ensure they are properly washed, peeled, or trimmed, as necessary. This will help maintain the freshness and flavor of your dishes.
When adding ingredients to the blender, it’s important to follow a few guidelines to ensure optimal blending and prevent any potential issues. Start by adding liquid ingredients first, such as water, juice, or milk, as this will help create a smooth blending base.
Next, add the solid ingredients, such as fruits, vegetables, or grains, to the blender jar. If you’re blending a variety of ingredients, it’s generally recommended to add the harder or larger pieces first and follow with the softer or smaller ingredients.
While adding ingredients, be mindful of the maximum fill line marked on the blender jar. Overfilling the blender can result in overflow and hinder the blending process. Make sure to add the ingredients within the recommended capacity to ensure smooth and efficient blending.
For recipes that require additional flavorings or seasonings, such as spices, herbs, or sweeteners, add them to the blender along with the other ingredients. This will help evenly distribute the flavors throughout your recipe.
Once you have added all the ingredients, you are ready to move on to the next step of securing the blender lid.
Read more: How To Clean A Vitamix Blender
Step 5: Securing the Blender Lid
Securing the blender lid is an essential step to prevent any spills, splatters, or accidents during the blending process. The lid ensures that the ingredients remain contained within the blender jar and allows the blender to operate smoothly and efficiently.
When placing the lid on the blender jar, ensure that it is aligned correctly. Most Vitamix Blender lids have a tab or arrow that should be aligned with the corresponding slot or marking on the blender jar. This ensures a proper fit and prevents any leaks or spills while blending.
Once aligned, firmly press down on the lid to secure it in place. You should feel a slight click or snap indicating that the lid is properly locked onto the blender jar. Give it a gentle tug to ensure it is securely fastened before proceeding to the next step.
It is important to note that some Vitamix Blender models come with a removable center cap in the lid. This cap allows you to add ingredients or pour liquids while the blender is running. If your blender has this feature, make sure the cap is tightly closed before starting the blender. This will prevent any splashing or leaking during blending.
With the blender lid securely in place, you are now ready to move on to the final step of turning on the Vitamix Blender.
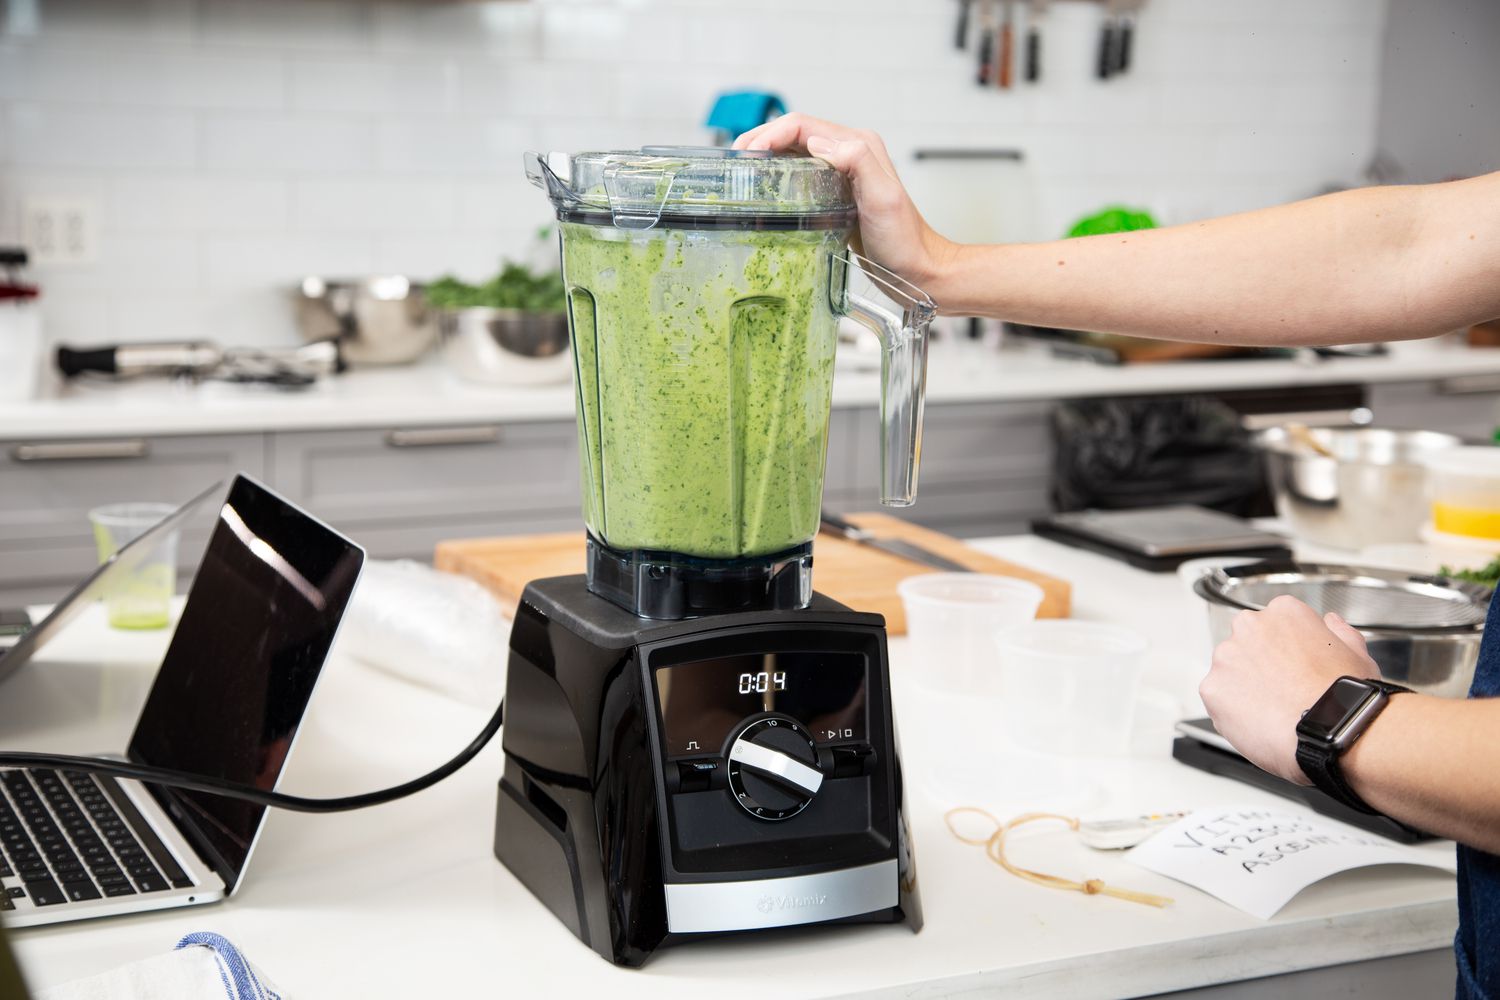
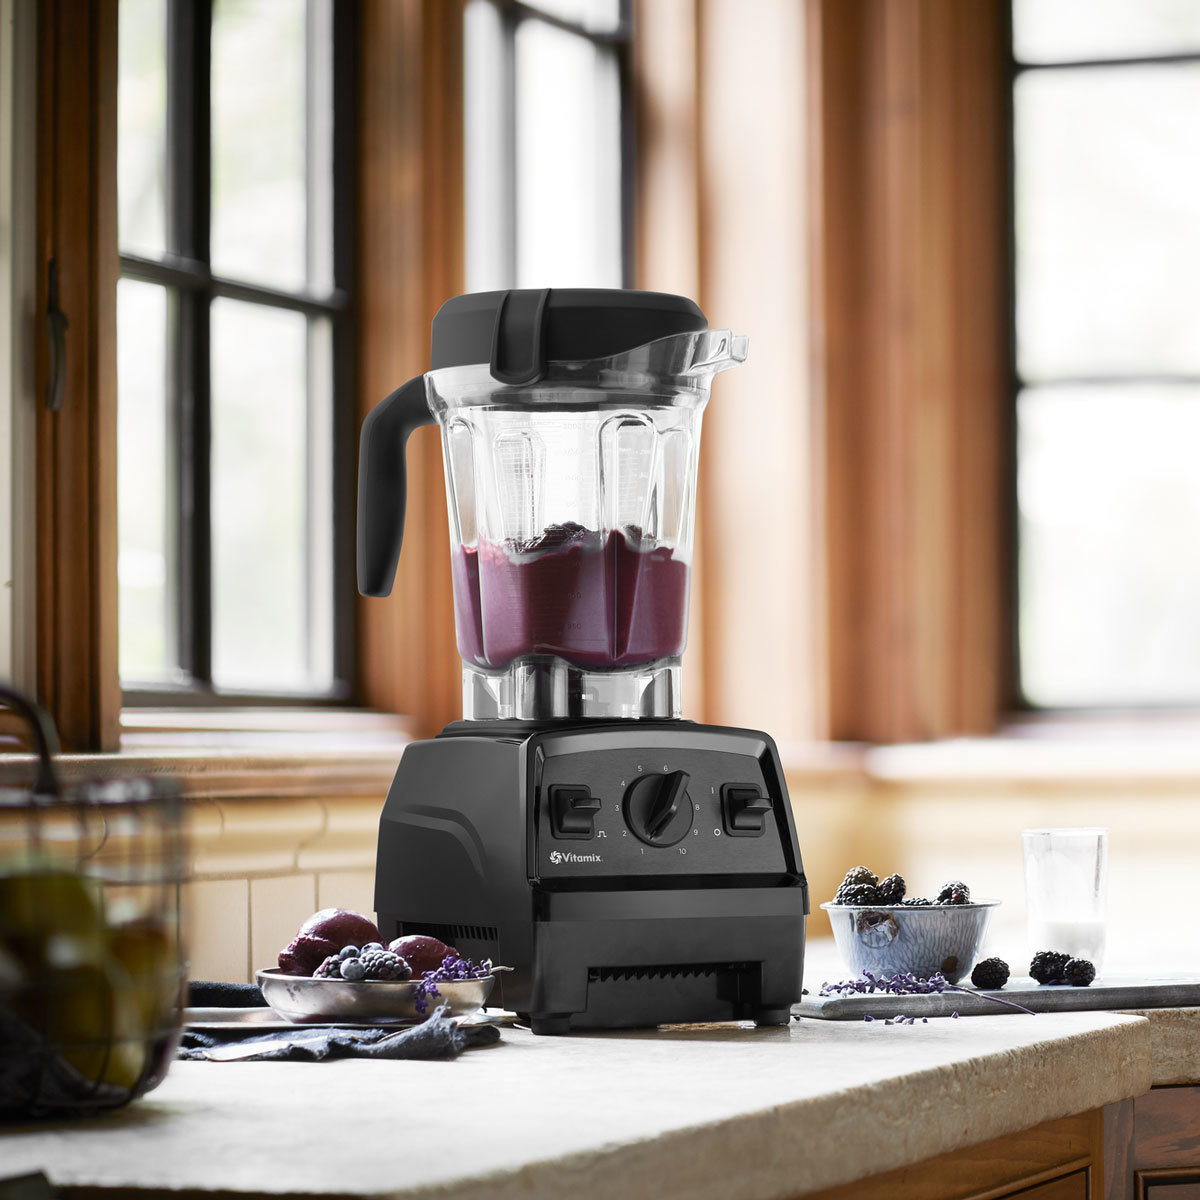
Step 6: Turning on the Vitamix Blender
Now that you have properly prepared the blender, selected the blending speed, added your ingredients, and secured the lid, it’s time to turn on your Vitamix Blender and bring your culinary creations to life.
Locate the power switch on the blender base, usually labeled with an “On/Off” or “Start/Stop” button. Ensure that the power switch is in the “Off” position before proceeding.
Once the power switch is in the “Off” position, plug in the blender if you haven’t done so already. Ensure that the blender is securely connected to the power source.
With your hand away from the blades and the pitcher properly filled, it’s time to turn on the blender. Depending on the model of your Vitamix Blender, you may need to press the “On/Off” button or switch the power switch to the “On” position.
As the blender starts, you will notice the blades begin to spin, creating a powerful vortex that will blend your ingredients together. Depending on the recipe and desired consistency, you may need to let the blender run for a few seconds to several minutes. Pay attention to the texture and consistency of your mixture and blend until you achieve the desired result.
While the blender is running, you may notice some movement or vibrations. This is normal and indicates that the blender is functioning properly. However, if you observe excessive vibration or shaking, it’s advisable to stop the blender and ensure that the ingredients are properly balanced within the jar.
Once you are satisfied with the blending process, and your recipe is perfectly blended, it’s time to turn off the Vitamix Blender. Simply switch the power switch to the “Off” position or press the “On/Off” button to stop the blender’s operation.
Congratulations! You have successfully turned on and operated your Vitamix Blender. Remember to unplug the blender from the power source once you have finished using it and clean the jar and blades according to the manufacturer’s instructions.
Whether you’re whipping up delicious smoothies, preparing creamy soups, or creating your own homemade sauces, knowing how to properly turn on and use your Vitamix Blender will ensure smooth and hassle-free blending every time.
Now that you are familiar with the steps involved in turning on your Vitamix Blender, feel free to explore and experiment with a wide variety of recipes, taking advantage of the power and versatility that this remarkable kitchen appliance offers.
Conclusion
Congratulations! You have now learned how to turn on and effectively use your Vitamix Blender. By following the simple steps outlined in this guide, you can confidently operate your blender and create a wide variety of culinary delights.
From smoothies and sauces to soups and nut butter, the Vitamix Blender is a powerful and versatile kitchen appliance that can handle it all. With its exceptional blending capabilities, you can easily achieve the desired consistency and texture for your recipes.
Remember to start by plugging in the blender and ensuring it is securely connected to the power source. Then, prepare the blender jar, selecting the appropriate blending speed for your ingredients, and adding them to the jar. Make sure to securely fasten the blender lid to prevent any spills or accidents during blending.
When it’s time to turn on the blender, locate the power switch and switch it to the “On” position. Watch as the blades spin and create a powerful vortex, blending your ingredients to perfection. Pay attention to the texture and consistency of your mixture and adjust the blending time as needed.
Once you are satisfied with the blending process, simply turn off the blender by switching the power switch to the “Off” position or pressing the “On/Off” button. Unplug the blender from the power source and clean the blender jar and blades according to the manufacturer’s instructions.
With this newfound knowledge and understanding of using your Vitamix Blender, you can now confidently embark on your culinary journey, exploring new recipes and creating delicious meals and beverages in the convenience of your own kitchen.
So, get creative, experiment with different ingredients, and enjoy the benefits of owning a Vitamix Blender. From nutritious smoothies to savory soups and everything in between, let your imagination run wild and let the Vitamix Blender be your trusted kitchen companion.
Ready to whip up delicious treats beyond just blending? If flipping that Vitamix switch was fun, you'll love learning how to make a smoothie using a food processor. Not only does this method mix things up, but it also introduces new textures and flavors to your beverages. Don't miss out on mastering another kitchen skill that's sure to impress both family and friends!
Frequently Asked Questions about How To Turn On A Vitamix Blender
Was this page helpful?
At Storables.com, we guarantee accurate and reliable information. Our content, validated by Expert Board Contributors, is crafted following stringent Editorial Policies. We're committed to providing you with well-researched, expert-backed insights for all your informational needs.


0 thoughts on “How To Turn On A Vitamix Blender”