Articles
How To Make Aloe Vera Gel Without Blender
Modified: August 27, 2024
Learn how to make aloe vera gel without a blender in this informative article. Discover the simple steps to create soothing and nourishing homemade gel.
(Many of the links in this article redirect to a specific reviewed product. Your purchase of these products through affiliate links helps to generate commission for Storables.com, at no extra cost. Learn more)
Introduction
Welcome to this guide on how to make aloe vera gel without a blender. Aloe vera gel is a versatile and beneficial natural ingredient that can be used for various purposes, such as skincare, hair care, and even as a soothing treatment for sunburns. However, not everyone has access to a blender to make the gel. The good news is that you can still enjoy the benefits of aloe vera gel using alternative methods.
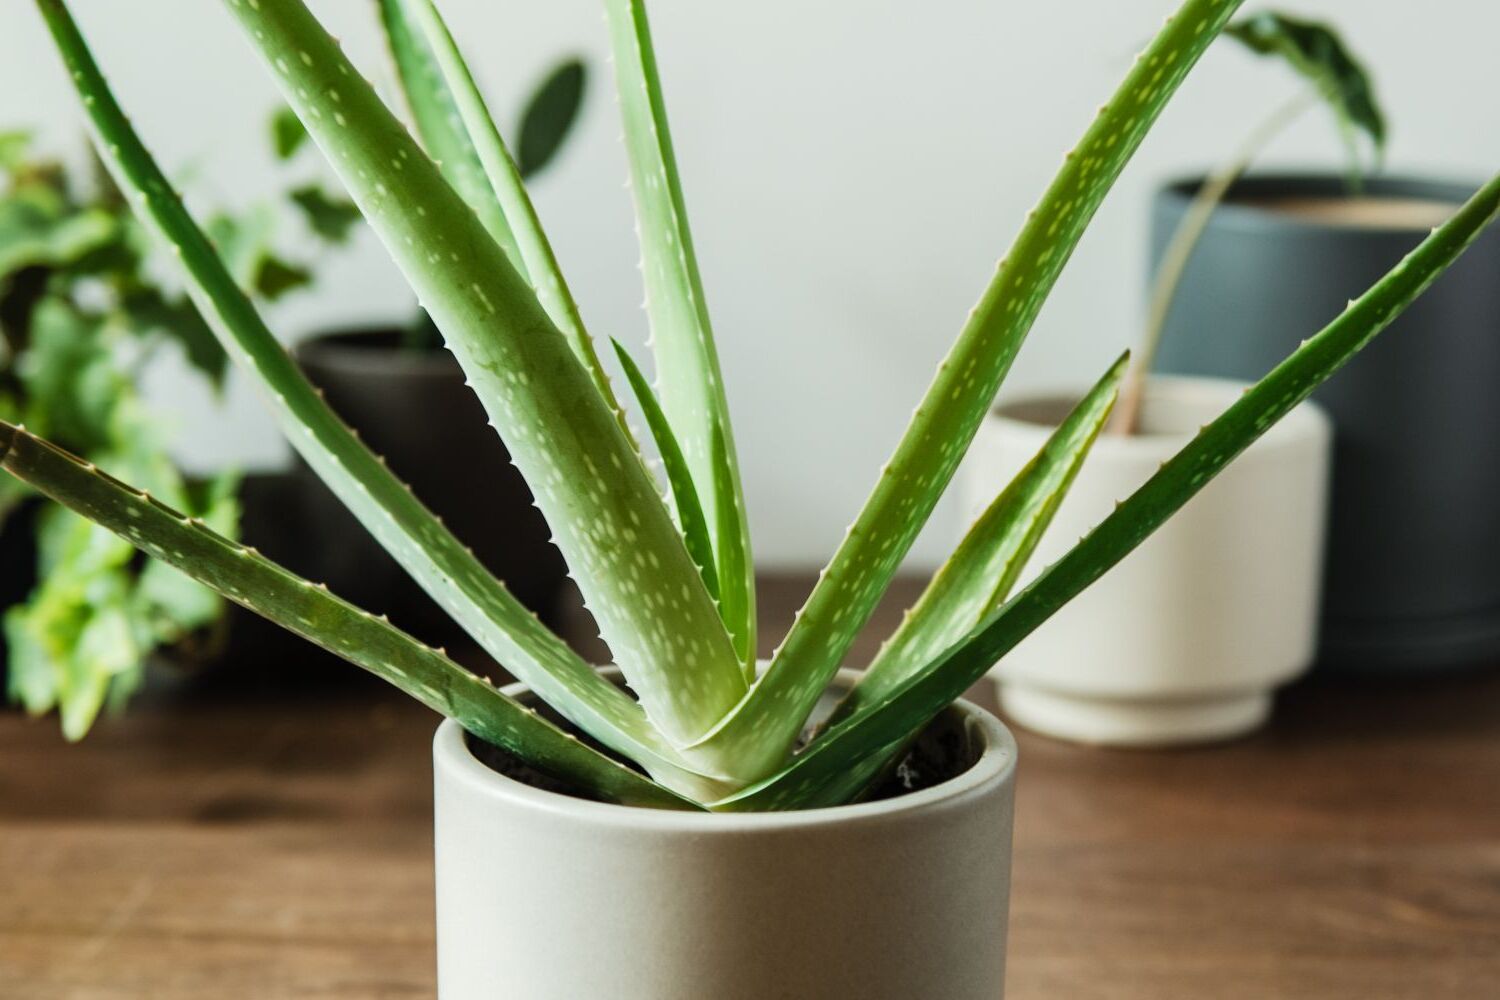
Aloe vera is a succulent plant that grows in tropical and subtropical regions. It is characterized by its thick, fleshy leaves that contain a gel-like substance. This gel is rich in vitamins, minerals, antioxidants, and enzymes that have numerous medicinal and cosmetic properties. By extracting the gel from the leaves, you can harness its healing and moisturizing properties.
In this article, I will guide you through the process of making aloe vera gel without a blender. Whether you don’t have a blender or you prefer a simpler method, this step-by-step guide will help you create your own aloe vera gel at home.
Before we dive into the process, let’s take a look at some of the incredible benefits of using aloe vera gel.
Key Takeaways:
- Easily create your own aloe vera gel without a blender using simple steps and minimal materials, and enjoy its versatile benefits for skincare and haircare.
- Harvest, prepare, extract, strain, and store aloe vera gel without a blender to incorporate its natural healing, moisturizing, and anti-aging properties into your beauty routine.
Benefits of Aloe Vera Gel
Aloe vera gel offers a wide range of benefits for both skin and hair. Its natural properties make it an excellent addition to your beauty and self-care routine. Here are some of the key benefits of using aloe vera gel:
- Hydration: Aloe vera gel acts as a natural moisturizer, keeping your skin hydrated and preventing dryness. It penetrates deep into the skin, providing a soothing effect and leaving it soft and supple.
- Soothing and Healing: Aloe vera gel has anti-inflammatory properties that help calm irritated and inflamed skin. It can be used to soothe sunburns, rashes, and other skin conditions like eczema and psoriasis. The gel also aids in the healing of wounds and scars, promoting faster recovery.
- Anti-Aging: The antioxidants present in aloe vera gel help fight oxidative stress and reduce the appearance of wrinkles and fine lines. It stimulates the production of collagen, a protein that keeps the skin elastic and youthful-looking.
- Acne Treatment: Aloe vera gel has antimicrobial properties that make it effective in treating acne. It helps kill bacteria that cause acne breakouts and reduces inflammation, leading to clearer and smoother skin.
- Hair Nourishment: Applying aloe vera gel to the scalp can help combat dandruff and nourish the hair follicles. It promotes healthy hair growth, reduces itchiness, and adds shine to the hair.
- Skin Brightening: Aloe vera gel contains enzymes that help lighten dark spots and blemishes, giving your skin a brighter and more even tone. It also helps to reduce the appearance of hyperpigmentation, leaving your skin looking radiant.
- Antioxidant Protection: The antioxidants present in aloe vera gel help protect the skin from damage caused by free radicals, which can lead to premature aging and other skin concerns.
By incorporating aloe vera gel into your skincare and haircare routine, you can enjoy these incredible benefits and achieve healthier, more radiant skin and hair. Now that you know the advantages of aloe vera gel, let’s move on to the materials you’ll need to make it without a blender.
Materials Required
To make aloe vera gel without a blender, you’ll need the following materials:
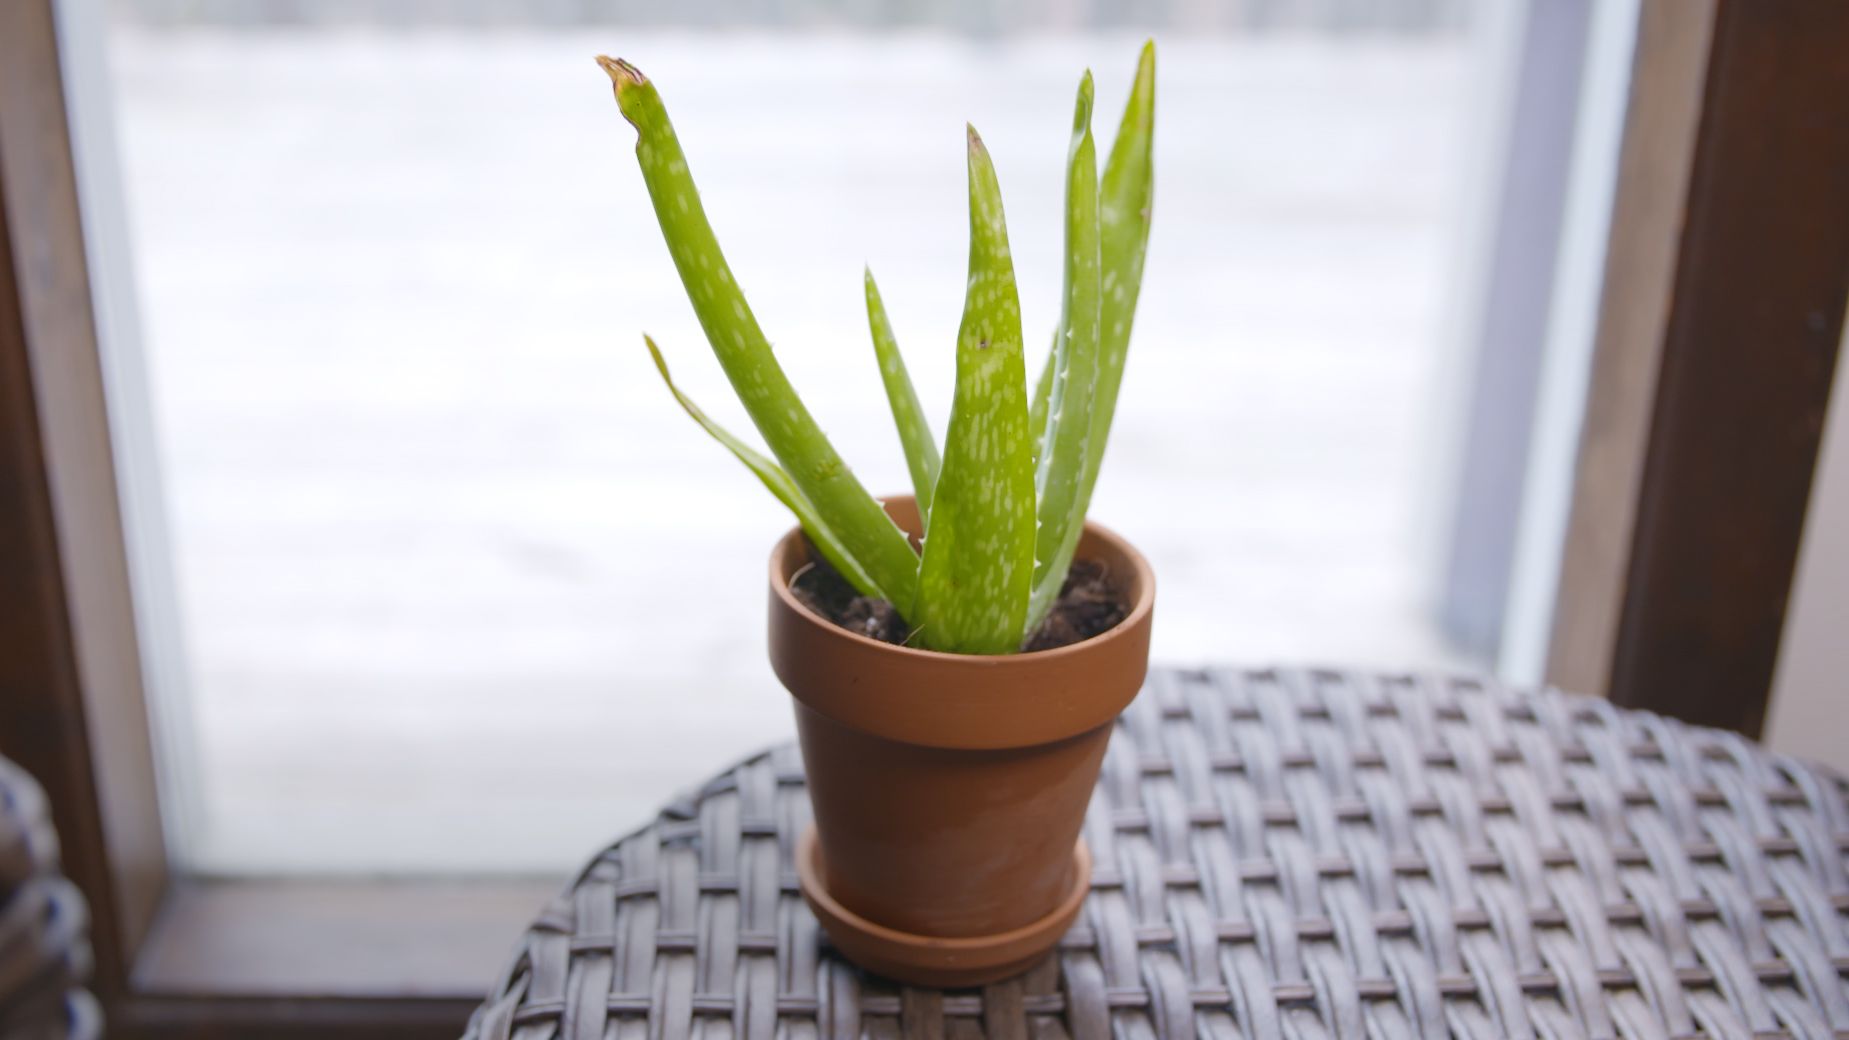
- Aloe vera leaves: Look for fresh aloe vera leaves that are plump and healthy. You can find them at local nurseries, grocery stores, or even grow your own aloe vera plant.
- Knife: A sharp knife will be needed to harvest and prepare the aloe vera leaves.
- Cutting board: Use a clean cutting board to provide a safe and stable surface for cutting the leaves.
- Bowl: You’ll need a bowl to collect the extracted gel.
- Fork or spoon: A fork or spoon can be used to scrape out the gel from the aloe vera leaves.
- Cloth or strainer: If you prefer a smoother gel, you can use a clean cloth or a strainer to filter out any impurities or residue.
- Airtight container: Choose a clean, airtight container to store the aloe vera gel and help maintain its freshness.
- Optional: If you want a smoother gel consistency, you can use a mortar and pestle to further break down the gel after extracting it from the leaves.
Make sure that all the materials you use are clean and free from any contaminants to ensure the quality of the final product. Now that you have all the necessary materials, let’s move on to the step-by-step process of making aloe vera gel without a blender.
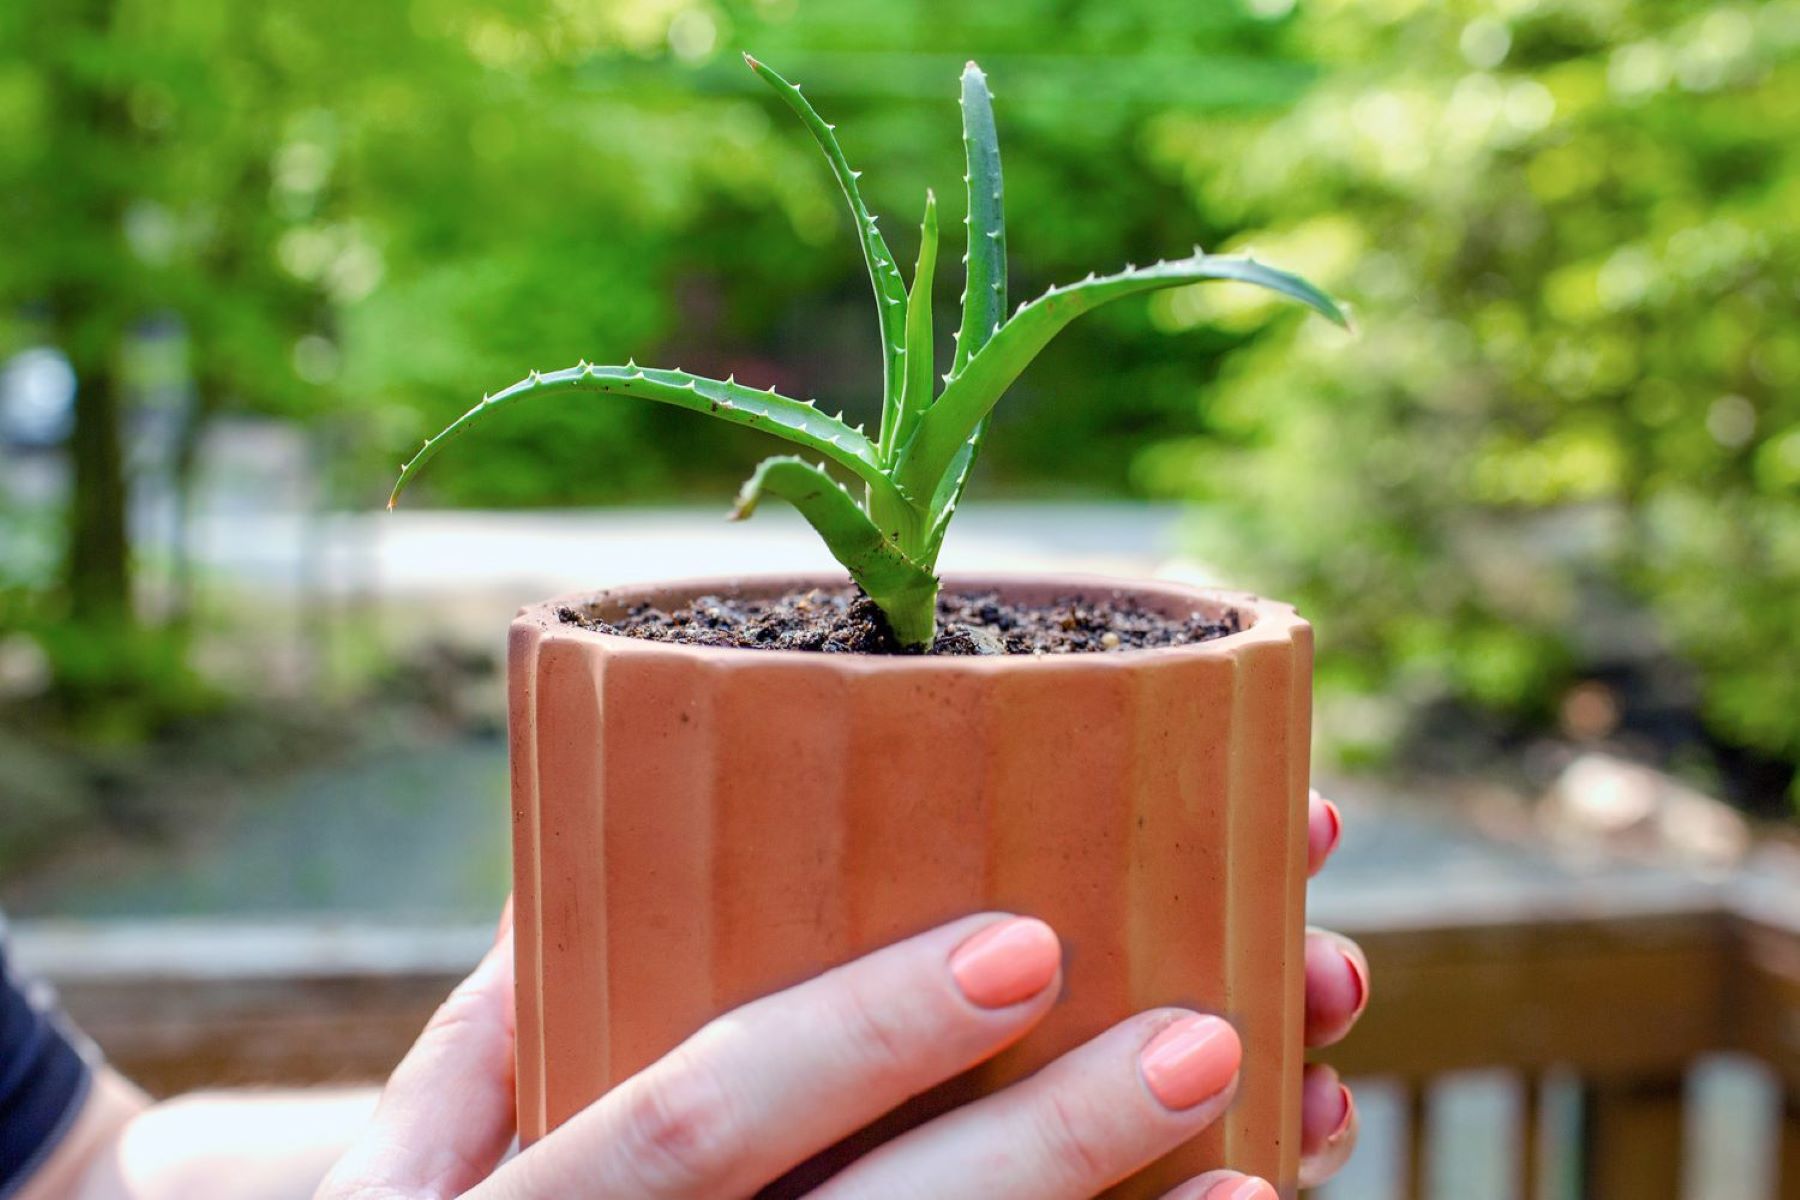
Step 1: Harvesting the Aloe Vera Leaves
The first step in making aloe vera gel without a blender is to harvest the aloe vera leaves. Here’s how you can do it:
- Choose mature and healthy aloe vera leaves that are at least 6 inches long. Look for leaves that are thick and plump, as they contain more gel.
- Using a sharp knife, carefully cut the leaves close to the base of the plant. It’s best to start with the outermost leaves, as they are the oldest and contain the most gel.
- Avoid cutting too many leaves from a single plant, as this can hinder its growth. Only harvest what you need for the aloe vera gel.
- Once you have harvested the desired number of leaves, rinse them under cool water to remove any dirt or debris. Pat them dry with a clean cloth.
- Place the harvested leaves on a cutting board and move on to the next step to prepare them for gel extraction.
Harvesting the aloe vera leaves ensures that you have fresh and potent gel for your homemade aloe vera gel. Now that you have the leaves ready, let’s proceed to the next step.
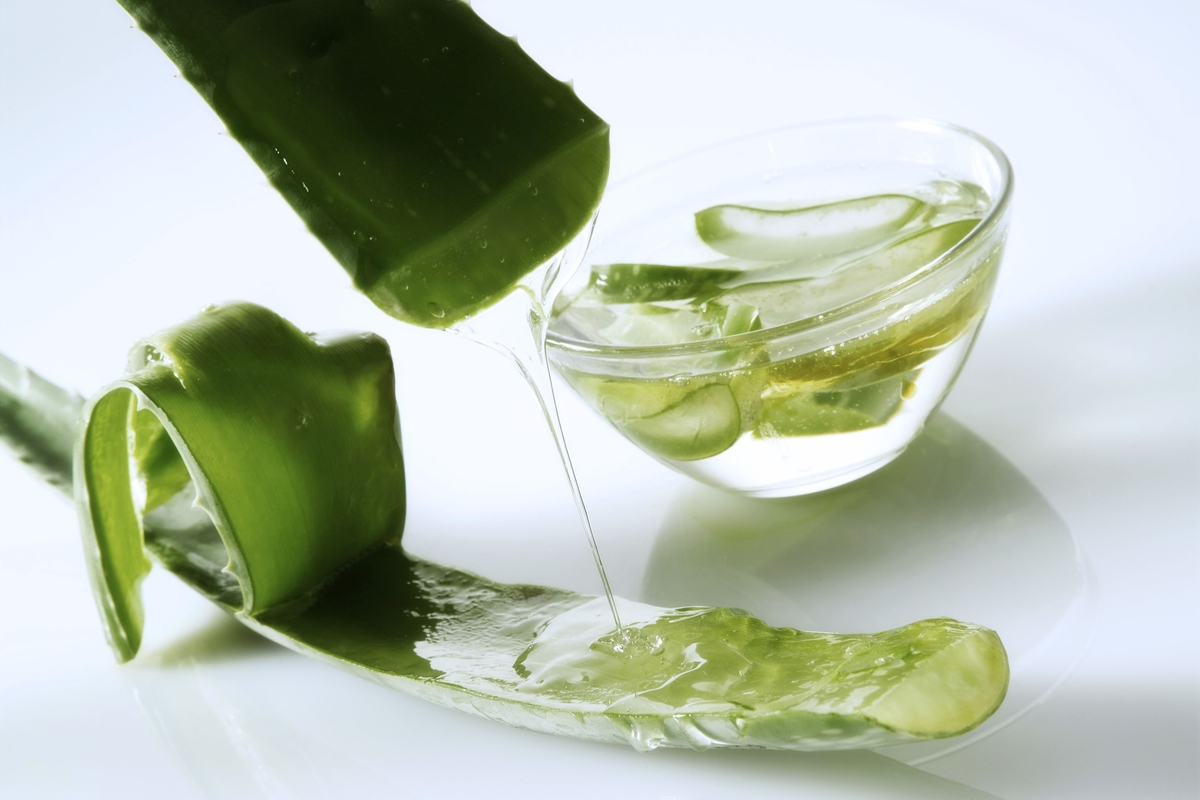
Step 2: Preparing the Aloe Vera Leaves
After harvesting the aloe vera leaves, the next step is to prepare them for gel extraction. Follow these steps to properly prepare the leaves:
- Place the harvested aloe vera leaves on a clean cutting board.
- Using a sharp knife, carefully trim off the thorny edges of the leaves. Start from one end and gently slide the knife along the sides of the leaf to remove the sharp edges.
- Next, slice off the top and bottom portion of the leaves to expose the gel inside. Make sure to remove only a thin layer to access the gel without wasting too much of it.
- To further prepare the leaves, use the knife to make a lengthwise incision along the side of each leaf. Be cautious not to cut too deep and pierce through to the other side.
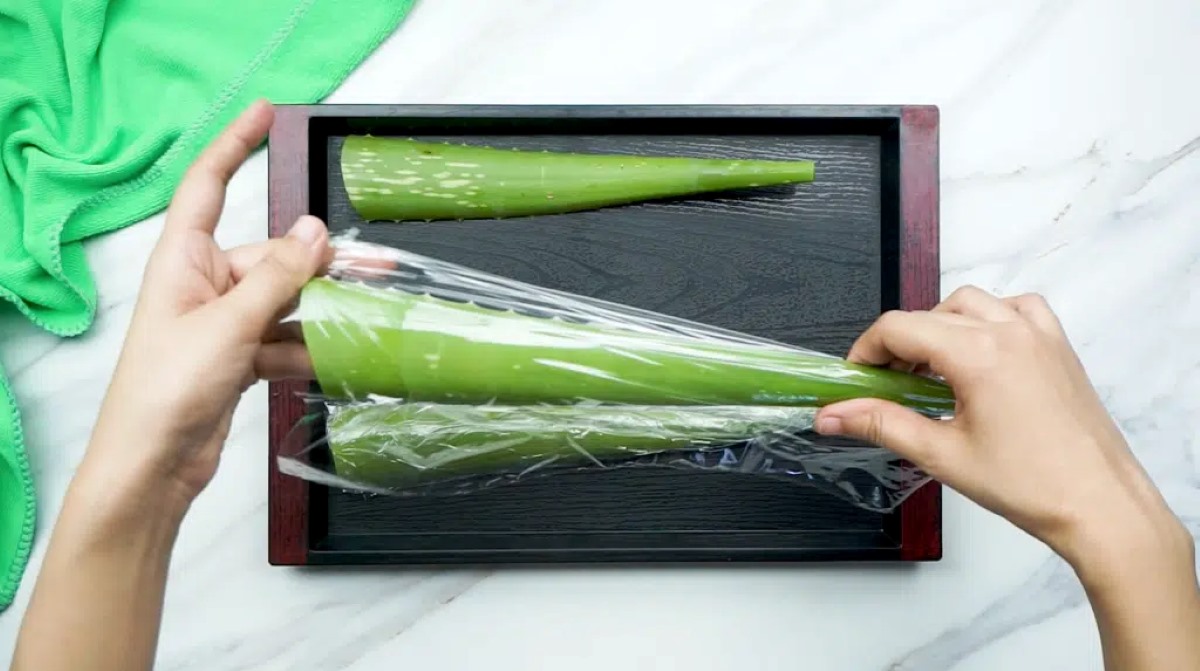
- With the incisions made, carefully peel off the outer green layer of the leaf to reveal the translucent gel underneath. Start peeling from the cut edge and gently pull the skin away from the gel.
- Continue to peel off the green layer until all that remains is the clear gel. It’s important to remove all the green parts as they can contribute to a bitter taste and affect the consistency of the gel.
- Repeat this process for all the harvested aloe vera leaves, and once you’re done, move on to the next step to extract the gel.
Preparing the aloe vera leaves ensures that you have access to the gel without any unwanted parts. Now that the leaves are ready, let’s move on to extracting the gel from them.
If you don’t have a blender, you can still make aloe vera gel by simply mashing the aloe vera flesh with a fork or potato masher until it reaches a gel-like consistency.
Read more: How To Store Aloe Vera Plant Gel
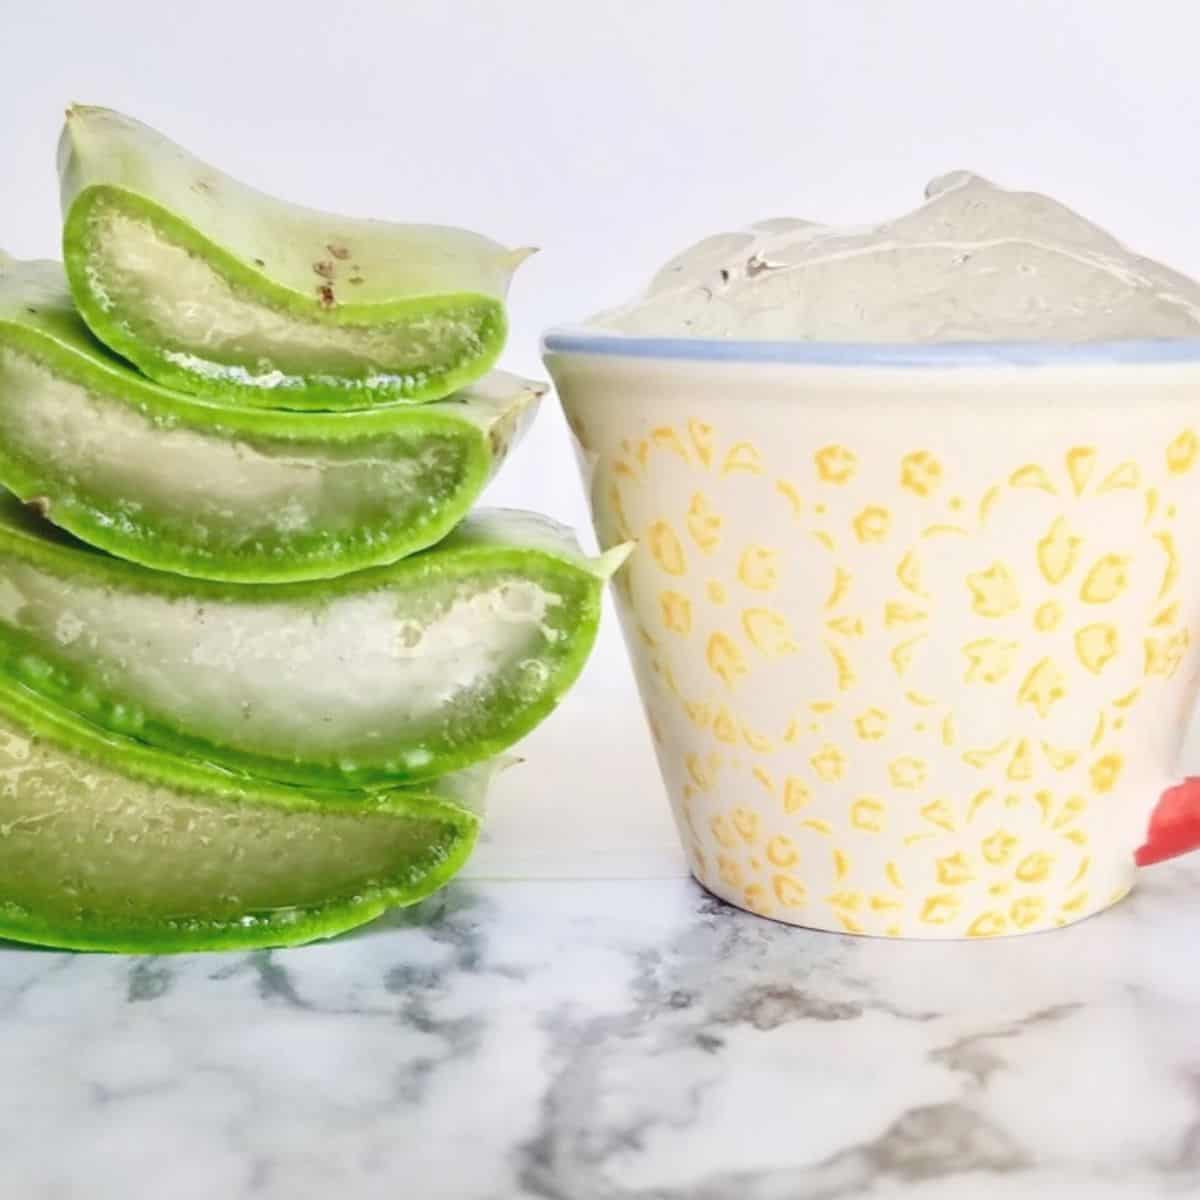
Step 3: Extracting the Gel from Aloe Vera Leaves
Once you have prepared the aloe vera leaves, it’s time to extract the gel. Follow these steps to extract the gel without a blender:
- Take a prepared aloe vera leaf and lay it flat on a clean surface.
- Using a spoon or fork, gently scrape the gel out from the leaf. Start from one end and work your way across the leaf, ensuring that you collect as much gel as possible.
- Continue scraping until you have removed all the gel from the leaf. The gel should have a slimy and translucent consistency.
- Transfer the extracted gel into a clean bowl. Repeat this process for all the prepared aloe vera leaves.
- Take a close look at the extracted gel and remove any small pieces of the green outer layer that may have accidentally gotten into the gel.
- If you prefer a smoother gel texture, you can use a mortar and pestle to further break down the gel and make it more uniform.
By following these steps, you can successfully extract the gel from the aloe vera leaves without the need for a blender. Once you have collected all the gel, it’s time to move on to the next step to strain the gel and remove any impurities.
Step 4: Blending the Gel Mixture (Optional)
In this step, you have the option to blend the extracted gel mixture to achieve a smoother consistency. If you prefer a more refined texture, here’s what you can do:
- Transfer the extracted gel into a blender or food processor.
- Blend the gel mixture on low speed for a few seconds until it becomes smooth and homogeneous.
- Avoid over-blending, as this may introduce excess air into the gel, leading to a frothy texture.
- Once the gel is blended to your desired consistency, transfer it back into the bowl.
- Keep in mind that this step is optional, and you can skip it if you prefer a more natural and slightly chunky texture.
Blending the gel mixture can give it a more uniform and velvety texture, making it easier to apply and incorporate into your skincare or haircare routine. However, if you prefer a more rustic feel, you can proceed to the next step without blending the gel.
Now that you have the option to blend the gel mixture, let’s move on to the next step to strain the gel and remove any impurities.
Step 5: Straining the Gel
In this step, we will strain the gel to remove any impurities that may have been collected during the extraction process. Follow these steps to strain the aloe vera gel:
- Place a clean cloth or a fine-mesh strainer over a clean bowl.
- Gently pour the blended or unblended gel mixture onto the cloth or strainer, allowing it to pass through and collect in the bowl.
- Use the back of a spoon or your fingers to gently press the gel against the cloth or strainer, extracting as much liquid as possible.
- This will help remove any remaining pulp or residue, ensuring that you have a smooth and pure aloe vera gel.
- If you are using a cloth, you can gather the corners and squeeze out any remaining gel.
- Continue straining until you have extracted all the gel and removed any unwanted particles.
Straining the gel will help achieve a cleaner and more refined texture, making it easier to apply and incorporate into your skincare or haircare routine. Once you have strained the gel, it’s time to move on to the final step: storing the aloe vera gel.
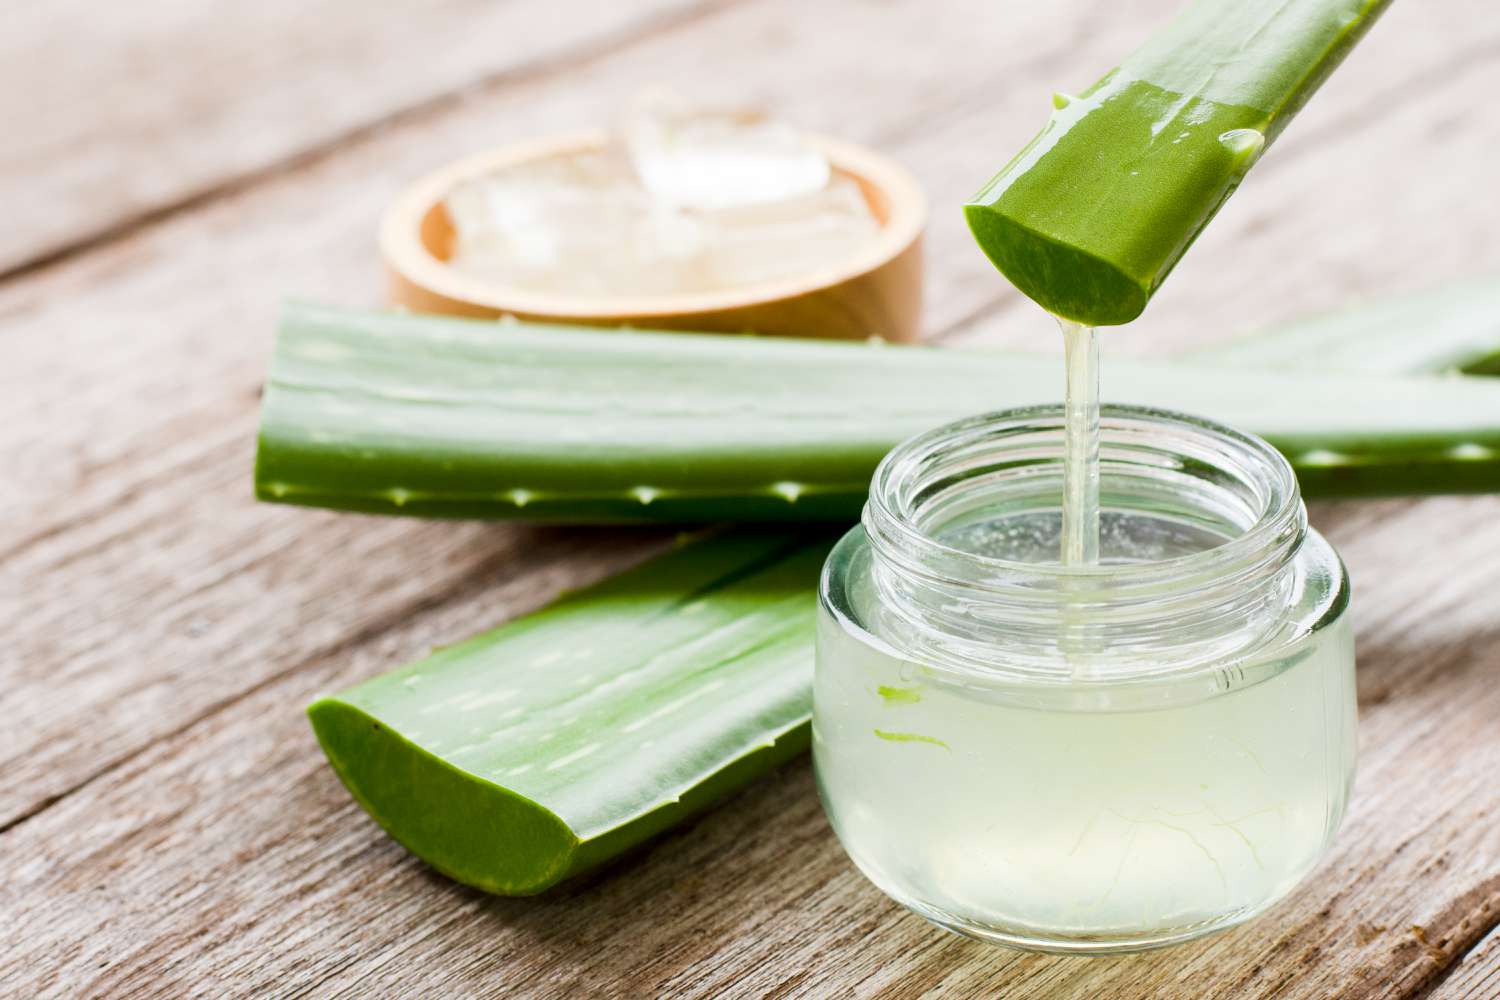
Step 6: Storing the Aloe Vera Gel
Now that you have successfully extracted and strained the aloe vera gel, it’s important to store it properly to maintain its freshness and effectiveness. Follow these steps to store your homemade aloe vera gel:
- Select a clean, airtight container to store the gel. Glass containers are preferred as they are non-reactive and help preserve the properties of the gel.
- Ensure that the container is thoroughly cleaned and completely dry before transferring the gel into it.
- Using a clean spoon or spatula, carefully transfer the strained gel into the container.
- Fill the container, leaving some headspace at the top to allow for expansion as the gel freezes or refrigerates.
- Seal the container tightly to prevent air and moisture from entering.
- If you want to increase the shelf life of the gel, you can store it in the refrigerator. Place the container in the fridge and ensure a cool and consistent temperature.
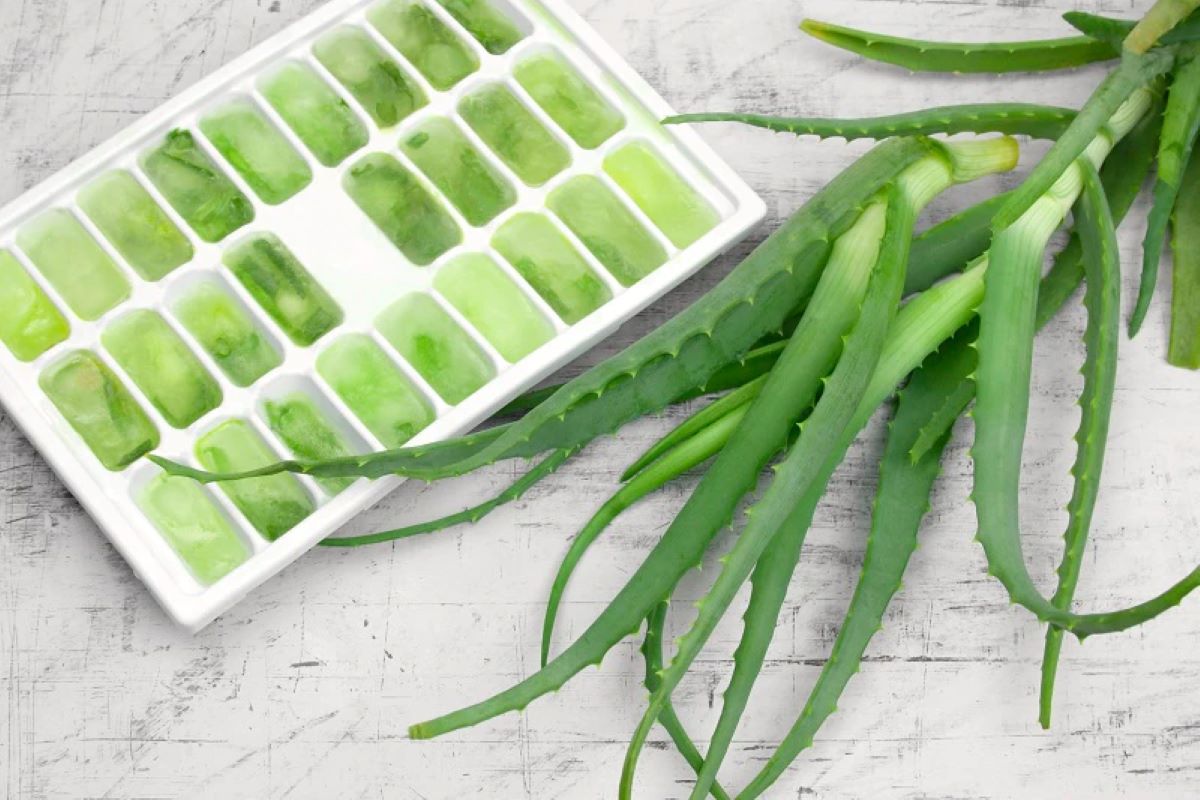
- If you prefer to freeze the gel, you can portion it into smaller containers or ice cube trays for easy use. Store the containers or trays in the freezer.
- Label the container with the date of preparation to keep track of its freshness.
- Stored in the refrigerator or freezer, the aloe vera gel can last for several months, ensuring that you always have a fresh supply on hand when needed.
Remember to always perform a patch test before using the aloe vera gel on your skin or hair, especially if you have sensitive skin or any known allergies. If you experience any irritation or adverse reactions, discontinue use immediately.
Congratulations! You have successfully made aloe vera gel without a blender. Now you can enjoy the numerous benefits of this natural ingredient in your skincare and haircare routines.
Note: The information provided in this article is for educational purposes only and is not a substitute for professional medical advice. If you have any concerns or specific skin conditions, consult with a dermatologist or healthcare professional before using aloe vera gel.
Read more: How To Store Aloe Vera Leaves
Conclusion
Congratulations on learning how to make aloe vera gel without a blender! By following the step-by-step process outlined in this guide, you can easily create your own homemade aloe vera gel and enjoy its numerous benefits for your skin and hair.
Aloe vera gel is a versatile and natural ingredient that offers hydration, soothing, healing, anti-aging, and many other benefits. It can be used for various purposes, such as moisturizing, treating sunburns, reducing acne, nourishing the hair, and promoting a brighter complexion.
With just a few materials and simple steps, you can harvest the aloe vera leaves, prepare them, extract the gel, strain it, and store it properly. Whether you choose to blend the gel mixture or leave it with a more rustic texture, the homemade aloe vera gel will be a valuable addition to your beauty routine.
Remember to perform a patch test before using the gel on your skin or hair, especially if you have sensitive skin or any known allergies. If any irritation occurs, discontinue use and consult a dermatologist or healthcare professional.
Now you have the knowledge and skills to make aloe vera gel without a blender. Enjoy the benefits of this natural ingredient and incorporate it into your self-care routine for healthier and more radiant skin and hair.
Note: The information provided in this article is for educational purposes only and is not a substitute for professional medical advice. If you have any concerns or specific skin conditions, consult with a dermatologist or healthcare professional before using aloe vera gel.
Frequently Asked Questions about How To Make Aloe Vera Gel Without Blender
Was this page helpful?
At Storables.com, we guarantee accurate and reliable information. Our content, validated by Expert Board Contributors, is crafted following stringent Editorial Policies. We're committed to providing you with well-researched, expert-backed insights for all your informational needs.
0 thoughts on “How To Make Aloe Vera Gel Without Blender”