Articles
How To Hang Curtains In Unfinished Basement
Modified: October 20, 2024
Learn how to hang curtains in your unfinished basement with these helpful articles. Transform your space with these easy DIY tips.
(Many of the links in this article redirect to a specific reviewed product. Your purchase of these products through affiliate links helps to generate commission for Storables.com, at no extra cost. Learn more)
Introduction
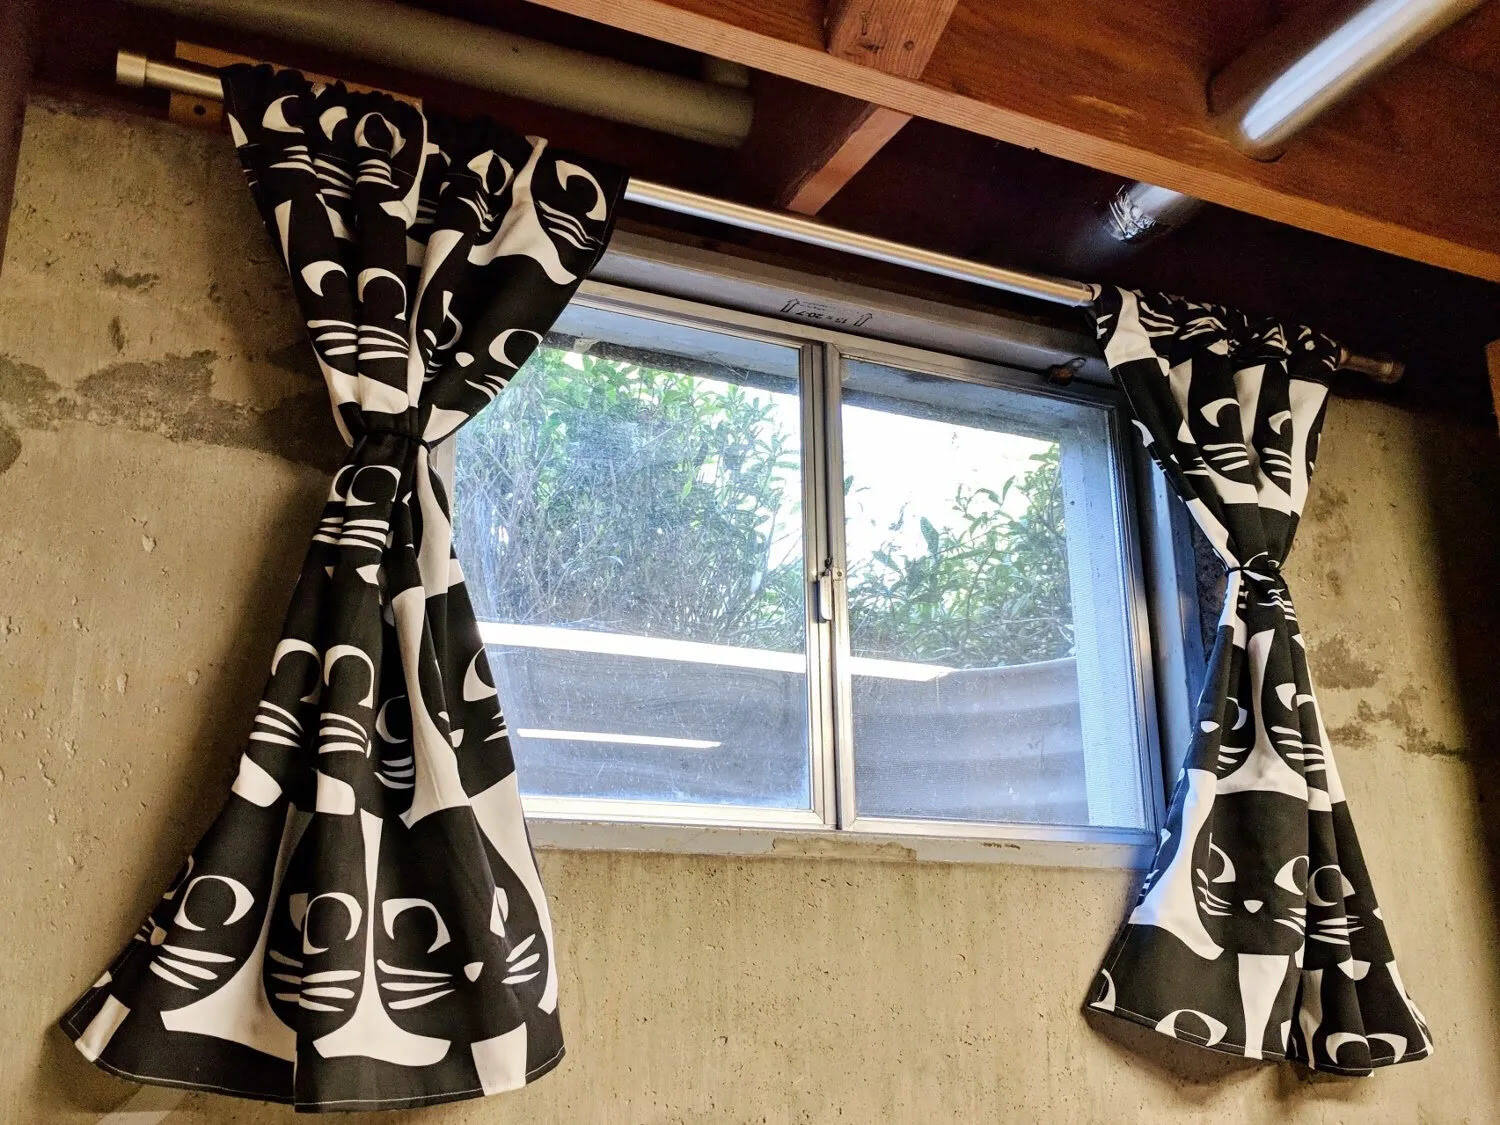
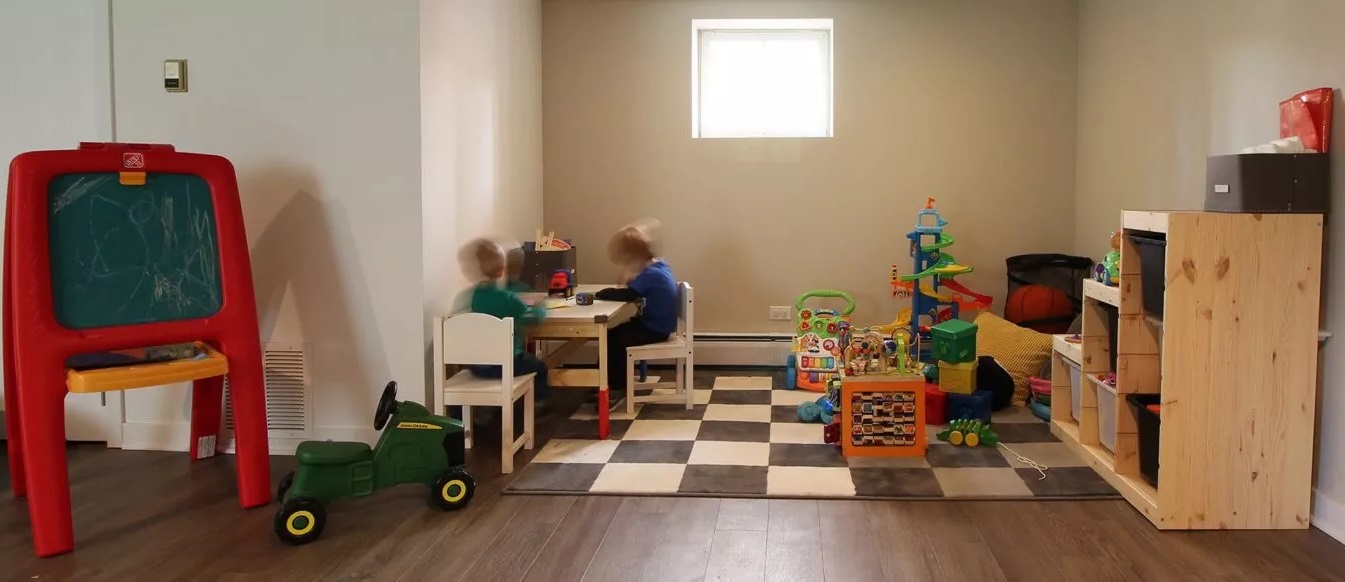
When it comes to transforming your unfinished basement into a functional and inviting space, curtains can play a crucial role. Not only do curtains add a touch of style and personality to a room, but they also provide privacy, block out unwanted light, and can even help with noise reduction. Hanging curtains in an unfinished basement may seem like a daunting task, but with the right tools and techniques, you can easily create a cozy and inviting atmosphere.
In this article, we will guide you through the step-by-step process of hanging curtains in your unfinished basement. Whether you’re looking to create an entertainment area, a home office, or a playroom, these tips will help you achieve the perfect finishing touch.
Before you begin, it’s important to measure your windows to ensure that you purchase the right size curtains. Additionally, you’ll need to choose the right curtain hardware, prep the window area, install curtain rod brackets, hang the curtains, and finally, adjust and style them to create the desired look. With these steps in mind, let’s get started on transforming your unfinished basement into a cozy and stylish space.
Key Takeaways:
- Transform your unfinished basement into a cozy and stylish space by following the step-by-step guide to hanging curtains. Achieve privacy, light control, and a personalized ambiance with the right measurements, hardware, and styling.
- Infuse your personal style and creativity into the curtain hanging process to reflect your unique taste and enhance the overall design of your unfinished basement. Experiment with different options, pleating styles, and accessories to achieve the perfect look.
Read more: How To Heat An Unfinished Basement
Step 1: Measure the Window
Before you can select the perfect curtains for your unfinished basement, it’s essential to measure the windows accurately. This ensures that you purchase curtains that are the right size and fit properly. Here’s how to measure your windows:
- Start by using a tape measure to measure the width of the window frame. Measure from one side to the other, taking note of the measurement.
- Next, measure the height of the window from the top to the bottom.
- Take into account any additional length you’d like for the curtains to hang below the window frame. This will determine the overall length of the curtains.
Once you have these measurements, you can confidently shop for curtains that will perfectly fit your windows in the unfinished basement. Keep in mind that it’s better to choose curtains that are slightly longer and wider than your measured size. This allows for easy installation and fuller coverage when the curtains are closed.
It’s also worth considering the type of curtain rod you plan to use, as this may affect the measurements. For example, if you opt for a curtain rod with decorative finials, you’ll need to account for their size when measuring the width of the window frame. Similarly, if you’re planning to use curtain rings or clips, you may need to adjust the length of the curtains accordingly.
By taking accurate measurements, you’ll ensure a seamless and professional-looking installation that enhances the overall aesthetic of your unfinished basement. With the window measurements in hand, you’re ready to move on to the next step: choosing the right curtain hardware.
Step 2: Choose the Right Curtain Hardware
Once you have measured the windows in your unfinished basement, the next step is to choose the right curtain hardware. Curtain hardware not only supports the weight of the curtains but also adds a decorative element to the overall look. Here are some factors to consider when selecting curtain hardware:
- Curtain Rod: Select a curtain rod that can handle the weight of your curtains. If you have heavy or thick curtains, opt for a sturdy rod made of metal or wood. For lighter curtains, a lighter-weight rod may suffice.
- Finials: Finials are decorative end pieces that attach to the ends of the curtain rod. Choose finials that complement your basement’s aesthetic. From ornate designs to simple and sleek options, there are many styles to choose from.
- Brackets: Brackets are used to secure the curtain rod to the wall. Ensure that the brackets are sturdy and of the right size to support the weight of your curtains. Consider the type of mounting required (e.g., wall-mounted or ceiling-mounted) based on your basement’s layout.
- Rings or Clips: If you prefer to use rings or clips to hang your curtains, ensure that they are compatible with your curtain rod. Some rods come with hooks or eyelets built-in, eliminating the need for separate rings or clips.
When selecting curtain hardware, consider the overall style and theme of your basement. Opt for hardware that complements the existing decor or adds a unique touch. If you have multiple windows in your basement, consider whether you want to use the same hardware for a cohesive look or mix and match for a more eclectic vibe.
By choosing the right curtain hardware, you’ll not only ensure the proper installation and functionality of your curtains but also elevate the overall aesthetic of your unfinished basement. With the hardware selected, you’re ready to move on to prepping the window area for installation.
Step 3: Prep the Window Area
Before installing the curtain rods and hanging the curtains in your unfinished basement, it’s important to prep the window area. This step ensures a smooth and successful installation process. Here’s what you need to do:
- Clean the Windows: Start by cleaning the windows and window frames. Remove any dust, dirt, or debris that may have accumulated. A clean surface will allow for better adhesion when installing the curtain brackets.
- Patch and Paint: If the window frames or walls in your basement require patching or painting, this is the time to do it. Fill in any holes or cracks, sand the surface if needed, and apply a fresh coat of paint. This will give your windows a clean and refreshed look.
- Consider Light Control: Since unfinished basements often have limited natural light, consider adding blackout or light-filtering curtains to control the amount of light entering the space. This can create a more comfortable and functional environment.
- Decide on Mounting Type: Determine whether you want to mount the curtain rods directly onto the walls or the ceiling. This decision may depend on the height of your basement walls, design preferences, and the layout of the space.
- Take Safety Precautions: Keep in mind any safety concerns, especially if you have young children or pets. Make sure the curtain rods are securely installed and avoid using cords or any other elements that may pose a hazard.
By prepping the window area, you ensure that the installation process goes smoothly and that your curtains will hang securely. Cleaning and refreshing the windows, along with considering light control and safety precautions, will help create a welcoming and functional space in your unfinished basement.
With the window area prepped, you’re now ready to move on to the next step: installing the curtain rod brackets. This step is crucial for the proper support and functionality of your curtains.
When hanging curtains in an unfinished basement, consider using tension rods or command hooks to avoid drilling into concrete walls. This will make installation easier and prevent damage to the walls.
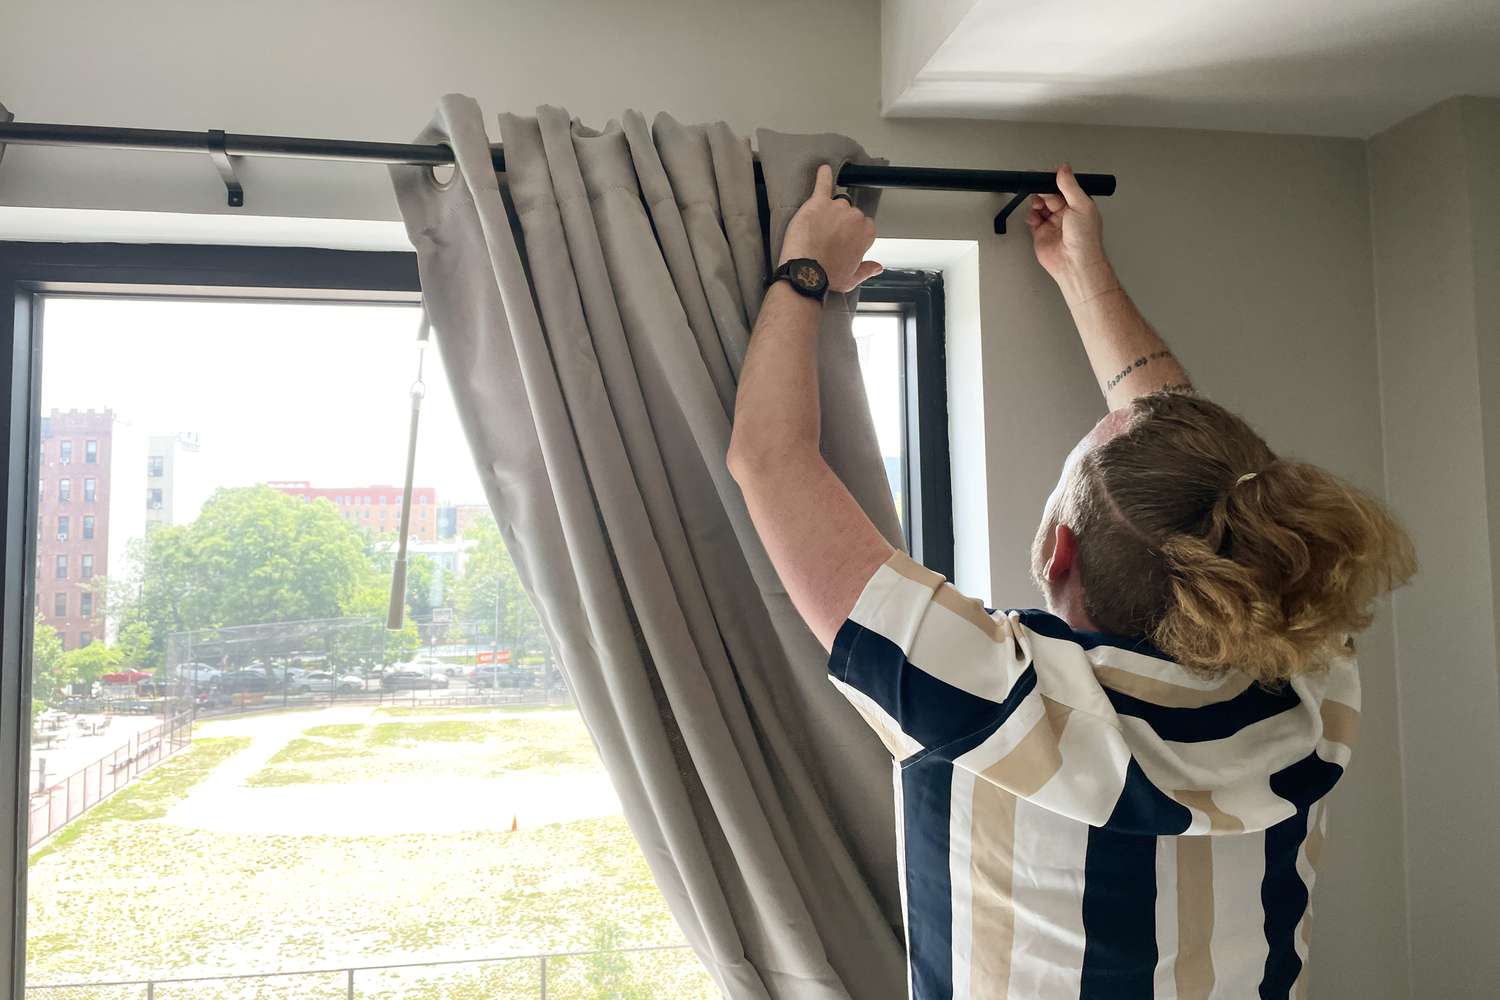
Step 4: Install Curtain Rod Brackets
Installing the curtain rod brackets is a crucial step in hanging curtains in your unfinished basement. The brackets provide the necessary support for the curtain rod and ensure its stability. Here’s a step-by-step guide to help you install the curtain rod brackets:
- Mark the Bracket Placement: Use a pencil or a small level to mark the desired placement for the brackets on the wall or ceiling. Ensure that the marks are evenly spaced and aligned with the window frame.
- Pre-Drill Holes: Using an electric drill and the appropriate drill bit, pre-drill holes where you marked the bracket placement. This will make it easier to insert the screws later on.
- Attach the Brackets: Align the brackets with the pre-drilled holes and secure them in place using screws. Make sure the brackets are level and tightly secured to provide proper support for the curtain rod.
- Check Stability: Once the brackets are installed, give them a gentle tug to ensure they are securely attached to the wall or ceiling. If there is any wobbling or instability, double-check the screws and tighten them if necessary.
It’s important to note that the installation process may vary depending on the type of curtain rod and brackets you are using. Refer to the manufacturer’s instructions for specific guidance on your chosen hardware.
Additionally, consider the weight of your curtains when selecting the brackets. For heavier curtains, opt for brackets that are designed to support the extra weight. This will ensure the longevity and durability of your curtain installation.
With the curtain rod brackets securely installed, you are now ready to move on to the next step: hanging the curtains in your unfinished basement. This is where you will see your space begin to transform and take on a cozy and inviting atmosphere.
Read more: How To Clean An Unfinished Basement
Step 5: Hang the Curtains
Now that the curtain rod brackets are installed, it’s time to hang the curtains in your unfinished basement. This step allows you to see your space come to life and adds the finishing touch to your window treatment. Here’s how to properly hang your curtains:
- Prepare the Curtains: Start by preparing the curtains for hanging. If your curtains have been folded or packed, remove any wrinkles by steaming or ironing them. This step will ensure a clean and polished look.
- Attach the Curtains to the Rod: Depending on the type of curtain hardware you chose, either slide the curtains onto the rod or attach them using curtain rings or clips. Make sure they are evenly distributed and hang straight.
- Mount the Rod: Lift the curtain rod with the attached curtains and place it onto the installed brackets. Ensure that the rod is securely seated within the brackets and that it is level. Adjust the position if necessary.
- Secure the Rod: Some curtain rods come with securing mechanisms such as screws or clips to prevent them from accidentally falling off the brackets. Follow the manufacturer’s instructions to properly secure the rod in place.
- Arrange the Curtains: Once the curtains are hung, take some time to arrange them for the desired look. Adjust the pleats or folds, and ensure that they hang evenly and reach the desired length.
Consider the desired height and fullness of the curtains when hanging them. Hanging the curtains slightly above the window frame can create the illusion of taller ceilings, while allowing the curtains to puddle slightly on the floor can add a touch of elegance. Experiment with different styles and positions until you achieve the desired effect.
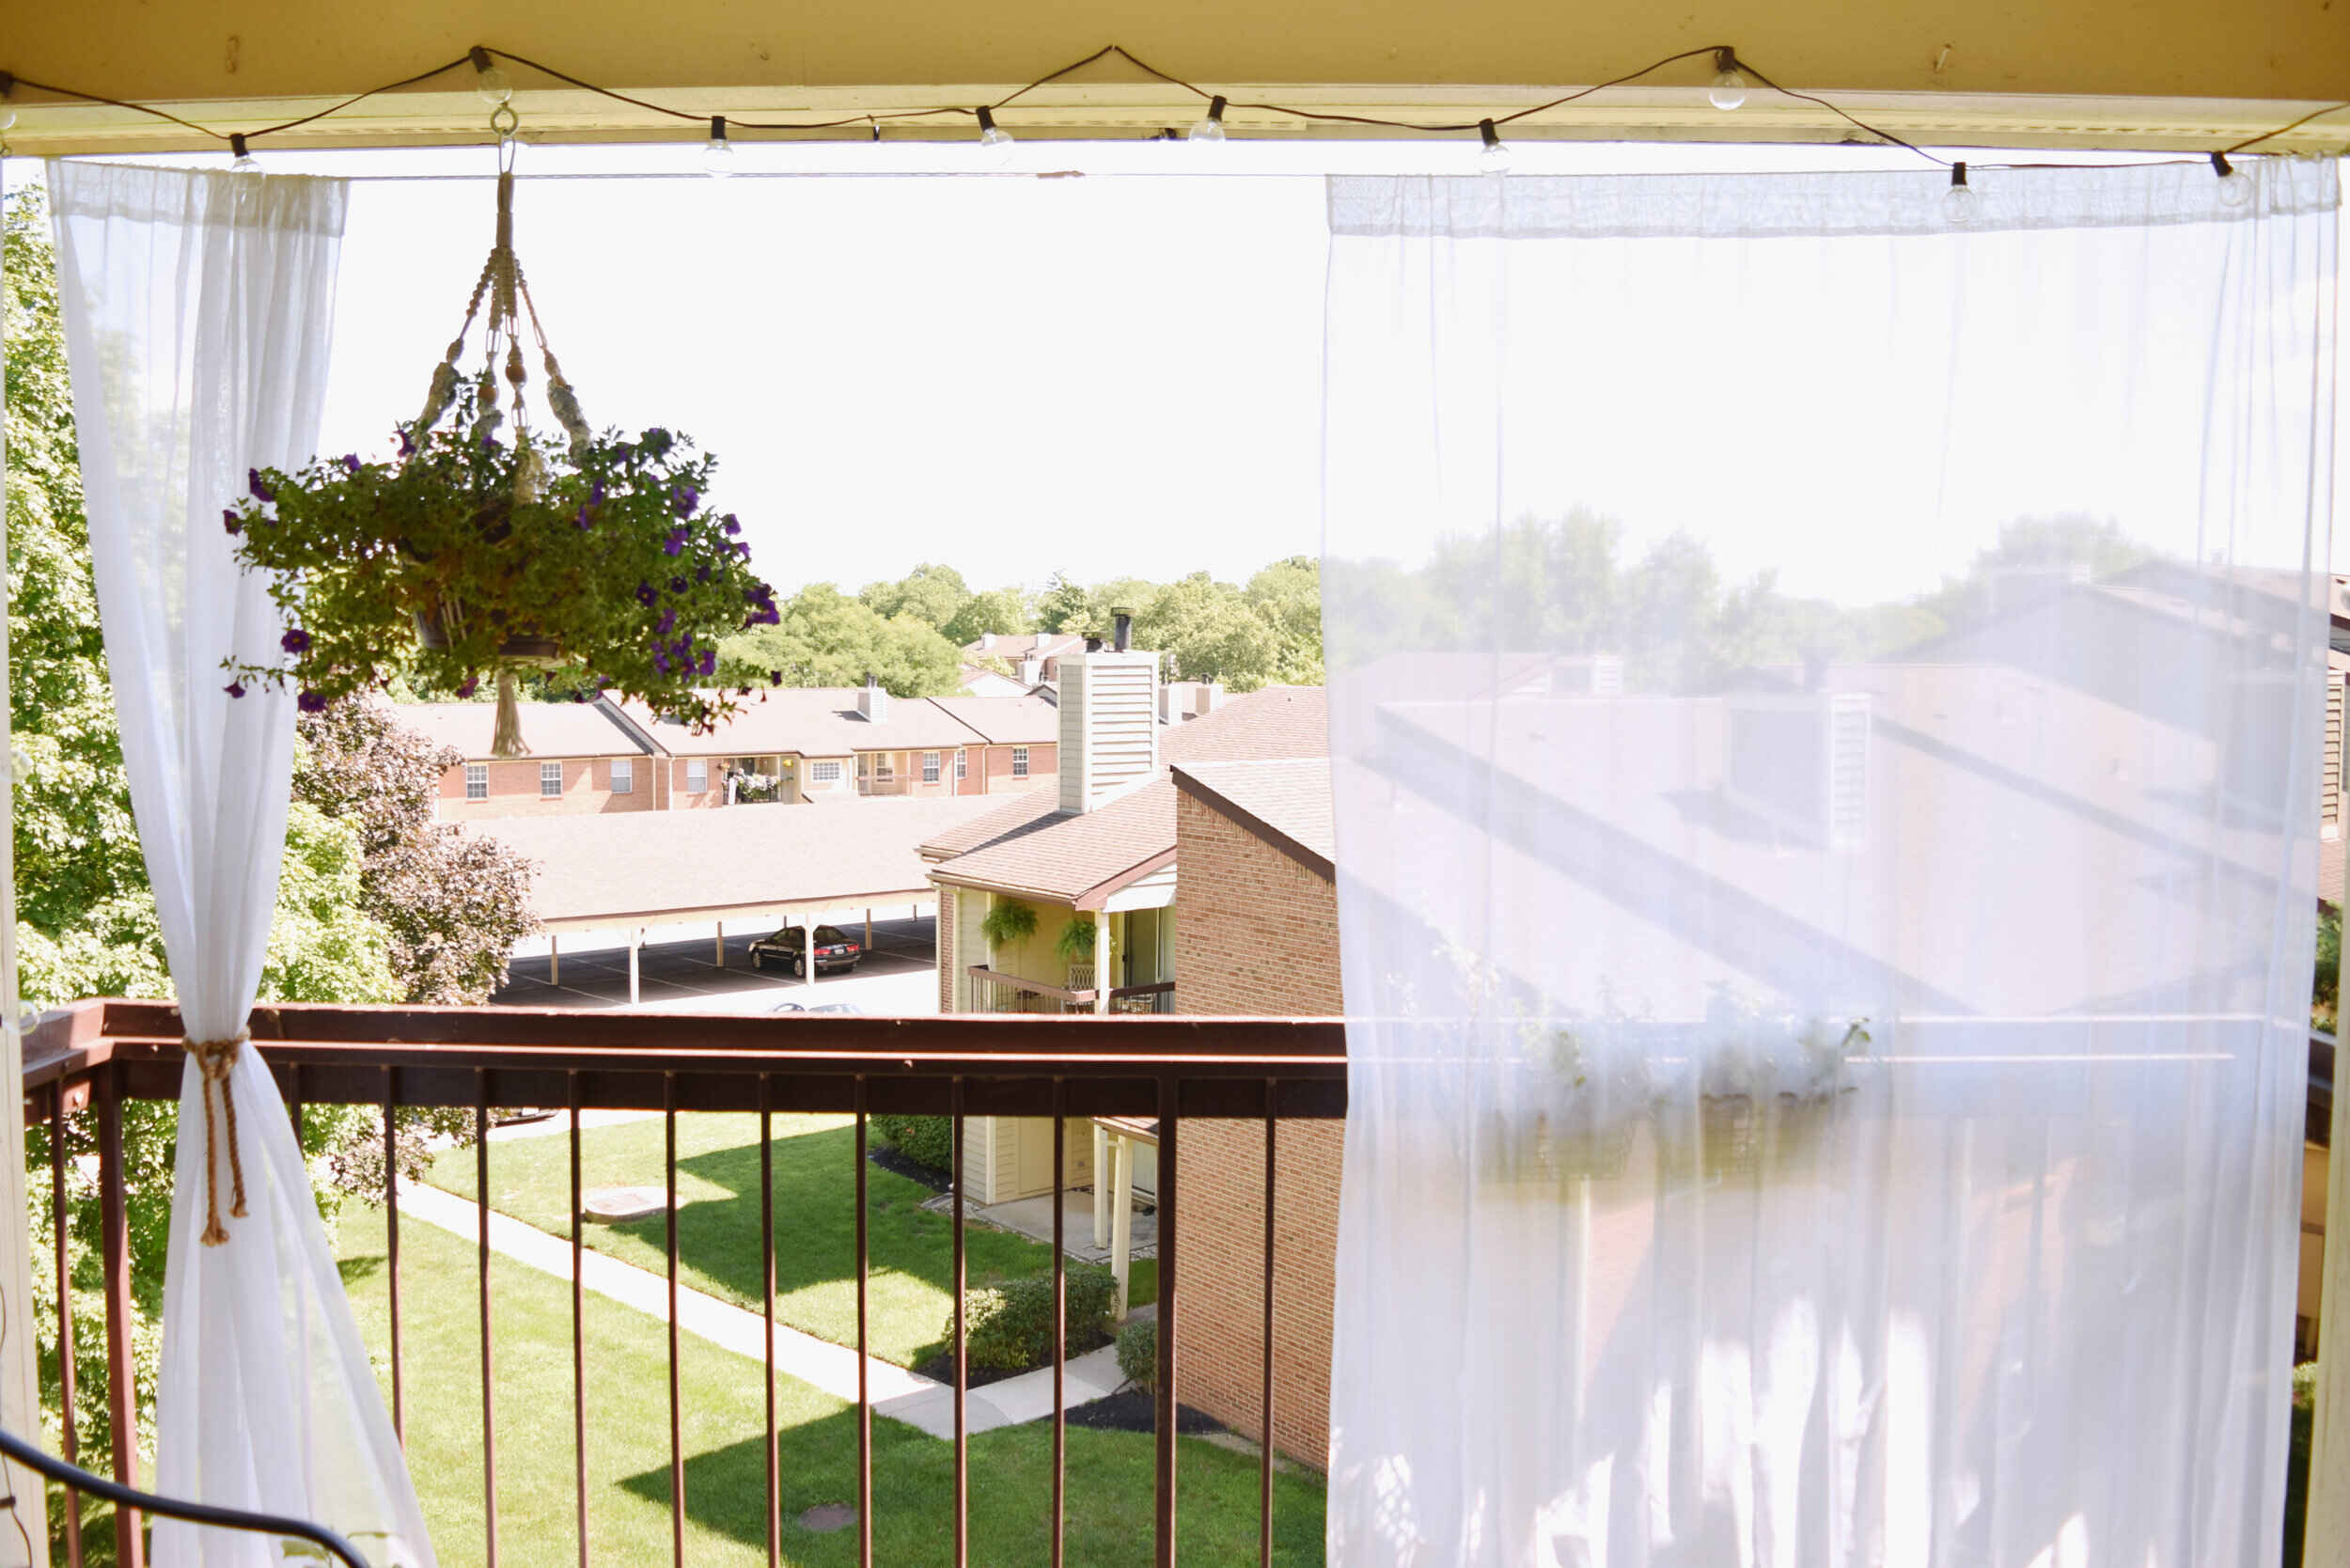
Finally, step back and admire your newly hung curtains. They not only provide a finishing touch to your unfinished basement but also add warmth, privacy, and style to the space.
With the curtains now hung, it’s time to move on to the final step: adjusting and styling them to complete the overall look of your basement.
Step 6: Adjust and Style the Curtains
Once the curtains are hung in your unfinished basement, the final step is to adjust and style them to achieve the desired look and atmosphere. This step allows you to personalize the curtains and tie together the overall aesthetic of the space. Here are some tips to help you adjust and style your curtains:
- Length Adjustment: If the curtains are too long, you can hem them to the desired length using fabric tape or by sewing a new hem. Alternatively, if the curtains are too short, you may consider adding curtain panels or valances to increase their length and add more visual interest.
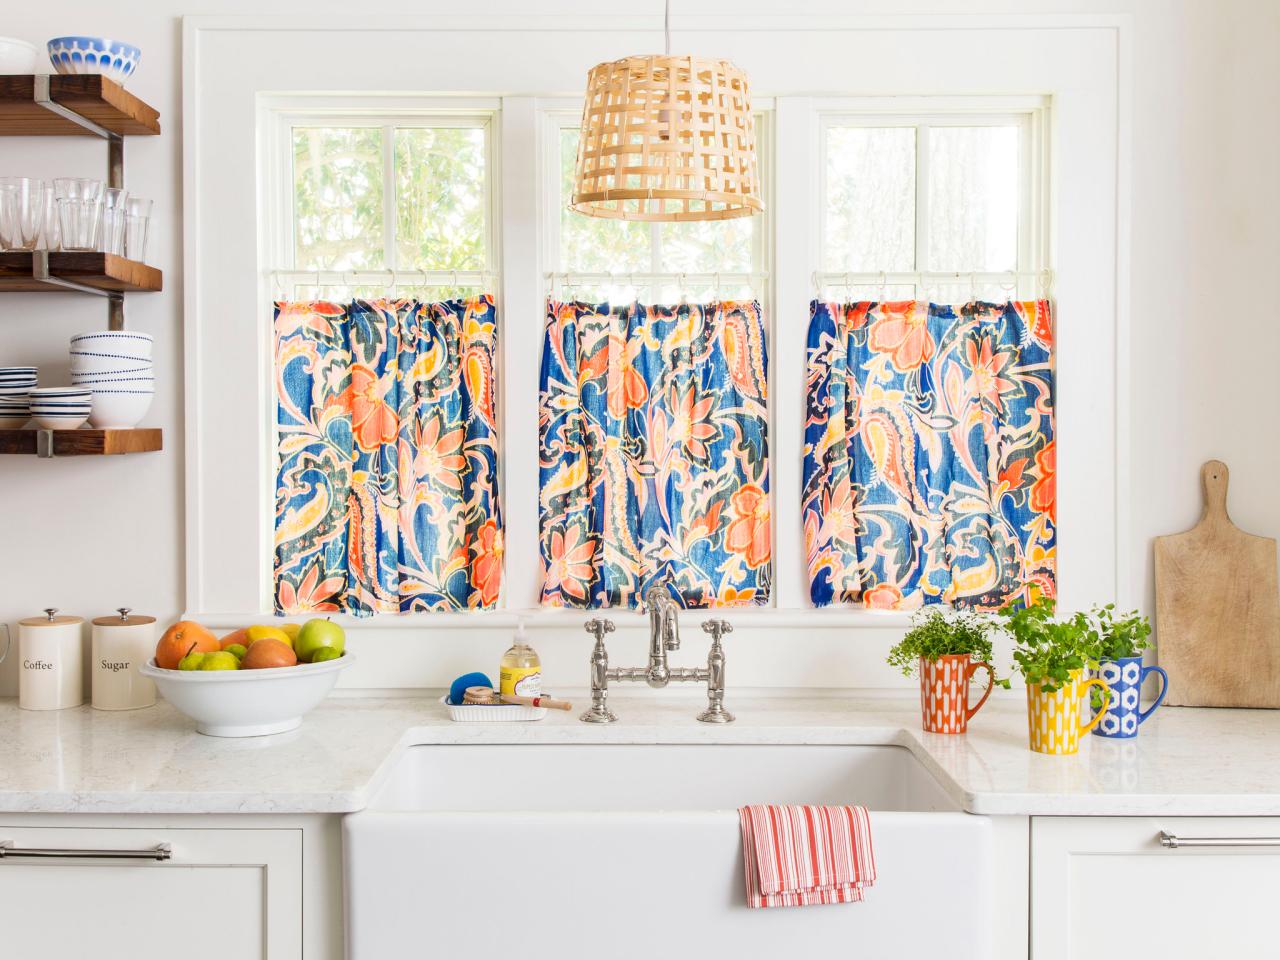
- Pleating and Folding: Experiment with different pleating styles such as pinch pleats, pencil pleats, or grommet tops to achieve the desired look. Adjust the folds and pleats until they are even and create a balanced appearance.
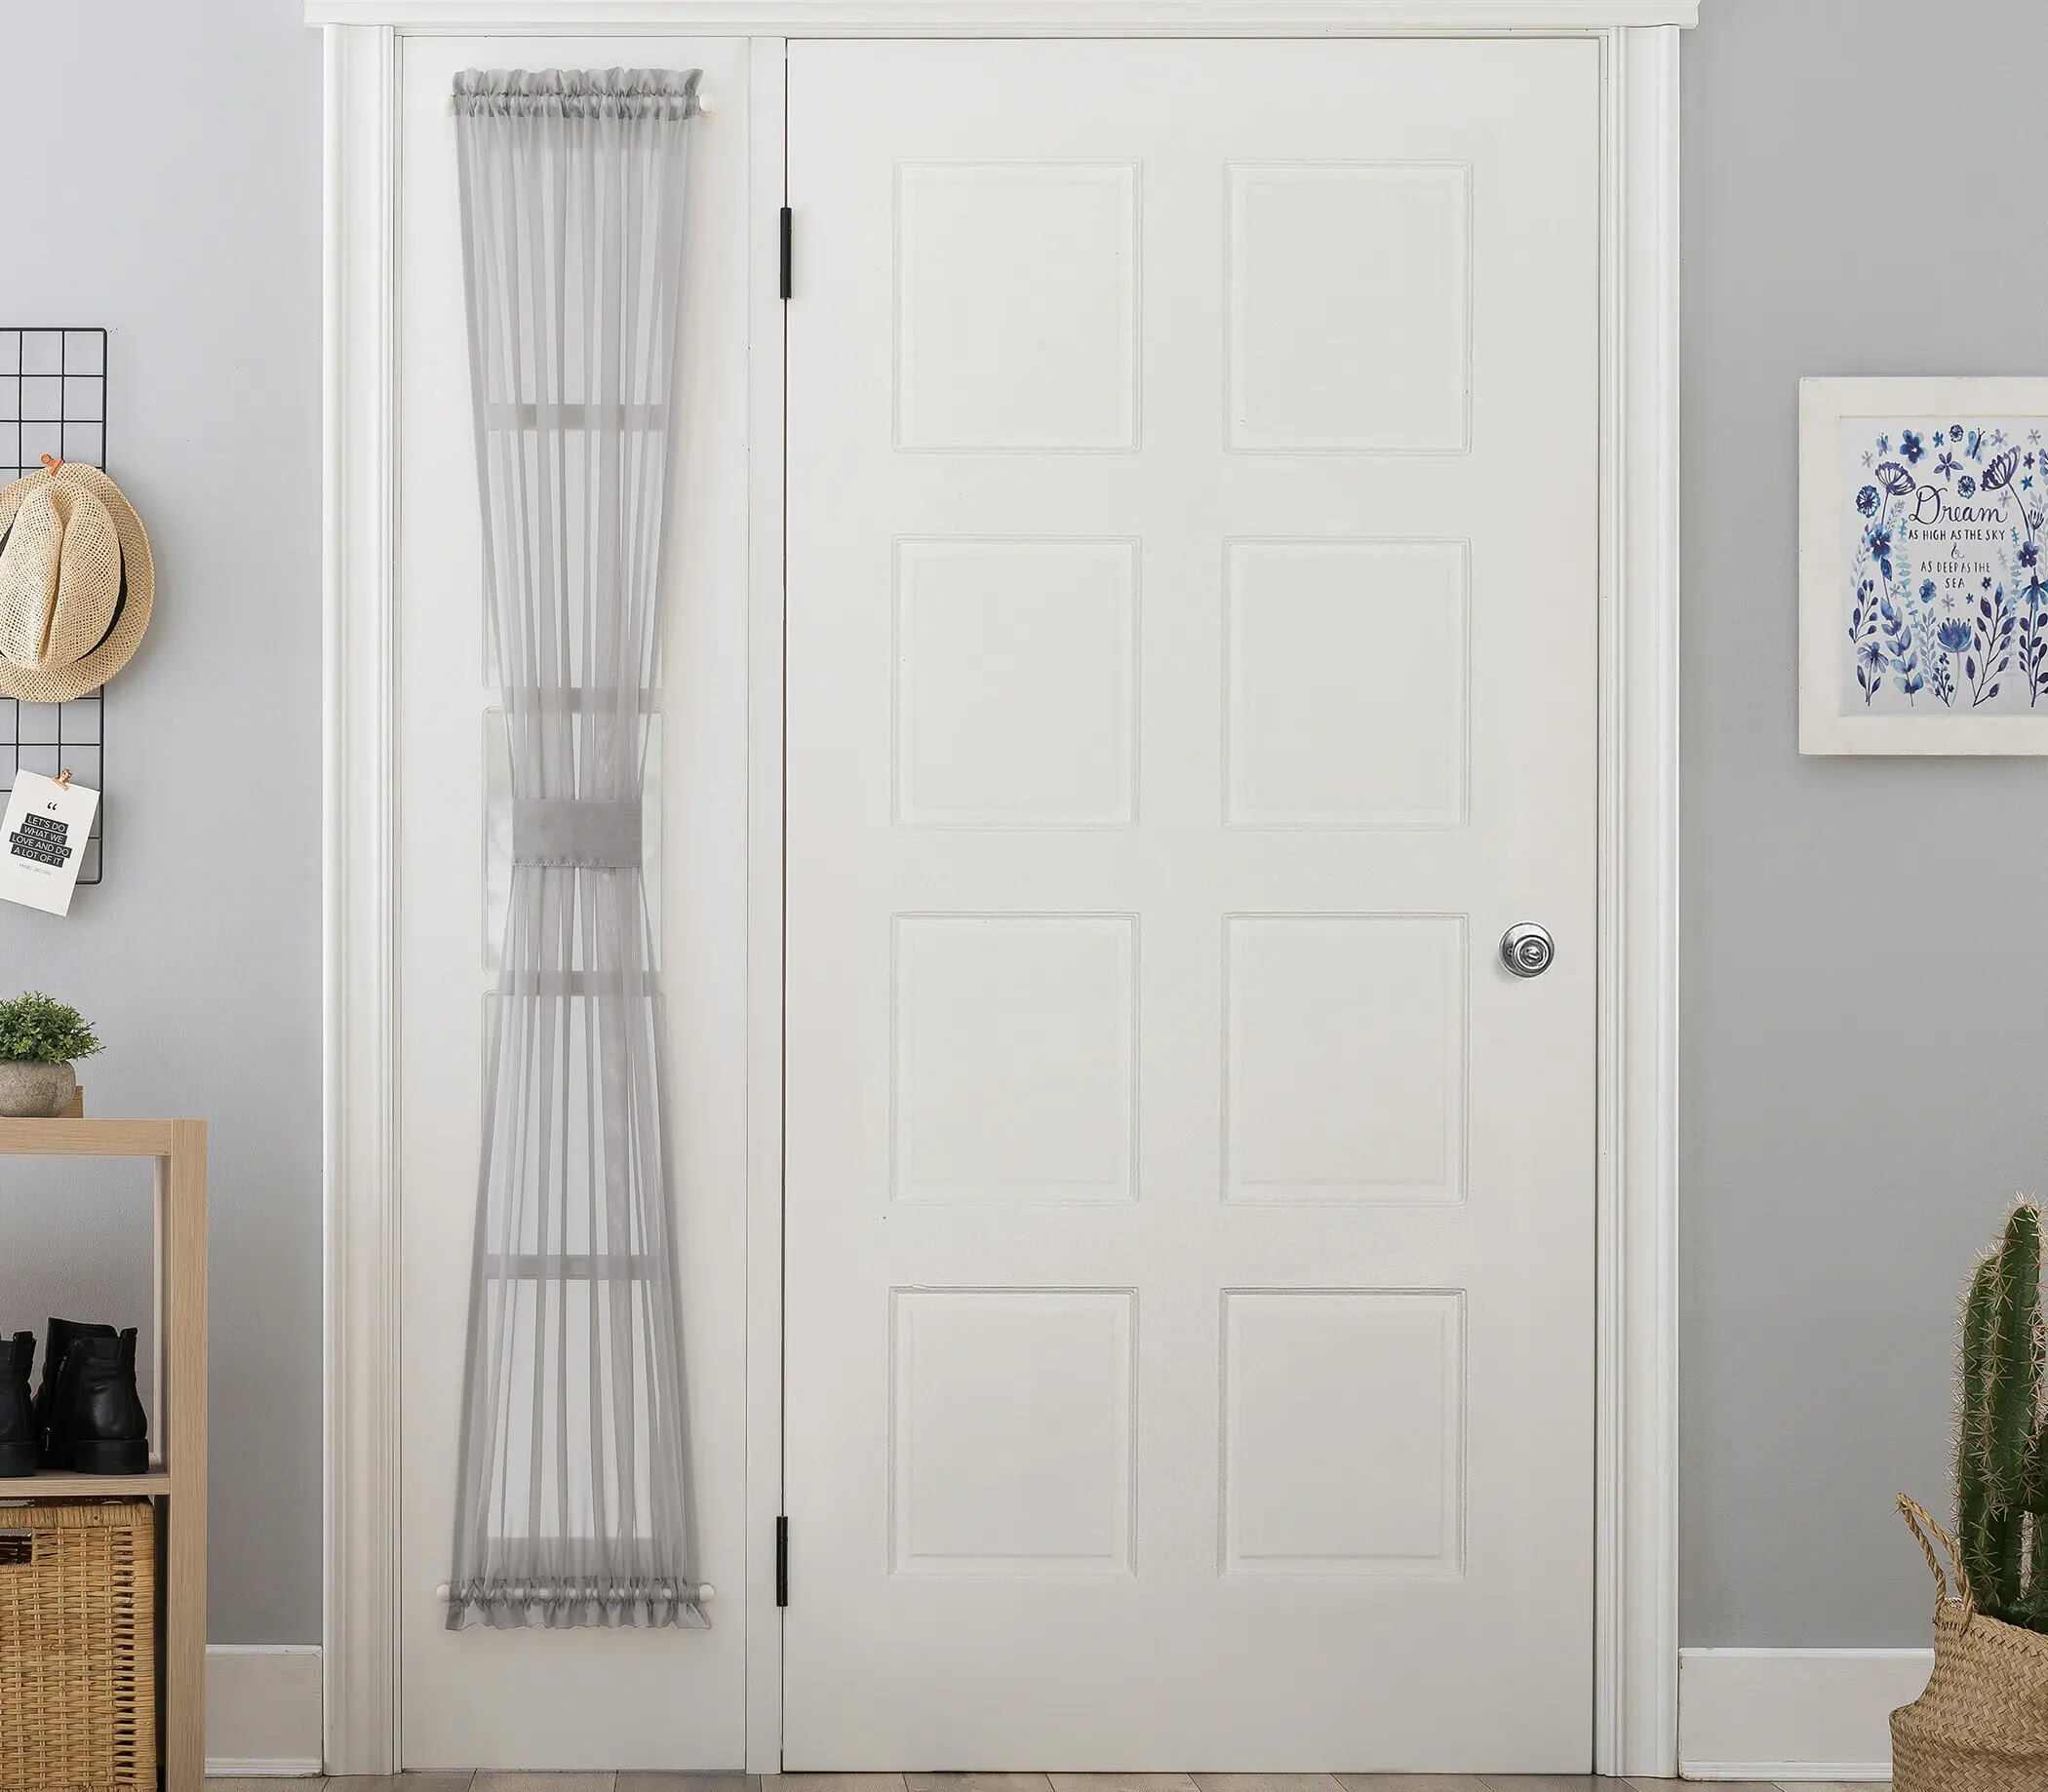
- Accessorize: Consider adding curtain tiebacks, tassels, or decorative holdbacks to enhance the style and functionality of your curtains. These accessories can add a touch of elegance and help keep the curtains neatly in place when open.
- Layering: For added dimension and visual interest, consider layering your curtains with sheer or lightweight panels underneath. This can create a soft and ethereal look while still providing privacy and light filtering.
- Enhance the Ambiance: Depending on the desired ambiance in your basement, you may want to add curtain string lights, sheer curtains for a dreamy effect, or blackout curtains for optimal light control and privacy.
Take the time to step back and assess the overall appearance of your curtains in the unfinished basement. Make any necessary adjustments and tweaks until you are satisfied with the final result. Remember, curtains can dramatically transform the look and feel of a space, so it’s worth investing the time and effort to get them just right.
By adjusting and styling the curtains to your liking, you will create a cozy and inviting atmosphere in your previously unfinished basement. Enjoy the transformed space and take pride in your successful curtain hanging project!
With Step 6 completed, your curtains are now perfectly adjusted and styled. It’s time to step back and admire the finished result of your efforts. Your unfinished basement has been transformed into a functional and stylish space, all thanks to your curtain installation skills!
Conclusion
Hanging curtains in your unfinished basement is a simple yet effective way to transform the space into a cozy and inviting area. By following the steps outlined in this article, you can successfully hang curtains that not only enhance the functionality of the space but also add a touch of style and personality.
From measuring the windows and selecting the right curtain hardware to prepping the window area and installing the curtain rod brackets, each step plays a crucial role in achieving a professional and seamless result. Taking the time to adjust and style the curtains ensures that they perfectly complement the overall aesthetic of your basement.
Whether you’re using curtains to create privacy, block out light, or add a decorative element to your unfinished basement, it’s important to pay attention to the details. Consider the style, length, and fabric of your curtains to achieve the desired ambiance in the space.
Remember to infuse your personal style and creativity into the process. Experiment with different curtain options, pleating styles, and accessories to achieve a look that reflects your unique taste and enhances the overall design of your unfinished basement.
By following the step-by-step guide in this article, you have gained the knowledge and skills to successfully hang curtains in your unfinished basement. Embrace the transformation and enjoy the cozy and stylish atmosphere that the curtains bring to your space.
So go ahead, measure your windows, choose the right curtain hardware, prep the window area, install the curtain rod brackets, hang the curtains, and adjust and style them to your liking. Your unfinished basement will soon become a welcoming and well-designed area that you can enjoy for years to come.
Happy curtain hanging!
Frequently Asked Questions about How To Hang Curtains In Unfinished Basement
Was this page helpful?
At Storables.com, we guarantee accurate and reliable information. Our content, validated by Expert Board Contributors, is crafted following stringent Editorial Policies. We're committed to providing you with well-researched, expert-backed insights for all your informational needs.


0 thoughts on “How To Hang Curtains In Unfinished Basement”