Articles
How To Clean Bird Feeders Thoroughly
Modified: October 19, 2024
Learn how to clean bird feeders thoroughly with our informative articles. Maintain a clean and healthy feeding station for your feathered friends.
(Many of the links in this article redirect to a specific reviewed product. Your purchase of these products through affiliate links helps to generate commission for Storables.com, at no extra cost. Learn more)
Introduction
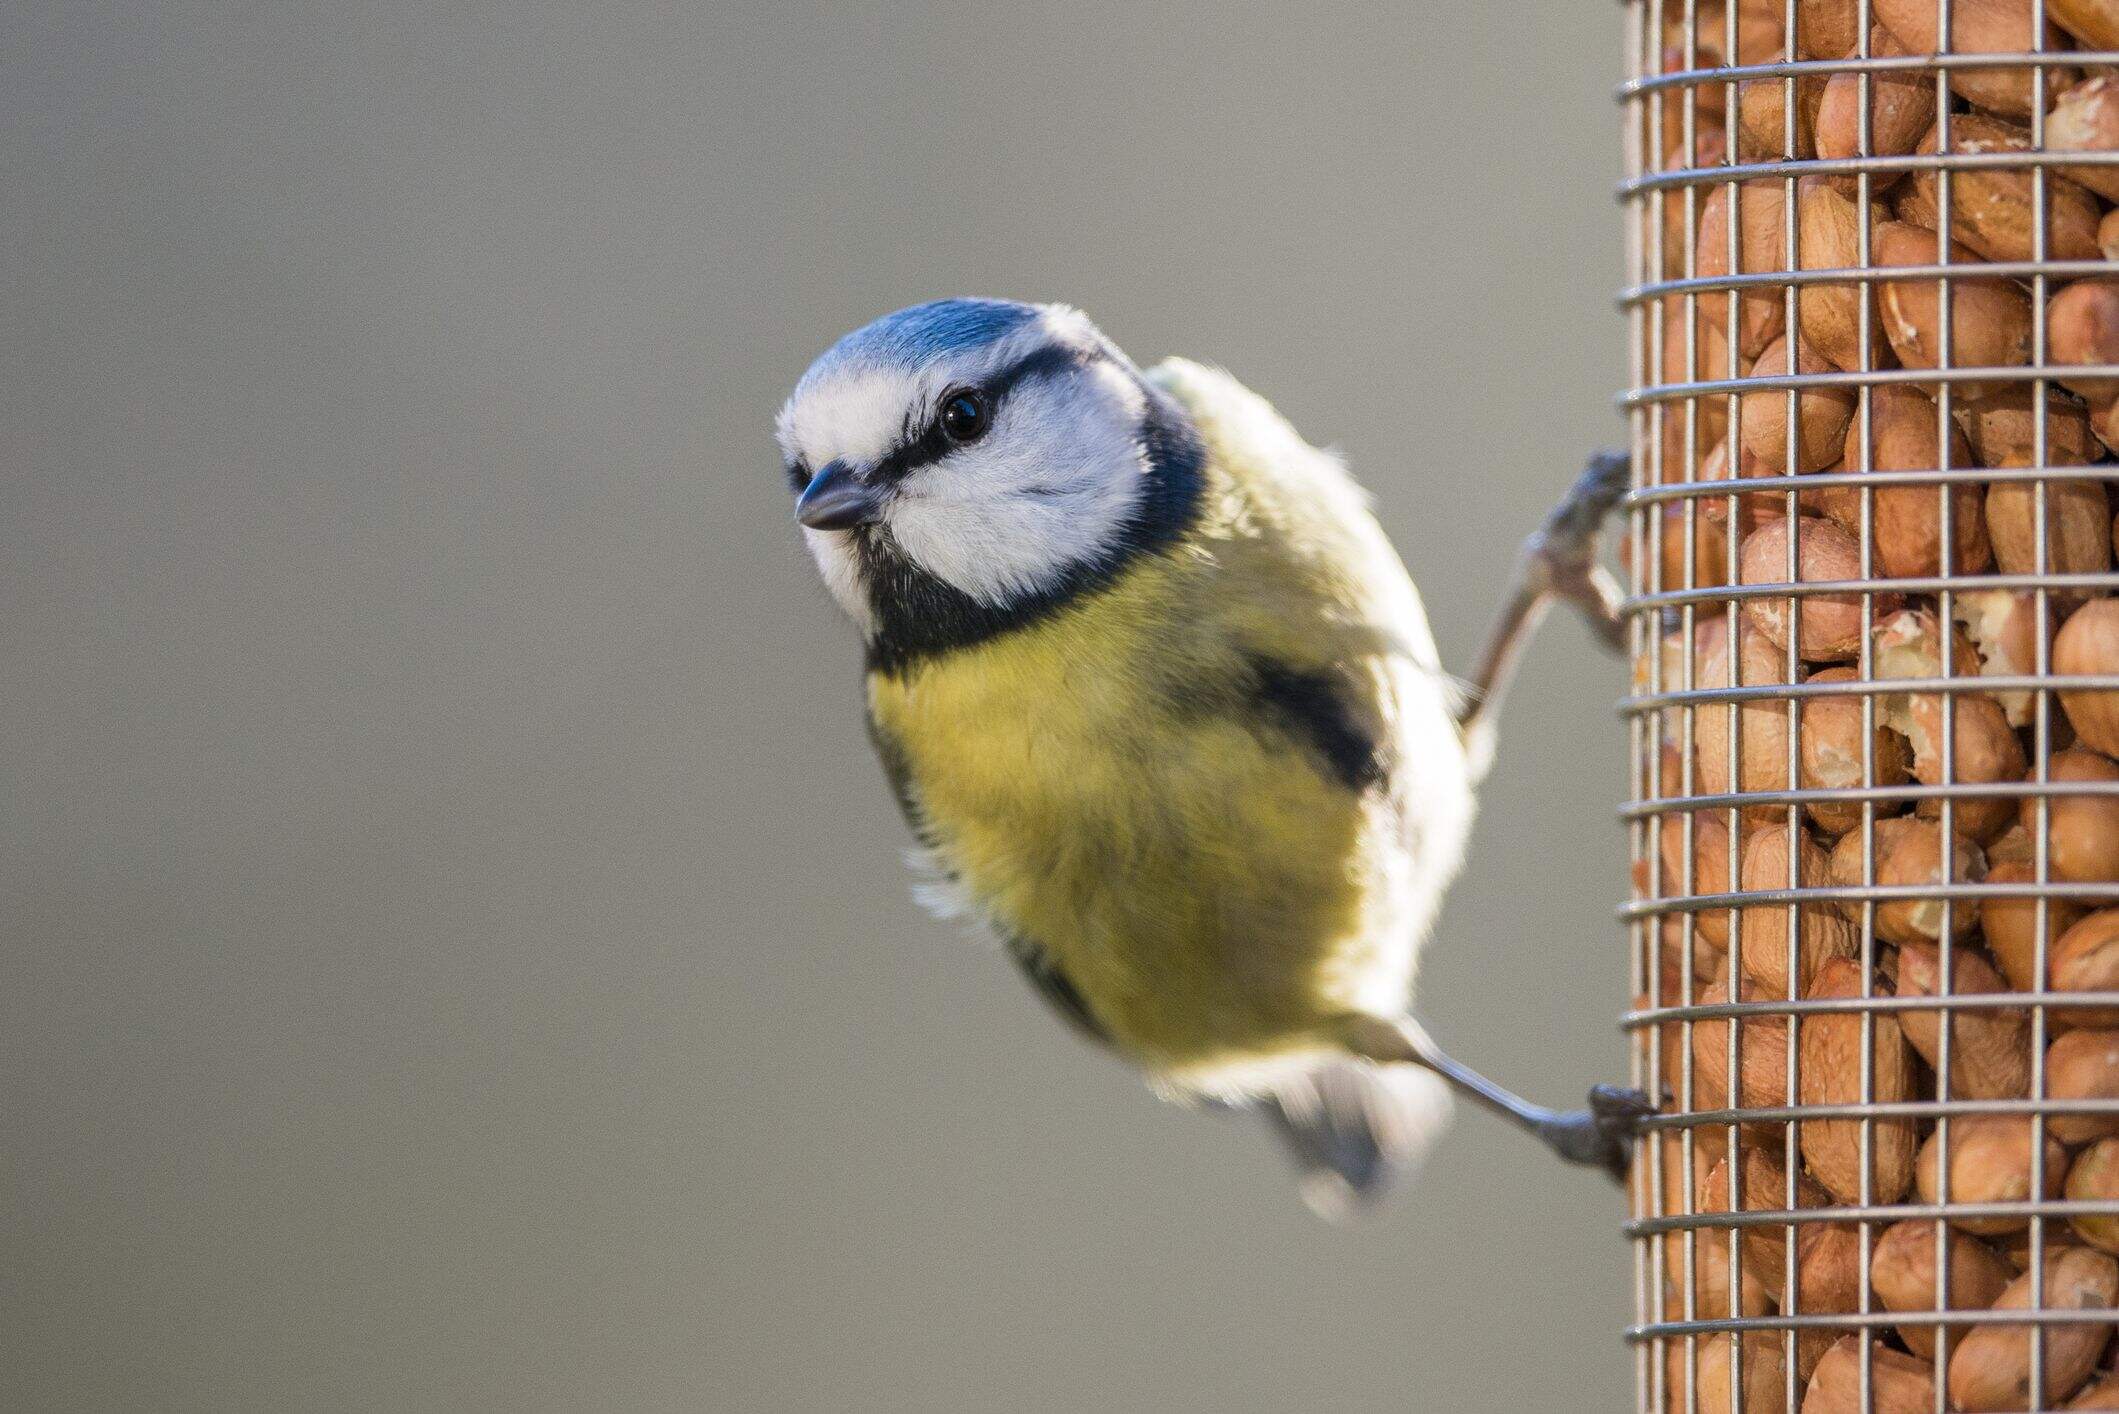
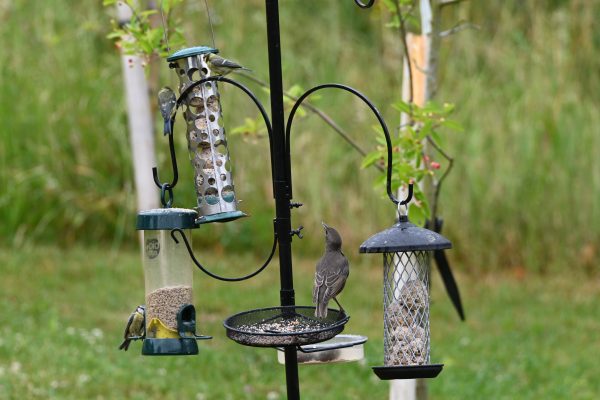
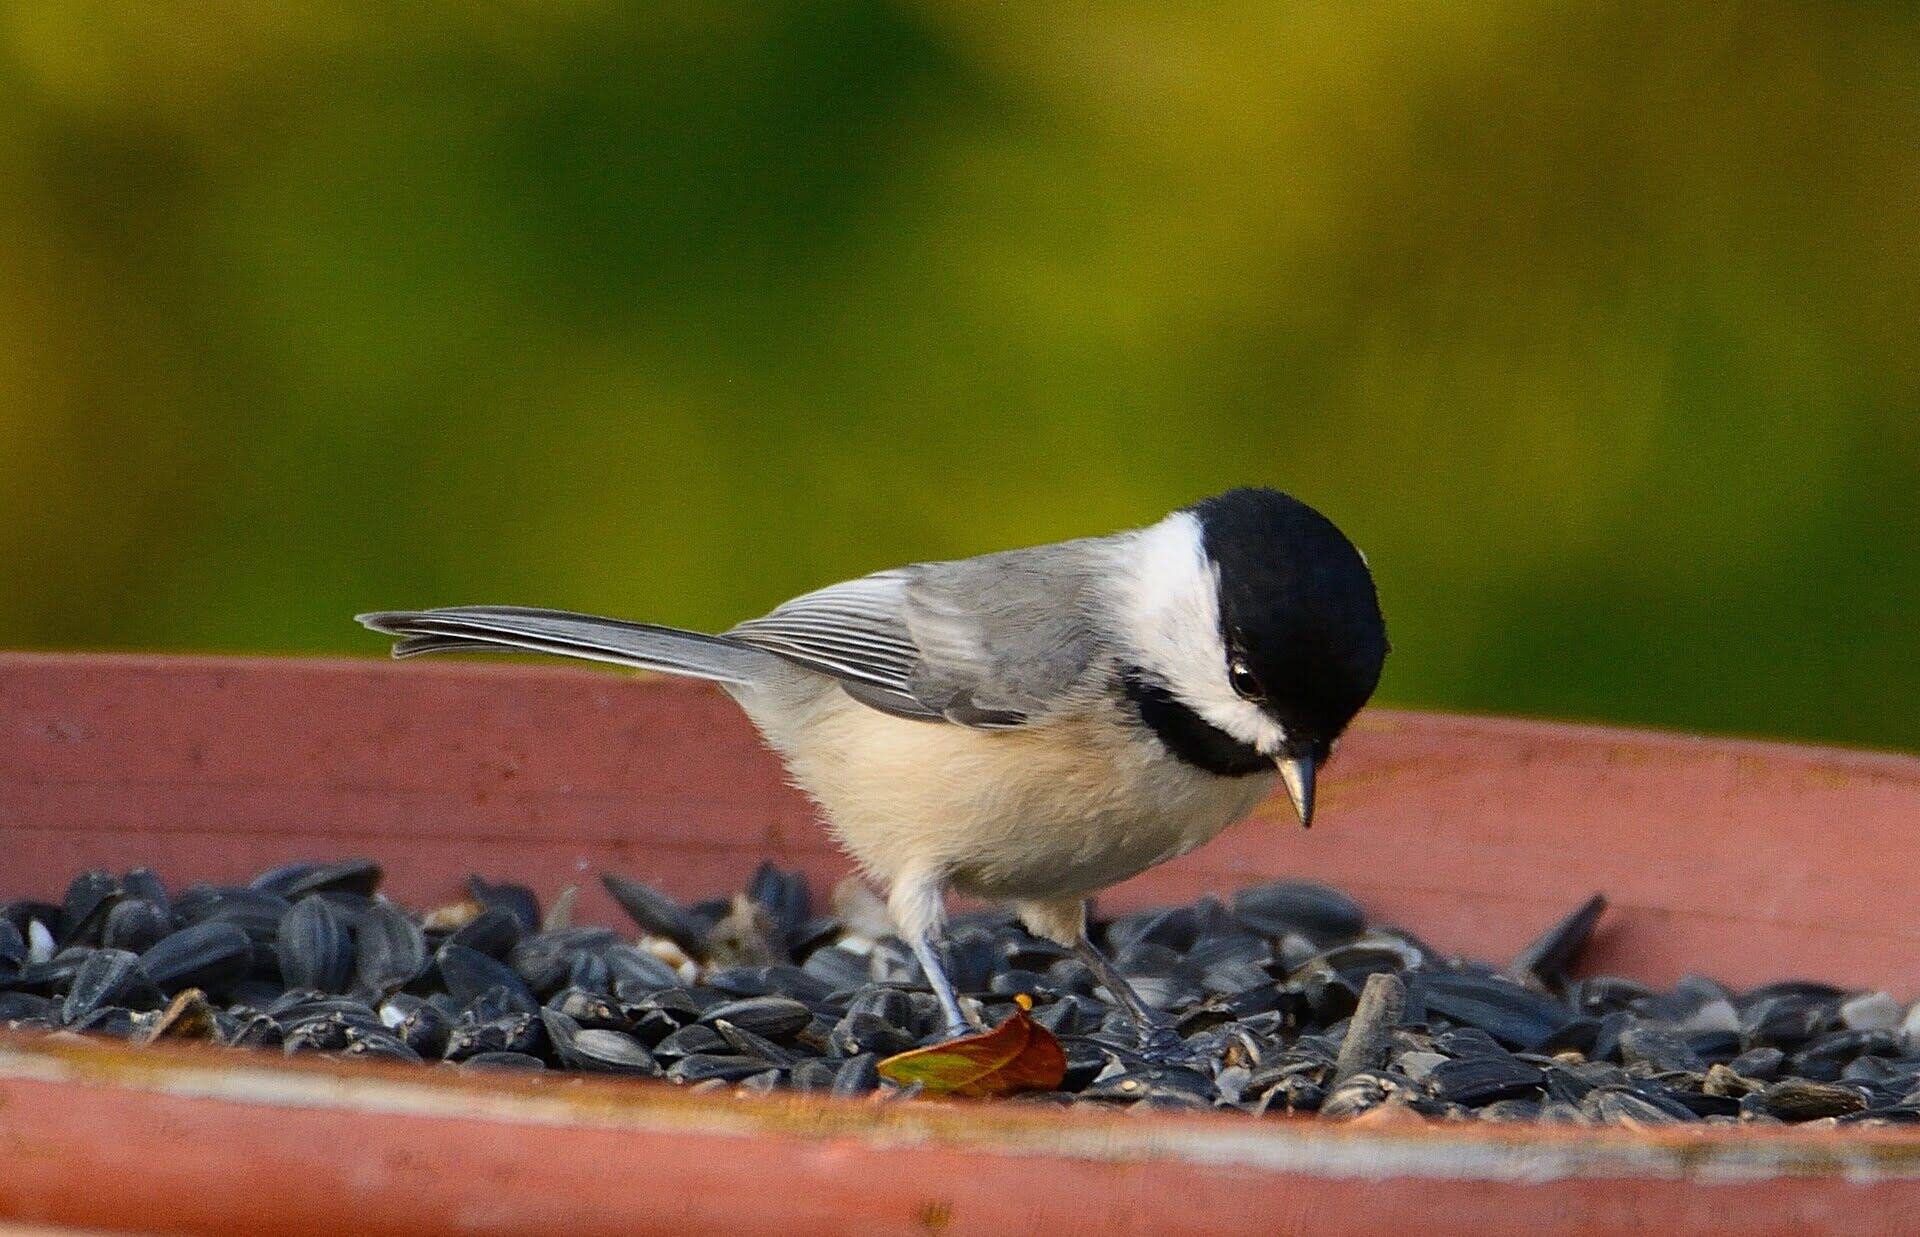
Welcome to this comprehensive guide on how to clean bird feeders thoroughly. Bird feeders are a wonderful addition to any backyard, attracting a variety of beautiful birds and providing them with a source of food. However, it is important to recognize that bird feeders require regular cleaning in order to maintain their effectiveness and ensure the health and safety of the feathered visitors.
Cleaning bird feeders may seem like a simple task, but it is crucial to take the necessary precautions to prevent the spread of bacteria, mold, and other contaminants that can be harmful to birds. This guide will provide you with step-by-step instructions on how to properly and thoroughly clean your bird feeders, ensuring that they remain a safe and inviting feeding station for our avian friends.
Regular cleaning of bird feeders offers numerous benefits not only for the birds but also for the overall enjoyment of bird watching. By keeping the feeders clean, you can discourage the growth of harmful pathogens and reduce the risk of disease transmission among the birds. Additionally, a clean feeder ensures that the food remains fresh and appetizing, attracting a greater variety of bird species to your backyard.
To clean your bird feeders effectively, it is important to have the right tools and supplies at your disposal. A few recommended items include a pair of gloves, a scrub brush or sponge, mild dish soap, warm water, a bucket or sink, and a bristle brush for hard-to-reach areas. By gathering these supplies beforehand, you will be well-prepared to tackle the cleaning process and maintain a clean and healthy feeding station for your bird visitors.
Now, without further ado, let’s dive into the step-by-step process of cleaning your bird feeders thoroughly. Following these guidelines will not only ensure the well-being of the birds but also provide you with countless hours of enjoyment as you observe these magnificent creatures up close in your own backyard.
Key Takeaways:
- Regularly cleaning bird feeders is crucial to prevent diseases, maintain effectiveness, and attract a variety of bird species. Gather the right tools, follow the step-by-step process, and enjoy the beauty of observing birds up close in your backyard.
- Thoroughly cleaning and maintaining bird feeders ensures a safe and hygienic feeding environment for our feathered friends. From emptying and disassembling to sanitizing and refilling, each step contributes to the well-being of the birds and enhances the bird watching experience.
Importance of Regularly Cleaning Bird Feeders
Regularly cleaning bird feeders is of utmost importance for several reasons. First and foremost, it helps prevent the spread of diseases among the bird population. When food is left in a dirty feeder, bacteria, mold, and other contaminants can quickly multiply, posing a health risk to the birds that visit. Diseases such as salmonellosis and avian pox can be transmitted through contaminated feeders, leading to illness and even death among the bird population.
In addition to health concerns, neglecting to clean bird feeders can compromise the effectiveness of the feeder itself. Over time, accumulated dirt, droppings, and food debris can clog the feeding ports or platforms, making it difficult for birds to access the food. This can deter birds from visiting the feeder, reducing the joy and satisfaction of bird watching.
Regular cleaning also ensures that the food remains fresh and appealing. Birds are more likely to visit a feeder that offers clean and uncontaminated food. A dirty feeder, on the other hand, may repel birds, leading to a decrease in bird activity and a missed opportunity for observing different species in your backyard.
Frequent cleaning of bird feeders can also help prevent unwanted pests. If not properly cleaned, feeders can attract rodents, insects, and even other animals such as raccoons or squirrels. These pests can cause damage to the feeder and may consume or contaminate the bird food, further compromising the birds’ health and detracting from the overall bird watching experience.
By regularly cleaning your bird feeders, you not only provide a safe and healthy environment for the birds, but you also contribute to the overall conservation efforts. Clean feeders help maintain the well-being of the bird population and reduce the chance of disease outbreaks that can negatively impact local bird populations. It is our responsibility as bird enthusiasts to ensure that our feathered friends have a clean and reliable food source that they can depend on.
Now that we understand the importance of regularly cleaning bird feeders, let’s move on to the necessary tools and supplies needed for the cleaning process.
Recommended Tools and Supplies
Before you begin the process of cleaning your bird feeders, it’s important to gather the necessary tools and supplies. Having these items on hand will make the cleaning process easier and more efficient.
Here are the recommended tools and supplies:
- A pair of gloves: It’s important to protect your hands while cleaning the feeders. Gloves will prevent direct contact with any potentially harmful substances.
- A scrub brush or sponge: This will be used to scrub away dirt, mold, and other debris from the feeder surfaces. Choose a brush or sponge with bristles that are tough enough to remove grime but gentle enough not to damage the feeder.
- Mild dish soap: Select a mild, biodegradable dish soap that is safe for both the environment and the birds. Avoid using any harsh or abrasive cleaners as they can leave behind residue or damage the feeder.
- Warm water: Fill a bucket or sink with warm water to facilitate the cleaning process. Warm water helps to dissolve any dried-on debris and makes the cleaning process more effective.
- A bristle brush for hard-to-reach areas: Sometimes, feeders have intricate designs or small crevices that are difficult to clean with a regular brush. A smaller bristle brush or toothbrush can be used to reach these spots and ensure a thorough cleaning.
- A drying rack or towel: After cleaning, the feeders need to be thoroughly dried to prevent the growth of mold or bacteria. A drying rack or a clean towel can be used to air dry the feeders before reassembling them.
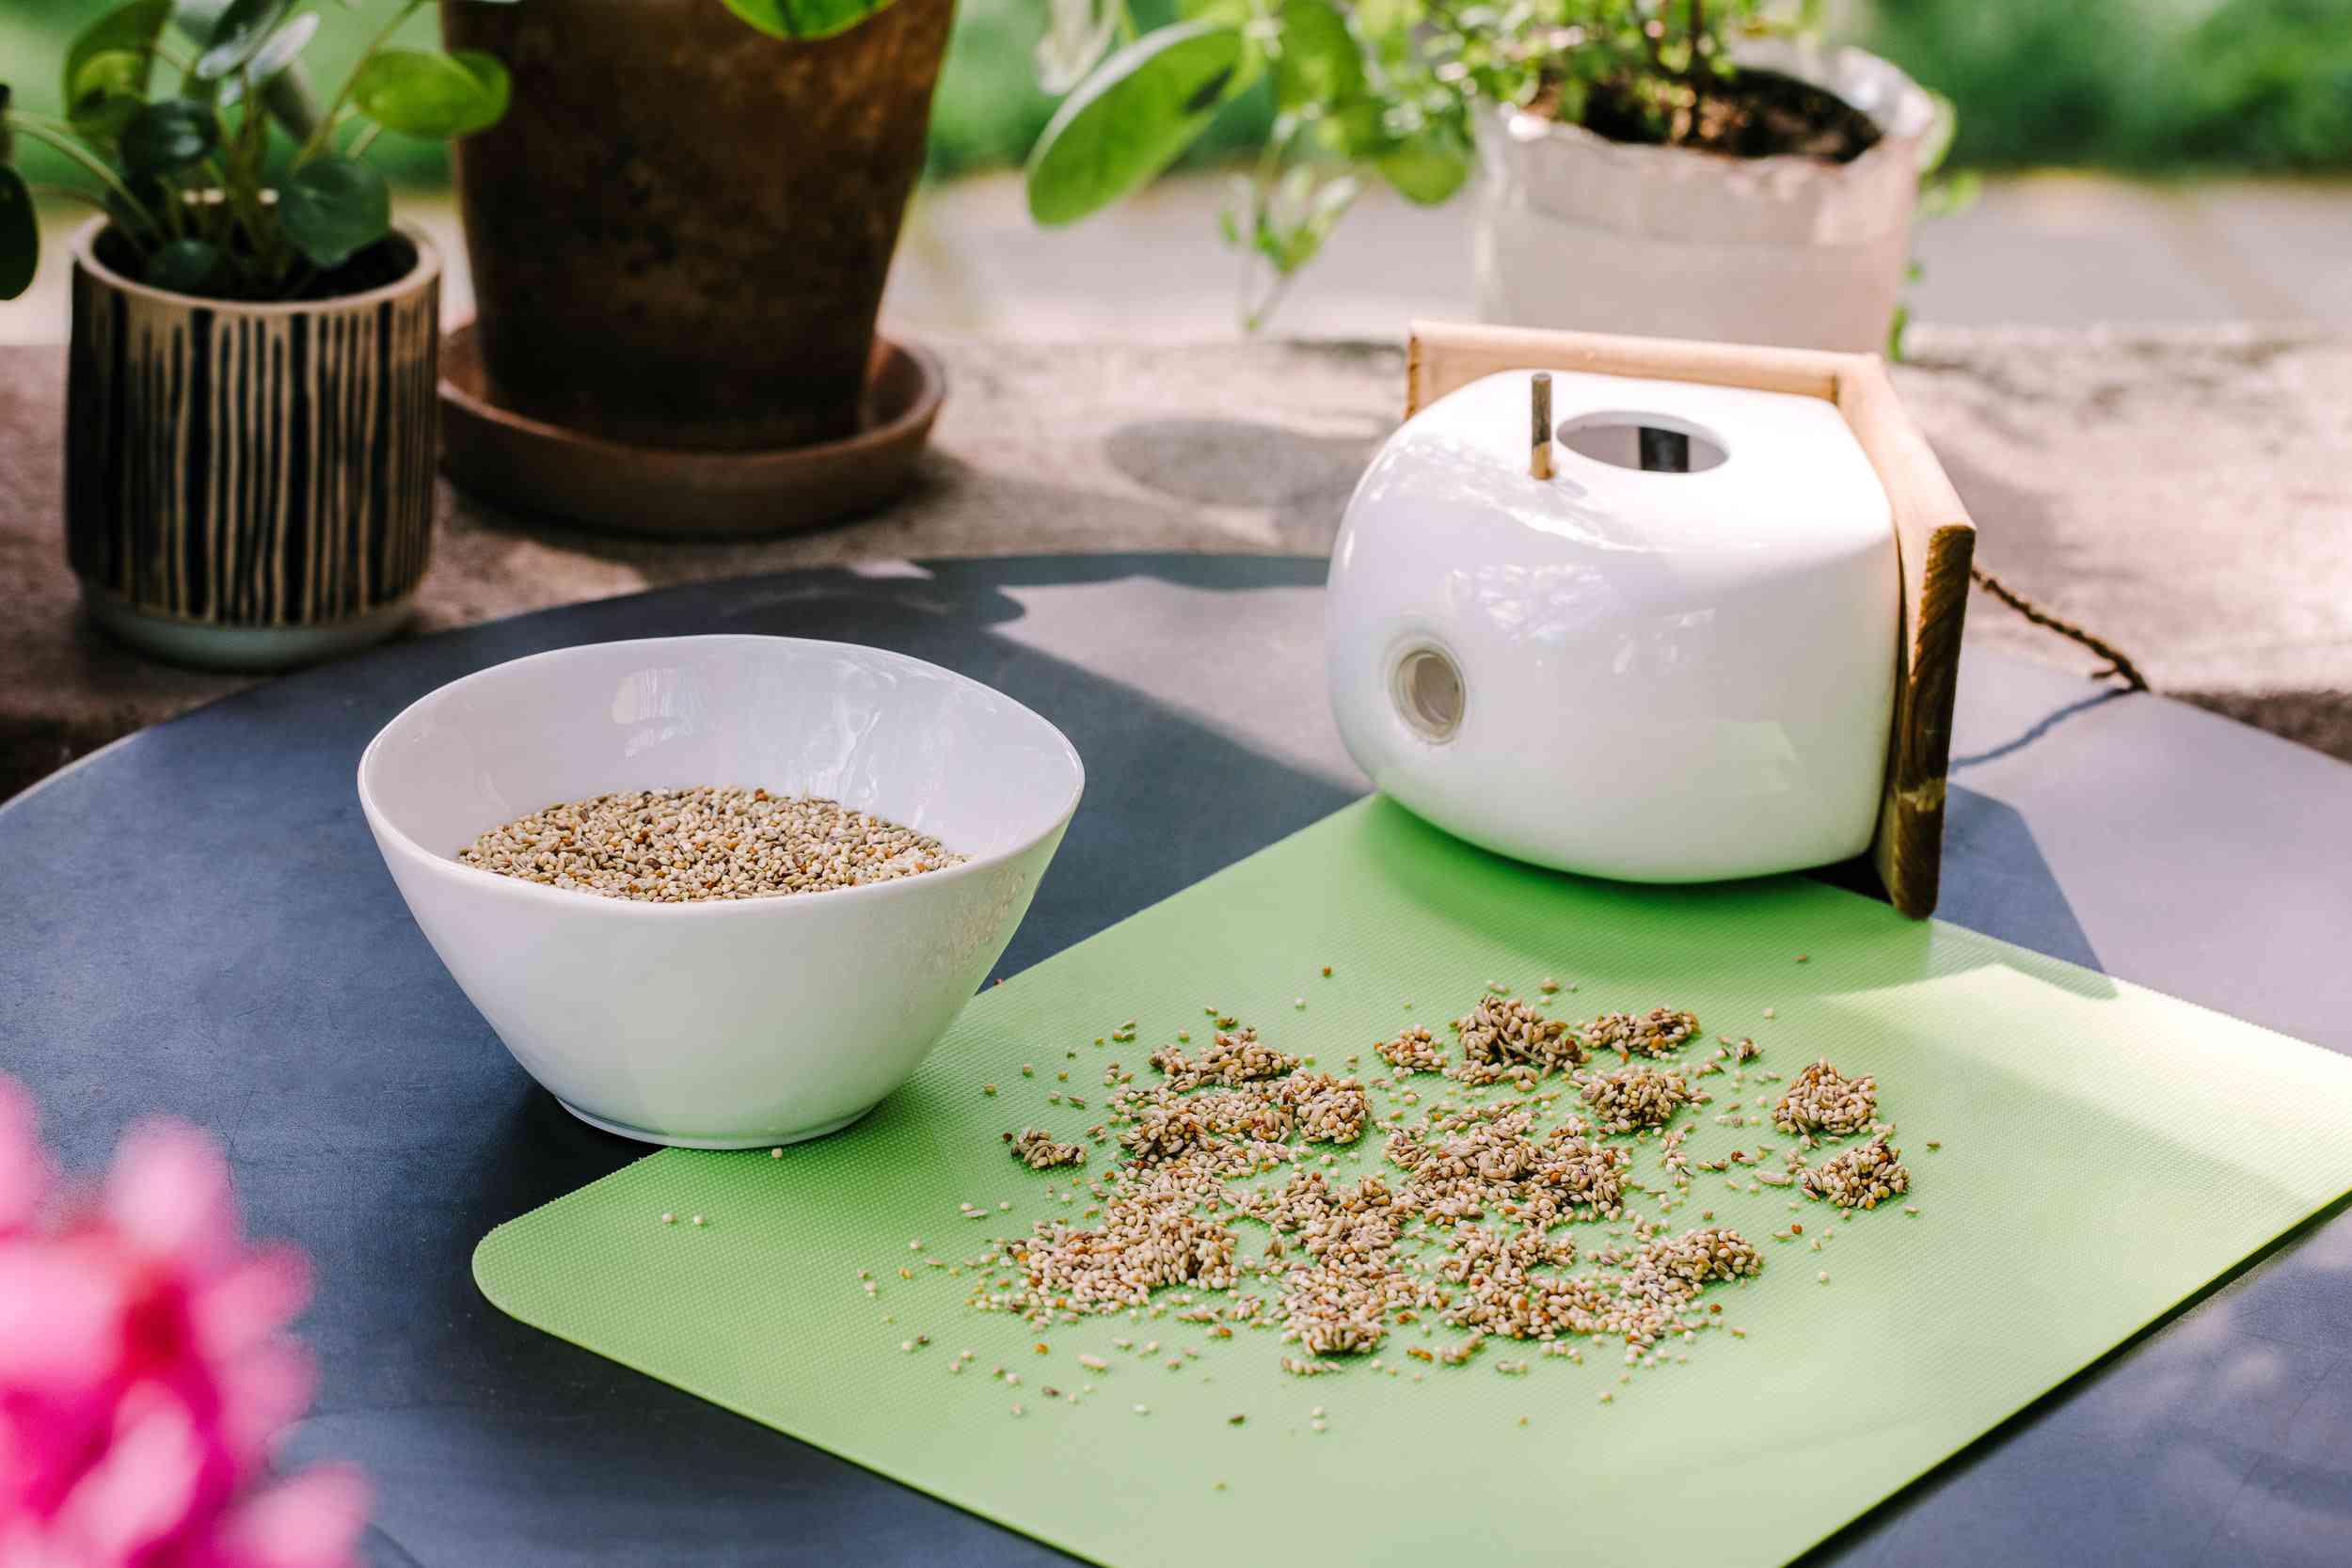
- Fresh bird seed: As part of the cleaning process, it’s important to discard any old or spoiled bird seed. After cleaning the feeders, refill them with fresh, high-quality bird seed to ensure that the birds are getting proper nutrition.
By having these tools and supplies ready, you’ll be well-equipped to effectively clean and maintain your bird feeders. Now that you have everything prepared, let’s move on to the step-by-step process of cleaning bird feeders thoroughly.
Step 1: Empty the Bird Feeder
The first step in cleaning your bird feeder thoroughly is to empty it of any remaining bird feed. Carefully remove any leftover seeds, nuts, or other bird food from the feeder and dispose of it in a compost bin or trash receptacle. It’s important to empty the feeder completely before proceeding with the cleaning process.
If the feeder has multiple compartments or feeding ports, make sure to empty each one individually. Use a small brush or your hand to remove any stuck or clumped food particles. This step ensures that you start with a clean slate, removing any potential sources of contamination.
While emptying the feeder, take note of any damage or wear and tear that may need repairing. Look for any cracks, broken perches, or loose screws that could impact the functionality of the feeder. It’s important to regularly inspect and maintain your bird feeder to ensure its longevity and to prevent any hazards for the birds.
Once the feeder is emptied and inspected, it’s time to move on to the next step: disassembling the feeder for a thorough cleaning.
Step 2: Disassemble the Feeder
Now that the bird feeder is empty, it’s time to disassemble it for a more thorough cleaning. Most bird feeders are designed with removable parts to make the cleaning process easier. Follow these steps to disassemble the feeder:
- Refer to the feeder’s instruction manual, if available, to understand how to safely disassemble it.
- If no manual is available, carefully examine the feeder to identify any removable parts. Common components that can typically be detached include the roof, feeding ports, perches, trays, and any other accessories attached to the feeder.
- Depending on the type of feeder, you may need to unscrew or unclip certain parts. Use caution and follow proper procedures to avoid damaging the feeder.
- As you disassemble the feeder, pay attention to how the pieces fit together. This will make the reassembly process easier later on.
Disassembling the feeder allows for a more thorough cleaning, as it ensures that all nooks, crannies, and hard-to-reach areas can be properly reached and cleaned. It also prevents any residue or debris from getting trapped in hidden parts of the feeder.
Once the feeder is fully disassembled, it’s time to move on to the next step: cleaning with soap and water.
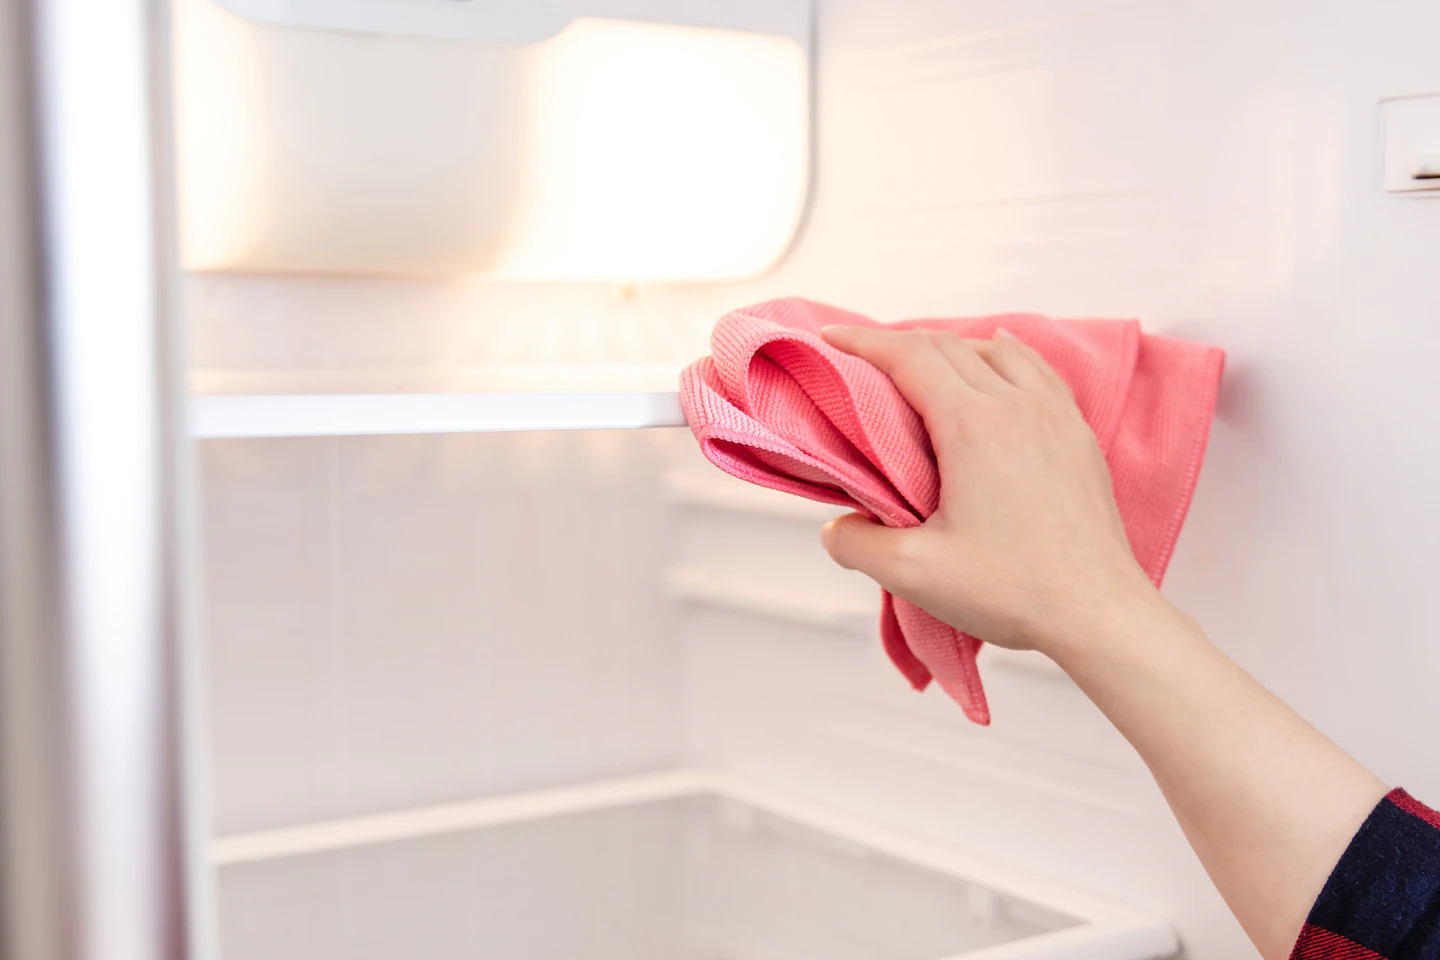
Step 3: Clean with Soap and Water
Now that you have disassembled the bird feeder, it’s time to clean it thoroughly using soap and water. This step will help remove dirt, mold, bacteria, and any other contaminants that may have accumulated on the feeder surfaces.
Follow these steps to clean the bird feeder with soap and water:
- Fill a bucket or sink with warm water. Add a small amount of mild dish soap and mix it well to create a soapy solution.
- If the feeder parts are smaller and easily manageable, you can soak them in the soapy water for a few minutes to help loosen any stubborn dirt.
- Dip a scrub brush or sponge into the soapy water and gently scrub all the surfaces of the feeder. Pay special attention to the feeding ports, perches, trays, and any other textured areas where dirt and grime tend to accumulate.
- For tough-to-clean areas or intricate designs, use a smaller bristle brush or toothbrush to reach into crevices and remove any debris.
- Continue scrubbing until all visible dirt and stains are removed. Be thorough but gentle to avoid damaging the feeder.
While cleaning, prioritize the removal of any stubborn mold or fungus growth. These can be harmful to birds and can thrive in humid weather conditions or if the feeder has been exposed to moisture.
It is important to note that bleach or any harsh chemicals should not be used in this cleaning process, as these substances can be toxic to birds. Stick to using mild dish soap, which is safe for both the birds and the environment.
Once you have thoroughly cleaned all the feeder parts with soap and water, it’s time to move on to the next step: rinsing the feeder.
To clean bird feeders thoroughly, use a solution of 1 part bleach to 9 parts water to disinfect and remove any mold or bacteria. Scrub the feeder with a brush, rinse thoroughly, and allow it to dry completely before refilling.
Step 4: Rinse Thoroughly
After cleaning the bird feeder with soap and water, the next step is to rinse it thoroughly to remove any soap residue and ensure a clean and safe feeding environment for the birds.
Follow these steps to rinse the bird feeder thoroughly:
- Fill another bucket or sink with clean water.
- Take each disassembled part of the feeder and rinse it under running water or submerge it in the clean water. Use your hands or a gentle stream of water to remove any remaining soap residue.
- Pay close attention to the inside of the feeding ports, perches, and other small crevices, ensuring that all soap is rinsed away.
- Continue rinsing each part until the water runs clear and all traces of soap are removed.
Remember to be thorough in your rinsing process, as any leftover soap residue can be harmful to birds when they come in contact with it while feeding.
Once all the parts have been rinsed and no soap residue remains, move on to the next step: sanitizing the feeder to further ensure cleanliness.
Step 5: Sanitize the Feeder
Sanitizing the bird feeder is an essential step to eliminate any remaining bacteria, mold spores, or other potential contaminants that may not have been completely removed during the cleaning process.
Follow these steps to sanitize the bird feeder:
- Prepare a sanitizing solution by mixing one part white vinegar with nine parts water in a bucket or sink. Vinegar is a natural sanitizer that is safe for birds and effectively kills bacteria and mold.
- Submerge each disassembled part of the feeder in the sanitizing solution. Allow the parts to soak for at least 10 minutes to ensure thorough sanitization.
- If any parts are too large to completely submerge, use a sponge soaked in the sanitizing solution to wipe down all surfaces.
- After the soaking period, remove each part from the sanitizing solution and rinse it thoroughly with clean water to remove any vinegar residue.
- Place the rinsed parts on a drying rack or clean towel to air dry completely. Ensure that all parts are dry before reassembling the feeder.
Sanitizing the bird feeder helps to eliminate any remaining microorganisms that may pose a health risk to the birds. It also helps prevent the growth of mold or fungus, ensuring a clean and safe feeding environment.
Once the feeder is completely dry, it’s time to move on to the next step: reassembling the feeder and getting it ready for use.
Step 6: Dry the Feeder Completely
Drying the bird feeder thoroughly is essential to prevent the growth of mold, bacteria, and other contaminants. Moisture can create an ideal environment for these harmful substances to thrive, so it’s important to take the time to ensure each part of the feeder is completely dry before reassembling it.
Follow these steps to dry the bird feeder completely:
- After rinsing the sanitized feeder parts, use a clean towel or paper towels to blot away excess water. Gently wipe each part to remove any moisture.
- Place the parts on a drying rack or clean towel, ensuring they are spread out evenly to allow air circulation.
- Find a well-ventilated area, preferably one with good air circulation and away from direct sunlight. This will help speed up the drying process and prevent any moisture from being trapped.
- Allow the feeder parts to air dry completely. Depending on the weather and humidity, this may take a few hours to a full day.
- Avoid using heat sources such as a hairdryer or placing the feeder parts in direct sunlight, as this can damage certain materials or cause warping.
Ensuring that each part of the bird feeder is completely dry is crucial to prevent the growth of mold or bacteria. Moisture can lead to contamination and compromise the health of the birds that visit the feeder.
Once all the parts are thoroughly dry, it’s time to move on to the next step: reassembling the feeder.
Step 7: Reassemble the Feeder
Now that all the parts of the bird feeder are clean and completely dry, it’s time to reassemble the feeder. Reassembling the feeder is a straightforward process, but it’s important to pay attention to how the parts fit together to ensure proper functionality.
Follow these steps to reassemble the bird feeder:
- Refer to any instruction manual or reference photos you may have taken before disassembling the feeder. This will help you remember the correct order and orientation of the parts.
- Start with the base or main body of the feeder. Attach any necessary accessories such as perches, trays, or roof pieces according to the manufacturer’s instructions.
- Look for any screws, clips, or other fasteners that were used to hold the feeder together. Secure all parts tightly but be careful not to overtighten and risk damaging the feeder.
- Double-check that all components are fitted snugly and securely. Ensure that no parts are loose or improperly aligned.
- If your feeder has multiple compartments or feeding ports, make sure each one is properly attached and aligned.
When reassembling the feeder, take the opportunity to inspect it for any signs of damage or wear. Replace any cracked or broken parts to ensure the feeder remains sturdy and functional. This will avoid potential hazards for the birds and help maintain the longevity of the feeder.
Once the feeder is reassembled, it’s time for the final step: refilling it with fresh bird seed.
Step 8: Refill with Fresh Bird Seed
After thoroughly cleaning and reassembling the bird feeder, the final step is to refill it with fresh bird seed. Providing clean and high-quality bird seed ensures that the birds have a nutritious food source and encourages their continued visitation to your feeder.
Follow these steps to refill the bird feeder with fresh bird seed:
- Choose a high-quality bird seed mix that is appropriate for the types of birds you want to attract. Different birds have different feeding preferences, so make sure to select a seed mix that caters to their needs.
- Ensure that the bird seed you are using is fresh and free from any signs of mold or moisture. Old or contaminated bird seed can lead to health issues for the birds.
- Carefully pour the fresh bird seed into the appropriate compartments, trays, or feeding ports of the bird feeder. Use a small funnel or cup if needed to avoid spillage.
- Avoid overfilling the feeder, as excess seed can attract pests and become wasteful.
- Monitor the bird feeder regularly and refill it as needed to ensure a constant supply of fresh food for the birds.
It’s important to note that different bird species have different preferences when it comes to feeder placement and seed types. Research the specific bird species you are interested in attracting to optimize your feeder setup.
Remember to clean and refill the bird feeder regularly, approximately every 1-2 weeks, depending on the level of bird activity and the weather conditions. This will help maintain a clean and inviting feeding station for the birds and ensure their health and well-being.
By following these steps and providing fresh bird seed, you are ready to enjoy the sight of various bird species visiting your feeder, while knowing that you have created a safe and hygienic feeding environment for them.
Congratulations! You have completed the process of thoroughly cleaning and maintaining your bird feeder. Enjoy the beauty and wonder of watching birds visit your feeder, and remember to keep up with regular cleaning and maintenance to ensure a long-lasting relationship between you and your feathered friends.
Conclusion
Regularly cleaning your bird feeders is essential for maintaining a safe, healthy, and inviting feeding environment for our feathered friends. By following the step-by-step process outlined in this guide, you can ensure that your bird feeders are thoroughly cleaned and properly maintained.
Cleaning bird feeders helps prevent the spread of diseases and eliminates potential contaminants that can be harmful to birds. It also ensures that the bird feeders remain effective in attracting a variety of bird species to your backyard.
Remember to gather the recommended tools and supplies before starting the cleaning process. Gloves, a scrub brush or sponge, mild dish soap, warm water, and a bristle brush for hard-to-reach areas are essential items for effective cleaning.
Throughout the cleaning process, it’s important to be thorough but gentle. Pay close attention to areas prone to mold, bacteria, and dirt buildup, such as feeding ports and perches. Rinse the feeder thoroughly to remove any soapy residue, sanitize it with a vinegar solution to further eliminate bacteria, and dry it completely to prevent the growth of mold or mildew.
With the feeder fully cleaned and dried, reassemble it carefully, ensuring each part is properly aligned and secured. Finally, refill the feeder with fresh bird seed to attract and nourish a wide variety of bird species.
Regularly maintaining and cleaning your bird feeders not only benefits the birds by providing a safe and hygienic feeding environment, but it also allows you to fully enjoy the beauty and wonder of observing these magnificent creatures up close.
So, take the time to regularly clean and maintain your bird feeders following the steps outlined in this guide. Your efforts will not only enhance your bird watching experience but also contribute to the conservation of bird populations and the preservation of their habitats.
Now, get ready to sit back, relax, and enjoy the delightful sights and sounds of vibrant birds visiting your clean and inviting bird feeders.
Frequently Asked Questions about How To Clean Bird Feeders Thoroughly
Was this page helpful?
At Storables.com, we guarantee accurate and reliable information. Our content, validated by Expert Board Contributors, is crafted following stringent Editorial Policies. We're committed to providing you with well-researched, expert-backed insights for all your informational needs.


0 thoughts on “How To Clean Bird Feeders Thoroughly”