Home>Garden Essentials>How To Make A Bird Seed Ball
Garden Essentials
How To Make A Bird Seed Ball
Modified: March 16, 2024
Learn how to make a bird seed ball for your garden and attract beautiful feathered visitors. Create a DIY bird seed ball with our easy step-by-step guide.
(Many of the links in this article redirect to a specific reviewed product. Your purchase of these products through affiliate links helps to generate commission for Storables.com, at no extra cost. Learn more)
Introduction
Welcome to the world of gardening enthusiasts! If you’re passionate about nature and love observing birds, then this article is for you. In this guide, we’ll show you how to make a bird seed ball, a delightful treat that can attract a variety of feathered visitors to your garden.
Bird seed balls, also known as bird seed ornaments or bird seed wreaths, are a fantastic way to provide food for birds while adding a touch of charm to your outdoor space. They are easy to make, cost-effective, and can be a fun activity for both kids and adults.
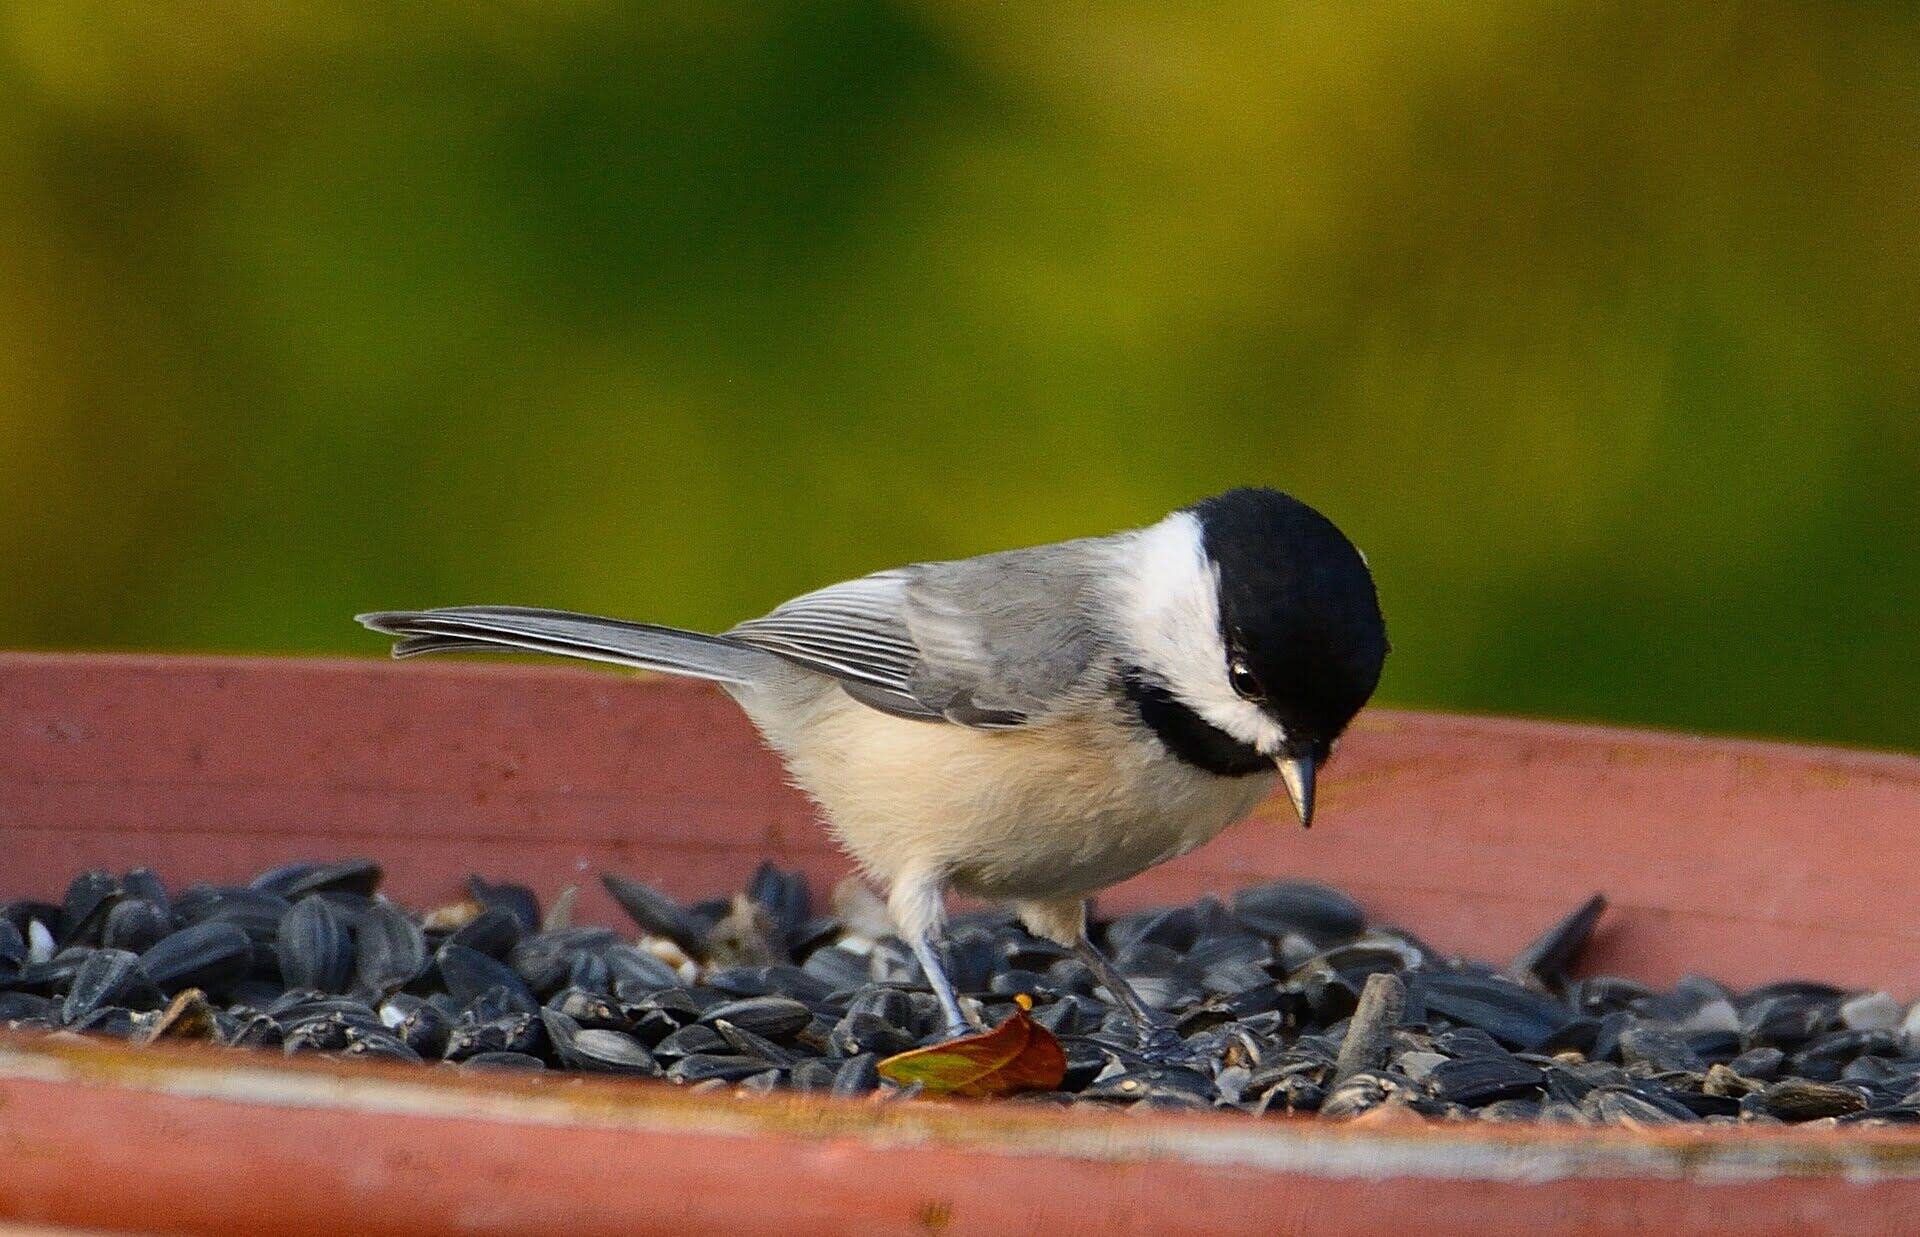
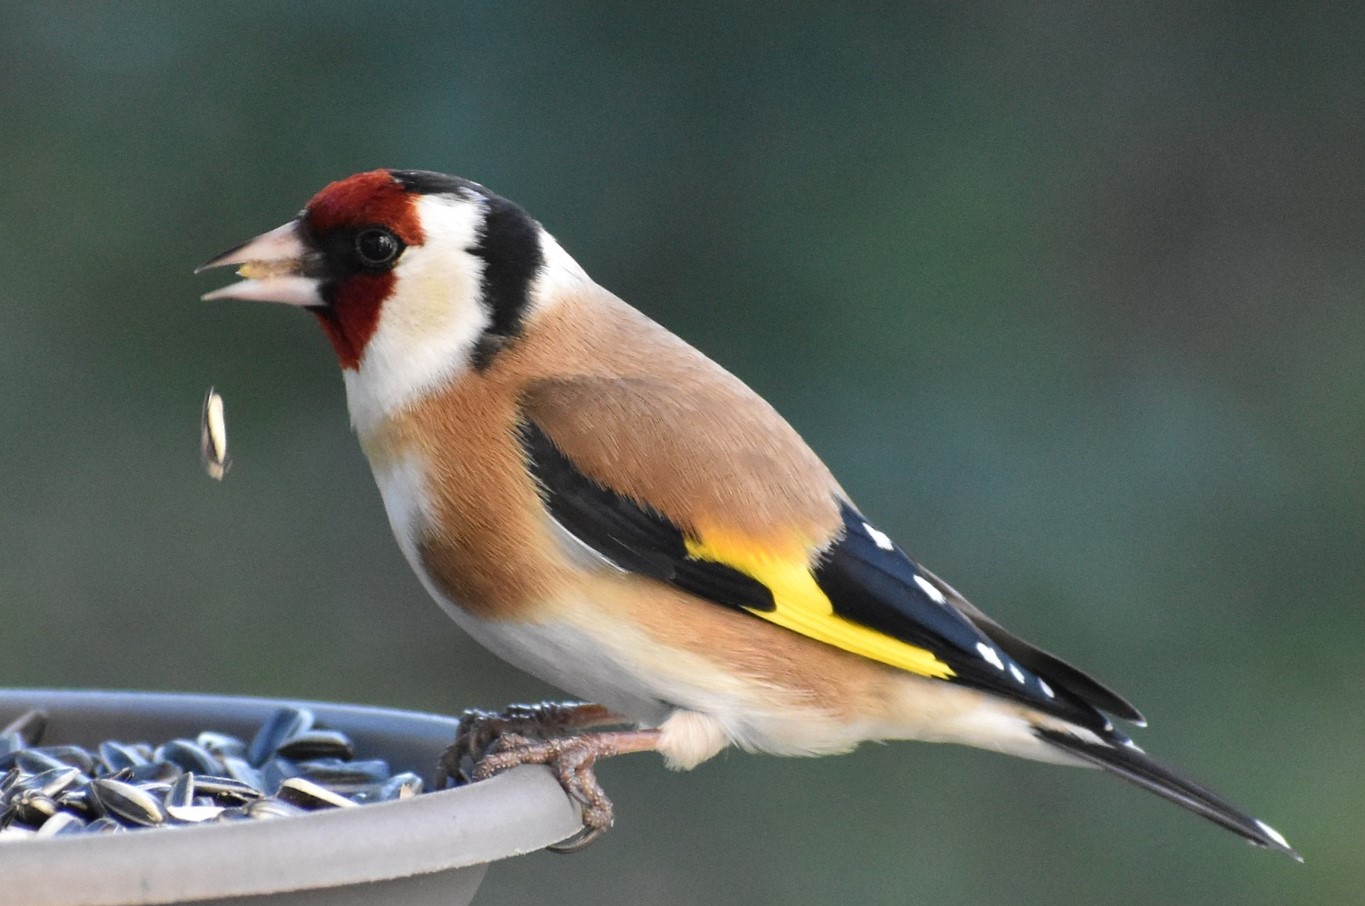
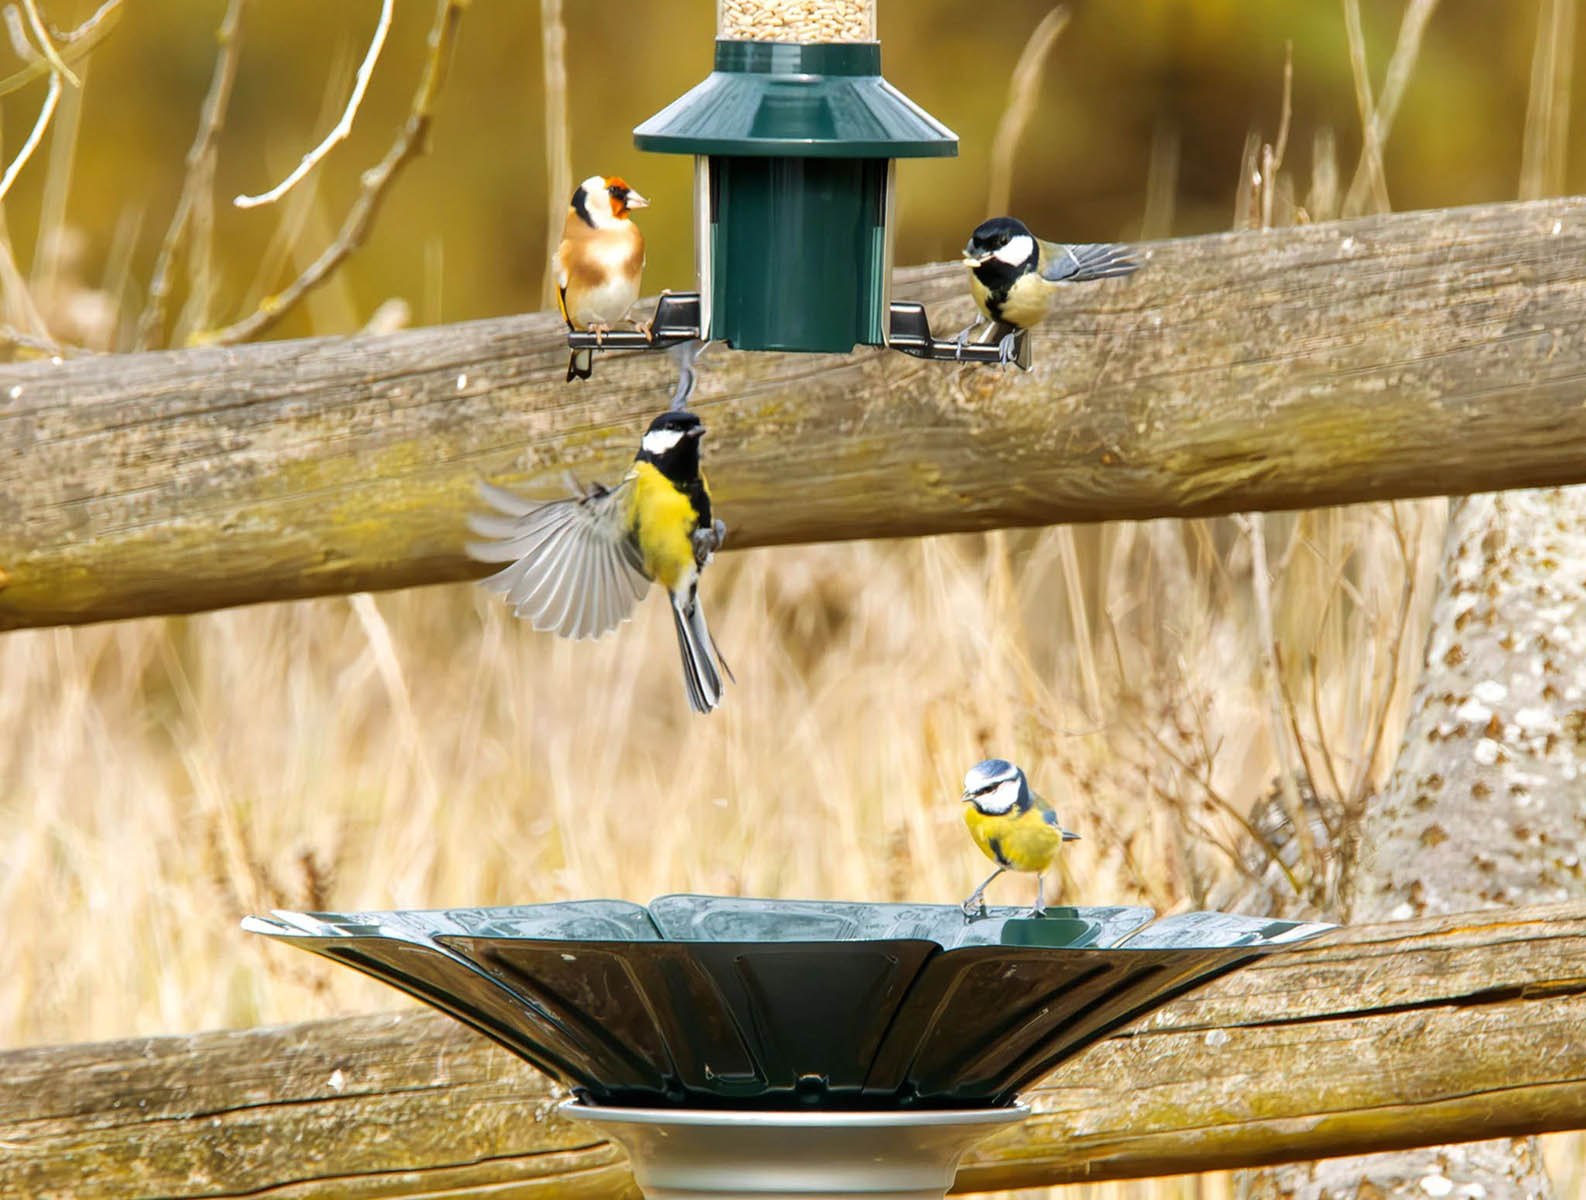
Not only do bird seed balls offer a much-needed source of sustenance for our feathered friends, but they also provide a great opportunity for birdwatching. By hanging or placing these seed-filled delights in your garden, you can enjoy the sights and sounds of different bird species as they happily flock to your yard.
Now, let’s dive into the materials needed and the step-by-step process of creating your own bird seed ball.
Key Takeaways:
- Attract birds to your garden by making bird seed balls with simple ingredients like bird seed, gelatin, and corn syrup. Hang or place them in your garden for a delightful birdwatching experience.
- Get creative and have fun making bird seed balls to attract a variety of bird species. Hang or place them in visible spots, replenish regularly, and enjoy the beauty of nature in your garden.
Read more: How To Make A Bird Seed Wreath
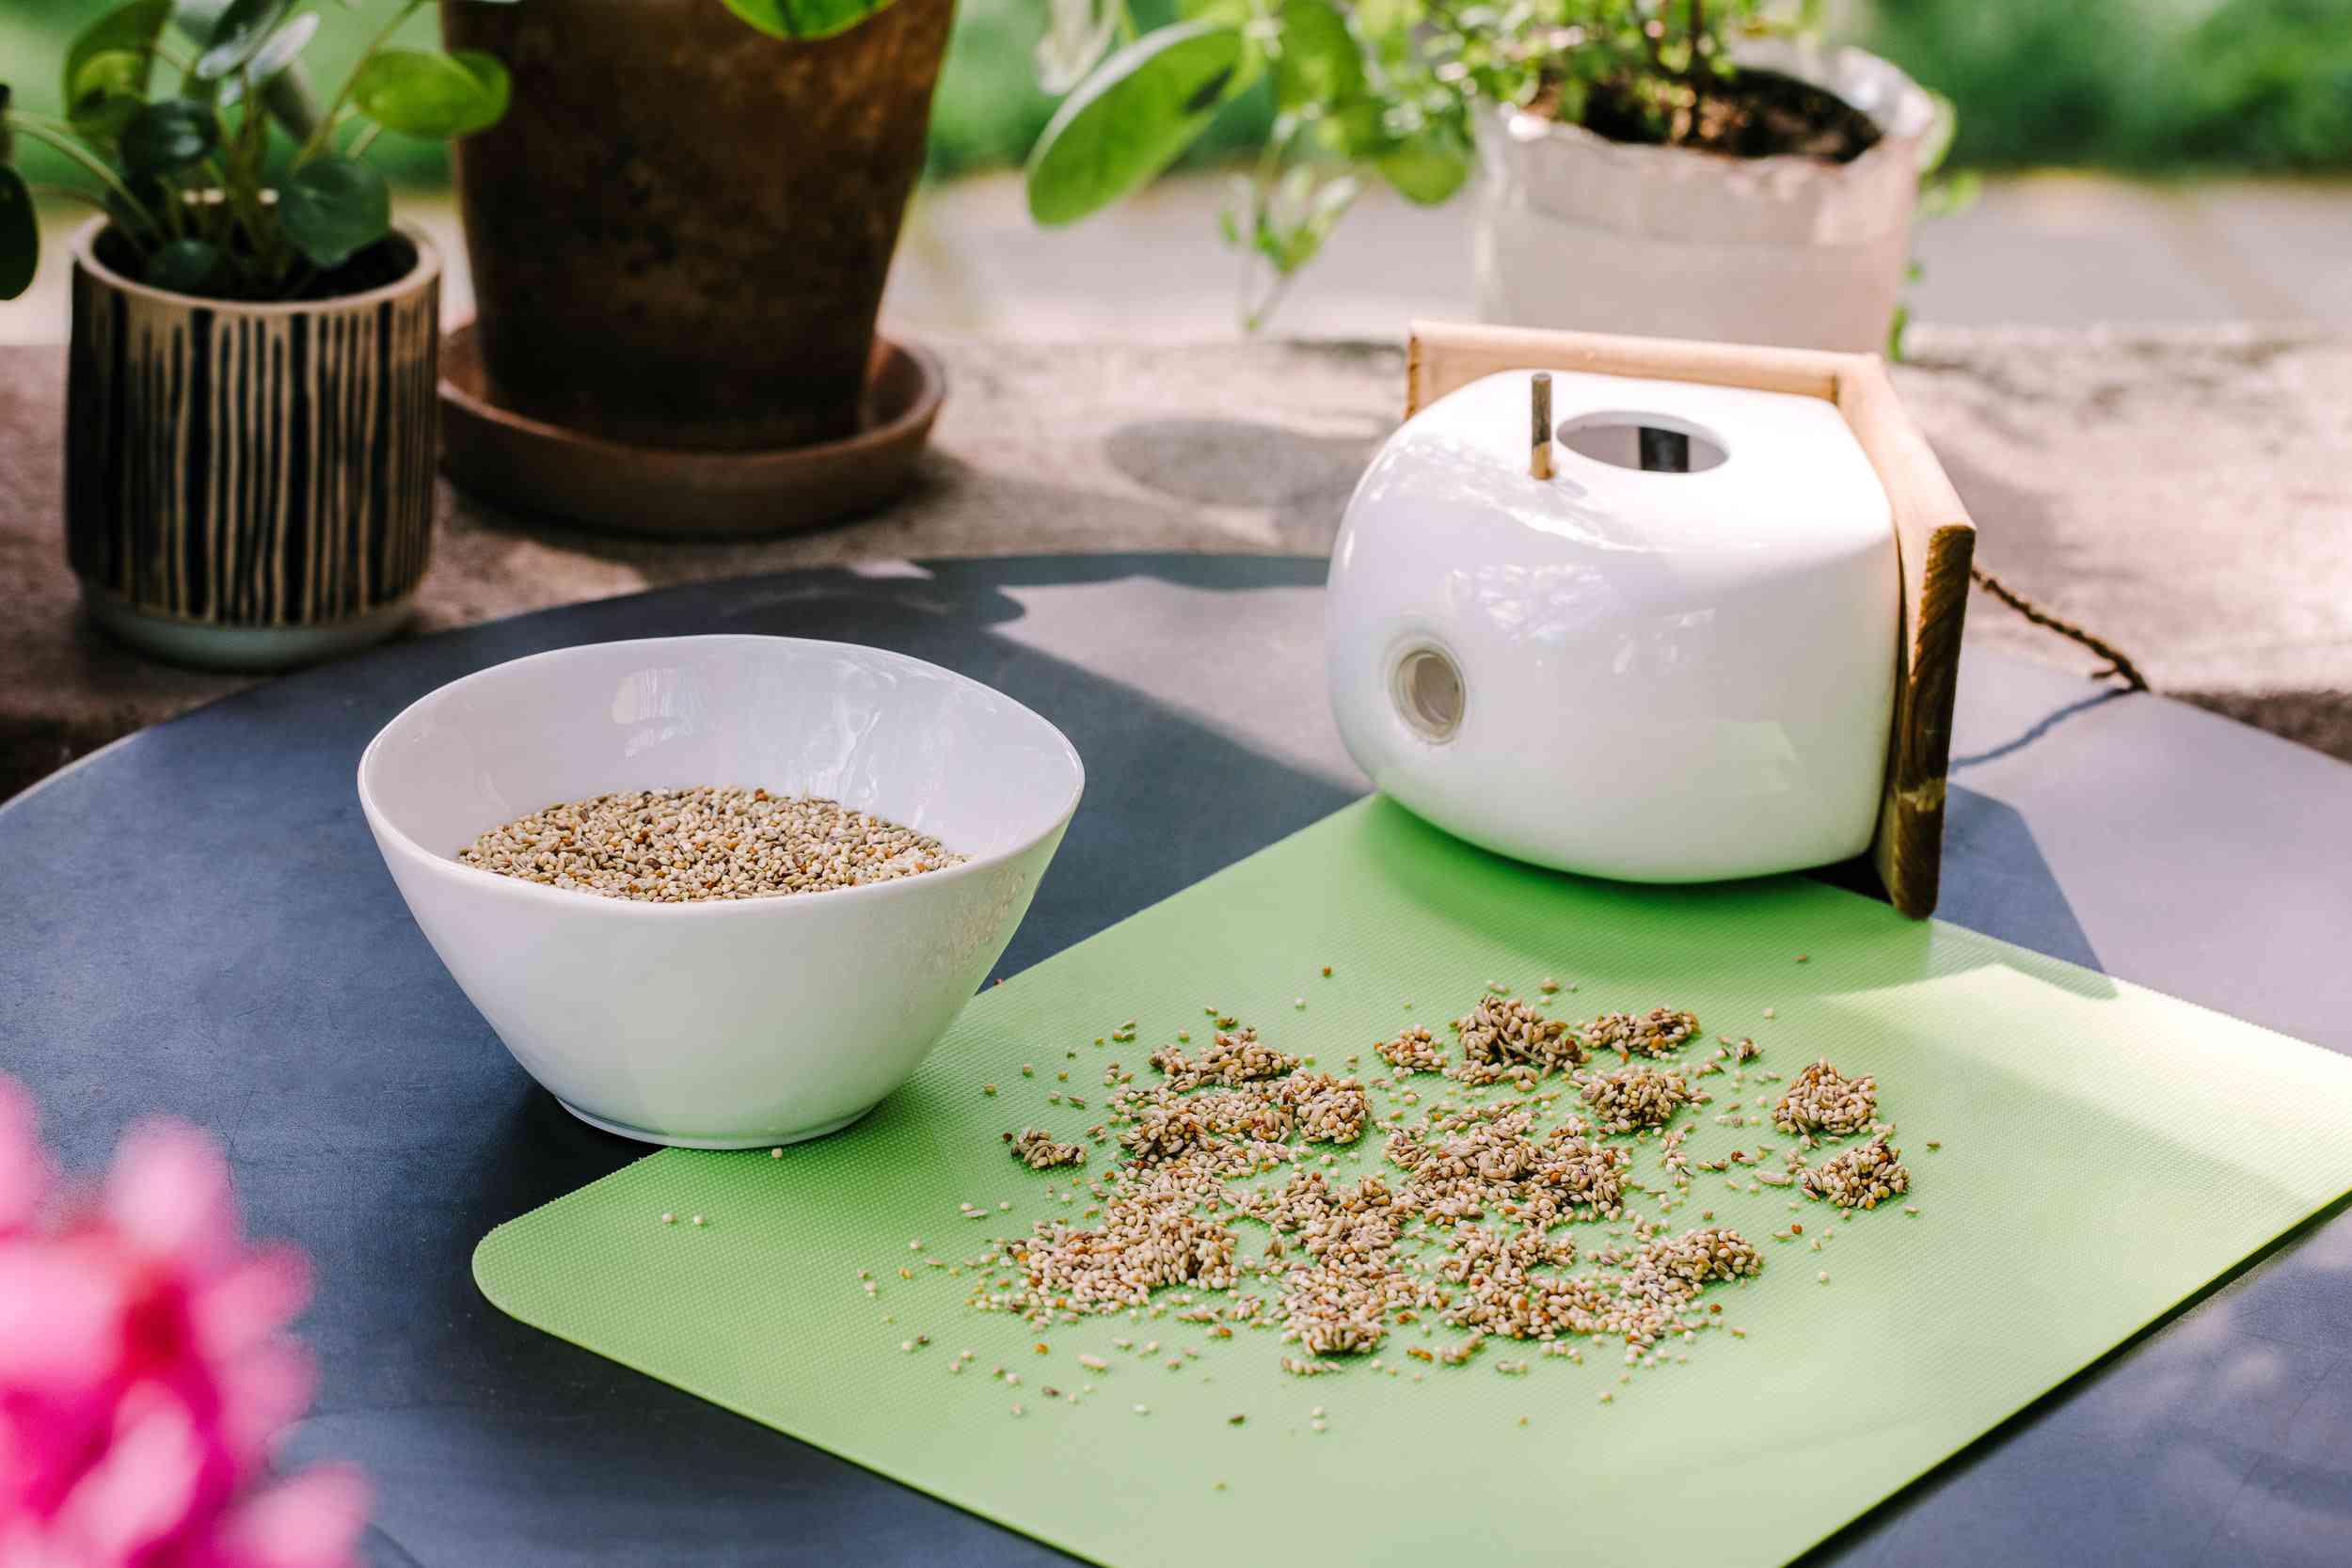
Materials Needed
To make your very own bird seed ball, you’ll need the following materials:
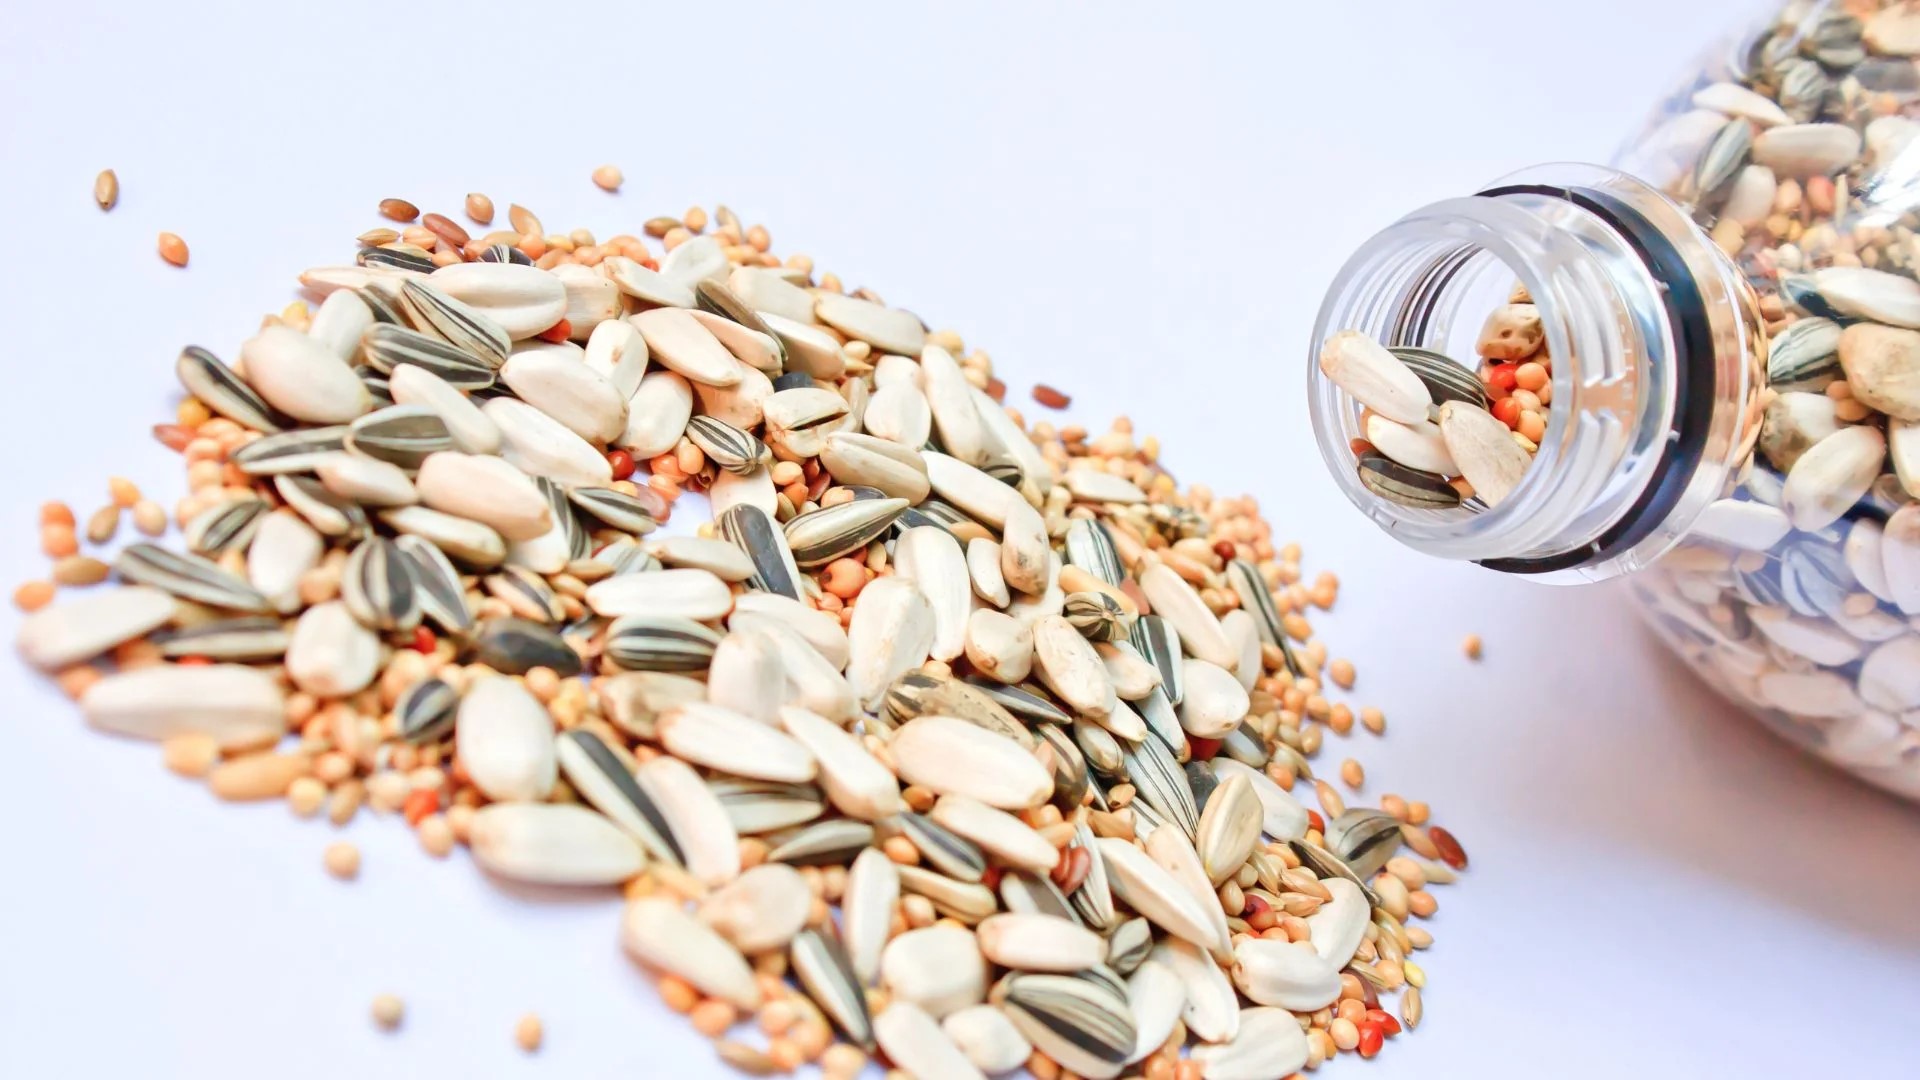
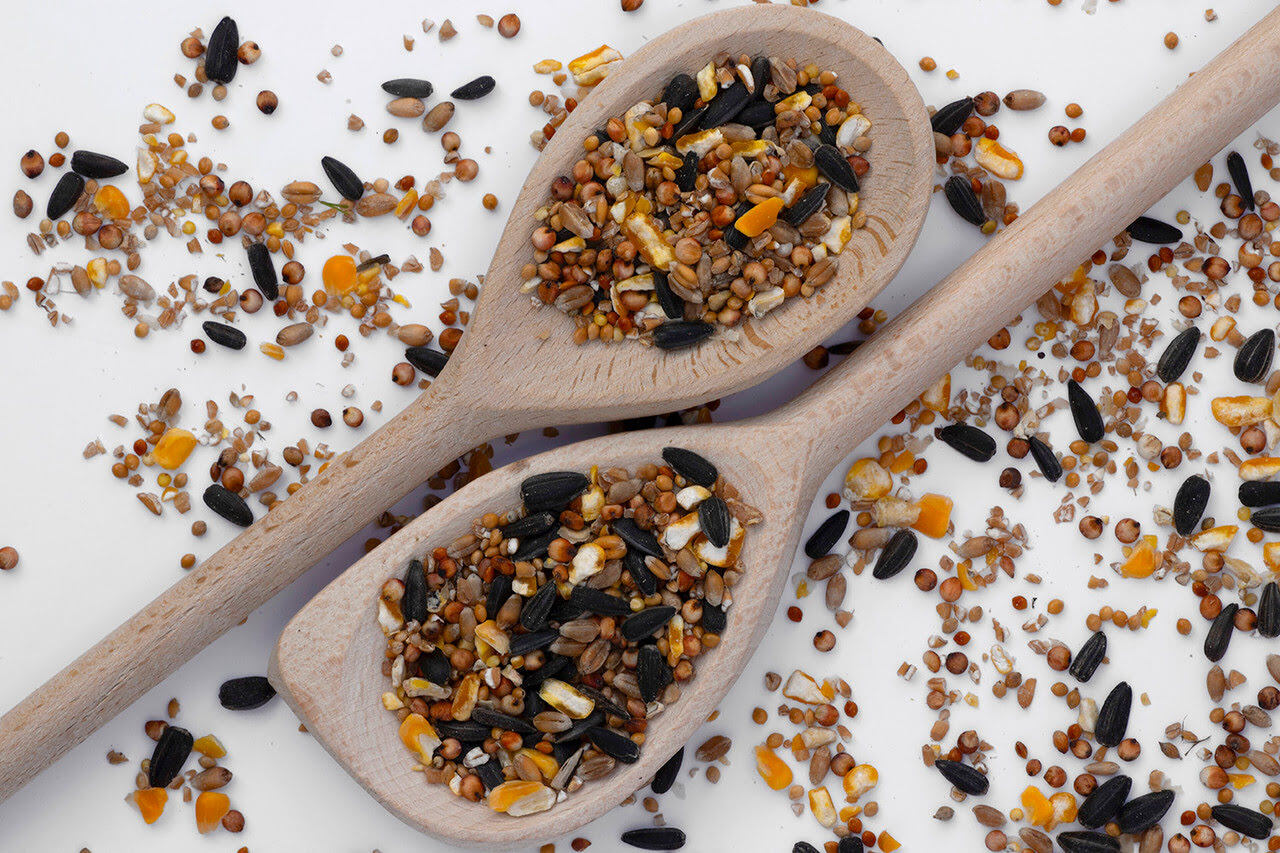
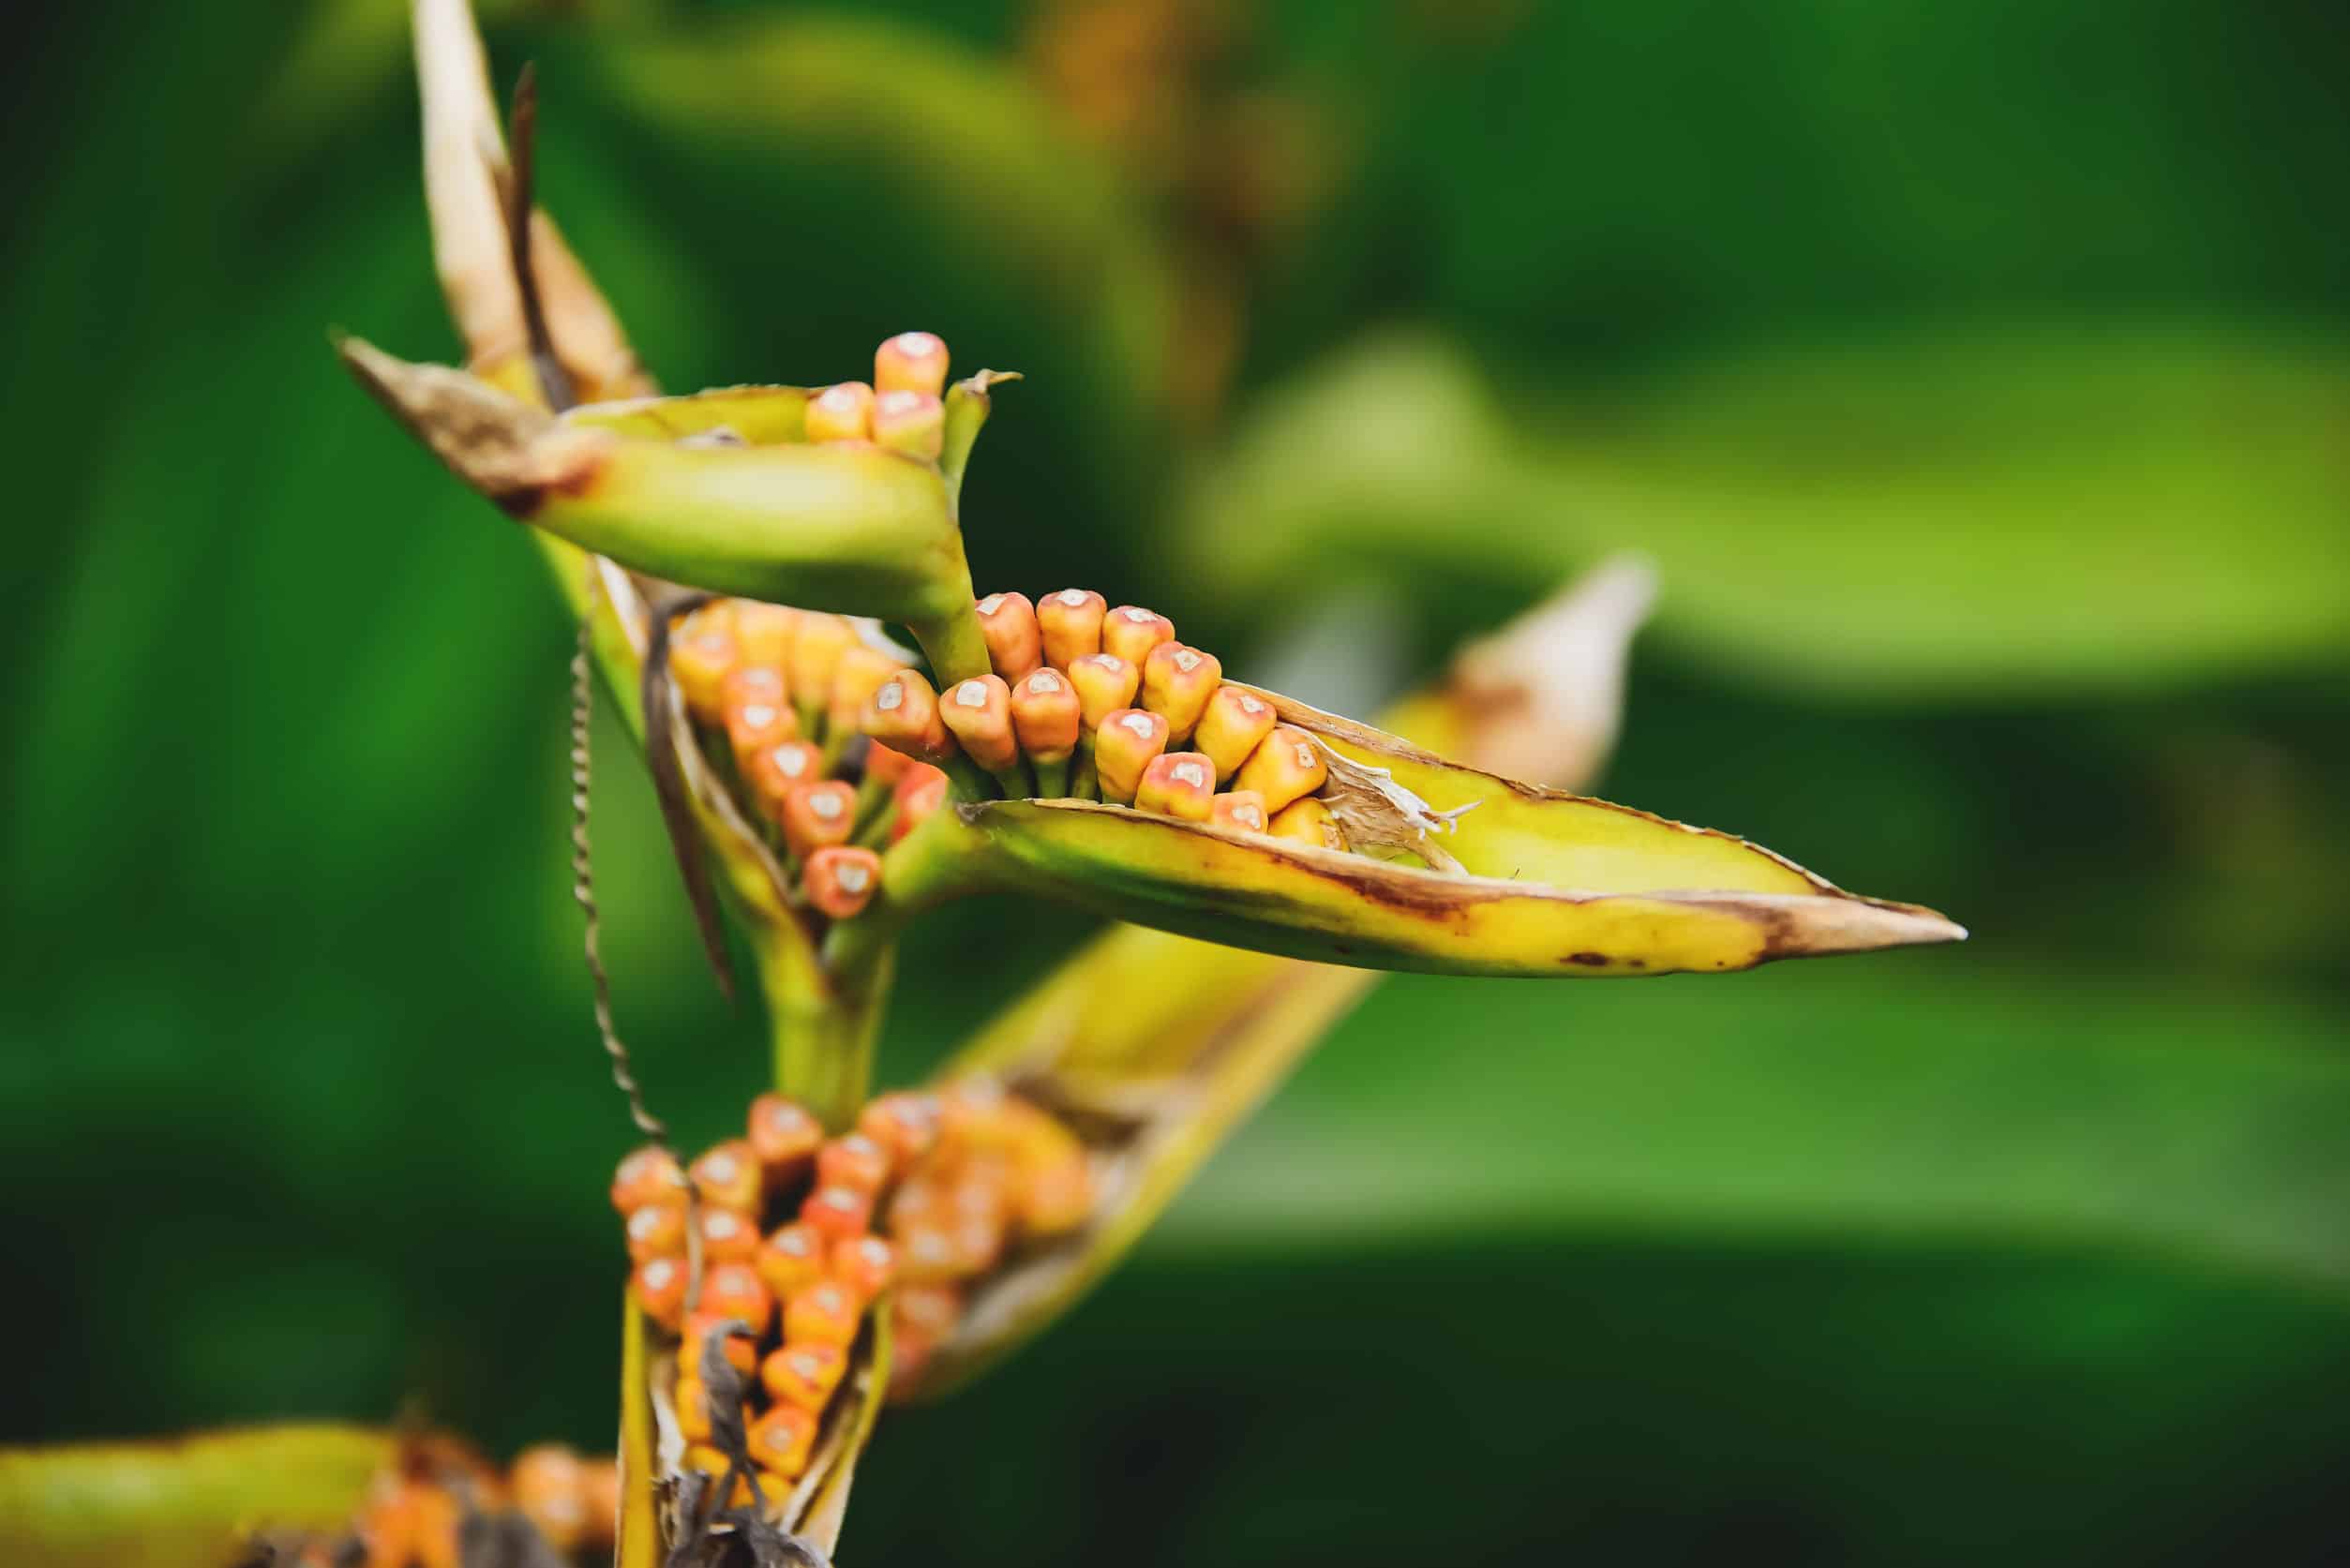
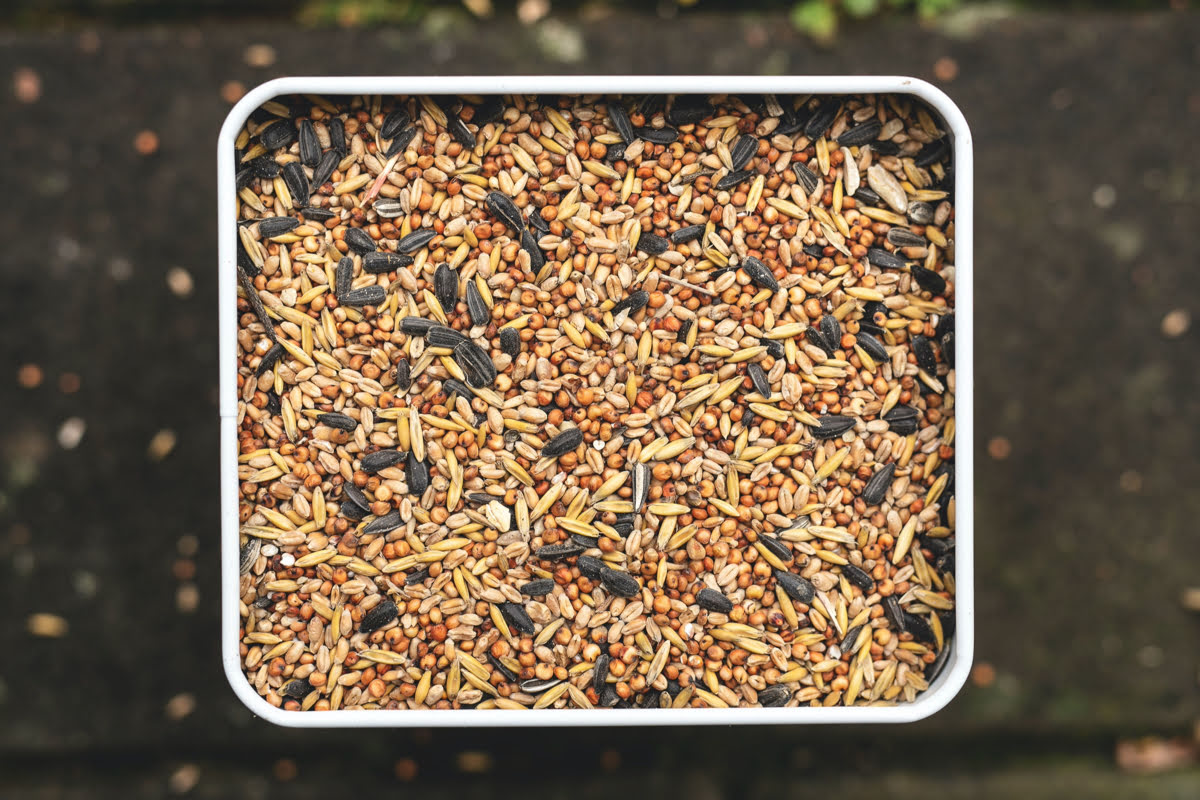
- Bird seed: Choose a high-quality bird seed mix that contains a variety of seeds like sunflower seeds, millet, and cracked corn. This will attract a wide range of bird species.
- Gelatin or peanut butter: This will act as the binding agent for the bird seed. Gelatin works well for those who prefer a vegetarian option, while peanut butter provides an excellent sticky texture.
- Corn syrup: Corn syrup adds sweetness and helps the bird seed ball hold its shape.
- Flour: Flour is used to thicken the mixture and improve its texture.
- Water: Water is necessary for dissolving the gelatin and creating the right consistency.
- Twine or string: This will be used to hang the bird seed balls.
- Cookie cutters or molds: Optional, but they can add a decorative touch to your bird seed balls.
Most of these materials can be found in your pantry or easily purchased at your local grocery or garden supply store. Once you have gathered all the necessary materials, you’re ready to start making your bird seed balls.
Step 1: Gather the Ingredients
Before you begin making your bird seed balls, it’s essential to gather all the ingredients and tools you’ll need. This will ensure a smooth and efficient process. Here’s a quick checklist of what you need:
- Bird seed
- Gelatin or peanut butter
- Corn syrup
- Flour
- Water
- Twine or string
- Cookie cutters or molds (optional)
Make sure you have enough bird seed to create multiple bird seed balls, as birds tend to flock together. It’s also a good idea to choose a variety of seed sizes and shapes to attract different bird species.
If you’re using gelatin, ensure that it’s unflavored and does not contain any sugar or artificial additives. Natural peanut butter is preferable, as it contains less sugar and additives.
Once you have all the necessary ingredients, set them out on a clean and organized workspace. This will make the process more enjoyable and efficient.
Now that you’re fully prepared, it’s time to move on to the next step: mixing the ingredients to create the perfect bird seed ball mixture.
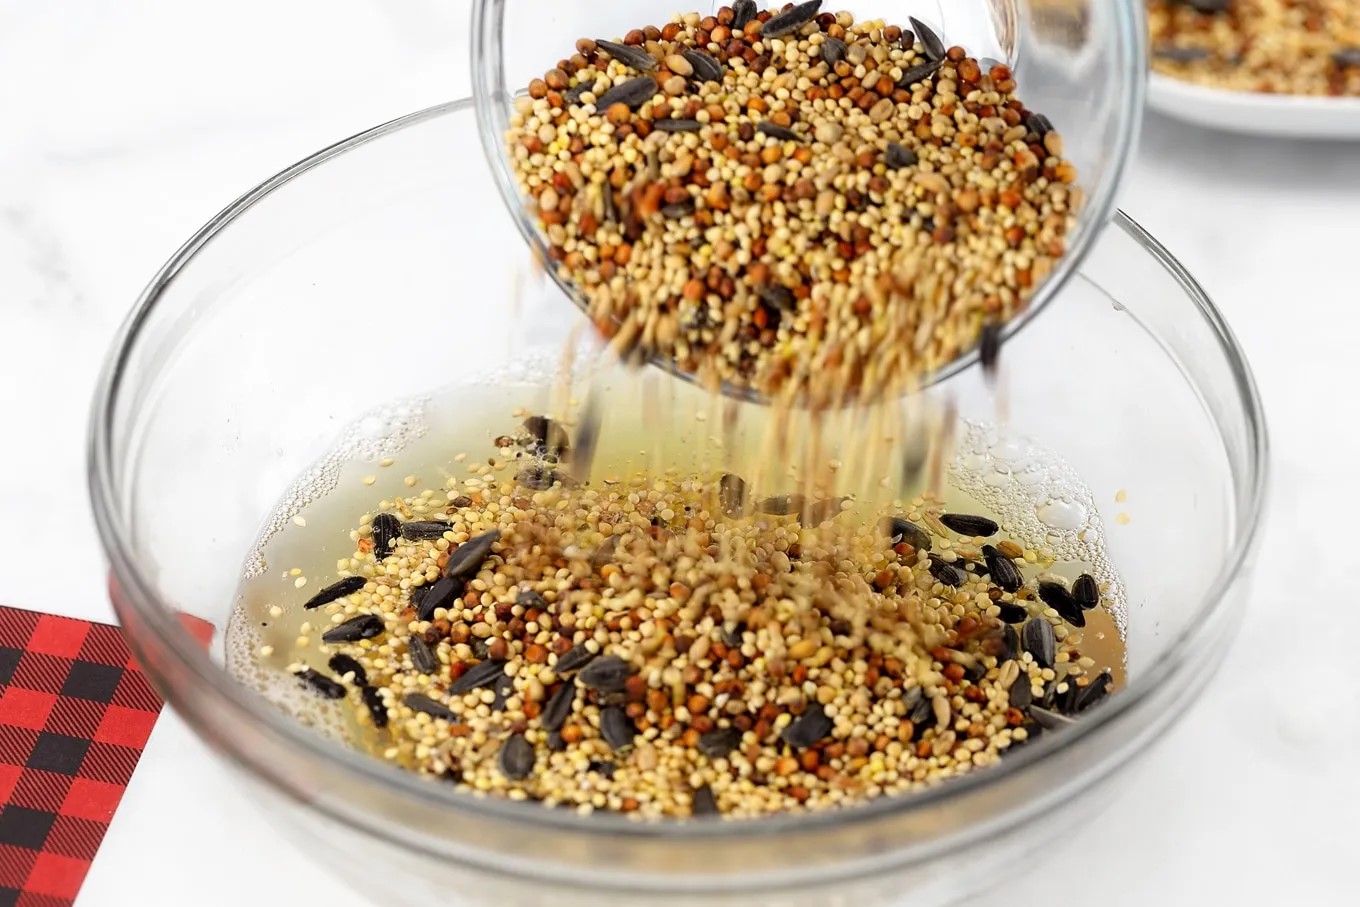
Step 2: Mix the Ingredients
Now that you have gathered all the ingredients, it’s time to mix them together to create the perfect bird seed ball mixture.
Start by combining the bird seed, gelatin or peanut butter, corn syrup, flour, and water in a large mixing bowl. The exact measurements may vary depending on the recipe you are following, so be sure to check the instructions or use the following as a general guideline:
- 2 cups of bird seed
- 1/4 cup of gelatin or peanut butter
- 1/4 cup of corn syrup
- 1/4 cup of flour
- 1/2 cup of water
Begin by adding the gelatin or peanut butter to the bowl and stirring it well to coat the bird seed evenly. If you are using gelatin, you may need to dissolve it in warm water first before mixing it with the other ingredients.
Next, add the corn syrup and flour to the mixture, followed by the water. Stir everything together using a wooden spoon or your hands until the ingredients are well combined. The mixture should have a sticky texture that will help the bird seed ball hold its shape.
If the mixture is too dry, you can add a little more water. Conversely, if it’s too wet, you can add more bird seed or flour. The goal is to achieve a consistency that allows the mixture to hold together when shaped into a ball.
Once the ingredients are thoroughly mixed, you’re ready to move on to the next step: forming the bird seed balls.
Mix bird seed with peanut butter and corn syrup, then form into balls. Refrigerate for 1 hour before hanging outside for the birds to enjoy.
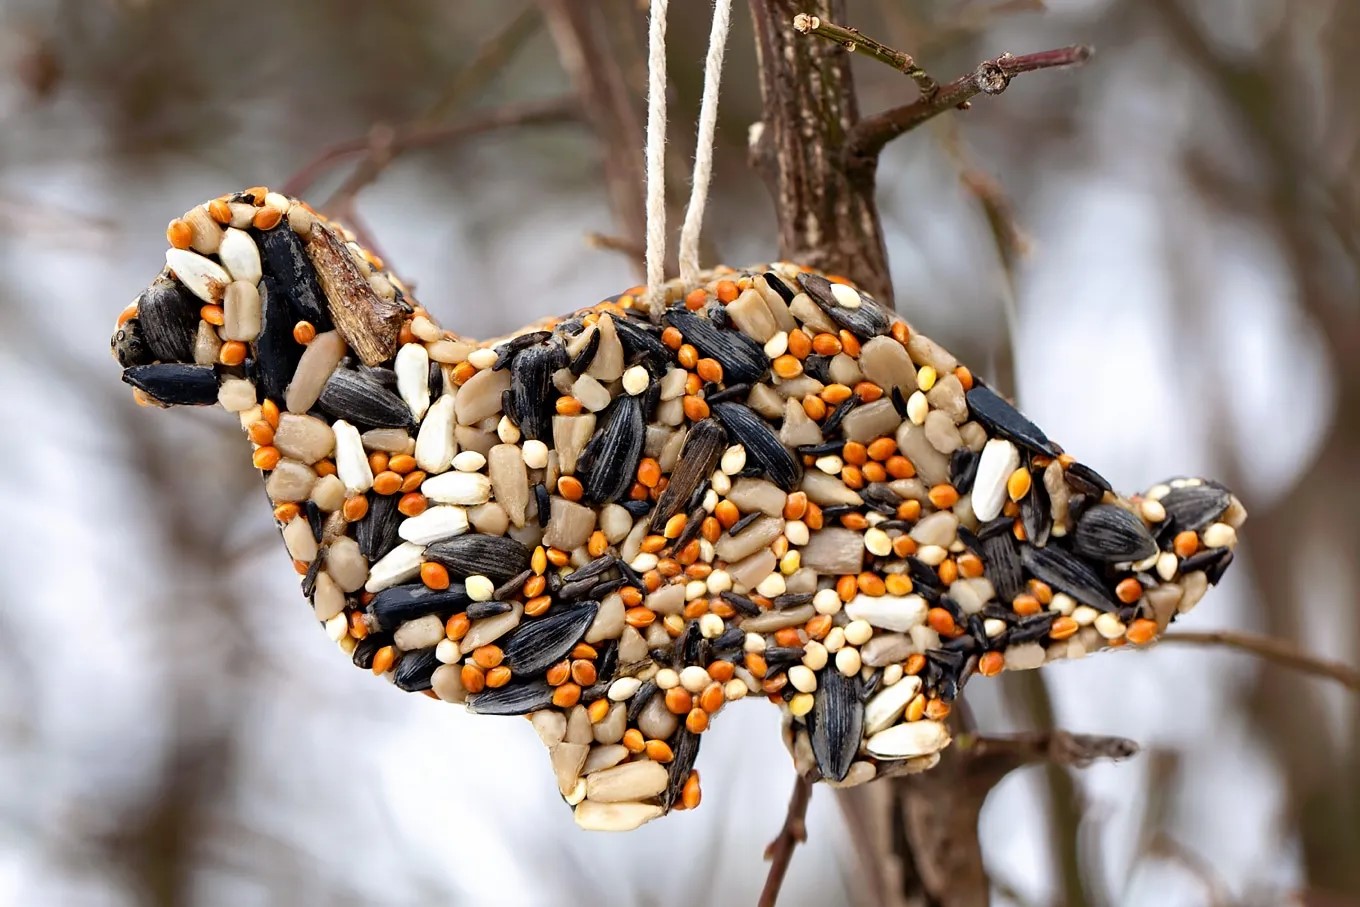
Step 3: Form the Bird Seed Balls
Now that you have your bird seed mixture ready, it’s time to shape it into bird seed balls. This step allows you to get creative and add a personal touch to your bird seed treats.
Start by taking a small handful of the bird seed mixture and gently squeezing it together in your hands. You can also use a cookie cutter or mold to create different shapes if desired. Press the mixture firmly to ensure that the bird seed sticks together.
If you’re using a cookie cutter or mold, place it on a flat surface and spoon the bird seed mixture into it. Use the back of a spoon or your fingers to press the mixture firmly into the shape of the mold.
For a more rustic look, you can also roll the mixture into small balls using your hands. Experiment with different sizes to attract a variety of bird species to your garden.
Continue forming bird seed balls until you have used up all the mixture. If the mixture starts to dry out and becomes difficult to shape, you can moisten your hands with a little water to help with the process.
Remember to leave a small hole at the top of each bird seed ball where you will later thread the twine or string for hanging.
Once you have formed all the bird seed balls, it’s time to let them dry and set. This is a vital step in ensuring that the bird seed balls hold their shape and are ready for the next stage.
Now that you have successfully formed your bird seed balls, it’s time to move on to the next step: allowing them to dry.
Read more: How To Make Bird Seed Ornaments
Step 4: Allow the Bird Seed Balls to Dry
After forming the bird seed balls, it’s important to allow them to dry thoroughly before hanging or placing them in your garden. This step ensures that the bird seed balls maintain their shape and stay intact.
Place the bird seed balls on a flat surface, such as a baking sheet or a wire rack, and leave them in a cool, dry area. It’s essential to choose a location where they won’t be disturbed so that they have ample time to dry completely.
The drying process typically takes around 24 to 48 hours, but it may vary depending on the humidity level in your area. It’s crucial to check the bird seed balls regularly to ensure they are fully dry before proceeding to the next step.
During the drying process, you may notice that the bird seed balls harden and become more solid. This is perfectly normal and indicates that they are ready for the final step of the process.
Once the bird seed balls are completely dry, you can gently lift them off the surface and check for any areas that might need reinforcement. If you notice any loose seeds or sections that seem to be falling apart, you can press them back into place and gently reshape the bird seed balls if needed.
With the bird seed balls now dried and structurally sound, it’s time to move on to the final step: hanging or placing them in your garden.
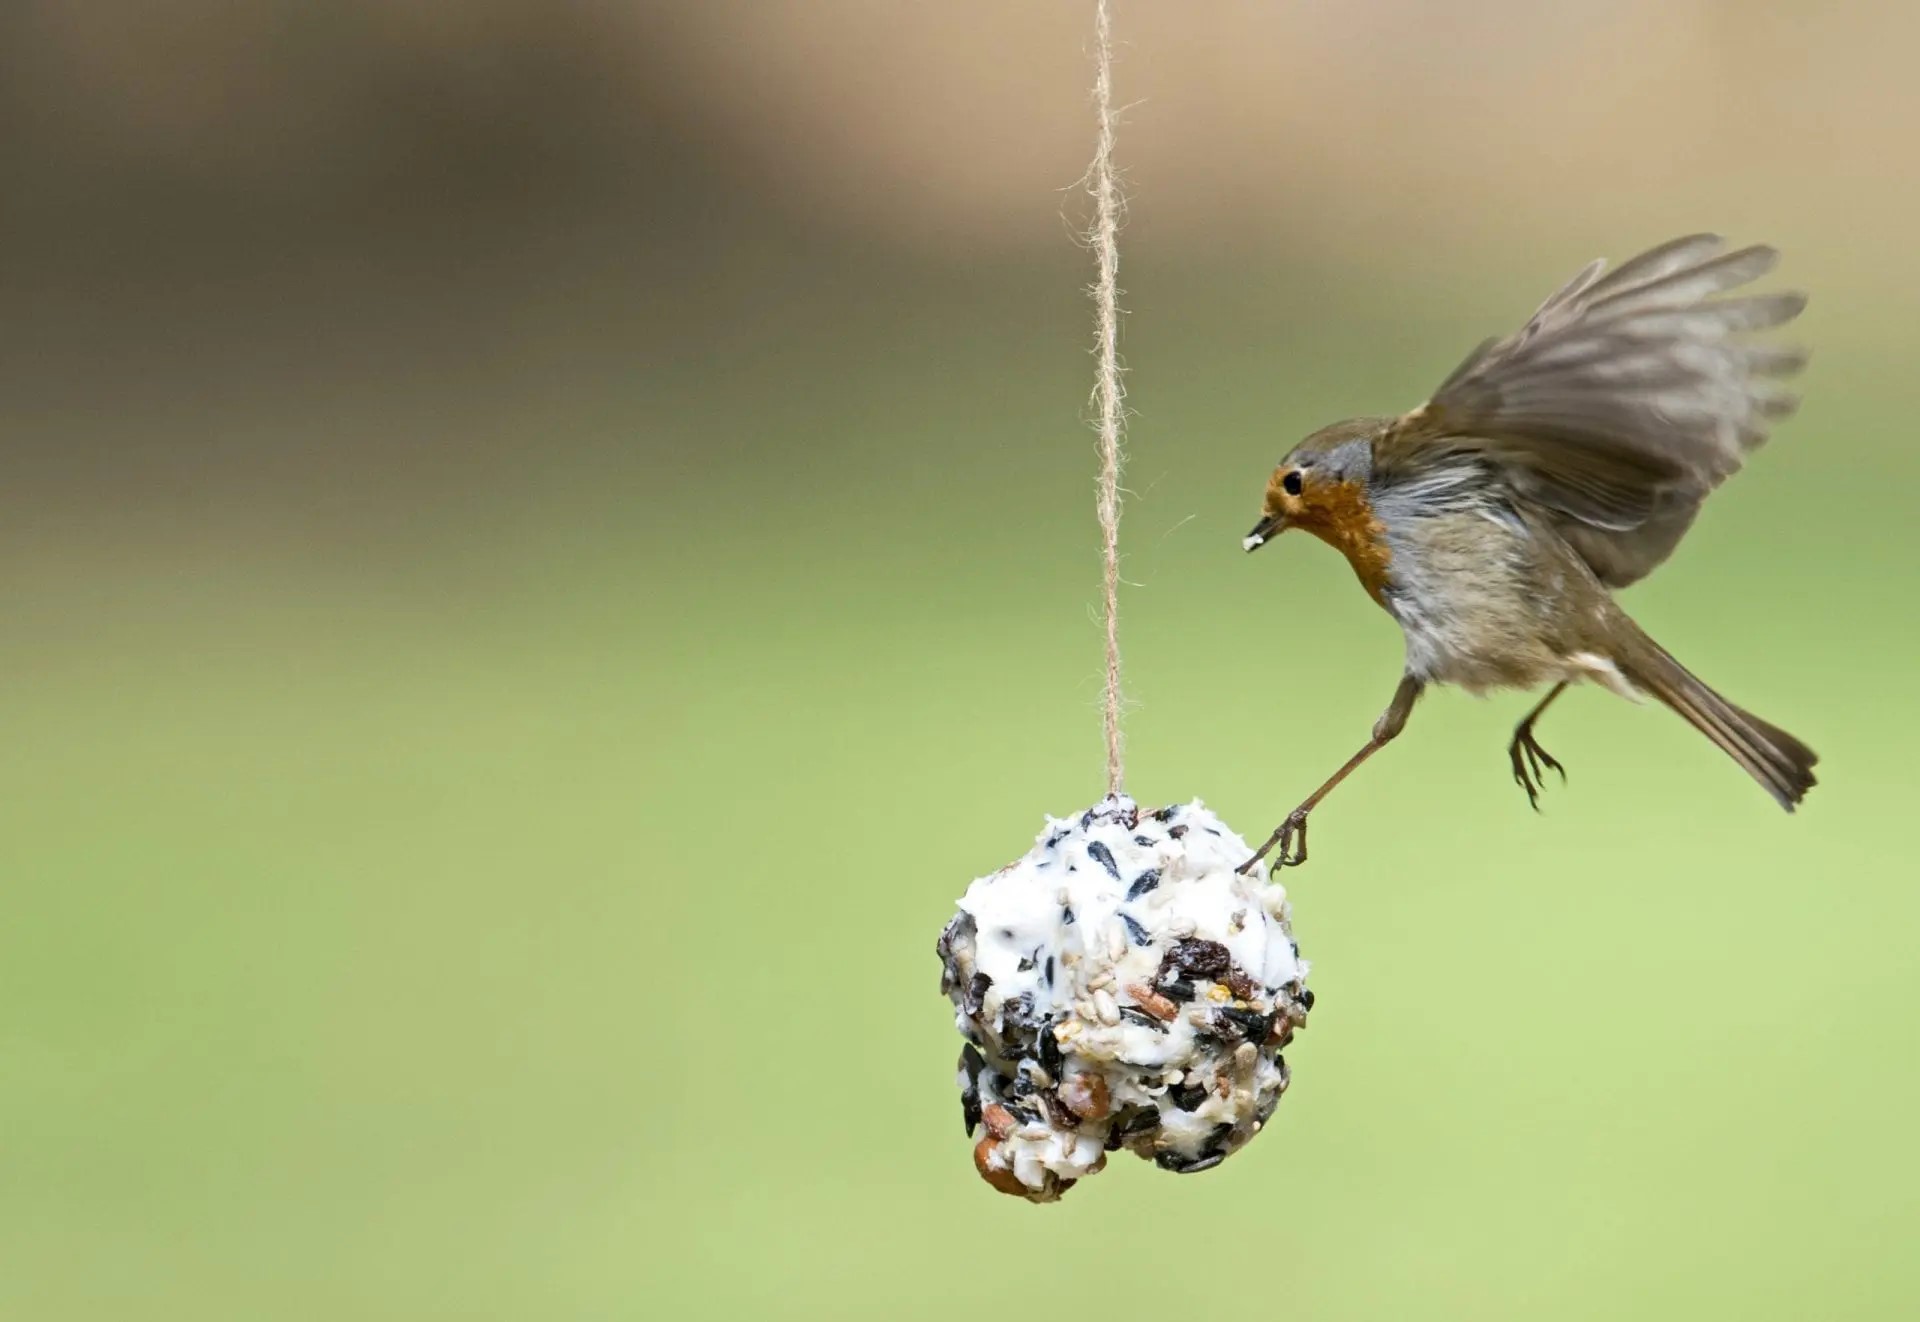
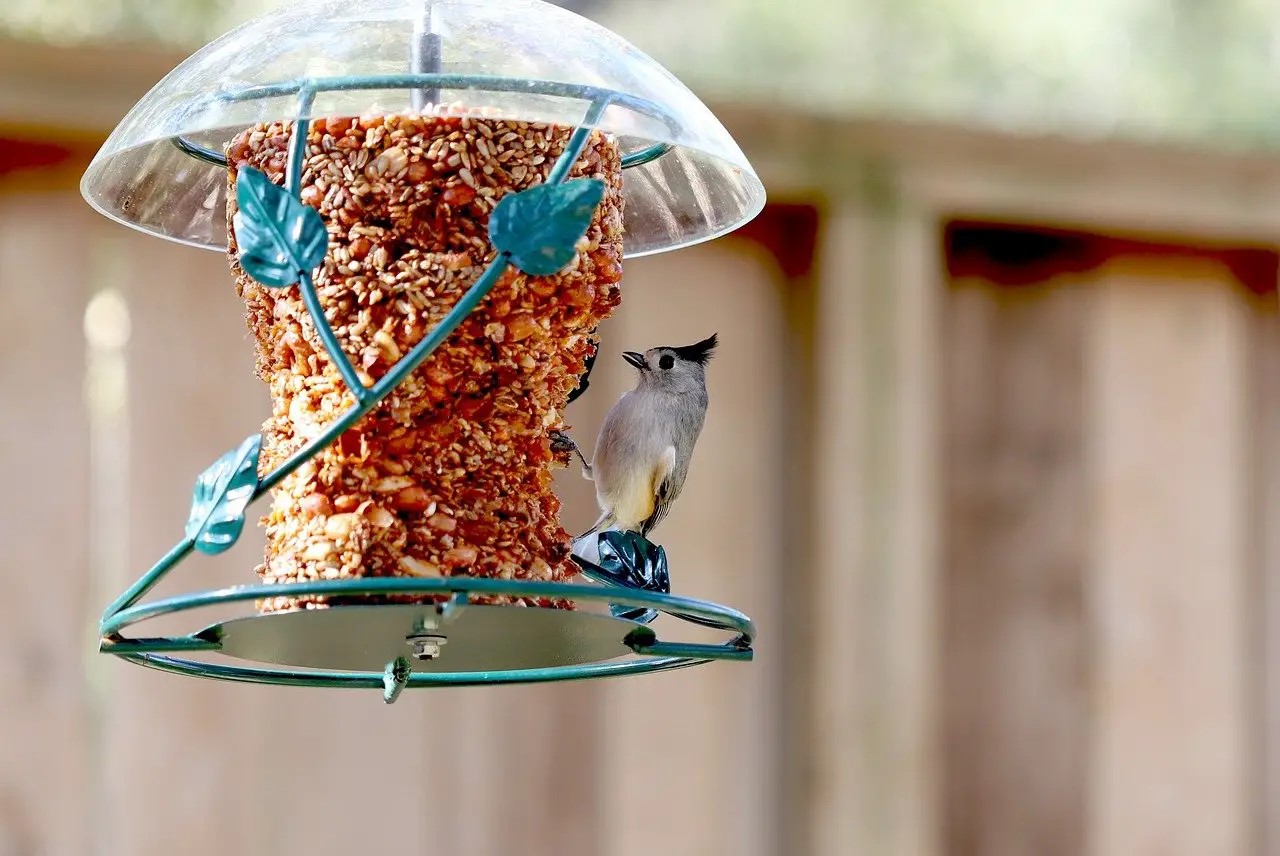
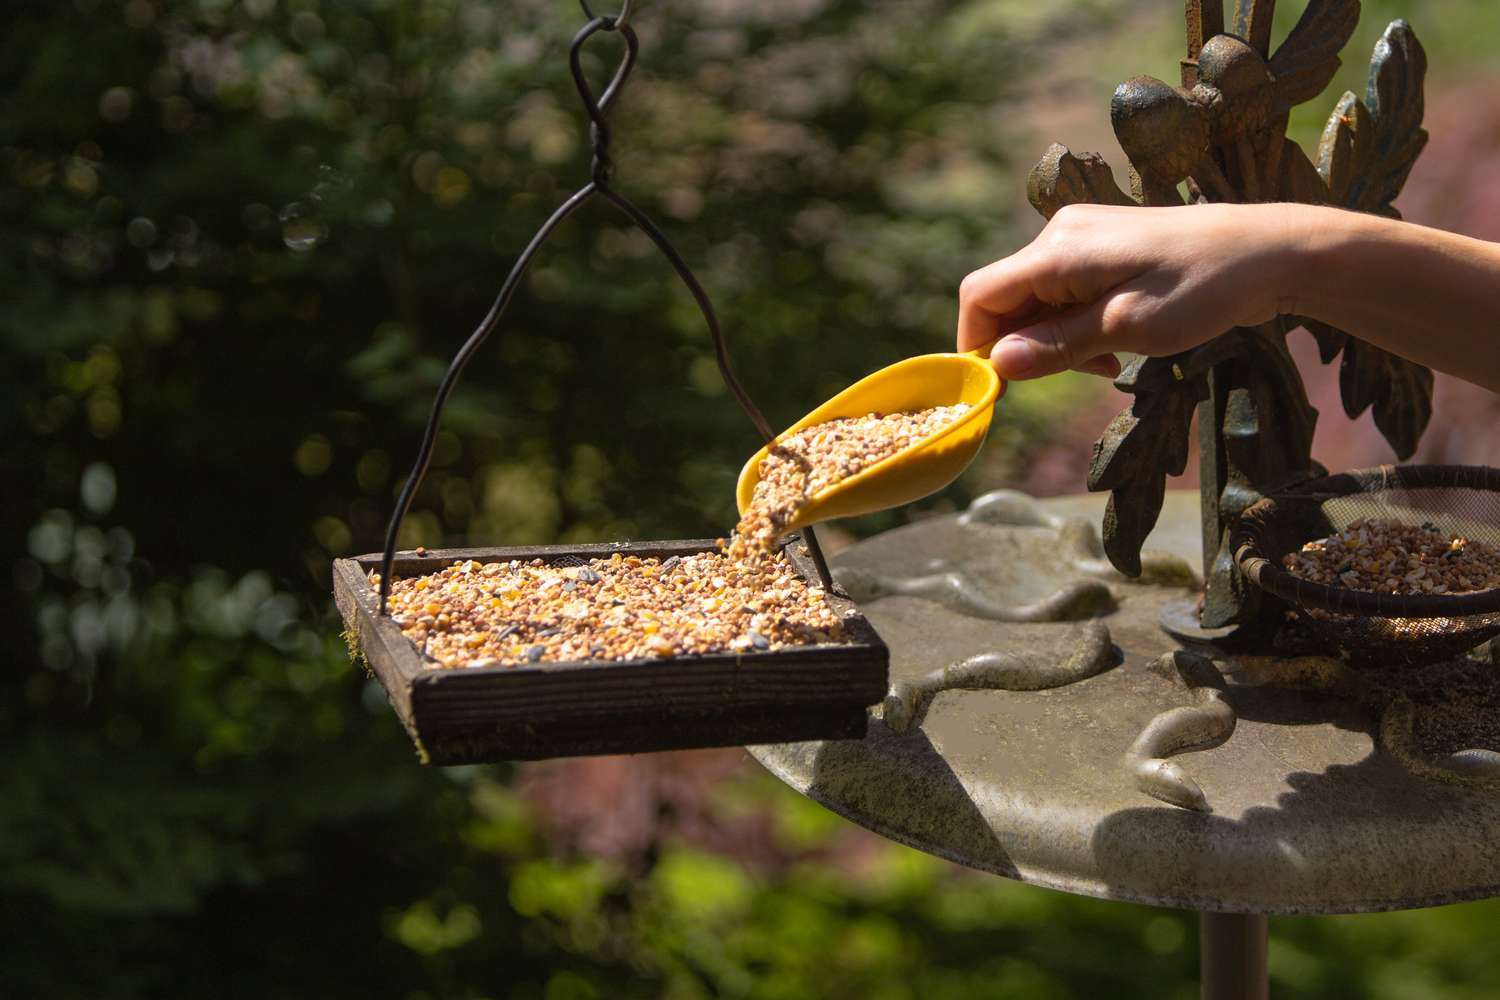
Step 5: Hang or Place the Bird Seed Balls
Now that your bird seed balls are dry and ready to go, it’s time to find the perfect spot in your garden to hang or place them. This step ensures that the bird seed balls are easily accessible to the feathered visitors you hope to attract.
If you have a tree or sturdy branch in your garden, you can attach the bird seed balls using twine or string. Simply thread the twine through the hole you left at the top of each bird seed ball, then tie a secure knot. Make sure the knot is tight enough to prevent the bird seed ball from falling off but not so tight that it damages the structure.
Choose a location that is easily visible from certain vantage points, such as a window or patio, so that you can enjoy watching the birds feasting on their treat.
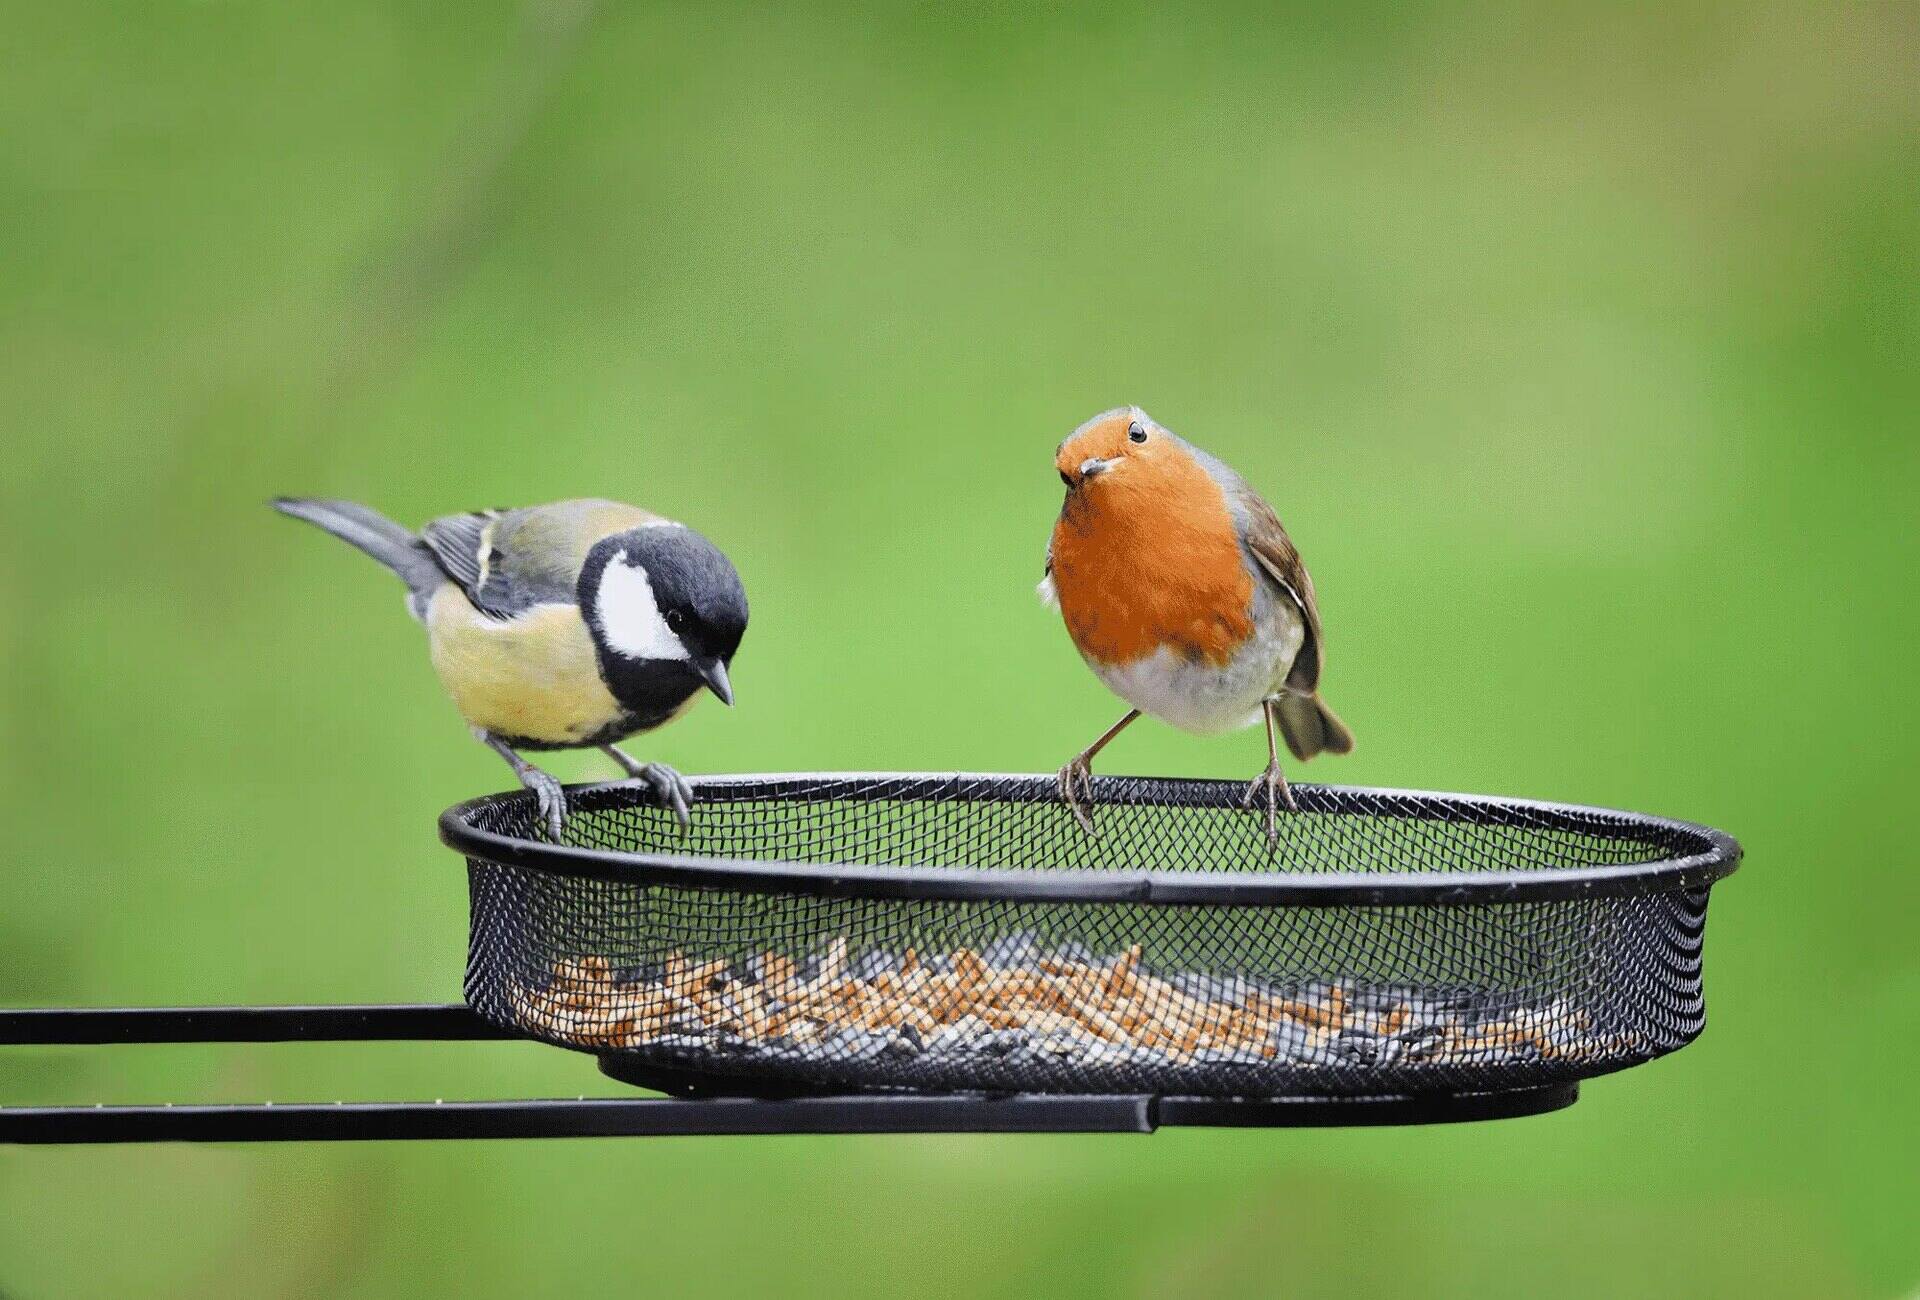
If you don’t have trees or branches available, you can also place the bird seed balls on a bird feeder tray, flat rock, or even a decorative dish. Birds will still be able to enjoy the goodies without the need for hanging.
Make sure to position the bird seed balls in a quiet area away from potential threats, such as predators or noise disturbances. Providing a safe and peaceful environment will encourage more birds to visit and enjoy the tasty treats.
Keep in mind that bird seed balls may attract not only a variety of bird species but also squirrels and other critters. If you want to discourage unwanted visitors, consider using squirrel-proof feeders or placing the bird seed balls in a location that is more difficult for them to access.
Remember to regularly check and replace the bird seed balls as needed. Depending on the bird activity in your area, they may be devoured quickly, so it’s important to keep the supply replenished to maintain the flow of avian visitors to your garden.
By hanging or placing your homemade bird seed balls, you are providing a delicious and nutritious food source for birds while creating a delightful display in your garden.
Congratulations! You have successfully completed all the steps to create and display your very own bird seed balls. Get ready to sit back, relax, and enjoy the beauty and charm of the feathered friends that will soon be gracing your garden.
Now, it’s time to start reaping the rewards of your efforts and observe the wonderful array of birds that will be attracted to your garden thanks to your homemade bird seed balls.
Conclusion
Congratulations on making your very own bird seed balls! By following the simple steps outlined in this guide, you have created a delightful treat for our feathered friends while adding charm and beauty to your garden.
Bird seed balls offer a fantastic way to attract a variety of bird species to your outdoor space. Not only do they provide birds with a much-needed source of food, but they also offer a wonderful opportunity for birdwatching and appreciating the wonders of nature.
Remember, you can get creative with your bird seed balls by experimenting with different shapes, sizes, and seed varieties. This allows you to cater to the preferences of various bird species and make your garden a true avian paradise.
Hang or place your bird seed balls in a location that is easily visible from your vantage points, such as a window, patio, or garden. This will allow you to observe the birds as they feast on the tasty treats you have provided.
Keep in mind that bird seed balls may also attract other wildlife, such as squirrels or chipmunks. If you prefer to deter these visitors, consider using squirrel-proof feeders or placing the bird seed balls in locations that are less accessible to them.
Replenish the bird seed balls regularly to ensure a constant food source for the birds. This will keep them coming back and create a bustling hub of activity in your garden.
Enjoy the beauty and wonders of nature as you watch a variety of bird species flock to your garden. Take delight in the colors, sounds, and behaviors of these remarkable creatures.
Thank you for embarking on this journey of creating bird seed balls and embracing the joys of birdwatching. Your efforts contribute to the well-being of these magnificent creatures and enhance the overall biodiversity in your garden.
Happy birdwatching!
Frequently Asked Questions about How To Make A Bird Seed Ball
Was this page helpful?
At Storables.com, we guarantee accurate and reliable information. Our content, validated by Expert Board Contributors, is crafted following stringent Editorial Policies. We're committed to providing you with well-researched, expert-backed insights for all your informational needs.
0 thoughts on “How To Make A Bird Seed Ball”