
Articles
How To Hang Hummingbird Feeder On Balcony
Modified: December 7, 2023
Learn how to hang a hummingbird feeder on your balcony with these informative articles. Enhance your balcony with beautiful hummingbird visitors.
(Many of the links in this article redirect to a specific reviewed product. Your purchase of these products through affiliate links helps to generate commission for Storables.com, at no extra cost. Learn more)
Introduction
Welcome to the wonderful world of hummingbirds! These tiny, colorful birds are a delight to watch, and attracting them to your balcony can bring a sense of joy and serenity to your outdoor space. One of the key elements in attracting hummingbirds is by hanging a feeder on your balcony. Not only does it provide them with a source of nourishment, but it also allows you to observe these fascinating creatures up close.
In this article, we will guide you through the process of hanging a hummingbird feeder on your balcony. From choosing the right location to maintaining the feeder, we will cover all the essential steps to ensure a successful and enjoyable experience.
So, get ready to create a hummingbird haven on your balcony and watch as these incredible birds grace you with their presence!
Key Takeaways:
- Create a hummingbird haven on your balcony by choosing the right location, feeder, and maintaining a clean environment. Enjoy the vibrant presence of these delightful creatures with regular nectar refills and observation.
- Attract and nurture hummingbirds on your balcony with a carefully selected feeder, proper installation, and regular maintenance. Create a welcoming habitat for these enchanting birds and enjoy their graceful presence.
Step 1: Choosing the Location
The first step in hanging a hummingbird feeder on your balcony is to carefully choose the location. Hummingbirds are attracted to feeders that are in a safe and inviting environment. Here are some factors to consider when selecting the ideal spot:
- Sunlight: Hummingbirds are most active during the early morning and late afternoon when the sun is not too harsh. Choose a location that receives partial sunlight, preferably in a shaded area.
- Protection: Look for a spot that offers some protection from strong winds and rain. This will prevent the feeder from swinging too much and spilling nectar.
- Visibility: Place the feeder in a location where you can easily observe the hummingbirds’ visits. This will allow you to enjoy their presence and monitor the nectar levels.
- Accessibility: Consider the ease of access for both hummingbirds and yourself. Ensure that the feeder is positioned at a height that is easily reachable for refilling and cleaning.
Keep in mind that every balcony is different, so take a moment to assess the available space and identify the best location that meets these criteria. Once you have found the perfect spot, it’s time to move on to the next step!
Step 2: Selecting the Right Feeder
Choosing the right feeder for your hummingbirds is crucial to their well-being and your enjoyment. There are various types of feeders available, but here are a few key factors to consider when making your selection:
- Design: Look for a feeder with a design that is attractive to hummingbirds. They are typically drawn to bright colors like red, orange, and pink. Opt for a feeder with vibrant floral shapes or patterns that mimic the flowers hummingbirds naturally feed on.
- Material: Feeder materials should be sturdy and easy to clean. Glass and plastic feeders are common choices, as they are durable and allow easy monitoring of nectar levels.
- Capacity: Consider the quantity of nectar the feeder can hold. A larger capacity feeder will require less frequent refilling and accommodate more hummingbirds at once.
- Perches: Look for a feeder that includes small perches for hummingbirds to rest on while feeding. This will provide them with a comfortable space to enjoy their meal.
Take your time to browse through different feeder options and read reviews to find the one that meets your preferences and requirements. Once you have selected the perfect feeder, you’re one step closer to bringing hummingbirds to your balcony!
Step 3: Gathering the Necessary Tools and Materials
Before you can hang the hummingbird feeder on your balcony, it’s important to gather all the necessary tools and materials to ensure a smooth installation process. Here’s a list of items you’ll need:
- Feeder: The hummingbird feeder you selected in the previous step.
- Feeder Hanger: Choose a sturdy hanger that is capable of supporting the weight of the feeder and withstand outdoor conditions. Options include hooks, brackets, or suction cups designed for hanging feeders.
- Measuring Tape: Using a measuring tape will help you determine the ideal height and placement for the feeder.
- Drill and Screws: If you opt for a bracket or hook that requires installation, make sure you have a drill and screws on hand.
- Optional: Nectar: Depending on the feeder you purchased, you may need to prepare or purchase hummingbird nectar. Alternatively, you can make your own nectar by mixing four parts water with one part white granulated sugar.
Double-check that you have all the necessary tools and materials before proceeding to the next step. Having everything prepared will make the installation process much more efficient.
Step 4: Preparing the Balcony
Now that you have gathered all the tools and materials, it’s time to prepare your balcony for the hummingbird feeder. Follow these steps to ensure a suitable and inviting environment:
- Clean the Area: Remove any debris or clutter from your balcony to create a clean and safe space for the feeder. This will also reduce the likelihood of attracting pests.
- Clear Obstructions: Ensure that there are no obstacles blocking the path to the feeder. Hummingbirds prefer open spaces with easy access to the food source.
- Provide Shelter: Consider adding some low plants or shrubs near the feeder to provide hummingbirds with natural cover. This will make them feel more secure while feeding.
- Avoid Nearby Predators: Keep the feeder away from areas where potential predators, such as cats or squirrels, can easily access it. Choose a location that provides a clear line of sight for both you and the hummingbirds.
By preparing your balcony in this way, you create an inviting atmosphere for hummingbirds to visit and feed without any unnecessary disturbances. Take the time to make these adjustments to ensure the best experience for both you and the hummingbirds.
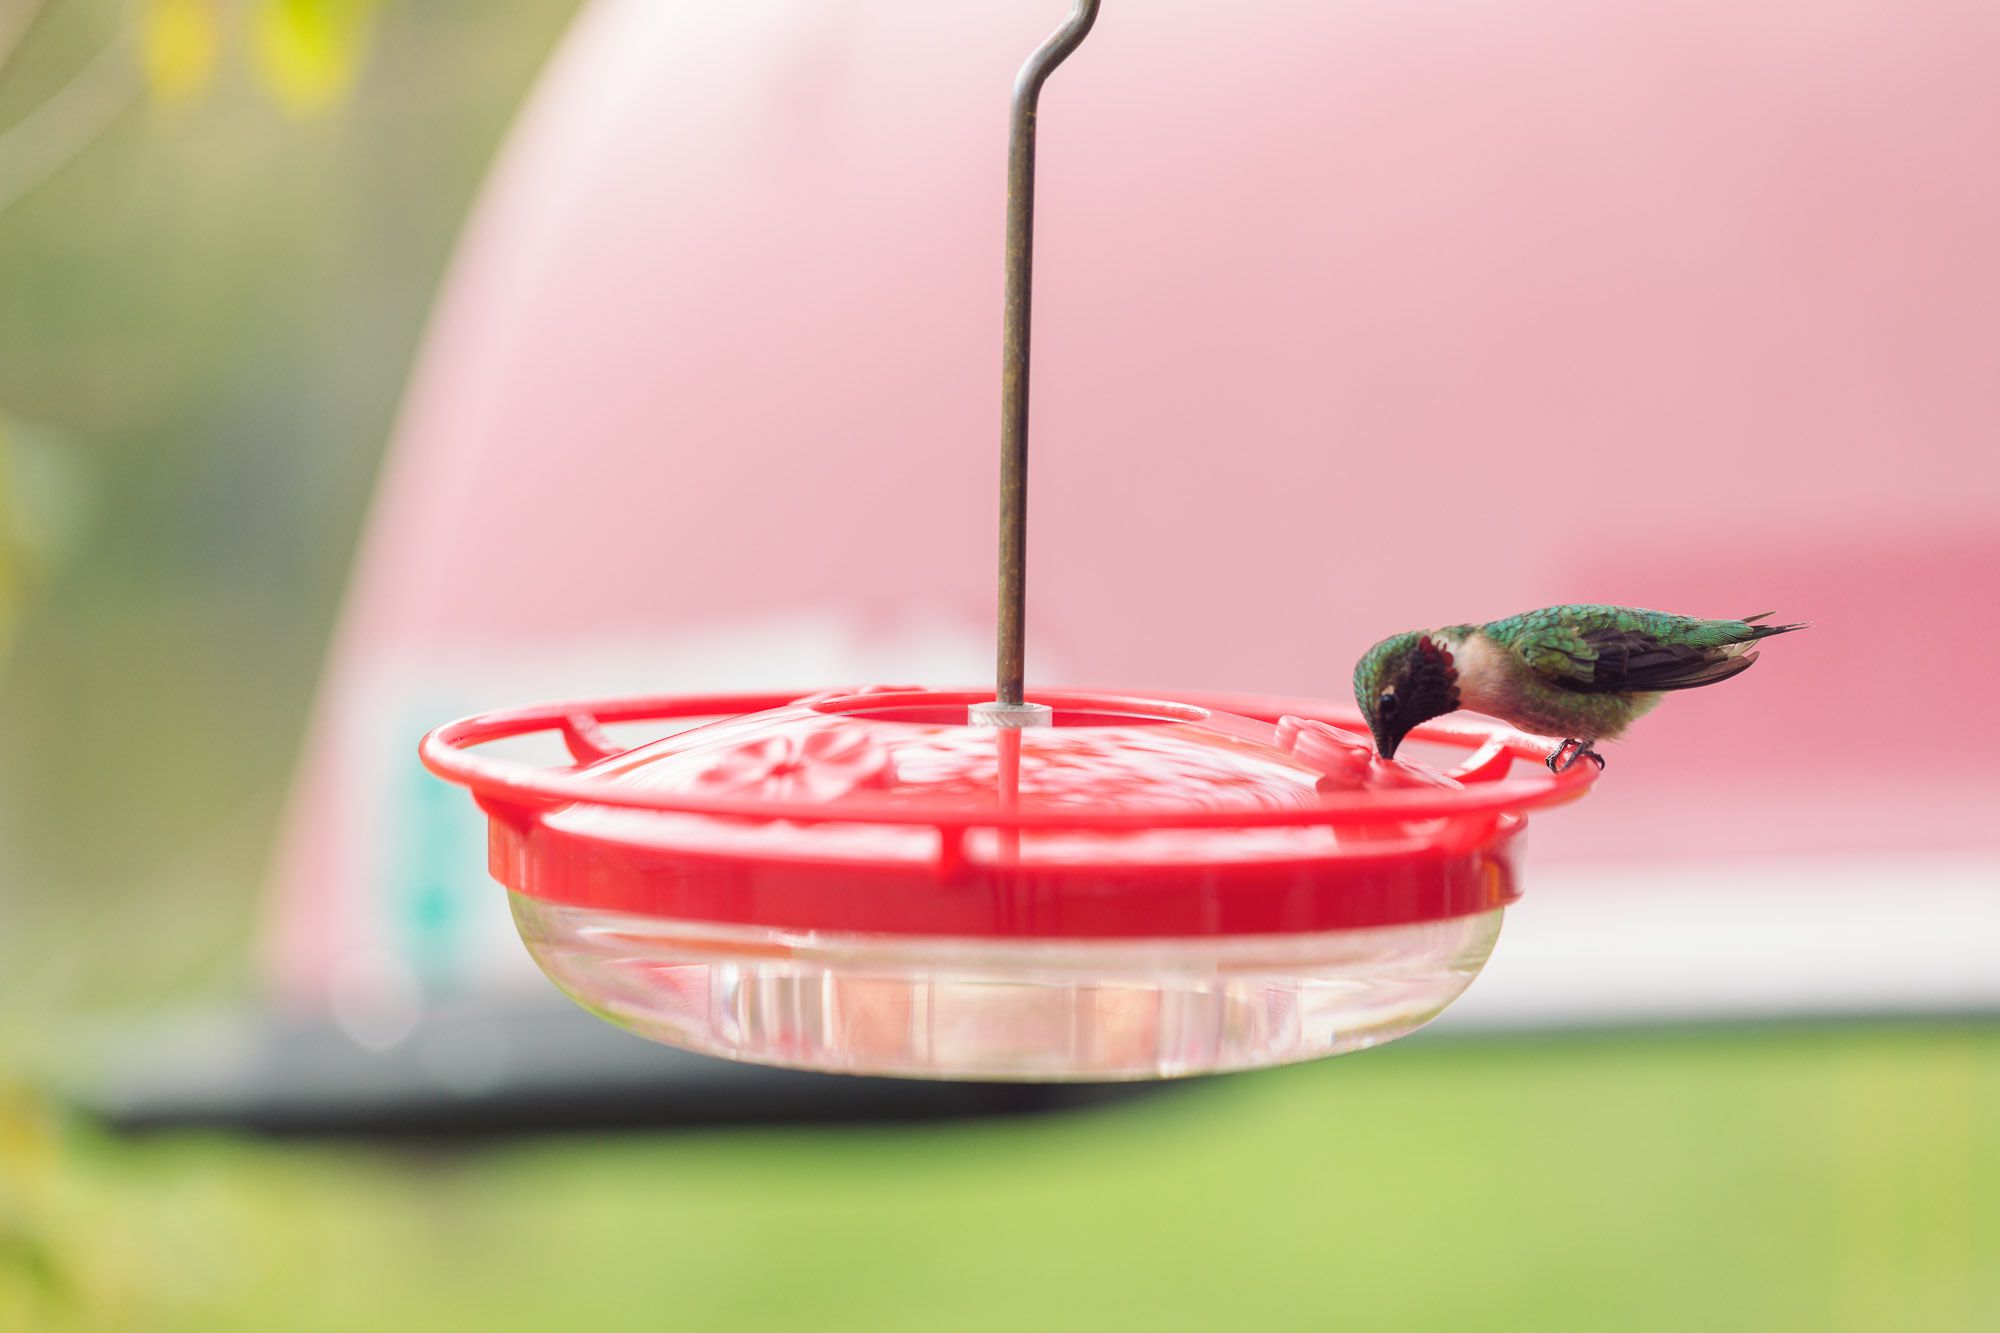
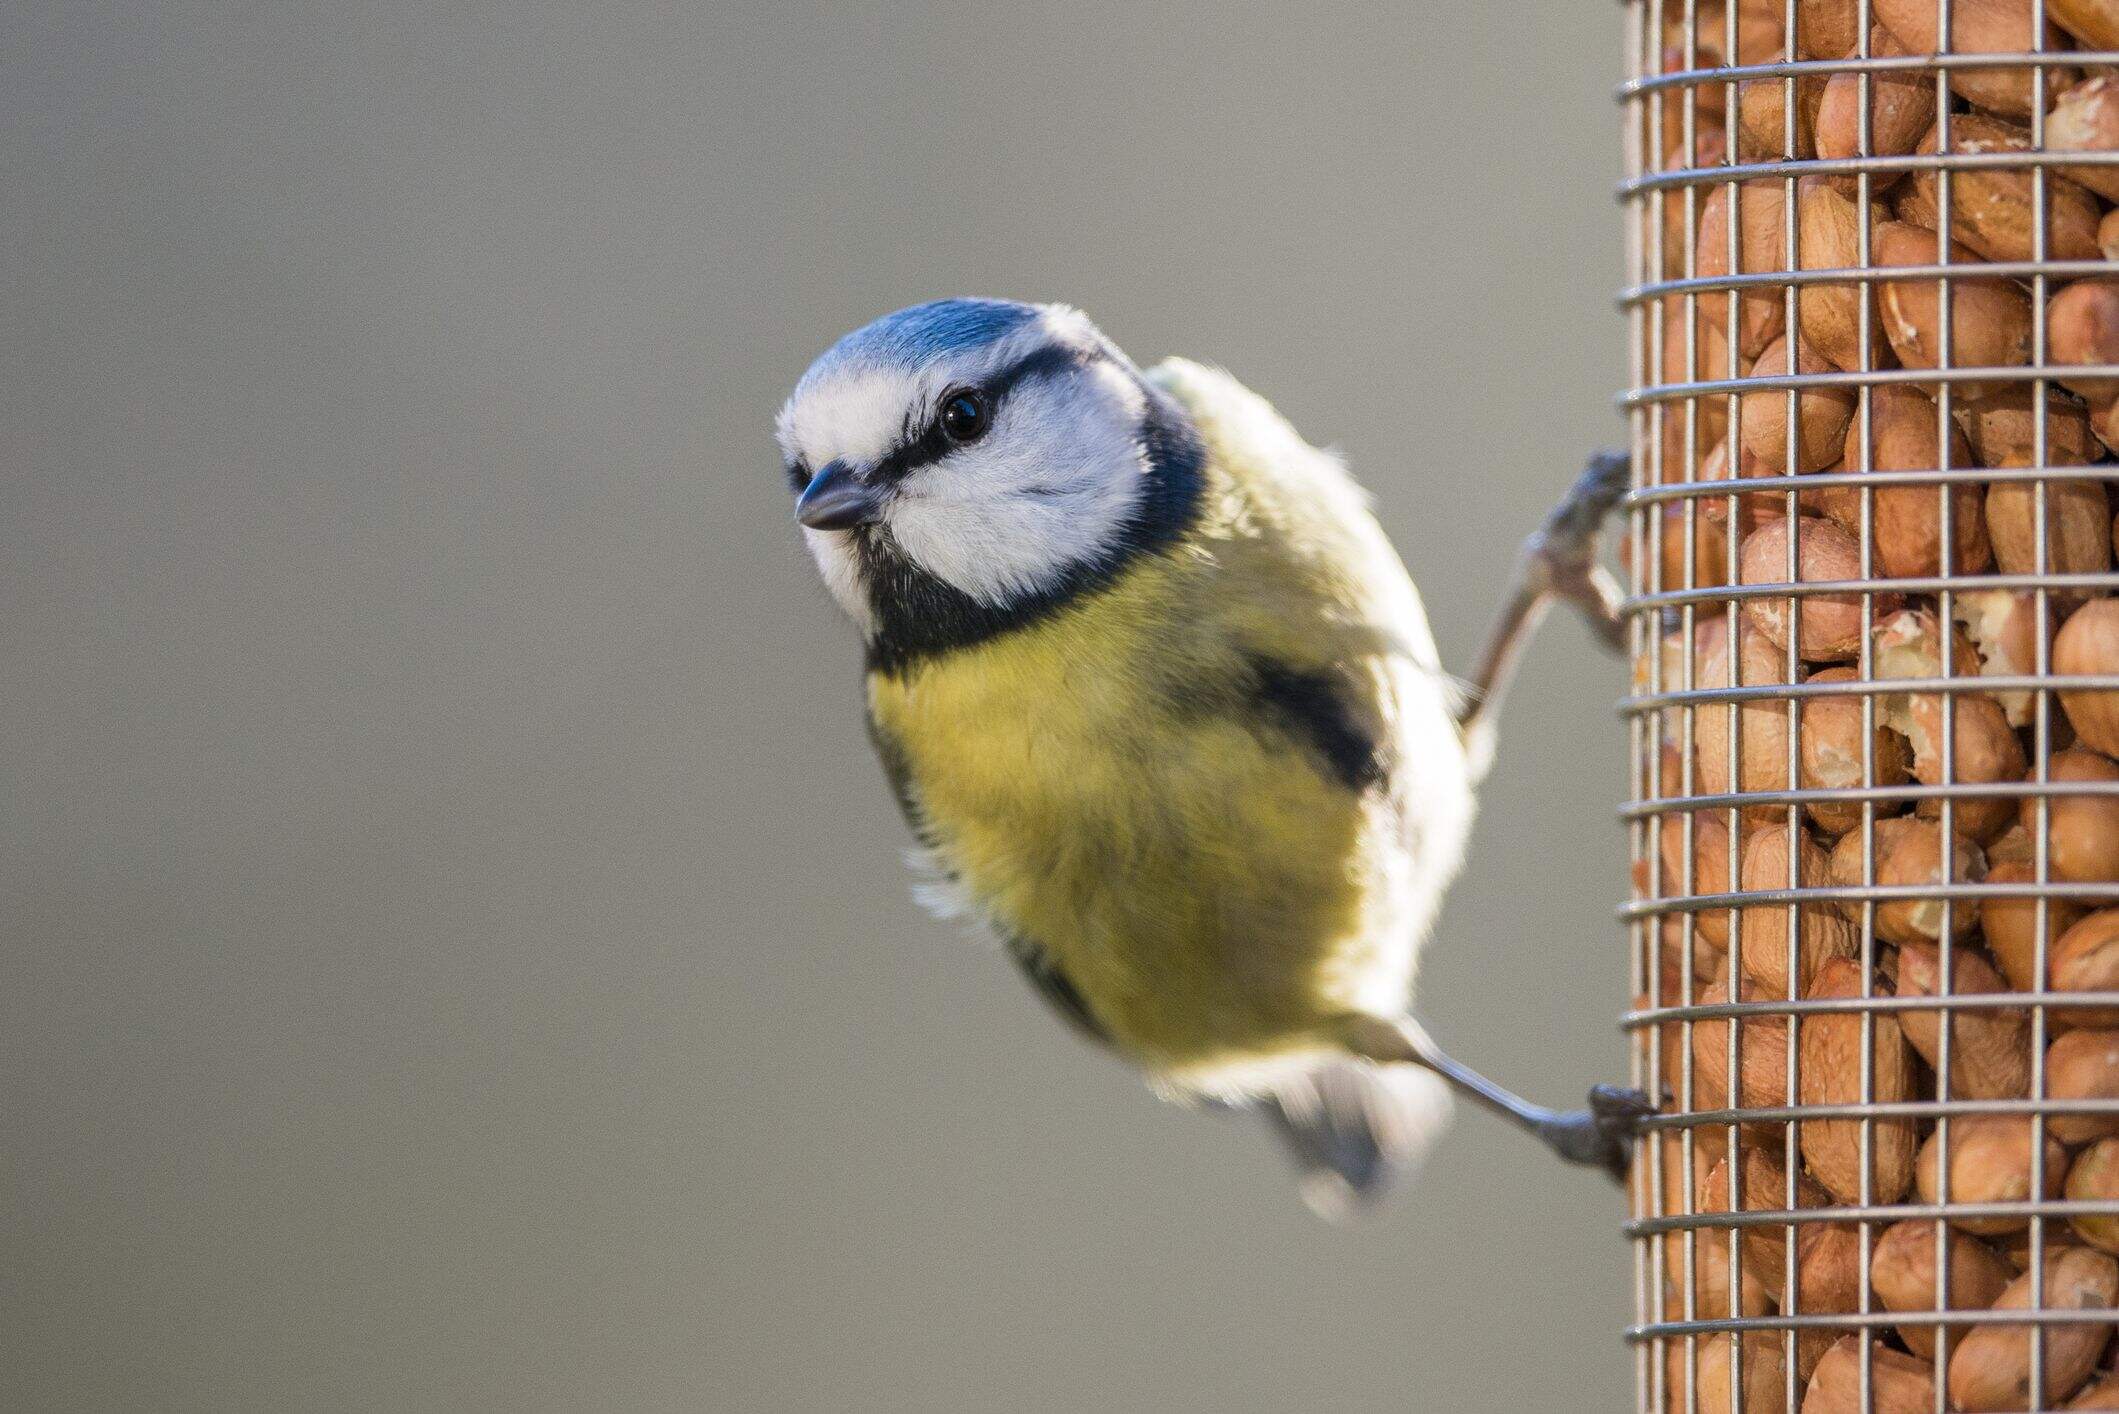
Use a small hook or suction cup to hang the hummingbird feeder on your balcony. Make sure it’s placed in a spot that’s easily visible and accessible for the hummingbirds. Keep it away from direct sunlight to prevent the nectar from spoiling too quickly.
Read more: How To Hang Curtains On Balcony
Step 5: Installing the Feeder Hanger
Now that your balcony is prepared, it’s time to install the feeder hanger. Follow these steps to securely hang your hummingbird feeder:
- Choose the Location: Based on Step 1, identify the ideal location on your balcony to hang the feeder. Ensure it meets the criteria of receiving partial sunlight, offering protection from wind and rain, being easily accessible, and providing good visibility.
- Measure and Mark: Use a measuring tape to determine the desired height for the feeder. Mark the spot on your balcony where you will install the hanger.
- Drill (if necessary): If you’re using a bracket or hook that requires installation, use a drill to create pilot holes in the marked spot on your balcony.
- Attach the Hanger: Depending on the type of hanger you have, follow the manufacturer’s instructions to properly attach it to your balcony. This may involve screwing it in or securely fastening it to the surface.
- Test the Stability: Before hanging the feeder, gently test the stability of the hanger to ensure it can support the weight of the feeder.
Once the feeder hanger is securely installed, you’re ready to move on to the next step and fill the feeder with delicious nectar!
Step 6: Filling the Feeder with Nectar
With the feeder hanger in place, it’s time to fill your hummingbird feeder with delicious nectar. Follow these steps to ensure the best feeding experience for the hummingbirds:
- Prepare the Nectar: If you haven’t already, prepare the hummingbird nectar by mixing four parts water with one part white granulated sugar. Boil the water to dissolve the sugar completely, then let it cool before using.
- Clean the Feeder: Before filling the feeder, make sure it is clean and free from any residue or contaminants. Rinse it thoroughly with warm water, using a bottle brush if necessary.
- Pour the Nectar: Carefully pour the prepared nectar into the feeder. Be mindful not to overfill it, as the excess nectar may spill or spoil.
- Secure the Feeder: Make sure the lid or cap of the feeder is tightly secured to prevent any leakage. This will also keep the nectar fresh for longer periods.
- Hang the Feeder: With the nectar-filled feeder in hand, hang it on the installed hanger. Ensure it is level and stable to prevent any spills.
Remember to regularly monitor the nectar levels and refill the feeder when necessary. Hummingbirds have high metabolisms and will consume nectar quickly, especially during their active periods.
Now that your feeder is filled with enticing nectar, you can step back and wait for the hummingbirds to discover their new feeding station on your balcony!
Step 7: Regular Maintenance and Cleaning
Maintaining a clean and hygienic hummingbird feeder is essential for the health and well-being of the hummingbirds. Follow these steps to ensure proper maintenance and cleaning:
- Monitor Daily: Check the feeder daily to assess the nectar levels and make sure it is clean and in good condition.
- Refill and Replace: Refill the feeder with fresh nectar every 3 to 4 days, or sooner if the nectar becomes cloudy or spoiled. If you notice any signs of damage or wear on the feeder, replace it to maintain a safe and healthy environment.
- Clean Regularly: Every time you refill the feeder, take the opportunity to clean it thoroughly. Disassemble the feeder, removing all parts, and wash them with warm water and mild soap. Rinse them thoroughly to remove any soap residue.
- Use a Brush: For hard-to-reach areas, use a small brush, such as a bottle brush, to scrub away any debris or build-up. This will help prevent the growth of mold or bacteria.
- Dry Completely: After cleaning, ensure that all the parts of the feeder are completely dry before reassembling and refilling it. Moisture can lead to mold growth, which is harmful to hummingbirds.
- Inspect for Pests: Regularly inspect the feeder for any signs of pests, such as ants or bees. If necessary, consider using ant guards or bee guards to deter them from accessing the nectar.
Adhering to these maintenance and cleaning practices will ensure that your hummingbird feeder remains a safe and inviting place for hummingbirds to feed. It also helps maintain the quality of the nectar, ensuring it remains fresh and appealing to these delightful creatures.
By following these 7 steps, you can successfully hang a hummingbird feeder on your balcony and create a welcoming habitat for these enchanting birds. Enjoy the satisfaction of watching them visit and feed, bringing beauty and vibrancy to your outdoor space!
Conclusion
Congratulations! You have now learned how to hang a hummingbird feeder on your balcony. By following the steps outlined in this guide, you can create a captivating environment that attracts these graceful birds and provides them with a source of nourishment.
Remember, selecting the right location, choosing the appropriate feeder, and preparing your balcony are crucial steps in creating an inviting space for hummingbirds. Installing the feeder hanger and filling it with nectar will further entice these beautiful creatures to visit your balcony.
Regular maintenance and cleaning are essential to ensure the health and well-being of the hummingbirds. By monitoring the feeder, refilling it with fresh nectar, and regularly cleaning the feeder, you create a safe and hygienic environment that keeps the hummingbirds coming back.
Take the time to observe and enjoy the presence of these tiny marvels as they flutter and hover around your balcony, drinking from their feeder. Their vibrant colors and rapid wing-beats will bring joy and tranquility to your outdoor space.
Remember to respect and protect these delicate creatures by avoiding the use of pesticides, planting native flowers to provide additional food sources, and creating a sanctuary they can safely enjoy.
With your newly acquired knowledge and the steps provided in this guide, you are now well-equipped to embark on your hummingbird feeding journey. So go ahead, hang that feeder, sit back, and immerse yourself in the wonder of these mesmerizing birds!
Frequently Asked Questions about How To Hang Hummingbird Feeder On Balcony
Was this page helpful?
At Storables.com, we guarantee accurate and reliable information. Our content, validated by Expert Board Contributors, is crafted following stringent Editorial Policies. We're committed to providing you with well-researched, expert-backed insights for all your informational needs.


0 thoughts on “How To Hang Hummingbird Feeder On Balcony”