Articles
How To Clean Dirt From A Carpet
Modified: August 23, 2024
Learn effective methods to remove dirt from your carpet with these informative articles. Discover tips and tricks to keep your carpets clean and fresh.
(Many of the links in this article redirect to a specific reviewed product. Your purchase of these products through affiliate links helps to generate commission for Storables.com, at no extra cost. Learn more)
Introduction
Having a clean and well-maintained carpet not only enhances the overall appearance of your home, but it also improves the indoor air quality. Over time, carpets can accumulate dirt, dust, pet hair, and stains, making them look dull and unappealing. Cleaning dirt from a carpet is essential to keep it in good condition and extend its lifespan.
In this article, we will guide you through the process of effectively cleaning dirt from a carpet. By following these steps and using the right materials and techniques, you can restore the freshness and beauty of your carpet without much hassle.
Key Takeaways:
- Vacuuming the carpet thoroughly before applying a cleaning solution is crucial to remove loose dirt and debris, prepping the surface for a deeper clean and maximizing the effectiveness of the cleaning process.
- Testing the cleaning solution in a small, hidden area of the carpet is essential to ensure it doesn’t cause any discoloration or damage, providing confidence in using the solution on the entire carpet.
Read more: How To Clean Hair From A Carpet
Materials Needed
Before you begin cleaning your carpet, gather the following materials:
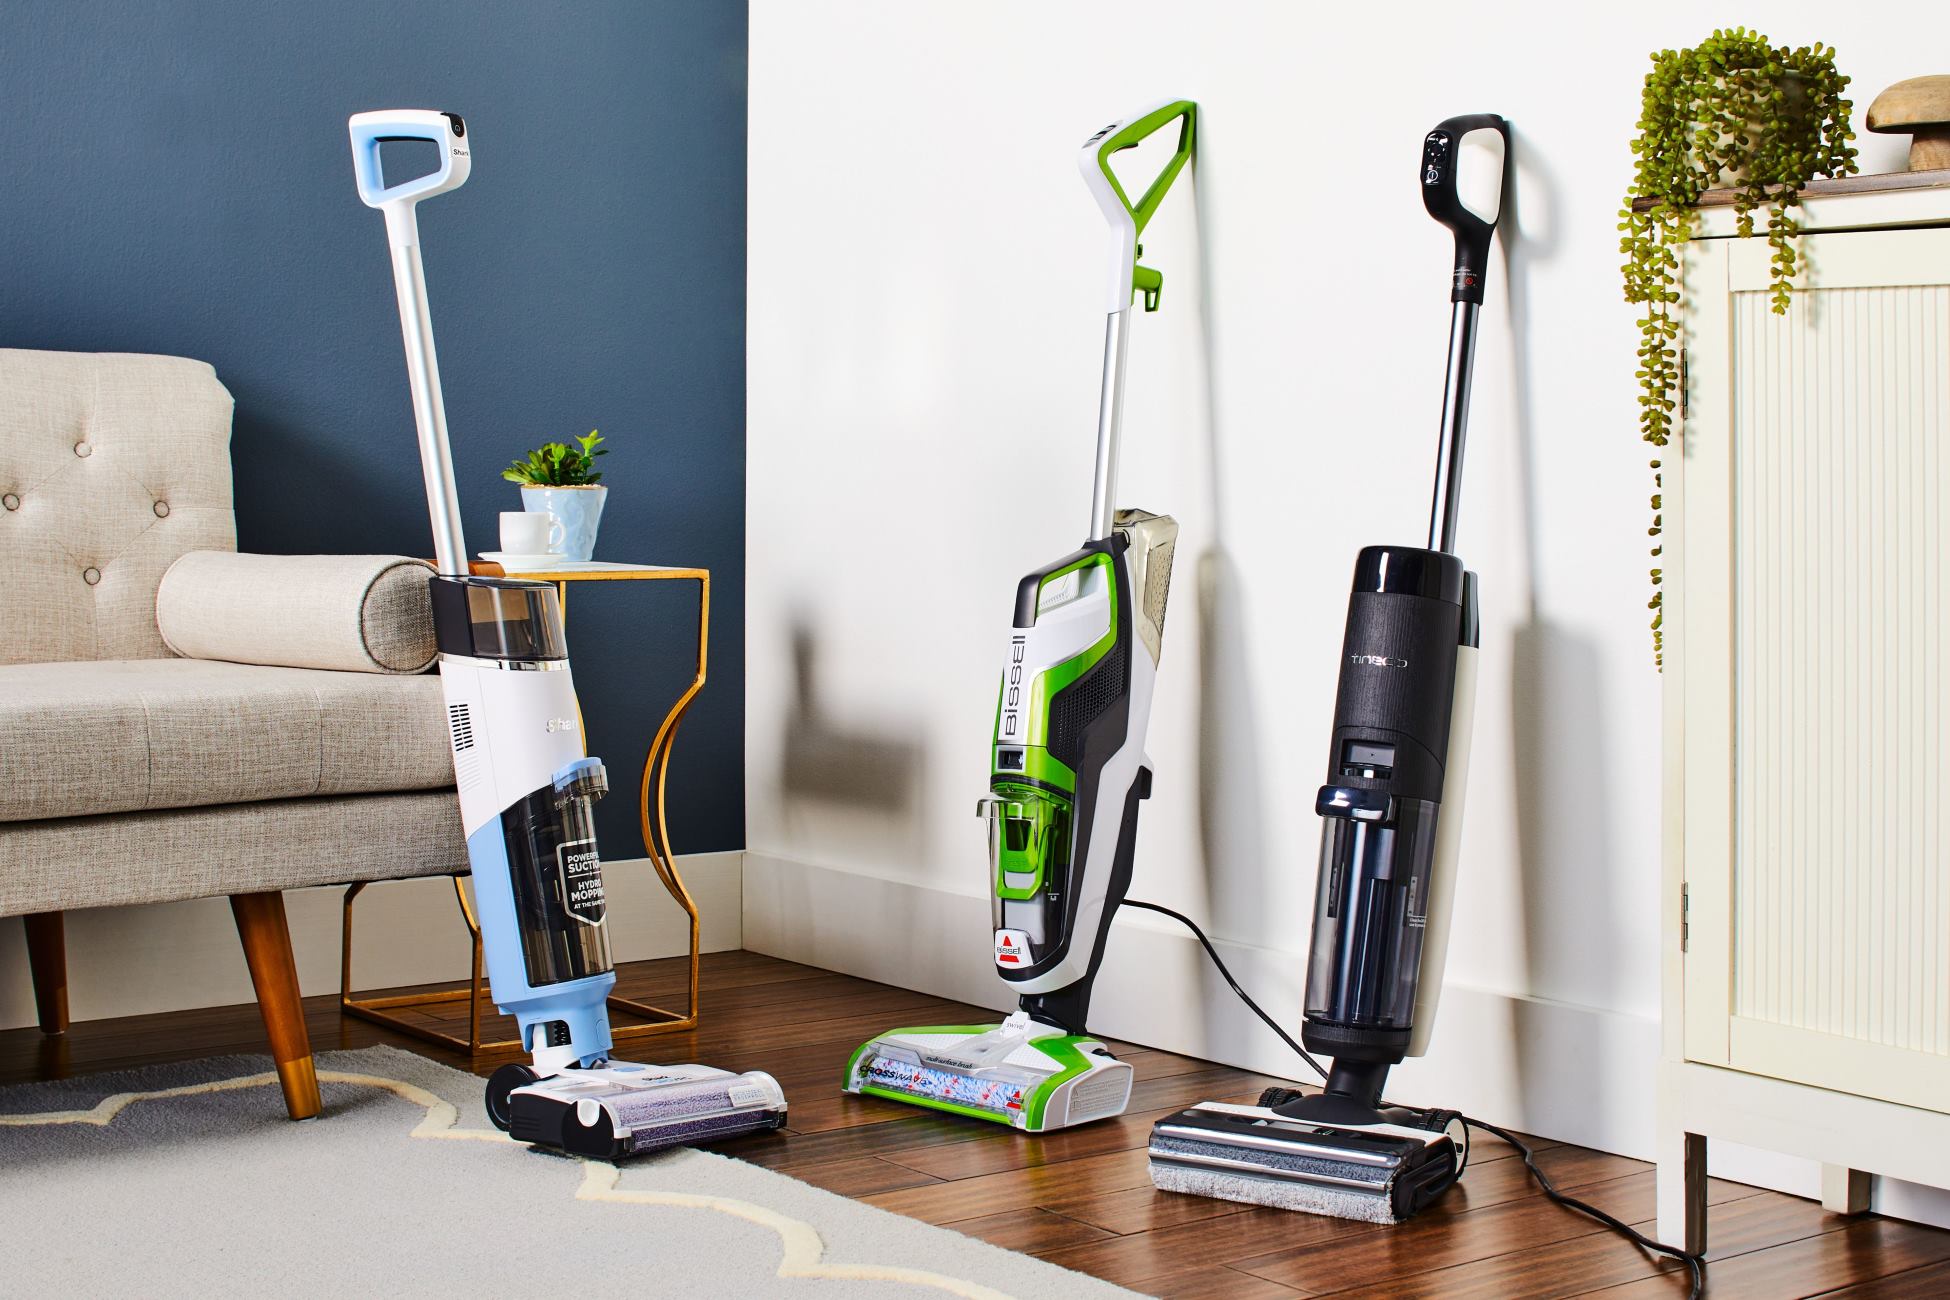
- Vacuum cleaner
- Carpet cleaning solution (commercial or homemade)
- Clean white towels or absorbent cloths
- Soft-bristled brush or sponge
- Bucket or spray bottle
- Clean water
- Rubber gloves
These materials are essential for effectively removing dirt and stains from your carpet. Ensure that your vacuum cleaner is in good working condition with a clean filter to maximize its suction power.
When it comes to the carpet cleaning solution, you have several options. You can choose to purchase a commercial carpet cleaner from your local store, or you can make your own solution using ingredients such as baking soda, white vinegar, and dish soap. Homemade solutions are generally more cost-effective and eco-friendly.
The white towels or absorbent cloths will be used for blotting and drying the carpet, while the soft-bristled brush or sponge will help in scrubbing stubborn stains. The bucket or spray bottle will be used to mix and apply the cleaning solution onto the carpet.
Lastly, wearing rubber gloves is recommended to protect your hands from the cleaning solution and any potential allergens present in the carpet.
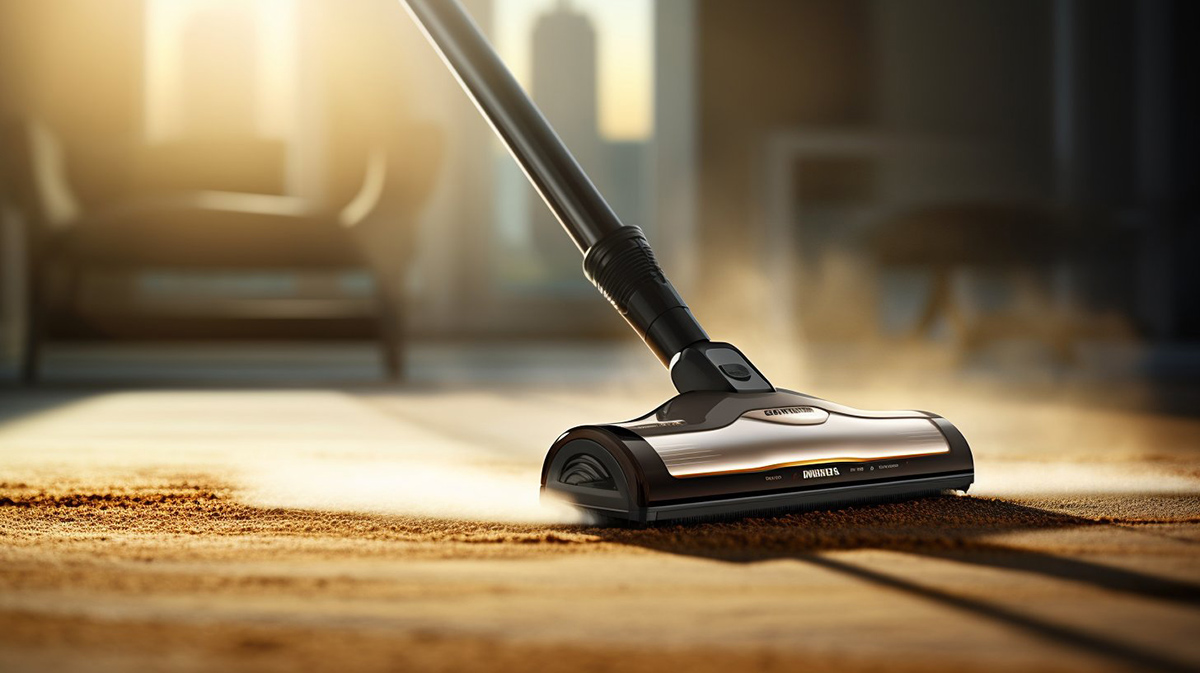
Step 1: Vacuum the Carpet
The first step in cleaning dirt from a carpet is to thoroughly vacuum the entire area. This step is crucial as it helps remove loose dirt, dust, and debris from the carpet’s surface, making it easier to tackle deeper stains and embedded dirt.
Start by removing any furniture or obstacles from the carpeted area to ensure that you have full access. Use a vacuum cleaner with a brush or beater bar attachment for better agitation and suction power. Begin at one corner of the room and work your way systematically across the carpet, moving in straight lines.
Take your time and go over each section multiple times to ensure you’ve captured as much loose dirt as possible. Pay special attention to high-traffic areas and areas near entrances, as they tend to accumulate more dirt. If there are any visible spots or stains, go over them gently with the vacuum to loosen the dirt particles.
Remember to empty or replace the vacuum bag or canister as needed to maintain optimal performance. A full bag or canister will reduce suction power and hinder proper dirt removal.
By thoroughly vacuuming your carpet before proceeding to the next steps, you’re effectively prepping the surface for a deeper clean and maximizing the effectiveness of any cleaning solutions or treatments you’ll be using later on.
Step 2: Prepare the Cleaning Solution
Now that you’ve vacuumed your carpet, it’s time to prepare the cleaning solution. Depending on whether you’re using a commercial cleaner or making your own, the preparation process may vary.
If you’re using a commercial carpet cleaner, carefully read and follow the instructions provided on the packaging. This will ensure that you’re using the product correctly and achieving the best results.
If you prefer a homemade solution, there are a few options you can consider:
- Baking Soda and Vinegar: Mix equal parts of baking soda and white vinegar in a bucket or spray bottle to create a foamy cleaning solution. The baking soda helps to deodorize and lift stains, while the vinegar acts as a natural disinfectant.
- Dish Soap and Water: Dilute a few tablespoons of mild dish soap in a bucket of warm water. Stir well to create a soapy solution that can effectively break down dirt and grime.
- Hydrogen Peroxide and Water: Mix equal parts of hydrogen peroxide and water in a spray bottle. This solution is particularly effective for removing stubborn stains like coffee or wine.
Remember to thoroughly mix the cleaning solution to ensure all ingredients are well combined. Once your solution is ready, proceed to the next step to test its compatibility with your carpet.
Step 3: Test the Cleaning Solution
Before applying the cleaning solution to the entire carpet, it is crucial to test it in a small, inconspicuous area. This step is important to ensure that the solution does not cause any discoloration or damage to your carpet fibers.
Choose an area of the carpet that is hidden, such as a corner or under a piece of furniture. Apply a small amount of the cleaning solution onto the carpet using a spray bottle or a clean cloth. Gently blot or rub the solution into the carpet and let it sit for a few minutes.
After the designated time, inspect the area for any adverse reactions. Look for discoloration, fading, or any other negative effects. If there are no signs of damage, you can proceed with confidence. However, if you notice any unfavorable reactions, stop using the solution immediately and consider an alternative cleaning method.
Keep in mind that different carpet materials and dyes may react differently to cleaning solutions. Therefore, it is always recommended to perform a patch test to ensure compatibility.
If the test area appears unaffected, you can proceed to the next step with the confidence that the cleaning solution is safe to use on your carpet.
Read more: How To Clean Soot From A Carpet
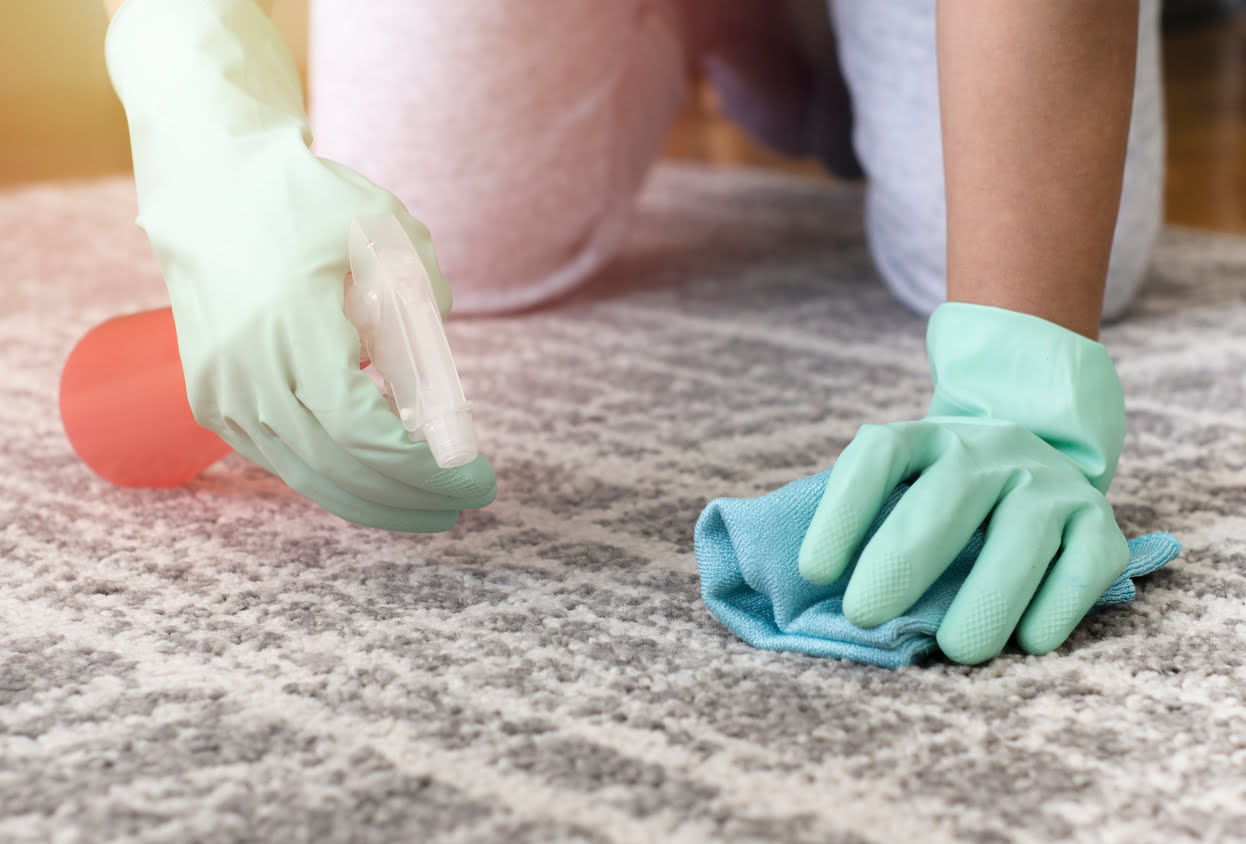
Step 4: Apply the Cleaning Solution to the Carpet
With the test successfully completed, it’s time to apply the cleaning solution to the entire carpet. Remember to work in small sections to ensure thorough coverage and prevent the solution from drying out before you can scrub and rinse it.
If using a spray bottle, apply an even layer of the cleaning solution over the area you’re working on. Alternatively, if using a bucket, dip a clean cloth or sponge into the solution and wring out any excess liquid before applying it to the carpet.
Start from one corner of the room and work your way across, going with the direction of the carpet fibers. Use gentle and even pressure to avoid saturating the carpet with excessive moisture.
Pay close attention to any heavily soiled or stained areas. Apply a bit more solution to these spots and let it sit for a few minutes to allow the cleaning agents to penetrate and break down the dirt.
Continue applying the cleaning solution to each section until the entire carpet is covered. It’s important to work efficiently and not allow the solution to dry on the carpet surface. If needed, replenish the solution in your spray bottle or bucket.
Now that the cleaning solution is applied, move on to the next step to tackle the stains and dirt embedded in the carpet fibers.
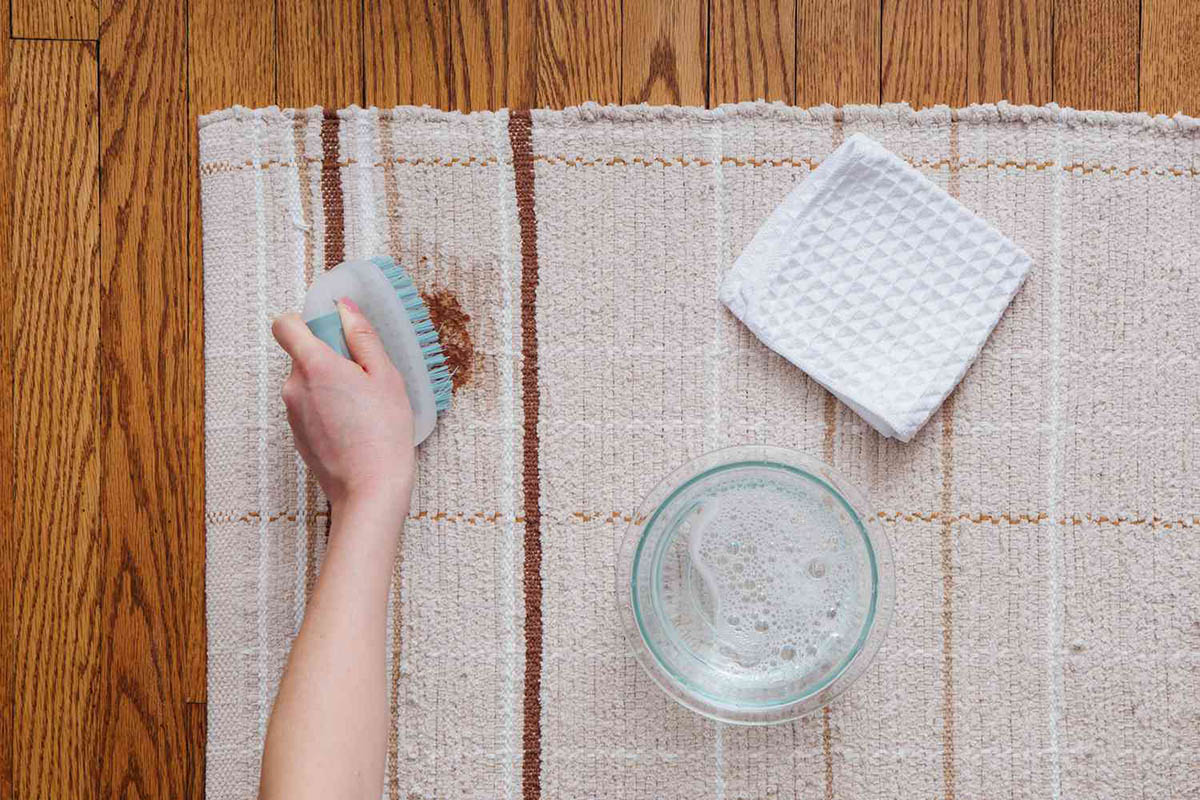
Blot the dirt with a clean cloth to remove excess. Mix dish soap with water and dab the stain, then rinse with water. Avoid scrubbing to prevent spreading the dirt.
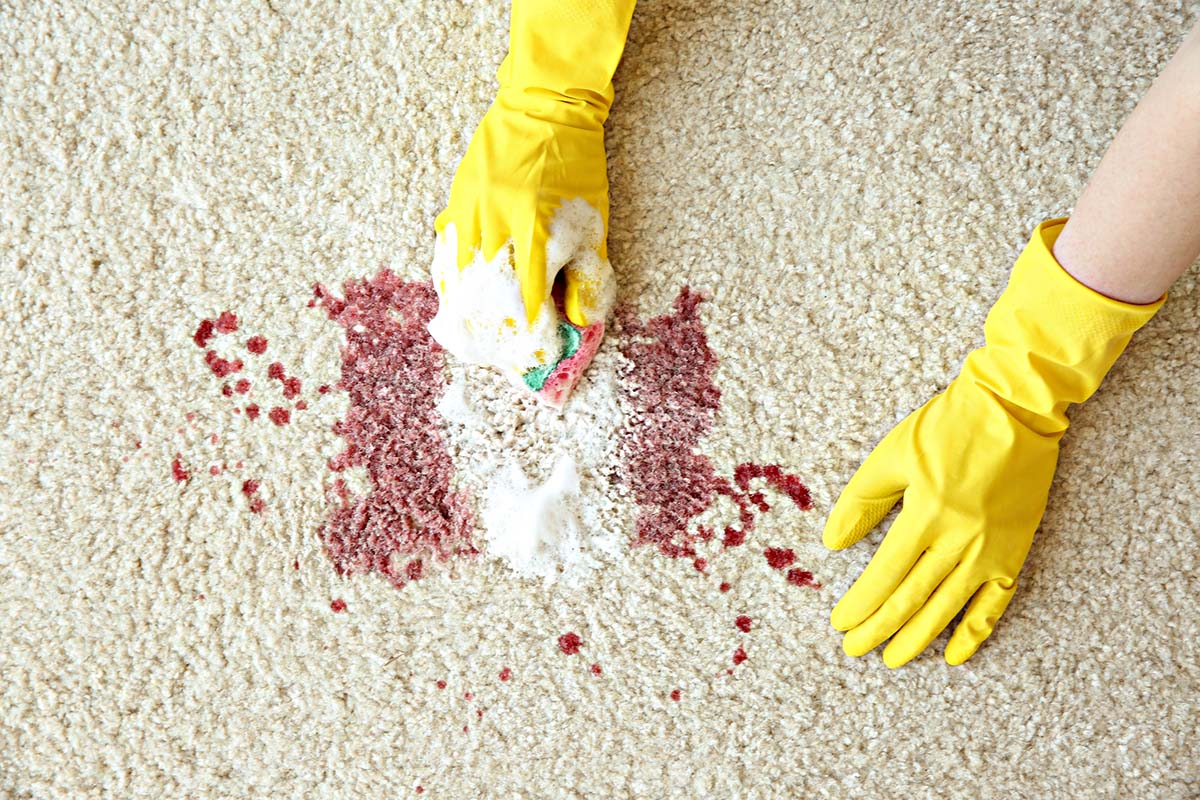
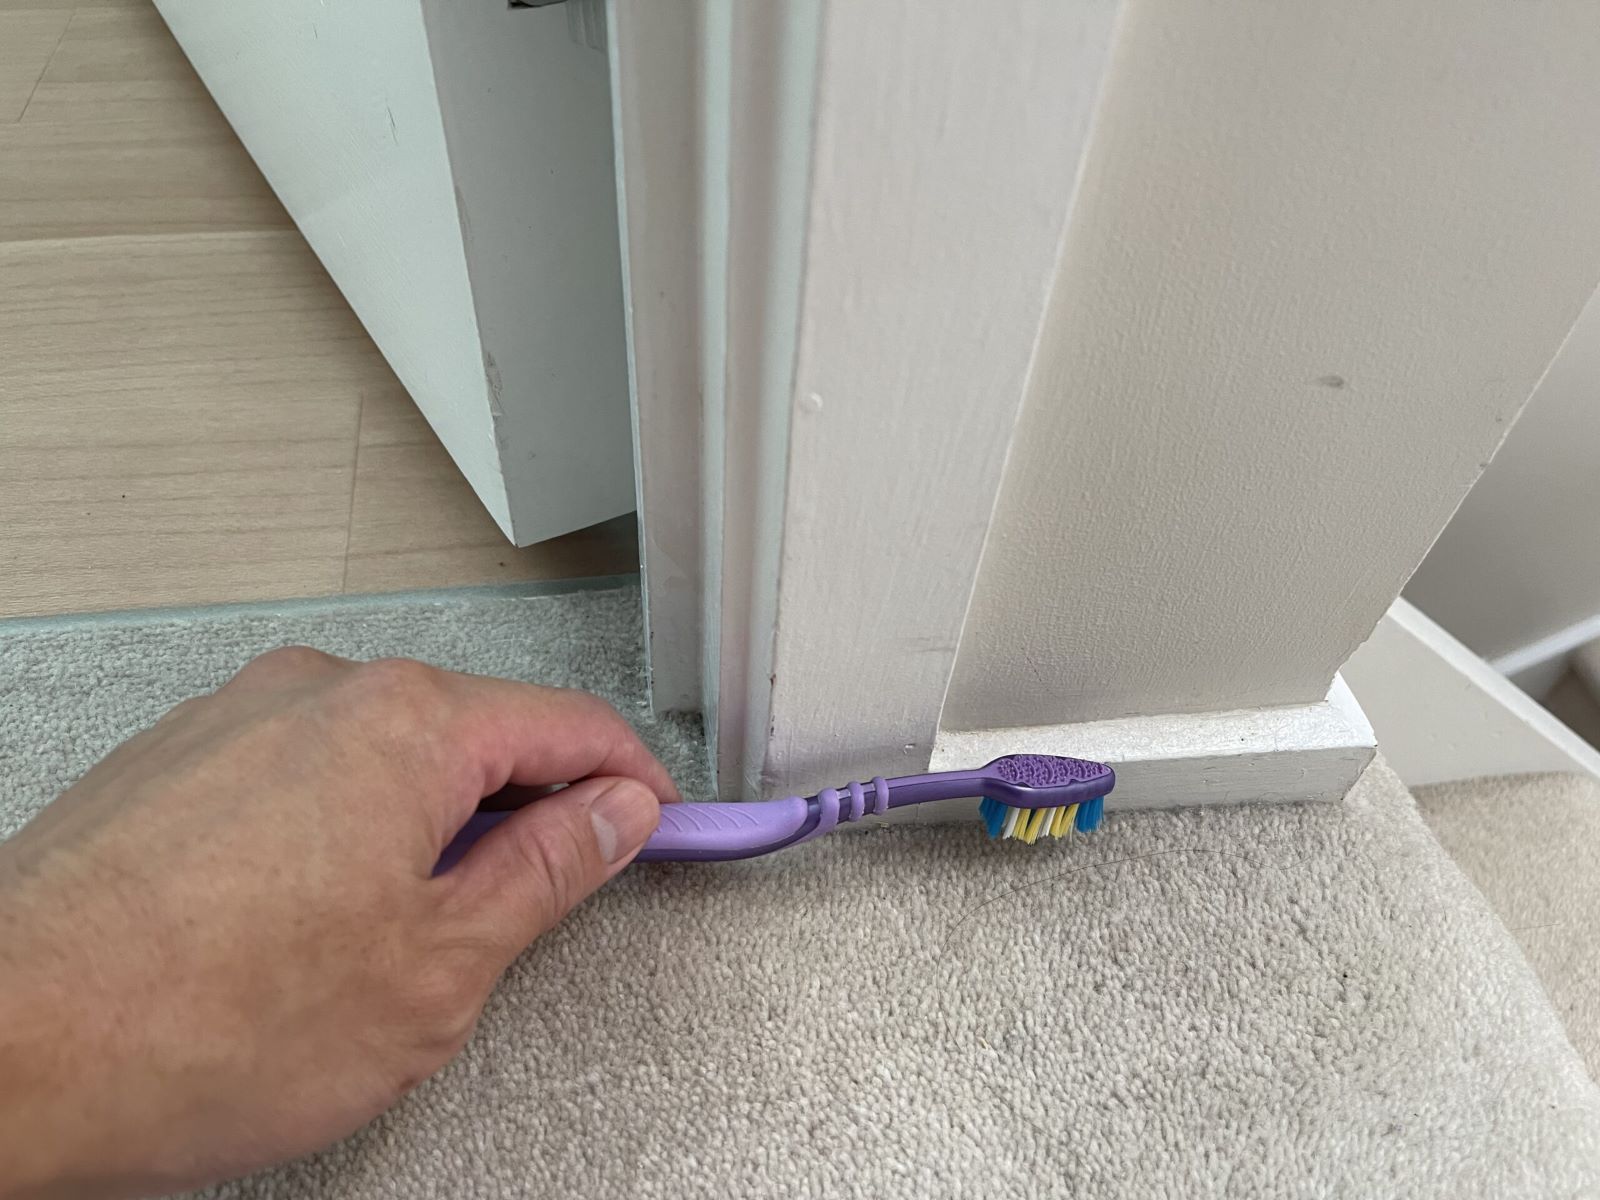
Step 5: Scrub the Stained Areas
Now that the cleaning solution has had a chance to penetrate and loosen the dirt, it’s time to tackle the stained areas. Use a soft-bristled brush or a sponge to gently scrub the carpet in a circular motion.
Focus on the areas where stains or heavy dirt accumulation are present. Apply a bit more pressure to these spots, but be careful not to damage the carpet fibers. Remember to work in small sections, ensuring that you cover the entire carpet.
If you encounter stubborn stains, you can apply a little extra cleaning solution directly onto the stain and continue scrubbing. Let the solution sit on the stain for a few minutes before scrubbing to allow it to break down the stain particles effectively.
Be patient and thorough during this step, as thorough scrubbing will help lift the dirt and stains from the carpet fibers. Take breaks if needed but try to maintain a consistent and even pressure throughout the cleaning process.
Once you have scrubbed all the stained areas, move on to the next step to remove the cleaning solution from the carpet.
Step 6: Rinse the Carpet
After thoroughly scrubbing the stained areas, it’s time to rinse the carpet to remove the cleaning solution and any remaining dirt or residue. Rinsing is an essential step to ensure that no cleaning agents are left behind, which can attract more dirt in the future.
Fill a clean bucket with warm water. You can also use a spray bottle filled with water for easier application. Start from one corner of the room and work your way across, applying the water evenly over the carpet.
Use a clean sponge or cloth to gently blot and rinse the carpet. Avoid soaking the carpet excessively, as this can lead to longer drying times. Instead, focus on removing the cleaning solution by blotting and rinsing several times until the water comes up relatively clear.
Pay special attention to any heavily soiled or stained areas, ensuring that you rinse them thoroughly. Change the water in the bucket or refill the spray bottle as needed to maintain clean water for rinsing.
Continue rinsing the carpet in small sections until you have covered the entire area. Take your time and be thorough to ensure all the cleaning solution and dirt are effectively removed.
Once you have rinsed the carpet, it’s time to remove any excess moisture before allowing it to dry. Move on to the next step to continue the cleaning process.
Step 7: Remove Excess Moisture
After rinsing the carpet, it’s important to remove any excess moisture to speed up the drying process and prevent the growth of mold or mildew. There are a few methods you can use to accomplish this.
First, you can use clean, absorbent towels or cloths to blot the carpet and absorb the moisture. Place the towels on the damp areas and press down firmly, allowing them to soak up the water. Repeat this process with dry towels until most of the moisture is absorbed.
Alternatively, you can use a wet/dry vacuum cleaner to extract the excess water from the carpet. Ensure that the vacuum cleaner is suitable for wet cleaning and follow the manufacturer’s instructions for use.
If you have access to a carpet extractor or a wet carpet cleaning machine, you can use it to extract the remaining moisture from the carpet. These machines are specifically designed to deep clean carpets and remove excess water.
During this step, it’s important to be thorough and remove as much moisture as possible to prevent any water damage to the carpet and the underlying flooring. Take your time and ensure that the carpet feels only slightly damp to the touch.
Once you have removed the excess moisture, it’s time to allow the carpet to fully dry. Move on to the next step to complete the cleaning process.
Read more: How To Clean Beer From Carpet
Step 8: Allow the Carpet to Dry
After removing the excess moisture, it’s essential to allow the carpet to completely dry before placing any furniture or walking on it. Proper drying helps prevent the growth of mold or mildew and ensures that your freshly cleaned carpet stays fresh and clean.
Here are some tips to help facilitate the drying process:
- Open windows or doors to improve air circulation in the room. This can help speed up the drying process.
- Use fans or dehumidifiers to help remove moisture from the air and expedite drying. Position the fans to blow across the surface of the carpet.
- Keep the room at a comfortable temperature. Warmer temperatures can help evaporate the moisture more quickly.
- Avoid stepping on the carpet until it is completely dry. If necessary, place signs or barriers to remind family members or visitors to avoid walking on the carpet.
The drying time can vary depending on several factors, including the carpet material, the humidity level in the room, and the extent of moisture present. On average, it may take several hours to a day or more for the carpet to fully dry.
To test if the carpet is dry, gently touch it with your hand. If it feels cool or damp, it’s not fully dry. It’s important to be patient and wait until the carpet is completely dry before resuming normal foot traffic and replacing furniture.
By allowing the carpet to dry thoroughly, you ensure that your hard work in cleaning the dirt from the carpet is not in vain and that you can enjoy the clean and fresh result.
Congratulations! You have successfully cleaned the dirt from your carpet and restored its beauty.
Conclusion
Cleaning dirt from a carpet is a necessary task to maintain its appearance and enhance the indoor air quality of your home. By following the steps outlined in this article, you can effectively remove dirt, stains, and grime from your carpet, restoring its freshness and beauty.
Remember to start by thoroughly vacuuming the carpet to remove loose dirt and debris. Then, prepare the appropriate cleaning solution, either commercial or homemade, and test it in a small, inconspicuous area before applying it to the entire carpet. Scrub the stained areas gently using a soft-bristled brush or a sponge, ensuring thorough coverage.
Rinse the carpet with clean water to remove the cleaning solution and any remaining dirt, and then remove excess moisture using towels, a wet/dry vacuum cleaner, or a carpet extractor. Finally, allow the carpet to dry completely before resuming normal use.
By following these steps and using the right materials and techniques, you can revitalize your carpet and maintain a clean and fresh living space. Remember to take proper care of your carpet on a regular basis to prevent dirt and stains from accumulating and ensure its longevity.
So, roll up your sleeves, gather the necessary materials, and get ready to give your carpet a new lease on life. Enjoy the satisfaction of a clean and beautiful carpet that enhances the comfort and aesthetics of your home.
Frequently Asked Questions about How To Clean Dirt From A Carpet
Was this page helpful?
At Storables.com, we guarantee accurate and reliable information. Our content, validated by Expert Board Contributors, is crafted following stringent Editorial Policies. We're committed to providing you with well-researched, expert-backed insights for all your informational needs.