Home>Garden Essentials>How To Install Turf On Dirt
Garden Essentials
How To Install Turf On Dirt
Modified: October 18, 2024
Learn how to transform your dirt garden into a lush oasis with our step-by-step guide on installing turf. Create a beautiful and low-maintenance green space in no time!
(Many of the links in this article redirect to a specific reviewed product. Your purchase of these products through affiliate links helps to generate commission for Storables.com, at no extra cost. Learn more)
Introduction
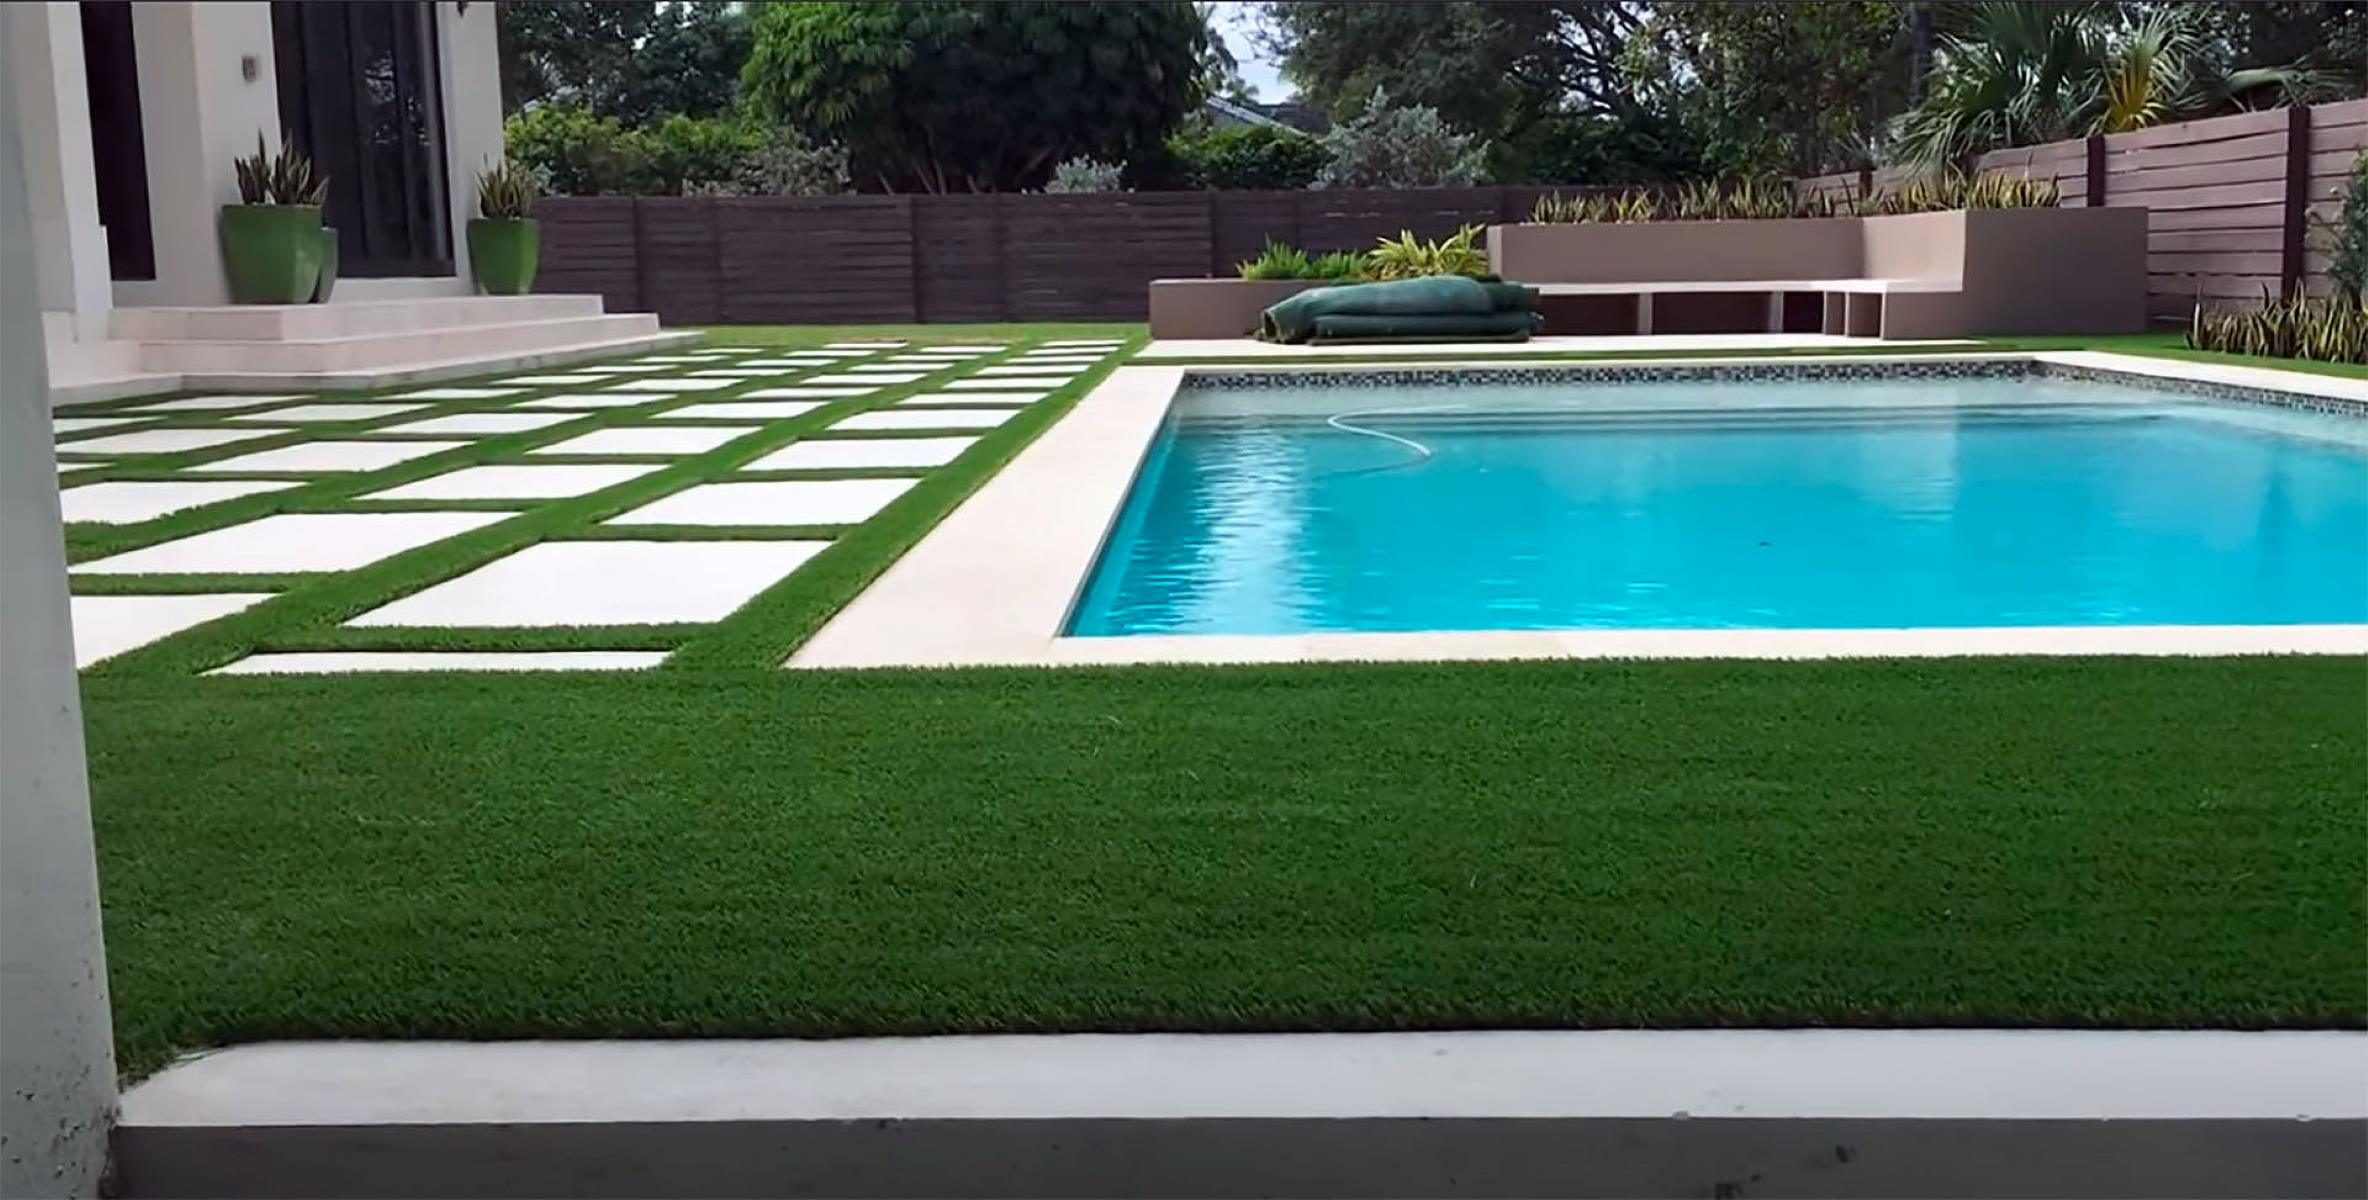
Welcome to our comprehensive guide on how to install turf on dirt. If you’re looking to transform your patchy dirt yard into a lush, vibrant green oasis, this article is for you. Installing turf is an excellent solution for achieving a beautiful and low-maintenance lawn.
Whether you’re a seasoned gardener or a beginner, this step-by-step guide will walk you through the entire process. We’ll cover everything from preparing the area and clearing the dirt to measuring and ordering the turf, as well as the installation and maintenance required afterwards.
By following our expert advice, you’ll soon have a stunning lawn that will be the envy of your neighbors. So, let’s roll up our sleeves and get started on creating the lawn of your dreams!
Key Takeaways:
- Transform your patchy dirt yard into a lush oasis by following our step-by-step guide to installing turf. Prepare the area, level the ground, and ensure accurate measurements for a seamless and professional-looking lawn.
- Proper watering and maintenance are essential for keeping your newly installed turf healthy and vibrant. Regular care, including watering, mowing, fertilizing, and monitoring, will contribute to the longevity and beauty of your lawn.
Read more: How To Install Astro Turf On Dirt
Preparing the Area
Before you can install turf on dirt, it’s essential to prepare the area properly. This step is crucial as it sets the foundation for a successful turf installation and ensures optimal growth and longevity of your lawn. Follow these steps to prepare your area:
- Remove any existing vegetation: Start by clearing the area of any weeds, grass, or plants. Use a garden fork or shovel to loosen the roots and then pull them out.
- Address drainage issues: If your dirt area has poor drainage, it’s important to address this before installing turf. Ensure that the area is sloped appropriately to allow water to run off and not accumulate. You can also consider installing drainage pipes to prevent waterlogging.
- Test the soil: Conduct a soil test to determine its pH level and nutrient composition. This will guide you in any necessary soil amendments before installing the turf. If the soil is acidic, you may need to add lime, while sandy soil may require organic matter to improve its water retention capacity.
- Remove debris: Scan the area for any rocks, roots, or debris that could interfere with the smooth installation of the turf. Remove them to create a clean and even surface.
- Compact the soil: Use a lawn roller or a rented compactor to pack the soil gently. This step helps to create a sturdy base for the turf and prevents sinking or unevenness in the future.
By taking the time to properly prepare the area, you’ll ensure that your newly installed turf thrives and maintains its beauty for years to come. With the preparation done, you’re ready to move on to the next step – clearing the dirt!
Clearing the Dirt
Once you have prepared the area, the next step is to clear the dirt thoroughly. Clearing the dirt is crucial to ensure a clean and smooth surface for the turf installation. Follow these steps to clear the dirt effectively:
- Remove any remaining vegetation: Double-check the area for any weeds or grass that you may have missed during the initial clearing. Use a garden rake or weed trimmer to remove any remaining vegetation.
- Use a shovel or garden fork: Begin by loosening the top layer of dirt with a shovel or garden fork. This will make it easier to remove and clear the dirt. Dig to a depth of at least 4-6 inches to ensure the removal of any debris or roots.
- Collect the dirt: As you loosen the dirt, collect it in a wheelbarrow or tarp. This will make it easier to transport and dispose of later. Ensure that the collected dirt is free from any rocks, roots, or other unwanted materials.
- Smooth the surface: Once you have removed the bulk of the dirt, use a rake to smooth the surface. This step is important to create an even and level area for the turf installation. Take your time to eliminate any bumps or uneven spots.
- Dispose of the dirt: Properly dispose of the cleared dirt based on local regulations. You can either transport it to a designated disposal site or repurpose it in other areas of your garden.
By effectively clearing the dirt, you’ll create a clean canvas for the turf installation. This step ensures a seamless and professional-looking lawn. With the dirt cleared, you’re now ready to move on to the next step – leveling the ground.
Leveling the Ground
Leveling the ground is a crucial step in preparing the area for turf installation. It ensures that your newly installed turf will have an even and smooth surface, providing a visually appealing and functional lawn. Follow these steps to level the ground effectively:
- Inspect the area: Before proceeding, take a close look at the cleared dirt surface. Identify any low spots or uneven areas that need attention. Use a string or level to serve as a guide for assessing the overall levelness.
- Add or remove soil: If you notice any low spots, you’ll need to add soil to fill them in. Conversely, if there are high spots, you may need to remove excess soil to achieve a level surface. Use a shovel or rake to carry out these adjustments, making sure to blend the added or removed soil with the existing dirt.
- Compact the soil: Use a lawn roller or a rented compactor to gently compact the soil after making adjustments. This step helps to ensure stability and minimize any potential sinking or shifting of the ground in the future.
- Inspect the final levelness: After compacting the soil, take a final inspection of the ground’s levelness. Use the string or level to check for any remaining uneven spots. Make any necessary adjustments by adding or removing soil as needed.
- Water the area: Lightly water the leveled ground. This will help to settle the soil and reveal any remaining low or high spots. Adjust the levelness accordingly, taking into account the potential settling of the soil once the turf is installed.
Leveling the ground ensures a smooth and even surface for a flawless turf installation. It may take some time and effort, but the end result will be well worth it. With the ground leveled, you’re now ready to move on to the next step – measuring and ordering the turf.
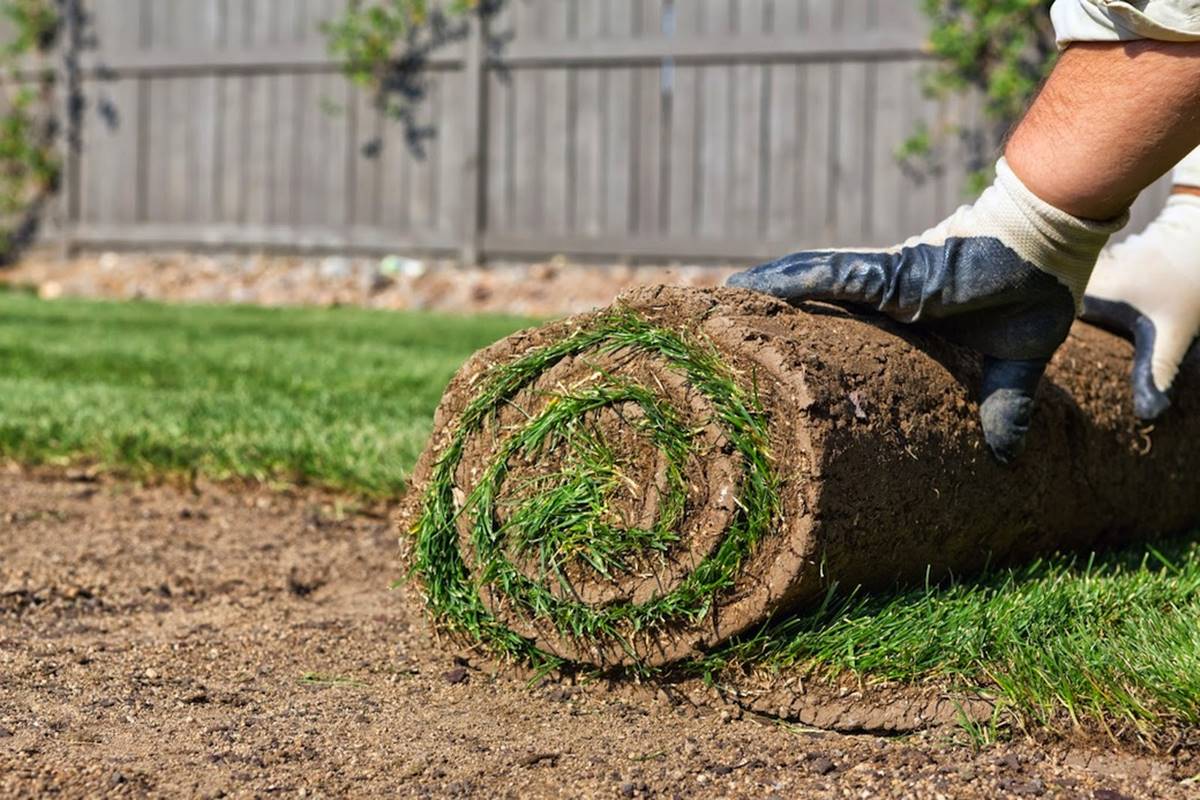
Measuring and Ordering Turf
Measuring and ordering the right amount of turf is crucial to ensure a seamless installation and minimize waste. By following these steps, you can accurately determine the required amount of turf and make an informed purchase:
- Measure the area: Use a measuring tape or a measuring wheel to determine the length and width of the area where you plan to install the turf. Multiply these two measurements to find the total square footage.
- Account for additional cuttings: Consider any irregular areas, curves, or indentations that require additional cuttings of the turf. Measure these areas separately and add them to the total square footage calculated in the previous step.
- Assess turf types and quality: Research different turf varieties and choose one that suits your preferences, climate, and maintenance needs. Assess the quality of the turf, considering factors such as thickness, density, and durability.
- Consult a turf supplier: Reach out to a reputable turf supplier or nursery and provide them with your measured square footage and any additional cutting requirements. They can guide you in selecting the right amount and type of turf for your project.
- Place the order: Once you have all the necessary information, place the order with the turf supplier. Take note of the estimated delivery date and make any necessary preparations, such as clearing space for the turf rolls.
Measuring and ordering turf accurately ensures that you have the appropriate amount to cover your lawn without excess or shortage. It also allows you to select the right type of turf for your specific needs. With the turf ordered, you’re now ready to move on to the next step – preparing the turf rolls for installation.
Before installing turf on dirt, make sure to properly prepare the soil by removing any debris, leveling the surface, and adding a layer of topsoil for better drainage and root growth.
Read more: How To Lay Astro Turf For Dogs On Dirt
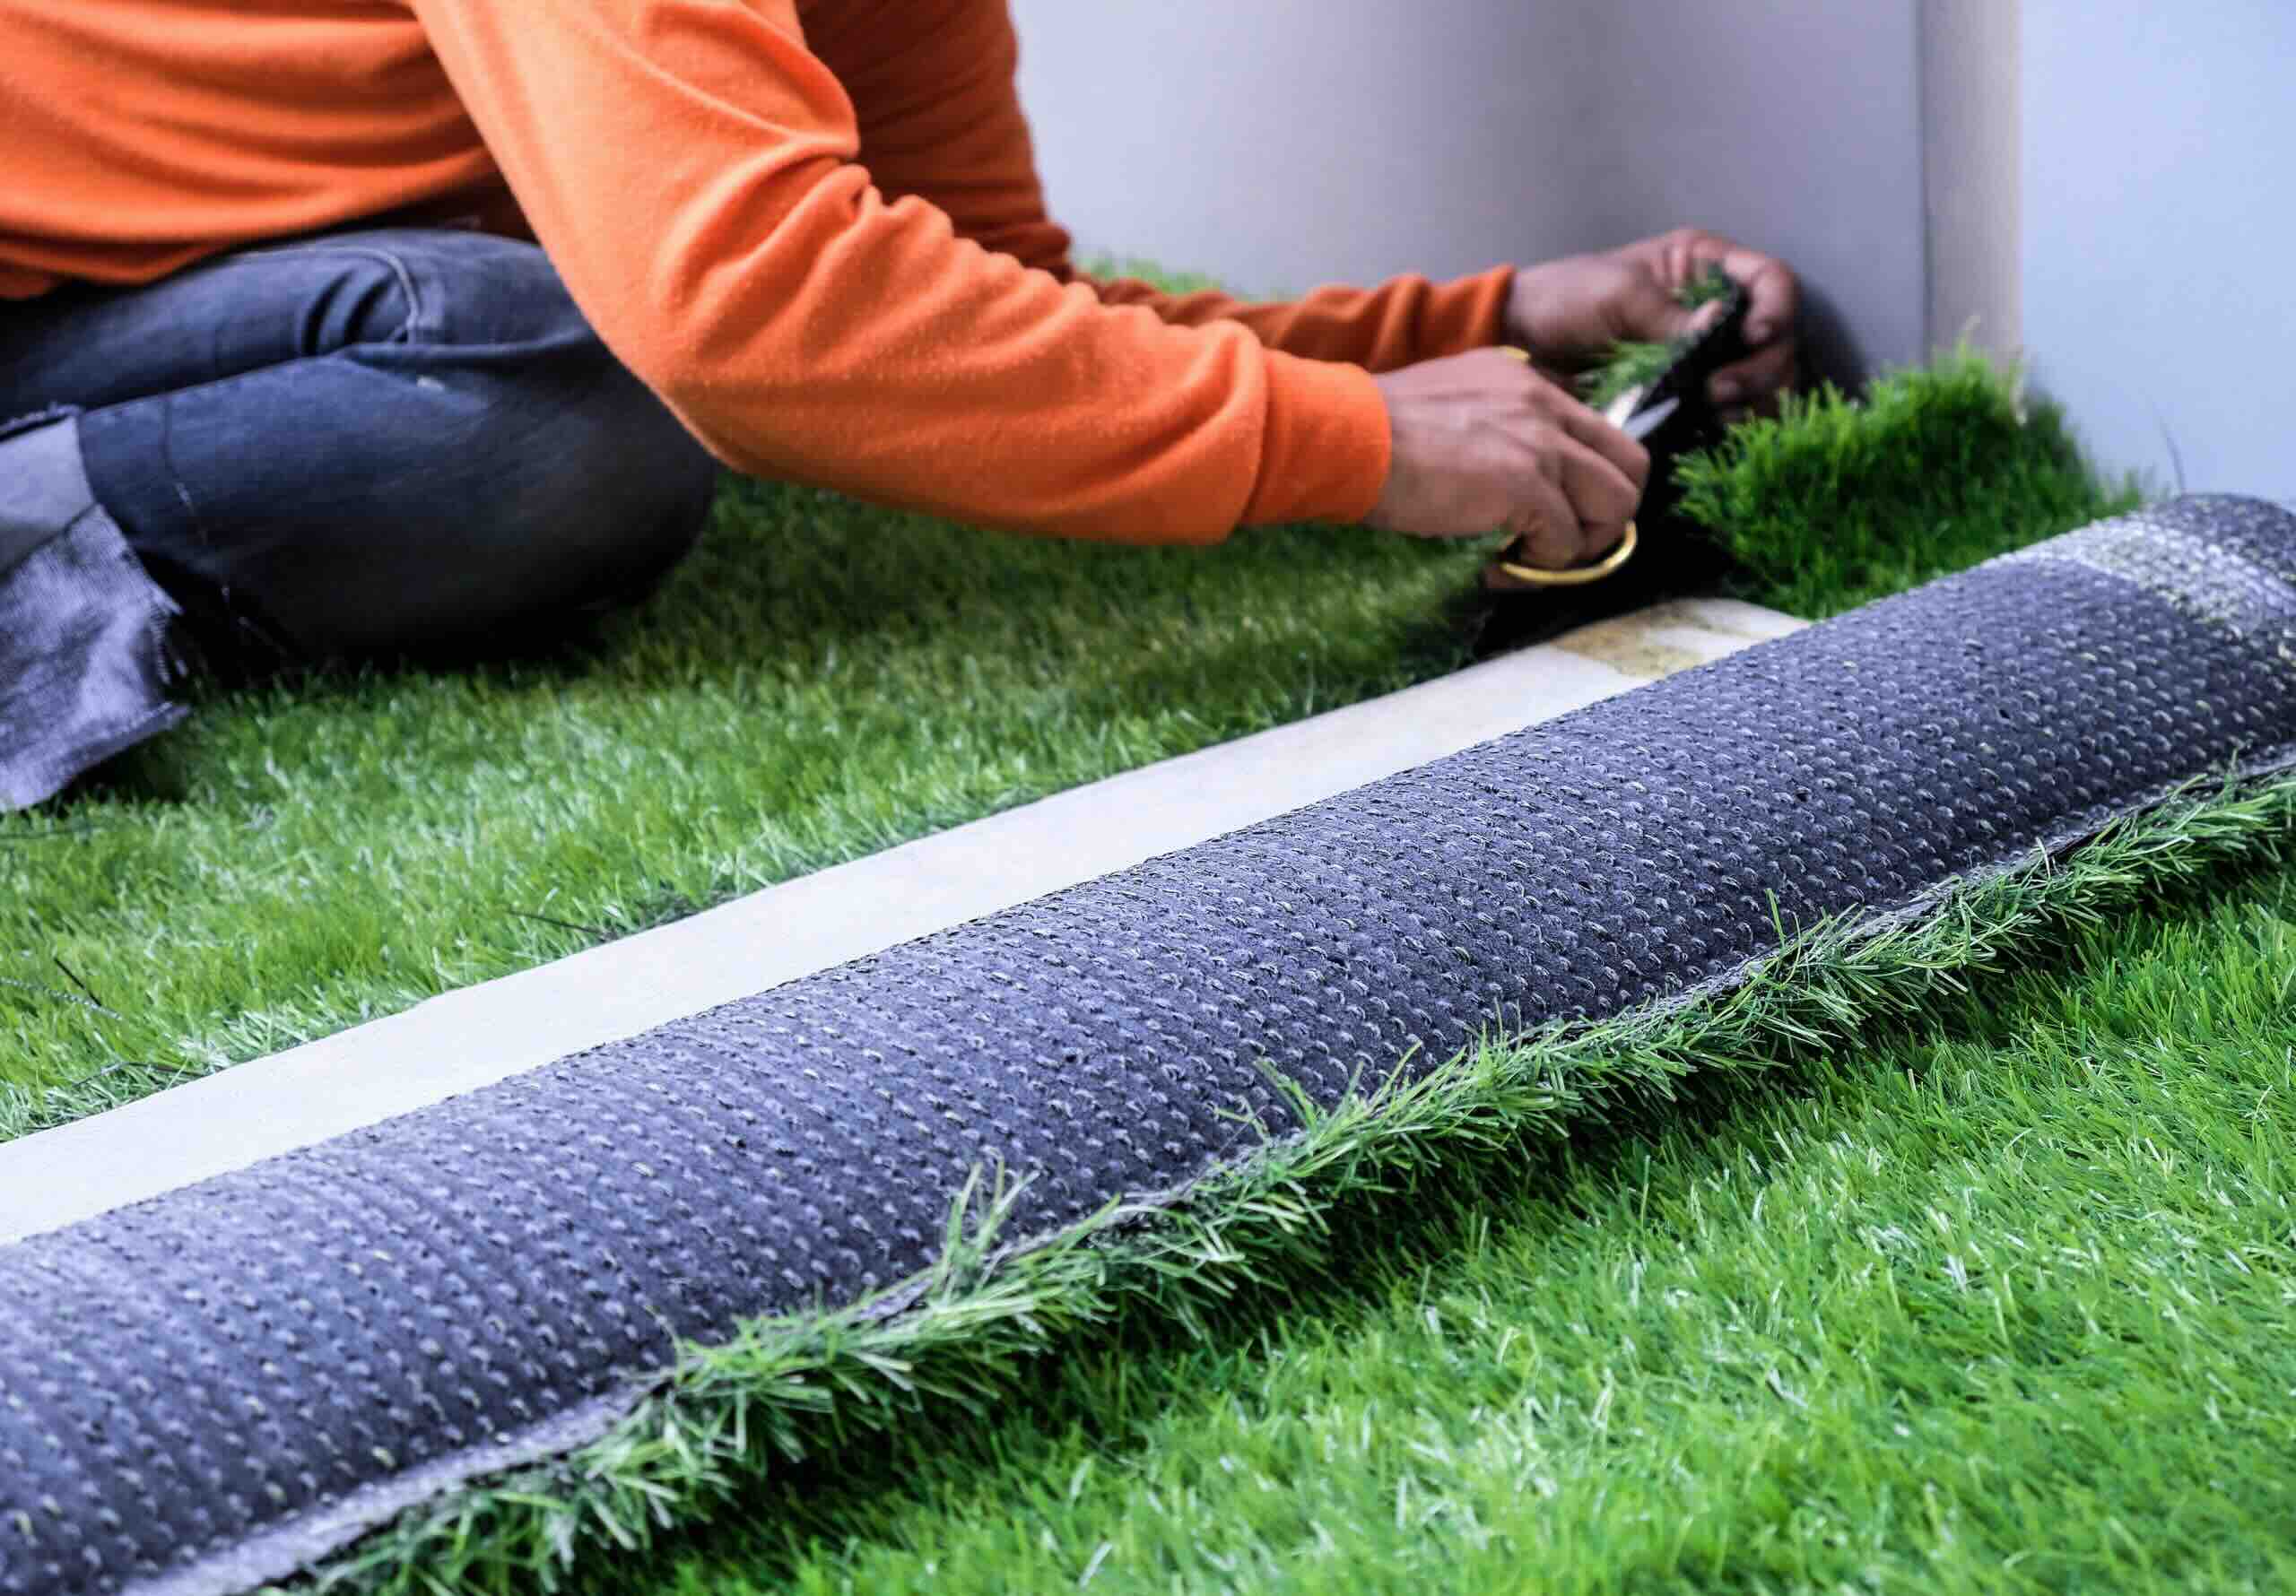
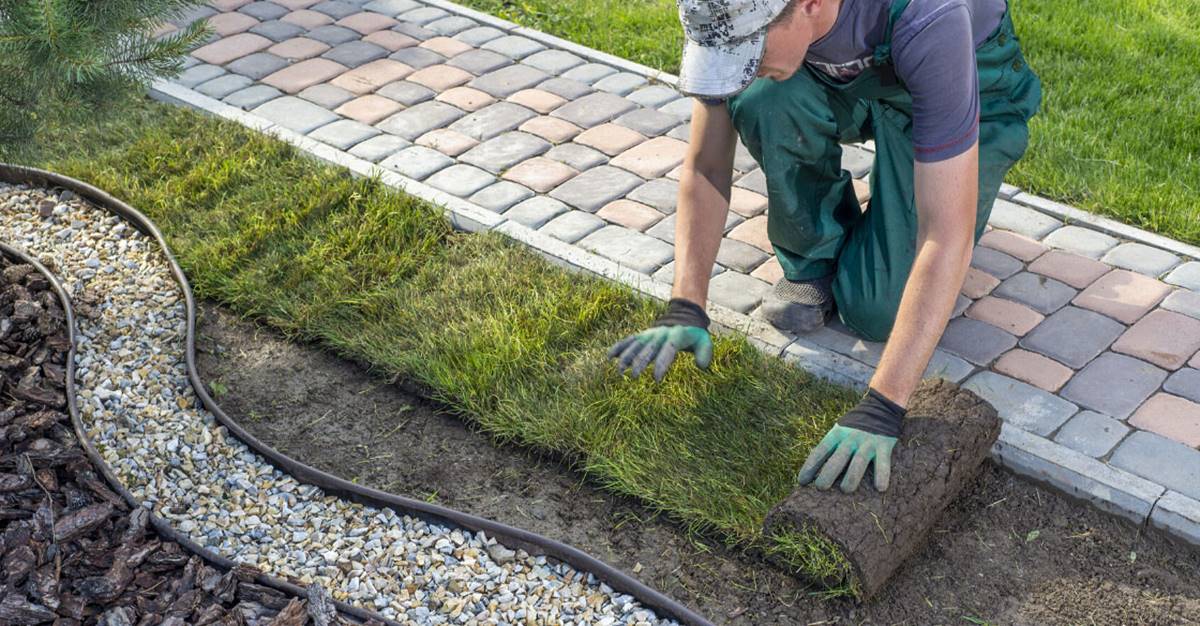
Preparing the Turf Rolls
Preparing the turf rolls before installation is essential to ensure a smooth and successful installation process. Follow these steps to prepare the turf rolls:
- Unroll the turf: Once your turf arrives, carefully unroll the rolls and let them sit in the designated installation area. This will allow the turf to acclimate to the environment and prevent any shrinkage or expansion during installation.
- Trim the edges: Use a sharp utility knife or turf cutter to trim any excess or uneven edges. Ensure that the edges are straight and in line with the desired shape of your lawn. Take your time to achieve clean and precise cuts.
- Inspect for defects: Thoroughly inspect the turf rolls for any visible defects such as tears, discoloration, or damaged sections. If you notice any issues, contact your turf supplier immediately to address the problem and obtain replacement rolls if necessary.
- Water the turf: It’s a good idea to lightly water the turf rolls before installation. This helps to cool down the blades and make them more pliable, facilitating easier installation and reducing stress on the turf.
- Roll and store: If you’re not planning to install the turf immediately, roll it back up and store it in a shaded area. Make sure the rolls are kept in a cool and well-ventilated space to prevent them from overheating or drying out.
Properly preparing the turf rolls ensures that they are ready for a seamless and hassle-free installation process. Trimmed edges, defect-free rolls, and adequately acclimated turf contribute to a visually appealing and long-lasting lawn. With the turf rolls prepared, it’s time to move on to the next step – installing the turf.
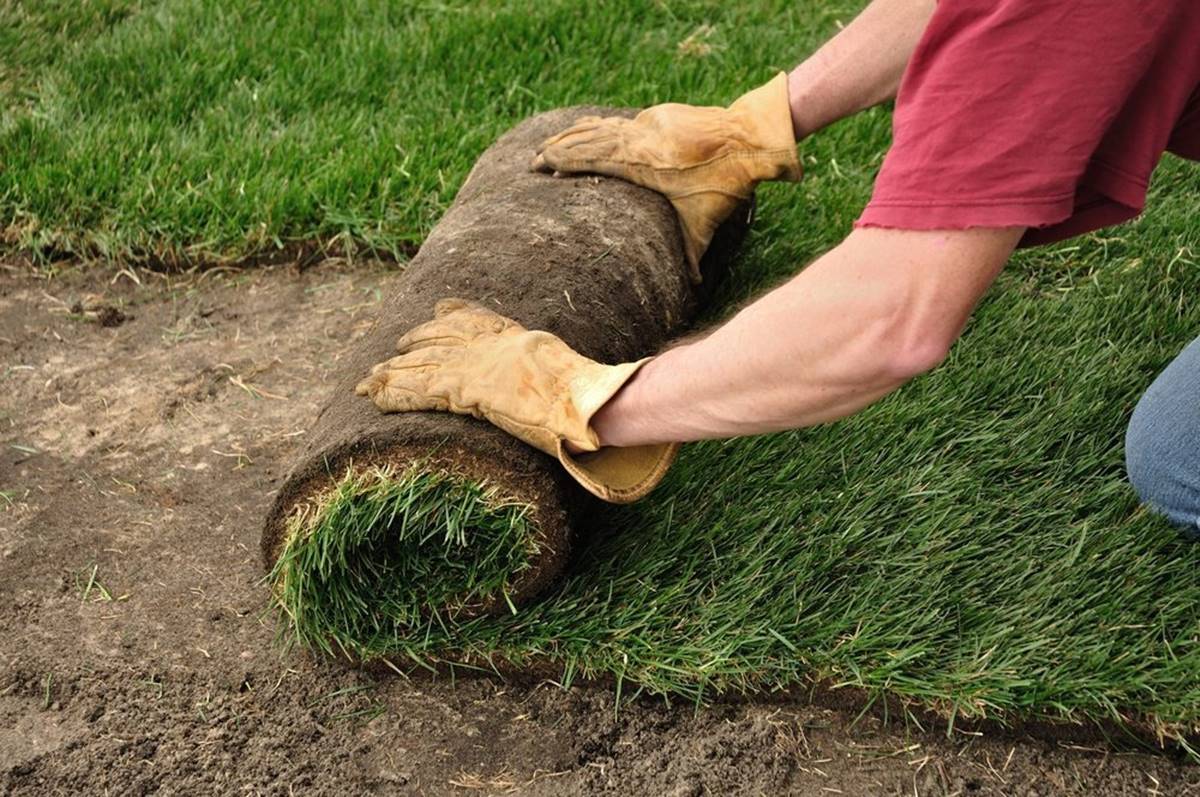
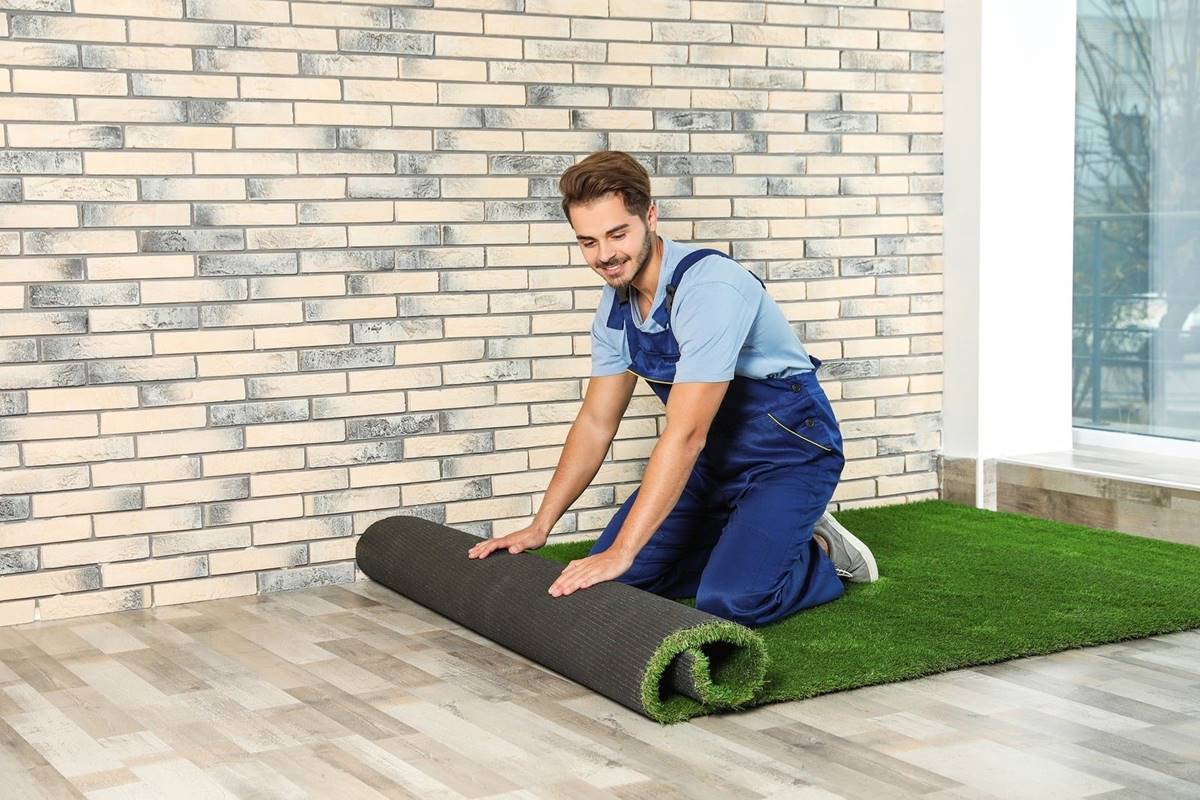
Installing the Turf
Installing the turf is an exciting step that brings your vision of a lush green lawn to life. Follow these steps to ensure a successful turf installation:
- Start with a clean surface: Ensure that the cleared and leveled dirt is free from any debris or rocks. A smooth, clean surface provides a solid foundation for the turf.
- Unroll the first turf roll: Begin by unrolling the first turf roll along one edge of the installation area. Position it snugly against a straight edge, such as a sidewalk or border.
- Work with the contours: Carefully mold the turf to fit the contours of your lawn, using a utility knife to make precise cuts where necessary. Take your time to ensure a seamless blend with the shape of your desired lawn.
- Butt the turf rolls together: As you continue unrolling and laying the turf rolls, butt the edges closely together. Avoid overlapping them, as this can lead to unevenness or a visible seam.
- Trim excess turf: Once all the turf rolls are laid, use a utility knife to trim any excess turf along the edges. This step ensures a neat and tidy appearance.
- Peg down the edges: Use landscape pegs or sod staples to secure the edges of the turf rolls. Place the pegs approximately every 1 to 2 feet along the outer edges to prevent shifting.
- Water the installed turf: Immediately after installation, thoroughly water the turf to help it settle and bond with the soil. Ensure proper irrigation to prevent dry spots.
By following these steps, you’ll achieve a seamless and professional-looking turf installation. Take your time and pay close attention to detail for the best results. With the turf installed, it’s time to move on to the next step – securing the turf.
Securing the Turf
Securing the turf is an important step in ensuring that it stays in place and maintains its integrity over time. Properly securing the turf will help prevent shifting, wrinkling, and tripping hazards. Follow these steps to secure the turf:
- Use landscape pegs or staples: Secure the midsection of the turf rolls by inserting landscape pegs or sod staples approximately every 1 to 2 feet. Place the pegs or staples along the seams between the turf rolls, as well as along the edges.
- Hammer in the pegs: Use a rubber mallet or hammer to firmly drive the landscape pegs or staples into the ground. Ensure that they are flush with the surface of the turf to avoid any tripping hazards or interference with lawn activities.
- Opt for U-shaped pins: If you have slopes or inclined areas in your lawn, consider using U-shaped pins or stakes to secure the turf. Insert the pins through the turf and into the soil below to prevent slippage.
- Check for wrinkles or loose areas: Once the turf is secured, inspect the entire lawn for any wrinkles or loose areas. Smooth out any wrinkles by carefully stretching or adjusting the turf. Use additional pegs or staples if needed to secure any loose spots.
- Brush in infill (optional): If you choose to use infill material, such as sand or rubber granules, lightly brush it into the turf using a stiff broom. This step helps to stabilize the turf and provides a more natural appearance.
By following these steps, you’ll ensure that your turf stays securely in place and maintains its aesthetic appeal. Properly securing the turf sets the stage for the final step – watering and maintenance.
Watering and Maintenance
Watering and maintenance play a crucial role in the long-term health and beauty of your newly installed turf. Follow these guidelines to ensure proper watering and maintenance:
- Initial watering: Immediately after installation, thoroughly water the turf to help it settle and bond with the soil. Ensure that the water penetrates the turf and reaches the underlying soil.
- Establishing a watering schedule: For the first few weeks, water the turf regularly to encourage root establishment. Deeply water the lawn rather than light sprinkling, aiming for about 1 inch of water per week. Adjust the frequency and duration based on weather conditions and the moisture needs of your lawn.
- Monitoring soil moisture: Regularly check the moisture levels of the soil beneath the turf. Stick your finger or a soil moisture meter into the soil to determine whether it needs watering or if it’s adequately moist. Avoid overwatering, as this can lead to shallow root growth and increased susceptibility to disease and pests.
- Mowing: Once the turf has firmly rooted, typically after a few weeks, you can begin mowing. Set your mower to a height that is appropriate for the turf variety you have installed and avoid cutting more than one-third of the grass height in a single mowing session.
- Fertilizing: Follow a regular fertilization schedule to provide essential nutrients for the turf. Choose a fertilizer specifically formulated for the type of turf you have installed and apply it according to the manufacturer’s instructions. Avoid over-fertilizing, as this can lead to excessive growth and environmental issues.
- Weed control: Regularly inspect your turf for the presence of weeds and promptly address any growth. Use appropriate herbicides or manual removal techniques to control weed infestations without harming the turf.
- Aerating and dethatching: Over time, your lawn may become compacted or develop a layer of thatch. Aerating the soil and dethatching the turf can help improve water and nutrient absorption. Consider performing these tasks as part of your annual maintenance routine.
- Regular monitoring: Keep a close eye on the overall health and appearance of your turf. Look out for signs of pests, diseases, or other issues and take appropriate action if necessary. Regular monitoring allows you to address problems early on and maintain a healthy lawn.
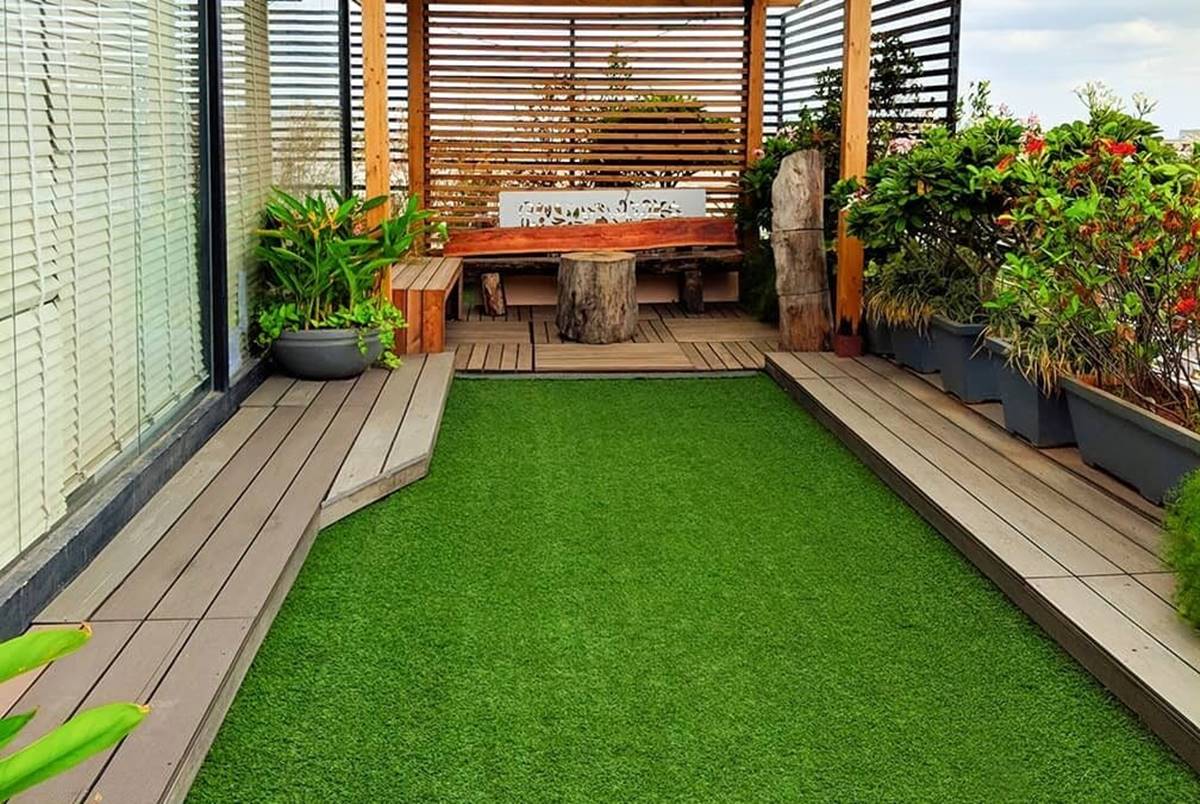
By following these watering and maintenance practices, you’ll keep your turf lush, green, and thriving. A well-cared-for lawn will provide enjoyment and beauty for years to come. Remember to consult local gardening resources for specific recommendations based on your region and turf type.
With proper watering and maintenance in place, you can sit back, relax, and enjoy the beauty and functionality of your new turf lawn!
Read more: How To Install Turf Grass
Conclusion
Congratulations on successfully learning how to install turf on dirt! By following the steps outlined in this comprehensive guide, you have transformed your patchy dirt yard into a lush and vibrant green oasis. Your new lawn will not only enhance the beauty of your outdoor space but also provide a low-maintenance and enjoyable environment for you and your family to enjoy.
From preparing the area and clearing the dirt to measuring and ordering the turf, as well as the installation and ongoing maintenance, you have gained the knowledge and skills to create a seamless and professional-looking lawn. By taking the time to properly prepare the area, level the ground, and ensure accurate measurements, you have set a solid foundation for the turf to thrive.
Remember to diligently water and maintain your turf to keep it in optimal health. Regular watering, mowing, fertilizing, and monitoring will contribute to the longevity and beauty of your lawn. By practicing good maintenance habits, you will be able to enjoy a vibrant and lush lawn for years to come.
Lastly, don’t forget to consult local gardening resources and speak with turf experts to gather information specific to your region and turf type. They can provide valuable insights and recommendations to help you maintain a healthy and beautiful lawn in your specific climate.
Now that your turf installation journey has come to an end, it’s time to sit back, relax, and bask in the glory of your luscious green lawn. Enjoy the fruits of your labor and take pride in your transformed outdoor space. Happy turf gardening!
Frequently Asked Questions about How To Install Turf On Dirt
Was this page helpful?
At Storables.com, we guarantee accurate and reliable information. Our content, validated by Expert Board Contributors, is crafted following stringent Editorial Policies. We're committed to providing you with well-researched, expert-backed insights for all your informational needs.

0 thoughts on “How To Install Turf On Dirt”