Home>Construction & Tools>Building Materials>How To Remove Dirt Dauber Nest From Stucco
Building Materials
How To Remove Dirt Dauber Nest From Stucco
Modified: August 25, 2024
Learn effective methods for removing dirt dauber nests from stucco surfaces. Discover safe techniques using common building materials.
(Many of the links in this article redirect to a specific reviewed product. Your purchase of these products through affiliate links helps to generate commission for Storables.com, at no extra cost. Learn more)
Introduction
Welcome to the ultimate guide on removing dirt dauber nests from stucco surfaces. Dealing with these pesky nests can be a challenge, but fear not! With the right knowledge and tools, you can effectively remove dirt dauber nests and prevent future infestations.
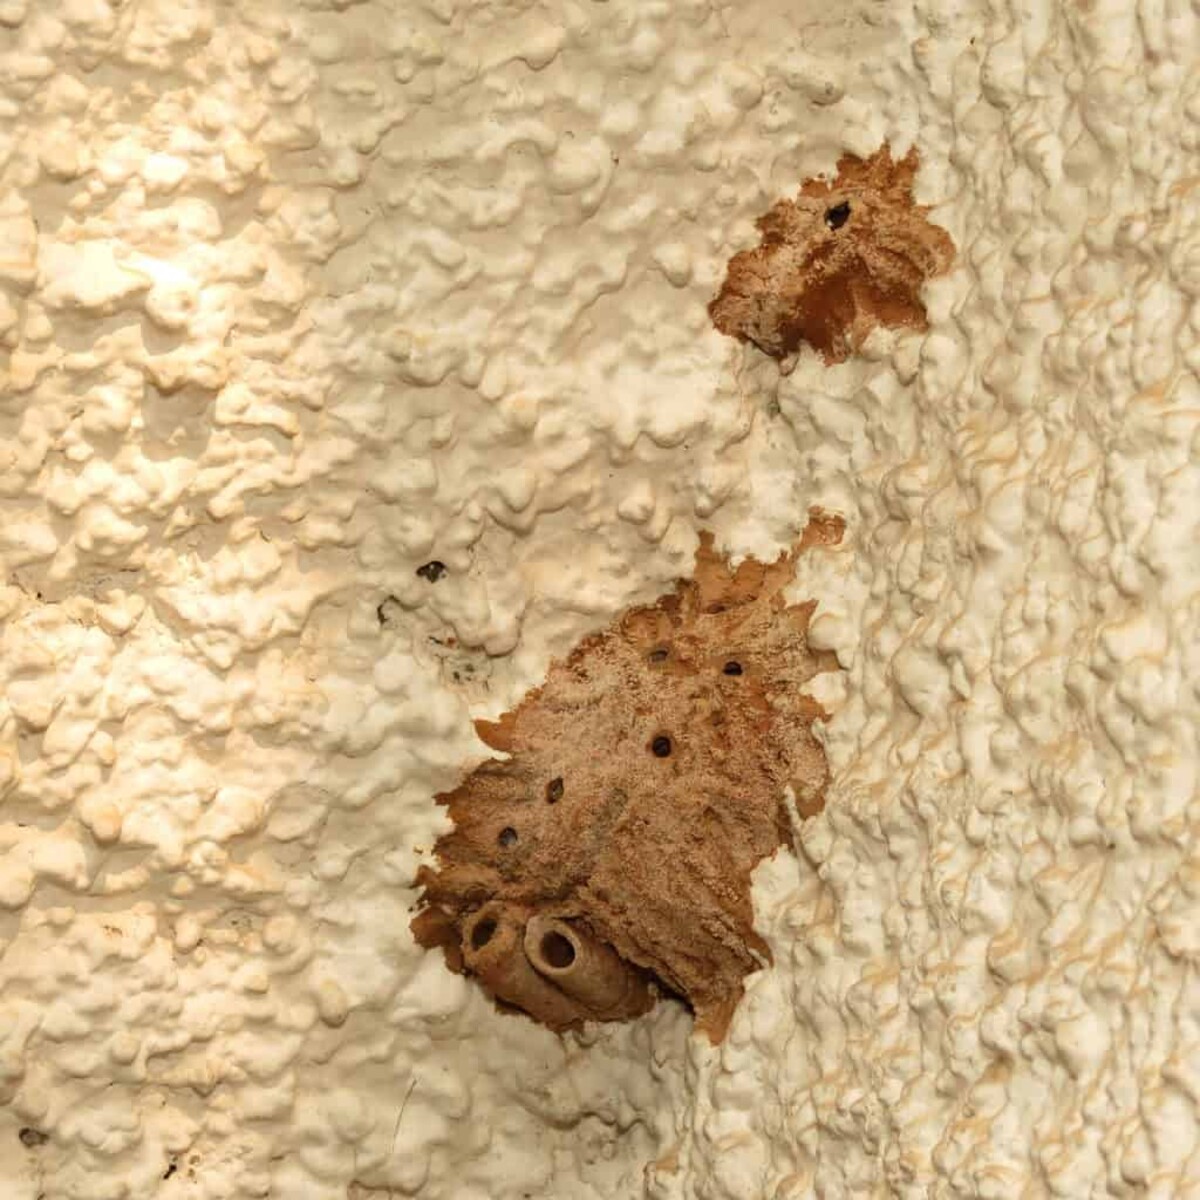
Stucco, a popular building material known for its durability and aesthetic appeal, is unfortunately an attractive nesting ground for dirt daubers. These solitary wasps construct their nests using mud, leaving unsightly and potentially damaging structures on stucco surfaces.
In this comprehensive guide, we will delve into the nuances of dirt dauber nests, the necessary tools and materials for removal, and the step-by-step process to safely and effectively eliminate these nests from stucco. Additionally, we will explore crucial safety precautions and measures to prevent future infestations, ensuring a thorough and lasting solution.
Whether you're a homeowner, a contractor, or a DIY enthusiast, this guide will equip you with the knowledge and confidence to tackle dirt dauber nests on stucco surfaces. Let's dive in and reclaim your stucco from these unwanted intruders!
Key Takeaways:
- Safely remove dirt dauber nests from stucco surfaces using essential tools, thorough inspection, and precise removal techniques. Prioritize safety, cleanliness, and prevention to reclaim and protect your property.
- Prevent future dirt dauber nests by sealing cracks, applying deterrent sprays, addressing moisture issues, and seeking professional assistance if needed. Proactive measures safeguard stucco surfaces and create a pest-resistant environment.
Read more: How To Remove Stains From Stucco
Understanding Dirt Daubers
Before embarking on the task of removing dirt dauber nests from stucco, it’s essential to understand the nature and behavior of these intriguing insects. Also known as mud daubers, dirt daubers are solitary wasps that belong to the family Sphecidae. Unlike social wasps, such as yellow jackets or hornets, dirt daubers are non-aggressive and rarely sting humans unless directly threatened.
These industrious insects are characterized by their slender bodies and elongated waists, often sporting a narrow, thread-like connection between the thorax and abdomen. Their name stems from their unique nesting behavior, as they construct their nests using mud or clay, which distinguishes them from other wasp species.
Dirt daubers are beneficial to the environment due to their role as natural pest controllers. They capture spiders and other small insects to provision their nests, serving as a form of biological pest control. However, their nesting habits can pose challenges for homeowners, particularly when stucco surfaces become their chosen nesting sites.
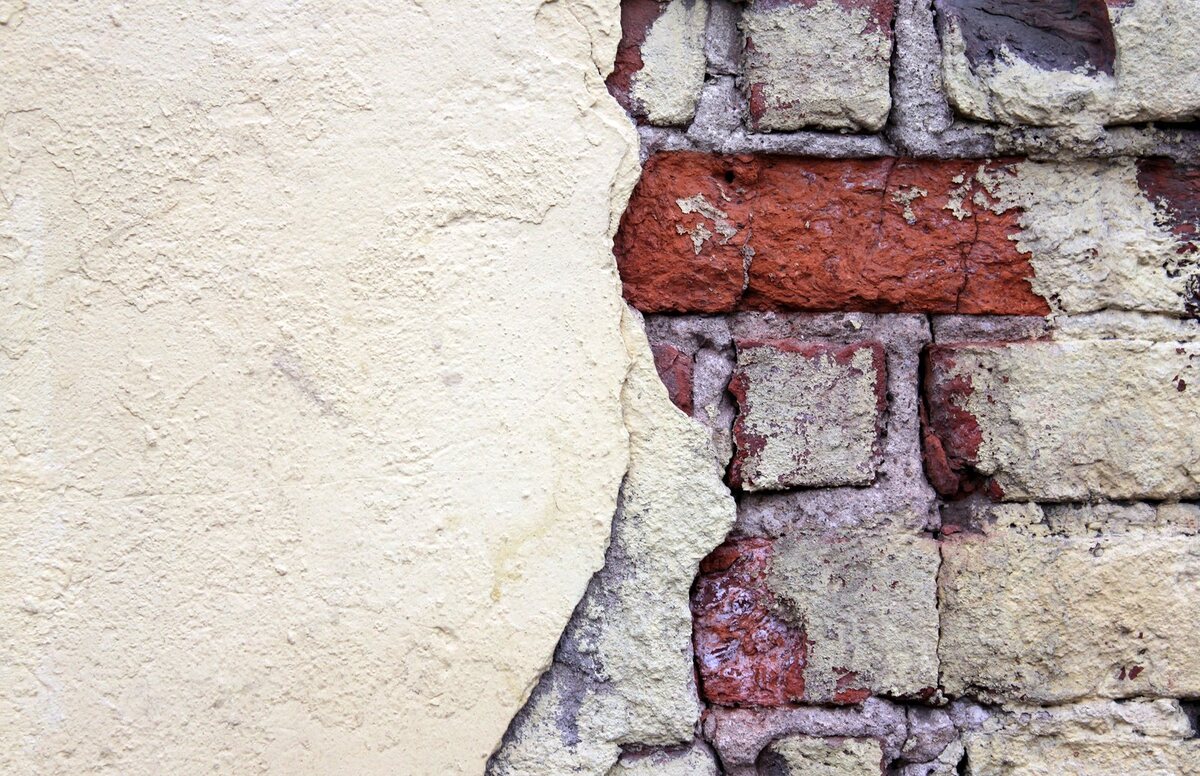
When it comes to stucco, dirt daubers are drawn to its texture and crevices, which provide an ideal environment for nest building. Understanding their attraction to stucco can shed light on effective prevention strategies to deter future nesting.
By gaining insights into the habits and preferences of dirt daubers, you will be better equipped to address the issue of nests on stucco surfaces. Armed with this knowledge, you can approach the removal process with a deeper understanding of the creatures you are dealing with, fostering a sense of respect for the natural world even as you protect your property.
Tools and Materials Needed
Before initiating the removal of dirt dauber nests from stucco surfaces, it’s crucial to gather the necessary tools and materials to ensure a safe and effective process. Here’s a comprehensive list of items you’ll need:
Tools:
- Safety goggles: Protect your eyes from debris and potential splatters during the nest removal process.
- Protective gloves: Choose sturdy gloves to shield your hands from any accidental contact with the nest or stucco surfaces.
- Ladder: Depending on the nest's location, a sturdy ladder may be required to access high or hard-to-reach areas.
- Long-handled scraper or putty knife: Use this tool to carefully dislodge the nest from the stucco surface.
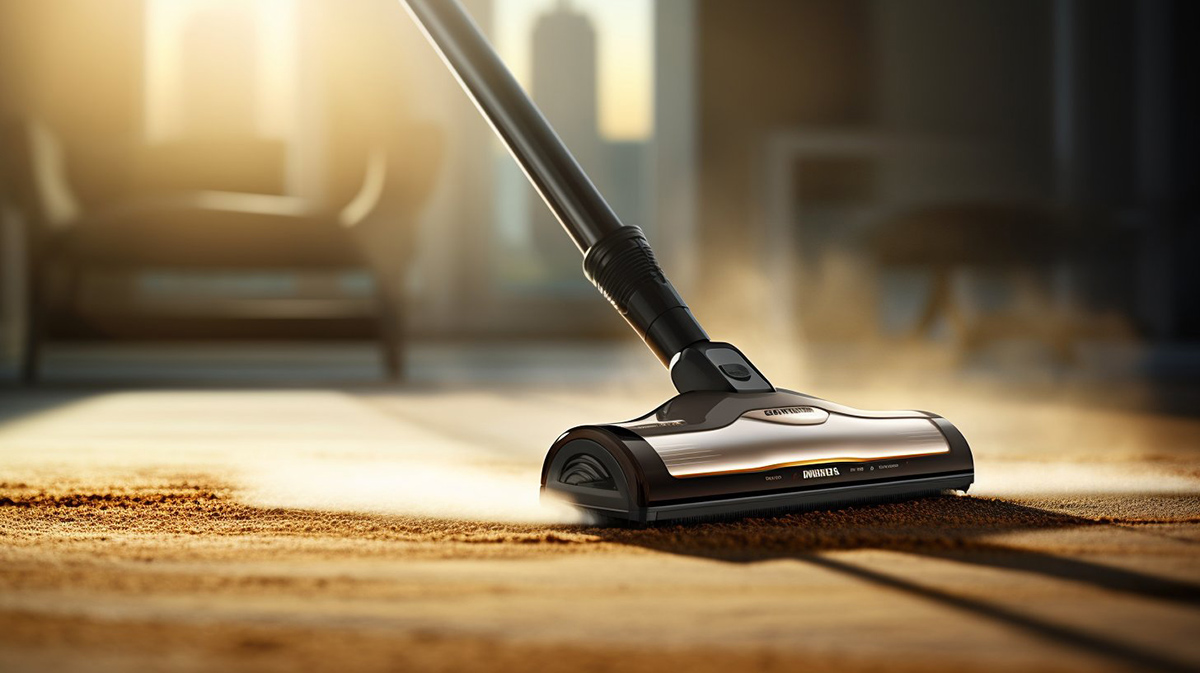
- Vacuum cleaner with hose attachment: After removing the nest, a vacuum with a hose attachment can help clean up any remaining debris.
Materials:
- Mild detergent or stucco cleaner: Prepare a solution of mild detergent or specialized stucco cleaner to clean the affected area post-nest removal.
- Soft bristle brush: Use a soft-bristled brush to gently scrub the stucco surface when applying the cleaning solution.
- Bucket: Prepare the cleaning solution in a bucket for easy application.
- Water hose or pressure washer: Rinse the cleaned area with a water hose or pressure washer to remove any remaining residue.
- Protective drop cloth or tarp: Lay down a protective cloth or tarp to catch any falling debris during the nest removal process.
By ensuring that you have these tools and materials at your disposal, you can approach the nest removal process with confidence and efficiency. Prioritizing safety and preparedness will contribute to a successful and hassle-free experience while safeguarding the integrity of your stucco surfaces.
Read more: How To Remove Rust From Stucco
Step 1: Safety Precautions
Prior to commencing the removal of a dirt dauber nest from a stucco surface, it’s paramount to prioritize safety precautions to mitigate potential risks and ensure a secure environment for the task at hand. Here are essential safety measures to consider:
1. Wear Protective Gear: Equip yourself with safety goggles to shield your eyes from debris and splatters during the nest removal process. Additionally, don sturdy protective gloves to safeguard your hands from any accidental contact with the nest or rough stucco surfaces.
2. Secure the Work Area: If the nest is located at a height, utilize a sturdy ladder and ensure it is positioned on stable ground. Clear the surrounding area of any obstacles or tripping hazards to create a safe and unobstructed workspace.
3. Assess Environmental Conditions: Take into account weather conditions before initiating the removal process. Avoid working in extreme heat or windy conditions, as these factors can affect your stability on the ladder and the effectiveness of the removal procedure.
4. Identify Potential Allergies: If you or others involved in the process have known allergies to insect stings, take necessary precautions and have appropriate medications or allergy kits readily accessible.
5. Exercise Caution: Approach the nest removal process with caution and a calm demeanor. Avoid sudden movements or loud noises that may agitate any remaining dirt daubers in the vicinity.
6. Secure Electrical Outlets: If using electrical equipment, ensure that outlets and cords are positioned away from water sources to prevent potential electrical hazards during the cleaning phase.
By adhering to these safety precautions, you can create a secure and controlled environment for the successful removal of the dirt dauber nest from the stucco surface. Prioritizing safety not only protects you and others involved but also contributes to a smooth and efficient removal process, ensuring a positive outcome.
Step 2: Inspecting the Nest
Before initiating the removal process, it’s essential to thoroughly inspect the dirt dauber nest on the stucco surface. This step allows for a comprehensive assessment of the nest’s size, location, and potential structural impact on the stucco. Here’s how to effectively inspect the nest:
1. Approach with Caution: Approach the nest with care, avoiding sudden movements or loud noises that may disturb any remaining dirt daubers in the vicinity.
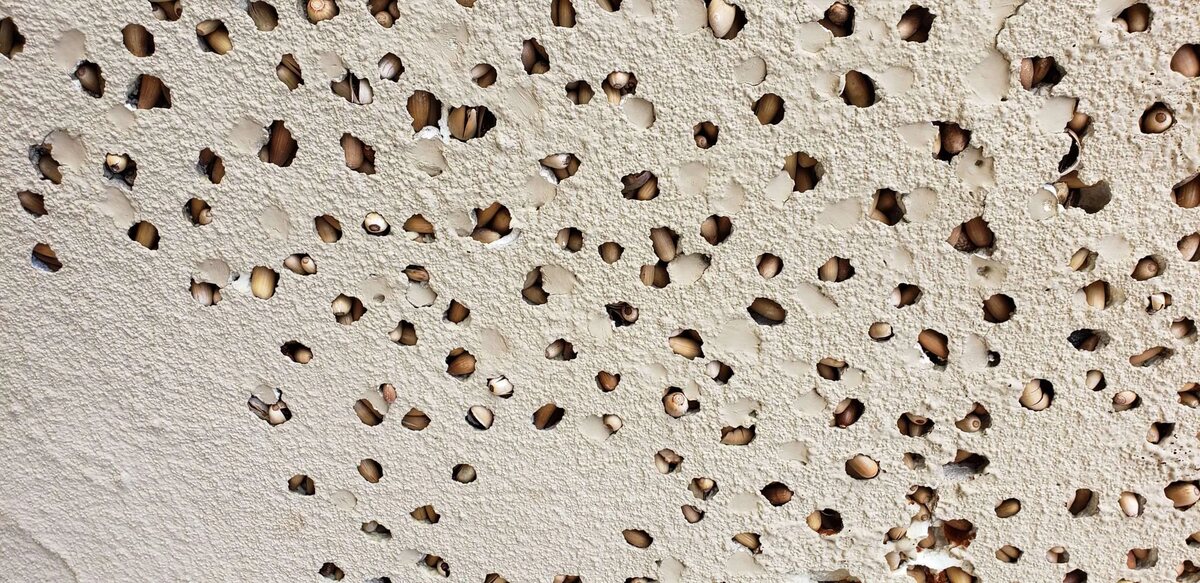
2. Assess Nest Size and Composition: Evaluate the size of the nest and its composition. Dirt dauber nests are typically constructed from mud or clay and may vary in size, ranging from small, solitary cells to larger, multi-cell structures.
3. Determine Nest Location: Identify the precise location of the nest on the stucco surface, noting any potential challenges in accessing or removing it. Take into account the nest’s proximity to electrical fixtures, windows, or other delicate areas that require careful maneuvering during the removal process.
4. Evaluate Structural Impact: Assess the potential impact of the nest on the stucco surface. Look for any signs of damage or discoloration caused by the nest, as well as any underlying structural vulnerabilities that may require attention during the removal and cleaning phases.
5. Observe Surrounding Activity: Take note of any dirt dauber activity in the vicinity of the nest. Observing the behavior of these insects can provide insights into their presence and potential nesting patterns, aiding in the implementation of preventive measures.
6. Document Findings: Consider documenting the inspection findings through photographs or detailed notes. This documentation can serve as a reference point for assessing the effectiveness of the removal process and monitoring any post-removal changes in the stucco surface.
By thoroughly inspecting the dirt dauber nest on the stucco surface, you can gain valuable insights into the scope of the removal task and tailor your approach accordingly. This proactive assessment sets the stage for a well-informed and targeted removal process, laying the groundwork for a successful outcome.
Step 3: Removing the Nest
Once the inspection is complete, it’s time to embark on the crucial step of removing the dirt dauber nest from the stucco surface. This process requires precision and care to effectively eliminate the nest without causing damage to the stucco. Here’s a comprehensive guide to safely removing the nest:
1. Prepare the Work Area: Lay down a protective drop cloth or tarp to catch any falling debris during the removal process. Ensure that the work area is clear of any obstacles and that the nest’s surroundings are accessible.
2. Don Protective Gear: Prioritize safety by wearing protective goggles and sturdy gloves before initiating the removal. These essential items will shield you from potential debris and splatters during the process.
3. Use a Long-handled Scraper or Putty Knife: Carefully insert a long-handled scraper or putty knife beneath the edge of the nest, gently loosening it from the stucco surface. Exercise caution to avoid damaging the stucco while dislodging the nest.
4. Gradually Remove the Nest: Slowly and methodically remove the nest from the stucco, taking care to minimize disruptions to the surrounding area. If the nest is particularly large or adhered firmly to the surface, work patiently to detach it without causing unnecessary strain on the stucco.
5. Dispose of the Nest Safely: Once the nest is removed, place it in a sealed bag or container for safe disposal. Avoid direct contact with the nest and handle it with care to prevent any accidental stings or exposure to residual mud or clay.
6. Clean the Work Area: After the nest is successfully removed, use a vacuum cleaner with a hose attachment to clean up any remaining debris or particles from the stucco surface and the surrounding area. Dispose of the collected debris in a secure manner.
By following these meticulous steps, you can effectively remove the dirt dauber nest from the stucco surface while maintaining the integrity of the surrounding area. Prioritizing precision and care during the removal process contributes to a seamless and satisfactory outcome, preparing the groundwork for the subsequent cleaning and prevention measures.
Use a putty knife to gently scrape away the dirt dauber nest from the stucco. Be careful not to damage the stucco surface. After removing the nest, clean the area with a mild detergent and water to remove any remaining residue.
Step 4: Cleaning the Area
After successfully removing the dirt dauber nest from the stucco surface, the next critical step is to thoroughly clean the affected area. This process not only restores the visual appeal of the stucco but also eliminates any residual mud, debris, or stains left behind by the nest. Here’s a detailed guide to effectively clean the area:
1. Prepare a Cleaning Solution: Create a solution of mild detergent or specialized stucco cleaner by mixing it with water in a bucket. Ensure that the cleaning solution is appropriate for use on stucco surfaces and won’t cause damage or discoloration.
2. Apply the Cleaning Solution: Dip a soft bristle brush into the prepared cleaning solution and gently apply it to the affected area of the stucco. Use light, circular motions to work the solution into the stucco, focusing on areas where the nest was attached.
3. Thoroughly Scrub the Surface: With the cleaning solution applied, use the soft bristle brush to thoroughly scrub the stucco surface, paying attention to any residual stains or traces left by the nest. Take care not to apply excessive pressure that could damage the stucco’s texture.
4. Rinse the Area: Once the stucco has been scrubbed, rinse the area with a water hose or pressure washer to remove the cleaning solution and any loosened debris. Ensure that the water pressure is suitable for stucco surfaces and won’t cause damage or erosion.
5. Allow for Drying Time: After rinsing, allow the cleaned area to air dry naturally. Avoid using excessive heat sources or high-pressure air drying methods, as these can potentially impact the stucco’s integrity and appearance.
6. Inspect the Cleaned Area: After the stucco has dried, inspect the cleaned area for any remaining stains, discoloration, or debris. If necessary, repeat the cleaning process to achieve a pristine and uniform appearance across the affected surface.
By meticulously following these steps, you can effectively restore the cleanliness and integrity of the stucco surface following the removal of the dirt dauber nest. Prioritizing gentle yet thorough cleaning techniques contributes to a visually appealing and well-maintained stucco surface, setting the stage for implementing preventive measures to deter future nests.
Read more: How To Remove Vines From Stucco
Step 5: Preventing Future Nests
After successfully removing the dirt dauber nest and cleaning the stucco surface, it’s crucial to implement preventive measures to deter future nesting activity. By proactively addressing potential nesting sites and disrupting dirt daubers’ attraction to the area, you can significantly reduce the likelihood of recurring nests. Here’s a comprehensive guide to preventing future nests on stucco surfaces:
1. Seal Cracks and Crevices: Inspect the stucco surface for any cracks, gaps, or crevices that may serve as potential nesting sites. Seal these openings using appropriate stucco patching materials to eliminate accessible spaces for dirt daubers to construct their nests.
2. Apply a Deterrent Spray: Consider using a specialized insect deterrent spray designed to repel dirt daubers and other nesting insects. Apply the spray according to the manufacturer’s instructions, focusing on areas prone to nesting activity.
3. Monitor and Address Moisture Issues: Dirt daubers are attracted to moist environments, making it essential to address any moisture-related issues near the stucco surface. Ensure proper drainage, fix leaky pipes, and eliminate standing water to reduce the appeal of the area for nesting insects.
4. Install Nesting Deterrents: Place physical deterrents, such as fine mesh or screens, over potential nesting sites to create barriers that discourage dirt daubers from accessing these areas. Ensure that these deterrents do not obstruct ventilation or essential structural features.
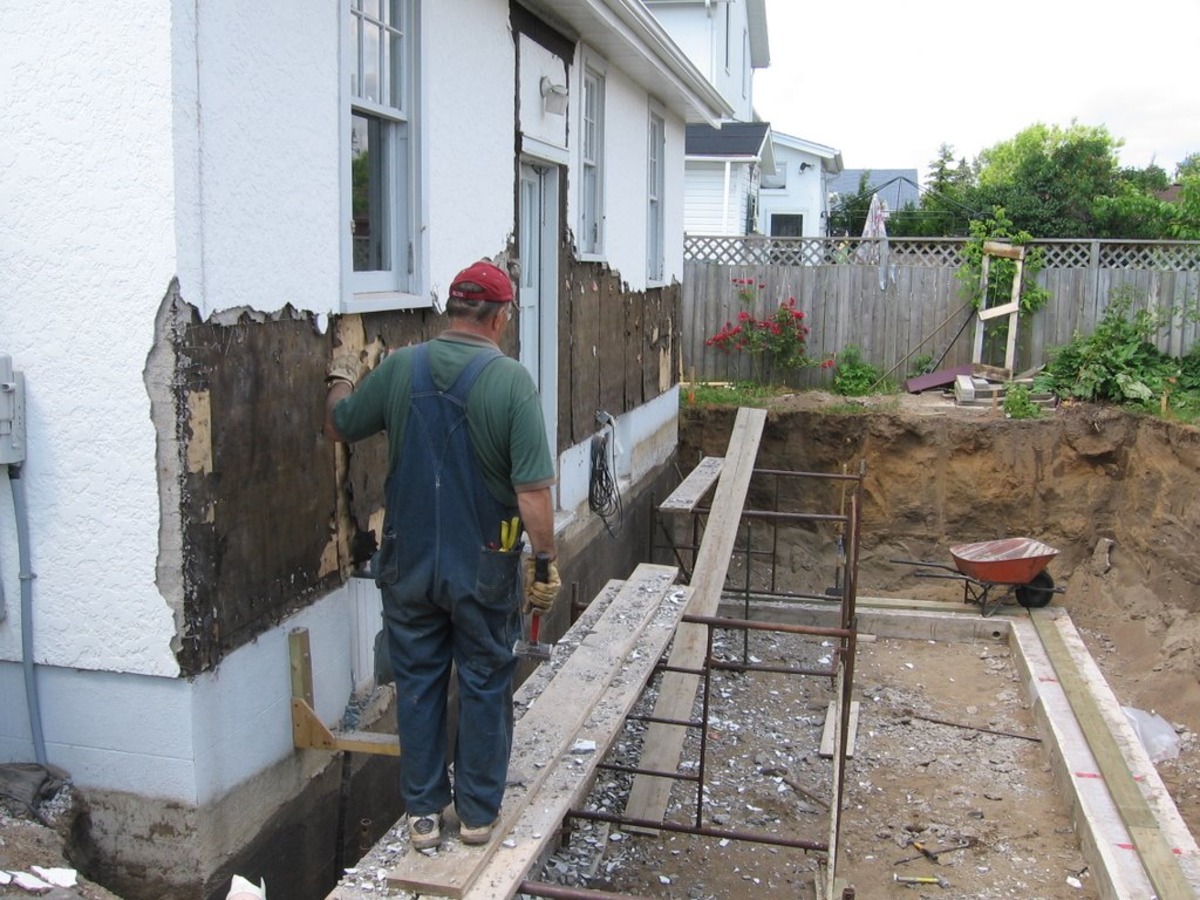
5. Regularly Inspect and Maintain: Schedule periodic inspections of the stucco surface to proactively identify and address any signs of potential nesting activity. Promptly address any emerging issues to prevent dirt daubers from establishing nests on the stucco.
6. Seek Professional Assistance: If recurring nesting activity persists despite preventive measures, consider consulting with pest control professionals who specialize in addressing dirt dauber infestations. They can provide tailored solutions and further insights into deterring these insects from stucco surfaces.
By diligently implementing these preventive measures, you can fortify the stucco surface against future dirt dauber nests, promoting a pest-free and well-maintained environment. Proactive prevention not only safeguards the integrity of the stucco but also contributes to a harmonious living or working space, free from the intrusion of unwanted nesting insects.
Conclusion
Congratulations on successfully navigating the comprehensive process of removing dirt dauber nests from stucco surfaces. By understanding the nature of dirt daubers, equipping yourself with the necessary tools and materials, and following the step-by-step guide, you have effectively reclaimed your stucco from these unwanted intruders. As you reflect on this journey, it’s essential to acknowledge the significance of this endeavor and its broader implications.
Not only have you safeguarded the visual appeal and structural integrity of the stucco, but you have also contributed to creating a safer and more harmonious living or working environment. Through your proactive efforts, you have mitigated potential risks associated with dirt dauber nests, fostering a space free from the disturbances and inconveniences caused by these nesting insects.
Furthermore, by prioritizing safety, precision, and preventive measures, you have not only addressed the immediate issue at hand but have also set the stage for long-term protection against future nests. Your commitment to thorough inspection, meticulous removal, and proactive prevention exemplifies a holistic approach to maintaining the integrity of stucco surfaces and preserving the quality of your living or working space.
As you take a moment to admire the clean and nest-free stucco surface, it’s important to recognize the knowledge and skills you have acquired throughout this process. Your newfound understanding of dirt daubers, coupled with your ability to implement preventive measures, positions you as a capable steward of stucco surfaces, equipped to address and deter potential nesting activity effectively.
By sharing your experiences and insights with others, you contribute to a collective effort in promoting awareness and proactive pest management, empowering individuals to protect their properties and create pest-resistant environments. Your dedication to this endeavor serves as an inspiration for others facing similar challenges, demonstrating the power of knowledge, preparedness, and proactive action in overcoming pest-related concerns.
As you continue to maintain and care for your stucco surfaces, may this experience serve as a testament to the transformative impact of informed decision-making and proactive measures. Your commitment to preserving the integrity and aesthetics of your property stands as a testament to your dedication and resourcefulness, shaping a space that is both inviting and resilient against the encroachments of nature.
With a clean, nest-free stucco surface and a wealth of knowledge at your disposal, you are well-prepared to face any future challenges with confidence and expertise. Your proactive approach and commitment to creating a pest-resistant environment exemplify the power of informed action and its enduring impact on the spaces we inhabit.
Frequently Asked Questions about How To Remove Dirt Dauber Nest From Stucco
Was this page helpful?
At Storables.com, we guarantee accurate and reliable information. Our content, validated by Expert Board Contributors, is crafted following stringent Editorial Policies. We're committed to providing you with well-researched, expert-backed insights for all your informational needs.


0 thoughts on “How To Remove Dirt Dauber Nest From Stucco”