
Articles
How To Clean Filter On Maytag Dishwasher
Modified: August 25, 2024
Learn how to clean the filter on your Maytag dishwasher with these easy-to-follow articles. Maintain the performance and longevity of your appliance for years to come.
(Many of the links in this article redirect to a specific reviewed product. Your purchase of these products through affiliate links helps to generate commission for Storables.com, at no extra cost. Learn more)
Introduction
Welcome to our comprehensive guide on how to clean the filter on a Maytag dishwasher. A dishwasher’s filter plays a crucial role in keeping your dishes clean and your appliance functioning efficiently. Over time, debris, food particles, and residue can accumulate in the filter, leading to clogs and poor cleaning performance.
Regular maintenance, including cleaning the filter, is essential for ensuring that your Maytag dishwasher continues to deliver spotless dishes every time. In this article, we will provide you with step-by-step instructions on how to properly clean the filter in your Maytag dishwasher, helping you maintain optimal performance and prolong the lifespan of your appliance.
Before we dive into the cleaning process, let’s quickly go over the tools and materials you will need.
Key Takeaways:
- Regularly cleaning the filter on your Maytag dishwasher is essential for maintaining optimal performance and prolonging the appliance’s lifespan. Follow the step-by-step guide to ensure spotless dishes and efficient operation.
- Gather the necessary tools and materials, such as a soft-bristle brush, warm water, and mild detergent, before cleaning the filter. Proper reassembly and regular maintenance will ensure a well-maintained Maytag dishwasher for years to come.
Read more: How To Clean Filter On Kitchenaid Dishwasher
Tools and Materials Needed
Before you start cleaning the filter on your Maytag dishwasher, gather the following tools and materials:
- Soft-bristle brush
- Dish soap or mild detergent
- Warm water
- Container or sink to clean the filter and parts
- Towel or drying rack
Having these tools and materials ready will ensure a smooth and efficient cleaning process. Now, let’s move on to the step-by-step instructions.
Step 1: Turn off and unplug the dishwasher
The first step in cleaning the filter on your Maytag dishwasher is to turn off the appliance and unplug it from the power source. This is crucial for your safety and to prevent any accidents while working on the dishwasher.
Locate the power button or switch on your dishwasher and make sure it is in the off position. Then, unplug the power cord from the electrical outlet. Taking these precautions will ensure that no power is running to the dishwasher, minimizing the risk of electric shock.
It’s important to note that some dishwasher models may have a power cord connected directly to the electrical junction box. In these cases, it’s best to turn off the circuit breaker that powers the dishwasher. Refer to your dishwasher’s manual or consult a professional if you’re unsure about the power source.
Once the dishwasher is turned off and unplugged, you can proceed to the next step of removing the bottom dish rack.
Step 2: Remove the bottom dish rack
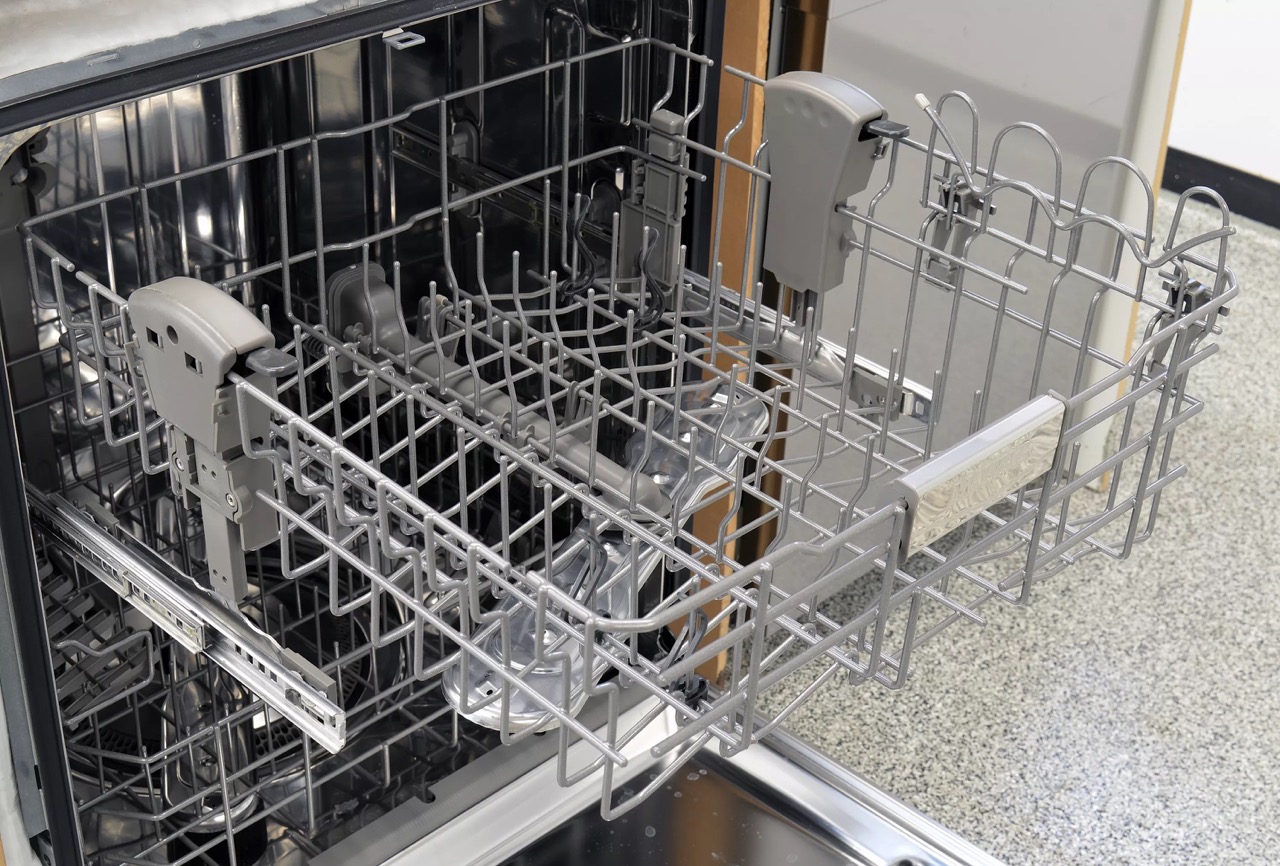
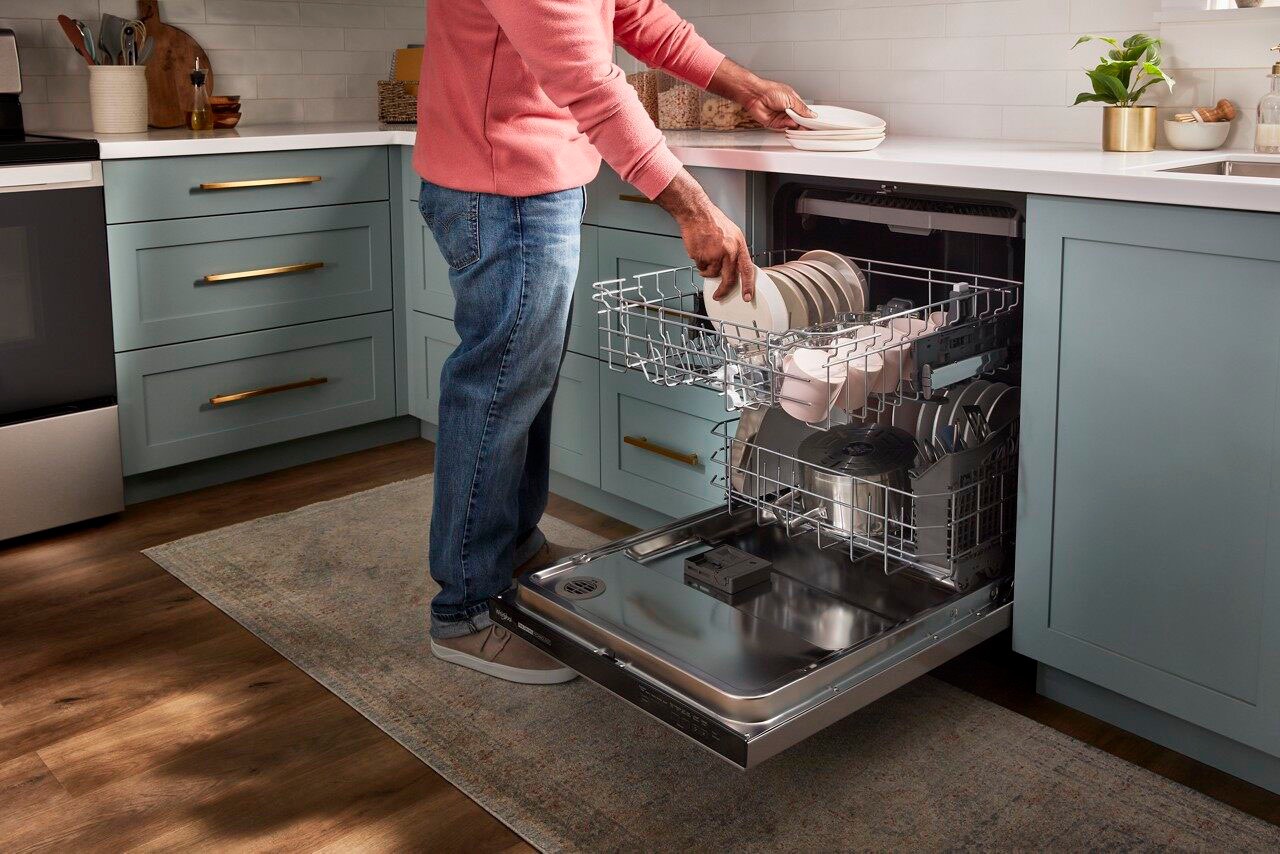
Now that the dishwasher is turned off and unplugged, it’s time to remove the bottom dish rack. The bottom rack is where the filter is located, so removing it will give you access to the filter for cleaning.
Start by pulling out the bottom dish rack as far as it can go. If your dishwasher has an adjustable rack, make sure it is completely lowered before attempting to remove it.
Next, locate the tabs or levers on the sides of the bottom dish rack. These are designed to secure the rack in place. To remove the rack, simply push the tabs or levers inward and lift the rack out of the dishwasher.
Be careful not to force the rack or handle it too roughly, as it may have fragile components such as tines or roller wheels. Gently lift the rack out of the dishwasher and set it aside on a clean surface.
With the bottom dish rack removed, you now have clear access to the filter and filter cover. In the next step, we will guide you through removing the filter cover and filter assembly.
Step 3: Locate and Remove the Filter Cover
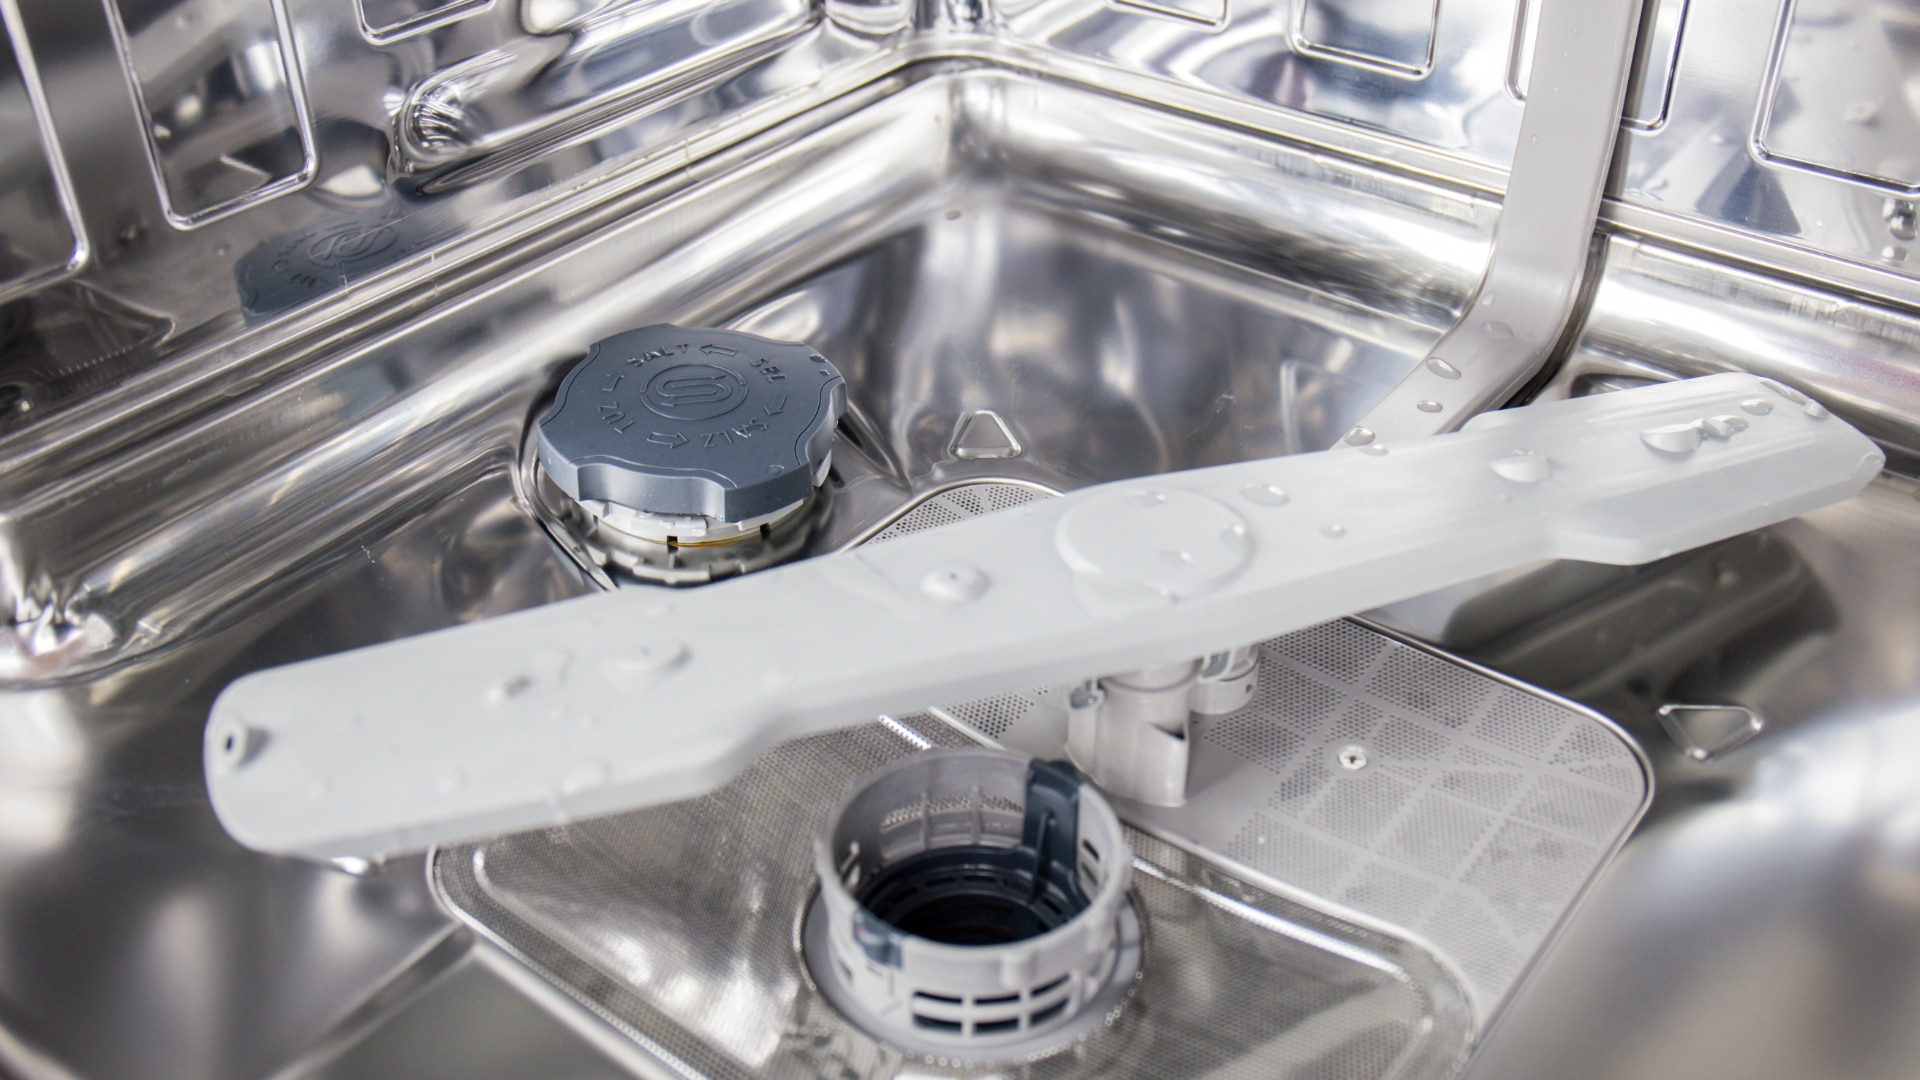
With the bottom dish rack removed, it’s time to locate and remove the filter cover. The filter cover is situated beneath the bottom dish rack and holds the filter assembly in place.
Take a close look at the bottom of the dishwasher tub, near the back. You should be able to spot the filter cover, which is typically a round or rectangular-shaped piece with perforations or slots.
Depending on your Maytag dishwasher model, the filter cover may have a handle, tabs, or screws to secure it in place. Carefully inspect the filter cover to determine the best method for removal.
If your filter cover has a handle, simply grab hold of it and lift it straight up. In the case of tabs, press them inward or outward, depending on the configuration, and lift the cover. If there are screws, use a screwdriver to loosen and remove them before taking off the cover.
Ensure that you keep track of any screws or small parts during this process, as they will be needed for reassembly later on.
Once the filter cover is removed, you’ll be able to see the filter assembly underneath. In the next step, we will guide you through taking out the filter assembly to thoroughly clean it.
Read more: How To Clean Samsung Dishwasher Filter
Step 4: Take Out the Filter Assembly
Now that the filter cover has been removed, it’s time to take out the filter assembly. The filter assembly is responsible for trapping food particles and debris, preventing them from circulating back onto your dishes.
Take a moment to locate the filter assembly inside the dishwasher tub. It’s usually positioned near the center or back, beneath the filter cover opening.
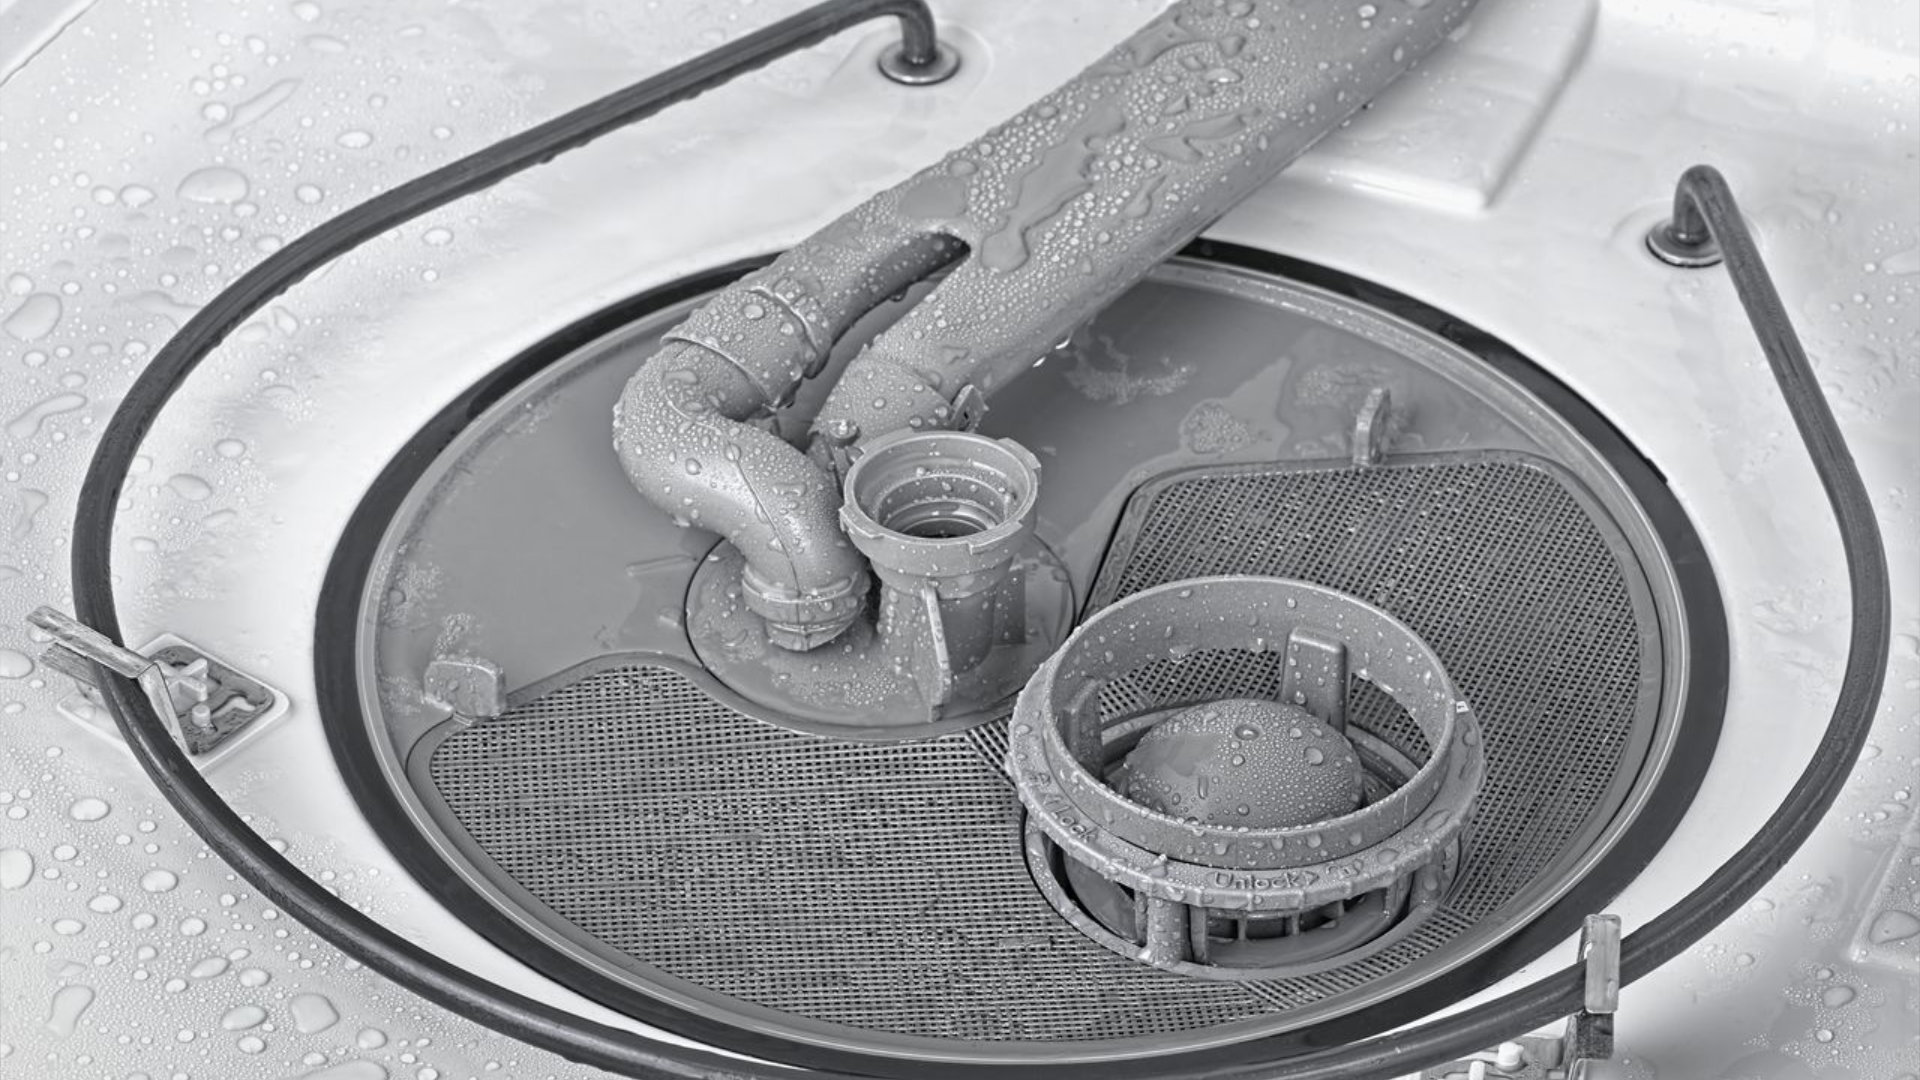
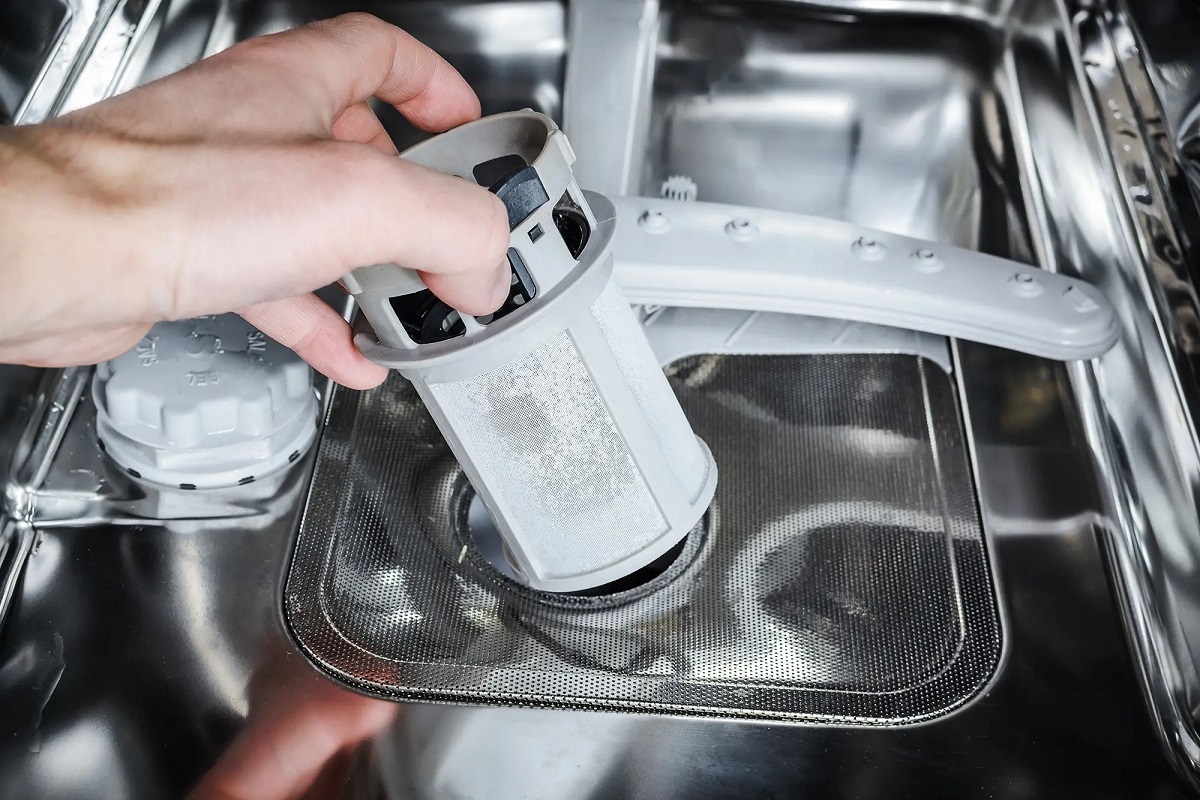
Depending on your Maytag dishwasher model, the filter assembly may consist of multiple parts, such as a mesh filter, a cylindrical filter, and a coarse filter. Carefully examine the components and mentally note their arrangement for reassembly later.
To remove the filter assembly, gently lift it out of its seating. This can typically be done by gripping one of the handles or edges and lifting it straight up. Be cautious not to bend or damage any of the filter components during this process.
Once the filter assembly is out, you can proceed to the next step, which involves cleaning the filter and filter assembly to remove any accumulated residue and debris.
Remember, proper cleaning of the filter assembly is essential for maintaining the performance and efficiency of your Maytag dishwasher.
To clean the filter on a Maytag dishwasher, remove the lower rack and unscrew the filter cover. Clean the filter with a soft brush and warm, soapy water, then rinse and reassemble. Do this regularly to maintain optimal dishwasher performance.
Step 5: Clean the Filter and Filter Assembly
Now that you have removed the filter assembly, it’s time to give it a thorough cleaning to remove any accumulated residue and debris that may hinder its performance. Cleaning the filter regularly will help ensure that your Maytag dishwasher continues to operate at its best.
Start by inspecting the filter and filter assembly for visible debris. Gently shake or tap the filter to dislodge any loose particles. Use a soft-bristle brush or your fingertips to remove any stubborn debris or buildup.
Next, prepare a solution of warm water and a few drops of dish soap or mild detergent. Submerge the filter assembly in the solution and let it soak for a few minutes. This will help to loosen and dissolve any remaining residue.
After the filter assembly has soaked, use a soft-bristle brush or cloth to gently scrub the filter and its components. Pay close attention to any mesh or fine filter screens, making sure to remove any trapped debris.
Rinse the filter assembly thoroughly under running water to remove any soap or detergent residue. Make sure to flush out any debris that may have loosened during the cleaning process.
Inspect the filter and filter assembly again to ensure that they are clean and free from any debris or residue. If needed, repeat the cleaning process until you are satisfied with the results.
Once the filter and filter assembly are clean, set them aside to air-dry completely. You can place them on a towel or a drying rack to facilitate the drying process. Avoid using a heat source, such as a hairdryer, as excessive heat can damage the filter components.
With the filter and filter assembly cleaned and dried, you’re ready to move on to the next step, which involves reassembling the filter and replacing the filter cover.
Cleaning the filter regularly is crucial for maintaining the efficiency and performance of your Maytag dishwasher, so make sure to incorporate it into your regular maintenance routine.
Step 6: Reassemble the Filter and Filter Assembly
Now that you have cleaned and dried the filter and filter assembly, it’s time to reassemble them and prepare them for placement back into your Maytag dishwasher.
Begin by carefully inspecting the various components of the filter assembly. Take note of their arrangement and orientation, as this will help ensure that you reassemble them correctly.
If your filter assembly consists of multiple parts, such as a mesh filter, a cylindrical filter, and a coarse filter, start by placing the cylindrical filter back into its designated spot in the dishwasher tub. Ensure that it fits snugly and securely.
Next, position the mesh filter or coarse filter on top of the cylindrical filter, aligning them properly. It’s important to ensure that all components are properly aligned and seated to maintain optimal performance.
Once the filter assembly is reassembled, carefully lower it back into its original position within the dishwasher tub. Make sure it fits securely and is properly seated.
Take a moment to double-check that the filter assembly is aligned correctly and that all components are in their proper place. This will help prevent any issues during operation.
With the filter assembly properly reassembled and in place, you can proceed to the next step, which involves replacing the filter cover.
Proper reassembly of the filter and filter assembly is crucial for ensuring the efficient operation of your Maytag dishwasher. Take your time and ensure that all components are aligned correctly before moving on.
Step 7: Replace the Filter Cover
After reassembling the filter and filter assembly, it’s time to replace the filter cover. The filter cover serves as a protective barrier and holds the filter assembly in place within your Maytag dishwasher.
Inspect the filter cover to ensure it is clean and free from any debris or residue. If needed, give it a quick wipe with a damp cloth or sponge to ensure a clean surface.
Align the filter cover with the opening in the dishwasher tub. Make sure it is positioned correctly and ready for installation.
If your filter cover has tabs or levers, line them up with the corresponding slots or notches on the dishwasher tub. Insert the tabs or levers into the slots and press them firmly to secure the filter cover in place.
If your filter cover uses screws, locate the screw holes on the dishwasher tub and line them up with the holes on the filter cover. Insert the screws and tighten them with a screwdriver until they are secure.
Ensure that the filter cover is properly installed and tightly secured before moving on to the next step.
Replacing the filter cover is an important step in the cleaning process, as it ensures that the filter assembly is protected and stays in place during operation.
With the filter cover securely in place, you can now move on to the next step, which involves putting back the bottom dish rack.
Take your time and make sure that the filter cover is properly aligned and installed. This will help maintain the integrity of the filter assembly and ensure the smooth operation of your Maytag dishwasher.
Read more: How To Clean Ge Dishwasher Filter
Step 8: Put Back the Bottom Dish Rack
Now that the filter cover is securely in place, it’s time to put the bottom dish rack back into your Maytag dishwasher. The bottom dish rack holds your dishes during the cleaning cycle and plays a crucial role in proper dishwashing.
Start by aligning the bottom dish rack with the tracks on the sides of the dishwasher tub. Gently push the rack back into the dishwasher, ensuring that it glides smoothly along the tracks.
If your dishwasher has an adjustable rack, make sure it is in the lowest position before inserting it back into the dishwasher.
Continue pushing the bottom dish rack all the way in until it is fully seated inside the dishwasher. Make sure it is aligned and positioned correctly.
Give the bottom dish rack a gentle tug to ensure it is securely in place. It should not move or wobble excessively.
With the bottom dish rack properly reinstalled, you’re almost done with the cleaning process. Just a few more steps to go!
In the next step, we will guide you through plugging in and turning on your Maytag dishwasher.
Take your time to properly align and insert the bottom dish rack. A properly seated rack will ensure that your dishes are securely held during the cleaning cycle and help maintain optimal performance of your Maytag dishwasher.
Step 9: Plug in and Turn On the Dishwasher
Now that the bottom dish rack is back in place, it’s time to plug in and turn on your Maytag dishwasher. Following this final step will complete the cleaning process, allowing you to enjoy the sparkling results of a well-maintained appliance.
Locate the power cord of your Maytag dishwasher and plug it into a nearby electrical outlet. Ensure that the cord is securely inserted, and there are no loose connections.
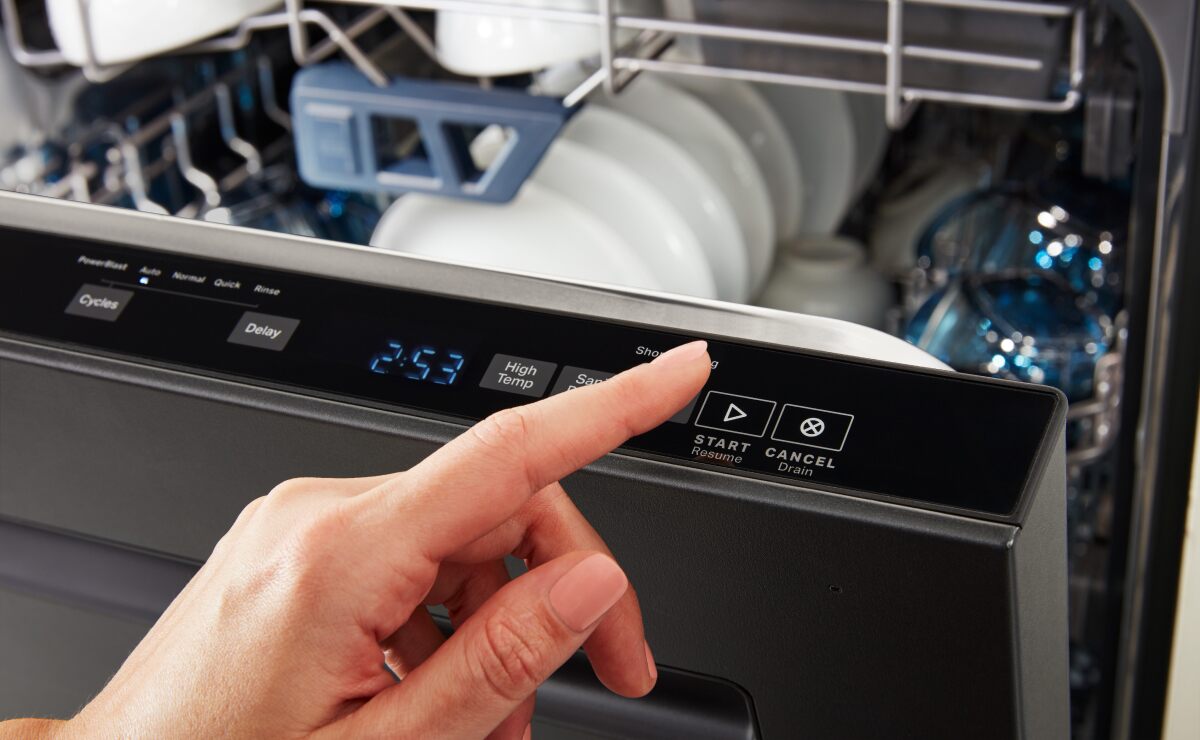
Once the dishwasher is plugged in, locate the power button or switch. Depending on your Maytag dishwasher model, the power button may be located on the control panel or along the dishwasher’s edge.
Press the power button or flip the switch to turn on the dishwasher. You should see lights or indicators illuminate on the control panel, indicating that the dishwasher is receiving power.
Once the dishwasher is turned on, you can select the desired wash cycle, adjust any additional settings, and load your dishes for cleaning.
As the dishwasher begins its cleaning cycle, the filter you have cleaned and reassembled will help trap and remove food particles, ensuring a thorough cleaning process.
Always refer to your Maytag dishwasher manual for specific instructions on operating your particular model.
Congratulations! You have successfully cleaned the filter on your Maytag dishwasher and are now ready to enjoy its optimal performance and spotless results.
Remember to regularly clean the filter to maintain your dishwasher’s efficiency and prolong its lifespan.
Thank you for following our step-by-step guide. Happy dishwashing!
Conclusion
Cleaning the filter on your Maytag dishwasher plays a crucial role in maintaining its efficiency and ensuring spotless dishes after each wash. By following the step-by-step instructions outlined in this guide, you have gained the knowledge and skills to effectively clean the filter and filter assembly.
Regular maintenance of your dishwasher, including cleaning the filter, is essential for optimal performance and prolonging the lifespan of your appliance. A clean filter helps prevent clogs and ensures that food particles and debris are effectively removed from your dishes.
Remember to gather the necessary tools and materials before starting the cleaning process. Use a soft-bristle brush, warm water, and mild detergent to gently clean the filter and filter assembly. Carefully reassemble the components and replace the filter cover, ensuring a secure fit.
Once you have completed the cleaning process, put the bottom dish rack back in place and plug in your dishwasher. With the filter clean and the appliance back in operation, you can enjoy the convenience of a well-maintained Maytag dishwasher.
By following these steps and incorporating regular filter cleaning into your dishwasher maintenance routine, you can ensure the longevity and efficient performance of your Maytag dishwasher for years to come.
Thank you for using our comprehensive guide. We hope it has been helpful in assisting you with effectively cleaning the filter on your Maytag dishwasher. Enjoy your clean and sparkling dishes!
Frequently Asked Questions about How To Clean Filter On Maytag Dishwasher
Was this page helpful?
At Storables.com, we guarantee accurate and reliable information. Our content, validated by Expert Board Contributors, is crafted following stringent Editorial Policies. We're committed to providing you with well-researched, expert-backed insights for all your informational needs.



0 thoughts on “How To Clean Filter On Maytag Dishwasher”