Articles
How To Clean Maytag Top Load Washer Filter
Modified: October 19, 2024
Discover effective techniques and tips in our articles on how to clean the Maytag top load washer filter and keep your machine running smoothly.
(Many of the links in this article redirect to a specific reviewed product. Your purchase of these products through affiliate links helps to generate commission for Storables.com, at no extra cost. Learn more)
Introduction
Welcome to this comprehensive guide on how to clean the Maytag top load washer filter. Regular maintenance of your washing machine is crucial to ensure optimal performance and longevity. One of the essential maintenance tasks is cleaning the washer filter, which helps to prevent clogs and improve overall washing efficiency.
Over time, debris, lint, and other particles can accumulate in the washer filter, hindering the flow of water and potentially causing drainage issues. By following the step-by-step instructions in this guide, you’ll be able to locate, remove, clean, and reinstall the filter, keeping your Maytag top load washer in top-notch condition.
Before we dive into the cleaning process, it’s important to note that not all Maytag top load washers have a removable filter. If you’re unsure whether your washer has a filter, consult the owner’s manual or contact Maytag customer support for clarification.
Now that you’re aware of the importance of cleaning the washer filter and the possibility that your specific model might not have one, let’s move on to the preparation steps before diving into the cleaning process.
Key Takeaways:
- Regularly cleaning the Maytag top load washer filter is essential for optimal performance and longevity. Follow the step-by-step guide to safely locate, remove, clean, and reinstall the filter, ensuring a hassle-free washing experience.
- By incorporating regular filter cleaning into your maintenance routine, you can keep your Maytag top load washer running smoothly and efficiently, providing fresh and clean laundry every time. Remember to consult the owner’s manual for specific instructions and reach out to Maytag customer support for assistance.
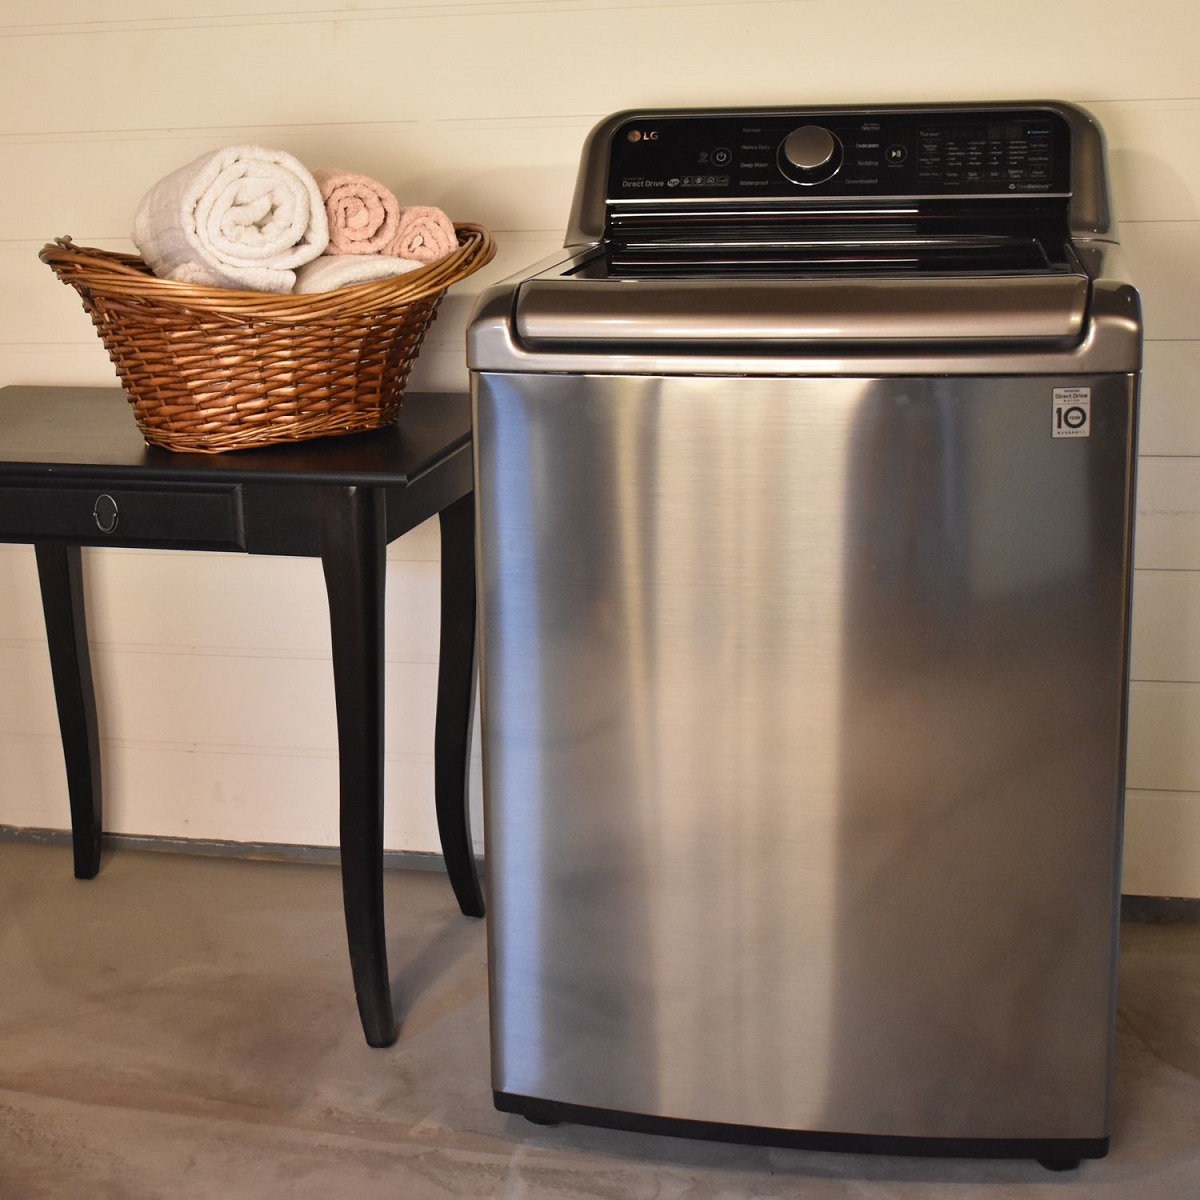
Read more: How to Clean Filter on LG Top Load Washer
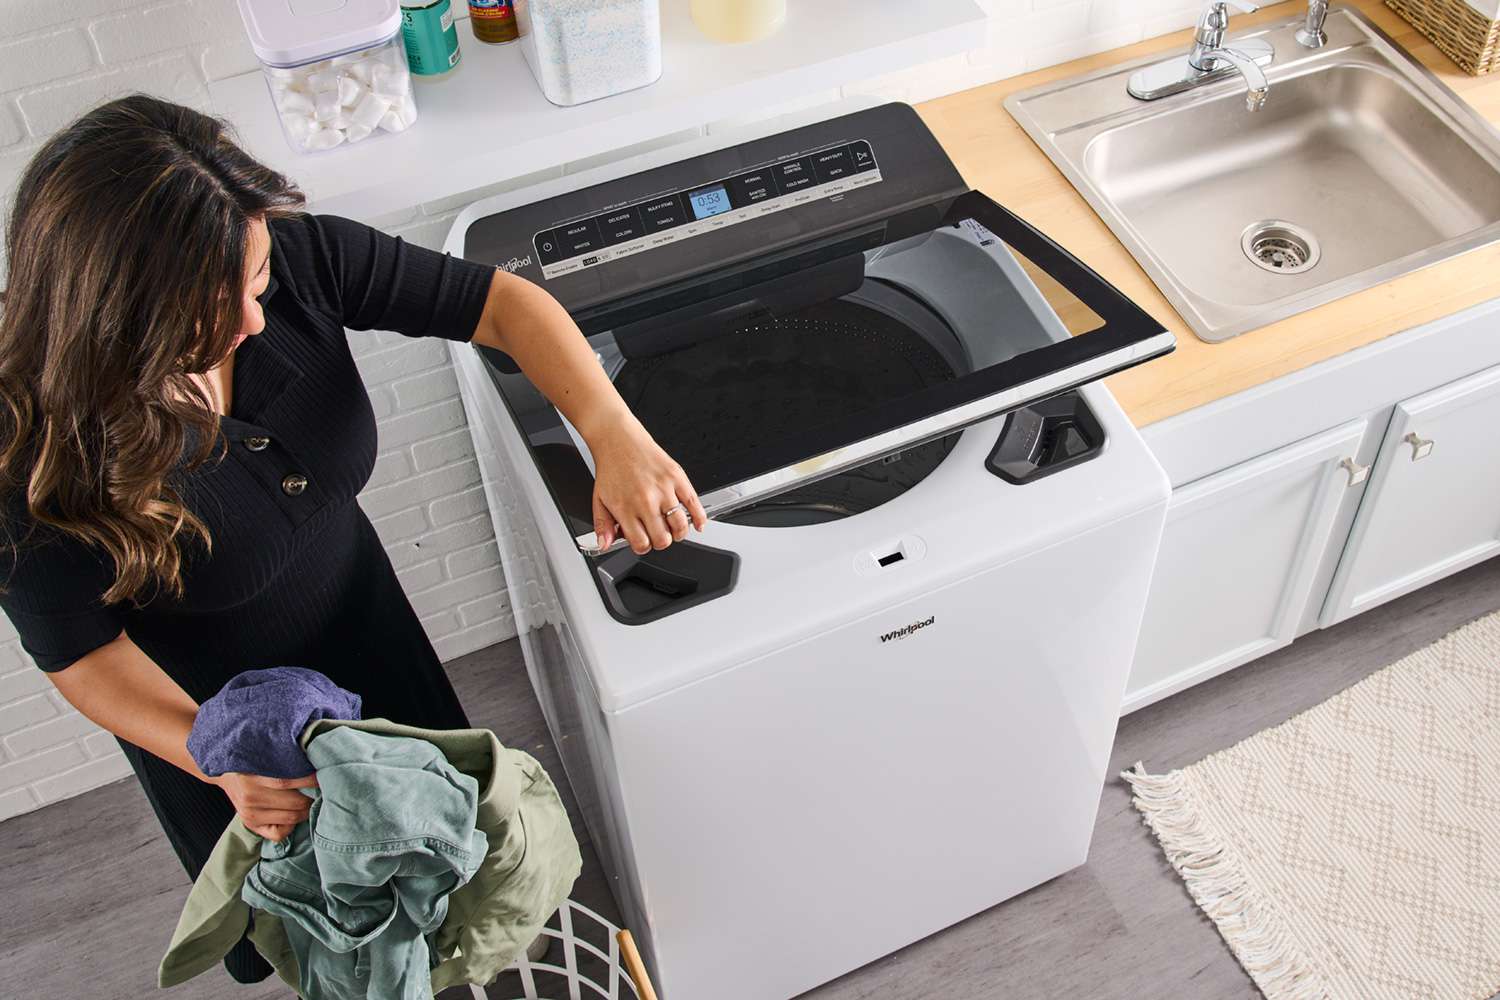
Step 1: Preparation
Before you begin cleaning the Maytag top load washer filter, there are a few essential steps to take in order to ensure a smooth and hassle-free process. Here’s what you need to do:
- Gather the necessary tools: To clean the washer filter, you’ll need a few basic tools including a pair of pliers, a small brush or toothbrush, a bucket or shallow container, and some mild detergent or vinegar for deep cleaning.
- Disconnect the power: To avoid any potential accidents or electrical hazards, it’s crucial to disconnect the power supply to your washing machine. Unplug the power cord from the electrical outlet or switch off the circuit breaker dedicated to the washer.
- Prepare the work area: Find a well-lit and spacious area where you can comfortably access the washer and perform the cleaning process. Lay down some old towels or place the bucket nearby to catch any water or debris that may spill during the process.
- Check for any standing water: Before proceeding further, ensure that there is no remaining water in the washer. The cleaning process will be most effective when the washer is dry. If there is water in the drum, run a spin cycle or use a small cup or container to manually drain the water from the machine.
Once you have completed these preparation steps, you’re ready to move on to the next phase – locating the filter. Let’s dive in!
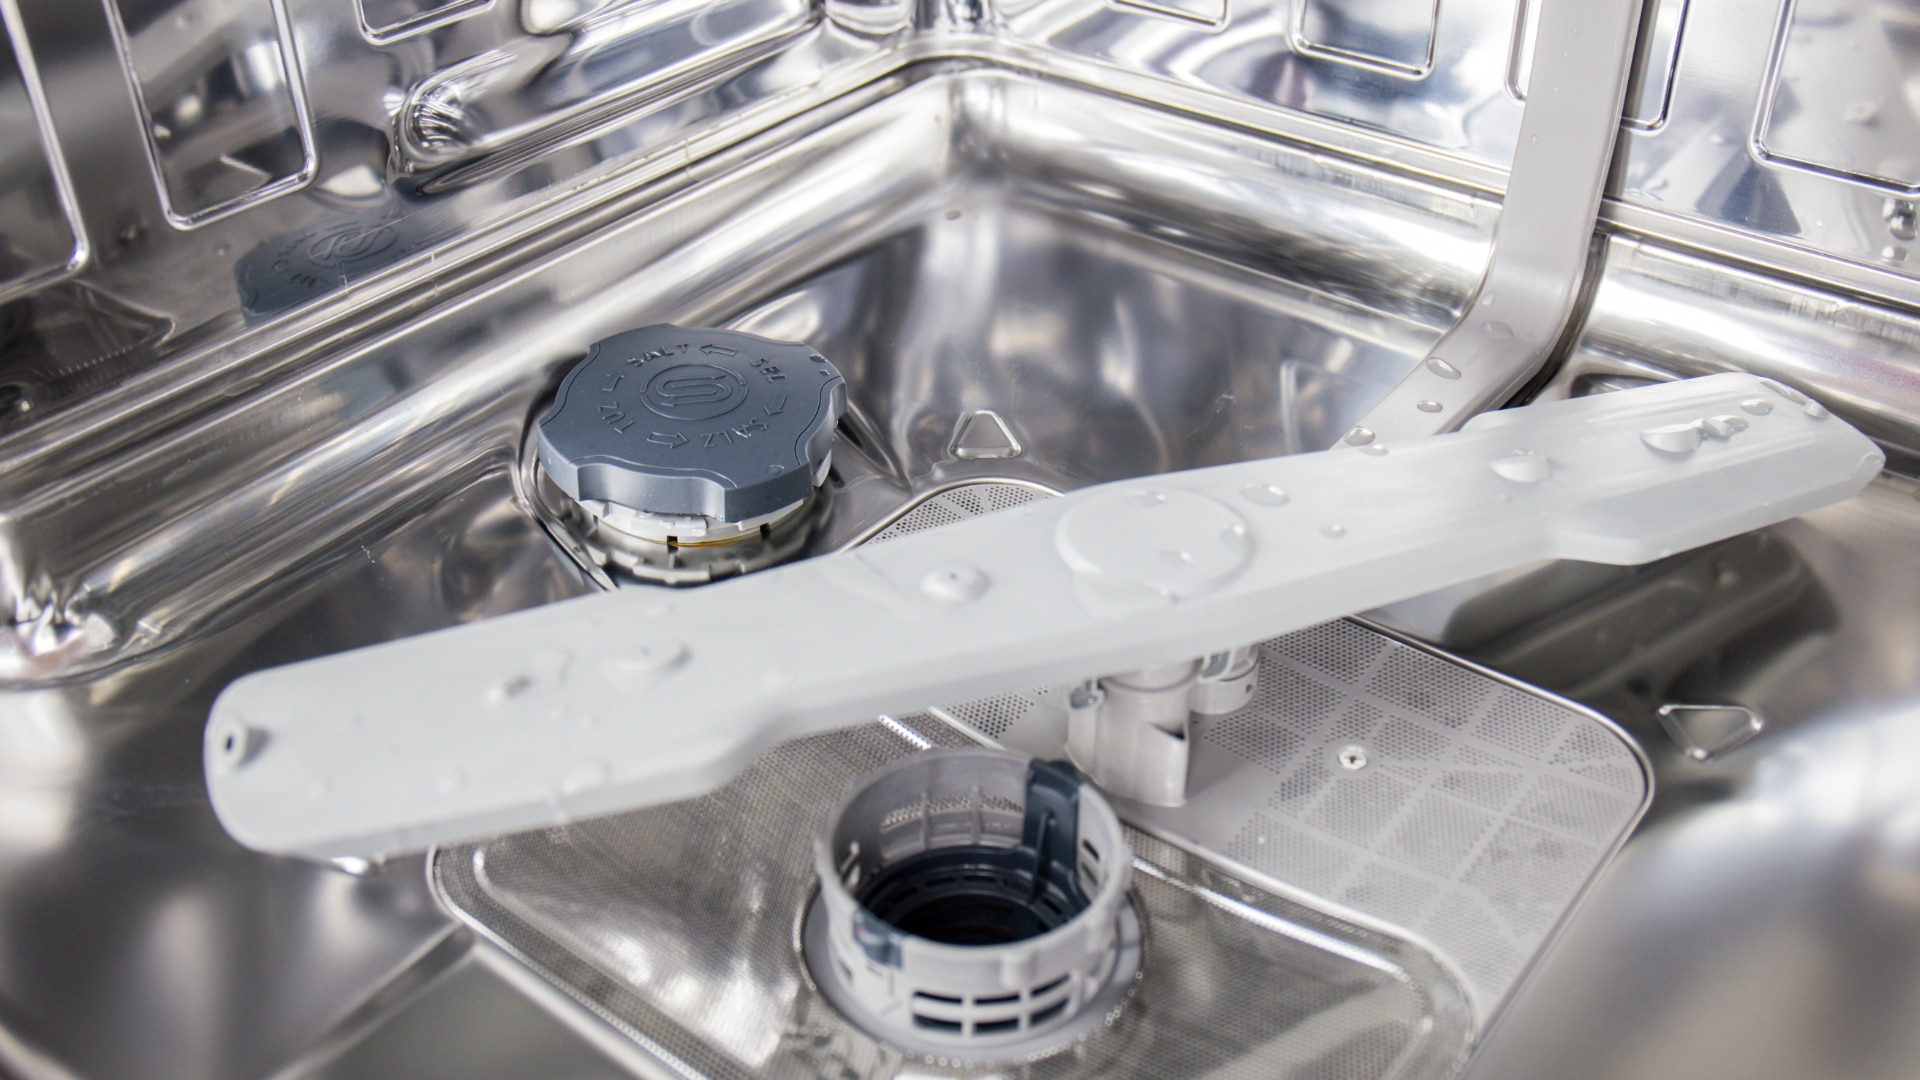
Step 2: Locating the filter
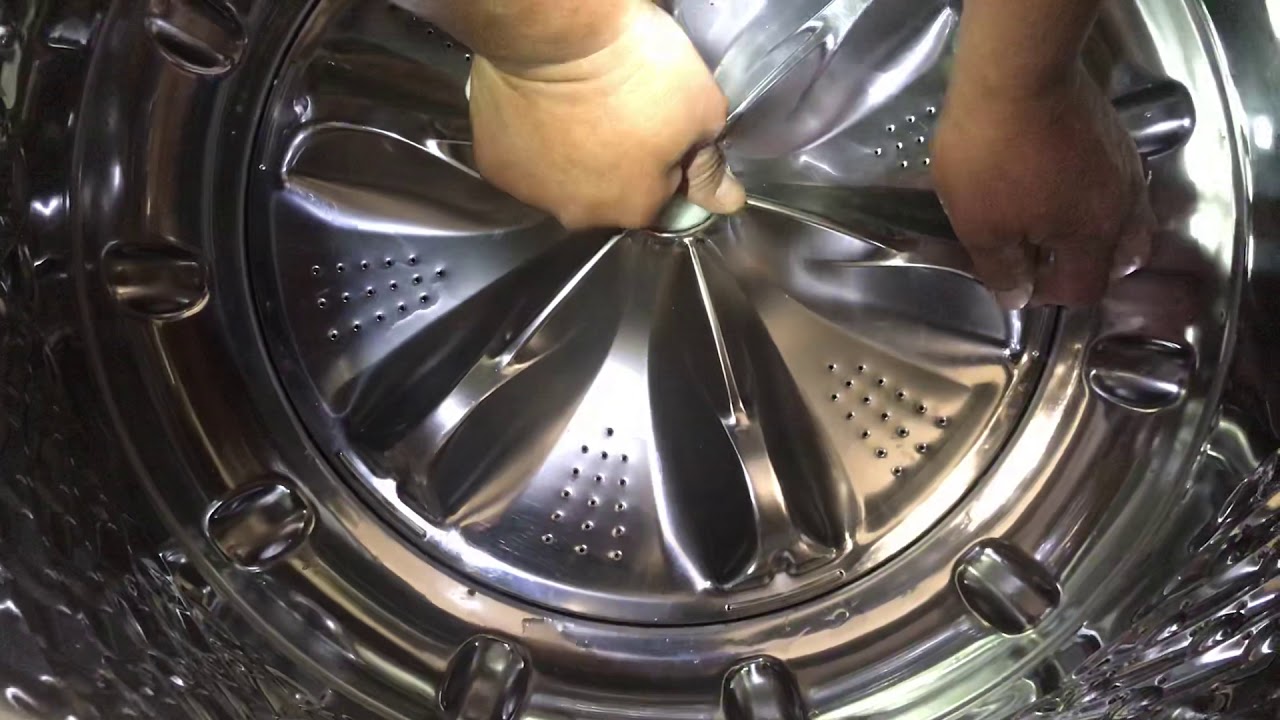
The next step in cleaning the Maytag top load washer filter is to locate its position. The exact location of the filter may vary depending on the model of your washer. In general, the filter is usually located at the bottom of the machine, behind a small access panel. Here’s how you can find it:
- Refer to the owner’s manual: The owner’s manual is a valuable resource that provides specific instructions for your particular Maytag washer model. Consult the manual to find the exact location of the filter and any additional steps or precautions you need to take during the cleaning process.
- Look for the access panel: Typically, the access panel is located at the front or bottom of the washer. It may be secured with screws or clips. Use the appropriate tool, such as a screwdriver or pliers, to remove any fasteners and open the access panel.
- Inspect the interior: Once the access panel is removed, take a moment to familiarize yourself with the interior of the washer. Locate the area where the filter is situated. It may be a small opening or a round-shaped compartment.
Remember to handle the access panel and any fasteners carefully to avoid damage. If you encounter any difficulties in locating the filter or need additional guidance, consider consulting Maytag customer support for assistance.
Now that you’ve successfully located the filter, it’s time to proceed to the next step – removing the filter. Let’s move on!
Step 3: Removing the filter
Now that you have located the filter in your Maytag top load washer, it’s time to remove it. Removing the filter allows you to access and clean any accumulated debris or dirt. Follow these steps to safely remove the filter:
- Prepare for water drainage: As you remove the filter, there may be residual water that will drain out. Ensure you have a bucket or shallow container nearby to catch any water that may spill out.
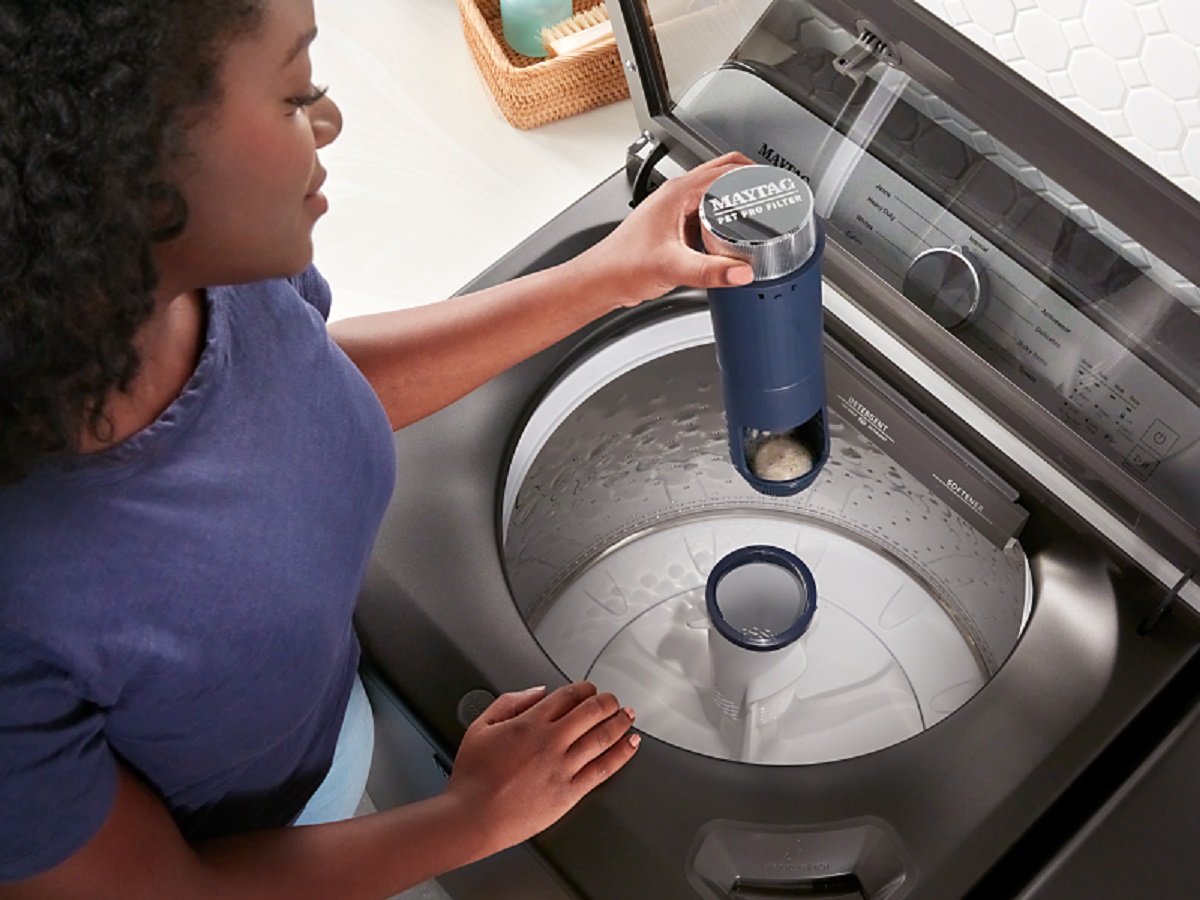
- Gently pull out the filter: Depending on the model, the filter may be a removable component or a retractable one. If it’s removable, grasp the filter firmly and gently pull it out. If it’s retractable, push it in slightly and then pull it out.
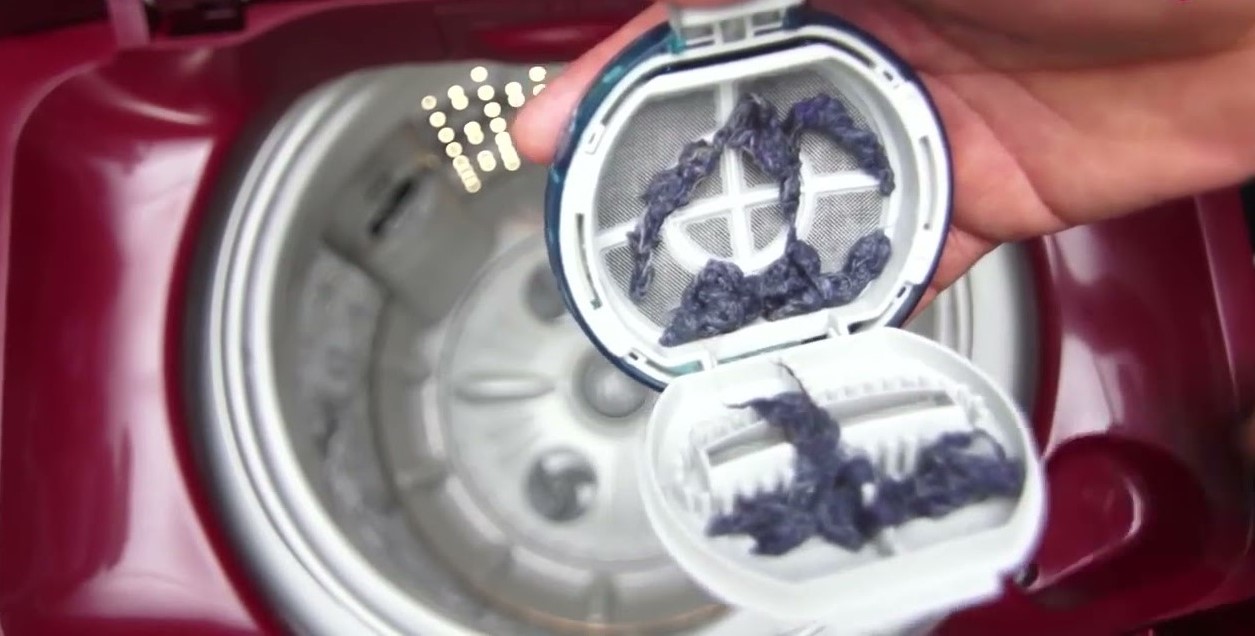
- Inspect the filter: Once the filter is removed, take a close look at it. Check for any visible debris, lint, or foreign objects that may have accumulated. If necessary, use a small brush or toothbrush to gently brush away any loose debris.
- Check the filter housing: While the filter is removed, take a moment to inspect the filter housing or compartment where the filter is inserted. Look for any signs of dirt, residue, or blockages. Use a damp cloth or sponge to wipe away any buildup that you see.
By removing the filter and inspecting it closely, you are taking the necessary steps to maintain the cleanliness and efficiency of your Maytag top load washer. With the filter removed, it’s time to move on to the next phase of the cleaning process – cleaning the filter itself. Let’s proceed!
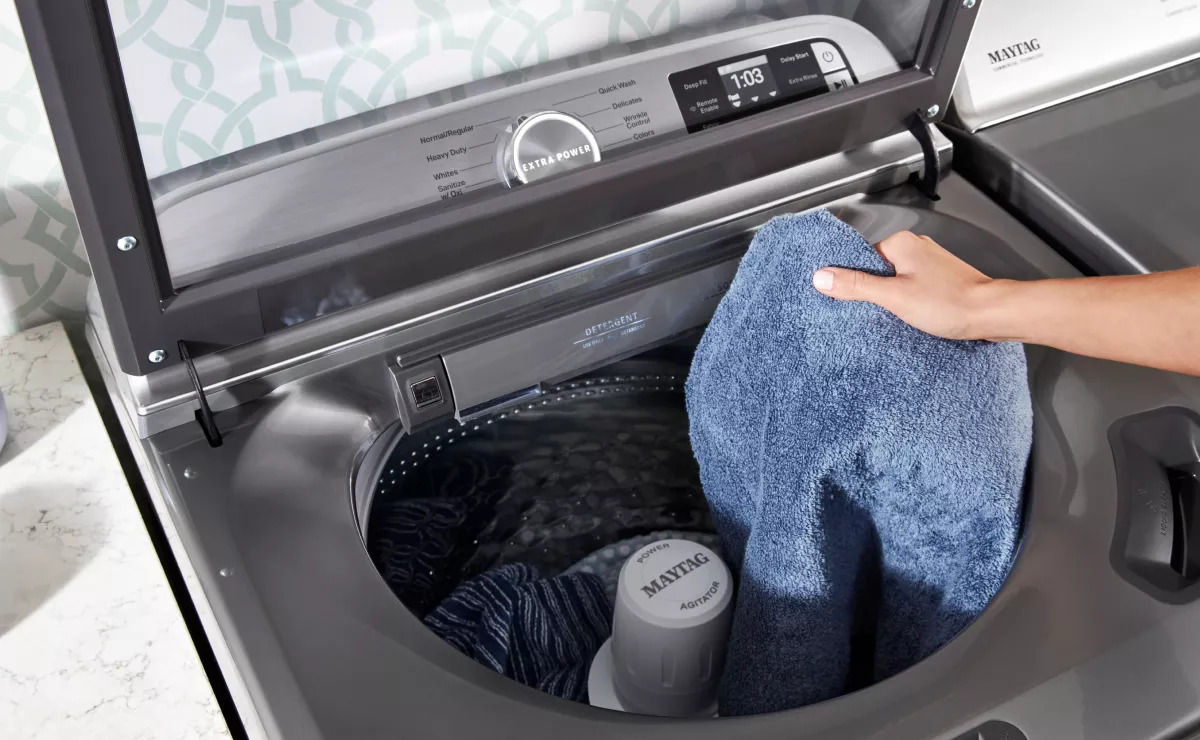
To clean the Maytag top load washer filter, first unplug the machine. Locate the filter at the bottom of the agitator. Twist and pull out the filter, then rinse it under running water to remove any debris. Reinsert the filter and plug the machine back in.
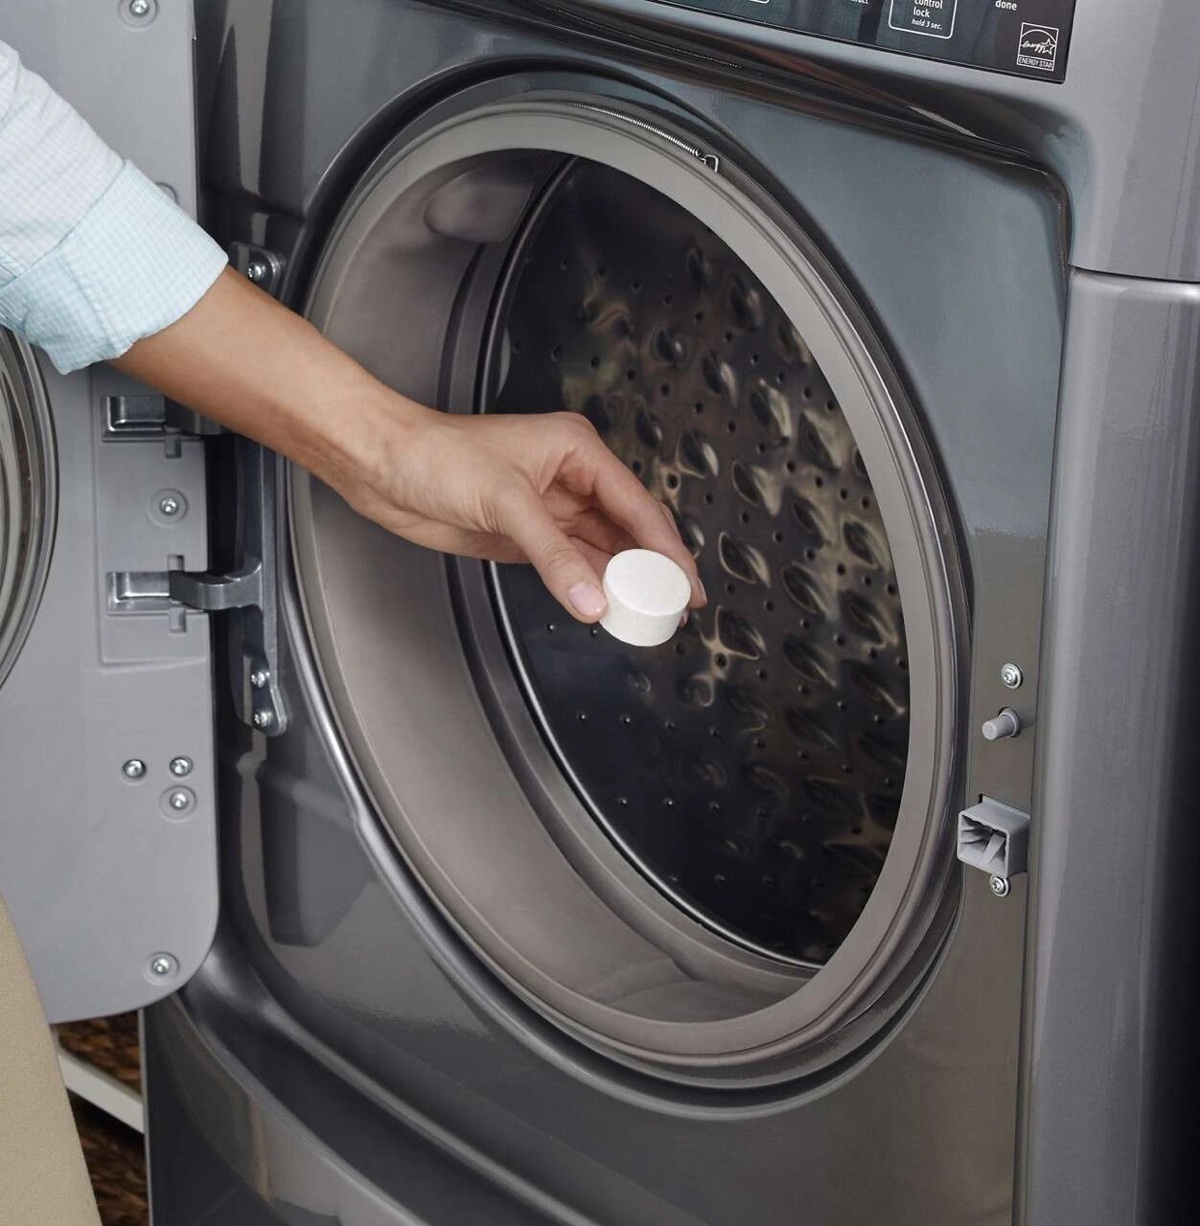
Step 4: Cleaning the filter
Now that you have removed the filter from your Maytag top load washer, it’s time to give it a thorough cleaning. Cleaning the filter will help remove any accumulated debris, lint, or residue that may hinder the performance of your washing machine. Follow these steps to effectively clean the filter:
- Inspect the filter: Before cleaning, take a closer look at the filter to assess the extent of dirt and debris. If it’s lightly soiled, you can proceed with a basic cleaning method. For more stubborn buildup, a deep cleaning may be required.
- Basic cleaning: For a basic cleaning, rinse the filter under warm running water. Use your fingers or a soft brush to gently scrub away any visible dirt or debris. Ensure all sides of the filter are thoroughly washed.
- Deep cleaning: If the filter is heavily soiled, a deep cleaning is recommended. Prepare a mixture of mild detergent or vinegar and warm water in a sink or bucket. Submerge the filter in the solution and let it soak for about 15-20 minutes. After soaking, use a soft brush or toothbrush to scrub away any remaining dirt. Rinse the filter thoroughly under running water to remove any soap or vinegar residue.
- Ensure
Read more: How To Deep Clean Top Load Washer
Step 5: Reinstalling the filter
After cleaning the filter of your Maytag top load washer, it’s time to reinstall it back into its original position. Properly reinstalling the filter is essential to ensure the smooth operation of your washing machine. Here’s how you can reinsert the filter:
- Check the filter housing: Before reinstalling the filter, take a moment to inspect the filter housing or compartment. Ensure it is clean and free from any debris or residue. Use a damp cloth or sponge to wipe away any remaining dirt.
- Align the filter: Carefully position the filter in the correct orientation, aligning it with the opening in the filter housing. Make sure it fits snugly and securely in place. Take caution not to force or insert the filter incorrectly, as it may cause damage to the washer or hinder its performance.
- Push or snap the filter into place: Depending on the model of your washer, you may need to push the filter back until it clicks into place or gently snap it back into position. Ensure it is securely fastened and does not come loose during operation.
- Double-check for any loose debris: Before closing the access panel, double-check the area surrounding the filter for any loose debris or foreign objects. If you notice anything, remove it using a brush or cloth to prevent any blockages.
- Secure the access panel: Once you’re satisfied with the position of the filter and the cleanliness of the surrounding area, securely fasten the access panel. Use the appropriate tools or fasteners to ensure it is tightly closed and won’t come loose during operation.
Now that you have successfully reinstalled the filter, it’s time to move on to the final step – testing the washer to ensure it is working properly. Let’s proceed!
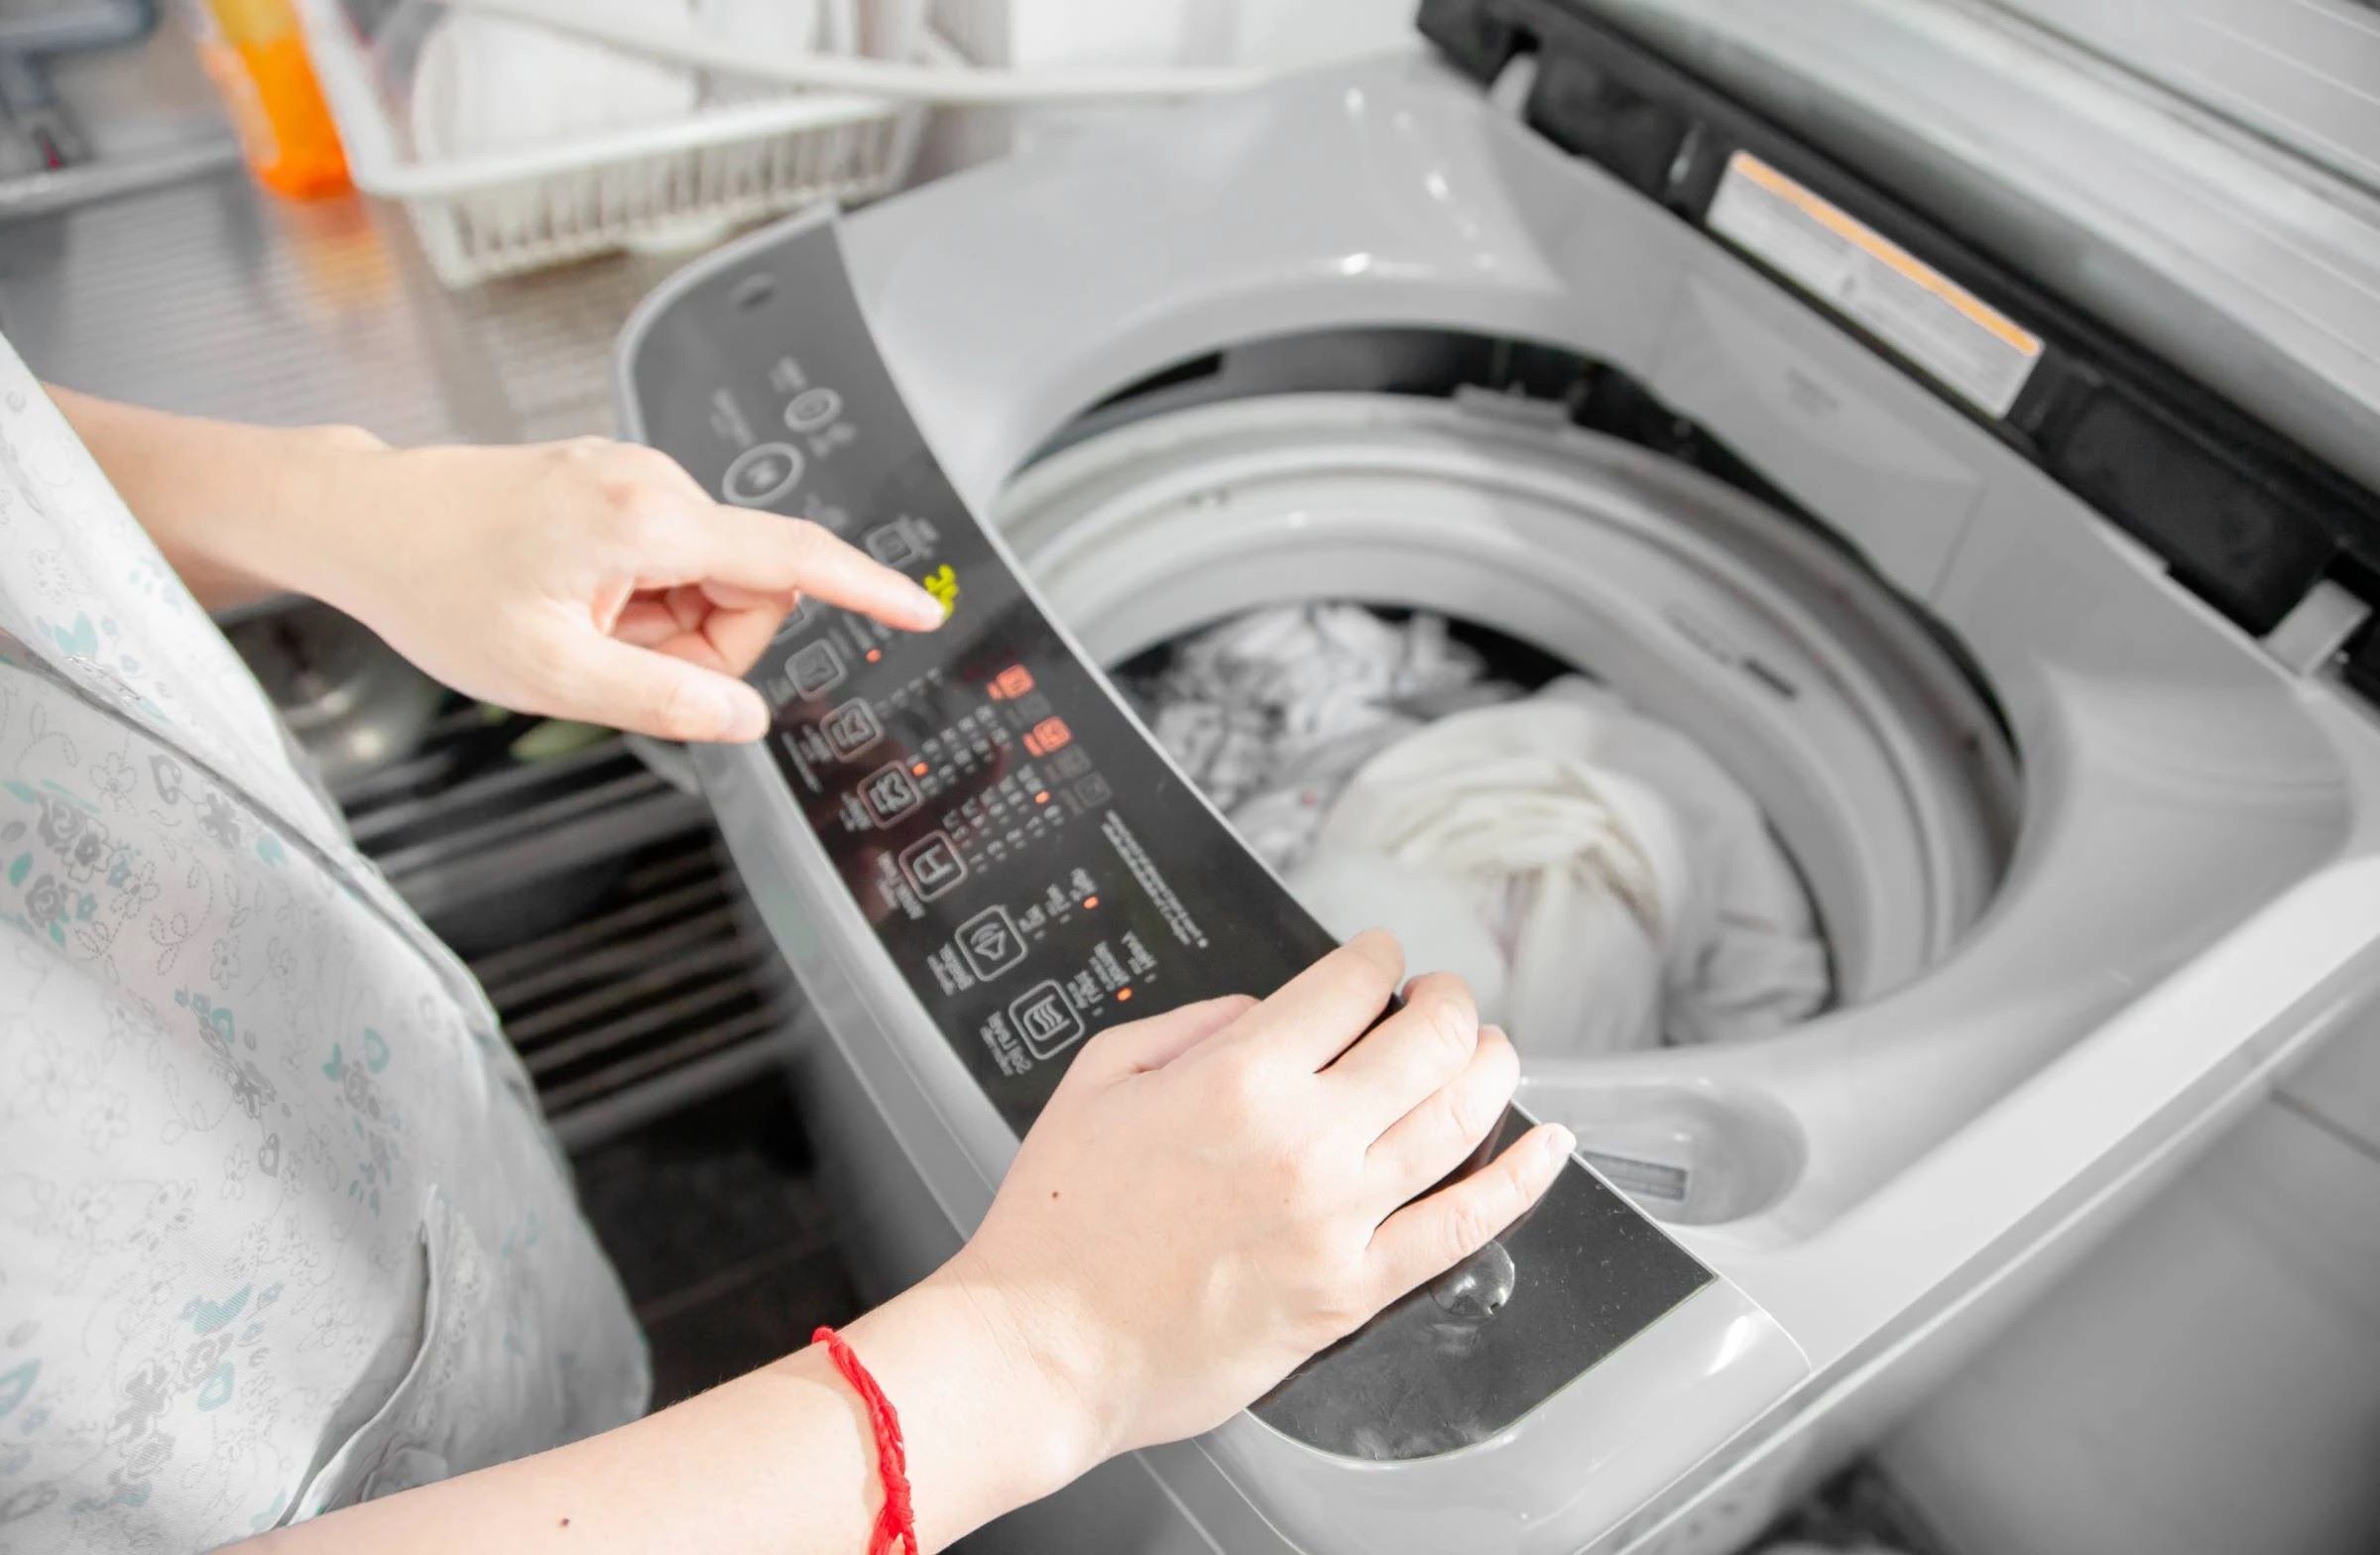
Step 6: Testing the washer
Now that you have completed the process of cleaning and reinstalling the filter in your Maytag top load washer, it’s important to test the machine to ensure it is functioning properly. Testing the washer will help verify that the filter is adequately installed and that there are no issues with water flow or drainage. Follow these steps to test your washer:
- Reconnect the power: Plug the power cord back into the electrical outlet or turn on the circuit breaker dedicated to the washer to restore power to the machine.
- Select a test cycle: Choose a test cycle on your washer that includes both the filling and draining phases of the wash cycle. This will allow you to observe the water flow and drainage to ensure that everything is working as expected.
- Monitor water flow and drainage: As the washer starts the cycle, pay close attention to the water flow. Ensure that the water is filling the drum properly and that there are no leaks or issues. During the draining phase, observe that the water is draining efficiently without any excessive noise or slow drainage.
- Observe overall performance: As the test cycle progresses, keep an eye on the overall performance of the washer. Check for any abnormal sounds, vibrations, or error codes that may indicate an issue. Additionally, assess the cleanliness of the clothes after the cycle to ensure a satisfactory washing result.
If you notice any irregularities or problems during the test cycle, refer to the owner’s manual or contact Maytag customer support for assistance. It’s important to address any issues promptly to prevent further damage or deterioration of the washer.
Congratulations! You have successfully completed the process of cleaning the Maytag top load washer filter and testing your machine. Regularly performing this maintenance task will help keep your washer running smoothly and efficiently for years to come. Remember to establish a regular cleaning schedule for the filter to prevent the buildup of debris and maintain optimal washing performance.
With a clean and well-maintained washer, you can enjoy fresh, clean laundry without worrying about clogs or drainage problems. Happy washing!
Conclusion
Regularly cleaning the filter of your Maytag top load washer is a vital maintenance task that ensures the efficient and effective performance of your appliance. By following the step-by-step process outlined in this guide, you can easily locate, remove, clean, and reinstall the filter, keeping your washing machine in top-notch condition.
Throughout the cleaning process, it’s important to take the necessary precautions, such as disconnecting the power and preparing the work area, to ensure your safety. Additionally, closely following the instructions provided by the owner’s manual and consulting Maytag customer support, if needed, will help you navigate any specific details or challenges related to your specific washer model.
Regularly cleaning the filter prevents the accumulation of debris, lint, and other particles that can hinder water flow and drainage. This maintenance task helps optimize washing performance and prevents potential issues, such as clogs and drainage problems.
To summarize the key steps in cleaning the Maytag top load washer filter:
- Prepare the necessary tools and disconnect the power supply.
- Locate the filter by referring to the owner’s manual or accessing the access panel on the washer.
- Safely remove the filter and inspect it for dirt and debris.
- Perform a basic or deep cleaning of the filter, depending on the level of buildup.
- Reinstall the filter securely, ensuring it is aligned and properly fastened.
- Test the washer by selecting a test cycle and observing its performance, including water flow and drainage.
By incorporating regular filter cleaning into your washing machine maintenance routine, you can keep your Maytag top load washer running smoothly and efficiently, providing you with fresh and clean laundry every time.
We hope this comprehensive guide has provided you with the knowledge and confidence to clean your Maytag top load washer filter effectively. Remember to consult the owner’s manual for specific instructions and reach out to Maytag customer support for any further assistance you may need.
Happy washing and enjoy the benefits of a well-maintained washing machine!
Frequently Asked Questions about How To Clean Maytag Top Load Washer Filter
Why is it important to clean the Maytag top load washer filter?It is important to clean the Maytag top load washer filter to ensure that the washer operates efficiently and effectively. Over time, dirt, lint, and other debris can accumulate in the filter, leading to potential clogs and reduced performance. Regular cleaning of the filter can help prevent these issues and prolong the lifespan of the washer.How often should I clean the Maytag top load washer filter?It is recommended to clean the Maytag top load washer filter at least once every three months. However, if you notice that your washer is not draining properly or if it is making unusual noises during the wash cycle, it may be a sign that the filter needs to be cleaned sooner.What are the steps to clean the Maytag top load washer filter?To clean the Maytag top load washer filter, start by unplugging the washer to ensure safety. Locate the filter, which is typically located at the bottom of the washer behind a small access panel. Remove the panel, unscrew the filter, and carefully remove any debris. Rinse the filter with water and reassemble the washer.Can I use any cleaning products to clean the Maytag top load washer filter?It is best to avoid using harsh chemicals or cleaning products when cleaning the Maytag top load washer filter. Simply rinsing the filter with water should be sufficient to remove any dirt and debris. Using harsh chemicals may damage the filter and affect the washer’s performance.What are the signs that indicate the Maytag top load washer filter needs cleaning?Signs that indicate the Maytag top load washer filter needs cleaning include slow drainage, water not draining at all, unusual noises during the wash cycle, or a musty odor coming from the washer. If you notice any of these signs, it is likely time to clean the filter.
Was this page helpful?
At Storables.com, we guarantee accurate and reliable information. Our content, validated by Expert Board Contributors, is crafted following stringent Editorial Policies. We're committed to providing you with well-researched, expert-backed insights for all your informational needs.


0 thoughts on “How To Clean Maytag Top Load Washer Filter”